Introduction
Welcome to our guide on how to download pictures from your Android phone to a flash drive. With the increasing storage capacity of Android devices, it’s common to accumulate a large number of photos over time. Transferring these photos to a flash drive not only frees up valuable space on your phone but also serves as a backup for your precious memories.
Although there are several methods to transfer files from an Android phone to a computer or cloud storage, using a flash drive offers a convenient and portable solution. Whether you’re looking to transfer photos to share with friends or simply want to create additional space on your phone, this guide will provide step-by-step instructions on how to accomplish this task effortlessly.
By following these instructions, you’ll be able to transfer pictures from your Android phone to a flash drive quickly and efficiently. No technical knowledge is required, and the process can be completed in just a few simple steps. Let’s dive in and get started!
Step 1: Connect the flash drive to the Android phone
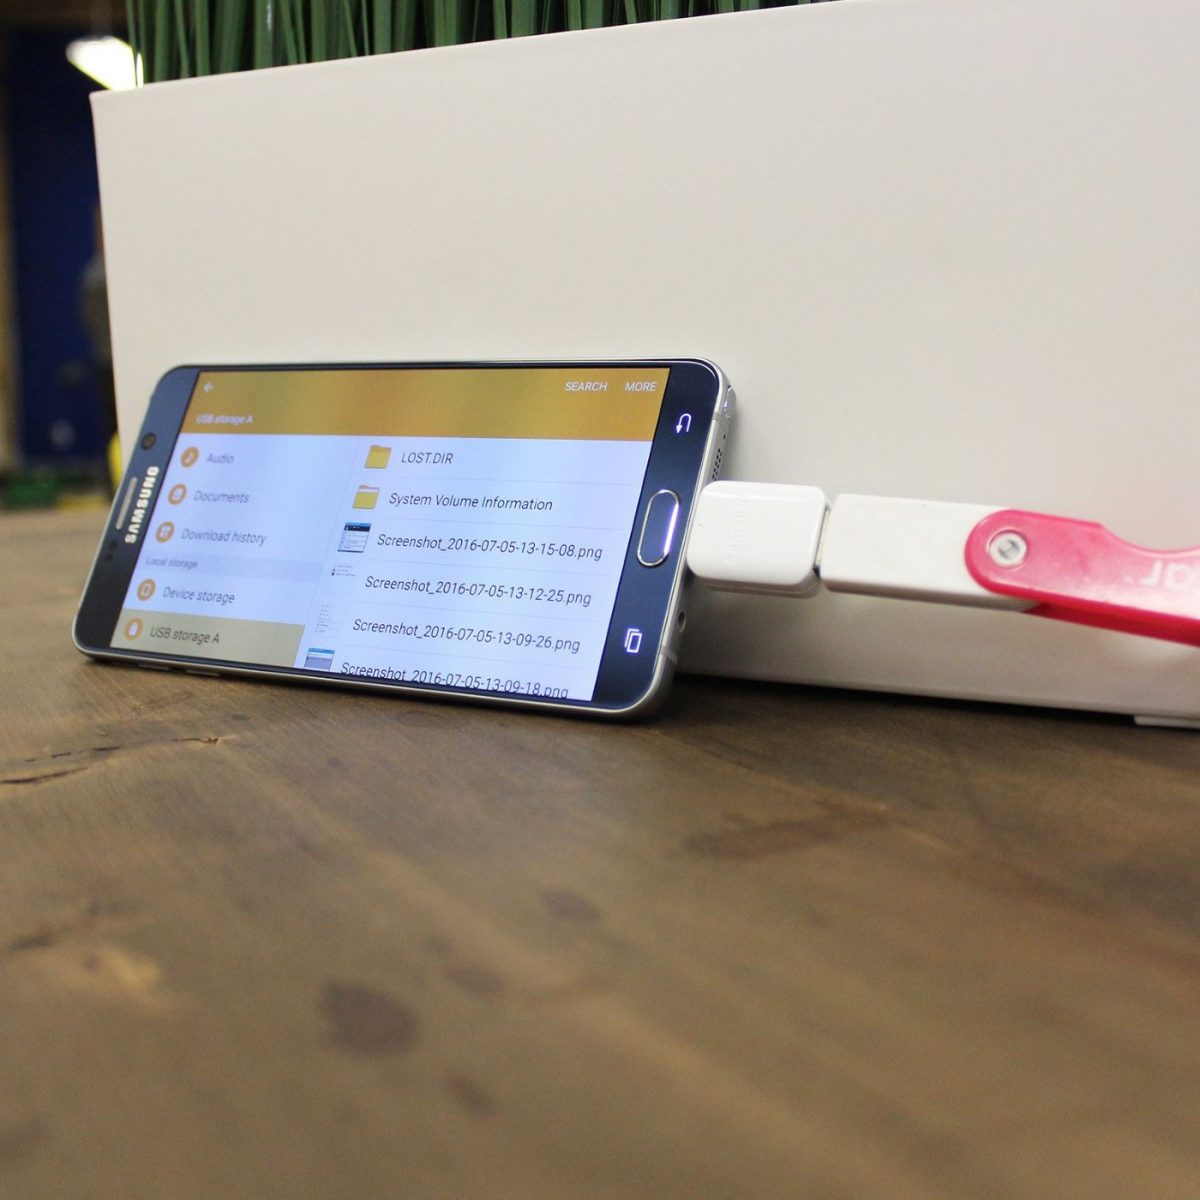
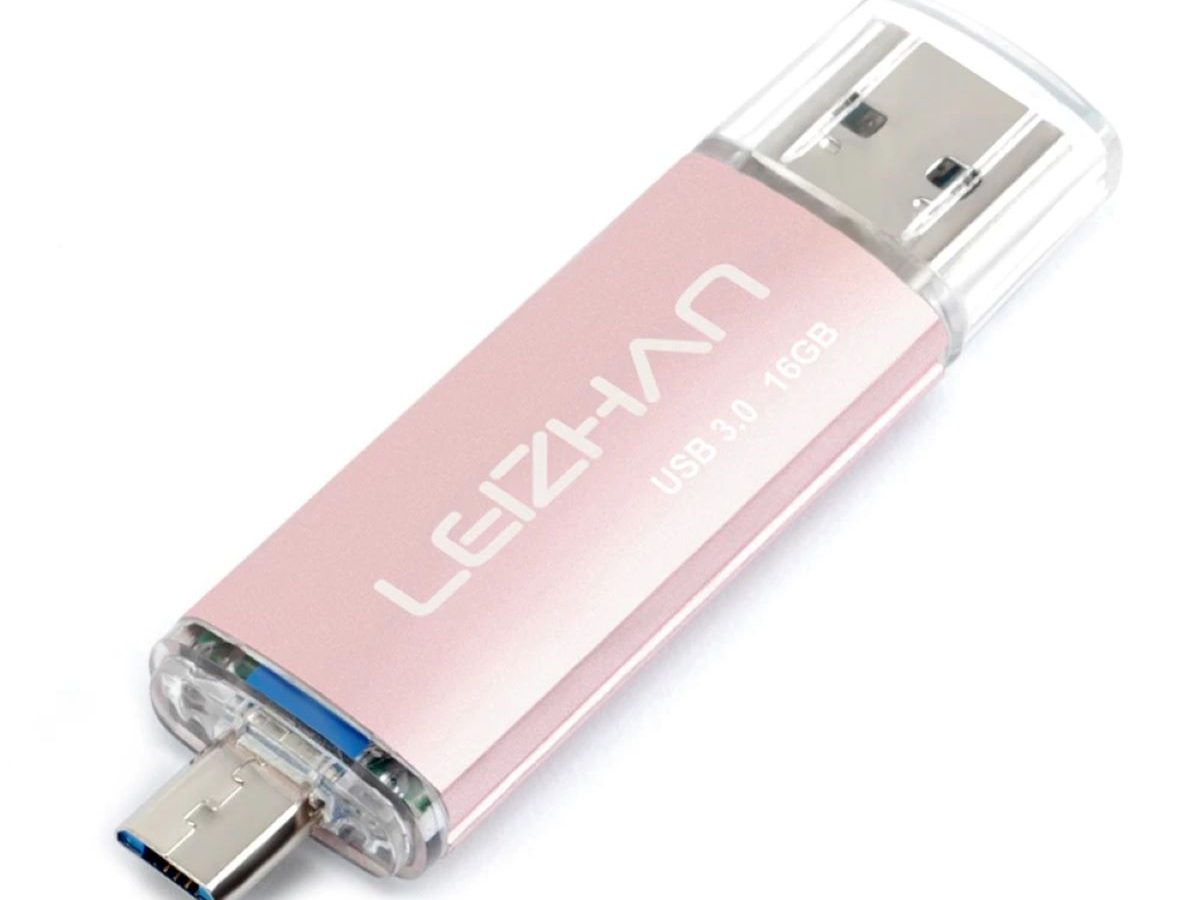
The first step in downloading pictures from your Android phone to a flash drive is to connect the flash drive to your phone. This can be done using a USB OTG (On-The-Go) cable or adapter, which allows you to connect external devices such as flash drives to your Android phone.
Start by obtaining a USB OTG cable or adapter if you don’t already have one. These can be purchased online or at electronics stores. Ensure that the USB OTG cable or adapter is compatible with your Android phone model.
Once you have the USB OTG cable or adapter, follow these steps:
- Insert one end of the USB OTG cable or adapter into the micro-USB or USB-C port on your Android phone.
- Connect the other end of the USB OTG cable or adapter to the USB port on your flash drive.
- If necessary, power on your flash drive using any power options provided.
After connecting the flash drive to your Android phone, you may see a notification indicating that a USB device has been connected. Your Android phone should detect the flash drive and be ready to transfer files.
To ensure a successful connection, make sure that you’re using a functioning USB OTG cable or adapter and that the flash drive is compatible with your Android phone. In case the flash drive is not recognized, try reconnecting the devices or using a different USB OTG cable or adapter.
Now that you have successfully connected the flash drive to your Android phone, you’re ready to move on to the next step and begin the process of downloading your pictures.
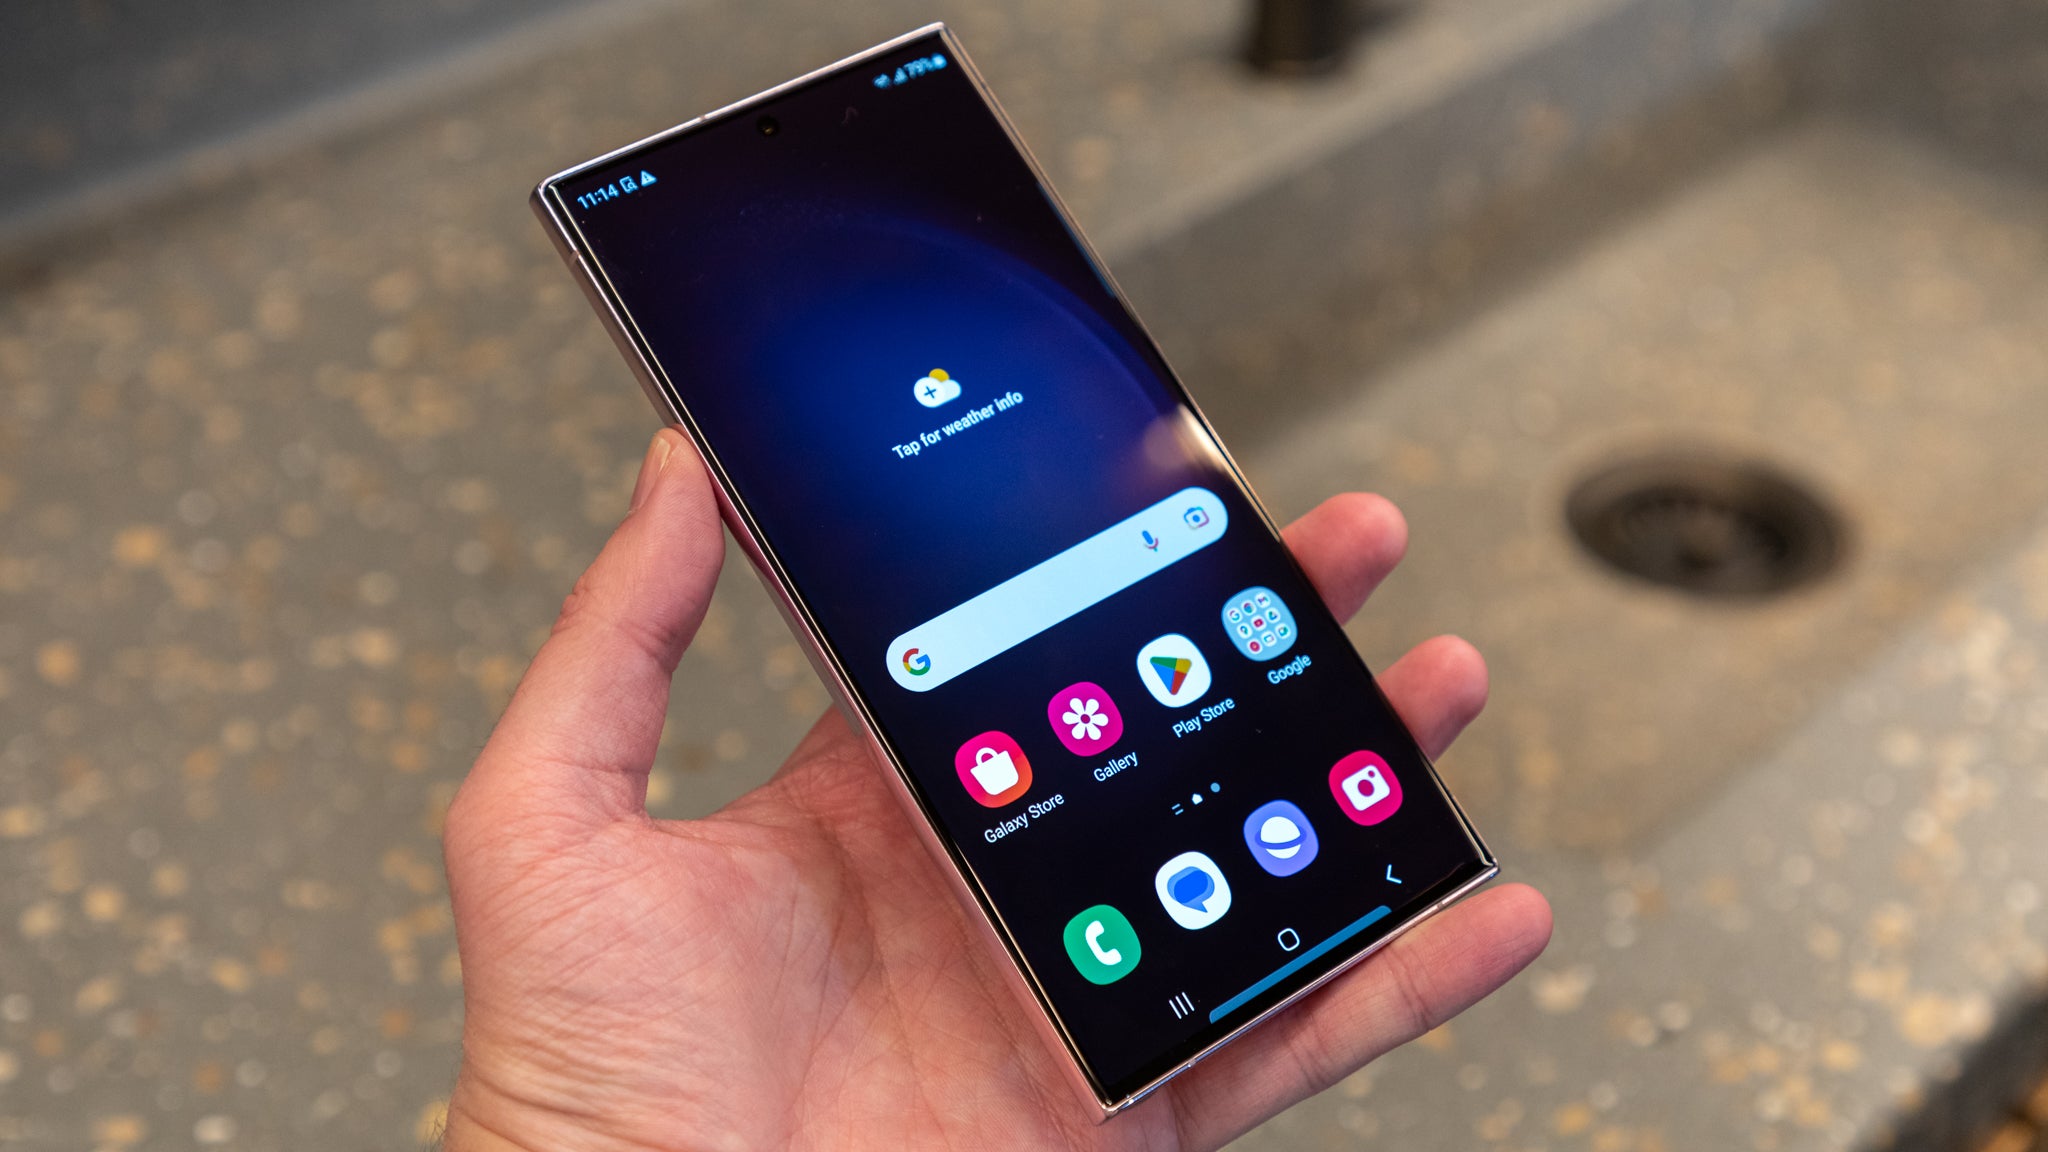
Step 2: Open the File Explorer app on your Android phone
Once you have connected the flash drive to your Android phone, it’s time to open the File Explorer app. The File Explorer app allows you to browse and manage the files and folders on your Android phone and external storage devices, including the connected flash drive.
Here’s how you can open the File Explorer app on your Android phone:
- Go to the home screen of your Android phone by tapping the home button or swiping up from the bottom of the screen.
- Locate the app drawer icon, which is usually represented by a grid of dots or squares, and tap on it to open the app drawer.
- Look for the File Explorer app among the list of installed apps. The app may have a different name depending on your phone’s manufacturer or the version of Android you’re using. Some common names for File Explorer apps include “File Manager,” “Files,” or “My Files.”
- Tap on the File Explorer app to open it.
Alternatively, if you have a search bar on your home screen, you can type in keywords like “File Explorer,” “File Manager,” or “Files” to quickly search for and open the app.
Once you have opened the File Explorer app, you will be able to see the internal storage of your Android phone as well as any external storage devices connected, including the flash drive. You can navigate through the folders to find the location of your pictures.
It’s important to note that the user interface, layout, and features of File Explorer apps may vary depending on the app you’re using. However, most File Explorer apps will have a similar basic functionality, allowing you to browse and manage files and folders on your Android phone and external storage devices.
Now that you have opened the File Explorer app, you’re ready to move on to the next step and select the pictures you want to download.
Step 3: Select the pictures you want to download
With the File Explorer app open on your Android phone, it’s time to select the pictures that you want to download from your phone to the flash drive. This step allows you to choose specific photos or groups of photos to transfer, helping you to organize your files efficiently.
Follow these steps to select the pictures you want to download:
- Navigate through the folders in the File Explorer app to find the location of your pictures. Typically, the pictures are stored in a folder named “DCIM” or “Pictures.”
- Tap on the folder to open it and view the pictures inside. You may need to further navigate through sub-folders if your pictures are organized in a specific way.
- Once you have found the pictures you want to download, tap and hold on one of the pictures to activate the selection mode.
- A selection menu will appear, allowing you to choose multiple pictures. Tap on the additional pictures you want to download to add them to your selection.
- You can also use the select all option to choose all the pictures in the current folder if you want to transfer them in one go.
- Once you have selected all the pictures you want to download, you may see a checkmark or other indicator next to each selected photo.
By selecting the pictures individually or using the select all option, you have now marked the specific photos you want to transfer to the flash drive.
It’s important to note that the method for selecting pictures may vary depending on the File Explorer app you’re using. Some apps may have a dedicated selection mode or additional options for grouping and selecting pictures. Explore the features of your File Explorer app to utilize its full potential for selecting and managing files.
Now that you have selected the pictures, you’re ready to move on to the next step and copy them to the flash drive.
Step 4: Copy the selected pictures to the flash drive
After selecting the pictures you want to download from your Android phone, it’s time to copy them to the flash drive. This step ensures that your selected photos are transferred securely and successfully to the external storage device.
Follow these steps to copy the selected pictures to the flash drive:
- In the File Explorer app on your Android phone, locate the menu or toolbar at the top of the screen. This menu or toolbar typically contains various options for managing files and folders.
- Tap on the menu or toolbar icon that represents the copy or move function. This icon is usually in the form of two overlapping squares or a file with an arrow pointing to another location.
- After activating the copy or move function, a notification or dialog box may appear, asking you to choose the destination folder. Tap on the flash drive or its corresponding folder to set it as the destination.
- Once the destination is selected, the selected pictures will be copied or moved to the flash drive. The progress of the transfer may be displayed on the screen, depending on the File Explorer app you’re using.
- Wait for the transfer to complete. The duration of the transfer will depend on the size and number of pictures you have selected.
It’s important to ensure that you have enough storage space available on the flash drive to accommodate the selected pictures. If the flash drive is almost full, consider deleting unnecessary files or transferring them to another storage device before copying the pictures.
During the copy or move process, it’s recommended to avoid interrupting the transfer or unplugging the flash drive to prevent any potential data loss. Wait until the transfer is complete before disconnecting the flash drive from your Android phone.
Now that you have successfully copied the selected pictures to the flash drive, you can proceed to the final step to complete the process.
Step 5: Disconnect the flash drive from your Android phone
Once you have successfully copied the selected pictures to the flash drive, it’s important to disconnect the flash drive from your Android phone properly. This ensures that the data is safely transferred and avoids any potential data corruption or loss.
Follow these steps to properly disconnect the flash drive from your Android phone:
- In the File Explorer app on your Android phone, locate the menu or toolbar at the top of the screen.
- Tap on the menu or toolbar icon that represents the eject or unmount function. This icon is usually in the form of a USB plug or an arrow pointing away from a device.
- If prompted, confirm the action to safely eject or unmount the flash drive.
- Wait for the File Explorer app to display a notification or message indicating that it is safe to remove the flash drive.
- Once you receive the notification, gently remove the USB OTG cable or adapter from your Android phone.
- Disconnect the flash drive from the USB OTG cable or adapter by removing it from the USB port.
It’s important to adhere to these steps to prevent any potential data loss or damage to the flash drive. Disconnecting the flash drive improperly or removing it while data is being transferred can lead to corrupted files or hardware issues.
Now that you have successfully disconnected the flash drive from your Android phone, you have completed the process of downloading pictures from your Android phone to a flash drive. Congratulations!
You can now use the flash drive to share your photos with friends, transfer them to other devices, or simply store them as a backup. Remember to keep the flash drive in a safe place to prevent any potential loss or damage to your valuable pictures.
Conclusion
Congratulations! You have successfully learned how to download pictures from your Android phone to a flash drive. By following the step-by-step instructions outlined in this guide, you can now transfer your precious photos with ease and convenience.
Transferring pictures to a flash drive not only helps to free up space on your Android phone but also serves as a backup for your valuable memories. By having your photos stored on an external device, you can ensure that they are safe and easily accessible whenever you need them.
Remember to connect the flash drive to your Android phone using a USB OTG cable or adapter, open the File Explorer app to select the pictures you want to download, and then copy them to the flash drive. Finally, make sure to disconnect the flash drive properly by using the eject or unmount function in the File Explorer app.
With these simple steps, you can confidently transfer your pictures from your Android phone to a flash drive, whether you want to share them, create more space on your device, or keep them as a backup.
Always ensure that you have enough storage space available on the flash drive before starting the transfer and avoid interrupting the process to prevent any potential data loss or corruption.
Thank you for following along with this guide. We hope that it has been helpful in enabling you to download pictures from your Android phone to a flash drive. Enjoy organizing and preserving your memories in a safe and convenient way!