Introduction
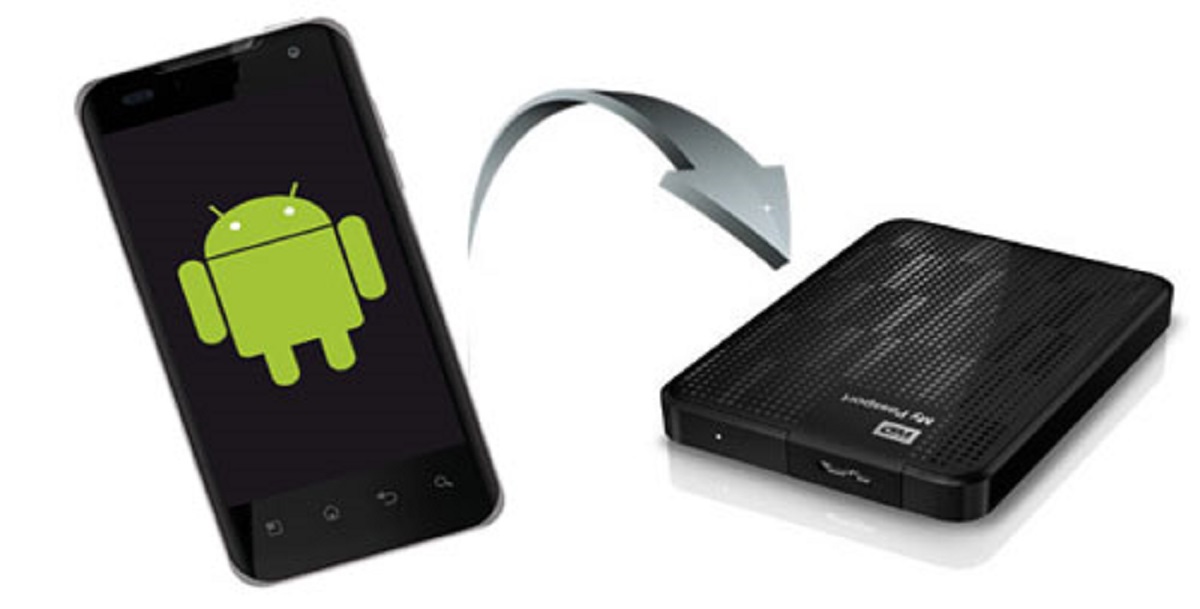
Welcome to our guide on how to connect an external hard drive to your Android tablet! In this digital age where data storage needs continue to grow, having the ability to expand the storage capacity of your Android tablet using an external hard drive can be a game-changer. Whether you need to transfer large files, backup important documents, or carry a vast media collection with you on the go, connecting an external hard drive to your tablet allows you to have all your data at your fingertips.
While Android tablets have built-in storage, it may not always be sufficient for your needs. By connecting an external hard drive, you can significantly increase the storage capacity and enjoy the convenience of accessing your files anytime, anywhere.
In this guide, we will walk you through the process of connecting an external hard drive to your Android tablet. We will cover the essential steps from checking hardware compatibility to accessing and managing your external hard drive files. So, let’s get started and unleash the full potential of your Android tablet!
Step 1: Check Hardware Compatibility
Before proceeding with connecting an external hard drive to your Android tablet, it is important to ensure that your tablet supports this feature. Not all Android tablets have the capability to connect to external storage devices, so it’s crucial to check the hardware compatibility.
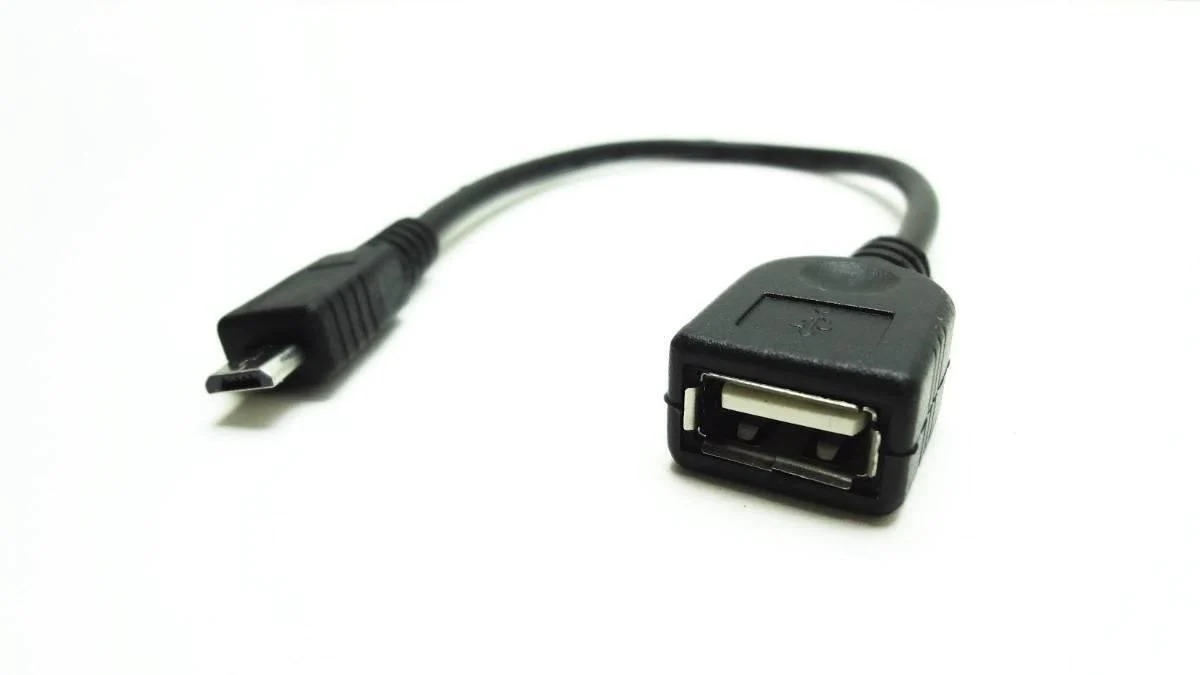
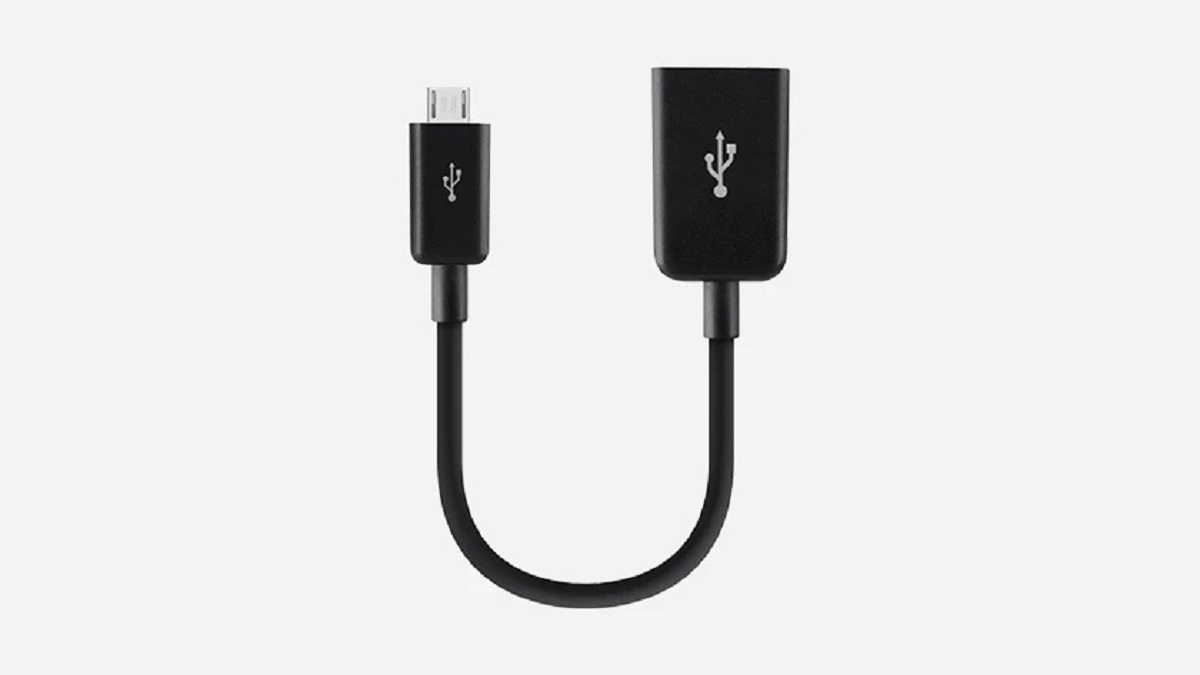
First, you need to determine whether your Android tablet has a USB port. Most modern Android tablets feature a micro USB or USB-C port which can be used for connecting external devices. However, some budget or older models may not have this capability, so it’s necessary to verify the availability of a USB port.
Next, you should check if your Android tablet supports USB On-The-Go (OTG) functionality. USB OTG allows the tablet to act as a host device, enabling it to connect and communicate with external USB devices such as flash drives and hard drives. Not all Android tablets support USB OTG, so it’s important to verify this compatibility.
To check if your Android tablet supports USB OTG, you can refer to the user manual or visit the manufacturer’s website for detailed specifications. Additionally, you can search online for your tablet model and USB OTG compatibility to find relevant information or join forums where fellow users may have shared their experiences.
If your tablet supports a USB port and USB OTG, you are one step closer to connecting an external hard drive. However, it’s important to note that even if your tablet is compatible, some external hard drives may not work due to factors like power requirements or file system compatibility. In such cases, you may need to use an external power source or format the external hard drive to a compatible file system, which we will address in the subsequent steps.
Now that you have ensured the hardware compatibility, we can move on to the next step of connecting your external hard drive to your Android tablet.
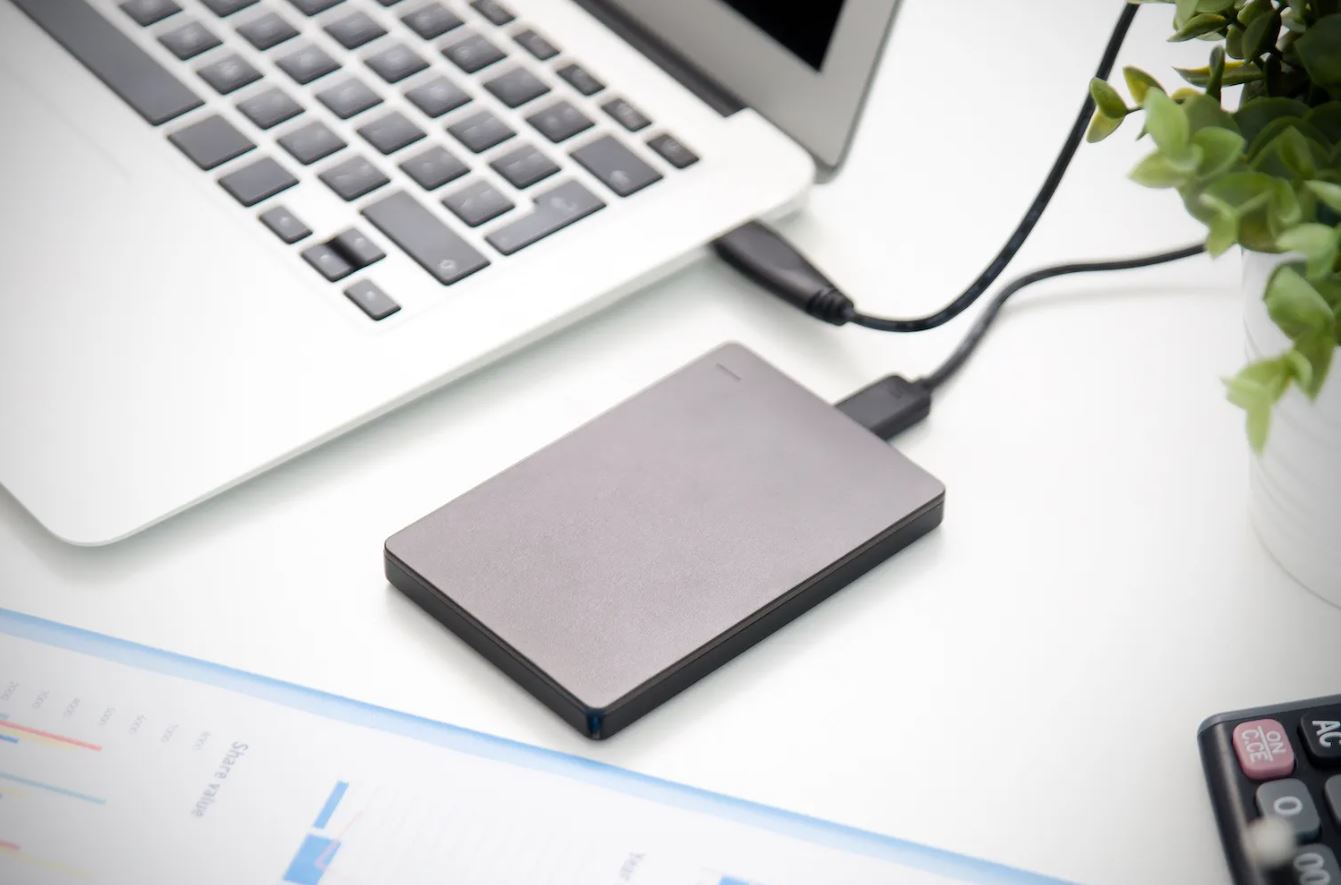
Step 2: Connect the External Hard Drive
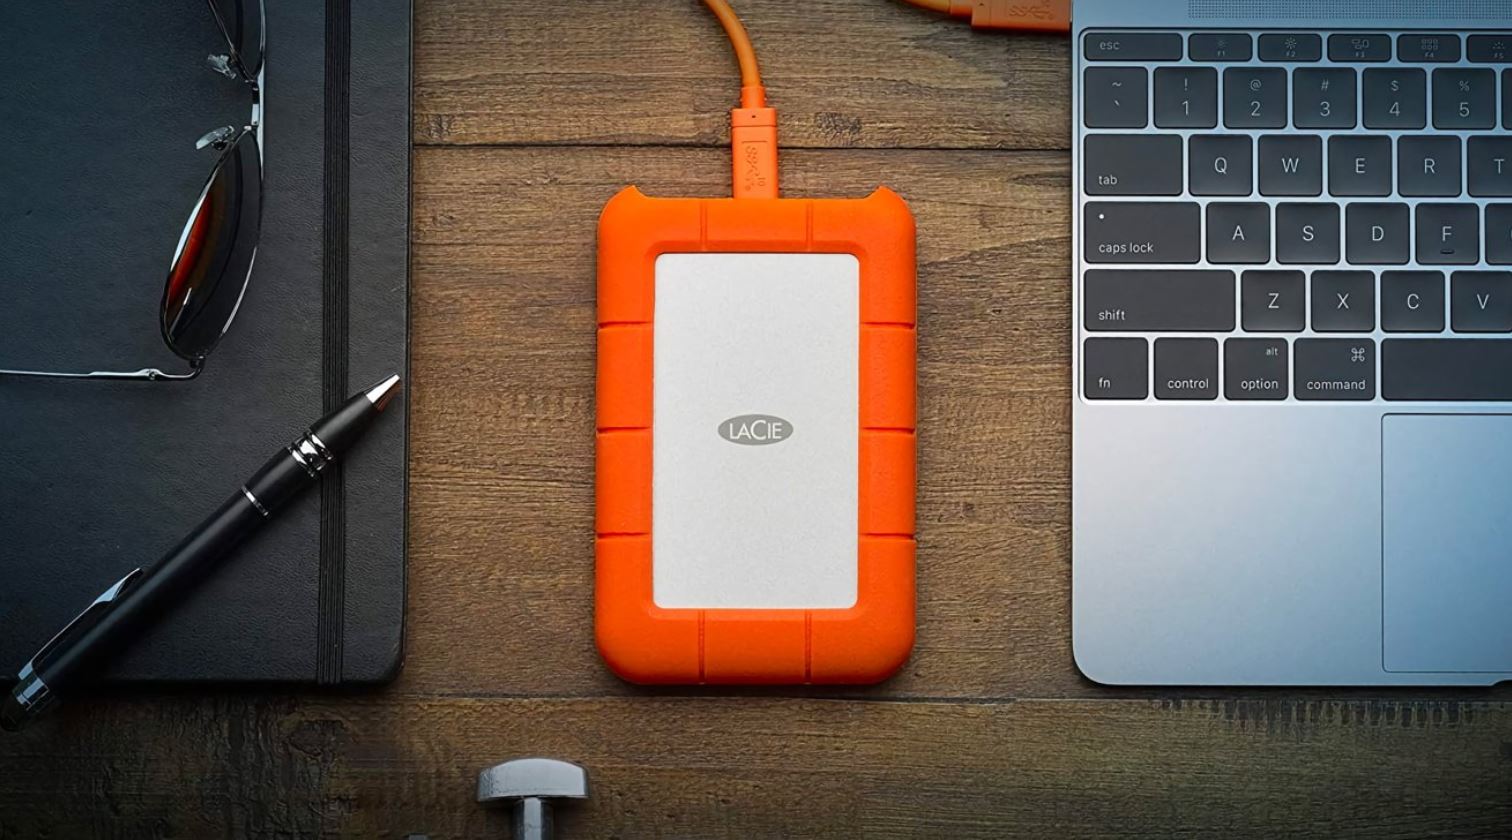
Once you have confirmed the hardware compatibility of your Android tablet, it’s time to connect the external hard drive. Follow these steps to establish the connection:
- Start by ensuring that your Android tablet is powered off.
- Locate the USB port on your tablet. Depending on your tablet model, the USB port can be a micro USB or a USB-C port.
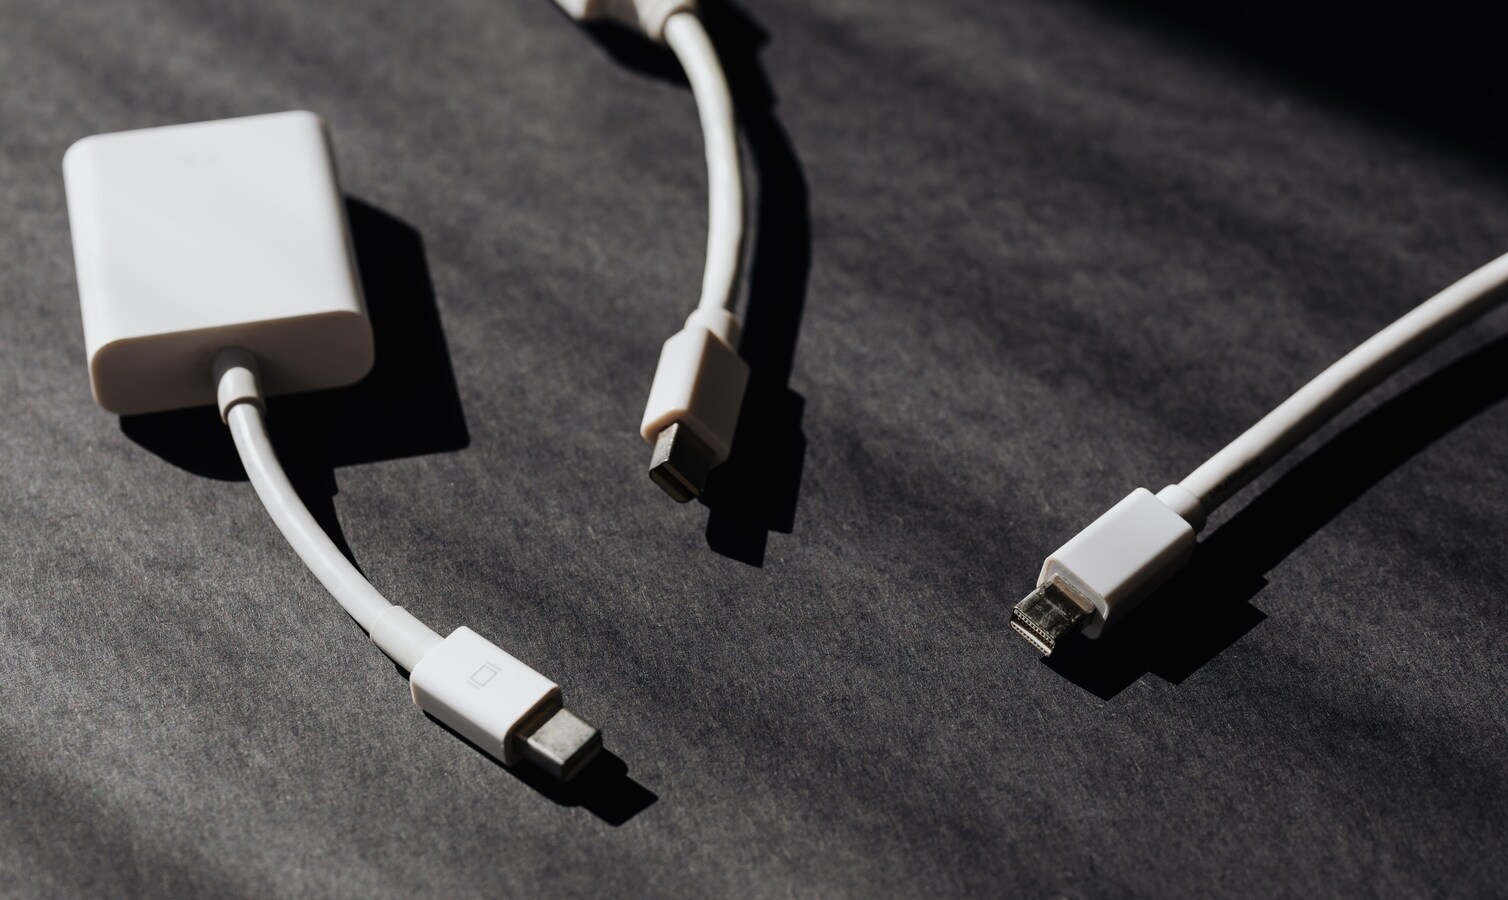
- Take the USB cable that came with your external hard drive, and connect one end of it to the USB port on your tablet.
- Connect the other end of the USB cable to the USB port on the external hard drive. Ensure a secure and snug connection is made.
- Now, power on your Android tablet.
Once you have connected the external hard drive to your tablet, it should be detected automatically. However, in some cases, you may need to take an additional step to enable USB OTG support on your tablet, as we will discuss in the following step.
Note: If your external hard drive requires external power, make sure to connect the power adapter or use a powered USB hub to provide sufficient power to the hard drive.
Now that you have successfully connected the external hard drive to your Android tablet, we can proceed to the next step of enabling USB OTG support.
Step 3: Enable USB OTG Support
In order to use an external hard drive with your Android tablet, you may need to enable USB On-The-Go (OTG) support. Here’s how you can do it:
- On your Android tablet, go to the Settings menu. You can usually access it by swiping down from the top of the screen and tapping on the gear icon.
- Within the Settings menu, navigate to the “Storage” or “Storage & USB” section. The exact placement of this option may vary depending on your tablet’s manufacturer and Android version.
- Look for an option related to USB OTG or external storage. This option may be labeled as “USB OTG,” “USB Accessories,” or “External Storage,” or it may appear as a toggle switch.
- Toggle the USB OTG or external storage option to “On” or “Enabled.”
Enabling USB OTG support allows your Android tablet to recognize the connected external hard drive and provide access to its files and folders. If you don’t find the USB OTG option within the Settings menu, it’s possible that your tablet doesn’t require manual activation for this feature, as it may be enabled by default.
Once you have enabled USB OTG support, your Android tablet should detect the external hard drive and make it accessible within the file manager or dedicated storage/explorer app. If you don’t see the external hard drive immediately, try disconnecting and reconnecting the USB cable or restarting your tablet.
We have now successfully enabled USB OTG support on your Android tablet. The next step is to access and manage the files on your connected external hard drive, which we will cover in the following section.
Step 4: Access and Manage External Hard Drive Files
Now that you have connected your external hard drive to your Android tablet and enabled USB OTG support, it’s time to access and manage the files on the drive. Follow these steps:
- Open the file manager app on your Android tablet. If you don’t have a dedicated file manager app, you can download one from the Google Play Store.
- Navigate to the “Storage” or “File” section within the file manager app.
- You should see the connected external hard drive listed as a separate storage option. It may be labeled with the manufacturer’s name or a generic label such as “USB storage” or “External storage.”
- Tap on the label representing your external hard drive to access its files and folders.
- You can now browse through the contents of the external hard drive, open files, copy or move them, and perform various file management tasks similar to how you would on the tablet’s internal storage.
Depending on the file manager app you are using, you may have additional options such as creating new folders, renaming files, or deleting files directly from the external hard drive. Explore the features of your file manager app to make the most out of managing your files on the external hard drive.
It’s important to note that some file formats may require specific apps on your tablet to open and view the files. For example, a video file may require a video player app, or a document file may require a document viewer app. If you encounter such files, you can download the appropriate apps from the Play Store to ensure compatibility.
Remember to always safely eject the external hard drive from your tablet after you finish accessing and managing files. This will help prevent data corruption or loss. Follow the next step to learn how to properly eject the external hard drive.
Step 5: Safely Eject the External Hard Drive
After you have finished accessing and managing files on your external hard drive, it’s important to safely eject it from your Android tablet. This ensures that all data is written properly and that there is no risk of data corruption or loss. Follow these steps to safely eject the external hard drive:
- Return to the file manager app or storage settings on your Android tablet.
- Locate the external hard drive storage option that represents your connected hard drive.
- Tap and hold on the external hard drive storage option until a contextual menu appears.
- Select the option to “Eject” or “Disconnect” the external hard drive.
- Wait for the notification or confirmation message that the external hard drive has been successfully ejected.
- Once you receive the confirmation, it is safe to physically disconnect the USB cable from your Android tablet and the external hard drive.
By properly ejecting the external hard drive, you ensure that any ongoing read and write activities are completed and that the file system is properly closed. This helps prevent data corruption and ensures that the next time you connect the external hard drive, it will be recognized correctly by your tablet.
It’s worth noting that abruptly removing the external hard drive without ejecting it first can lead to potential data loss or file system errors. Therefore, always take the time to safely eject the drive before physically disconnecting it from your Android tablet.
Congratulations! You have successfully connected, accessed, and managed an external hard drive using your Android tablet. Now you can enjoy the convenience of expanded storage for your files, documents, media, and more.
Additional Tips and Troubleshooting
While connecting an external hard drive to your Android tablet is a straightforward process, there are some additional tips and troubleshooting steps you can keep in mind to ensure a smooth experience. Here are some helpful tips:
1. Power requirements: Some external hard drives may require more power than what your Android tablet can provide. In such cases, consider using an external power source or a powered USB hub to ensure proper functionality.
2. File system compatibility: Android tablets typically support the FAT32 and exFAT file systems. If your external hard drive is formatted in a different file system, such as NTFS, it may not be recognized by your tablet. In such cases, you can reformat the external hard drive to a compatible file system using a computer.
3. Apps for specific file formats: If you encounter files on the external hard drive that require specific apps to open or view, make sure you have those apps installed on your Android tablet. Check the Google Play Store for compatible apps for different file formats.
4. Insufficient power warning: If you see a notification or error message on your tablet indicating insufficient power to the external hard drive, try using an external power source or a powered USB hub to resolve the issue.
5. Exceptionally slow transfer speeds: If you notice slow transfer speeds when copying or moving files to or from the external hard drive, it could be due to various factors such as file size, file system, or the USB connection. Consider using a different USB cable or connecting the external hard drive to a different USB port on your tablet.
6. Update your Android tablet: Keeping your Android tablet’s operating system up to date can help ensure compatibility and improve performance when connecting and using external devices, including an external hard drive. Check for system updates regularly.
If you encounter any difficulties or issues while connecting or using the external hard drive with your Android tablet, here are some troubleshooting steps you can try:
1. Restart your Android tablet: A simple restart can resolve temporary software glitches and ensure a fresh connection with the external hard drive.
2. Try a different USB cable: Faulty or incompatible USB cables can cause connectivity issues. Test the external hard drive with a different USB cable to eliminate this possibility.
3. Connect the external hard drive to a computer: Connecting the external hard drive to a computer and ensuring it is recognized and functioning properly can help determine if the issue lies with the tablet or the hard drive itself.
4. Check for firmware updates: Some external hard drives may have firmware updates available from the manufacturer’s website. Updating the firmware can address compatibility issues and improve overall performance.
5. Consult the manufacturer or seek professional help: If you continue to experience difficulties, contacting the manufacturer’s support or seeking assistance from a professional technician can help diagnose and resolve any underlying issues.
With these additional tips and troubleshooting steps, you can overcome any potential challenges and make the most out of using your external hard drive with your Android tablet.
Conclusion
Connecting an external hard drive to your Android tablet is a fantastic way to expand your storage capacity and have easy access to your files and media on the go. By following the steps outlined in this guide, you can connect, access, and manage the files on an external hard drive with ease.
Remember to check the hardware compatibility of your Android tablet, ensuring it has a USB port and USB OTG support. Connect the external hard drive using a USB cable, and enable USB OTG support if required. Access your files through a file manager app and safely eject the external hard drive when finished.
Additionally, be mindful of power requirements, file system compatibility, and using specific apps for certain file formats. Follow the provided troubleshooting tips if you encounter any issues during the process.
With the power to connect an external hard drive, your Android tablet becomes a versatile device capable of storing and accessing large amounts of data. Whether you need extra space for work documents, media files, or backups of important files, the convenience of expanded storage is invaluable.
We hope this guide has been helpful and that you now feel confident in connecting an external hard drive to your Android tablet. Enjoy the freedom of having all your files at your fingertips and make the most out of your tablet’s storage capabilities!