Introduction
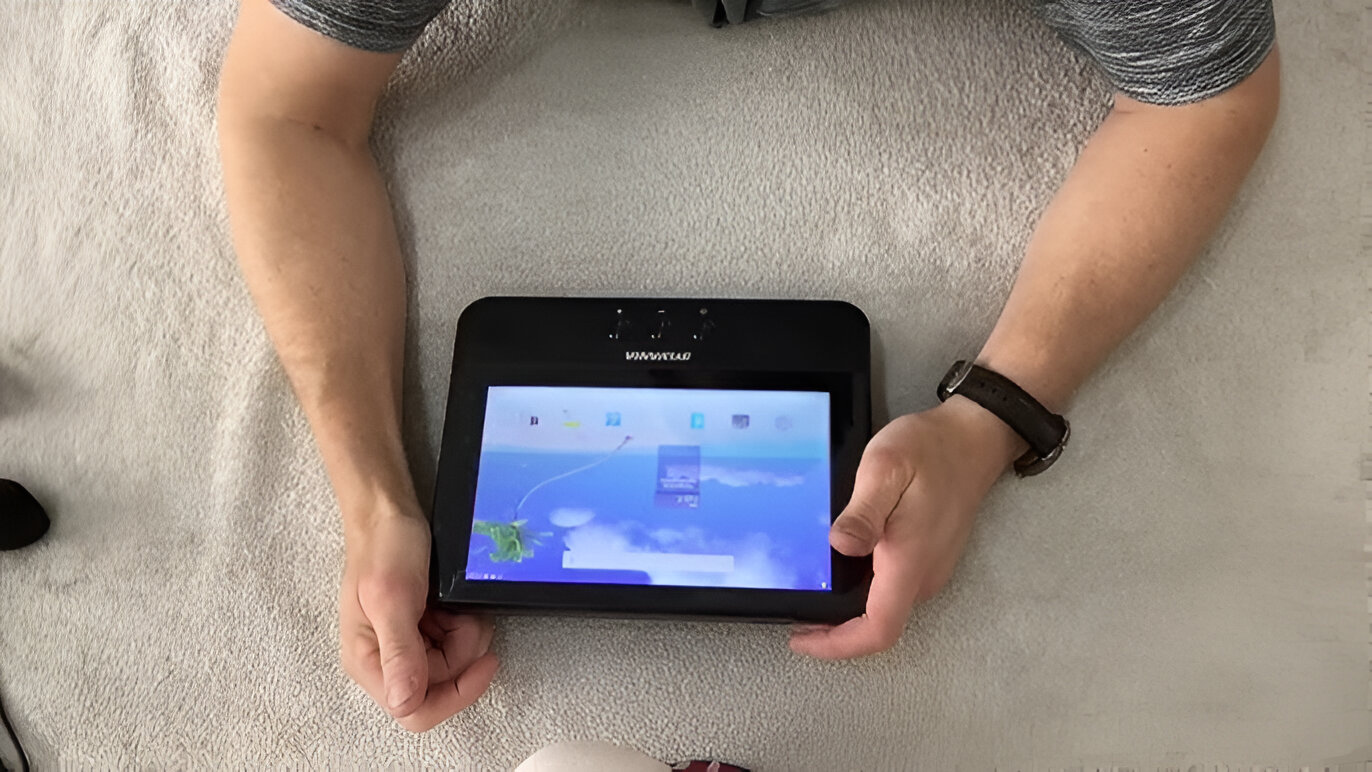
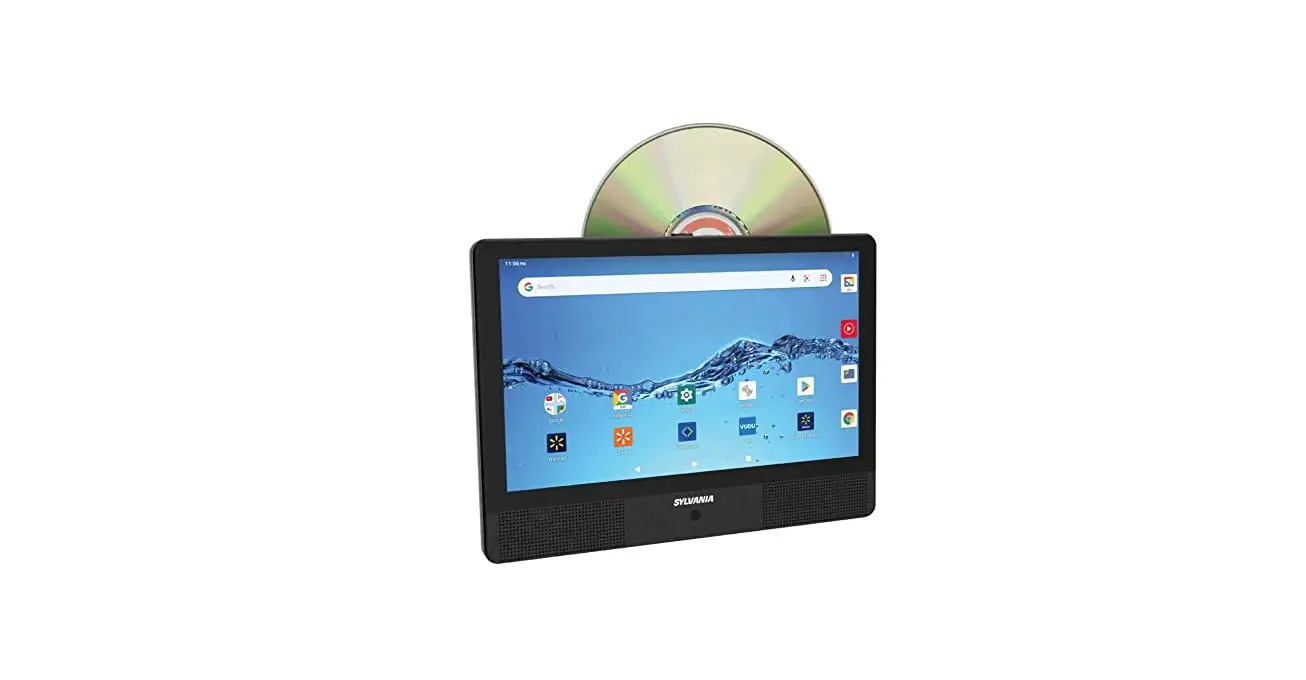
Watching DVDs on an Android tablet can be a convenient way to enjoy your favorite movies and TV shows while on the go. With advances in technology, it is now possible to turn your Android tablet into a portable DVD player. Whether you want to watch a classic film or catch up on the latest releases, this guide will provide you with the necessary steps to watch DVDs on your Android tablet.
Before diving into the process, it’s important to note that not all Android tablets come equipped with a built-in DVD drive. However, there are still options available to enjoy your DVD collection on your tablet. This guide will walk you through the steps needed to watch DVDs on your Android tablet using a DVD player app.
By following these steps, you can transform your Android tablet into a personal movie theater and enjoy your DVD collection wherever you are. So, let’s get started and unlock the potential of your Android tablet!
Pre-requisites
Before you can start watching DVDs on your Android tablet, there are a few pre-requisites you need to fulfill:
- An Android tablet: Obviously, you’ll need an Android tablet to follow this guide. Make sure your tablet has enough storage space to accommodate the DVD files.
- A stable internet connection: While not mandatory, having a stable internet connection can be helpful when downloading the DVD player app and transferring the DVD files.
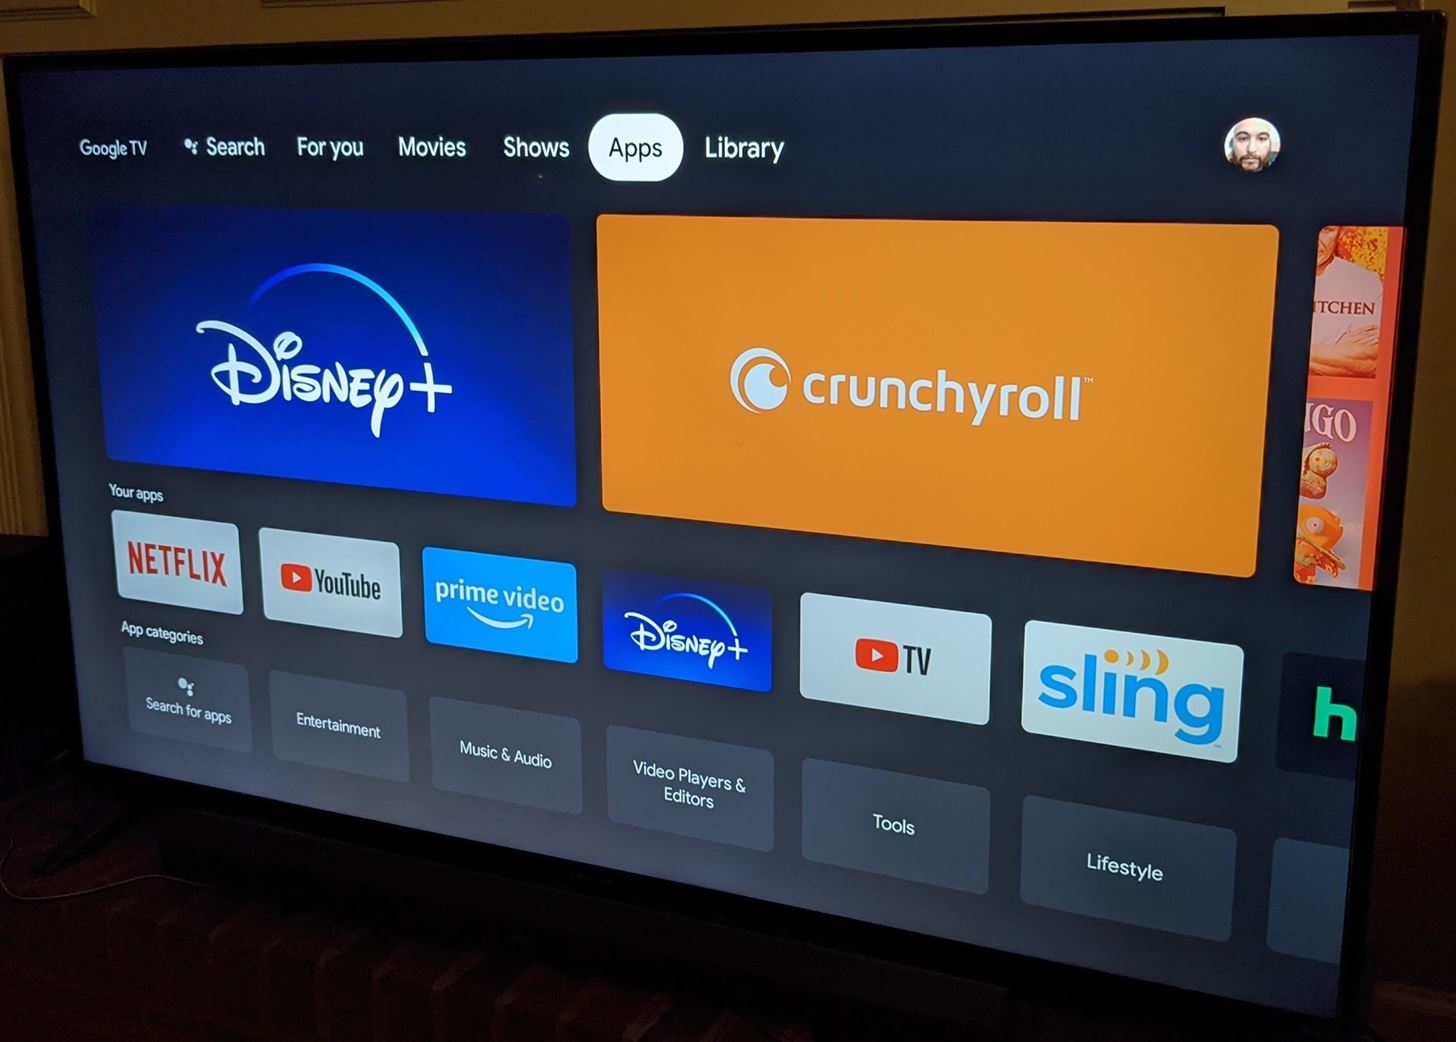
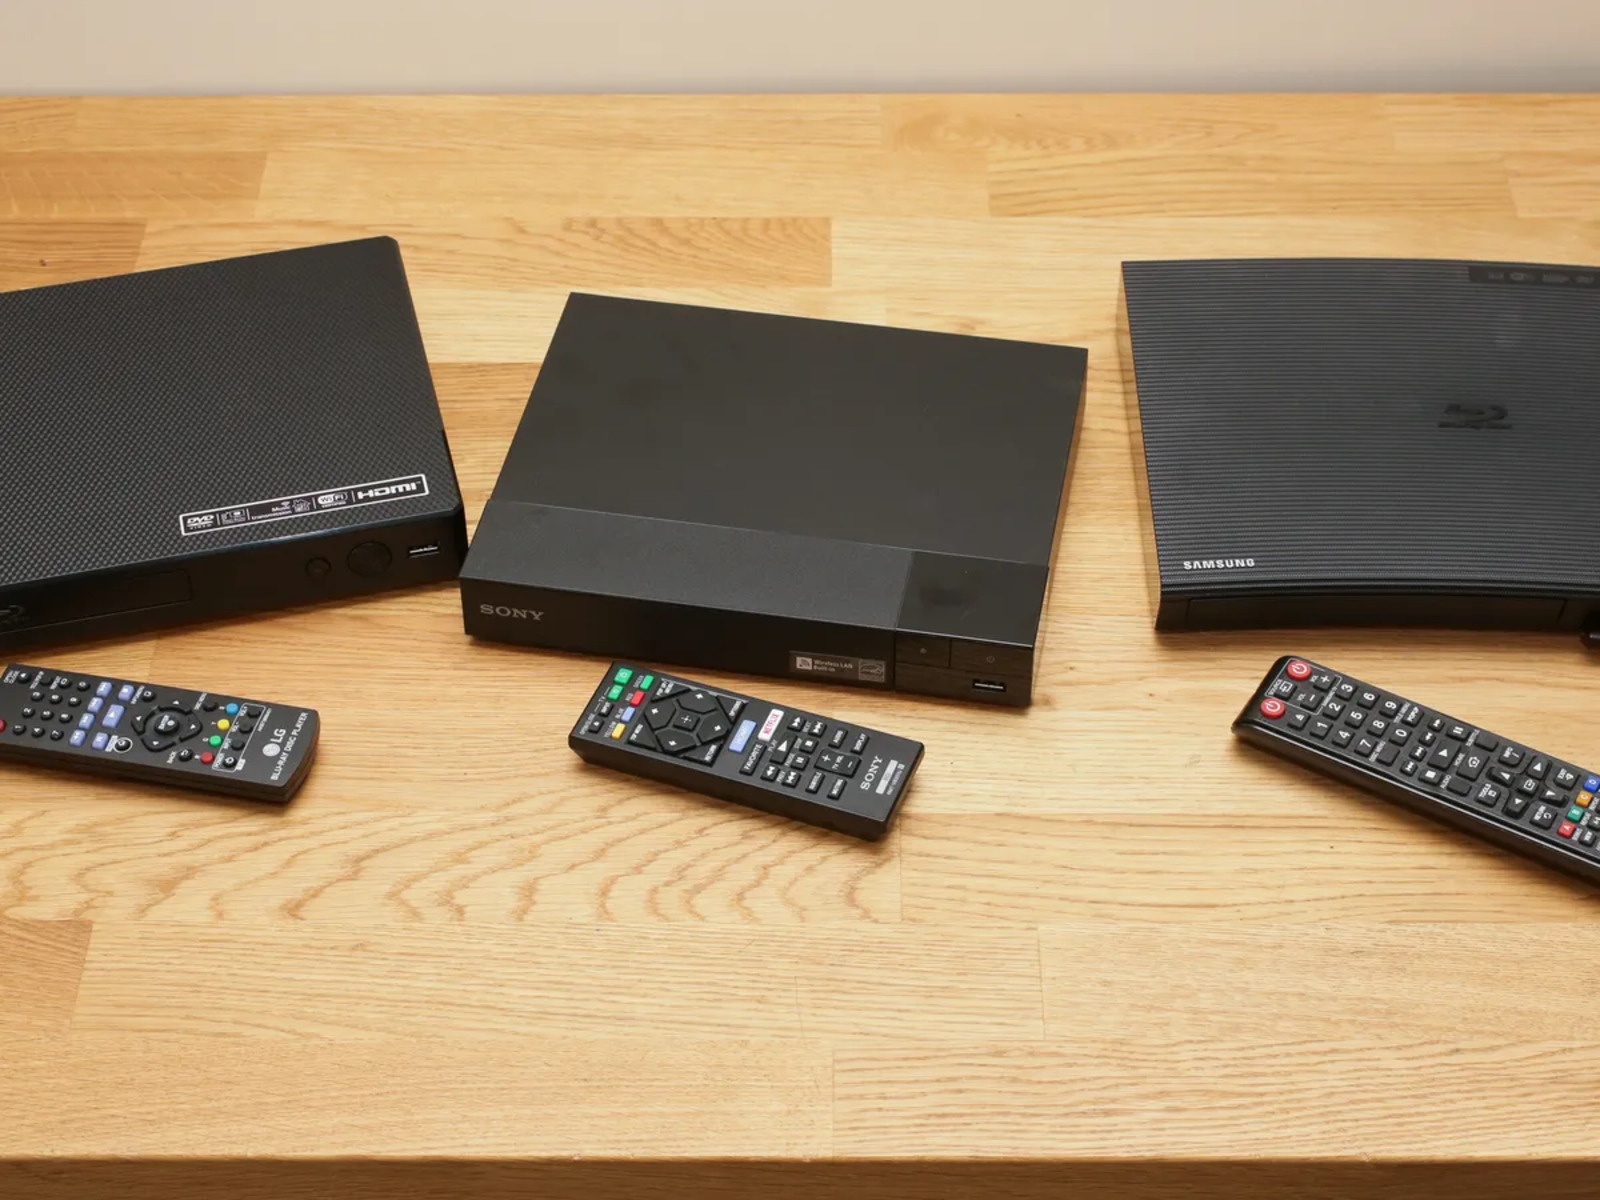
- A DVD player app: To play DVDs on your Android tablet, you’ll need to install a DVD player app from the Google Play Store. There are several options available, so choose one that suits your needs.
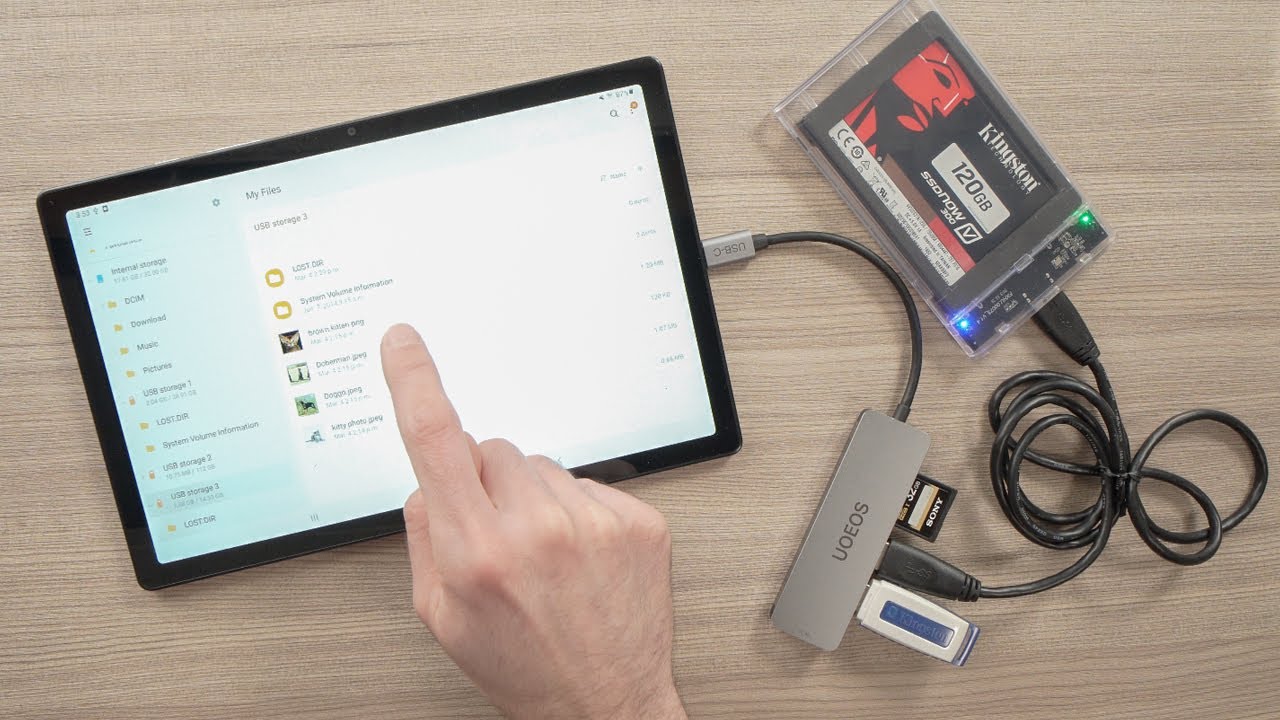
- A USB connection: If you plan to transfer the DVD files directly from a DVD disc to your tablet, you’ll need a USB connection. This can be achieved by using a USB OTG (On-The-Go) cable or an external DVD drive that connects to your tablet via USB.
- Enough battery life: Watching DVDs can drain your tablet’s battery quickly. Make sure your tablet is adequately charged or connect it to a power source to avoid interruptions.
Once you have fulfilled these pre-requisites, you’re ready to move on to the next steps and start watching DVDs on your Android tablet. Remember to follow the instructions carefully and make sure your tablet’s specifications meet the requirements of the DVD player app you choose. Now, let’s proceed to the first step: checking your tablet’s compatibility.
Step 1: Check your tablet’s compatibility
Before diving into the process of watching DVDs on your Android tablet, it’s crucial to ensure that your tablet is compatible with the DVD player app you plan to use. Different DVD player apps have varying system requirements, so it’s essential to check if your tablet meets these specifications. Here’s how you can do it:
- Research the DVD player app: Start by researching different DVD player apps available on the Google Play Store. Look for apps that are highly rated and have positive reviews from other users. Read the app descriptions and check if they mention any specific requirements.
- Check your tablet’s specifications: Review your tablet’s specifications by going to the Settings menu, usually represented by a gear icon on your tablet’s home screen. Look for the “About Tablet” or “About Device” option, which will provide you with details about your tablet’s model, operating system, RAM, storage, and more.
- Compare the specifications: Once you have the required specifications for the DVD player app, compare them with your tablet’s specifications. Pay attention to factors such as minimum Android version, RAM requirement, storage space, and supported file formats.
- Ensure compatibility: If your tablet meets or exceeds the specifications mentioned by the DVD player app, your tablet is likely compatible. However, if your tablet falls short of certain requirements, you may need to consider alternative DVD player apps that are compatible with your device.
Checking your tablet’s compatibility is crucial to ensure a smooth and hassle-free experience when playing DVDs. By taking the time to verify compatibility, you can save yourself from potential frustrations later on. Once you have confirmed that your tablet is compatible with the DVD player app, you can proceed with the next steps of the process. Let’s move on to Step 2: downloading and installing a DVD player app.
Step 2: Download and install a DVD player app
Now that you have verified your tablet’s compatibility, it’s time to download and install a DVD player app from the Google Play Store. Here’s how you can do it:
- Open the Google Play Store: Tap on the Google Play Store icon on your tablet’s home screen to launch the app.
- Search for a DVD player app: In the search bar at the top, type in “DVD player” or the specific name of the DVD player app you want to use. Hit the Enter key or tap the Search icon to initiate the search.
- Select a DVD player app: Browse through the search results and select a DVD player app that suits your preferences. Look for apps with high ratings and positive reviews to ensure a reliable and user-friendly experience.
- Tap “Install”: Once you’ve chosen the DVD player app, tap the “Install” button on the app’s page. Review the permissions requested by the app and tap “Accept” to proceed with the installation.
- Wait for the installation to complete: The app will now begin downloading and installing on your tablet. Depending on your internet connection speed, this process may take a few moments. Ensure that you have a stable connection during this time.
- Launch the DVD player app: Once the installation is complete, tap the “Open” button on the app’s page in the Google Play Store, or locate the DVD player app’s icon on your tablet’s home screen and tap on it to launch the app.
By following these steps, you will successfully download and install a DVD player app on your Android tablet. The app will serve as the platform for playing DVDs on your tablet. In the next step, we will discuss how to transfer the DVD to your tablet, so you can start enjoying your favorite movies and TV shows. Let’s proceed to Step 3.
Step 3: Transfer the DVD to your tablet
Now that you have installed a DVD player app on your Android tablet, it’s time to transfer the DVD content to your device. There are a few methods you can use to accomplish this:
- Method 1: External DVD drive: If your tablet supports USB OTG (On-The-Go), you can connect an external DVD drive to your tablet using a USB OTG cable. Insert the DVD into the external drive and wait for your tablet to recognize it. Then, you can use a file manager app to locate the DVD files and transfer them to your tablet’s storage.
- Method 2: DVD ripping software: Another option is to use DVD ripping software on your computer. Rip the DVD to a digital format such as MP4 or MKV and save it onto your computer’s hard drive. Then, connect your tablet to your computer using a USB cable and transfer the ripped DVD files to your tablet’s storage.
- Method 3: Online streaming services: Some DVD player apps offer the option to stream DVDs from online sources. Check if your chosen DVD player app supports this feature and follow the instructions provided to stream your DVD content directly to your tablet from a reliable online source.
Choose the method that best suits your needs and preferences. Remember, regardless of the method you choose, ensure that your tablet has enough storage space to accommodate the DVD files. Consider deleting any unnecessary files or apps to free up space if needed.
Once you have successfully transferred the DVD content to your Android tablet, you can proceed to the next step: opening the DVD player app. This will allow you to access and play the DVD on your tablet. Let’s move on to Step 4.
Step 4: Open the DVD player app
With the DVD content transferred to your Android tablet, it’s time to open the DVD player app to start enjoying your movies and TV shows. Follow these steps to open the DVD player app:
- Locate the DVD player app: Go to your tablet’s home screen or app drawer and look for the DVD player app’s icon. It is usually represented by a play button or a DVD disc icon. Tap on the app icon to launch the DVD player app.
- Grant necessary permissions: Upon opening the DVD player app for the first time, you may be prompted to grant certain permissions. These permissions may include access to your storage or media files. Follow the on-screen prompts and grant the required permissions to ensure that the app functions properly.
- Navigate the app’s interface: Once the DVD player app is open, you will be presented with its interface. Familiarize yourself with the various controls and options available. Look for options such as “Play DVD” or “Open DVD” to initiate the playback process.
- Access the DVD content: Depending on the DVD player app you are using, there may be different methods to access the DVD content. You may be able to browse your tablet’s storage to locate the DVD files, or the app may scan and automatically detect the transferred DVD content. Follow the instructions provided by the app to access the DVD content.
Once you have successfully opened the DVD player app and accessed the DVD content, you are ready to start playing the DVD on your Android tablet. Enjoy the immersive experience of watching your favorite movies and TV shows on a portable device. In the next step, we will explore how to navigate and play the DVD content within the DVD player app. Let’s move on to Step 5.
Step 5: Navigate and play the DVD
Now that you have opened the DVD player app on your Android tablet and accessed the DVD content, it’s time to navigate and play the DVD. Follow these steps to enjoy your movies and TV shows:
- Menu navigation: The DVD player app will typically provide you with options to navigate the DVD menu. These options might include “Play Movie,” “Scene Selection,” “Special Features,” and more. Use the app’s controls or gestures to navigate through the menu and select the desired option.
- Playback controls: Once you have selected the desired option, the DVD player app will provide playback controls. These controls might include play, pause, stop, fast forward, rewind, and volume adjustment. Familiarize yourself with these controls to have full control over your viewing experience.
- Subtitle and audio settings: Many DVD player apps allow you to customize the subtitle and audio settings. You can toggle subtitles on or off and select your preferred audio language. Explore the app’s settings or options to adjust these settings according to your preferences.
- Video playback: Enjoy the immersive experience of watching the DVD content on your Android tablet’s screen. The DVD player app will play the video and deliver high-quality visuals for your viewing pleasure.
- Enjoy the movie: Sit back, relax, and enjoy your favorite movies and TV shows on your Android tablet. Immerse yourself in the captivating storylines and stunning visuals that DVDs have to offer.
By following these steps, you can navigate and play the DVD content smoothly within the DVD player app on your Android tablet. Take advantage of the various playback controls and customization options available to enhance your viewing experience. Now that you know how to watch DVDs on your Android tablet, you can enjoy your movie collection anytime, anywhere. If you prefer an alternative method, continue reading to learn about ripping DVDs to a digital format in the next section.
Alternative method: Rip the DVD to a digital format
In addition to using a DVD player app, another method to watch DVDs on your Android tablet is to rip the DVD to a digital format. By converting the DVD into a digital file, you can easily transfer and play it on your tablet without the need for an external DVD drive or DVD player app. Here’s how you can rip a DVD to a digital format:
- Install DVD ripping software: Start by installing DVD ripping software on your computer. There are various options available, both free and paid. Research and choose a reliable DVD ripping software that is compatible with your computer’s operating system.
- Insert the DVD: Insert the DVD into your computer’s DVD drive. Launch the DVD ripping software and select the option to rip a DVD or convert a DVD to a digital format.
- Choose the output format: In the DVD ripping software, choose the desired output format for the ripped DVD file. Popular digital formats for Android tablets include MP4 and MKV. Ensure that the chosen format is compatible with your tablet.
- Select the DVD content: The DVD ripping software will display the DVD content for you to select the specific parts or chapters you want to rip. Choose the desired content and proceed to the next step.
- Start the ripping process: Initiate the ripping process by clicking the “Start” or “Rip” button in the DVD ripping software. The software will start converting the DVD into the selected digital format and save it to a location on your computer’s hard drive.
- Transfer the ripped file to your tablet: Once the ripping process is complete, connect your Android tablet to your computer using a USB cable. Transfer the ripped DVD file from your computer to your tablet’s storage.
- Open a media player app: On your Android tablet, open a media player app such as VLC Media Player or MX Player. Navigate to the location where you transferred the ripped DVD file and select it to start playing the DVD on your tablet.
Ripping DVDs to a digital format provides a convenient way to enjoy your DVD collection on your Android tablet. It eliminates the need for physical DVDs and allows for easy transfer and playback on your device. Remember to comply with copyright laws and only rip DVDs that you own or have permission to digitize.
Now that you are familiar with the alternative method of ripping DVDs to a digital format, you have multiple options to watch DVDs on your Android tablet. Choose the method that suits your preferences and enjoy your favorite movies and TV shows wherever you go.
Conclusion
Watching DVDs on your Android tablet has become easier than ever before, thanks to the advancements in technology. By following the steps outlined in this guide, you can transform your Android tablet into a portable DVD player and enjoy your favorite movies and TV shows on the go.
We started by checking your tablet’s compatibility with a DVD player app, ensuring that your device meets the necessary specifications. Then, we proceeded to download and install a DVD player app from the Google Play Store, providing you with a variety of options to choose from.
After that, we explored different methods to transfer the DVD content to your tablet, such as using an external DVD drive, ripping the DVD to a digital format, or streaming from online sources. This flexibility allows you to choose the method that best suits your needs and preferences.
Once the DVD content is on your tablet, we discussed the importance of opening the DVD player app and familiarizing yourself with its interface and features. This ensures a seamless and enjoyable playback experience.
Additionally, we introduced an alternative method of ripping DVDs to a digital format, eliminating the need for physical DVDs and enabling easy transfer and playback on your Android tablet.
Whether you choose to watch DVDs directly through a DVD player app or by ripping them to a digital format, the end result remains the same: the ability to enjoy your favorite movies and TV shows on your Android tablet, anytime and anywhere.
Now that you have a comprehensive understanding of how to watch DVDs on your Android tablet, it’s time to put this knowledge into practice. Grab your tablet, follow the steps outlined in this guide, and embark on a cinematic journey with your favorite DVD collection.