Introduction
Welcome to our guide on how to record from Firestick to an external hard drive. The Amazon Firestick has become a popular streaming device, allowing users to enjoy a wide range of entertainment options. However, one limitation of the Firestick is its limited storage capacity. By following the steps outlined in this guide, you will learn how to expand the storage capacity of your Firestick by connecting and recording content to an external hard drive.
With an external hard drive, you can record your favorite TV shows, movies, and even live events directly from your Firestick. This opens up a whole new world of possibilities, as you can watch your favorite content at your convenience without worrying about running out of storage space. Whether you want to save a series to binge-watch later or capture a once-in-a-lifetime event, recording to an external hard drive is the perfect solution.
In this guide, we will take you through the step-by-step process of recording from Firestick to an external hard drive. We will cover everything from choosing the right external hard drive to connecting it to your Firestick and setting up recording options. By the end of this guide, you will be fully equipped to start recording your favorite content and managing your recorded files.
It is important to note that not all Firestick models support external hard drive recording. Therefore, it is crucial to check the specifications of your Firestick device before proceeding. Additionally, please keep in mind that recording content may be subject to copyright laws and regulations in your country or region. Ensure that you are recording content for personal use and not for any commercial purposes.
Now, without further ado, let’s dive into the world of recording from Firestick to an external hard drive and unlock the full potential of your Firestick device!
Step 1: Choosing an External Hard Drive
Before you can start recording from your Firestick to an external hard drive, you need to choose the right hard drive that meets the necessary requirements. Here are a few factors to consider when choosing an external hard drive:
- Storage Capacity: The storage capacity of the external hard drive is crucial as it determines how many hours of content you can record. Consider your recording needs and choose a hard drive with sufficient storage to accommodate your desired content.
- Compatibility: Ensure that the external hard drive is compatible with your Firestick device. Most modern external hard drives use USB connectivity, but it’s important to check the specifications of your Firestick to determine compatibility.
- Power Source: Some external hard drives require their own power source, while others draw power from the Firestick. Check the power requirements of the hard drive and ensure it is compatible with your setup.
- Speed: Recording and playing high-quality video content requires a fast and reliable hard drive. Look for hard drives with faster write speeds to ensure smooth recording and playback.
- Portability: If you plan on taking your external hard drive with you, consider its size and weight. Portable hard drives are generally smaller and lighter, making them more convenient for travel.
Once you have considered these factors and have identified an external hard drive that suits your needs, it’s time to move on to the next step: connecting the external hard drive to your Firestick.
Step 2: Connecting the External Hard Drive to Firestick
Now that you have chosen the right external hard drive, the next step is to connect it to your Firestick. Follow these steps to establish a connection:
- Power off your Firestick: Before connecting the external hard drive, ensure that your Firestick is powered off. This will prevent any potential issues during the connection process.
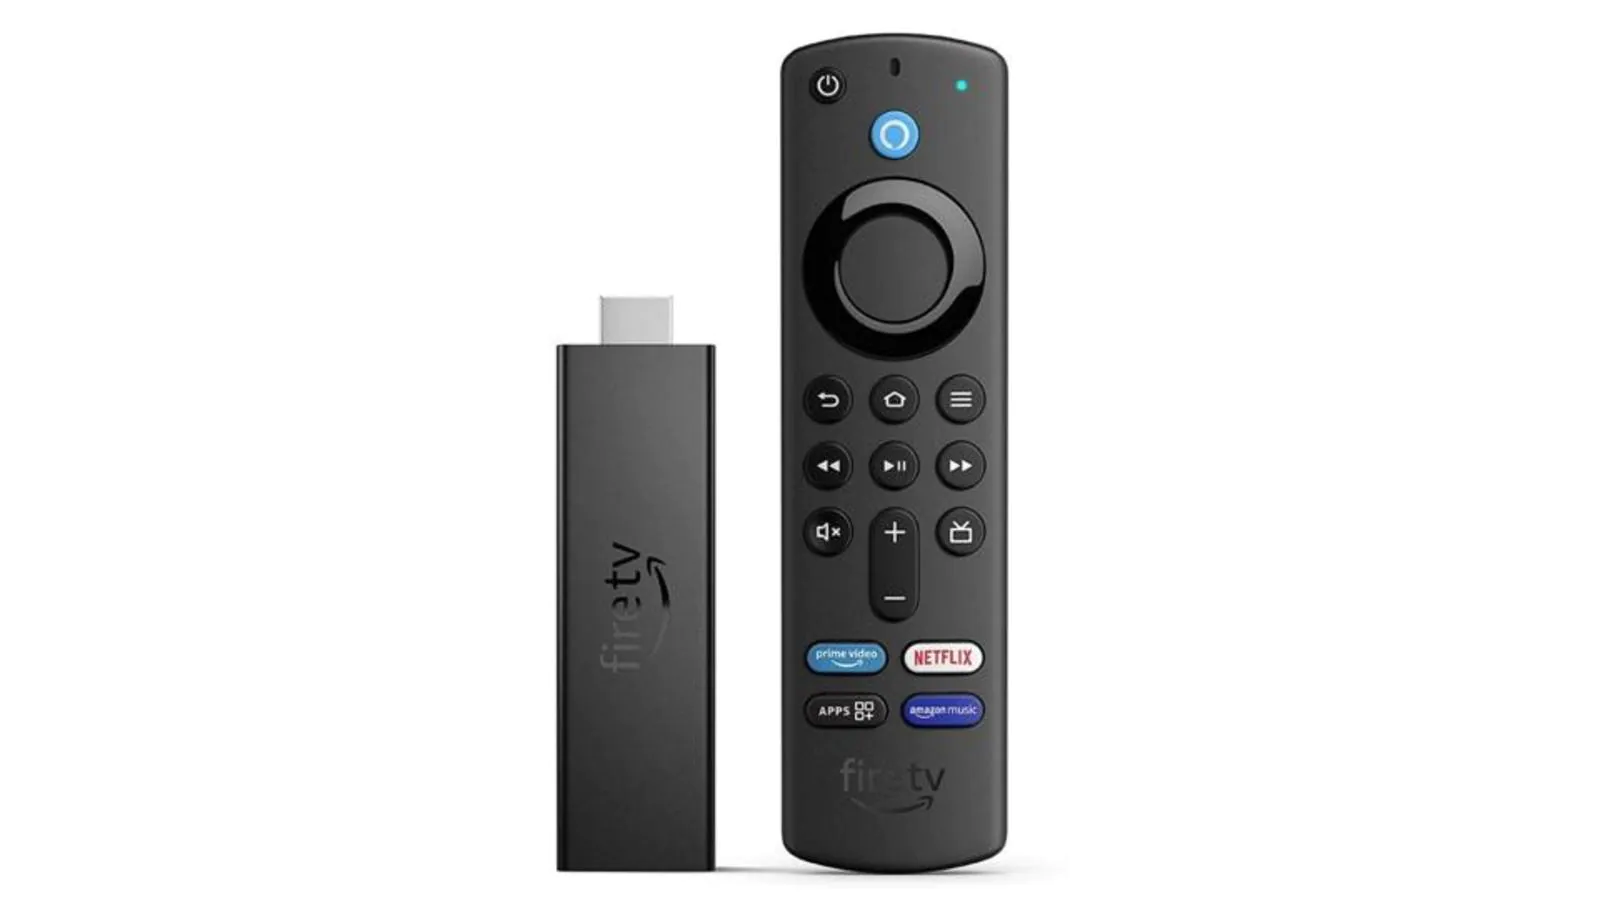
- Locate the USB port: On your Firestick device, find the USB port. Depending on the model, the USB port may be located on the side or the back of the device. Ensure that your Firestick model supports external storage through USB.
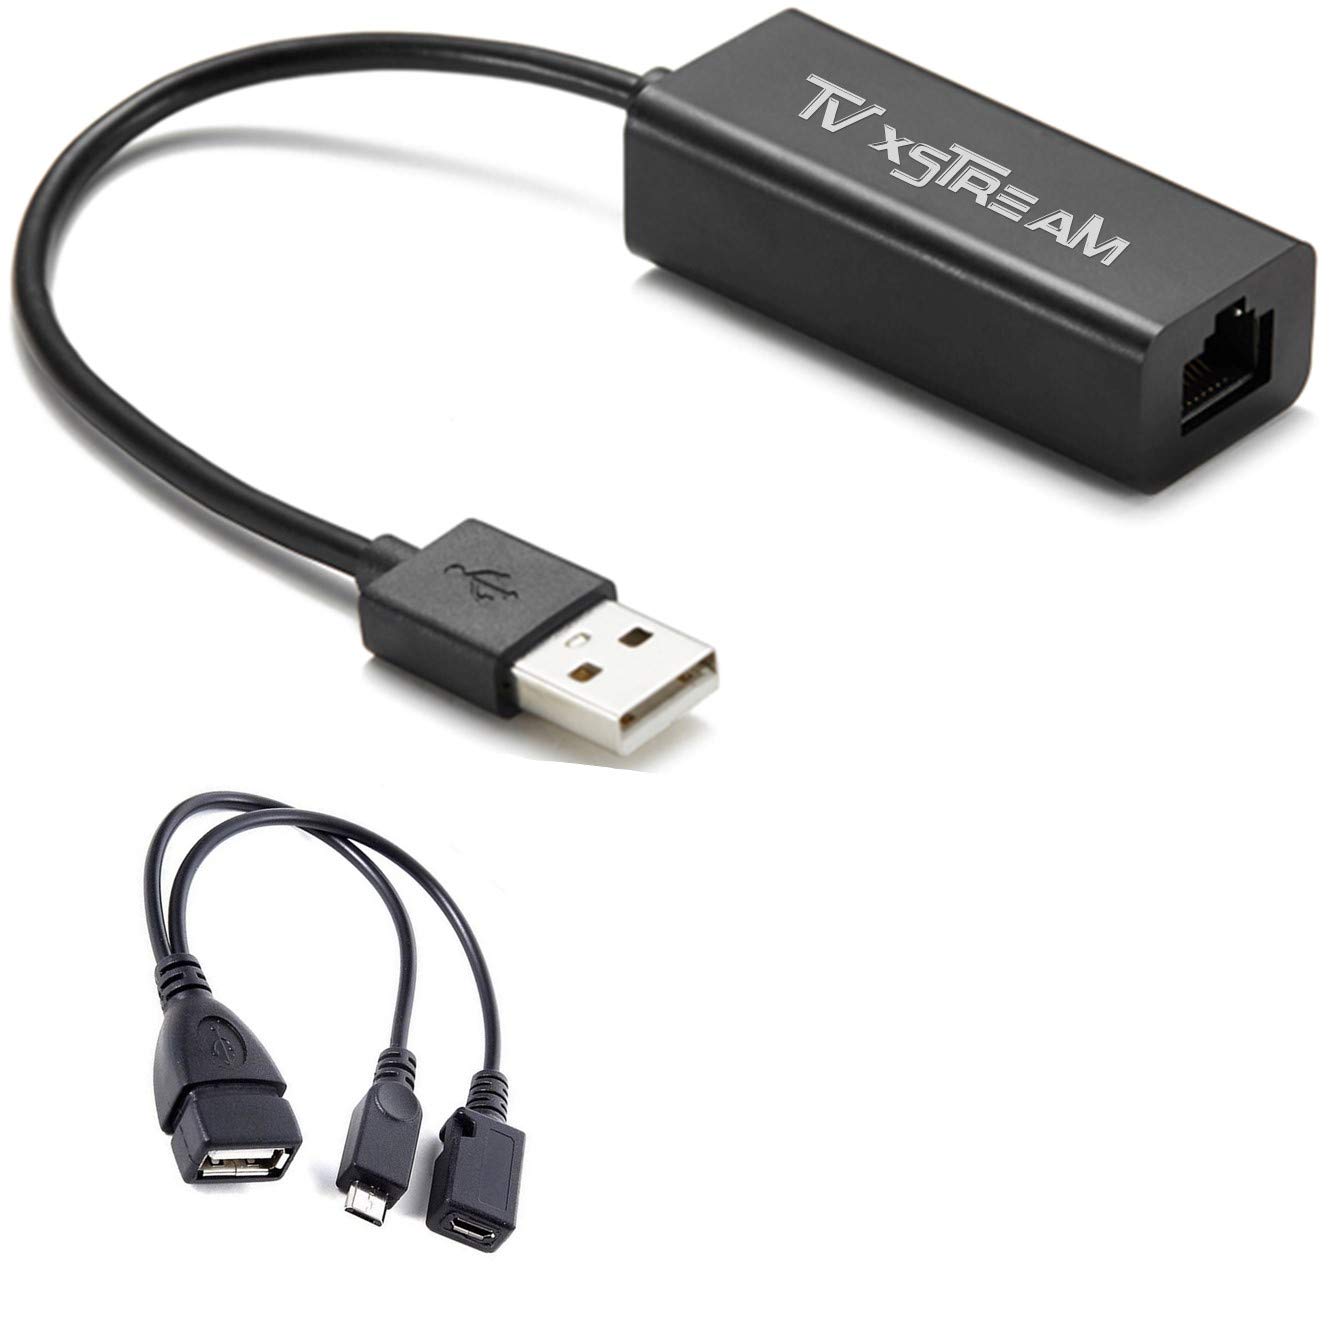
- Connect the hard drive: Using a USB cable, connect one end to the USB port on your Firestick and the other end to the USB port on the external hard drive. Make sure the connection is secure.
- Power on your Firestick: Once the hard drive is connected, power on your Firestick. It should detect the external hard drive and configure it accordingly.
- Check the connection: To verify that the hard drive has been successfully connected, navigate to the settings on your Firestick. Go to “Device” or “My Fire TV” and select “External Storage.” If the hard drive is recognized, you will see it displayed on the screen.
With the external hard drive successfully connected to your Firestick, you can now move on to the next step: formatting the hard drive to ensure compatibility and proper functioning.
Step 3: Formatting the External Hard Drive
After connecting the external hard drive to your Firestick, the next step is to format the hard drive to ensure compatibility and proper functioning. Please note that formatting will delete all data on the hard drive, so it is important to back up any important files before proceeding. Follow these steps to format the external hard drive:
- Open the settings: From the home screen of your Firestick, navigate to “Settings” and select “Device” or “My Fire TV.”
- Select “Storage and Reset”: In the device settings, find the option for “Storage and Reset” and click on it.
- Choose “Format USB storage”: Look for the option labeled “Format USB storage” or something similar. Select this option to initiate the formatting process.
- Confirm the formatting: A pop-up message will appear, warning you that formatting will erase all data on the hard drive. Carefully read the message and confirm your decision to format the hard drive.
- Wait for the formatting to complete: The Firestick will begin the formatting process and it may take a few minutes to complete. Be patient and wait for the process to finish.
- Format completed: Once the formatting is complete, you will see a confirmation message on your screen. Your external hard drive is now formatted and ready for use with your Firestick.
Formatting the external hard drive ensures that it is properly recognized by your Firestick and optimizes its performance for recording and playback. With the hard drive successfully formatted, you can now proceed to the next step: setting up the recording options on your Firestick.
Step 4: Setting Up Recording Options
With the external hard drive connected and formatted, it’s time to set up the recording options on your Firestick. Here’s how you can configure the recording settings:
- Open the settings: From the home screen of your Firestick, navigate to “Settings” and select “Preferences.”
- Select “Recording”: In the preferences menu, look for the option labeled “Recording” and click on it.
- Enable recording on external storage: Look for the option to enable recording on external storage and toggle it on. This will ensure that any content you record will be saved to the connected external hard drive.
- Choose recording quality: Depending on your preferences and the available storage space, you can select the desired recording quality. The options usually range from SD (Standard Definition) to HD (High Definition).
- Set recording duration: If you want to limit the duration of the recordings, you can set a specific recording duration. This is useful if you want to record only a certain portion of a show or event.
- Configure other recording settings: Explore the options in the recording settings menu to customize additional features such as automatic deletion of old recordings to make space for new ones.
Once you have selected and configured the recording options according to your preferences, you are now ready to start recording content from your Firestick to the external hard drive. Let’s move on to the next step and explore how to record your favorite content!
Step 5: Recording Content from Firestick to External Hard Drive
Now that you have set up the recording options on your Firestick, it’s time to start recording your favorite content. Follow these steps to record from your Firestick to the external hard drive:
- Navigate to the content you want to record: Using the Firestick remote, navigate to the app or streaming service where the content is available. Find the specific show, movie, or event that you want to record.
- Start playing the content: Select the desired content and start playing it on your Firestick. Ensure that the content is streaming and playing smoothly.
- Click on the record button: While the content is playing, look for the record button on your Firestick remote. It is usually represented by a red dot or a circle with a solid dot inside. Press the record button to start recording the content.
- Confirm the recording: A confirmation message may appear on your screen, asking you to confirm the recording. Follow the on-screen prompts and confirm that you want to proceed with the recording.
- Monitor the recording progress: As the content is being recorded, you may see an on-screen indicator showing the recording progress. This will help you keep track of the length of the recording.
- Stop the recording: Once you have finished recording the content or reached the desired recording duration, press the stop button on your Firestick remote. This will stop the recording and save it to the external hard drive.
With these simple steps, you can now record your favorite TV shows, movies, and events directly from your Firestick to the external hard drive. This allows you to enjoy your content at your convenience and build a personal library of recorded shows.
Remember that the recording options you set up in the previous step will determine the quality and duration of the recordings. Make sure to manage your storage space on the external hard drive and delete old recordings if necessary to make room for new ones.
Now that you know how to record from your Firestick, let’s move on to the next step: managing and accessing your recorded content.
Step 6: Managing Recorded Content
After recording content from your Firestick to the external hard drive, it’s important to know how to manage and access your recorded files. Here are some tips for managing your recorded content:
- Organize your recordings: Create folders or categories on the external hard drive to organize your recorded content. This will make it easier to locate specific recordings and keep your library well-organized.
- Renaming recordings: If the recorded files have generic names, you can rename them to something more descriptive. This will help you quickly identify and find specific recordings when needed.
- Deleting unwanted recordings: Regularly go through your recorded content and delete any recordings that you no longer need or want. This will free up storage space for new recordings and help you maintain an organized library.
- Transferring recordings to other devices: If you want to watch your recorded content on a different device, you can transfer the files from the external hard drive to your computer, smartphone, or tablet for convenient playback.
- Protecting your recorded content: Consider making backups of your recorded files to ensure they are not lost due to hardware failure or accidental deletion. You can back up the files to cloud storage or another external hard drive.
- Sharing recordings: If you want to share your recorded content with friends or family, you can transfer the files to a portable storage device and share it with them. Make sure to respect copyright laws and only share content for personal use.
By following these steps and implementing effective management strategies, you can keep your recorded content organized and easily accessible. Whether you want to revisit your favorite shows or share memorable events with others, managing your recorded content will ensure a smooth and enjoyable playback experience.
Now that you have learned how to record, connect, format, and manage your content from Firestick to an external hard drive, you have unlocked the full potential of your Firestick device. Enjoy the freedom of recording and exploring a world of entertainment right at your fingertips!
Conclusion
Recording content from your Firestick to an external hard drive opens up a whole new world of possibilities for entertainment. By following the steps outlined in this guide, you have learned how to expand the storage capacity of your Firestick and record your favorite shows, movies, and events directly to an external hard drive. This allows you to watch your content at your convenience without worrying about running out of storage space.
Choosing the right external hard drive is crucial, considering factors such as storage capacity, compatibility, power source, speed, and portability. Connecting the external hard drive to your Firestick is a straightforward process, and formatting it ensures compatibility and optimal performance.
Setting up the recording options on your Firestick allows you to customize the recording quality, duration, and other settings according to your preferences. Recording content is as simple as navigating to the desired content, clicking the record button on your Firestick remote, and confirming the recording.
Managing your recorded content involves organizing files, renaming recordings, deleting unwanted files, transferring recordings to other devices, and protecting your content through backups. These practices will help you maintain an organized and accessible library.
With the knowledge and skills acquired through this guide, you are now equipped to fully utilize the recording capabilities of your Firestick and enjoy a personalized and convenient entertainment experience.
Remember to always comply with copyright laws and use recorded content for personal use only. It is essential to respect the rights of content creators and adhere to legal guidelines regarding recording and sharing of copyrighted material.
Now go ahead and start recording your favorite shows, movies, and events from your Firestick to an external hard drive. Sit back, relax, and enjoy a world of entertainment on your terms!