Introduction
Welcome to the digital era, where capturing and preserving memories is easier than ever before. With the advent of smartphones, taking pictures has become an integral part of our lives. And what better way to store and manage your precious moments than with Google Photos? This cloud-based platform allows you to safely store, organize, and share your photos and videos with just a few simple steps.
Are you looking to transfer your existing pictures from your device’s gallery to Google Photos? Look no further – this guide will walk you through the process, making it quick and hassle-free. Whether you’re switching devices, freeing up storage space, or simply looking for a more convenient way to access and manage your photos, Google Photos is the ideal solution.
In this step-by-step tutorial, we’ll show you how to move your pictures from your gallery to Google Photos. Don’t worry if you’re not tech-savvy – we’ll break down each step into easy-to-follow instructions. By the end of this guide, you’ll be able to seamlessly transfer your pictures and take full advantage of the features and benefits offered by Google Photos.
Before we dive into the process, make sure you have the Google Photos app installed on your device. It’s available for both Android and iOS devices, and you can download it for free from the respective app stores. Once you’re all set, let’s move on to the next step and get started with the picture transfer process.
Step 1: Install Google Photos App
The first step in transferring your pictures from your device’s gallery to Google Photos is to install the Google Photos app. This app is available for both Android and iOS devices and can be downloaded for free from the respective app stores.
To install Google Photos on an Android device, follow these steps:
- Open the Google Play Store on your device.
- Search for “Google Photos” in the search bar.
- Select the official Google Photos app from the search results.
- Tap the “Install” button to start the installation process.
- Wait for the app to download and install on your device.
- Once the installation is complete, tap the “Open” button to launch the app.
If you’re using an iOS device, such as an iPhone or iPad, follow these steps to install Google Photos:
- Open the App Store on your device.
- Search for “Google Photos” in the search bar.
- Choose the official Google Photos app from the search results.
- Tap the “Get” or “Download” button to start the installation process.
- Authenticate with your Apple ID if prompted.
- Wait for the app to download and install.
- Once the installation is complete, tap the app icon to launch Google Photos.
Once you have successfully installed the Google Photos app on your device, you’re ready to move on to the next step and begin the picture transfer process.
Step 2: Launch the Google Photos App
Now that you have installed the Google Photos app on your device, it’s time to launch the app and get ready to transfer your pictures. Locate the Google Photos app icon on your home screen or app drawer and tap on it to open the app.
Upon opening the Google Photos app, you will be greeted with a welcome screen that provides an overview of the app’s features and benefits. Take a moment to familiarize yourself with the interface and the various options available.
Google Photos offers a user-friendly and intuitive interface, making it easy to navigate and find the tools you need. The app’s main screen displays your photos and videos in a timeline format, with the most recent ones appearing first. You can scroll through your media to reminisce about past memories or search for specific photos using keywords or filters.
In addition to storing and organizing your pictures, Google Photos also offers a range of editing tools to enhance your images. From basic adjustments like brightness and contrast to advanced features like applying filters and cropping, you can easily edit your photos within the app.
Furthermore, Google Photos has powerful search capabilities that allow you to find specific photos based on objects, people, or locations. For example, you can search for “beach” or “dog” to find all your photos that match those criteria. This makes it incredibly convenient to locate pictures without having to manually scroll through your entire collection.
Now that you’ve launched the Google Photos app and familiarized yourself with its features, it’s time to proceed to the next step and sign in or create a Google account, which is necessary to transfer your pictures.
Step 3: Sign in or Create a Google Account
In order to proceed with transferring your pictures to Google Photos, you need to sign in or create a Google account. If you already have a Google account, such as a Gmail or YouTube account, you can use those credentials to sign in to Google Photos. If you don’t have a Google account, don’t worry – we’ll guide you through the process of creating one.
To sign in to Google Photos using an existing Google account, follow these steps:
- Launch the Google Photos app on your device.
- If you’re not already signed in, you will be prompted to do so.
- Tap the “Sign in” button or the “Continue with Google” option.
- Enter your Google account email address and tap “Next”.
- Enter your password and tap “Next” to sign in.
- If you have two-factor authentication enabled, follow the additional steps to verify your identity.
- Once you’re signed in, you will have access to all the features and capabilities of Google Photos.
If you don’t have a Google account and need to create one, here’s how:
- Open the Google Photos app on your device.
- Tap the “Create account” or “Register” option.
- Follow the on-screen prompts to enter your personal information, such as your name, desired email address, and password.
- Complete the verification process, which may include phone number verification or email confirmation.
- Once your account is created, sign in using the email address and password you provided.
Signing in or creating a Google account is a crucial step as it enables you to access and sync your pictures across multiple devices, ensuring that your memories are always accessible and secure. With your Google account set up, you’re now ready to move on to the next step and allow Google Photos to access your device’s gallery.
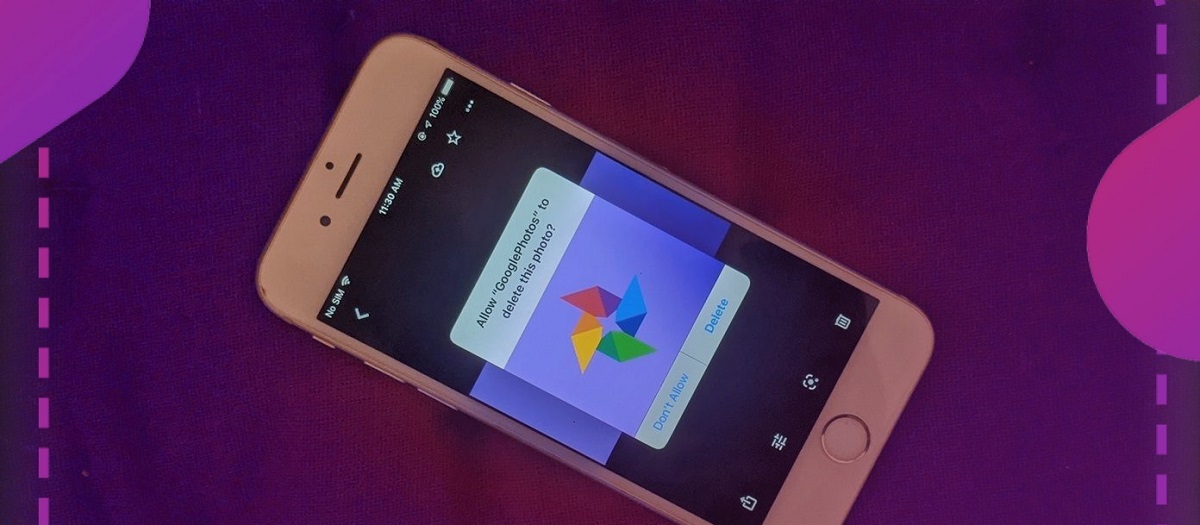
Step 4: Allow Google Photos to Access Gallery
Now that you have signed in to Google Photos with your Google account, the next step is to grant the app permission to access your device’s gallery. By allowing Google Photos to access your gallery, you enable the app to scan, select, and transfer the pictures you choose from your device to your Google Photos library.
Follow these steps to grant Google Photos access to your gallery:
- Open the Google Photos app if you’re not already in it.
- You may be prompted with a pop-up asking for permission to access photos, media, and files on your device. Tap on “Allow” to continue.
- If you don’t see a pop-up requesting permissions, you can manually grant access by following these steps:
- On Android devices, tap on the menu icon (three horizontal lines) in the upper-left corner of the screen.
- Select “Settings” from the menu.
- Scroll down and tap on “App permissions”.
- Tap on “Storage”.
- Toggle the switch to grant Google Photos access to your gallery.
- On iOS devices, go to your device’s settings.
- Scroll down and tap on “Privacy”.
- Select “Photos”.
- Toggle the switch next to “Google Photos” to allow access to your gallery.
Granting Google Photos access to your gallery is essential for the app to fulfill its purpose seamlessly. It ensures that the app can detect and upload the pictures you select without any issues. Once you have allowed access, you’re ready to move on to the next step and begin selecting the pictures you want to transfer to Google Photos.
Step 5: Select Pictures to Transfer
With Google Photos now granted access to your device’s gallery, it’s time to select the pictures you want to transfer. Whether you want to transfer a few specific photos or your entire gallery, Google Photos makes the selection process simple and efficient.
To select specific pictures for transfer, follow these steps:
- Open the Google Photos app on your device.
- Tap the “Library” tab at the bottom of the screen to go to your photo library.
- Navigate to the album or folder containing the pictures you want to transfer.
- Tap and hold on the first picture to activate the selection mode.
- While holding on to the first picture, you can swipe or tap on other pictures to select them. A checkmark will appear on the selected pictures.
- If you want to select all the pictures in a folder or album, tap the three-dot menu icon and select “Select all”.
- Review your selection to ensure all the desired pictures are chosen.
If you prefer to transfer your entire gallery, you can easily do so by selecting all the pictures:
- Open the Google Photos app on your device.
- Tap the three-bar menu icon or swipe right from the left edge of the screen to open the sidebar.
- Tap “Settings” from the menu.
- Select “Back up & sync”.
- Toggle on the “Back up device folders” option.
- You’ll see a list of device folders, including the main gallery. Toggle on the switch next to the gallery folder to enable backup.
Once you have selected the pictures you want to transfer, you’re ready to move on to the next step and choose the upload destination in Google Photos.
Step 6: Choose the Upload Destination
After selecting the pictures you want to transfer, the next step is to choose the upload destination in Google Photos. This step determines where your selected pictures will be stored within your Google Photos library.
Follow these steps to choose the upload destination:
- In the Google Photos app, tap the cloud-shaped “Upload” button located at the top-right corner of the screen. This button is represented by an upward-pointing arrow encased in a cloud.
- A pop-up window will appear, presenting you with upload options. Select the location where you want to store your pictures. You can choose from the following options:
- Upload to “Photos”: This option adds the selected pictures to your main Google Photos library.
- Create a new album: This option allows you to create a new album within Google Photos and add the selected pictures directly to that album.
- Add to an existing album: If you have existing albums in Google Photos, this option allows you to select one of those albums to add the selected pictures to.
- Tap on your preferred upload destination to proceed. If you choose to create a new album or add to an existing album, you will be prompted to provide a name for the album.
- Once you’ve made your selection, tap the “Upload” button to initiate the upload process.
- The selected pictures will now begin uploading to the chosen destination within your Google Photos library.
Choosing the upload destination enables you to organize your pictures in a way that makes it easy to browse and locate them within Google Photos. Whether you prefer to keep them in your main library, create dedicated albums, or add them to existing albums, Google Photos gives you the flexibility to manage your pictures according to your preferences.
Now that you’ve chosen the upload destination, it’s time to move on to the next step and start uploading your selected pictures to Google Photos.
Step 7: Start Uploading Pictures
Now that you have chosen the upload destination for your selected pictures, it’s time to initiate the uploading process. This step involves transferring your chosen pictures from your device to Google Photos, where they will be stored securely in the cloud.
Follow these steps to start uploading your pictures:
- In the Google Photos app, tap the “Upload” button located at the top-right corner of the screen. This button is represented by an upward-pointing arrow encased in a cloud.
- Google Photos will now start uploading the selected pictures to the chosen destination within your library. You can monitor the progress of the upload in the app’s notification panel or in the “Uploads” section.
- Depending on the number and size of the pictures being uploaded, the process may take some time. It’s important to ensure a stable internet connection to avoid interruptions.
- While the pictures are being uploaded, you can continue using your device and the Google Photos app. The upload process will run in the background.
- Once the upload is complete, you will receive a notification indicating that your pictures have been successfully transferred to Google Photos.
During the uploading process, it’s crucial to be patient and allow the app to complete the transfer without interruptions. Keep in mind that the time required for uploading depends on various factors, including the number and size of the selected pictures and the speed of your internet connection.
Once the upload is finished, your pictures will be securely stored in Google Photos, ready to be accessed and managed whenever you want. Now that the uploading process is complete, let’s move on to the next step and verify that your pictures have been successfully uploaded.
Step 8: Verify Picture Uploads
After uploading your selected pictures to Google Photos, it’s important to verify that the upload process was successful. This step ensures that your pictures are safely stored in your Google Photos library and ready to be accessed and enjoyed.
Follow these steps to verify the upload of your pictures:
- Open the Google Photos app on your device.
- Tap the “Library” tab at the bottom of the screen to access your photo library.
- Navigate to the location where you uploaded your pictures – either the main library or a specific album.
- Scroll through the pictures to visually confirm that they are present in your Google Photos library.
- You can tap on individual pictures to view them in a larger, more detailed format.
If you uploaded your pictures to a specific album, ensure that they are added to the correct collection. You should see the album name displayed at the top of the screen while viewing the pictures.
In addition to visually verifying the pictures, you can also use the search function in Google Photos to locate specific images. Enter relevant keywords or use filters to narrow down the search results and find the uploaded pictures.
If you encounter any issues or find that some of your pictures are missing, double-check that the upload process completed successfully, and ensure that you selected the correct pictures for transfer.
Verifying picture uploads ensures the integrity of your photo library and gives you peace of mind knowing that your memories are safely stored and accessible within Google Photos. With your pictures confirmed to be successfully uploaded, you can now proceed to the next step and organize them within Google Photos according to your preferences.
Step 9: Organize Uploaded Pictures in Google Photos
Now that your pictures have been successfully uploaded to Google Photos, it’s time to organize them to make browsing and finding specific images a breeze. Google Photos offers several organizational tools that allow you to easily categorize and manage your pictures.
Follow these steps to organize your uploaded pictures in Google Photos:
- Open the Google Photos app on your device.
- Tap the “Library” tab at the bottom of the screen to access your photo library.
- Navigate to the location where your uploaded pictures are stored – either the main library or a specific album.
- To create a new album, tap the “+” icon or the “Create album” button.
- Give your album a name and add the relevant pictures to it. You can do this by tapping and holding on a picture, then selecting additional pictures to add.
- To add pictures to an existing album, open the album and tap the “+” icon or the “Add photos” button. Select the desired pictures to include.
- If you want to organize pictures within an album or the main library, you can manually rearrange them. Tap and hold on a picture, then drag it to the desired position.
- If you want to edit or enhance individual pictures, select a picture, then tap the editing icon (usually represented by a pencil or sliders). Use the available editing tools to make adjustments, apply filters, or crop the image.
Organizing your pictures in albums or within the main library allows you to group related images and easily locate them when needed. This organizational structure enhances your browsing experience and makes it convenient to revisit your favorite memories.
Keep in mind that Google Photos also automatically categorizes your pictures based on various factors, such as objects, locations, and people. You can take advantage of these built-in categories to quickly find specific pictures without manually organizing them into albums.
With your uploaded pictures organized to your liking, you can now enjoy the benefits of a well-structured photo library in Google Photos. Now, let’s move on to the final step, which is optional but can help free up storage space on your device.
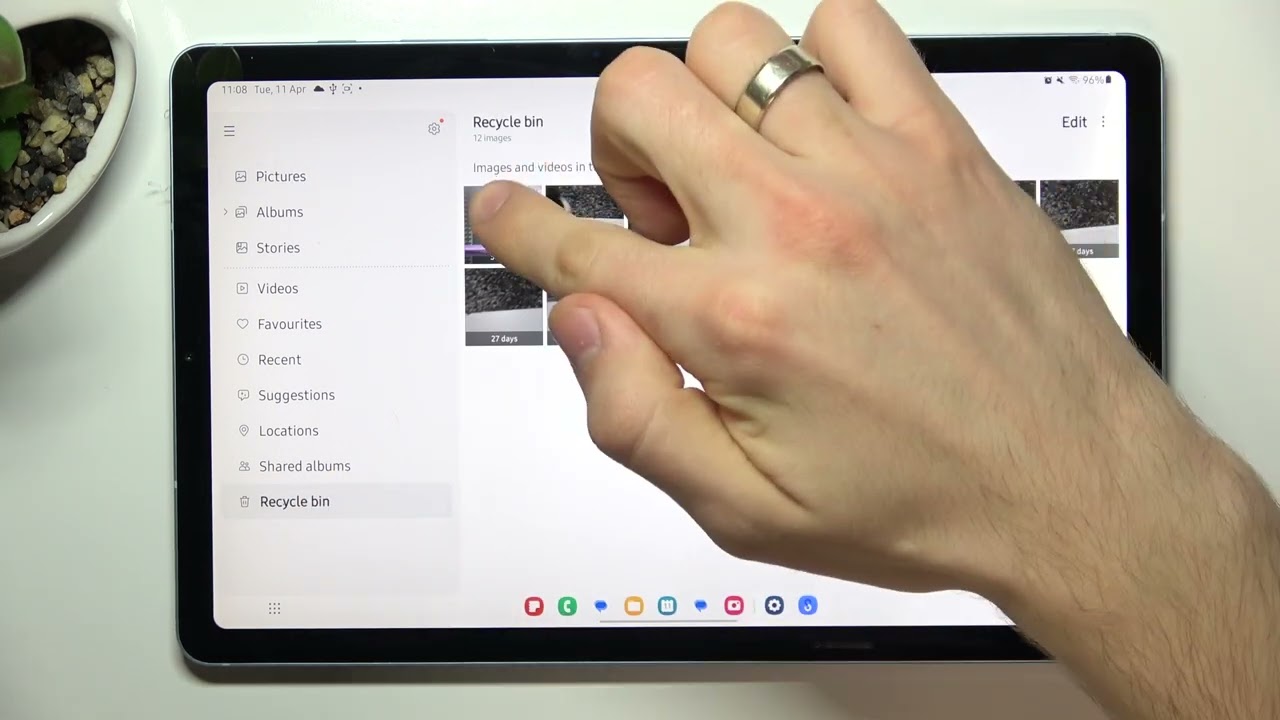
Step 10: Delete Pictures from Gallery (Optional)
Once you have successfully uploaded your pictures to Google Photos, you may consider deleting them from your device’s gallery to free up storage space. This step is optional but can help declutter your device and ensure that your pictures are safely stored in the cloud.
Follow these steps to delete pictures from your device’s gallery:
- Open the gallery app on your device.
- Navigate to the folder or album containing the pictures you transferred to Google Photos.
- Select the pictures you want to delete. You can tap and hold on a picture to activate the selection mode, then tap on additional pictures to select them.
- Once you have selected the pictures, look for the delete icon (usually represented by a trash bin or similar symbol). Tap on it to delete the selected pictures.
- Confirm the deletion when prompted.
- Repeat these steps for any other folders or albums from which you wish to delete pictures.
It’s important to note that deleting pictures from your device’s gallery does not remove them from Google Photos. Your uploaded pictures will still be accessible and safely stored in your Google Photos library.
Before deleting any pictures, however, it’s advisable to double-check that your pictures have been successfully uploaded to Google Photos and are properly organized within the app. This ensures that you don’t accidentally delete any pictures that haven’t been transferred to the cloud.
By deleting pictures from your device’s gallery, you can reclaim valuable storage space and minimize the risk of losing your photos due to device loss or damage. With Google Photos as your primary photo storage solution, you can confidently keep your memories safe and accessible.
With the optional step of deleting pictures from your device’s gallery complete, you have successfully transferred and organized your pictures in Google Photos. You can now enjoy the convenience and peace of mind that comes with having your memories easily accessible in the cloud.
Conclusion
Congratulations! You have successfully learned how to transfer pictures from your device’s gallery to Google Photos. By following the step-by-step instructions in this guide, you have gained the ability to securely store, organize, and access your precious memories using Google’s powerful cloud-based platform.
Throughout this process, you installed the Google Photos app on your device, launched it, signed in or created a Google account, granted the app access to your gallery, selected the pictures you wanted to transfer, chose the upload destination, initiated the upload process, verified the successful transfer, organized your pictures within Google Photos, and optionally deleted them from your device’s gallery to conserve storage space.
Google Photos offers a range of features that make managing and enjoying your pictures a delightful experience. From powerful search capabilities to automatic categorization and advanced editing tools, Google Photos provides a user-friendly and convenient way to relive your cherished moments.
Remember to periodically revisit Google Photos to upload new pictures, organize them into albums, and take advantage of the app’s features to effortlessly enhance your photos. With Google Photos as your go-to photo library, you can rest assured knowing that your memories are safely stored and easily accessible whenever you want to reminisce.
So go ahead, explore all the possibilities that Google Photos has to offer and make the most of your picture-perfect moments. Start enjoying the benefits of a centralized and organized photo library today!