Introduction
Welcome to the digital age, where capturing memories has become easier than ever. With the convenience of smartphones and tablets, we can effortlessly snap photos and store them in our devices. However, as time goes by, our photo collections tend to accumulate and can take up valuable storage space. At some point, you may find the need to delete photos on your Android tablet to make room for new memories or declutter your device.
In this guide, we will walk you through the steps to delete photos on your Android tablet. Whether you want to remove a few pictures or clean up your entire photo gallery, we have you covered. Additionally, we will share some alternative methods and offer tips to help you manage your photos more efficiently.
Before we dive into the deletion process, it’s essential to back up any photos you want to keep. This precaution ensures that you don’t accidentally delete precious memories. You can use cloud storage services like Google Photos or transfer your photos to a computer for safekeeping.
Are you ready to free up some space on your Android tablet? Let’s get started!
Why you may want to delete photos on your Android tablet
As our photo collection grows, it’s natural to accumulate numerous images on our Android tablets. However, there are several reasons why you may want to delete photos from your device:
- Free up storage space: Photos can consume a significant amount of storage space on your Android tablet. By deleting unnecessary pictures, you can create room for new apps, games, or other files.
- Declutter your photo gallery: Over time, our photo albums may become cluttered with duplicates, screenshots, or images that are no longer relevant. Deleting these photos can help organize your gallery and make it easier to find the pictures you cherish.
- Improve device performance: When your Android tablet’s storage is almost full, it can impact its overall performance. Deleting photos can help optimize your tablet’s performance and ensure smooth operation.
- Protect your privacy: If you use your Android tablet for personal or work purposes, deleting sensitive or confidential photos is crucial to safeguard your privacy. Ensure that any private or compromising images are removed from your device.
- Backup and migration: When upgrading to a new Android tablet or switching devices, it’s essential to delete unwanted photos to free up space and streamline the migration process. This ensures a smooth transition without transferring unnecessary pictures to your new device.
Now that you understand the reasons why deleting photos on your Android tablet can be beneficial, let’s explore the step-by-step process to accomplish this.
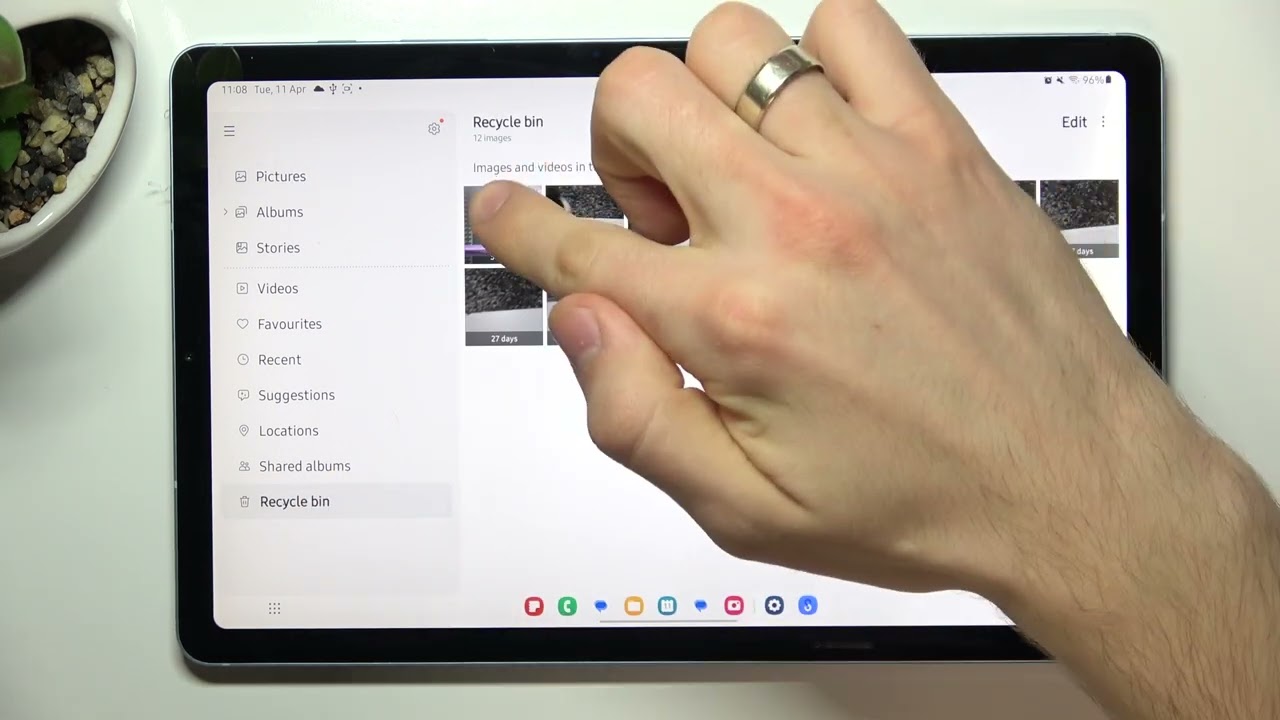
Step 1: Open the Gallery app
To start deleting photos on your Android tablet, you need to open the Gallery app. The Gallery app is pre-installed on most Android devices and serves as the primary interface for viewing and managing your photos.
Here’s how to open the Gallery app:
- Locate the Gallery app icon on your Android tablet’s home screen or app drawer. The icon typically resembles a square with rounded corners and a small preview image inside.
- Tap on the Gallery app icon to launch the app. Depending on your device, it may take a moment to load, especially if you have a large photo library.
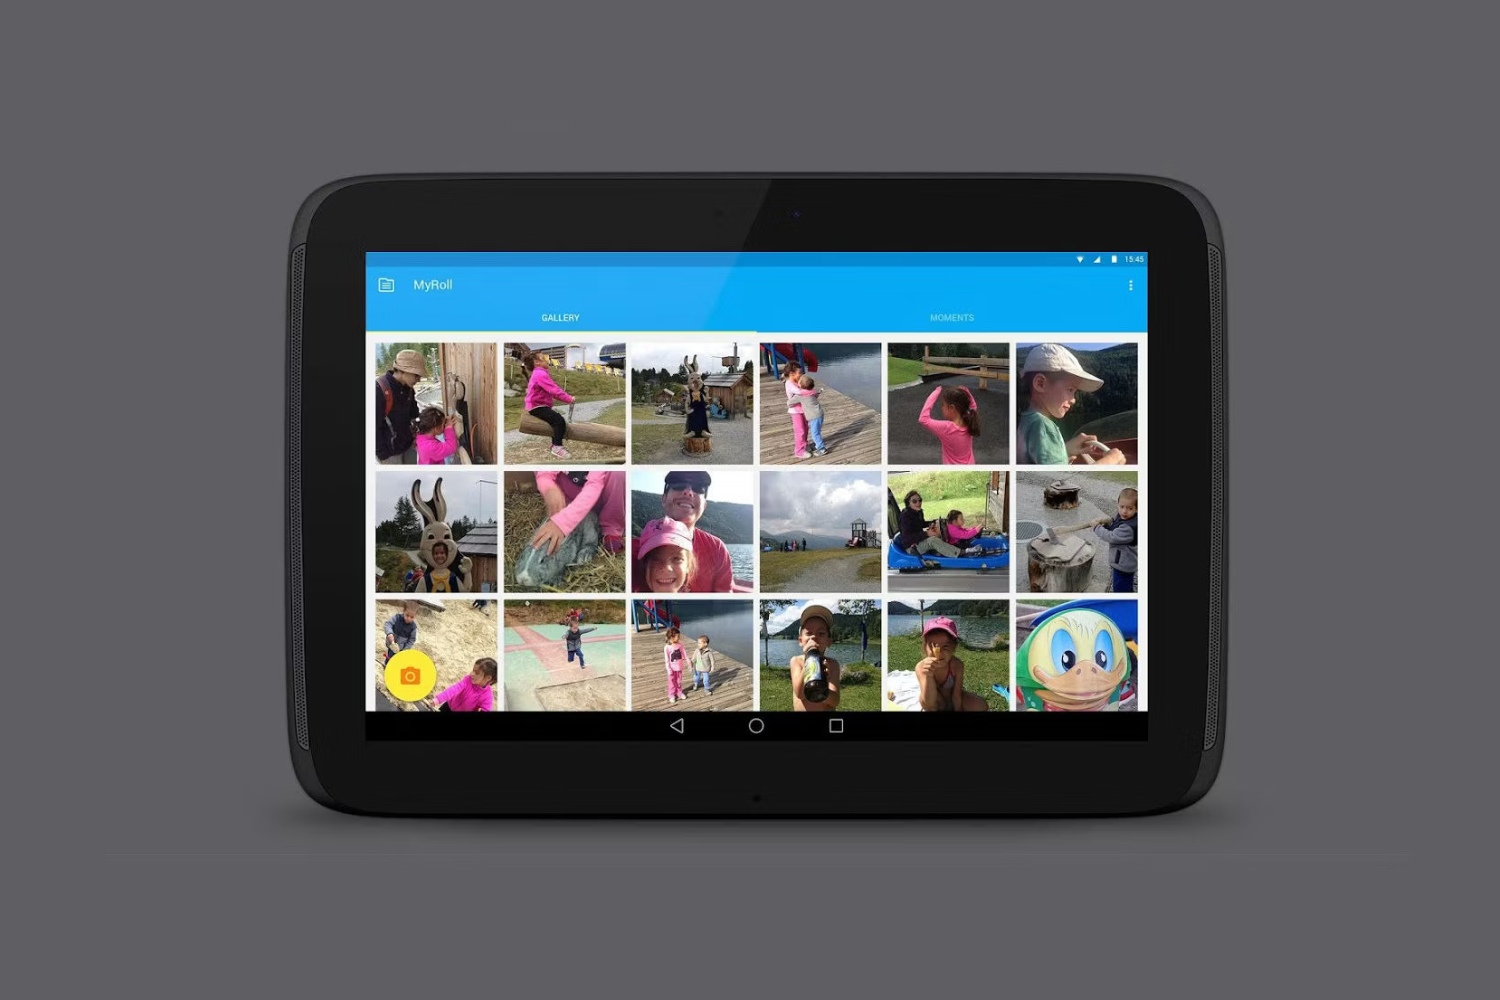
- Once the app is open, you will be presented with a grid or list view of your photos. The layout may vary slightly depending on the version of Android and the skin applied by your device manufacturer.
Now that you have successfully opened the Gallery app, you are ready to proceed to the next step to select the photos you want to delete. Remember, be cautious when deleting photos to avoid accidentally removing any cherished memories.
Step 2: Select the photos you want to delete
Once you have opened the Gallery app on your Android tablet, it’s time to select the photos you want to delete. The Gallery app provides various methods for selecting multiple photos at once, making it easy to delete multiple photos in one go.
Here’s how to select the photos you want to delete:
- Browse through your photo library by scrolling up or down, or swiping left or right, depending on the layout of your Gallery app.
- Tap on a photo to select it. Once selected, you may notice that the photo is highlighted or marked in some way to indicate its selection. Some Gallery apps also display a checkbox or a checkmark on the selected photo.
- If you want to select multiple photos at once, swipe your finger across the screen or use the “Select” or “Multi-select” option, which is usually represented by a checkbox icon or a menu option.
- Continue selecting photos by tapping on them individually or using the multi-select option until you have chosen all the photos you want to delete.
Keep in mind that you can also select entire albums or folders by using the same selection methods mentioned above. This allows you to delete multiple photos in bulk rather than selecting them one by one.
Once you have selected the photos you want to delete, it’s time to move on to the next step and delete the selected pictures from your Android tablet.
Step 3: Tap the delete button
After selecting the photos you want to delete in the Gallery app on your Android tablet, the next step is to tap the delete button. This button allows you to permanently remove the selected photos from your device.
Follow these steps to tap the delete button:
- With the selected photos still highlighted or marked, look for the delete button. The delete button is typically represented by a trash bin icon, a dustbin icon, or a remove icon.
- Once you have located the delete button, tap on it to initiate the deletion process.
- Depending on your Gallery app, you may be prompted with a confirmation message asking if you’re sure you want to delete the selected photos. This confirmation message serves as an extra precaution to prevent accidental deletions.
- If you are prompted with a confirmation message, review the message carefully and ensure that the photos selected for deletion are indeed the ones you want to remove. If you’re certain, proceed by tapping “Yes” or “Delete”.
- After tapping the delete button and confirming the deletion, the selected photos will be permanently removed from your Android tablet. They will no longer be accessible through the Gallery app or any other photo viewer app.
Keep in mind that the deleted photos are not recoverable unless you have a backup stored in a cloud service, such as Google Photos, or on another device. Therefore, it is crucial to double-check your selections before proceeding with the deletion.
Congratulations! You have successfully deleted the selected photos from your Android tablet. If you still have more photos to delete, you can continue with the remaining steps. Alternatively, if you’re done deleting photos, you can exit the Gallery app or move on to the next step.
Step 4: Confirm the deletion
Once you have tapped the delete button to remove selected photos on your Android tablet, it’s crucial to confirm the deletion. Confirming the deletion acts as a final check to ensure that you are intentionally removing the photos and that there are no accidental deletions.
Here’s how to confirm the deletion:
- After tapping the delete button, you may be presented with a confirmation dialog box or message.
- Read the confirmation message carefully to verify that the selected photos will be permanently deleted from your device.
- If you are certain about removing the selected photos, proceed by tapping “Yes”, “Delete”, or any other confirmation option provided in the dialog box.
- Be cautious when confirming the deletion, as there is no way to recover the photos once they are permanently deleted.
- Wait for the deletion process to complete. The time it takes to delete the photos may vary based on the number of photos selected and the processing power of your device.
Once the photos have been confirmed for deletion and the process is complete, they will be removed from your Android tablet’s storage. You will no longer be able to access or recover these photos.
Remember, it is essential to double-check your selections before confirming the deletion to avoid losing any precious or irreplaceable photos. If you are unsure about deleting certain photos, it is recommended to back them up or consult with someone before proceeding.
Great job! You have successfully gone through the process of selecting and confirming the deletion of photos on your Android tablet. Now, let’s explore an alternative method using a file manager app in case you want to delete photos in a different way.
Alternative method: Using a file manager app
If you prefer a different approach or want more control over managing and deleting photos on your Android tablet, you can use a file manager app. A file manager app gives you direct access to the files and folders on your device, including the photos stored in various directories.
Here’s how to use a file manager app to delete photos on your Android tablet:
- Step 1: Download a file manager app from the Play Store
- Step 2: Open the file manager app and navigate to the Photos folder
- Step 3: Select the photos you want to delete
- Step 4: Tap the delete button
- Step 5: Confirm the deletion
Open the Play Store on your Android tablet and search for a file manager app. Some popular file manager apps include Solid Explorer, ES File Explorer, and X-Plore File Manager. Choose an app that has good ratings and positive reviews from users.
After installing the file manager app, open it from your app drawer. Once opened, navigate to the folder where your photos are stored. The location may vary depending on your device and your chosen gallery app, but it is often in the “DCIM” or “Pictures” folder.
Browse through the files in the Photos folder and select the photos you wish to delete. You can tap on individual photos to select them or use the multi-select option to choose multiple photos at once.
Once you have selected the photos, look for the delete button or option in the file manager app. It is typically represented by a trash bin icon or a remove button. Tap on the delete button to initiate the deletion process.
Similar to the previous method, you may be prompted with a confirmation message to confirm the deletion. Carefully review the confirmation message before tapping “Yes” or “Delete” to proceed with the deletion.
Using a file manager app provides a more hands-on approach to managing and deleting photos on your Android tablet. It allows you to directly navigate to the photos’ location and gives you more control over the deletion process.
That completes the alternative method of using a file manager app to delete photos on your Android tablet. Now, let’s proceed to the next section, where we will share some helpful tips for managing your photos more efficiently.
Step 1: Download a file manager app from the Play Store
If you prefer a different approach to managing and deleting photos on your Android tablet, you can utilize a file manager app. File manager apps provide direct access to the files and folders on your device, enabling you to navigate through directories and delete photos more efficiently.
Follow these steps to download a file manager app from the Play Store:
- Open the Play Store on your Android tablet. The Play Store app icon typically resembles a multicolored triangle on a white background.
- Tap on the search bar at the top of the screen and enter “file manager” or “file explorer”.
- Press the search button or tap on the magnifying glass icon to initiate the search.
- Browse through the list of file manager apps that appear in the search results. Take note of the app ratings, reviews, and features to determine which app suits your needs.
- Once you have found the file manager app you prefer, tap on the “Install” button next to its name.
- Wait for the app to download and install onto your Android tablet. The installation process may take a few moments.
- When the installation is complete, you will see a “Open” button. Tap on it to launch the file manager app.
By following these steps, you will successfully download and install a file manager app from the Play Store. The app will provide you with enhanced access to your Android tablet’s file system, allowing you to manage and delete photos conveniently.
Now that you have downloaded a file manager app, let’s move on to the next step to learn how to navigate to the Photos folder and select the photos you want to delete.
Step 2: Open the file manager app and navigate to the Photos folder
After successfully downloading and installing a file manager app from the Play Store on your Android tablet, it’s time to open the app and navigate to the Photos folder where your images are stored. The file manager app gives you direct access to the files and folders on your device, making it easier to locate and manage your photos.
Follow these steps to open the file manager app and navigate to the Photos folder:
- Locate the app icon of the file manager you downloaded and installed. It is typically displayed on your home screen or in the app drawer, depending on your device’s configuration.
- Tap on the file manager app icon to open it.
- Once the file manager app is launched, you will be presented with a file directory view, displaying the folders and files on your Android tablet.
- Look for the folder where your photos are stored. The location may vary depending on your device and the gallery app you use. Common locations include the “DCIM” or “Pictures” folder.
- Navigate through the folders by tapping on them. If you’re unsure which folder contains your photos, you can explore different directories until you locate the correct one.
- Once you have found the Photos folder, tap on it to open it. The file manager app will display the contents of the folder, including the photos contained within it.
By following these steps, you will successfully open the file manager app and navigate to the Photos folder on your Android tablet. Now that you have located the folder, you can proceed to the next step to select the photos you want to delete.
Stay tuned for the next step, where we will guide you through the process of selecting the photos you wish to remove using the file manager app!
Step 3: Select the photos you want to delete
Now that you have opened the file manager app and navigated to the Photos folder on your Android tablet, it’s time to select the photos you want to delete. The file manager app provides you with the ability to choose individual photos or select multiple photos simultaneously, making the deletion process efficient and flexible.
Follow these steps to select the photos you want to delete using the file manager app:
- Browse through the contents of the Photos folder displayed in the file manager app. You will see a list or grid view of the photos within the folder.
- Tap on a photo to select it. The selected photo may be highlighted or appear with a colored border, depending on the file manager app you’re using.
- If you want to select multiple photos at once, long-press on a photo to initiate the multi-select mode. With this mode enabled, you can tap on additional photos to choose them as well. The selected photos may have checkmarks or indicators to signify their selection.
- Continue selecting photos by tapping on them individually or using the multi-select mode until you have chosen all the photos you wish to delete.
Note that some file manager apps may offer additional selection options, such as the ability to select all photos in a folder or select a range of photos. Explore the options within your file manager app to see if these features are available.
Once you have selected the photos you want to delete, you’re ready to proceed to the next step and initiate the deletion process. Stay tuned!
Step 4: Tap the delete button
After selecting the photos you want to delete using the file manager app on your Android tablet, it’s time to tap the delete button to remove them from your device. The delete button allows you to initiate the deletion process and permanently remove the selected photos.
Follow these steps to tap the delete button and carry out the deletion:
- With the selected photos still highlighted or marked, look for the delete button within the file manager app’s user interface. The delete button is typically represented by a trash bin, trash can, or a remove icon.
- Once you have located the delete button, tap on it to initiate the deletion process.
- Depending on the file manager app, you may be prompted with a confirmation message or dialog box to verify your intention to delete the selected photos.
- Take a moment to review the confirmation message and ensure that the correct photos are selected for deletion. Double-checking is crucial to avoid deleting any valuable or irreplaceable photos by mistake.
- If you are confident about removing the selected photos, proceed by tapping “Yes”, “Delete”, or any confirmation option provided in the dialog box to confirm the deletion.
- Once the deletion process is initiated, the file manager app will permanently remove the selected photos from your Android tablet’s storage. These photos will no longer be accessible through any photo viewer or gallery app on your device.
It’s important to note that the delete operation is irreversible, and the deleted photos cannot be recovered unless you have a backup stored in a cloud service or on another device. Therefore, exercise caution and double-check your selections before tapping the delete button to avoid any regrets.
With the photos successfully deleted, you have cleared up space on your Android tablet and removed the selected images. Congratulations on completing this step! Next, we will provide instructions for confirming the deletion to ensure accuracy and completion of the process.
Step 5: Confirm the deletion
After tapping the delete button in the file manager app on your Android tablet to initiate the deletion process, it is crucial to confirm the deletion. Confirming the deletion ensures that you have reviewed and approved the removal of the selected photos, providing an extra layer of caution to prevent accidental deletions.
Follow these steps to confirm the deletion:
- Upon tapping the delete button, you may encounter a confirmation dialog box or message within the file manager app.
- Carefully read the confirmation message to verify that the selected photos are indeed the ones you want to permanently delete from your device.
- If you are certain about removing the selected photos, proceed by tapping “Yes”, “Delete”, or any other confirmation option provided in the dialog box.
- Exercise caution and ensure that you have double-checked your selections before confirming the deletion. Once the confirmation is accepted, the selected photos will be permanently removed from your Android tablet’s storage.
- The file manager app will begin the deletion process and remove the selected photos from your Android tablet.
It is essential to note that the deleted photos cannot be recovered unless you have a backup stored in a cloud service, such as Google Photos, or on another device. Therefore, it is crucial to proceed with caution during the confirmation step to avoid the loss of any important or cherished photos.
Congratulations! You have successfully confirmed the deletion of the selected photos using the file manager app on your Android tablet. The photos are now permanently removed from your device, freeing up valuable storage space.
Now that you have completed all the steps, you can exit the file manager app or proceed with any additional actions you may require.
Tips for managing photos on your Android tablet
Managing photos on your Android tablet is not just about deleting unwanted images. It’s also about organizing, backing up, and optimizing your photo library. Here are some useful tips to help you effectively manage your photos:
- Regularly review and delete: Set aside some time to go through your photo library regularly. Delete any duplicate, blurry, or irrelevant photos to keep your collection organized and clutter-free.
- Back up your photos: It’s essential to back up your photos to avoid losing them in case of device failure or accidental deletion. Consider using cloud storage services like Google Photos, Dropbox, or OneDrive to automatically back up your photos and keep them safe.
- Organize into albums or folders: Utilize the album or folder feature in your gallery app to organize your photos into specific categories or events. This makes it easier to find and browse through your photos later on.
- Use photo management apps: Explore dedicated photo management apps to enhance your photo organizing experience. Apps like Adobe Lightroom, Google Photos, and Snapseed offer powerful editing tools, tagging options, and advanced organization features.
- Utilize cloud synchronization: If you use multiple devices, enable cloud synchronization on your gallery app to ensure that any changes you make (such as deleting or organizing photos) are synced across all your devices automatically.
- Optimize storage space: Consider using features like “Free up space” in your gallery app to clean up your device by removing photos that are already backed up. This helps reclaim storage space on your Android tablet without losing any important images.
- Share and collaborate: Share your favorite photos with friends and family using social media platforms or dedicated photo sharing apps. You can also collaborate on albums or projects, allowing others to contribute their own photos.
- Experiment with photo editing: Enjoy the creative process by experimenting with photo editing apps. Enhance your photos with filters, adjustments, and other editing tools to give them a unique touch.
- Keep your device updated: Regularly update your Android tablet’s operating system and gallery app to ensure that you have access to the latest features, bug fixes, and security patches.
By following these tips, you can efficiently manage your photos on your Android tablet, keeping them organized, secure, and easily accessible. Remember to regularly review and maintain your photo library to prevent it from becoming overwhelming.
Now that you have gained valuable insights into managing your photos, you’re well-equipped to optimize your photo library on your Android tablet!
Conclusion
Managing and deleting photos on your Android tablet can be a straightforward process but is essential for optimizing storage space and keeping your photo library organized. Whether you choose to use the built-in Gallery app or a file manager app, you now have the knowledge to delete unwanted photos efficiently.
We started by opening the Gallery app and selecting the photos you want to delete. Then, we tapped the delete button and confirmed the deletion to remove the selected photos permanently. Alternatively, we explored the use of a file manager app, providing you with more control over managing your photos.
Along the way, we shared helpful tips for managing your photos effectively, such as regularly reviewing and deleting, backing up your photos, organizing them into albums or folders, and utilizing cloud synchronization. We also encouraged you to explore photo management apps and experiment with photo editing to enhance your images.
Remember, double-checking your selections and confirming the deletion is crucial to avoid any accidental loss of important or cherished photos. Always have a backup of your photos to ensure their safety.
Now that you’re equipped with these tips and step-by-step instructions, you can confidently manage and delete photos on your Android tablet. Take control of your photo library, keep it organized, and make room for more memorable moments!