Introduction
Welcome to the world of Android tablets! Whether you’re a first-time tablet user or making the switch from another operating system, this guide will help you get started and make the most of your Android tablet experience.
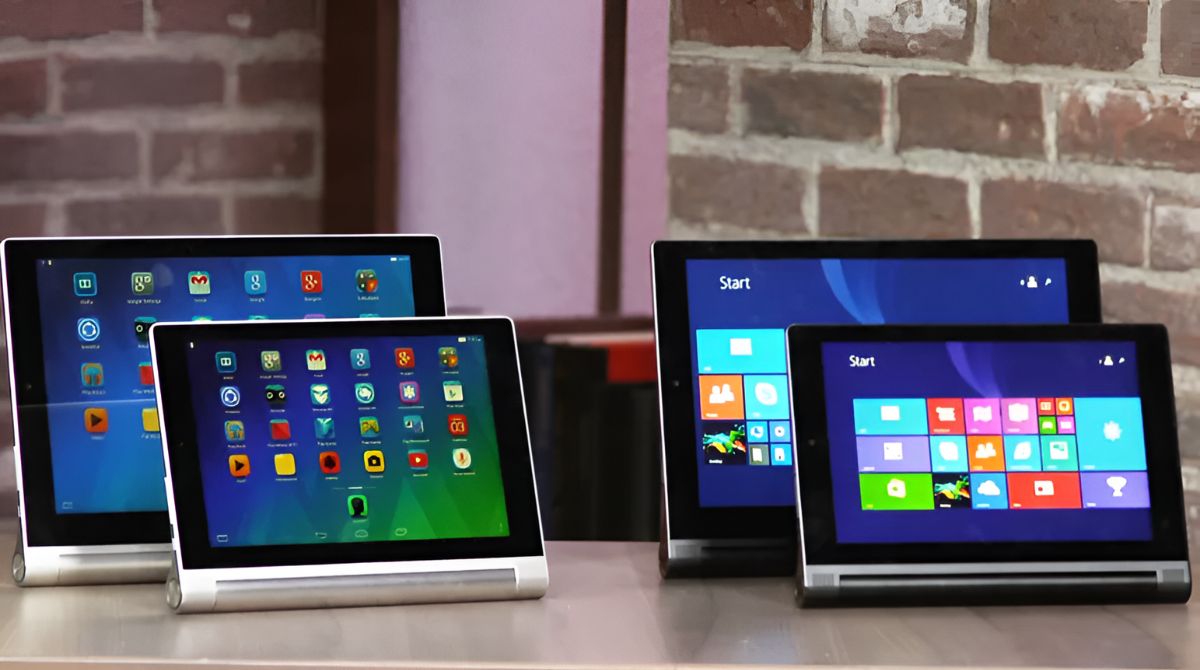
Android tablets are versatile devices that offer a wide range of features and capabilities. You can use them for browsing the internet, sending emails, playing games, watching videos, managing your calendar, and much more. With a user-friendly interface and a vast selection of apps, Android tablets are designed to adapt to your needs and provide you with a personalized digital experience.
In this guide, we will walk you through the essential functions and features of your Android tablet. We will cover everything from basic navigation and customization to more advanced tasks like managing storage and troubleshooting common issues. By the end of this guide, you will be equipped with the knowledge and skills to use your Android tablet effectively and efficiently.
Whether you have a budget-friendly tablet or a high-end device, the principles discussed in this guide apply to most Android tablets. While there may be some variations in the user interface and specific features depending on the make and model of your tablet, the underlying concepts remain the same for the majority of Android devices.
So, if you’re ready to dive into the world of Android tablets and unlock the full potential of your device, let’s get started with the basics of using your Android tablet!
Getting Started with Your Android Tablet
When you first unbox your Android tablet, there are a few important steps to take to set it up and get it ready for use. Here’s what you need to do:
- Power on the Tablet: Press and hold the power button until the device switches on. You may need to charge your tablet first if the battery is low.
- Select Language and Region: Follow the on-screen prompts to choose your preferred language and region. This will determine the default settings for your tablet.
- Connect to Wi-Fi: Tap on the Wi-Fi icon in the notification panel or go to Settings > Wi-Fi to connect to a Wi-Fi network. Enter the network password if required.
- Sign in with a Google Account: If you already have a Google account, sign in with your email address and password. If not, you can create a new Google account during the setup process. Having a Google account will enable you to access a wide range of Google services and apps.
- Set Up Security: Choose a security option such as PIN, pattern, or fingerprint to protect your tablet from unauthorized access. This is an important step to safeguard your personal information and data.
- Review App Permissions: Android apps may request permission to access certain features or data on your tablet. Take the time to review these permissions and decide which ones you want to grant.
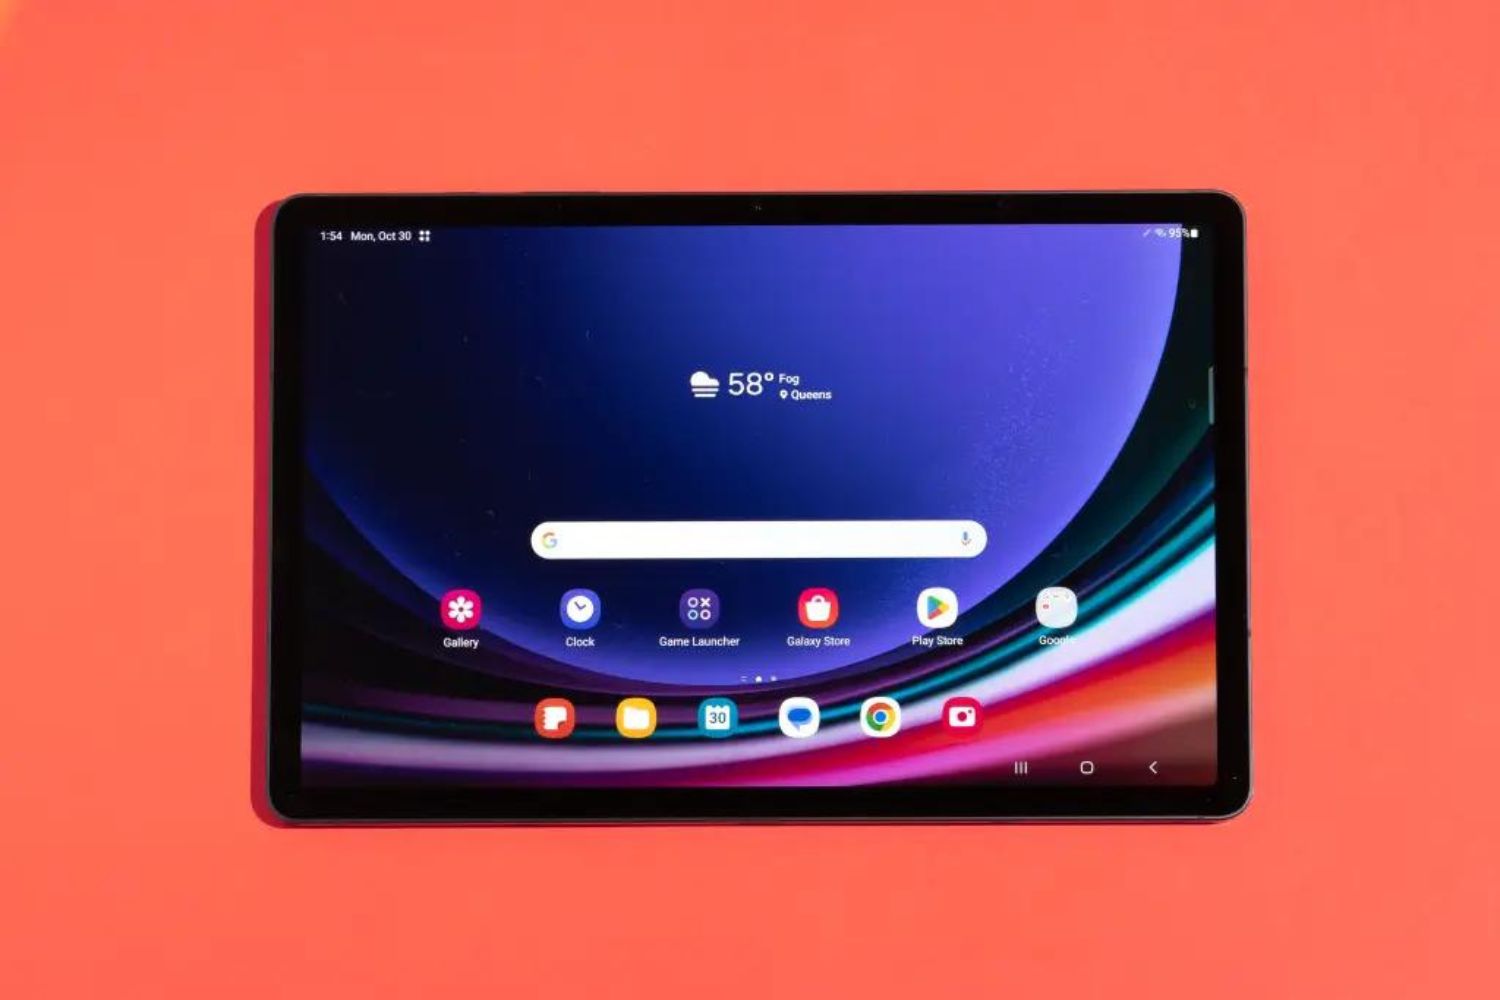
- Explore the Home Screen: After setup, you’ll be taken to the home screen of your tablet. This is where you’ll find app icons, widgets, and shortcuts. Swipe left or right to navigate between home screen panels.
Now that your Android tablet is set up and connected to the internet, you’re ready to start exploring and using its features. In the next sections, we’ll dive deeper into the different aspects of using your Android tablet, from navigating the interface to customizing your home screen and accessing various apps and services.
Remember, the setup process may vary slightly depending on your tablet’s make and model. Consult the user manual or online resources specific to your device for detailed instructions if needed. Once you’re familiar with the basic setup, you can proceed to the next section to learn more about navigating your Android tablet.
Basic Navigation and Gestures
Understanding the basic navigation and gestures on your Android tablet is essential for smooth and efficient usage. Let’s explore some common gestures you can use to navigate your device:
- Tap: Tap once on an app icon, button, or link to open or select it.
- Swipe: Swipe your finger horizontally or vertically across the screen to scroll through lists, web pages, or home screen panels.
- Pinch: Place two fingers on the screen and pinch them together or spread them apart to zoom in or out on an image or web page.
- Long Press: Press and hold on an app icon, widget, or element on the screen to reveal additional options or perform specific actions.
- Drag and Drop: Tap and hold an item, then drag it to a desired location or onto another item to perform actions like rearranging icons or creating shortcuts.
- Back Button: Most Android tablets have a back button located at the bottom of the screen. Tap this button to go back to the previous screen or close pop-up menus.
- Home Button: The home button is another common feature on Android tablets. It allows you to return to the home screen from any app or screen.
- Recent Apps Button: Some Android tablets have a recent apps button that lets you quickly switch between recently used apps.
- Notifications Bar: Swipe down from the top of the screen to access the notifications panel, where you can view and manage notifications, adjust settings, and access quick toggles.
By utilizing these gestures and navigation buttons, you’ll be able to effortlessly navigate through your Android tablet’s interface and switch between different apps and tasks.
It’s worth noting that different tablets and versions of Android may feature slightly different gestures or navigation options. Familiarize yourself with your specific tablet’s user manual or online resources to learn more about the specific gestures and navigation features available.
In the next section, we’ll discuss how you can customize your home screen to make it more personalized and convenient for your needs.
Customizing Your Home Screen
Your Android tablet’s home screen is like your digital playground, allowing you to access your favorite apps, widgets, and shortcuts with ease. Customizing your home screen can make it more visually appealing and tailored to your specific needs. Here are some ways to personalize and customize your home screen:
- Add and Remove App Icons: To add an app icon to your home screen, long press on the app from the app drawer and drag it to the desired location on the home screen. To remove an app icon, long press on it, and drag it to the “Remove” option that appears at the top or bottom of the screen.
- Create Folders: To organize your apps, you can create folders on your home screen. Long press on an app icon, and then drag it on top of another app icon. This will create a folder. You can rename the folder and add more apps to it by dragging and dropping.
- Add Widgets: Widgets are dynamic app extensions that provide quick access to specific app functions or information. Long press on an empty space on your home screen, tap “Widgets,” and select the widget you want to add. Drag it to the desired location on the home screen.
- Change Wallpaper: Personalize your home screen background by changing the wallpaper. Long press on an empty space on your home screen, tap “Wallpapers,” and choose from the available options. You can choose from pre-installed wallpapers, your own photos, or download new ones from the Play Store.
- Adjust Home Screen Layout: Some Android tablets allow you to customize the home screen layout. Long press on an empty space on your home screen, tap “Settings,” and look for options such as grid size, icon size, and screen orientation to adjust the layout according to your preference.
- Use Custom Launchers: If you want even more customization options, you can install third-party launchers from the Play Store. Launchers offer additional features, themes, and customization options for your home screen.
Experiment with different configurations, layouts, and wallpapers to create a home screen that reflects your style and enhances your productivity. Don’t be afraid to rearrange icons, create folders, and add widgets to make your home screen work for you.
In the next section, we’ll focus on managing apps and widgets on your Android tablet, allowing you to organize and optimize your device further.
Managing Apps and Widgets
As you use your Android tablet, you’ll accumulate a collection of apps and widgets that cater to your unique interests and needs. Managing these apps and widgets efficiently will help you stay organized and optimize your device’s performance. Here are some tips on how to manage your apps and widgets:
- Organize Apps into Folders: Creating folders on your home screen or app drawer can help you categorize and group similar apps together. Long press on an app icon and drag it onto another app to create a folder. You can then add more relevant apps to the folder by dragging and dropping them.
- Uninstall Unwanted Apps: To uninstall apps you no longer need, go to the app drawer or home screen, long press on the app icon, and drag it to the “Uninstall” option that appears at the top or bottom of the screen. Alternatively, you can go to Settings > Apps > [App Name] > Uninstall to remove unwanted apps.
- Disable Pre-installed Apps: Some pre-installed apps cannot be uninstalled but can be disabled. Go to Settings > Apps or Application Manager, scroll through the list of installed apps, select the app you want to disable, and tap “Disable.” This will stop the app from running and free up resources on your tablet.
- Manage App Notifications: Control which apps can send notifications to your tablet by going to Settings > Apps > [App Name] > Notifications. From here, you can enable or disable notifications, customize their appearance, or prioritize them.
- Add and Remove Widgets: Widgets can provide quick access to app functions or information. To add a widget, long press on an empty space on your home screen, tap “Widgets,” and select the widget you want to add. To remove a widget, long press on it, and drag it to the “Remove” option that appears at the top or bottom of the screen.
- Update Apps: Keeping your apps up to date is important for security and performance. You can update your apps manually by going to the Play Store, tapping the menu icon (three horizontal lines), and selecting “My apps & games.” From here, you can update individual apps or enable automatic updates.
By effectively managing your apps and widgets, you can declutter your home screen, improve device performance, and access your favorite apps and information more efficiently.
Next, we’ll explore how to connect your Android tablet to Wi-Fi and mobile networks to ensure seamless and uninterrupted internet connectivity.
Connecting to Wi-Fi and Mobile Networks
To make the most of your Android tablet’s online capabilities, it’s important to connect it to the internet. Here’s how you can connect to Wi-Fi and mobile networks:
Wi-Fi:
- Open Settings: Swipe down from the top of the screen to access the notification panel and tap the gear icon to open the Settings menu.
- Select Wi-Fi: In the Settings menu, tap on the “Wi-Fi” option. This will display a list of available Wi-Fi networks.
- Choose a Network: Tap on the name of the Wi-Fi network you want to connect to from the list. If the network is secured, enter the password when prompted.
- Connect: Wait for your Android tablet to establish a connection with the Wi-Fi network. Once connected, you will see a Wi-Fi icon in the notification bar.
If you have multiple Wi-Fi networks available, your Android tablet will automatically connect to the one with the strongest signal and previously saved credentials.
Mobile Networks:
- Open Settings: From the Settings menu, tap on the “Network & internet” option.
- Select Mobile Network: Within the network settings, tap on “Mobile network” or “Cellular network” depending on your device’s interface.
- Enable Mobile Data: Toggle the switch to enable mobile data. You may need to follow additional prompts or settings to activate your data plan.
- Manage Mobile Data Usage: To monitor or limit your mobile data usage, you can set a data usage limit and enable data saver mode from the mobile network settings.
Connecting to Wi-Fi or mobile networks allows you to browse the internet, download apps and files, stream media, and stay connected with friends and colleagues.
Keep in mind that data usage charges may apply when using mobile networks, so it’s a good idea to connect to Wi-Fi whenever possible to save on data costs.
In the next section, we’ll explore how to set up email and messaging on your Android tablet, allowing you to stay connected with your contacts.
Setting Up Email and Messaging
Setting up email and messaging on your Android tablet enables you to stay connected with friends, family, and colleagues. Here’s how you can set up email and messaging accounts:
Email:
- Open the Email App: Tap on the “Email” app icon on your home screen or app drawer. If you can’t find it, you can download a third-party email app from the Play Store.
- Add an Email Account: Tap on “Add Account” or the “+” icon to start adding your email account.
- Select Email Provider: Choose your email provider from the list or select “Other” if your email provider is not listed. Enter your email address and password.
- Follow the Setup Wizard: Depending on the email provider, you may need to follow additional steps to complete the setup, such as providing server information or enabling additional security measures like two-factor authentication.
- Manage Email Settings: Once your email account is set up, you can customize your email settings, including notification preferences, syncing frequency, and signature, from the settings menu within the email app.
Messaging:
- Open the Messaging App: Locate the “Messaging” app on your home screen or app drawer and tap on it to open.
- Compose a New Message: Tap on the new message icon (usually a pencil or speech bubble icon) to start composing a new message.
- Select Contact: Enter the recipient’s phone number or name in the “To” field. As you type, the app will suggest matching contacts from your contacts list.
- Type Your Message: Begin typing your message in the message field. You can also attach media files like photos or videos by tapping the attachment icon.
- Send Your Message: Once the message is ready, tap the send icon (usually a paper airplane icon) to send it.
Setting up email and messaging accounts allows you to send and receive emails, stay up to date with important communications, and collaborate with others conveniently from your Android tablet.
In the next section, we’ll discuss internet browsing and searching on your Android tablet, allowing you to access a wealth of information and explore the web.
Internet Browsing and Searching
Internet browsing and searching are essential functions of your Android tablet, allowing you to access information, explore websites, and stay connected with the online world. Here’s how you can browse the internet and conduct searches on your tablet:
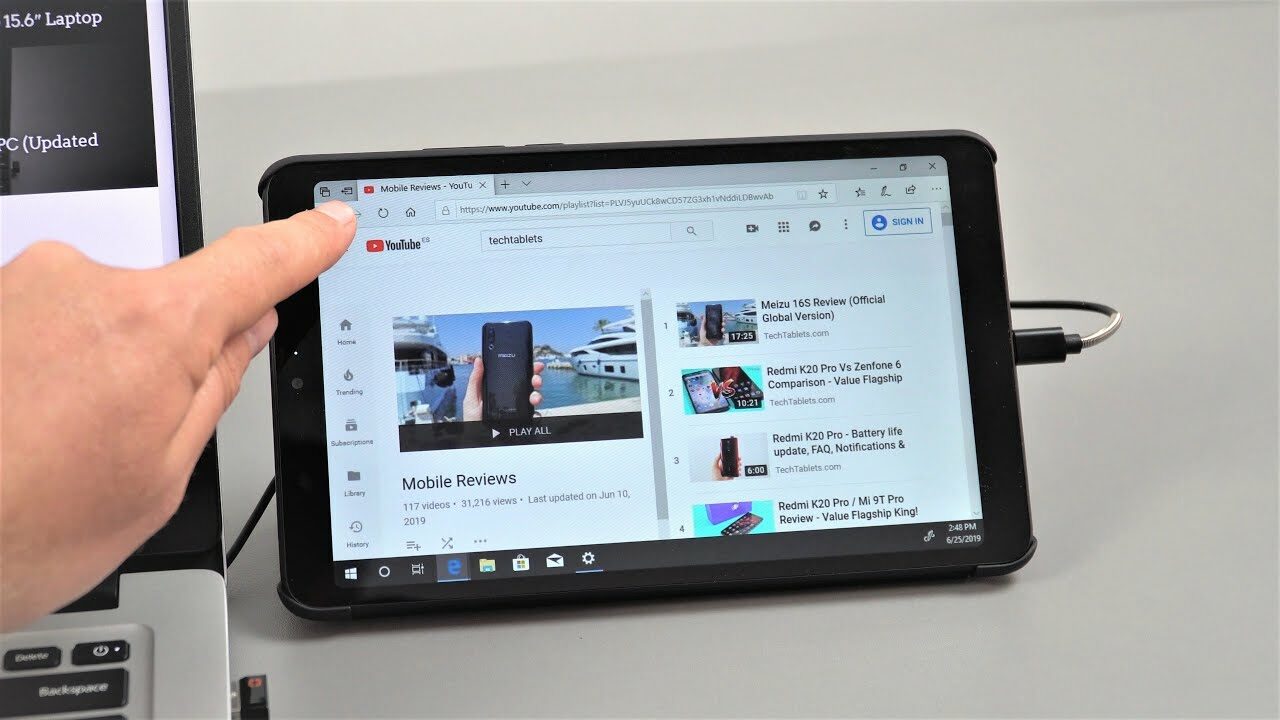
Internet Browsing:
- Open the Web Browser: Tap on the web browser icon on your home screen or app drawer. Popular web browsers for Android tablets include Chrome, Firefox, and Opera.
- Enter a Website URL: Tap on the address bar at the top of the browser and enter the URL (web address) of the website you want to visit. You can also use the search bar on the browser’s homepage to search for a specific website or topic.
- Navigate Web Pages: Once on a webpage, you can scroll through the content by swiping up or down on the screen. Tap on links to navigate to different pages within a website or to external websites. Use the back and forward buttons provided by the browser to navigate between previously visited pages.
- Bookmark Websites: To save a website for quick access later, tap on the browser’s menu (usually three dots or lines) and select “Bookmark” or “Add to bookmarks.” You can then find the bookmarked website in the browser’s bookmarks or favorites section.
- Manage Tabs: Most browsers allow you to open multiple tabs for simultaneous browsing. To open a new tab, tap on the tab icon (usually a square or number) and select “New Tab.” You can switch between tabs by tapping on them or close tabs by tapping the close icon (usually an “X”) on each tab.
- Clear Browsing Data: To protect your privacy and free up storage space, you can clear your browsing data. Go to the browser’s settings, find the “Privacy” or “Clear Data” section, and choose the data you want to delete, such as browsing history, cookies, or cached files.
Searching:
- Using a Search Engine: Open your web browser and go to the search engine’s website (e.g., Google, Bing, Yahoo). Enter your search query in the search bar and tap on the search button or press the Enter key on the keyboard.
- Voice Search: Some browsers and devices support voice search. Tap on the microphone icon in the search bar, speak your search query, and wait for the results to appear.
- Search Suggestions: As you type your search query, the search engine may provide suggestions to complete or refine your search. These suggestions can help you find what you’re looking for more quickly and efficiently.
- Search Filters: Depending on the search engine, you may have options to refine your search using filters such as date range, location, or file type. Explore the search engine’s settings or search results page for these filtering options.
Internet browsing and searching on your Android tablet open up a world of information and resources at your fingertips. Whether you’re researching a topic, reading the news, or looking up specific information, your tablet provides a gateway to a wealth of online knowledge.
In the next section, we’ll delve into the functionality of taking and managing photos and videos on your Android tablet.
Taking and Managing Photos and Videos
Your Android tablet is equipped with a camera that allows you to capture photos and videos. You can document special moments, create memories, and share your visual experiences with others. Here’s how you can take and manage photos and videos on your tablet:
Taking Photos and Videos:
- Open the Camera App: Locate the camera app icon on your home screen or app drawer and tap on it to open the camera.
- Switch between Camera Modes: Depending on your tablet and camera app, you may have different camera modes, such as photo, video, panorama, or more. Swipe left or right on the camera interface to switch between these modes.
- Adjust Camera Settings: Before capturing a photo or video, you can adjust various camera settings, such as flash, white balance, exposure, and resolution. These settings can usually be accessed by tapping on the settings icon (usually represented by a gear or three dots) within the camera app.
- Focus and Capture a Photo or Video: Tap on the screen where you want to focus, and then tap on the shutter button (usually a circular or rectangular icon) to take a photo or start recording a video. For videos, tap the shutter button again to stop recording.
- Review and Edit: After capturing a photo or video, you can review it by tapping on the preview thumbnail. From here, you can edit the photo or video, apply filters, crop, adjust brightness, and more. Most camera apps offer basic editing features.
Managing Photos and Videos:
- Gallery App: Your Android tablet should have a pre-installed gallery app that allows you to view and manage your photos and videos. Open the gallery app to access your media files.
- Organize and Sort: Use the gallery app’s features to organize and sort your photos and videos. You can create albums, add tags, favorite files, or use the search function to find specific media files.
- Share and Backup: From the gallery app, you can easily share your photos and videos with others via social media, email, or messaging apps. It’s also important to regularly back up your media files to a cloud storage service or your computer to prevent data loss.
- Delete Unwanted Media: To free up storage space, delete unwanted or duplicate photos and videos from your gallery app. Select the files you want to delete, tap the delete icon (usually a trash bin or similar symbol), and confirm the deletion.
Taking and managing photos and videos on your Android tablet allows you to capture and preserve precious moments. With the advanced camera capabilities and easy-to-use gallery app, you can explore your creativity and share your visual stories with others.
In the next section, we’ll dive into using Google services and applications on your Android tablet to enhance your digital experience.
Using Google Services and Applications
Your Android tablet comes preloaded with a wide range of Google services and applications that can enhance your overall digital experience. These services provide convenient access to various functionalities and features. Here’s how you can make the most out of Google services and applications on your tablet:
Google Search:
- Access Information: Use the Google search bar on your home screen or within the web browser to quickly search for information, including websites, images, news, and more.
- Voice Search: Tap the microphone icon in the search bar and speak your search query. Google will process your voice command and provide relevant search results.
- Get Personalized Results: Sign in with your Google account to receive personalized search results and recommendations based on your search history and preferences.
- Explore Google Discover: Swipe right from your home screen to access Google Discover, a personalized feed of relevant news, articles, and content based on your interests.
Google Maps:
- Find Your Way: Use Google Maps to navigate and get directions. Enter your destination, choose your preferred mode of transportation, and follow the turn-by-turn directions.
- Explore Places: Discover nearby restaurants, attractions, businesses, and more with the search function in Google Maps. Read reviews, view photos, and get detailed information about each place.
- Save Places: Save your favorite locations or places you want to visit in the future by adding them to your Google Maps “Saved” list.
- Share Your Location: Share your real-time location with friends and family using Google Maps. You can choose to share your location temporarily or permanently.
Google Drive:
- Store and Sync Files: Use Google Drive to store and sync your files, documents, photos, and videos across multiple devices. Access your files anytime, anywhere, as long as you have an internet connection.
- Collaborate and Share: Share files and folders with others, allowing them to view, edit, or comment on your documents. You can also collaborate in real-time with multiple people on the same document.
- Backup Photos and Videos: Enable the “Backup & sync” feature in Google Drive to automatically back up your photos and videos from your tablet’s gallery to your Google Drive storage.
- Create and Edit Documents: Use Google Docs, Sheets, and Slides to create, edit, and collaborate on documents, spreadsheets, and presentations.
These are just a few examples of the many Google services and applications available on your Android tablet. Google services are deeply integrated into the Android ecosystem, providing seamless connectivity and access to a wide range of functionalities.
In the next section, we’ll explore managing storage and external devices on your Android tablet.
Managing Storage and External Devices
Managing storage and external devices on your Android tablet ensures that you have enough space for your apps, media files, and other data. Additionally, it allows you to expand your tablet’s capabilities and connect with external devices. Here are some tips for managing storage and external devices:
Internal Storage:
- Check Storage Usage: Go to Settings > Storage to view the storage usage on your tablet. This will show you how much space is used by apps, photos, videos, and other files.
- Free up Space: To free up space, you can:
- Delete unnecessary files, such as old photos, videos, or downloaded documents.
- Clear app cache by going to Settings > Apps and selecting individual apps to clear their cache.
- Transfer files to an external storage device or to the cloud using services like Google Drive or Dropbox.
- Manage App Storage: Some apps allow you to move them to the SD card or use the “Move to SD card” feature to free up internal storage space. Go to Settings > Apps, select the app you want to manage, and look for the option to move it to the SD card.
External Storage:
- Expand Storage with an SD Card: If your tablet has expandable storage, you can insert an SD card to increase storage capacity. Check your tablet’s specifications to determine the compatible SD card size and format it if needed. Once inserted, you can move apps, photos, videos, and other files to the SD card to free up internal storage.
- Connect External Devices: Your Android tablet may support USB OTG (On-The-Go), which allows you to connect external devices such as USB flash drives, keyboards, mice, and game controllers. You’ll need a compatible USB OTG adapter or cable. Once connected, you can access the files on the external device or use it for input or gaming purposes.
- Manage External Storage: Use a file manager app or the default file manager on your tablet to manage files on the external storage devices. You can copy, move, rename, delete, or organize files and folders as needed.
By effectively managing storage and utilizing external devices, you can optimize the performance of your Android tablet, ensure you have enough space for your files, and extend the functionalities of your device.
In the next section, we’ll uncover some tips and tricks to enhance your Android tablet experience.
Tips and Tricks to Enhance Your Android Tablet Experience
Discovering and utilizing various tips and tricks can take your Android tablet experience to the next level. These tips and tricks help you navigate your tablet more efficiently, customize settings, and uncover hidden features. Here are some tips to enhance your Android tablet experience:
- Split-Screen Multitasking: Take advantage of the split-screen feature to run multiple apps simultaneously. Press and hold the app switcher button (either the square or recent apps button) on your tablet, and select another app to open alongside the current app
- Quick Settings Customization: Access the Quick Settings panel by swiping down from the top of the screen with two fingers. Long press on the icons to rearrange or remove them. Tap the pencil icon to add or edit Quick Settings tiles for quick access to frequently used settings.
- Gesture Navigation: If your tablet supports gesture navigation, enable it in the settings. This allows you to navigate your tablet by swiping on the screen instead of relying on traditional navigation buttons.
- Smart Lock: Use the Smart Lock feature to automatically unlock your tablet when it’s in a trusted location or connected to a trusted device, such as a Bluetooth headset or a smartwatch.
- One-Handed Mode: If you have a larger tablet, enable one-handed mode to make it easier to use with one hand. This can typically be found in the settings under “Display” or “Accessibility.”
- Customize Keyboard and Typing Experience: Explore the keyboard settings to customize the keyboard layout, enable swipe typing, and personalize keyboard themes to enhance your typing experience.
- App Notifications Management: Fine-tune your app notifications by going to the app settings and adjusting the notification preferences for each app. You can disable or enable notifications, control their priority, or set specific notification tones.
- Explore Gestures: Your tablet may support additional gestures that can be enabled in the settings. These gestures can include double-tap to wake, flip to silence, or shake to take a screenshot. Check the settings to see which gestures are available on your device.
- Google Assistant Integration: Make use of Google Assistant by enabling it in the settings or by saying “Hey Google” or “Ok Google.” Use voice commands to perform tasks, get answers to questions, set reminders, or control smart home devices.
- Screen Pinning: Enable screen pinning in the security settings to lock the screen to a specific app. This is useful when letting someone else use your tablet but you want to restrict access to certain apps.
By exploring these tips and tricks, you can unlock hidden features, streamline your tablet usage, and customize your device according to your preferences and needs.
Lastly, in the next section, we’ll discuss some common issues you may encounter with your Android tablet and provide troubleshooting tips to resolve them.
Troubleshooting Common Issues
While Android tablets are generally reliable and user-friendly, occasionally, you may encounter some common issues. Understanding how to troubleshoot these issues can help you resolve them quickly and get back to enjoying your tablet. Here are some troubleshooting tips for common Android tablet issues:
Battery Drain:
- Close unused apps running in the background that may be consuming battery power.
- Reduce screen brightness and enable battery-saving modes in the settings.
- Disable or uninstall battery-draining apps and widgets.
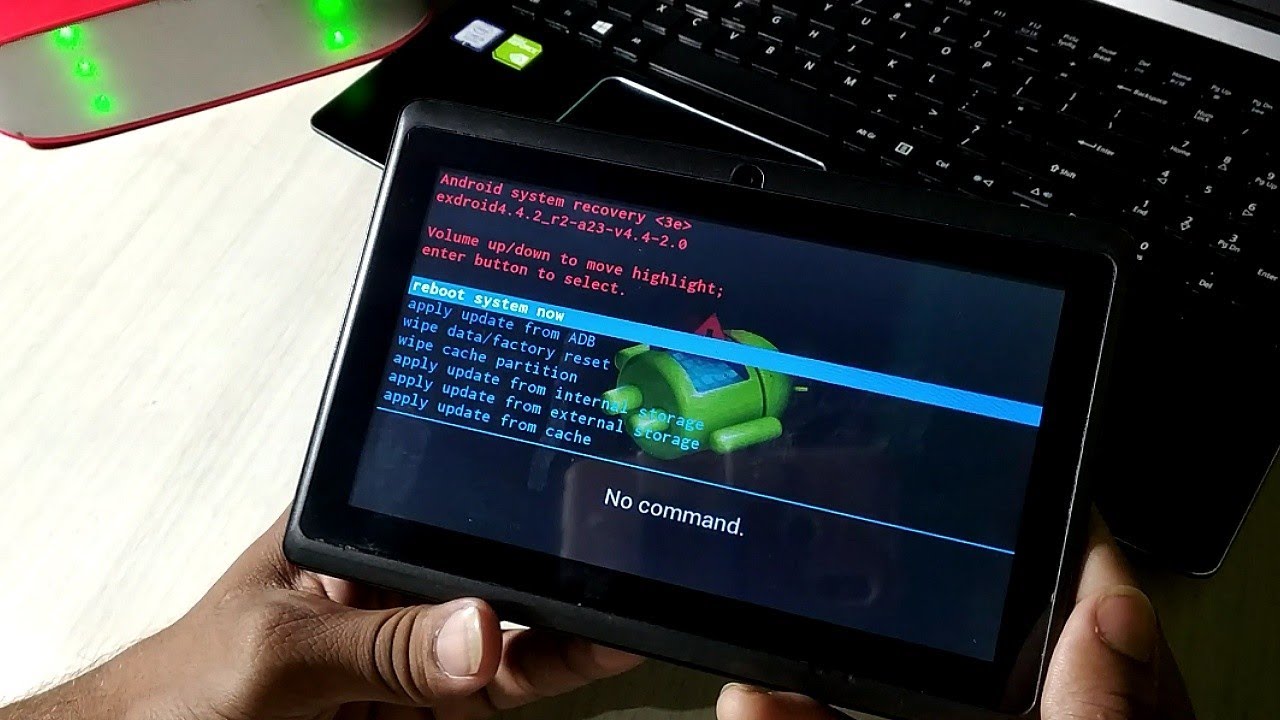
App Crashes or Freezes:
- Restart your tablet to refresh the system and close any problematic apps.
- Clear the cache of the affected app by going to Settings > Apps and selecting the app. Tap “Clear cache” or “Storage” and then “Clear cache.”
- Update the app to the latest version from the Play Store to fix any known bugs or compatibility issues.
Wi-Fi Connectivity Issues:
- Restart your tablet and router to refresh the network connection.
- Ensure your tablet is within range of the Wi-Fi router and there are no physical obstructions blocking the signal.
- Forget the Wi-Fi network on your tablet and reconnect by going to Settings > Wi-Fi, selecting the network, and tapping “Forget” or “Remove.” Then, reconnect by entering the Wi-Fi password.
- If Wi-Fi issues persist, reset network settings by going to Settings > System > Reset options > Reset Wi-Fi, mobile & Bluetooth.
Storage Insufficient:
- Delete unnecessary files, old photos, or videos to free up storage space.
- Move apps, photos, and videos to an SD card or cloud storage to free up internal storage.
- Transfer files, such as documents or media, to your computer to create additional storage space.
Touchscreen Not Responsive:
- Clean the screen with a microfiber cloth to remove any dirt or fingerprints that may interfere with touch sensitivity.
- Restart your tablet to refresh the system and resolve any software glitches.
- Check for any screen protectors or cases that may be interfering with touch sensitivity and remove them.
If you continue to experience issues with your Android tablet, consult the device’s user manual, visit the manufacturer’s website, or seek assistance from customer support.
By troubleshooting these common issues, you can keep your Android tablet running smoothly and enjoy a seamless user experience.
Conclusion
Congratulations! You have now gained valuable knowledge on how to use and optimize your Android tablet. From getting started with the setup process to exploring various features and troubleshooting common issues, you are equipped with the skills to make the most out of your device.
Remember to customize your home screen, take advantage of gestures and navigation options, and utilize the rich variety of Google services and applications available. Managing storage, connecting to Wi-Fi and mobile networks, and troubleshooting common issues will ensure a seamless and enjoyable tablet experience.
As you continue to use your Android tablet, don’t be afraid to experiment and explore. Familiarize yourself with new apps, discover hidden features, and keep up to date with the latest software updates. Additionally, regularly back up your data, protect your tablet with security measures, and stay mindful of your device’s storage to maintain optimal performance.
Should you encounter any challenges along the way, refer back to this guide or consult the user manual specific to your tablet. Additionally, don’t hesitate to seek support from the manufacturer or online communities dedicated to Android devices.
Embrace the versatility and possibilities that your Android tablet offers. Whether it’s for work, entertainment, or staying connected, your tablet is a powerful tool that can enrich your personal and professional life.
Now, it’s time to explore, create, and make the most out of your Android tablet experience. Enjoy the convenience, efficiency, and entertainment that your device brings to your fingertips!