Introduction
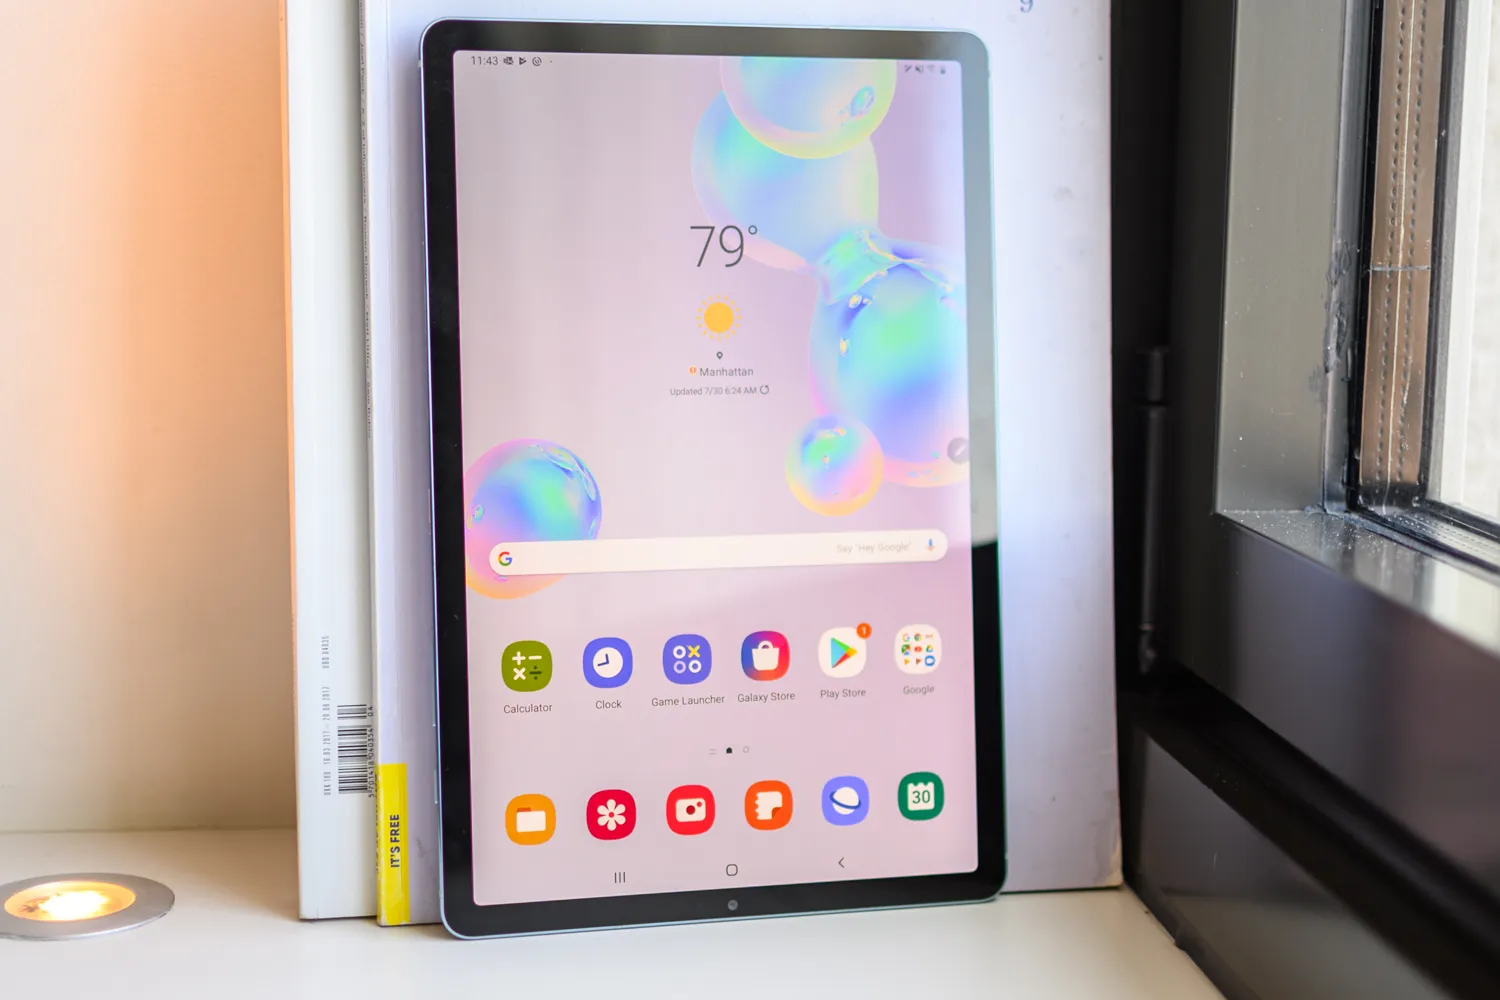
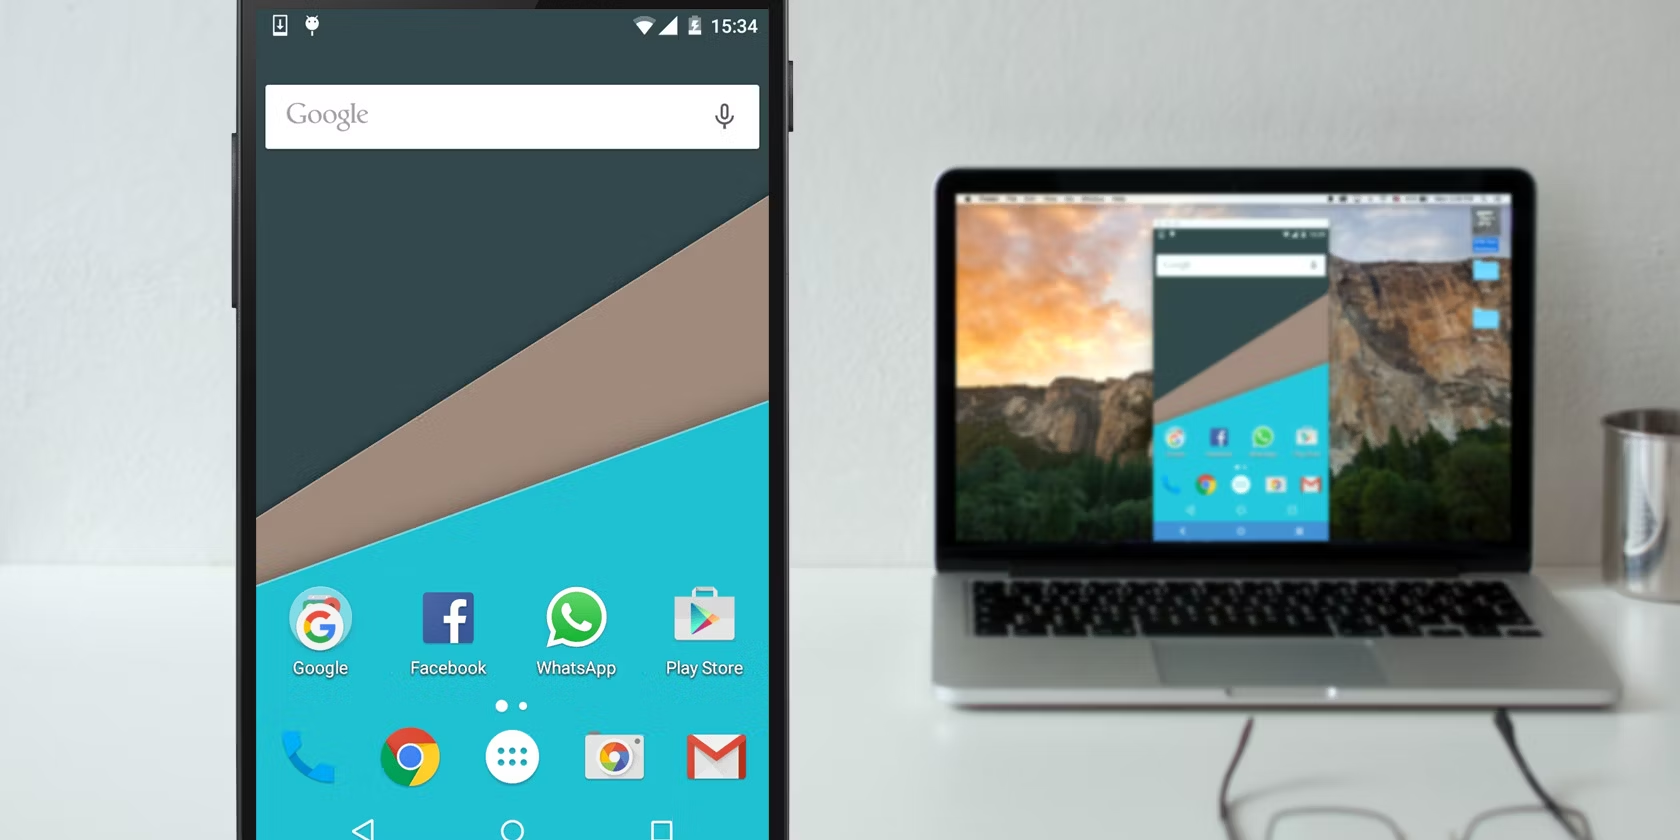
Welcome to the world of Android! Android is one of the most widely used operating systems, known for its versatility and customization options. If you own a tablet and want to experience the power and flexibility of Android, you’re in luck! In this article, we will guide you through the process of installing the Android operating system on your tablet from your PC. This will allow you to unleash the full potential of your device and enjoy the vast array of apps, games, and features that Android has to offer.
By installing Android on your tablet, you will have access to Google Play Store, which is the go-to source for downloading and installing various applications, games, and utilities. Additionally, Android offers a seamless integration with other Google services such as Gmail, Google Drive, and Google Maps, making it a powerful and convenient platform for all your digital needs.
Before we dive into the installation process, it’s important to note that this guide is intended for advanced users who are comfortable with technical procedures and have a basic understanding of their tablet’s hardware specifications. It’s also crucial to back up any important data on your tablet before proceeding with the installation, as the process may involve formatting and wiping the device.
Please note that installing Android on your tablet may void its warranty, and it is important to proceed with caution and care. We recommend following the instructions carefully and consulting the manufacturer’s website or support forums for specific guidelines related to your tablet model.
Now that we’ve covered the basics, let’s move on to the next section, where we will discuss the necessary preparations for both your tablet and your PC.
Preparing your Tablet
Before you can install Android on your tablet, there are a few important steps to take to ensure a smooth and successful installation process. Here’s what you need to do to prepare your tablet:
- Check Hardware Compatibility: The first thing you need to do is check if your tablet is compatible with the Android operating system. Most modern tablets are compatible, but it’s always a good idea to double-check the manufacturer’s specifications or contact their customer support for confirmation.
- Backup your Data: Installing a new operating system comes with the risk of data loss. Therefore, it’s crucial to back up all your important files, photos, videos, and any other data that you don’t want to lose. You can back up your data to an external storage device or use cloud storage services for added convenience.
- Charge your Tablet: Ensure that your tablet has a sufficient amount of battery charge before starting the installation process. It’s recommended to have at least 50% battery power to avoid any interruptions during the installation.
- Enable USB Debugging: In order to establish a connection between your tablet and your PC, you need to enable USB debugging mode on your tablet. This option is usually found in the Developer Options menu, which can be accessed by tapping on the Build Number in the About Phone/Tablet section of the Settings menu multiple times.
- Disable Security Locks: To prevent any issues during the installation process, it’s advisable to disable any security locks on your tablet such as patterns, PINs, or passwords. You can re-enable them after the installation is complete.
By following these preparation steps, you can ensure that your tablet is ready for the installation process. In the next section, we will discuss the necessary preparations for your PC in order to proceed with installing the Android operating system on your tablet.
Preparing your PC
To install the Android operating system on your tablet, you’ll need to prepare your PC to serve as the host for the installation process. Here are the steps to follow to ensure your PC is ready:
- Check System Requirements: Before proceeding, ensure that your PC meets the minimum system requirements for installing the Android operating system. These requirements typically include a compatible operating system such as Windows, macOS, or Linux, a sufficient amount of RAM, and available storage space.
- Download the Android SDK: The Android Software Development Kit (SDK) is a collection of tools that are essential for installing Android on your tablet. Visit the official Android developer website to download the SDK for your operating system.
- Install USB Drivers: In order for your PC to recognize and communicate with your tablet, you need to install the appropriate USB drivers. Most tablet manufacturers provide USB drivers on their official website, so make sure to download and install the ones specific to your tablet model.
- Enable Developer Mode: On your PC, go to the Settings or Developer Options menu and enable USB debugging mode. This will allow your PC to establish a connection with your tablet and transfer the necessary files for the installation process.
- Prepare a USB Drive: You will need a USB drive to transfer the Android operating system image to your tablet. Ensure that the USB drive is formatted correctly and has enough free space to accommodate the installation files.
- Disable Antivirus and Firewall: Some antivirus programs or firewalls may interfere with the installation process. Temporarily disable them until the installation is complete to avoid any issues.
By completing these steps, you’ll have your PC ready to facilitate the installation of the Android operating system on your tablet. In the next section, we’ll guide you through the process of downloading the Android OS image required for the installation.
Downloading the Android OS Image
Downloading the Android OS image is an essential step in the process of installing Android on your tablet. The OS image contains all the necessary files and components needed to run the operating system. Here’s how to download the Android OS image:
- Select the Android Version: Determine which Android version you want to install on your tablet. It’s recommended to choose the latest stable version to ensure compatibility and access to the newest features and improvements.
- Visit the Android Website: Head over to the official Android website or the website of your tablet’s manufacturer to find the appropriate Android OS image for your device. Look for an “OTA Update” or “Firmware Download” section.
- Verify Compatibility: Ensure that the Android OS image you’re about to download is compatible with your specific tablet model. If necessary, check the model number and other details to make sure you’re downloading the correct image.
- Download the OS Image: Once you’ve confirmed compatibility, download the Android OS image to your PC. Make sure to save it in a location that is easily accessible.
- Verify the Authenticity: It’s crucial to verify the authenticity and integrity of the downloaded OS image to ensure it is legitimate and has not been tampered with. Check for digital signatures or compare the file’s hash value provided on the download page with the one generated after you’ve downloaded the file to confirm its integrity.
Downloading the Android OS image may take some time, depending on the size of the file and the speed of your internet connection. Once the download is complete, you’re ready to proceed to the next step of preparing the USB drive for the installation process.
Preparing the USB Drive
A USB drive will serve as the bridge between your PC and your tablet during the Android installation process. It will store the Android OS image and allow you to transfer it to your tablet. Here’s how to prepare the USB drive:
- Format the USB Drive: Start by formatting the USB drive to ensure it is clean and free from any existing files or partitions. You can format the drive using the built-in formatting tools of your operating system, such as Disk Management on Windows or Disk Utility on macOS.
- Create a Bootable USB Drive: After formatting the USB drive, you’ll need to make it bootable by creating a partition table and setting it as a bootable device. You can use third-party tools like Rufus or UNetbootin to create a bootable USB drive. Follow the instructions provided by the tool to create the bootable drive.
- Copy the Android OS Image: Once you’ve created a bootable USB drive, copy the downloaded Android OS image to the USB drive. Make sure to place it in the root directory of the drive for easy access.
- Safely Eject the USB Drive: Before removing the USB drive from your PC, always make sure to safely eject it to avoid any data corruption. This can be done by right-clicking on the drive icon and selecting the “Eject” or “Safely Remove” option.
By following these steps, you’ll have a properly prepared USB drive that contains the Android OS image ready for installation. In the next section, we’ll guide you through the process of connecting your tablet to your PC in preparation for the installation process.
Connecting the Tablet to the PC
Now that you have prepared your tablet and PC, it’s time to establish a connection between the two devices. This connection will allow you to transfer the Android OS image from your PC to your tablet. Follow these steps to connect your tablet to your PC:
- Power Off your Tablet: Make sure your tablet is powered off before proceeding with the connection. This will prevent any potential issues during the connection process.
- Connect the USB Cable: Take a USB cable and connect one end to your tablet’s USB port. Then, connect the other end to an available USB port on your PC.
- Enable File Transfer Mode: On your tablet, check the notification panel for a USB connection option. Select “File Transfer” or “MTP” mode to establish a file transfer connection between your tablet and your PC.
- Wait for Device Recognition: Your PC should now recognize your tablet as a storage device. It may take a moment for the PC to fully recognize the tablet, so be patient while it detects the connection.
- Access the Tablet Storage: Once your tablet is recognized, you should be able to access its storage on your PC. Open the File Explorer (Windows) or Finder (macOS) and locate the tablet’s storage under the list of available drives or devices.
Congratulations! You have successfully connected your tablet to your PC. In the next section, we will guide you through the process of booting from the USB drive and initiating the installation of the Android operating system on your tablet.
Booting from the USB Drive
Booting your tablet from the USB drive is a critical step in the installation process, as it allows your tablet to launch the Android OS image stored on the USB drive. Follow these steps to boot your tablet from the USB drive:
- Restart or Power On your Tablet: If your tablet is already turned on, you’ll need to restart it. Alternatively, if your tablet is off, power it on by pressing the power button.
- Access the Boot Menu: As your tablet powers on, quickly press the designated key or a combination of keys, such as F10 or Esc, to access the Boot Menu. The specific key or keys may vary depending on your tablet’s manufacturer and model.
- Select the USB Drive: Once in the Boot Menu, use the arrow keys to navigate to the “Devices” or “Boot Priority” section. Select the USB drive as the primary boot device. Ensure that the USB drive is listed and recognized by the tablet.
- Save changes and Exit: After selecting the USB drive as the primary boot device, save the changes by pressing the designated key or selecting the “Save and Exit” option in the Boot Menu. This will restart your tablet and initiate the booting process from the USB drive.
Your tablet will now boot from the USB drive, loading the Android OS image that you have prepared. This may take a few moments, so be patient as the installation process begins. In the next section, we’ll walk you through the steps to install the Android operating system on your tablet.
Installing Android OS on the Tablet
Now that your tablet has successfully booted from the USB drive, you’re ready to proceed with installing the Android operating system. Follow these steps to complete the installation process:
- Language and Region Settings: Select your preferred language and region settings when prompted. This will set the language and other regional preferences for your Android installation.
- Installation Options: You may be presented with different installation options, such as a “Fresh Installation” or an “Upgrade” option. Choose the appropriate option based on your preference. Note that a fresh installation will erase all data on your tablet, so ensure you have backed up any important files before proceeding.
- Partitioning: The installer will prompt you to select the partition or storage location for the Android installation. Choose the desired partition or storage device where you want to install Android. If you’re unsure, you can typically select the default option.
- Follow On-Screen Instructions: The installation process will continue with a series of on-screen instructions. Follow these instructions carefully and provide any required information, such as your Google account details, Wi-Fi settings, and other preferences as prompted.
- Installation Progress: The installation process may take some time to complete, depending on the speed of your tablet and the size of the Android OS image. During this time, the installer will display the progress of the installation, so be patient and avoid interrupting the process.
- Rebooting: Once the installation process is complete, the installer will prompt you to reboot your tablet. Follow the instructions to restart your tablet and initiate the newly installed Android operating system.
After your tablet reboots, you’ll be greeted with the Android setup wizard, which will guide you through the initial setup process. Follow the instructions to configure your preferences, sign in with your Google account, and customize your tablet to your liking.
Congratulations! You have successfully installed the Android operating system on your tablet. Enjoy the vast array of apps, games, and features that Android has to offer. In the next section, we’ll cover the final steps to finalize the installation and start using your Android tablet.
Finalizing the Installation
After installing the Android operating system on your tablet, there are a few final steps to take to ensure everything is set up properly. Follow these steps to finalize the installation and start using your Android tablet:
- Complete the Setup Wizard: When your tablet reboots after the installation, you’ll be guided through the Android setup wizard again. Follow the instructions to set up your language preferences, configure your Google account, connect to a Wi-Fi network, and customize other settings according to your preferences.
- Update System and Apps: Once you have completed the setup wizard, it’s important to update your Android system and installed apps to ensure you have the latest security patches, bug fixes, and feature enhancements. Go to the Settings menu and navigate to the “System Updates” or “Software Updates” section to check for and install any available updates.
- Restore Backup Data: If you backed up your data before the installation, you can now restore it to your tablet. Connect to your preferred backup storage, such as Google Drive or an external storage device, and follow the instructions to restore your backed-up data.
- Install Essential Apps: Now that your Android tablet is up and running, install essential apps from the Google Play Store, such as a web browser, email client, productivity tools, and any other apps you use regularly.
- Customize Your Tablet: Take some time to customize your tablet according to your preferences. This may include rearranging the home screen, installing widgets, changing the wallpaper, and exploring the various settings and customization options available in the Android system.
- Explore the Android Ecosystem: With the Android operating system installed, you now have access to a vast ecosystem of apps, games, and services. Explore the Google Play Store to discover and download apps that cater to your interests and needs.
By following these final steps, you’ll be able to finalize the installation of Android on your tablet and start enjoying the full potential of the operating system. Take your time to familiarize yourself with the features and capabilities of Android, as it offers a wide range of possibilities for both entertainment and productivity.
Now that you’ve successfully installed Android on your tablet and completed the finalization process, you’re all set to make the most out of your Android-powered device. Enjoy the seamless integration with Google services, the countless apps and games, and the customization options that Android has to offer. Harness the power and versatility of your Android tablet and make it your own.
Conclusion
Congratulations on successfully installing the Android operating system on your tablet! You’ve now unlocked a world of possibilities and customization options for your device. By following the step-by-step instructions outlined in this guide, you have transformed your tablet into a powerful and versatile Android-powered device.
Throughout the installation process, you’ve learned how to prepare both your tablet and your PC, download the Android OS image, prepare a USB drive, connect your tablet to your PC, boot from the USB drive, and install the Android operating system. These steps, although technical, have allowed you to customize your tablet and enjoy the full range of apps, games, and features that Android has to offer.
Remember to take the necessary precautions when proceeding with the installation. Back up your data, check hardware compatibility, and follow the instructions carefully. It’s also important to consult your tablet manufacturer’s guidelines for specific details about your device.
As you finalize the installation, take the time to explore the Android ecosystem, update your system and apps, customize your tablet, and make it truly yours. Stay up-to-date with the latest system updates and security patches to ensure optimal performance and protection.
We hope that this guide has been informative and helpful in your journey to install Android on your tablet. If you encounter any issues or have further questions, don’t hesitate to consult the manufacturer’s support resources or seek assistance from online forums and communities dedicated to Android and tablet customization.
Enjoy your newly installed Android operating system and make the most out of your tablet’s potential! Embrace the endless possibilities that Android offers and tailor your tablet to suit your needs and preferences. Whether it’s for work, entertainment, or staying connected, your Android tablet will now be your trusted companion in the digital world.