Introduction
Are you running out of storage space on your Android tablet? One of the best ways to free up space and optimize your device’s performance is by moving files to the SD card. Most Android tablets come with expandable storage options, allowing you to insert an SD card to store your photos, videos, documents, and more.
In this article, we will guide you through the process of moving files on your Android tablet to the SD card. Whether you are a tech-savvy individual or a beginner, these steps are easy to follow and will help you maximize the storage capacity of your device.
Before we dive into the step-by-step instructions, it’s important to note that the exact process may vary slightly depending on your tablet’s model and Android version. However, the basic principles will remain the same, allowing you to adapt the process to your specific device.
So, if you’re ready to reclaim storage space and ensure smooth performance on your Android tablet, let’s get started with moving your files to the SD card!
Step 1: Check available storage
Before you begin moving files to your SD card, it’s essential to check the available storage on your Android tablet. This will give you a clear idea of how much space you have and help you determine which files to move.
To check the available storage on most Android tablets, follow these simple steps:
- Open the “Settings” app on your Android tablet. You can usually find it in the app drawer or by swiping down from the top of the screen and tapping the gear icon.
- Scroll down and look for the “Storage” or “Storage & USB” option. Tap on it to access the storage settings.
- On the storage screen, you will see a visual representation of the storage usage, showing how much space is used and how much is available. This will help you identify if your device is running low on internal storage.
Additionally, you can tap on the “Internal storage” option to view a detailed breakdown of the space usage by different categories such as apps, photos, videos, and system files. This will give you a better understanding of which files are taking up the most space on your tablet.
By checking the available storage on your Android tablet, you can make an informed decision about which files to move to the SD card. This step is crucial in effectively managing your device’s storage and ensuring a seamless user experience.
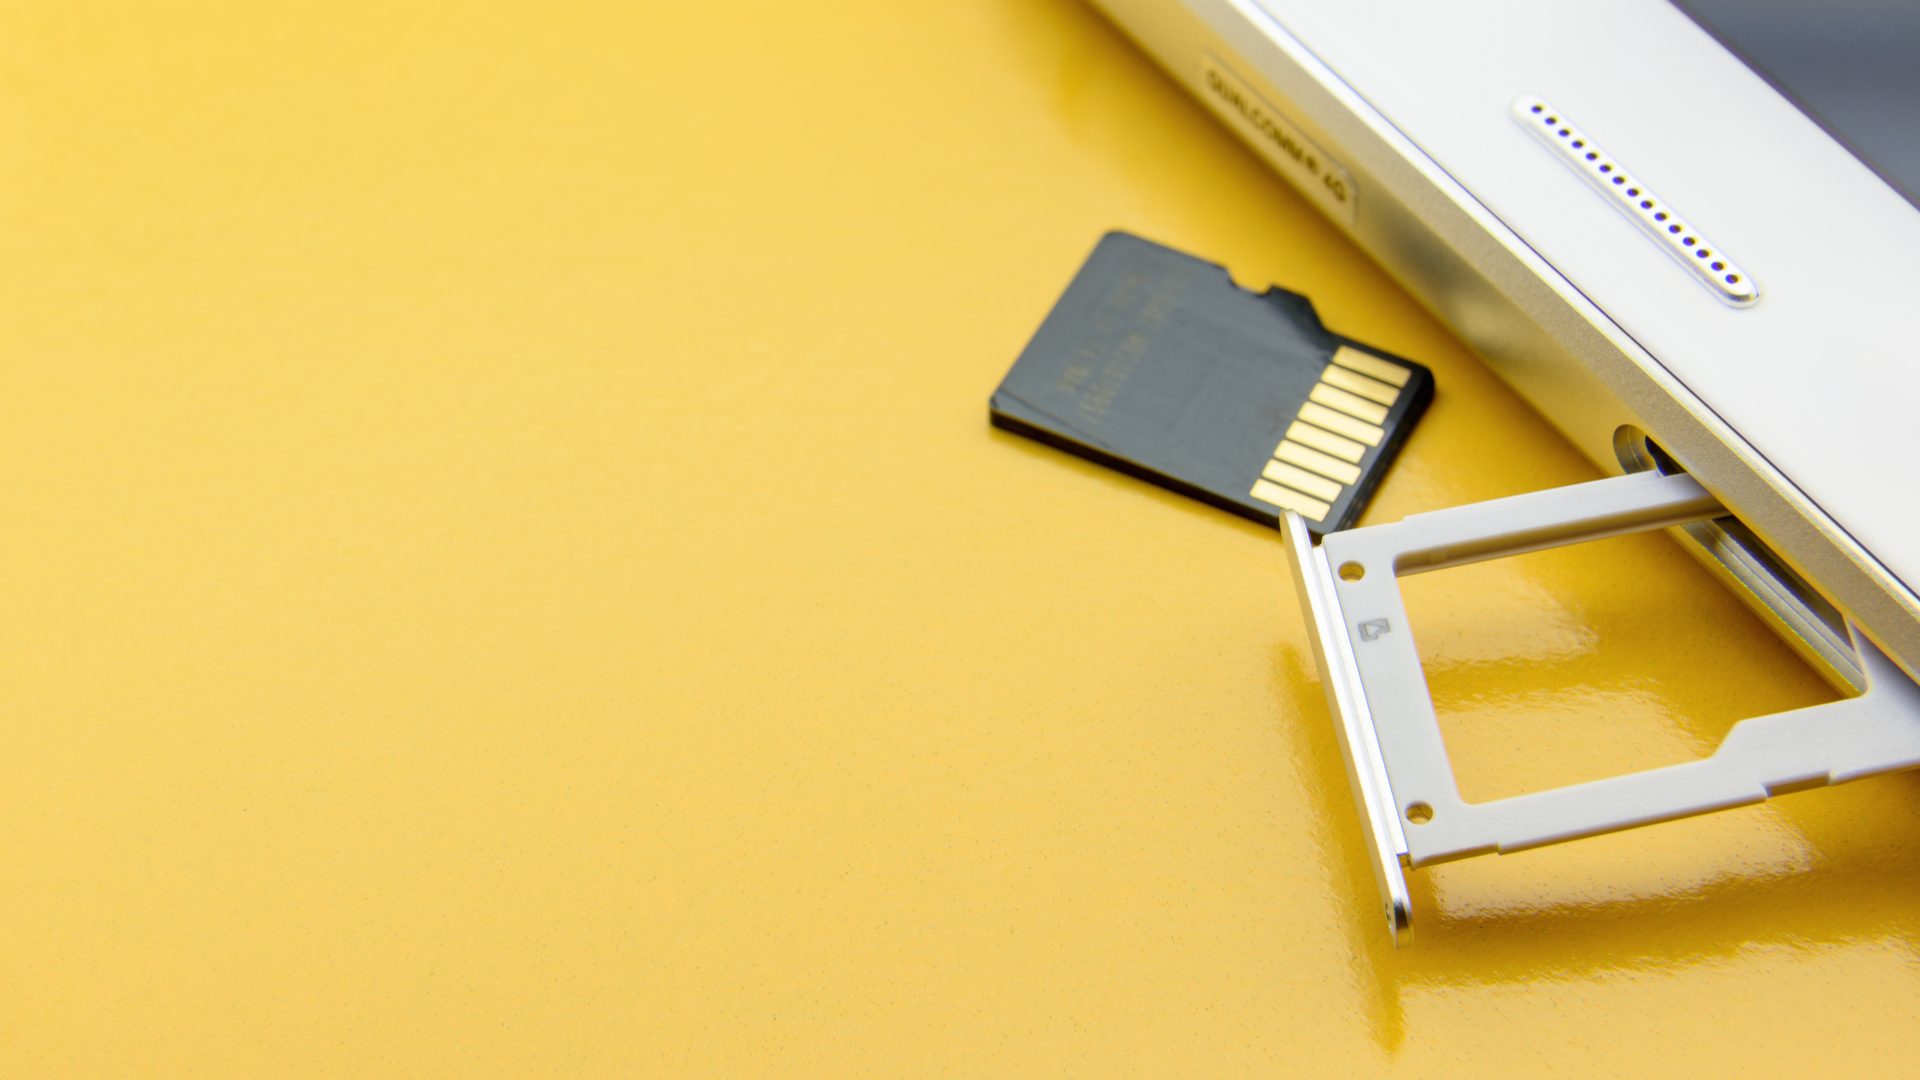
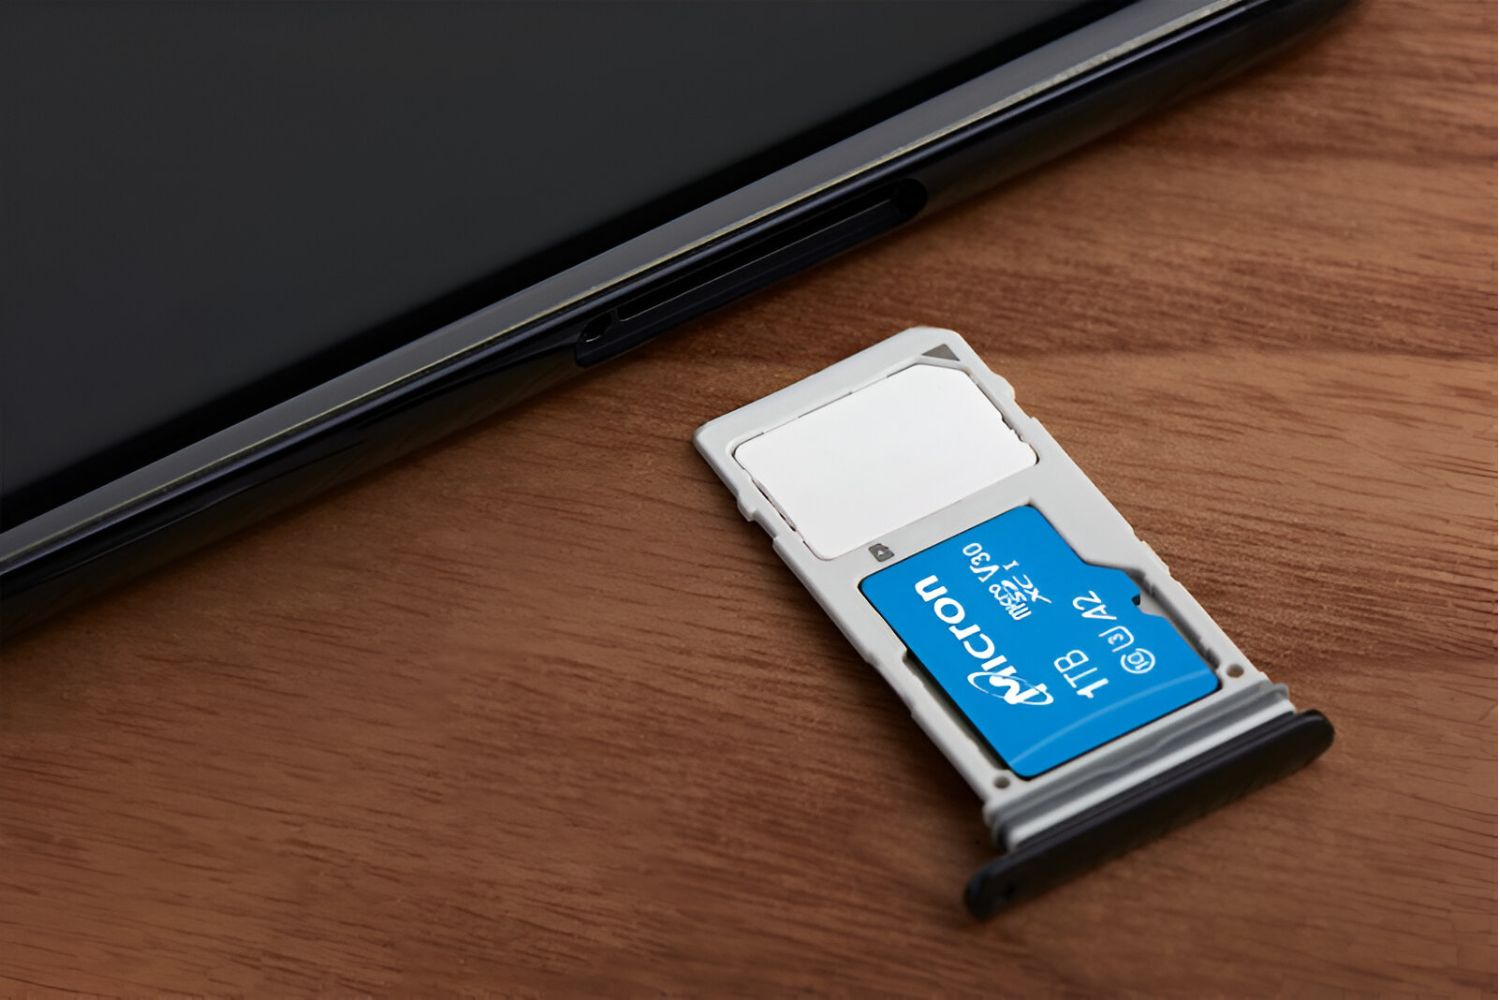
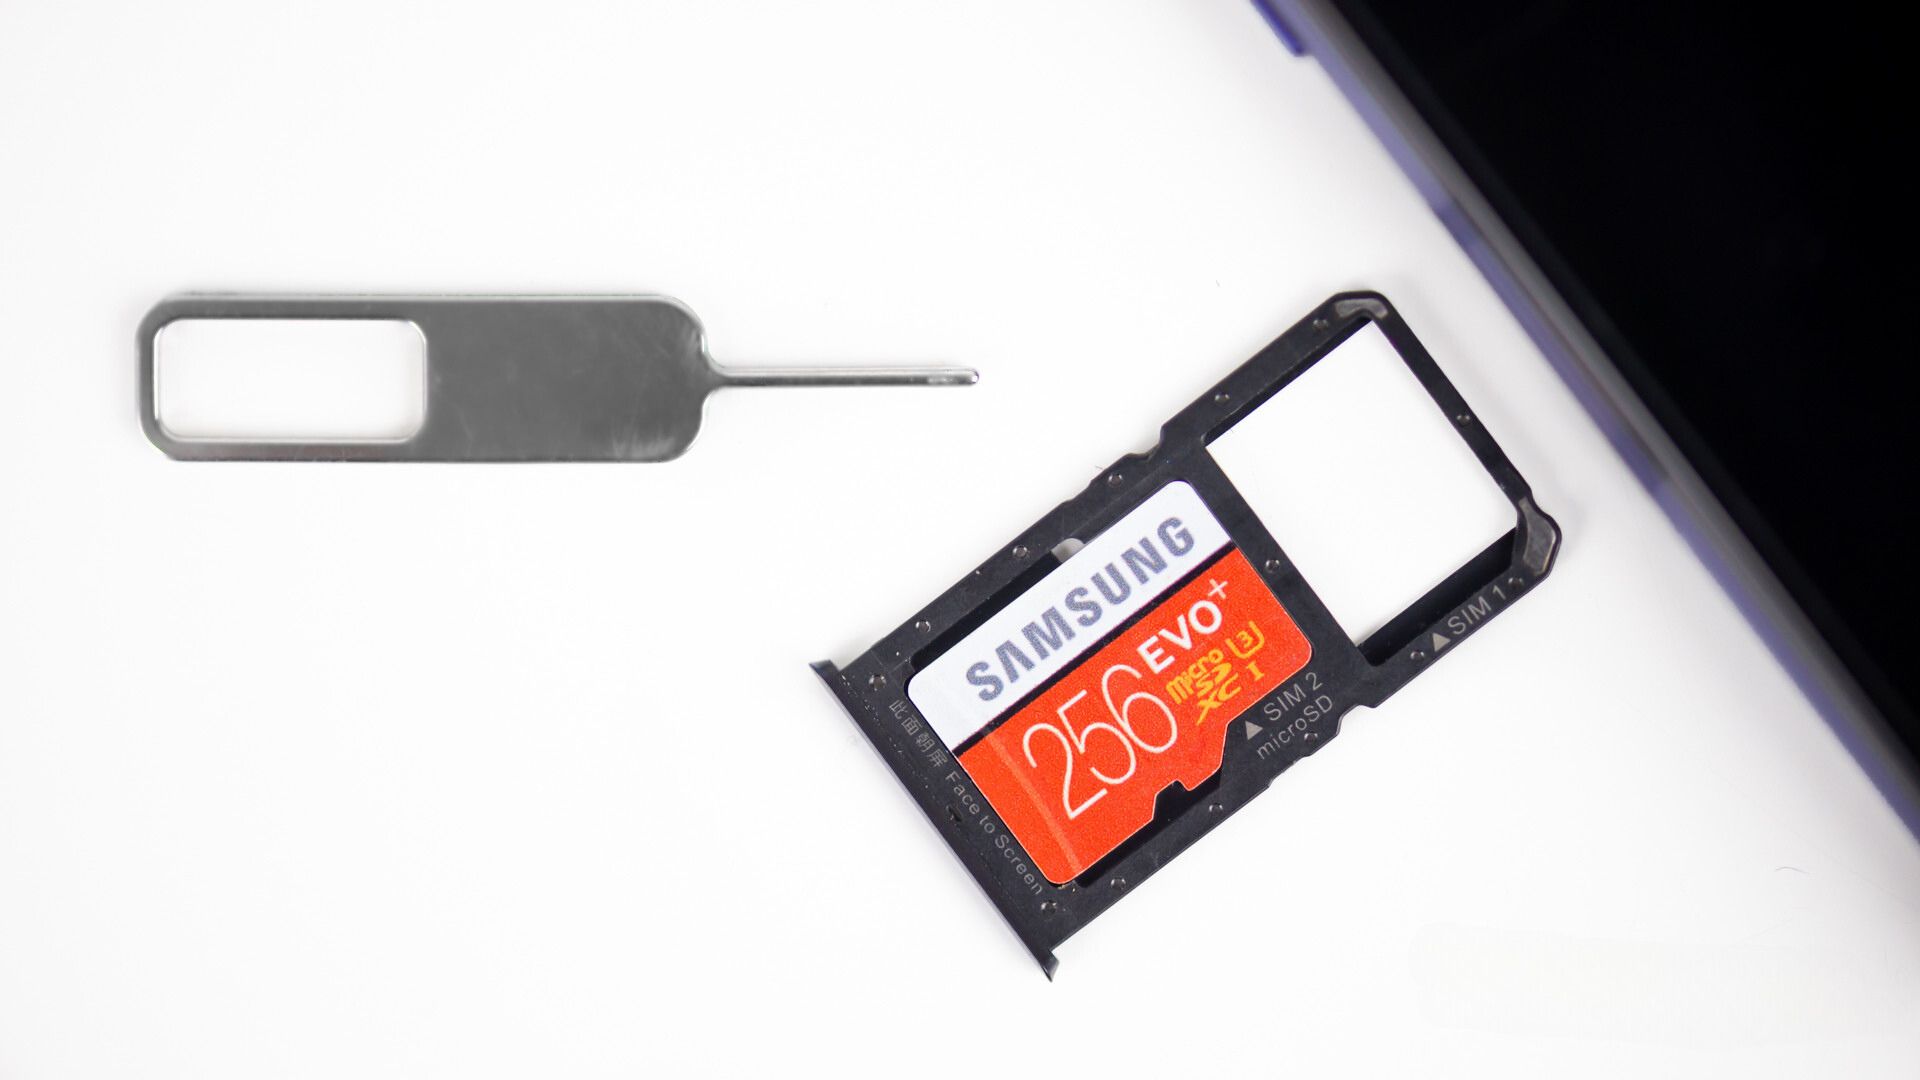
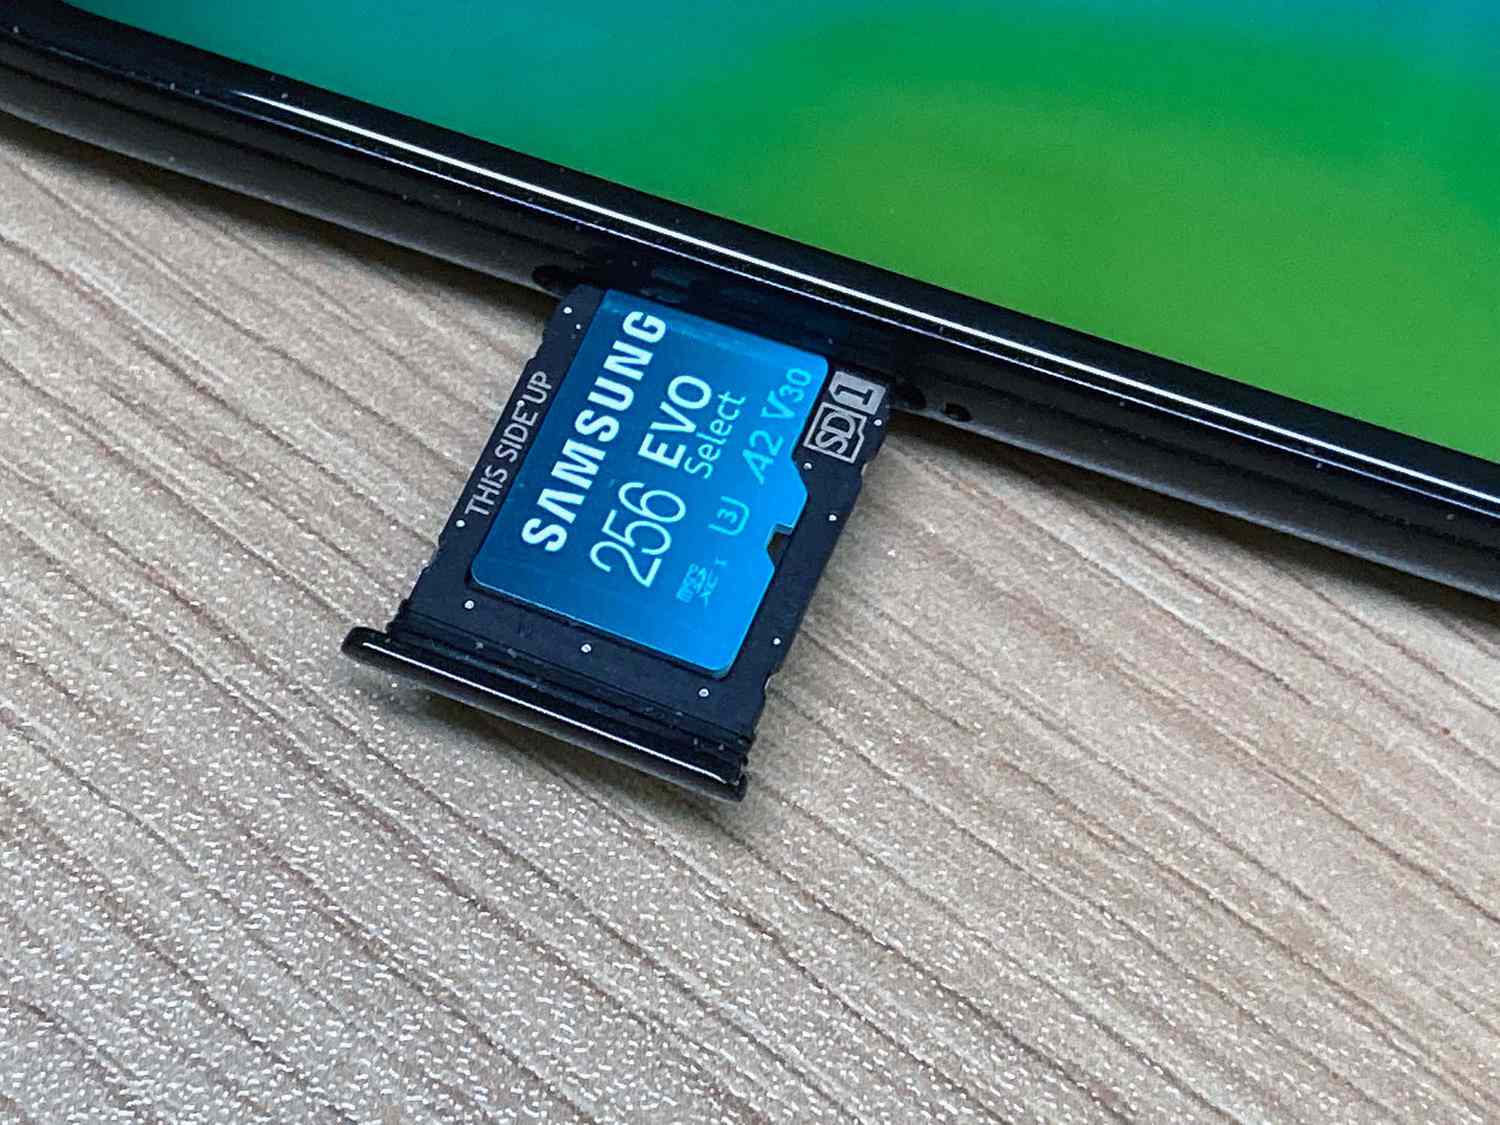
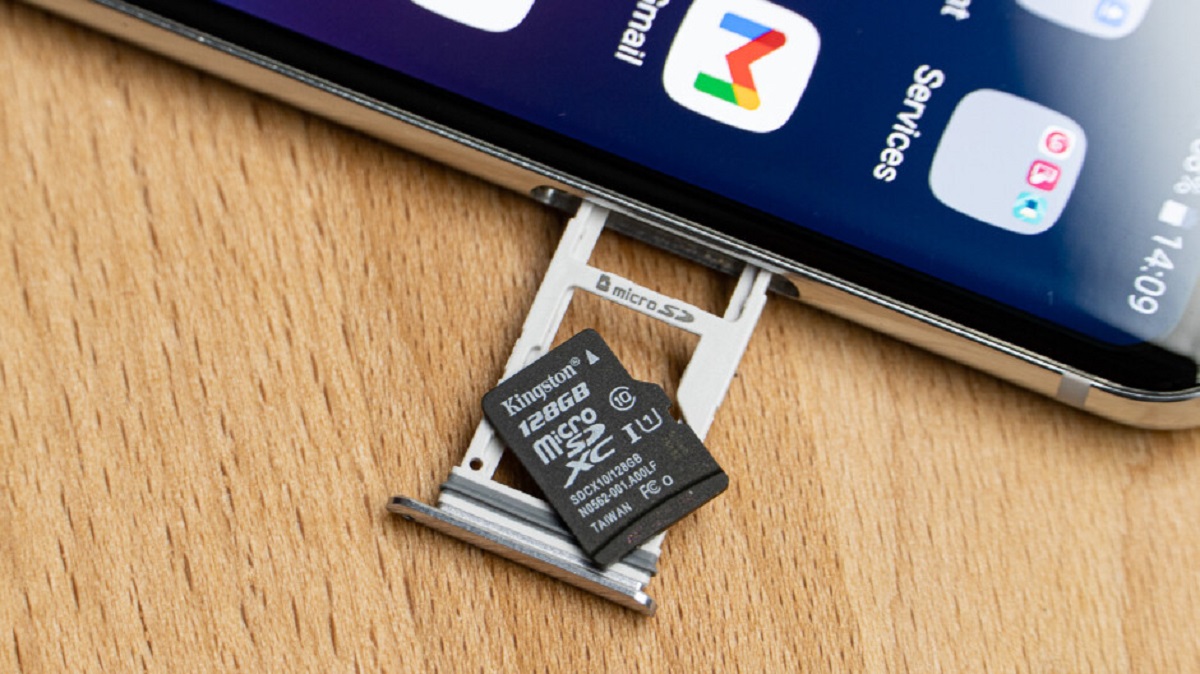
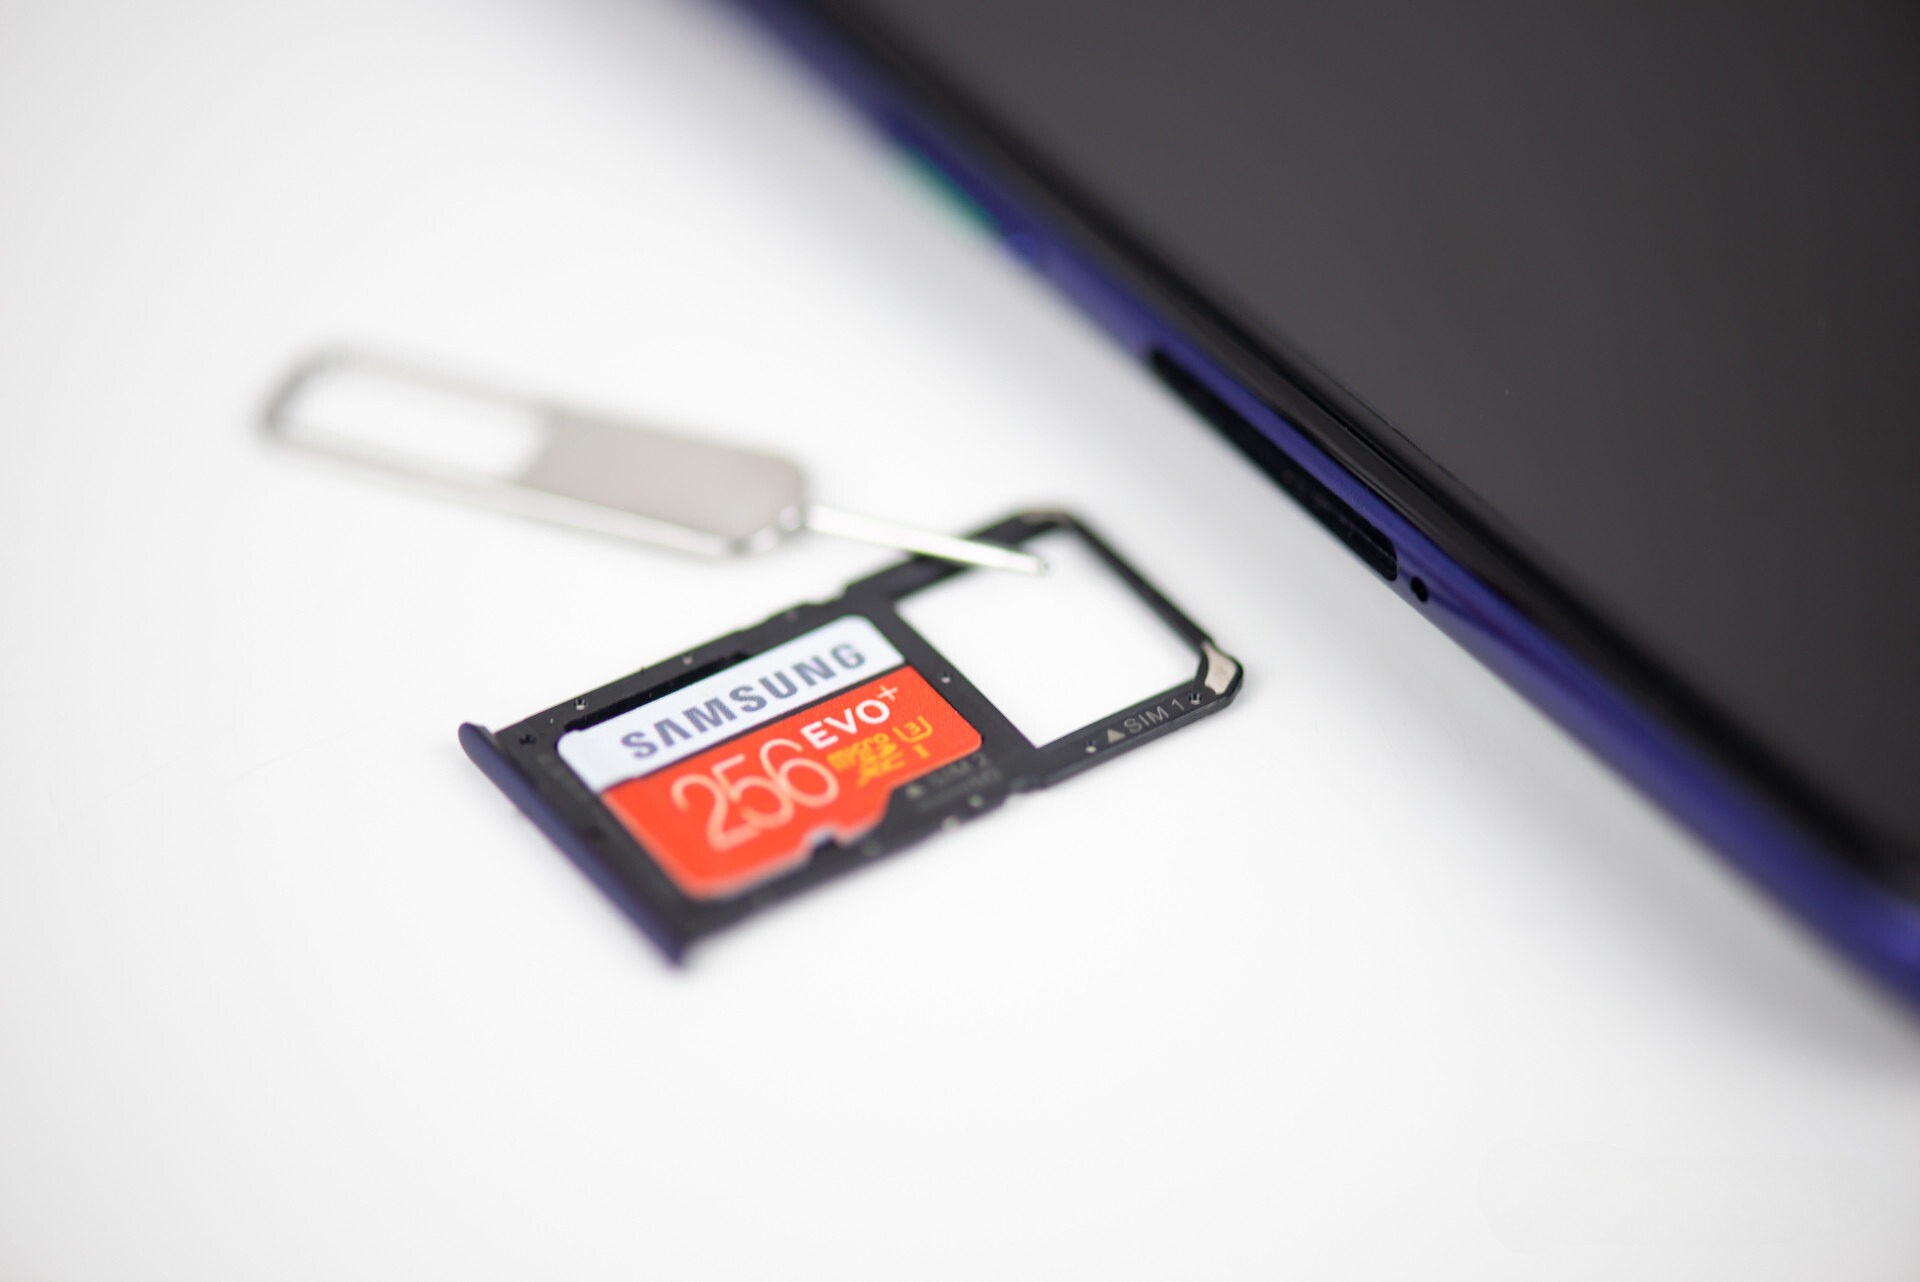
Step 2: Insert the SD card
Now that you have assessed the available storage on your Android tablet, it’s time to insert the SD card. The process may slightly vary depending on your tablet model, but the general steps are as follows:
1. Power off your tablet: Before inserting or removing the SD card, it’s important to switch off your tablet to avoid any potential data loss or damage.
2. Locate the SD card slot: Look for the slot where the SD card will be inserted. This slot is usually located on the side or back of the tablet, depending on the model.
3. Properly insert the SD card: Carefully insert the SD card into the slot, making sure it is properly aligned. Apply a gentle amount of pressure until you feel it click into place. Be sure not to force the card into the slot to avoid any damage.
4. Power on your tablet: Once the SD card is securely inserted, power on your tablet. It will recognize the card and automatically configure it for use.
5. Verify the SD card: To ensure that your tablet has detected the SD card, go to the device’s “Settings” and navigate to the “Storage” or “Storage & USB” section. You should see the added storage capacity from the SD card listed there.
By inserting the SD card into your Android tablet, you are now ready to begin transferring files and optimizing your device’s storage. Remember to always follow the manufacturer’s guidelines for inserting and removing the SD card to prevent any potential damage to your tablet.
Step 3: Locate the files you want to move
Once you have inserted the SD card into your Android tablet, it’s time to identify and locate the files that you want to move. Whether it’s photos, videos, documents, or other types of files, finding them is the first step in the moving process.
Here are some tips to help you locate the files you want to move:
- Use the file manager app: Most Android tablets come pre-installed with a file manager app that allows you to browse and manage your device’s files. Look for an app called “File Manager” or “Files” in your app drawer, and open it.
- Navigate to the desired file location: Depending on where the files are stored on your tablet, navigate to the appropriate folder. For example, if you want to move photos, go to the “Pictures” or “Gallery” folder. If it’s documents, head to the “Documents” or “Downloads” folder.
- View files by category: Some file manager apps allow you to view files by category, making it easier to locate specific types of files. This can be especially helpful if you have a large number of files.
- Use search functionality: If you have trouble finding a specific file, you can utilize the search functionality within the file manager app. Simply enter the file name or relevant keywords, and the app will locate the matching files.
By effectively locating the files you want to move, you can streamline the process and ensure that you don’t miss any important files. Take your time to browse through your tablet’s file system and make note of the files that you intend to transfer to the SD card.
Step 4: Select the files
After identifying the files you want to move to the SD card on your Android tablet, it’s time to select them. Selecting the files is an essential step in the process, as it helps you organize and group the files for the transfer.
Here’s how you can select the files:
- Open the file manager app: Launch the file manager app on your Android tablet to access your device’s files.
- Navigate to the desired file location: Use the file manager to navigate to the folder where the files you want to move are located. You can use the folder structure or search functionality to find the files easily.
- Select individual files: Tap and hold on a file to select it. The selected file will be highlighted or marked in some way to indicate its selection. You can repeat this step to select multiple individual files.
- Select multiple files at once: If you want to select multiple files simultaneously, you can tap and hold on one file, then drag your finger to select the other files. Alternatively, you may have an option to select all files in a folder by tapping on a menu icon or using a multi-select button.
Take your time to carefully select the files you want to move. Double-check your selections to ensure that you haven’t missed any important files. If needed, you can also create a separate folder and move files into it before transferring them to the SD card. This will help you organize the files better and keep them organized after the move.
By properly selecting the files, you will have a clear list of what needs to be transferred to the SD card and can proceed to the next step with ease.
Step 5: Move the files to SD card
Now that you have selected the files you want to move on your Android tablet, it’s time to transfer them to the SD card. The process may vary slightly depending on your file manager app, but the general steps are as follows:
- Select the files: Use the methods mentioned in the previous step to select the files you want to move. Make sure all the desired files are selected before proceeding.
- Tap on the “Move” or “Cut” option: Look for an option in your file manager app that allows you to move or cut the selected files. This option is usually represented by an icon or a menu item.
- Navigate to the SD card: Once you have selected the move or cut option, navigate to the SD card storage location within the file manager app. This is often labeled as “SD card,” “External storage,” or something similar.
- Paste the files: Once you are within the SD card storage location, tap on the “Paste” or “Move here” option to transfer the selected files from your tablet to the SD card. The files will be moved to the chosen location on the SD card.
Depending on the size and number of files, the transfer process may take some time. It’s important to be patient and avoid interrupting the process to ensure successful file transfer.
After the transfer is complete, you can verify that the files have been moved to the SD card by navigating to the appropriate location within the file manager app. You should see the files listed in the SD card storage with their respective file names and formats.
By following these steps, you can effectively move files from your Android tablet to the SD card, freeing up internal storage and ensuring better device performance.
Step 6: Verify the transfer
Once you have moved the files from your Android tablet to the SD card, it is important to verify the transfer to ensure that it was successful. Verifying the transfer will give you peace of mind and ensure that your files are securely stored on the SD card.
Here’s how you can verify the transfer:
- Open the file manager app: Launch the file manager app on your Android tablet.
- Navigate to the SD card storage: Use the app to navigate to the location where you transferred the files on the SD card. This is typically labeled as “SD card,” “External storage,” or similar.
- Browse through the files: Browse through the folders and subfolders on the SD card to locate the transferred files. Check if the files are present and accurately organized in their respective folders.
- Open a few files: Open some of the transferred files, such as photos, videos, or documents, to ensure they open correctly and are not corrupted during the transfer process.
- Confirm file properties: Verify that the file properties, such as the size, format, and creation/modification dates, remain intact after the transfer. This will ensure that the transferred files are identical to the original files on your tablet.
By going through these verification steps, you can rest assured that the files have been successfully transferred to the SD card. If you encounter any issues, such as missing files or corruption, you may need to repeat the transfer process or troubleshoot any underlying issues with your tablet.
Once you have verified the transfer, you can safely remove the files from your tablet’s internal storage to free up space and enjoy the benefits of having them stored on the SD card.
Conclusion
Moving files from your Android tablet to the SD card is a simple and effective way to optimize your device’s storage and improve its performance. By following the steps outlined in this guide, you can successfully transfer files and free up valuable space on your tablet.
We started by checking the available storage on your tablet, providing you with a clear understanding of how much space you have and the need to offload files. We then walked you through the process of inserting the SD card into your tablet, ensuring that it was properly inserted and recognized by your device.
Next, we discussed how to locate the files you want to move by utilizing the file manager app and its search functionality. By selecting the desired files, you were able to prepare them for transfer to the SD card.
We then covered the process of moving the files from the tablet to the SD card, emphasizing the importance of using the cut or move option within your file manager app. Taking the time to verify the transfer is crucial to ensure the files were successfully moved and remain intact on the SD card.
In conclusion, moving files to the SD card on your Android tablet is a practical solution for managing your device’s storage space and improving performance. It allows you to keep important files without sacrificing internal storage capacity. By following the steps outlined in this guide, you can take full advantage of your tablet’s expandable storage options and maintain an organized and efficient device.