Introduction
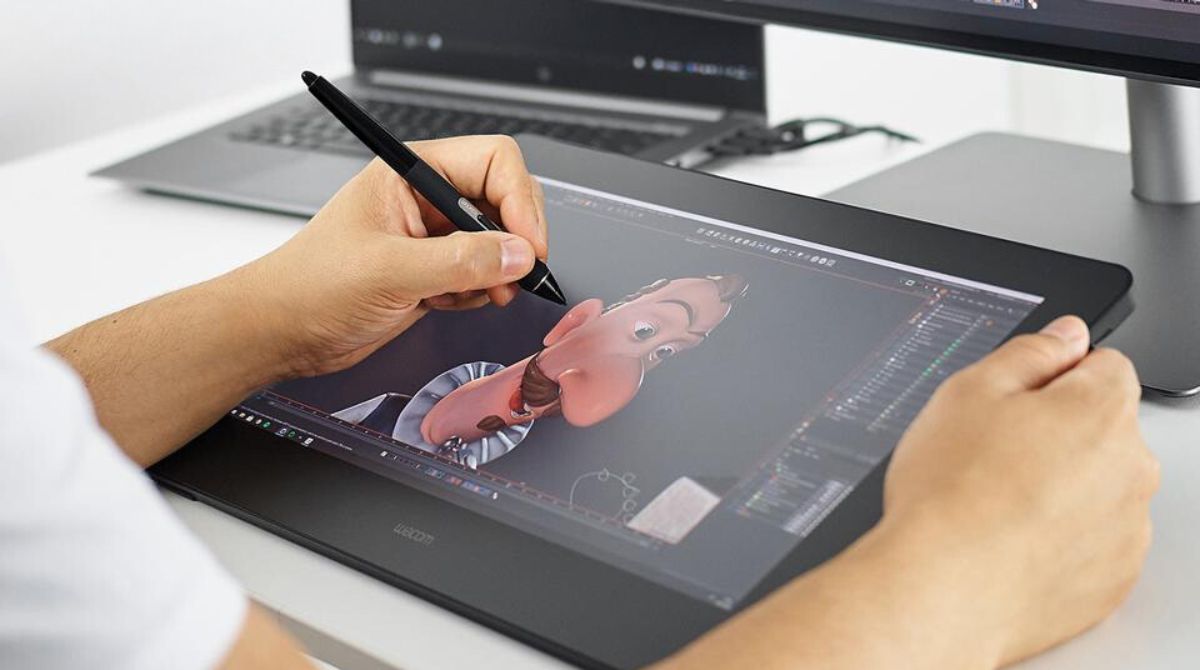
Setting up your Wacom tablet to accommodate your left-handedness can greatly improve your workflow and overall comfort while using the device. By adjusting the tablet’s orientation and configuring the pen buttons, you can ensure that it meets your specific needs.
Whether you are a professional artist, digital illustrator, or simply someone who enjoys using a Wacom tablet for various tasks, this step-by-step guide will help you change your Wacom tablet to left-handed mode.
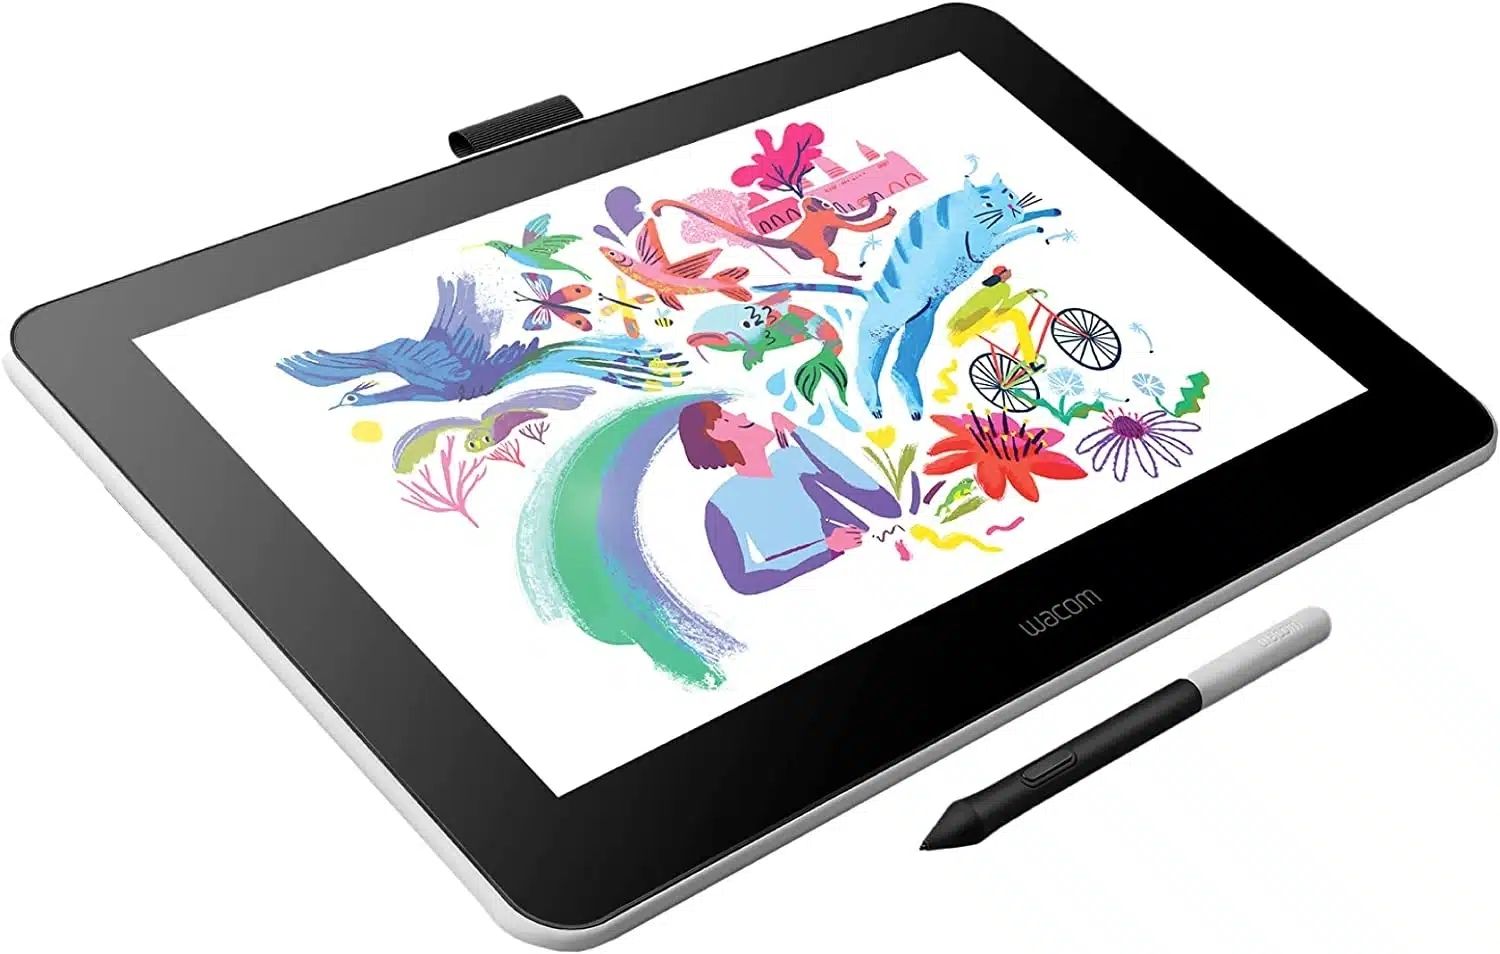
Wacom tablets are widely recognized as powerful and versatile tools for creative professionals. They offer precise control, pressure sensitivity, and customizable features to enhance the digital art experience. However, for left-handed users, the default settings may feel uncomfortable or awkward. Fortunately, Wacom provides a user-friendly software interface that allows you to make these modifications easily.
In this guide, we will walk you through the process of setting up your Wacom tablet for left-handed use. We will cover various aspects of the configuration, including changing the tablet’s orientation and adjusting the pen buttons. By the end, you will have a fully functional and personalized tablet that caters to your left-handed preferences.
Before we dive into the steps, it’s important to ensure that you have the necessary software drivers installed on your computer. The drivers are essential for recognizing the tablet and enabling its full functionality. If you haven’t installed the drivers yet, head to the official Wacom website and download the latest version for your specific tablet model and operating system.
Once you have the drivers installed, you’re ready to get started with the setup process. Let’s proceed to the first step of changing your Wacom tablet to left-handed mode!
Step 1: Setting up the Wacom Tablet
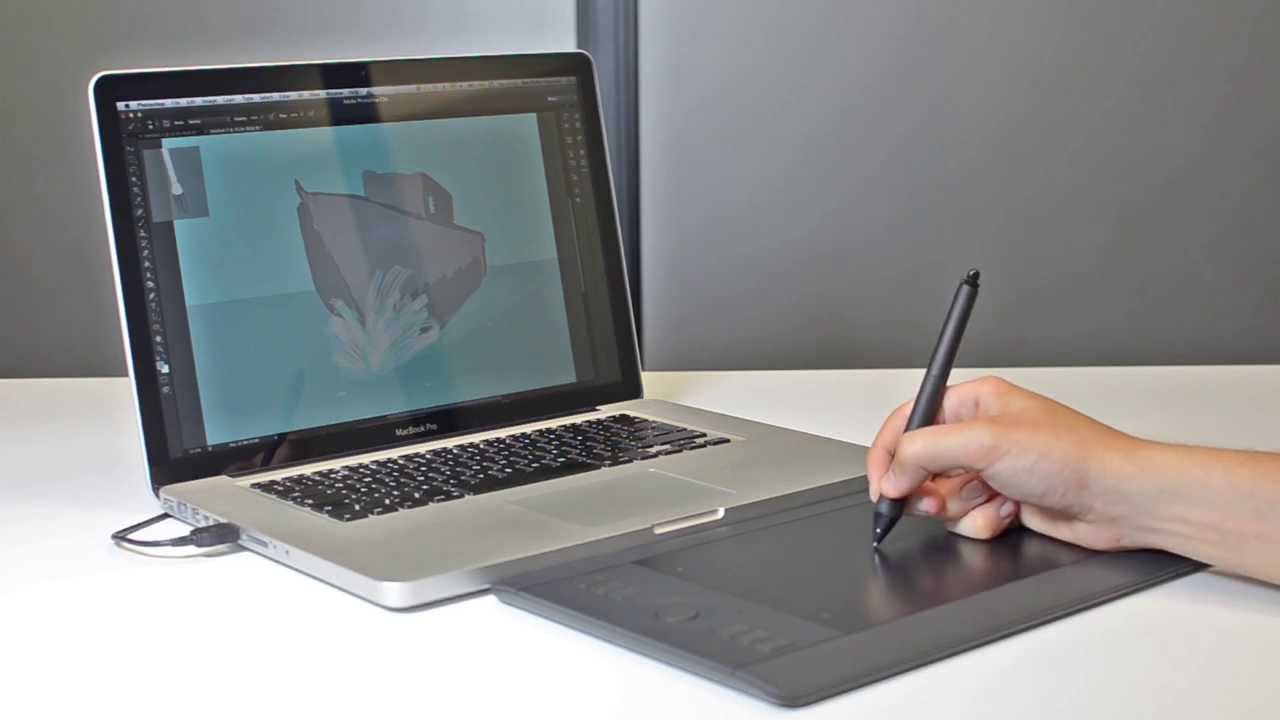
Before we can change the orientation of the Wacom tablet, we need to ensure that it is properly set up and connected to your computer. Follow these steps to set up your Wacom tablet:
- Connect the tablet to your computer: Start by connecting your Wacom tablet to your computer using the provided USB cable. Make sure the tablet is securely connected to a USB port.
- Install the drivers: If you haven’t done so already, install the necessary drivers for your Wacom tablet. These drivers allow your computer to recognize and communicate with the tablet. You can download the latest drivers from the official Wacom website.
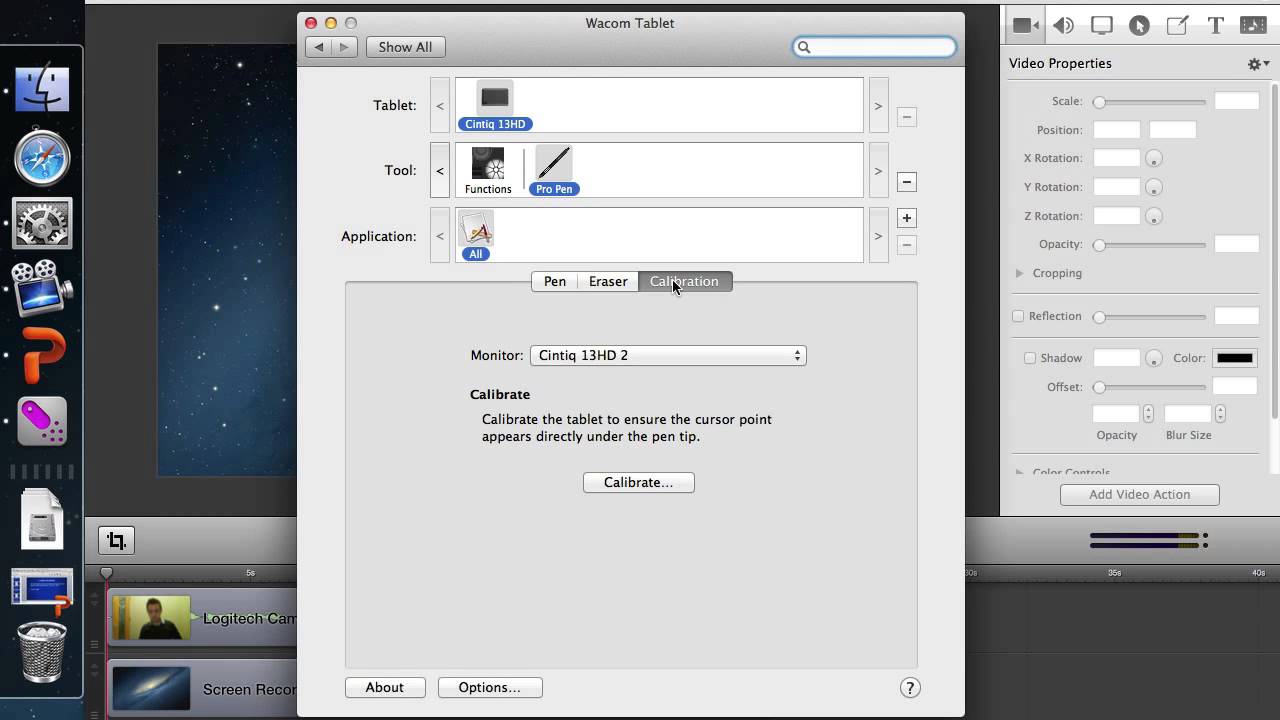
- Calibrate the tablet: Once the drivers are installed, it’s essential to calibrate the tablet. Calibration ensures that the cursor accurately follows the movement of your pen on the tablet surface. To calibrate the tablet, open the Wacom Tablet Properties app on your computer and navigate to the Calibrate tab. Follow the on-screen instructions to complete the calibration process.
- Set up the pen pressure sensitivity (optional): Depending on your preference and creative needs, you may want to adjust the pen pressure sensitivity settings. This allows you to control the thickness and opacity of your strokes based on the pressure you apply to the pen. You can customize these settings in the Pen Pressure section of the Wacom Tablet Properties app.
- Verify tablet functionality: To ensure that the tablet is functioning correctly, test the pen and touch input. Draw on the tablet surface and verify that the corresponding strokes appear on your computer screen. Check if the touch gestures, such as pinch-to-zoom or swipe, are working as intended. If you encounter any issues, refer to the troubleshooting section in the tablet’s user manual or visit the Wacom support website for assistance.
Once you have completed these steps, your Wacom tablet is ready to be configured for left-handed use. Proceed to the next step, where we will access the tablet properties and make the necessary changes to adjust the orientation.
Step 2: Accessing the Tablet Properties
Now that your Wacom tablet is set up and functioning correctly, it’s time to access the tablet properties to make the necessary adjustments for left-handed use. Follow these steps to access the tablet properties:
- Locate the Wacom Tablet Properties app: Look for the Wacom Tablet Properties app on your computer. This app allows you to customize various settings for your Wacom tablet, including the orientation.
- Open the Wacom Tablet Properties app: Double-click on the Wacom Tablet Properties icon to open the application. The specific location and appearance of the icon may vary depending on your operating system and the version of the drivers you have installed.
- Select your tablet: If you have multiple Wacom tablets connected to your computer, make sure to select the correct tablet from the list. The selected tablet’s settings will be displayed in the app.
- Access the Pen options: In the Wacom Tablet Properties app, navigate to the Pen tab. This tab contains various pen-related settings that you can customize.
- Explore the available options: Within the Pen tab, you will find options such as tip sensitivity, eraser settings, and side switch functionality. Take some time to familiarize yourself with these options, as you may want to personalize them based on your preferences.
- Make changes to the orientation: To change the tablet’s orientation for left-handed use, locate the Orientation or Rotation option within the Pen tab. This option allows you to rotate the tablet display by 180 degrees, effectively switching it from right-handed to left-handed mode.
- Save your changes: Once you have adjusted the tablet’s orientation, click on the Apply or Save button within the Wacom Tablet Properties app to save your changes.
By accessing the tablet properties and making the necessary changes, you have successfully configured your Wacom tablet for left-handed use. In the next step, we will explore how to adjust the pen buttons to further enhance your left-handed experience.
Step 3: Changing the Orientation
Now that you have accessed the tablet properties, it’s time to change the orientation of your Wacom tablet to left-handed mode. Follow these steps to adjust the tablet’s orientation:
- Locate the Orientation or Rotation option: Within the Pen tab of the Wacom Tablet Properties app, find the Orientation or Rotation setting.
- Choose left-handed mode: In the Orientation or Rotation setting, select the option that corresponds to left-handed mode. This option might be labeled as “Left” or “180 degrees,” depending on your specific Wacom tablet model.
- Apply the changes: Once you have selected the left-handed orientation, click on the Apply or Save button within the Wacom Tablet Properties app to apply the changes.
- Test the new orientation: To ensure that the orientation has been successfully changed, test the tablet by drawing or navigating on the surface. The cursor’s movement should align with your left-handed movements, giving you a more comfortable drawing or navigation experience.
By changing the orientation to left-handed mode, you have reconfigured your Wacom tablet to suit your preferred hand. In the next step, we will explore how to adjust the functionality of the pen buttons for optimized left-handed use.
Step 4: Adjusting the Pen Buttons
Aside from changing the tablet orientation, you can also customize the functionality of the pen buttons on your Wacom tablet to better suit your left-handed usage. Here’s how you can adjust the pen buttons:
- Access the Pen Button settings: To customize the pen buttons, go back to the Pen tab in the Wacom Tablet Properties app.
- Identify the pen buttons: In the Pen tab, you will find the options to configure the functionality of each pen button. Typically, Wacom pens have two buttons located on the side, although some models may have additional buttons or a customizable touch ring.
- Select a button: Choose one of the pen buttons to customize its behavior. Each button can be set to perform a different action, such as opening a specific application, activating a keyboard shortcut, or toggling a specific pen tool.
- Customize the button’s function: Click on the button you want to customize and select the desired function or action from the available options. You can choose from pre-defined actions or create custom shortcuts for specific software applications.
- Repeat for other buttons (if applicable): If your Wacom pen has multiple buttons, repeat the previous steps to customize the functionality of each button according to your preferences.
- Save your changes: Once you have personalized the pen buttons, click on the Apply or Save button in the Wacom Tablet Properties app to save your settings.
By adjusting the pen buttons, you can easily access frequently used actions or shortcuts, making your workflow more efficient and intuitive. Customize the buttons to suit your specific software or creative needs, and take advantage of the additional control and convenience they provide for left-handed use.
In the final step, we will test the changes you’ve made to ensure that your Wacom tablet is functioning optimally in left-handed mode.
Step 5: Testing the Changes
Now that you have modified the orientation and adjusted the pen buttons on your Wacom tablet for left-handed use, it’s time to test the changes you’ve made. Testing will ensure that your tablet is functioning as expected and that you can comfortably work with it. Follow these steps to test the changes:
- Launch your preferred software: Open the software/application you frequently use with your Wacom tablet, such as drawing software or image editing tools.
- Try drawing or navigating: Use your Wacom pen or touch gestures to draw on the tablet surface or navigate through the software’s interface. Ensure that the strokes or movements on the tablet accurately correspond to what’s happening on your computer screen.
- Test the pen buttons: Experiment with the customized functions you assigned to the pen buttons. Verify that they perform the desired actions, such as activating specific tools, shortcuts, or commands within the software.
- Check for any issues: Pay attention to any unexpected behavior, glitches, or inconsistencies while using the tablet. If you encounter any issues, refer to the tablet’s user manual or Wacom support resources for troubleshooting guidance.
By thoroughly testing the changes you’ve made, you can ensure that your Wacom tablet is fully optimized for left-handed use. If you’re satisfied with the tablet’s performance and functionality, you’re ready to start enjoying a more comfortable and personalized digital art or productivity experience.
Congratulations! You’ve successfully changed your Wacom tablet to left-handed mode and customized its settings to suit your preferences. With the adjusted orientation and personalized pen buttons, you can now fully unleash your creative potential or enhance your productivity using your Wacom tablet with your left hand.
Conclusion
Changing your Wacom tablet to left-handed mode can make a significant difference in your comfort and productivity while using the device. By adjusting the tablet’s orientation and customizing the pen buttons, you can create a more intuitive and personalized experience tailored to your left-handed preferences.
In this guide, we have walked you through the step-by-step process of setting up your Wacom tablet, accessing the tablet properties, changing the orientation, adjusting the pen buttons, and testing the changes. These steps ensure that your Wacom tablet is fully configured for left-handed use.
Remember, while the steps provided in this guide are general guidelines, the specific instructions and options may vary based on your Wacom tablet model and the software drivers you have installed. Be sure to consult the tablet’s user manual or the Wacom support resources for any additional information or troubleshooting assistance.
Now that you have successfully made the necessary adjustments, it’s time to put your customized Wacom tablet to good use. Whether you’re a professional artist, digital illustrator, or someone who simply enjoys using a Wacom tablet for various tasks, you can now enjoy a more convenient and personalized workspace that supports your left-handed creativity and workflow.
Utilize your newfound configuration to explore and expand your artistic capabilities or complete tasks efficiently and comfortably. With your customized Wacom tablet, let your left hand take the lead and empower your creativity and productivity.
Embrace the possibilities and enjoy an enhanced digital experience with your left-handed Wacom tablet!