Introduction
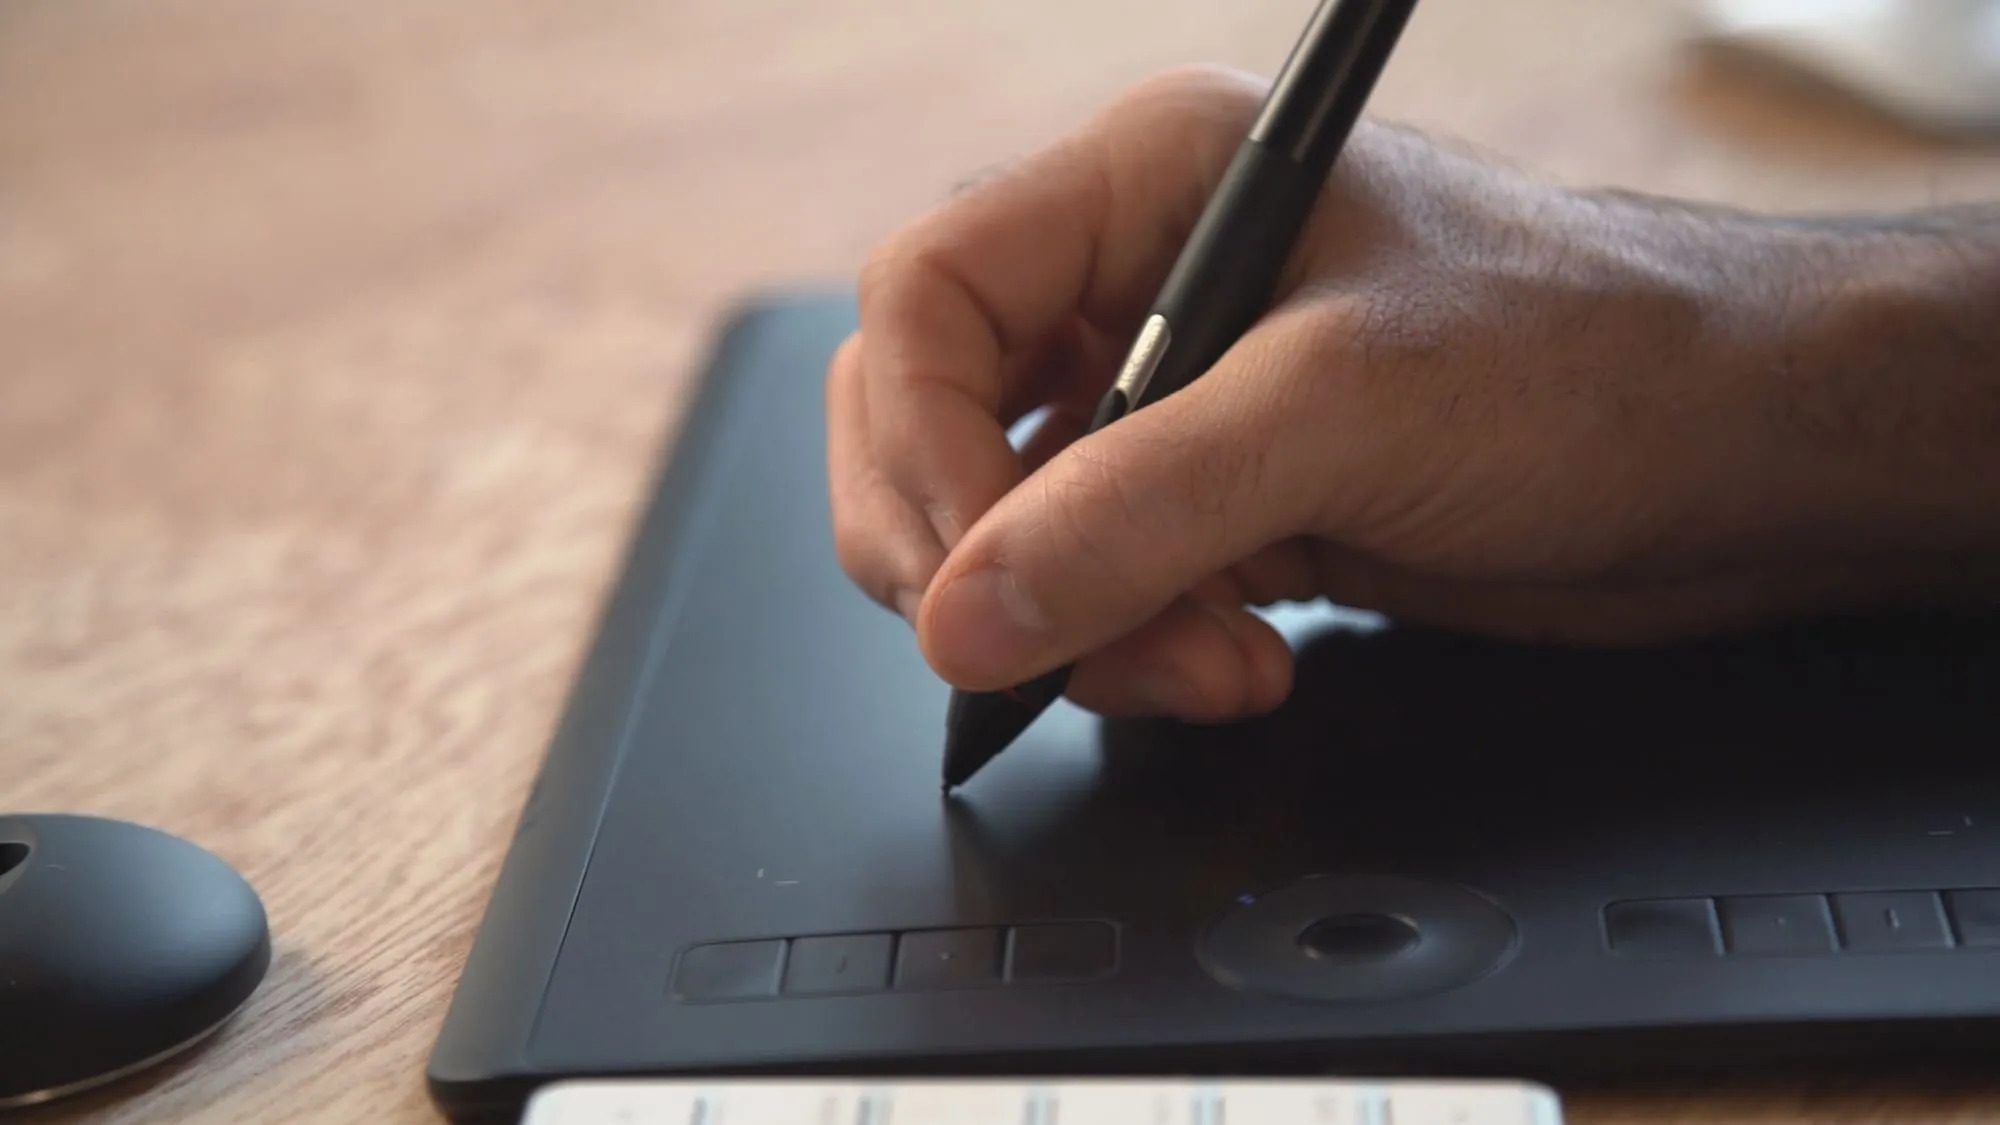
Calibrating your Wacom tablet pen is an essential step to ensure accurate and precise input while working on digital art projects. Whether you’re a graphic designer, illustrator, or digital artist, having a correctly calibrated pen can greatly enhance your creative workflow.
When you unbox a new Wacom tablet or if you notice any issues with your pen’s performance, it’s important to go through the calibration process. This process helps align the tablet’s digitizer with the position of your pen, ensuring that the strokes you make on the tablet accurately correspond to the movements you intend.
In this guide, we’ll walk you through the step-by-step process of calibrating your Wacom tablet pen. We’ll also provide some troubleshooting tips for common issues that may arise during the calibration process.
Whether you’re a beginner or a seasoned digital artist, understanding how to calibrate your pen can make a world of difference in the quality of your work. So, let’s delve into the details and get your Wacom tablet pen perfectly calibrated!
Understanding the Calibration Process
Before we dive into the steps of calibrating your Wacom tablet pen, let’s take a moment to understand the significance of this process. Calibration is necessary because it ensures that your pen’s input is accurately registered on the tablet’s surface. This is particularly important for tasks that require precision, such as digital drawing or photo editing.
Wacom tablets use a technology called electromagnetic resonance (EMR) to track the position of the pen on the tablet. The tablet’s surface contains a grid of wires that generate an electromagnetic field. When the pen comes into contact with the tablet, it emits a signal that interacts with the grid, allowing the tablet to determine the exact position of the pen.
However, due to variations in manufacturing and other factors, there can be slight misalignments between the digitizer and the pen’s position. This misalignment can result in inaccurate drawing or cursor movements.
Calibration involves the tablet displaying a series of crosshairs or dots on the screen, and you use the pen to tap on each target. By doing this, the tablet can establish the precise relationship between the pen and the screen’s coordinates, effectively establishing a calibration profile.
It’s worth noting that Wacom tablets typically have excellent out-of-the-box accuracy, and many users won’t notice any major issues without calibration. However, if you feel that there is a slight discrepancy between the pen’s input and the cursor’s movement, calibration can help fine-tune the performance.
Now that we have a good understanding of why calibration is important, let’s move on to the practical steps involved in calibrating your Wacom tablet pen.
Step 1: Checking for Panel Alignment Issues
Before proceeding with the calibration process, it’s essential to ensure that there are no panel alignment issues affecting the accuracy of your Wacom tablet pen. Panel misalignment can occur if the tablet hasn’t been set up correctly or if it has been subjected to physical stress. Here’s how you can check for panel alignment issues:
- Inspect the tablet surface: Carefully examine the tablet surface for any visible signs of damage or misalignment. Look for any cracks, scratches, or unevenness. If you notice any such issues, it’s recommended to contact Wacom support for assistance.
- Check the tablet’s positioning: Make sure that the tablet is positioned correctly on your desk or workspace. Ensure that it is stable and not tilted or at an angle that could affect the proper functioning of the pen.
- Verify USB and power connections: Ensure that all USB and power connections to the tablet are secure and functioning correctly. Unplug and replug the cables if necessary to make sure they are snugly connected.
- Try a different USB port or cable: Sometimes, an issue with the USB port or cable can cause alignment problems. Try connecting the tablet to a different USB port or use a different USB cable to rule out any potential connection-related issues.
- Restart your computer: A simple restart of your computer can sometimes resolve alignment issues by resetting the connection between the tablet and the operating system. Close any open applications and folders before restarting.
By following these steps, you can eliminate or identify any panel alignment issues that may be affecting the performance of your Wacom tablet pen. Once you’ve ruled out any physical or connection-related problems, you can proceed to the next steps in the calibration process.
Step 2: Updating the Tablet Driver
An outdated or incompatible tablet driver can sometimes cause issues with the calibration process and overall performance of your Wacom tablet pen. Updating the tablet driver ensures that you have the latest software and compatibility enhancements. Here’s how you can update the tablet driver:
- Visit the Wacom website: Go to the official Wacom website and navigate to the support or drivers section.
- Select your tablet model: Locate your specific tablet model from the list of available options. Ensure that you choose the correct model and operating system version.
- Download the latest driver: Once you’ve selected the correct tablet model, download the most recent driver version provided by Wacom. This will usually be in the form of an executable file.
- Install the driver: After the download is complete, run the driver installation file and follow the on-screen instructions to install the updated driver.
- Restart your computer: Once the driver installation is complete, restart your computer to ensure that all changes take effect.
Updating the tablet driver not only improves compatibility but also ensures that any bugs or known issues are addressed. This step is crucial to optimize the performance of your Wacom tablet pen, including the calibration process.
If you’ve already installed the latest driver or are experiencing any difficulties during the installation process, it’s recommended to contact Wacom support for further assistance. They can provide personalized guidance and troubleshooting specific to your tablet model.
With the tablet driver updated, you’re now ready to proceed to the next steps in the calibration process. Continue reading to learn more about pressure sensitivity settings and how they can impact your Wacom tablet pen.
Step 3: Checking Pressure Sensitivity Settings
Pressure sensitivity is one of the key features that make Wacom tablets popular among digital artists. It allows you to control the thickness, opacity, and other parameters of your brush strokes based on the pressure applied to the tablet pen. Before calibrating your Wacom tablet pen, it’s important to ensure that the pressure sensitivity settings are properly configured. Here’s how you can check and adjust the pressure sensitivity:
- Open the Wacom Tablet Properties: Locate the Wacom Tablet Properties utility on your computer. It is typically accessible through the system tray or the Start menu.
- Select your tablet model: In the Wacom Tablet Properties window, select your tablet model from the list if it is not already automatically detected.
- Navigate to the Pen Pressure section: Once your tablet model is selected, navigate to the Pen Pressure section in the Wacom Tablet Properties window.
- Adjust the pressure curve: In the Pen Pressure section, you can adjust the pressure curve to match your personal preference. Experiment with different curve settings and test the pressure sensitivity by making strokes on your favorite drawing software or the provided preview area.
- Test different pen tips: Some Wacom tablet pens come with different types of pen tips, such as soft or hard tips. Experimenting with different pen tips can also affect the pressure sensitivity and the feel of your strokes.
By checking and optimizing the pressure sensitivity settings, you can ensure that the pen responds accurately to the pressure you apply while drawing. Keep in mind that personal preferences can vary, so it’s important to spend some time experimenting with the pressure curve to find the settings that work best for you.
Now that you’ve checked and adjusted the pressure sensitivity settings, you’re ready to move on to the next step: calibrating the Wacom tablet pen. This step involves establishing the proper alignment between the pen’s input and the corresponding on-screen movements.
Step 4: Calibrating the Pen
Now that you have prepared your Wacom tablet pen by checking for panel alignment issues and updating the tablet driver, it’s time to calibrate the pen. Calibrating the pen ensures that the tablet accurately registers your pen movements on the screen. Follow these steps to calibrate your Wacom tablet pen:
- Open the Wacom Tablet Properties: Locate and open the Wacom Tablet Properties utility on your computer. This utility allows you to access various settings and preferences for your tablet.
- Select your tablet model: In the Wacom Tablet Properties window, select your tablet model from the list if it isn’t already automatically detected.
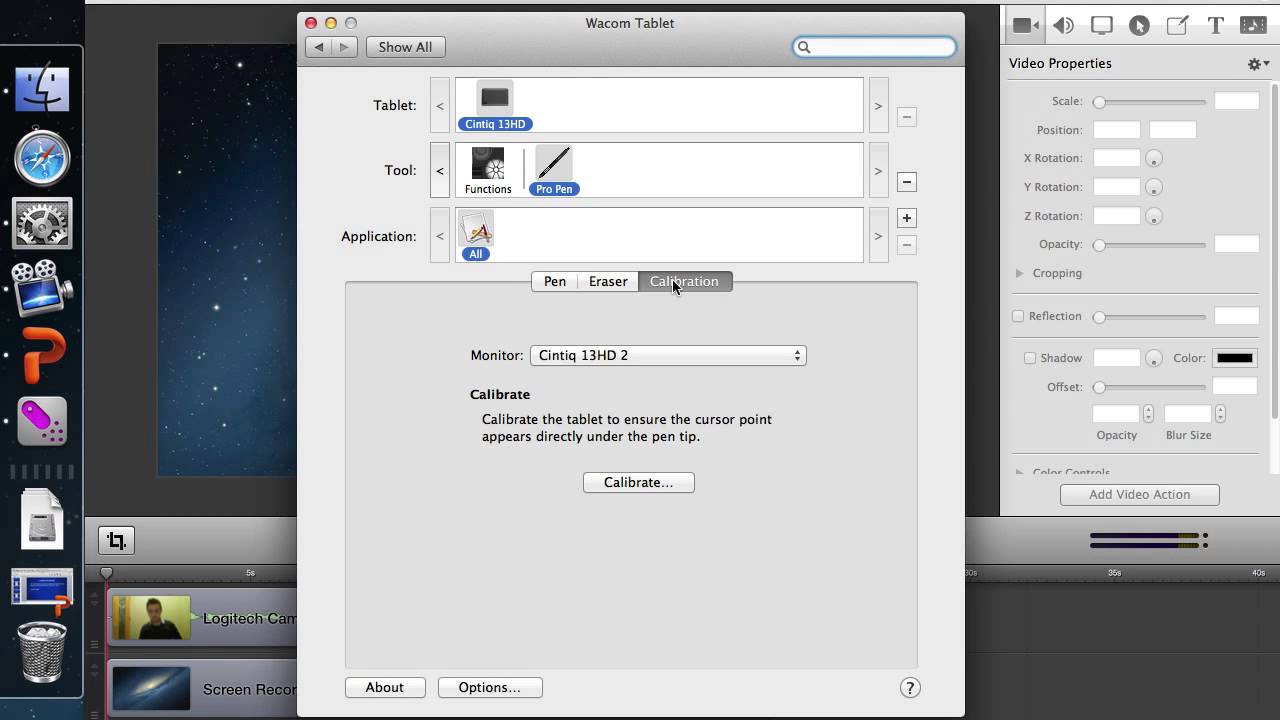
- Navigate to the Calibration section: Once your tablet model is selected, navigate to the Calibration section in the Wacom Tablet Properties window. This section contains options related to calibrating your tablet pen.
- Click on “Calibrate…”: In the Calibration section, click on the “Calibrate…” button to initiate the calibration process.
- Follow the on-screen instructions: The tablet will display a series of crosshairs or dots on the screen. Use your pen to accurately tap on each target as it appears. Make sure to maintain a comfortable grip and hold the pen vertically for the best results.
- Complete the calibration process: Once you’ve successfully tapped on all the targets, the calibration process will be complete. The tablet will save the calibration profile and apply it to your pen movements.
It’s important to perform the calibration process in a distraction-free environment to ensure accurate results. Avoid any direct contact with the tablet surface with your fingers or hands while calibrating the pen.
After completing the calibration, you should notice a significant improvement in the accuracy and responsiveness of your pen. However, if you still experience any issues, such as offset or erratic cursor movement, you may need to recalibrate or explore advanced settings within the tablet properties.
Now that you’ve successfully calibrated your Wacom tablet pen, it’s time to move on to the final step: testing the calibration to ensure optimal performance.
Step 5: Testing the Calibration
After calibrating your Wacom tablet pen, it is crucial to test the calibration to ensure that it meets your expectations. Testing the calibration ensures that your pen movements are accurately translated on the screen, allowing for precise and smooth digital artwork. Here’s how you can test the calibration of your Wacom tablet pen:
- Open your preferred drawing software: Launch the drawing software of your choice, such as Adobe Photoshop, Corel Painter, or Clip Studio Paint.
- Create a new canvas: Create a new canvas or open an existing project to begin testing.
- Make controlled pen strokes: Using your Wacom tablet pen, make controlled strokes in different areas of the canvas. Vary your stroke length, pressure, and speed to observe how accurately the tablet responds.
- Check for accuracy and responsiveness: Pay close attention to the accuracy and responsiveness of the pen on the screen. Ensure that the strokes closely match your hand movements and that pressure sensitivity is accurately reflected.
- Experiment with different brush settings: Try using different brush sizes, opacity levels, and other brush settings to verify that the tablet captures these adjustments accurately.
By testing the calibration in your preferred drawing software, you can determine if the pen movements match your expectations. If you notice any issues, such as offset brush strokes or inconsistent pressure sensitivity, you may need to recalibrate the pen or adjust the settings in the tablet properties.
It’s important to remember that different drawing software may have specific configuration options for tablet input. In some cases, you may need to adjust additional settings within the drawing software itself to optimize the performance of your Wacom tablet pen.
Once you’re satisfied with the calibration and the performance of your tablet pen, you’re ready to unleash your creativity and enjoy a seamless and accurate drawing experience.
Troubleshooting Common Calibration Issues
While calibrating your Wacom tablet pen can greatly enhance its performance, you may encounter some common issues along the way. Understanding and troubleshooting these issues can help ensure that your pen performs optimally. Here are some common calibration issues and their possible solutions:
1. Offset cursor or misaligned pen strokes: If you notice that the cursor or pen strokes are not aligned accurately with your pen movements, you may need to recalibrate the pen. Follow the calibration process again, ensuring that you tap accurately on each target during the calibration process.
2. Erratic or jumpy cursor movements: If your cursor movements are erratic or jumpy, it could be due to interference from other electronic devices or wireless signals nearby. Try moving the tablet away from such devices to see if the issue resolves. Additionally, make sure your tablet drivers are up to date, and consider adjusting the pen pressure settings within the tablet properties.
3. Inconsistent pressure sensitivity: If you find that the pressure sensitivity isn’t working consistently, make sure your tablet drivers and drawing software are both updated to the latest versions. Additionally, check the pressure sensitivity settings in the tablet properties and adjust the pressure curve to suit your preferences. It’s also worth experimenting with different pen tips to see if they affect the pressure sensitivity.
4. Unresponsive pen: If your pen is unresponsive, first check that you have charged the pen or replaced the battery if necessary. Ensure that the pen’s nib is securely inserted and hasn’t worn out. If the issue persists, try restarting your computer and reinstalling the tablet driver. If all else fails, contact Wacom support for further assistance.
Remember, troubleshooting calibration issues can require a bit of trial and error. It’s important to be patient and persistent in finding the right solution to ensure optimal performance from your Wacom tablet pen.
By understanding and troubleshooting these common calibration issues, you can overcome obstacles and enjoy a smooth and accurate drawing experience with your Wacom tablet pen.
Conclusion
Calibrating your Wacom tablet pen is a crucial step for achieving accurate and precise input while working on digital art projects. By following the steps outlined in this guide, you can ensure that your pen’s movements are accurately registered on the tablet’s surface, resulting in a seamless and enjoyable drawing experience.
We began by understanding the importance of the calibration process, which helps align the tablet’s digitizer with the position of your pen. We then discussed how to check for panel alignment issues, update the tablet driver, and verify pressure sensitivity settings. These preparatory steps ensure that the calibration process goes smoothly and produces optimal results.
Next, we walked through the step-by-step process of calibrating the pen, where you tap on a series of targets displayed on the screen. By following the on-screen instructions and tapping accurately on each target, the calibration process establishes a calibration profile specific to your pen and tablet.
Finally, we emphasized the importance of testing the calibration by making controlled strokes in your preferred drawing software. This helps verify the accuracy and responsiveness of the tablet, ensuring that the pen movements closely match your hand movements and pressure sensitivity is accurately reflected.
In the event that you encounter common calibration issues, such as offset cursor, erratic movements, or inconsistent pressure sensitivity, we provided troubleshooting tips to help you resolve these problems. By following these troubleshooting steps, you can overcome obstacles and achieve optimal performance from your Wacom tablet pen.
With your Wacom tablet pen properly calibrated, you can now unleash your creativity and enjoy a seamless digital art experience. The accurate and precise input provided by the calibrated pen will enhance your artistic workflow, allowing you to bring your ideas to life with ease.
Remember, calibration is not a one-time process. If you notice any changes in performance or encounter new issues, it’s a good practice to recalibrate your pen to ensure ongoing accuracy. By regularly calibrating your Wacom tablet pen, you can maintain its optimal performance and continue creating stunning digital artwork.