The Basics
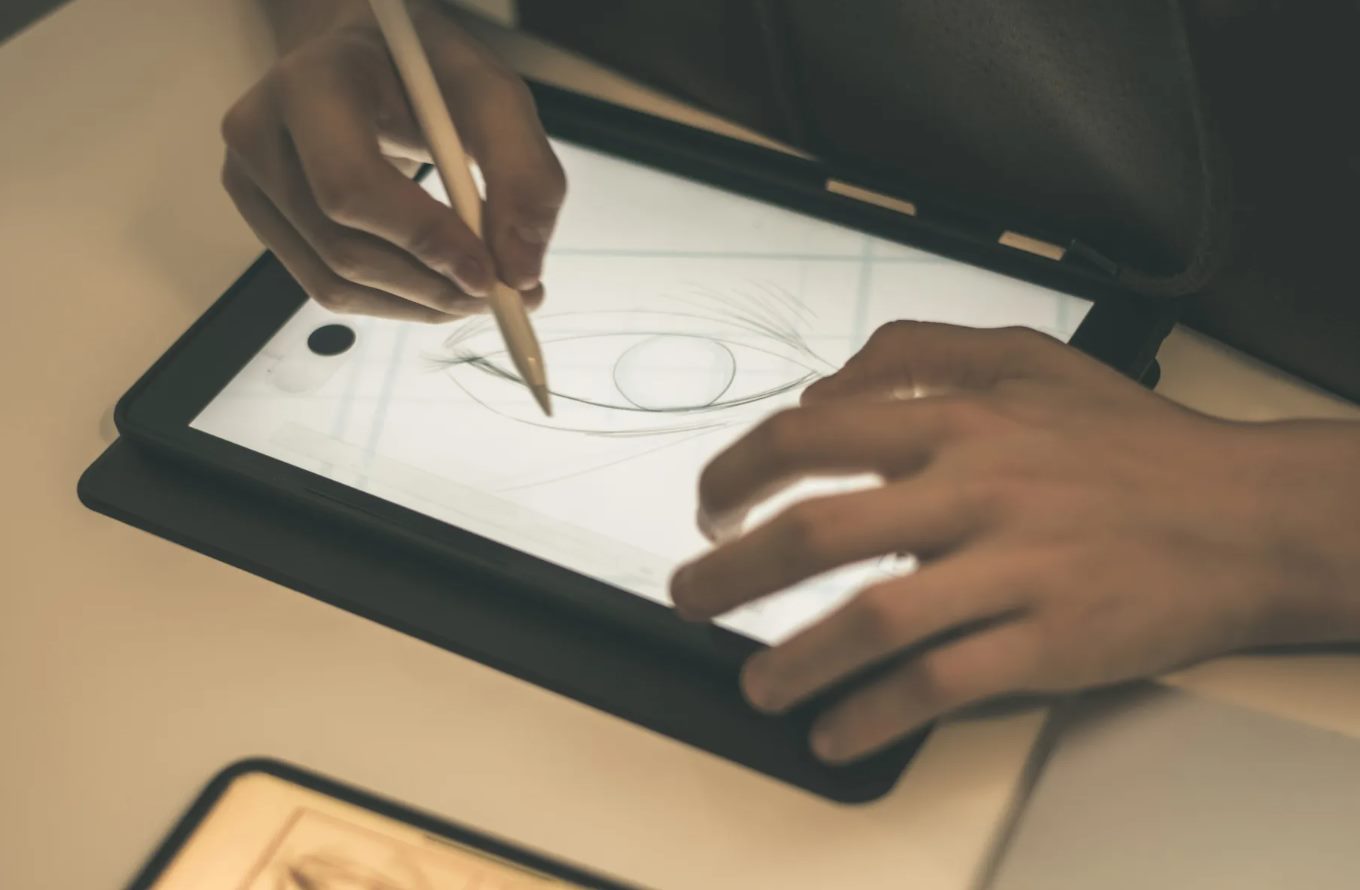
If you’re a creative professional or an aspiring artist, one tool that can take your digital artistry to the next level is a Wacom tablet. Designed to simulate the experience of drawing or painting with traditional tools, a Wacom tablet allows you to directly interact with your Mac and unleash your creativity in a whole new way. Whether you’re a graphic designer, photographer, or illustrator, mastering the basics of using a Wacom tablet on your Mac is essential.
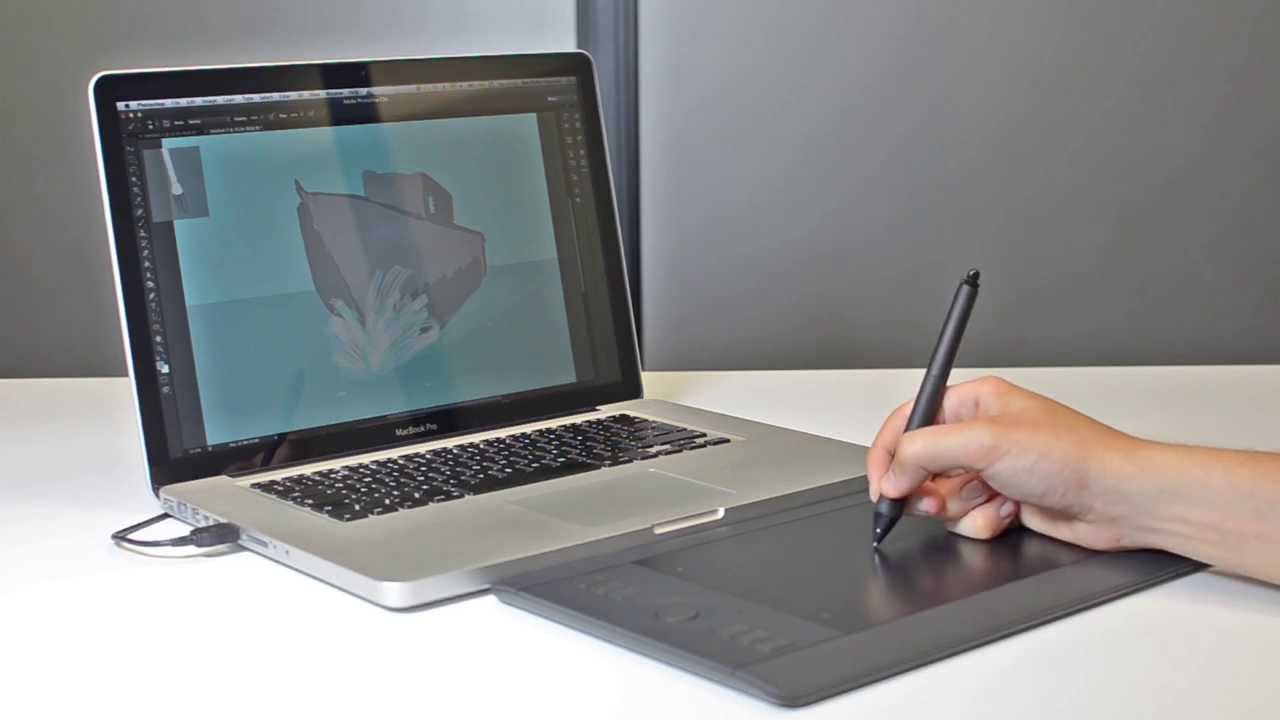
First things first, ensure that your Wacom tablet is compatible with your Mac. Visit the Wacom website or refer to the product documentation to confirm compatibility. Once you’ve verified compatibility, connect your Wacom tablet to your Mac using the provided USB cable.
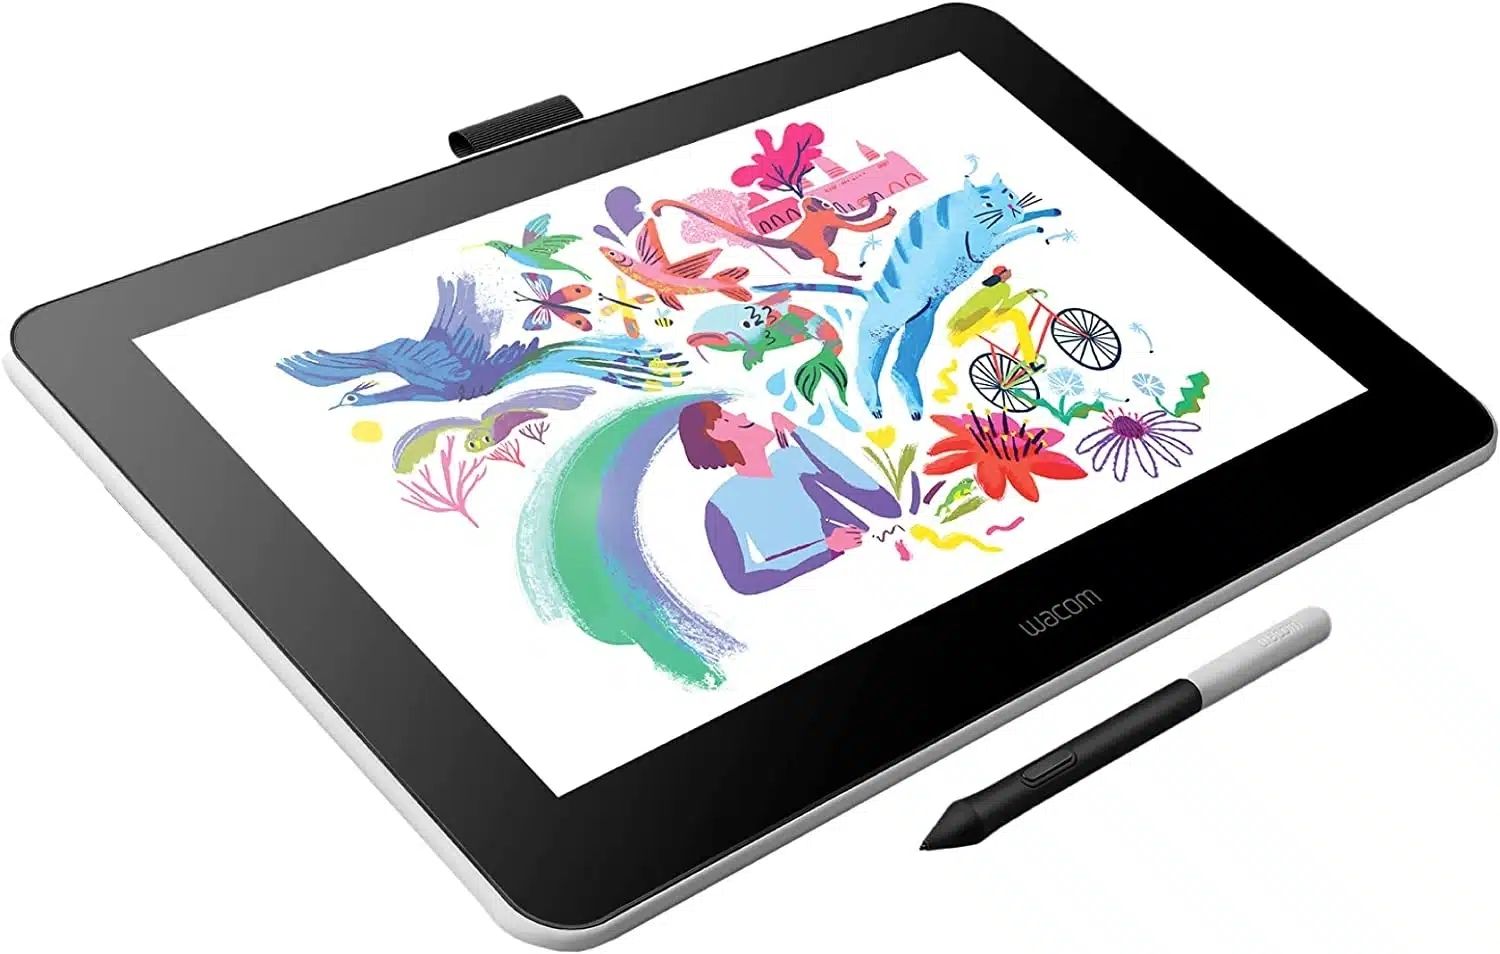
Next, familiarize yourself with the different components of your Wacom tablet. Most models feature a touch-sensitive surface, express keys, and a pen. The touch-sensitive surface allows you to control the cursor on your Mac screen simply by touching or swiping your finger across it. The express keys are customizable buttons that can be programmed to perform various functions, such as launching applications or executing keyboard shortcuts. Lastly, the pen is used for precise and natural drawing or painting.
Before diving into full-scale digital artwork, take some time to practice using the tablet and pen. Experiment with different pressure levels to create varying line thicknesses and explore the different tilt angles to mimic the effects of shading and highlighting. This will help you develop a better understanding of how the tablet and pen respond to your input.
When using a Wacom tablet, it’s important to align your hand-eye coordination. The tablet’s active area corresponds to your Mac’s screen, so the movements you make on the tablet’s surface will directly translate to on-screen actions. It may take some time to build muscle memory and develop precise control, but with practice, you’ll be able to create stunning digital art with fluid strokes and precise details.
Remember to maintain good ergonomics while using the Wacom tablet. Adjust the tablet’s position and angle to ensure that your hand and arm are comfortable and relaxed. This will prevent strain or fatigue during long drawing or editing sessions.
In the next sections, we’ll dive deeper into setting up your Wacom tablet on your Mac, installing the necessary drivers, customizing preferences, and learning how to use it with creative software. So let’s get started on your journey to becoming a Wacom master!
Setting Up Your Wacom Tablet on Mac
Now that you have a basic understanding of the Wacom tablet and its components, it’s time to set it up on your Mac. Follow these steps to ensure a smooth and hassle-free setup:
- Start by visiting the official Wacom website and downloading the latest drivers for your tablet model. The drivers are essential for your Mac to recognize and communicate with the tablet effectively. Make sure to select the correct driver for your tablet and Mac operating system.
- Once the driver is downloaded, locate the installation file and double-click on it to initiate the installation process. Follow the on-screen instructions to complete the installation. It’s a good idea to close any other unnecessary applications during the installation to avoid any potential conflicts.
- After the driver installation is complete, connect your Wacom tablet to your Mac using the provided USB cable. Your Mac should automatically detect the tablet and display a prompt to confirm the connection. Click “OK” or “Allow” to proceed.
- In some cases, you may need to restart your Mac for the tablet and driver to fully integrate with the system. If prompted, go ahead and restart your Mac as recommended.
- Once your Mac has restarted, open the system preferences by clicking on the Apple menu in the top-left corner of the screen and selecting “System Preferences” from the drop-down menu.
- In the System Preferences window, you should see a new icon for the Wacom tablet. Click on it to access the tablet settings and preferences.
- Within the tablet preferences, you can customize various settings such as pen pressure sensitivity, touch gestures, express key functions, and more. Take some time to explore these options and adjust them according to your personal preferences and workflow.
- Make sure to calibrate your tablet for accurate pen input. This can usually be done through the calibration utility provided by the driver software. Follow the on-screen instructions to calibrate the pen for precise positioning on the screen.
With your Wacom tablet successfully set up on your Mac, you’re now ready to unleash your creativity and take advantage of its powerful features. In the next section, we’ll explore the process of installing and customizing Wacom tablet drivers on your Mac in more detail. So let’s continue our journey towards becoming a Wacom master!
Installing Wacom Tablet Drivers on Mac
Once you have your Wacom tablet connected to your Mac, the next step is to install the necessary drivers. These drivers allow your Mac to communicate with the tablet and take full advantage of its features. Follow these steps to install the Wacom tablet drivers on your Mac:
- Start by visiting the official Wacom website and navigating to the support section. Look for the drivers and downloads page.
- On the drivers and downloads page, you will find a list of available drivers for different Wacom tablet models. Select the driver that corresponds to your tablet model and Mac operating system version. Make sure to download the latest version of the driver for optimal performance.
- Once the driver is downloaded, locate the installation file on your Mac and double-click on it to begin the installation process.
- Follow the on-screen instructions provided by the installation wizard. The steps may vary slightly depending on the driver version and your specific Mac model.
- During the installation, you may be prompted to connect your Wacom tablet to your Mac using the provided USB cable. Connect the tablet to an available USB port on your Mac.
- After the driver installation is complete, you may need to restart your Mac for the changes to take effect. If prompted, go ahead and restart your Mac as recommended.
- Once your Mac has restarted, open the System Preferences by clicking on the Apple menu in the top-left corner of the screen and selecting “System Preferences” from the drop-down menu.
- In the System Preferences window, you should see a new icon for the Wacom tablet. Click on it to access the tablet settings and preferences.
- Within the tablet preferences, you can customize various settings such as pressure sensitivity, touch gestures, express key functions, and more. Take some time to explore these options and adjust them according to your personal preferences and creative workflow.
- After setting up the drivers and preferences, calibrate your Wacom tablet for precise pen input. Use the tablet’s built-in calibration utility or follow the on-screen instructions provided by the driver software to calibrate the pen for accurate positioning on your Mac’s screen.
By following these steps, you can ensure that your Wacom tablet is properly installed and configured on your Mac. In the next section, we’ll dive into customizing preferences and settings for your Wacom tablet on Mac. So let’s continue our journey towards mastering the art of using a Wacom tablet!
Customizing Preferences and Settings on Mac
Now that you have installed the Wacom tablet drivers on your Mac, you can start customizing preferences and settings to enhance your digital art experience. Here’s a step-by-step guide on how to customize your Wacom tablet preferences and settings:
- To access the Wacom tablet preferences, click on the Apple menu in the top-left corner of your screen and select “System Preferences” from the drop-down menu.
- In the System Preferences window, you should see an icon representing your Wacom tablet. Click on it to open the tablet settings and preferences.
- Within the tablet preferences, you will find different tabs or sections that allow you to customize various settings. Take the time to explore each section and adjust the settings according to your personal preferences and workflow.
- One of the essential settings to customize is the pressure sensitivity of the pen. Adjusting the pressure sensitivity will determine how much pressure is required to create thicker or thinner strokes in your digital artwork. Experiment with different pressure levels to find the sensitivity that suits your drawing or painting style.
- Configure the express keys on your tablet to perform specific functions or keyboard shortcuts that you frequently use. This can save you time and streamline your workflow. Assign functions like undo, zoom, rotate canvas, or even launching your favorite applications.
- If your tablet has touch functionality, you can customize touch gestures such as pinch to zoom or swipe to scroll. These gestures can help you navigate your artwork or adjust zoom levels more intuitively.
- Take advantage of specialized features provided by the Wacom drivers, such as the Radial Menu or Touch Ring. These features allow you to access additional functions or shortcuts with ease.
- Depending on your creative software, you may want to customize application-specific settings. Wacom tablet drivers often provide the ability to set up different preferences for individual applications. This allows you to have specific settings for different software, ensuring optimal performance and compatibility.
- Lastly, don’t forget to regularly check for driver updates on the Wacom website. Driver updates often bring new features, improvements, and compatibility updates that enhance your experience with the tablet.
By customizing preferences and settings on your Wacom tablet, you can tailor it to your individual requirements and workflow, maximizing your productivity and creativity. In the next section, we’ll explore how to navigate and interact with your Mac using the Wacom tablet. So let’s continue our journey to become a Wacom master!
Navigating and Interacting with Your Mac Using the Wacom Tablet
Aside from creating stunning digital art, your Wacom tablet can also be used to navigate and interact with your Mac. By utilizing the touch-sensitive surface and customizable ExpressKeys, you can enhance your overall user experience. Here are some tips on how to navigate and interact with your Mac using the Wacom tablet:
- Use the touch-sensitive surface of your Wacom tablet to control the cursor on your Mac’s screen. Simply swipe or tap your finger on the tablet surface to move the cursor or perform actions like clicking or scrolling.
- To mimic the functionality of a scroll wheel, customize one of the ExpressKeys on your tablet to act as a scroll modifier. This allows you to scroll up or down by simply pressing the assigned ExpressKey and moving the pen or finger along the tablet’s surface.
- Take advantage of touch gestures on your Wacom tablet for navigating and interacting with your Mac. Common gestures include swiping with three fingers to switch between applications, pinching with two fingers to zoom in or out, and using a three-finger swipe upwards to access Mission Control.
- Assign frequently used keyboard shortcuts to the ExpressKeys on your tablet. This can help speed up your workflow and reduce reliance on the actual keyboard. For example, you can assign the Command key to one of the ExpressKeys to quickly access shortcuts within your creative software.
- Utilize the pen’s side buttons or customized ExpressKeys to perform actions such as right-clicking or accessing context menus. This can save you time and make interactions more efficient.
- Experiment with the pen’s pressure sensitivity to control brush size or opacity in your creative software. This allows for more intuitive and natural control over your digital artwork.
- Take advantage of the Wacom tablet’s multi-touch capabilities to easily perform actions such as rotating canvases, zooming in and out, or adjusting brush sizes. These gestures can significantly enhance your digital art workflow.
- Remember to regularly clean your tablet’s surface and pen to maintain optimal functionality. Dust, dirt, or debris can affect the tablet’s performance and accuracy, so be sure to follow the manufacturer’s cleaning guidelines.
By utilizing these navigation and interaction tips, you can seamlessly integrate your Wacom tablet into your Mac workflow, making tasks more efficient and enhancing your overall user experience. In the next section, we’ll explore how to use the Wacom tablet with creative software on your Mac. So let’s continue our journey towards mastering the art of using a Wacom tablet!
Using the Wacom Tablet with Creative Software on Mac
One of the greatest advantages of using a Wacom tablet on your Mac is its seamless integration with various creative software applications. Whether you’re a digital artist, photographer, or graphic designer, the Wacom tablet can elevate your creative process. Here’s how to make the most of your Wacom tablet with creative software on Mac:
- Start by installing the creative software of your choice on your Mac. Popular options include Adobe Photoshop, Adobe Illustrator, Corel Painter, and many more. Ensure that you have the latest version of the software installed.
- Launch the creative software and open a new project or existing artwork. Familiarize yourself with the tools and functions available within the software, as they may differ slightly from one application to another.
- Customize the software’s brush settings to take advantage of the Wacom tablet’s pressure sensitivity. Adjust parameters such as size, opacity, and flow to respond to the pressure applied with your Wacom pen. This allows for more precise control over your digital brush strokes.
- Experiment with different brush types and textures to find the ones that align with your artistic style. The Wacom tablet’s pressure sensitivity and tilt recognition can give you a natural drawing or painting experience when used with compatible brushes.
- Assign frequently used tools or shortcuts to the ExpressKeys on your Wacom tablet for quick access while working within your creative software. This can help streamline your workflow and save you time.
- Take advantage of the Wacom tablet’s touch functionality to perform actions such as zooming, panning, or rotating the canvas. Use gestures like pinch-to-zoom or swipe to navigate your artwork more intuitively.
- If your Wacom tablet supports multi-touch gestures, you can use two fingers to rotate or tilt the canvas while drawing or painting. This can be particularly useful for creating smoother brush strokes or achieving specific effects.
- Experiment with using the tablet’s ExpressKeys to switch tools, access different layers, or apply special effects. Assigning these functions to the tablet’s physical keys can save you from constantly reaching for the keyboard.
- Remember to regularly save your work and utilize the software’s automatic backup features to prevent any data loss. Accidents happen, so it’s always a good idea to have multiple copies of your digital artwork.
- Take advantage of online tutorials, forums, and communities dedicated to your chosen software and Wacom tablets. These resources can help you explore advanced techniques, learn new tips and tricks, and connect with fellow artists to share knowledge and inspiration.
By harnessing the power of your Wacom tablet and integrating it with creative software on your Mac, you can unlock new levels of creativity and precision in your digital artwork. In the next section, we’ll delve into advanced tips and tricks for using the Wacom tablet on Mac. So let’s continue our journey towards becoming a Wacom master!
Advanced Tips and Tricks for Using Wacom Tablet on Mac
Now that you have mastered the basics of using a Wacom tablet with your Mac, it’s time to explore some advanced tips and tricks. These techniques can help you further optimize your workflow and make the most out of your Wacom tablet. Here are some advanced tips and tricks for using the Wacom tablet on Mac:
- Experiment with different brush settings and shortcuts to create custom brush presets. This allows you to save time by quickly accessing your preferred brushes and settings, especially when working on complex projects.
- Master the use of keyboard modifiers with your Wacom tablet. By holding down certain keys on your Mac’s keyboard while using the tablet, you can access additional functions or modify existing ones. For example, holding down the Shift key while using the pen can constrain your strokes to horizontal or vertical lines.
- Utilize the Wacom tablet’s radial menu feature to create a customizable circular menu that gives you quick access to commonly used functions or tools. This can save you from repeatedly navigating through menus and palettes within your creative software.
- Take advantage of tilt sensitivity in your Wacom pen to control additional parameters in your creative software. For example, you can adjust the angle of a digital brush by tilting the pen, allowing for more expressive and dynamic brushstrokes.
- Experiment with mapping options in your Wacom tablet preferences. This allows you to customize how the tablet’s active area corresponds to your Mac’s screen. Mapping options can be particularly useful if you work on multiple monitors or have a specific working area preference.
- Explore the possibilities of using the Wacom tablet for gesture-driven editing in software like Adobe Lightroom or Capture One. Assign gestures to specific actions like cropping, straightening, or applying presets to streamline your photo editing workflow.
- Take advantage of pressure-sensitive erasing with the Wacom pen. When using the eraser end of the pen, the pressure applied can control the opacity or size of the eraser, giving you more control over your editing or corrections.
- Use the Wacom tablet in combination with a second monitor to expand your workspace. This allows you to have your creative software on one screen while using the tablet on the other for precise input and navigation.
- Explore the software’s pen pressure curve settings. Adjusting the pressure curve allows you to fine-tune how much sensitivity you want at different pressure levels. This gives you more control over the responsiveness of the pen in various creative applications.
- Consider using the Wacom tablet’s pen buttons to access digital asset libraries or to switch between brush presets. This can be a valuable time-saving feature when working with large libraries or complex projects.
By incorporating these advanced tips and tricks into your workflow, you can unlock the full potential of your Wacom tablet on your Mac. In the next section, we’ll explore how to troubleshoot common issues that you may encounter while using the Wacom tablet on Mac. So let’s continue our journey towards mastering the art of using a Wacom tablet!
Troubleshooting Common Issues with Wacom Tablet on Mac
While using a Wacom tablet on your Mac can greatly enhance your creative workflow, occasionally, you may encounter some common issues. Fortunately, most issues can be resolved with a few troubleshooting steps. Here are some solutions to common problems you may face when using a Wacom tablet on Mac:
- If your Wacom tablet is not responding or not recognized by your Mac, try disconnecting and reconnecting the tablet’s USB cable. If that doesn’t work, try using a different USB port on your Mac. Also, make sure you have the latest drivers installed from the official Wacom website.
- If the pressure sensitivity of your Wacom pen is not working properly, open the Wacom tablet preferences on your Mac and adjust the pressure sensitivity settings. Ensure that the pressure curve is properly calibrated to your preference.
- In the event that the touch functionality of your Wacom tablet is not working, check the tablet preferences on your Mac to ensure that the touch feature is enabled. If it is enabled and still not working, try restarting your Mac.
- If you’re experiencing lag or latency in pen strokes, ensure that your Mac’s performance is not hindered by too many background applications or processes. Close any unnecessary programs and free up system resources to improve performance.
- If the pen cursor is misaligned with your Mac’s display or there is a noticeable offset, open the Wacom tablet preferences and perform a recalibration or align the tablet’s active area with your display manually.
- If you encounter issues specific to a particular creative software, check for updates for both the software and the Wacom tablet drivers. In some cases, software updates may address compatibility issues or provide optimized support for Wacom tablets.
- If the ExpressKeys on your Wacom tablet are not functioning properly, make sure that they are properly assigned within the tablet preferences. Check that the correct functions or keyboard shortcuts are assigned to the respective ExpressKeys.
- If you’re experiencing general system issues or erratic behavior with your Wacom tablet, try resetting the tablet preferences to their default settings. This can often resolve software-related conflicts or corrupted preferences.
- If none of the above solutions work, try uninstalling the Wacom tablet drivers from your Mac, restarting your computer, and then reinstalling the latest drivers from the official Wacom website.
- If you’re still facing persistent issues, reach out to Wacom support for further assistance. They can provide specific troubleshooting steps based on your tablet model and the issues you’re encountering.
By following these troubleshooting steps, you can address common issues that may arise when using a Wacom tablet on your Mac. Remember to keep your drivers updated and periodically check for software updates to ensure optimal performance. In the next section, we’ll conclude our guide on using the Wacom tablet on Mac. So let’s wrap up our journey to becoming a Wacom master!
Conclusion
Congratulations on completing our comprehensive guide on using a Wacom tablet on your Mac! We’ve covered the basics, from setting up the tablet to customizing preferences and navigating the Mac interface. We’ve also explored how the tablet can enhance your experience with creative software, along with advanced tips and troubleshooting solutions for common issues.
By now, you should have a solid understanding of the Wacom tablet’s capabilities and how to harness its power to unleash your creativity. Whether you’re a professional digital artist, a photographer, or a graphic designer, the Wacom tablet can take your work to new heights.
Remember to continually explore and experiment with different settings, brushes, and techniques to find what works best for you. Practice regularly to improve your hand-eye coordination and develop precise control over the tablet and pen.
Keep an eye on the Wacom website for driver updates and new features that can further enhance your tablet experience. Additionally, stay engaged with online communities, forums, and tutorials to learn from others, share your artwork, and discover new inspiration.
Now that you have the knowledge and tools at your disposal, it’s time to let your creativity flourish. Embrace the intuitive nature of the Wacom tablet, and let it be an extension of your artistic vision. With practice and dedication, you’ll be able to create breathtaking digital art that truly reflects your unique style and talent.
So go forth, create masterpieces, and continue your journey to becoming a Wacom master!