Introduction
Keeping your drawing tablet clean is essential for maintaining its performance and prolonging its lifespan. Regular cleaning not only ensures that your device is free from dirt, dust, and smudges but also helps to prevent any potential damage that can be caused by debris or built-up grime. As an artist or designer, you rely on your drawing tablet to accurately capture your strokes and provide a smooth user experience.
In this guide, we will take you through the step-by-step process of cleaning your drawing tablet, including the screen, stylus, tablet surface, buttons, and ports. By following these cleaning instructions and incorporating regular maintenance, you can ensure that your drawing tablet remains in optimal condition, allowing you to create your best work.
It’s important to note that every drawing tablet is unique, and you should always consult the manufacturer’s guidelines for specific cleaning recommendations. However, the general cleaning tips outlined in this guide can be applied to most drawing tablets on the market today.
So, if you’re ready to give your drawing tablet some TLC and restore its pristine condition, let’s dive into the cleaning process!
Why is it important to clean your drawing tablet?
Maintaining a clean and well-maintained drawing tablet is crucial for several reasons. Let’s explore why regular cleaning is important:
- Optimal Performance: Over time, dust, dirt, and smudges can accumulate on your drawing tablet’s screen and surface. This can interfere with the sensitivity of the stylus and impact the accuracy of your strokes. By keeping your tablet clean, you ensure that it functions at its best and provides you with a smooth and precise drawing experience.
- Preventing Damage: Debris that gets trapped in buttons, ports, or the tablet’s surface can cause damage if not cleaned properly. For example, dust particles can get lodged in the buttons, hindering their functionality. By regularly cleaning your device, you can prevent potential damage and extend its overall lifespan.
- Visual Clarity: A dirty screen can affect the visual clarity of your artwork. Smudges and fingerprints can make it difficult to see the details of your drawings or designs. Regular cleaning helps to maintain a clear and pristine screen, allowing you to accurately assess your work and make necessary adjustments.
- Hygiene: Drawing tablets are frequently touched surfaces, and the accumulation of dirt and bacteria can be unhygienic. Regular cleaning helps to remove any germs or bacteria that may have accumulated on the surface, promoting a cleaner and more sanitary workspace.
- Preserving Value: Taking care of your drawing tablet by regularly cleaning it can help maintain its resale value. If you ever decide to upgrade or sell your device, a well-maintained and clean tablet will be more attractive to potential buyers.
By understanding the importance of regular cleaning, you can ensure that your drawing tablet remains in optimal condition, providing you with a consistent and enjoyable drawing experience. So, let’s move on to the next section where we’ll discuss the items you’ll need to clean your drawing tablet effectively.
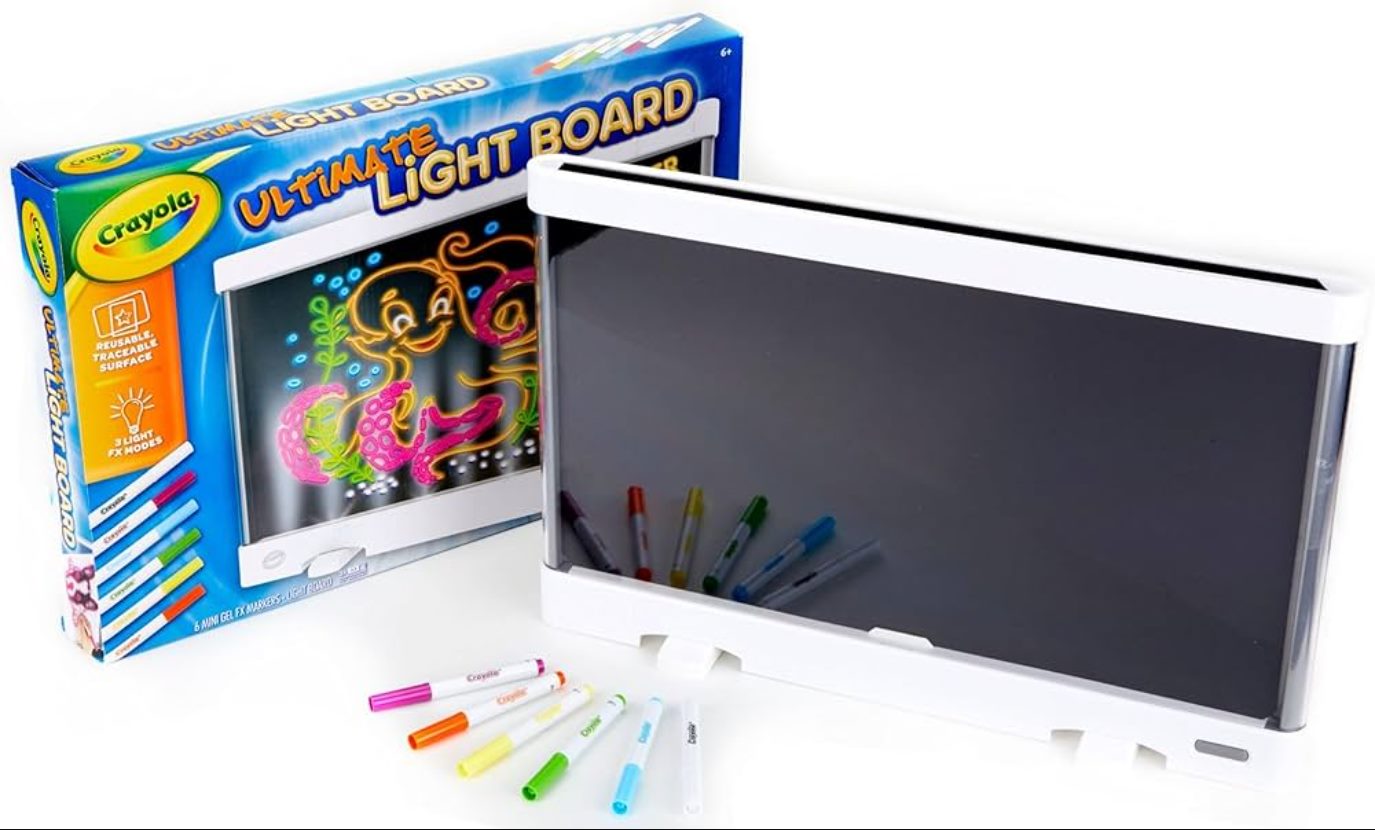
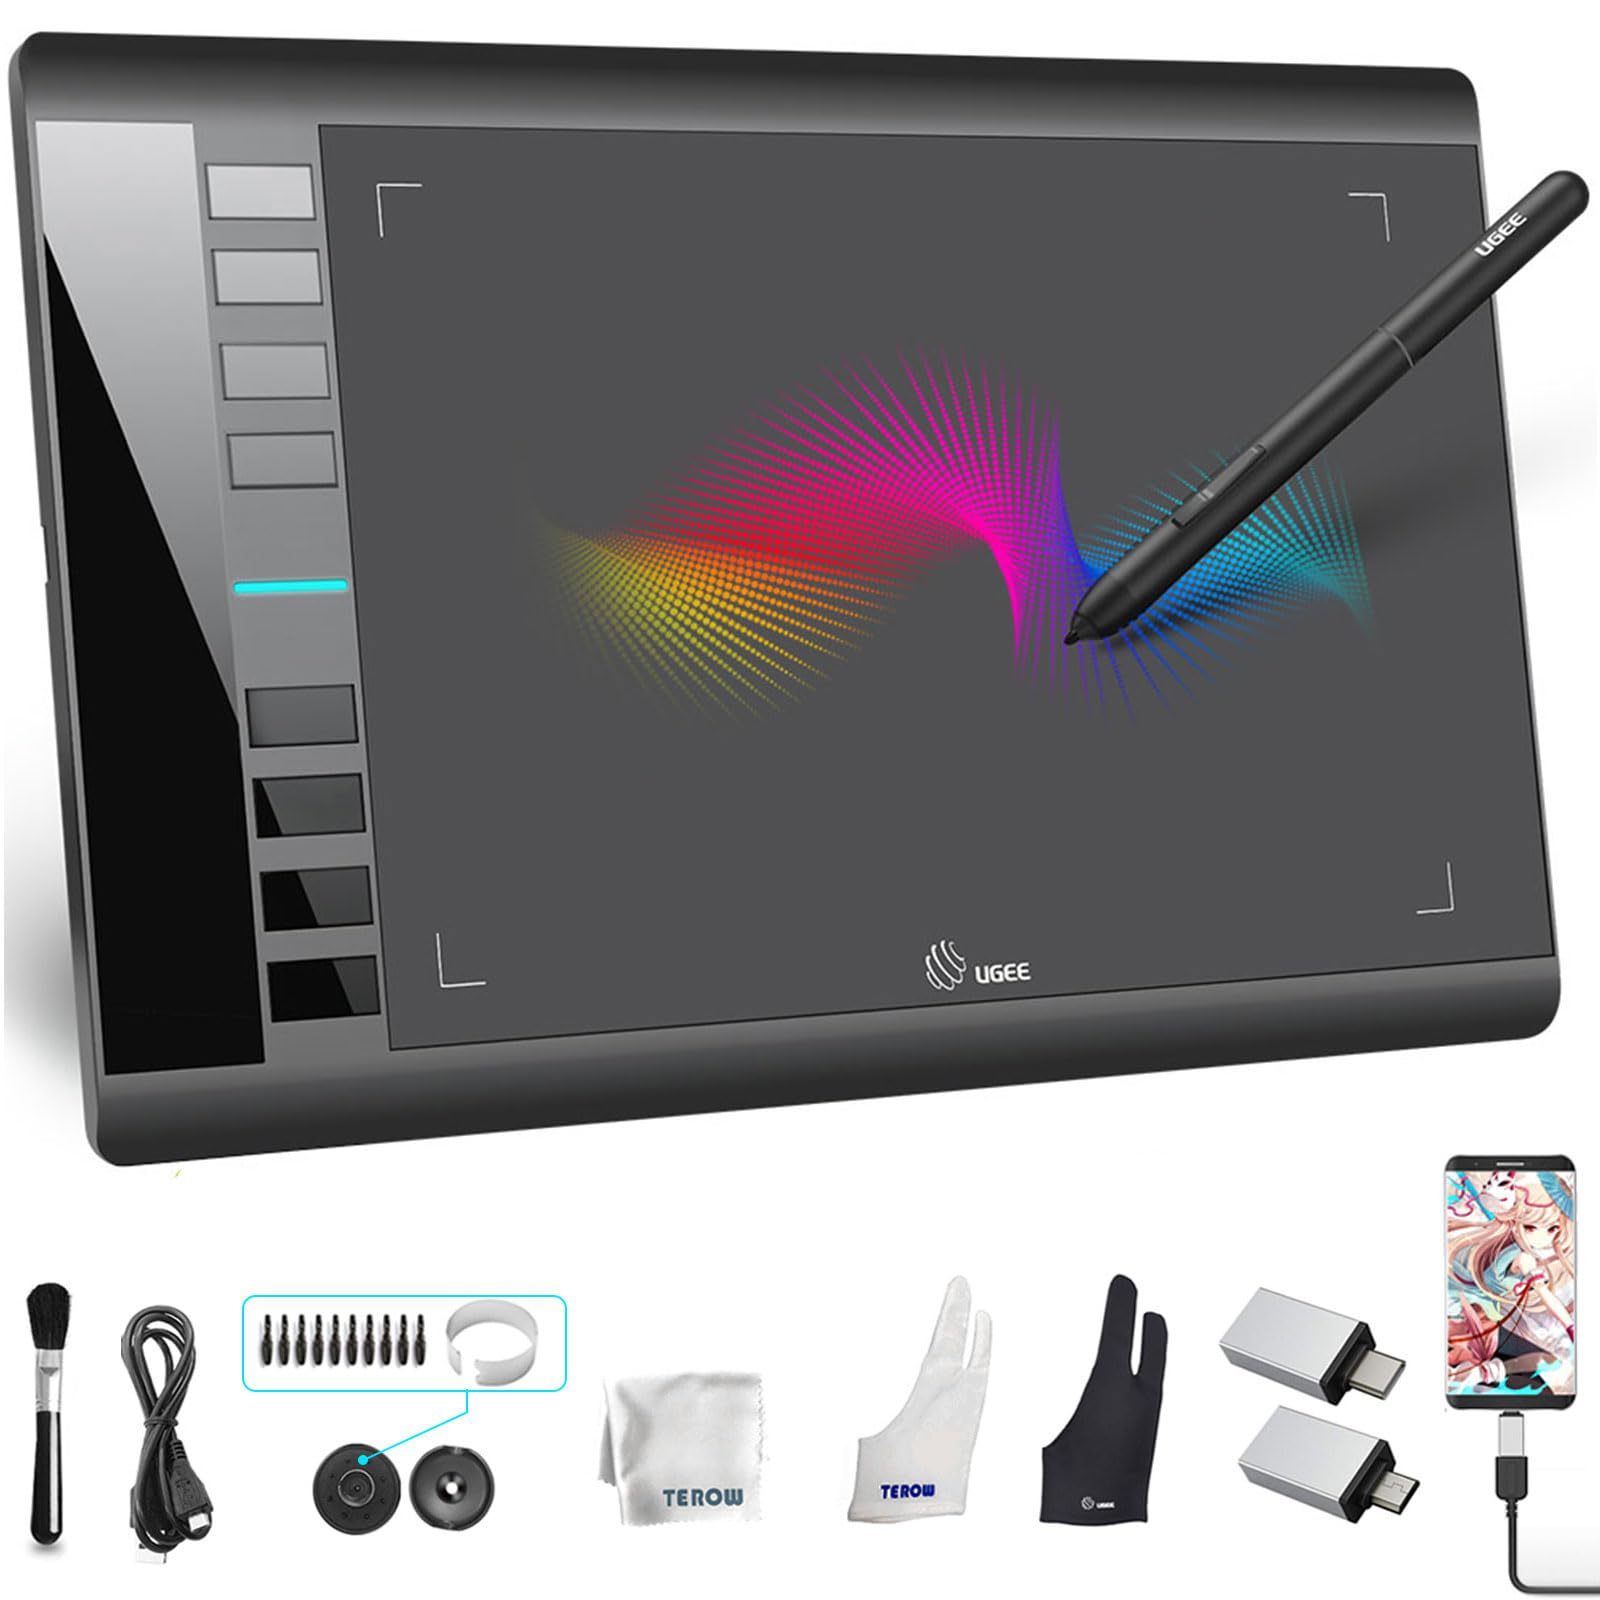
What you will need
Before you begin cleaning your drawing tablet, it’s important to gather the necessary items to ensure a thorough and effective cleaning process. Here are the items you will need:
- Microfiber Cloth: A microfiber cloth is essential for cleaning the screen and the surface of your drawing tablet. Microfiber cloths are gentle and won’t scratch or leave any residue on the screen.
- Isopropyl Alcohol: Isopropyl alcohol is commonly used for electronics cleaning. It helps to remove stubborn smudges, grease, and fingerprints on the screen and buttons. Make sure to use isopropyl alcohol with a concentration of 70% or less to avoid any damage to the tablet’s surface.
- Cotton Swabs: Cotton swabs are useful for cleaning hard-to-reach areas such as buttons, ports, and crevices. They provide precision cleaning and allow you to remove dirt or grime from tight spaces.
- Compressed Air: Compressed air can be used to blow away dust particles from the tablet’s surface, buttons, and ports. Ensure that you use a can of compressed air specifically designed for electronics to avoid any moisture damage.
- Water: Plain water can be used as an alternative to isopropyl alcohol for cleaning the screen and stylus. It is safe and won’t harm the device if used correctly. However, be careful not to use excessive water that may seep into the tablet’s internals.
These items are readily available and should be enough to effectively clean your drawing tablet. However, always check the manufacturer’s recommendations for any specific cleaning products or instructions for your particular model.
Now that you have all the necessary items, let’s proceed to the step-by-step instructions on how to clean your drawing tablet from the screen to the buttons and ports.
Step-by-step cleaning instructions
Now that you have gathered all the necessary items, it’s time to dive into the step-by-step process of cleaning your drawing tablet. Follow these instructions to ensure a thorough and effective cleaning:
- Power off your drawing tablet: Before you begin cleaning, make sure to turn off your drawing tablet and unplug any cables connected to it. This will prevent any accidental damage during the cleaning process.
- Cleaning the screen: Start by using a microfiber cloth to gently wipe the screen in a circular motion. For stubborn smudges and fingerprints, you can lightly dampen the cloth with water or isopropyl alcohol. Avoid using excessive moisture or applying too much pressure, as this can damage the screen.
- Cleaning the stylus: Take a microfiber cloth or a cotton swab slightly dampened with water or isopropyl alcohol and clean the surface of the stylus. Pay attention to any dirt or debris that may have accumulated on the tip. Gently wipe it until it’s clean and free from any residue.
- Cleaning the tablet surface or drawing area: Use a microfiber cloth to wipe the surface of the tablet or the drawing area. For stubborn smudges or grease, you can lightly dampen the cloth with water or isopropyl alcohol. Make sure to clean in a gentle, circular motion to avoid applying too much pressure.
- Cleaning the tablet’s buttons and ports: Dip a cotton swab into isopropyl alcohol or use a can of compressed air to clean the buttons and ports. Gently clean around each button and port, removing any dirt or debris that may have accumulated. Be careful not to exert too much pressure or introduce moisture into the device.
Remember to always refer to the manufacturer’s guidelines for specific cleaning instructions for your particular drawing tablet model. By following these step-by-step cleaning instructions, you can keep your drawing tablet in optimal condition and ready for your next creative project.
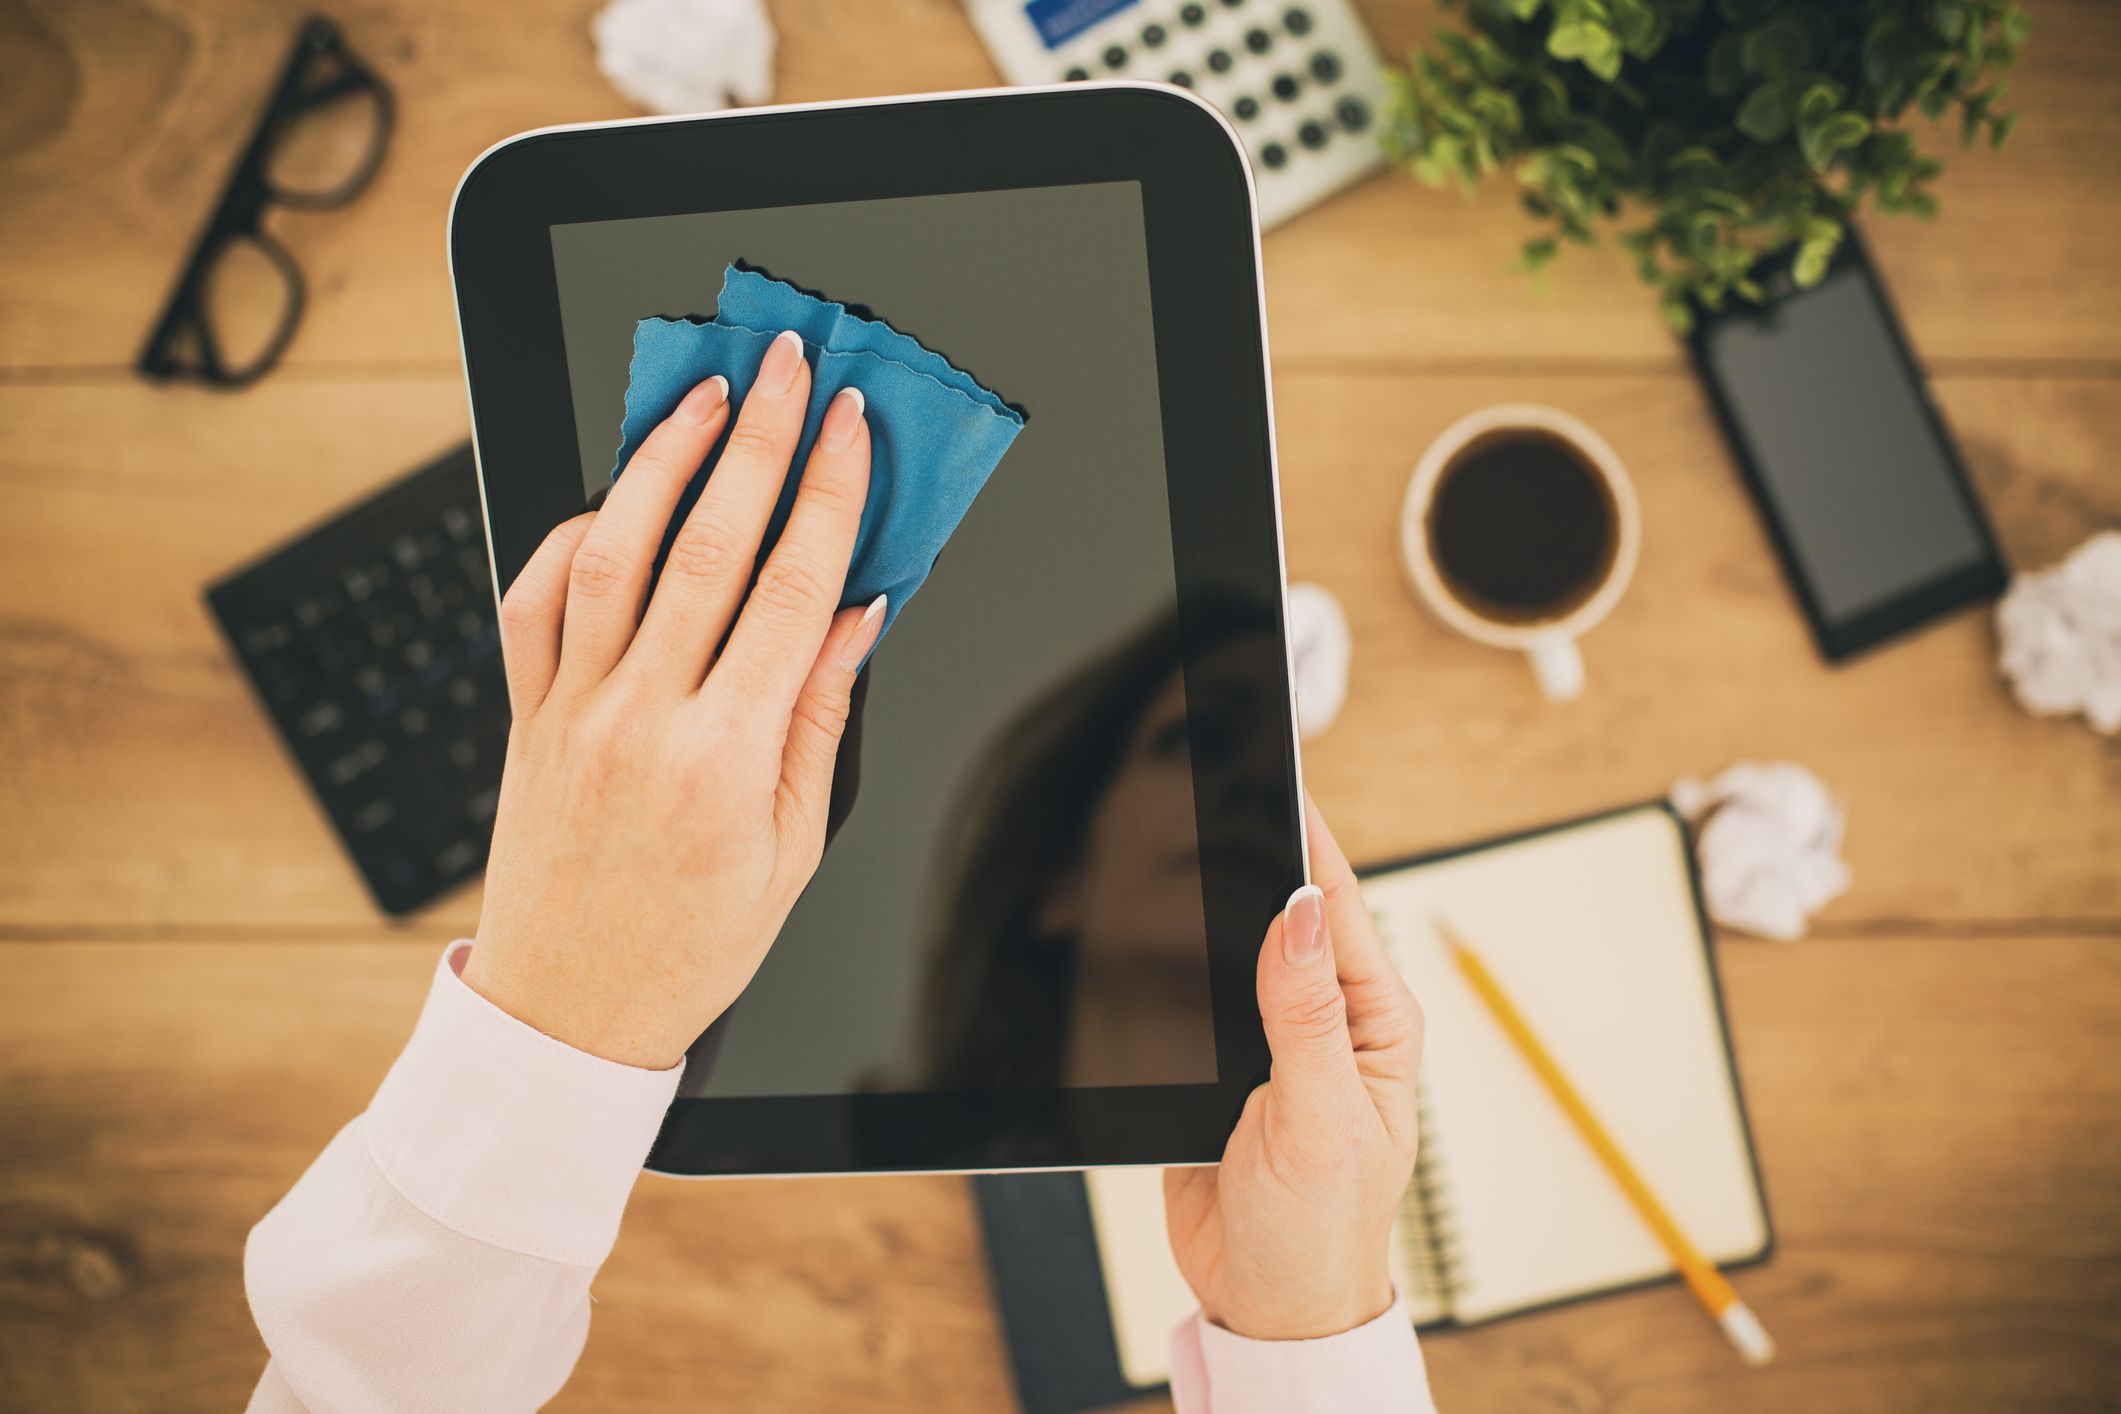
Cleaning the screen
One of the most important parts of your drawing tablet to keep clean is the screen. A clean screen ensures optimal visual clarity and prevents any interference with your drawing or design work. Follow these steps to effectively clean the screen of your drawing tablet:
- Power off your drawing tablet: Before you start cleaning the screen, make sure your device is turned off to avoid accidental input or damage.
- Prepare a microfiber cloth: Use a soft, lint-free microfiber cloth specifically designed for electronics. Avoid using paper towels or rough materials that could scratch the screen.
- Gently wipe the screen: Starting from the top and working your way down, use the microfiber cloth to gently wipe the screen in a circular motion. Apply light pressure to remove fingerprints, smudges, and dust. Be careful not to press too hard on the screen, as this can damage the display.
- Focus on stubborn smudges: For any stubborn smudges or marks, slightly dampen the microfiber cloth with water or isopropyl alcohol. Make sure not to use excessive moisture that can seep into the device. Gently wipe the affected areas until the smudges are removed.
- Dry the screen: After cleaning, use a dry part of the microfiber cloth to wipe away any remaining moisture or streaks on the screen. Ensure that the screen is completely dry before turning on your drawing tablet.
It’s important to note that each drawing tablet may have specific cleaning instructions provided by the manufacturer. Always refer to the user manual or guidelines for your specific tablet model.
By regularly cleaning the screen of your drawing tablet, you can maintain its visual clarity, preserve its performance, and enjoy an uninterrupted creative experience.
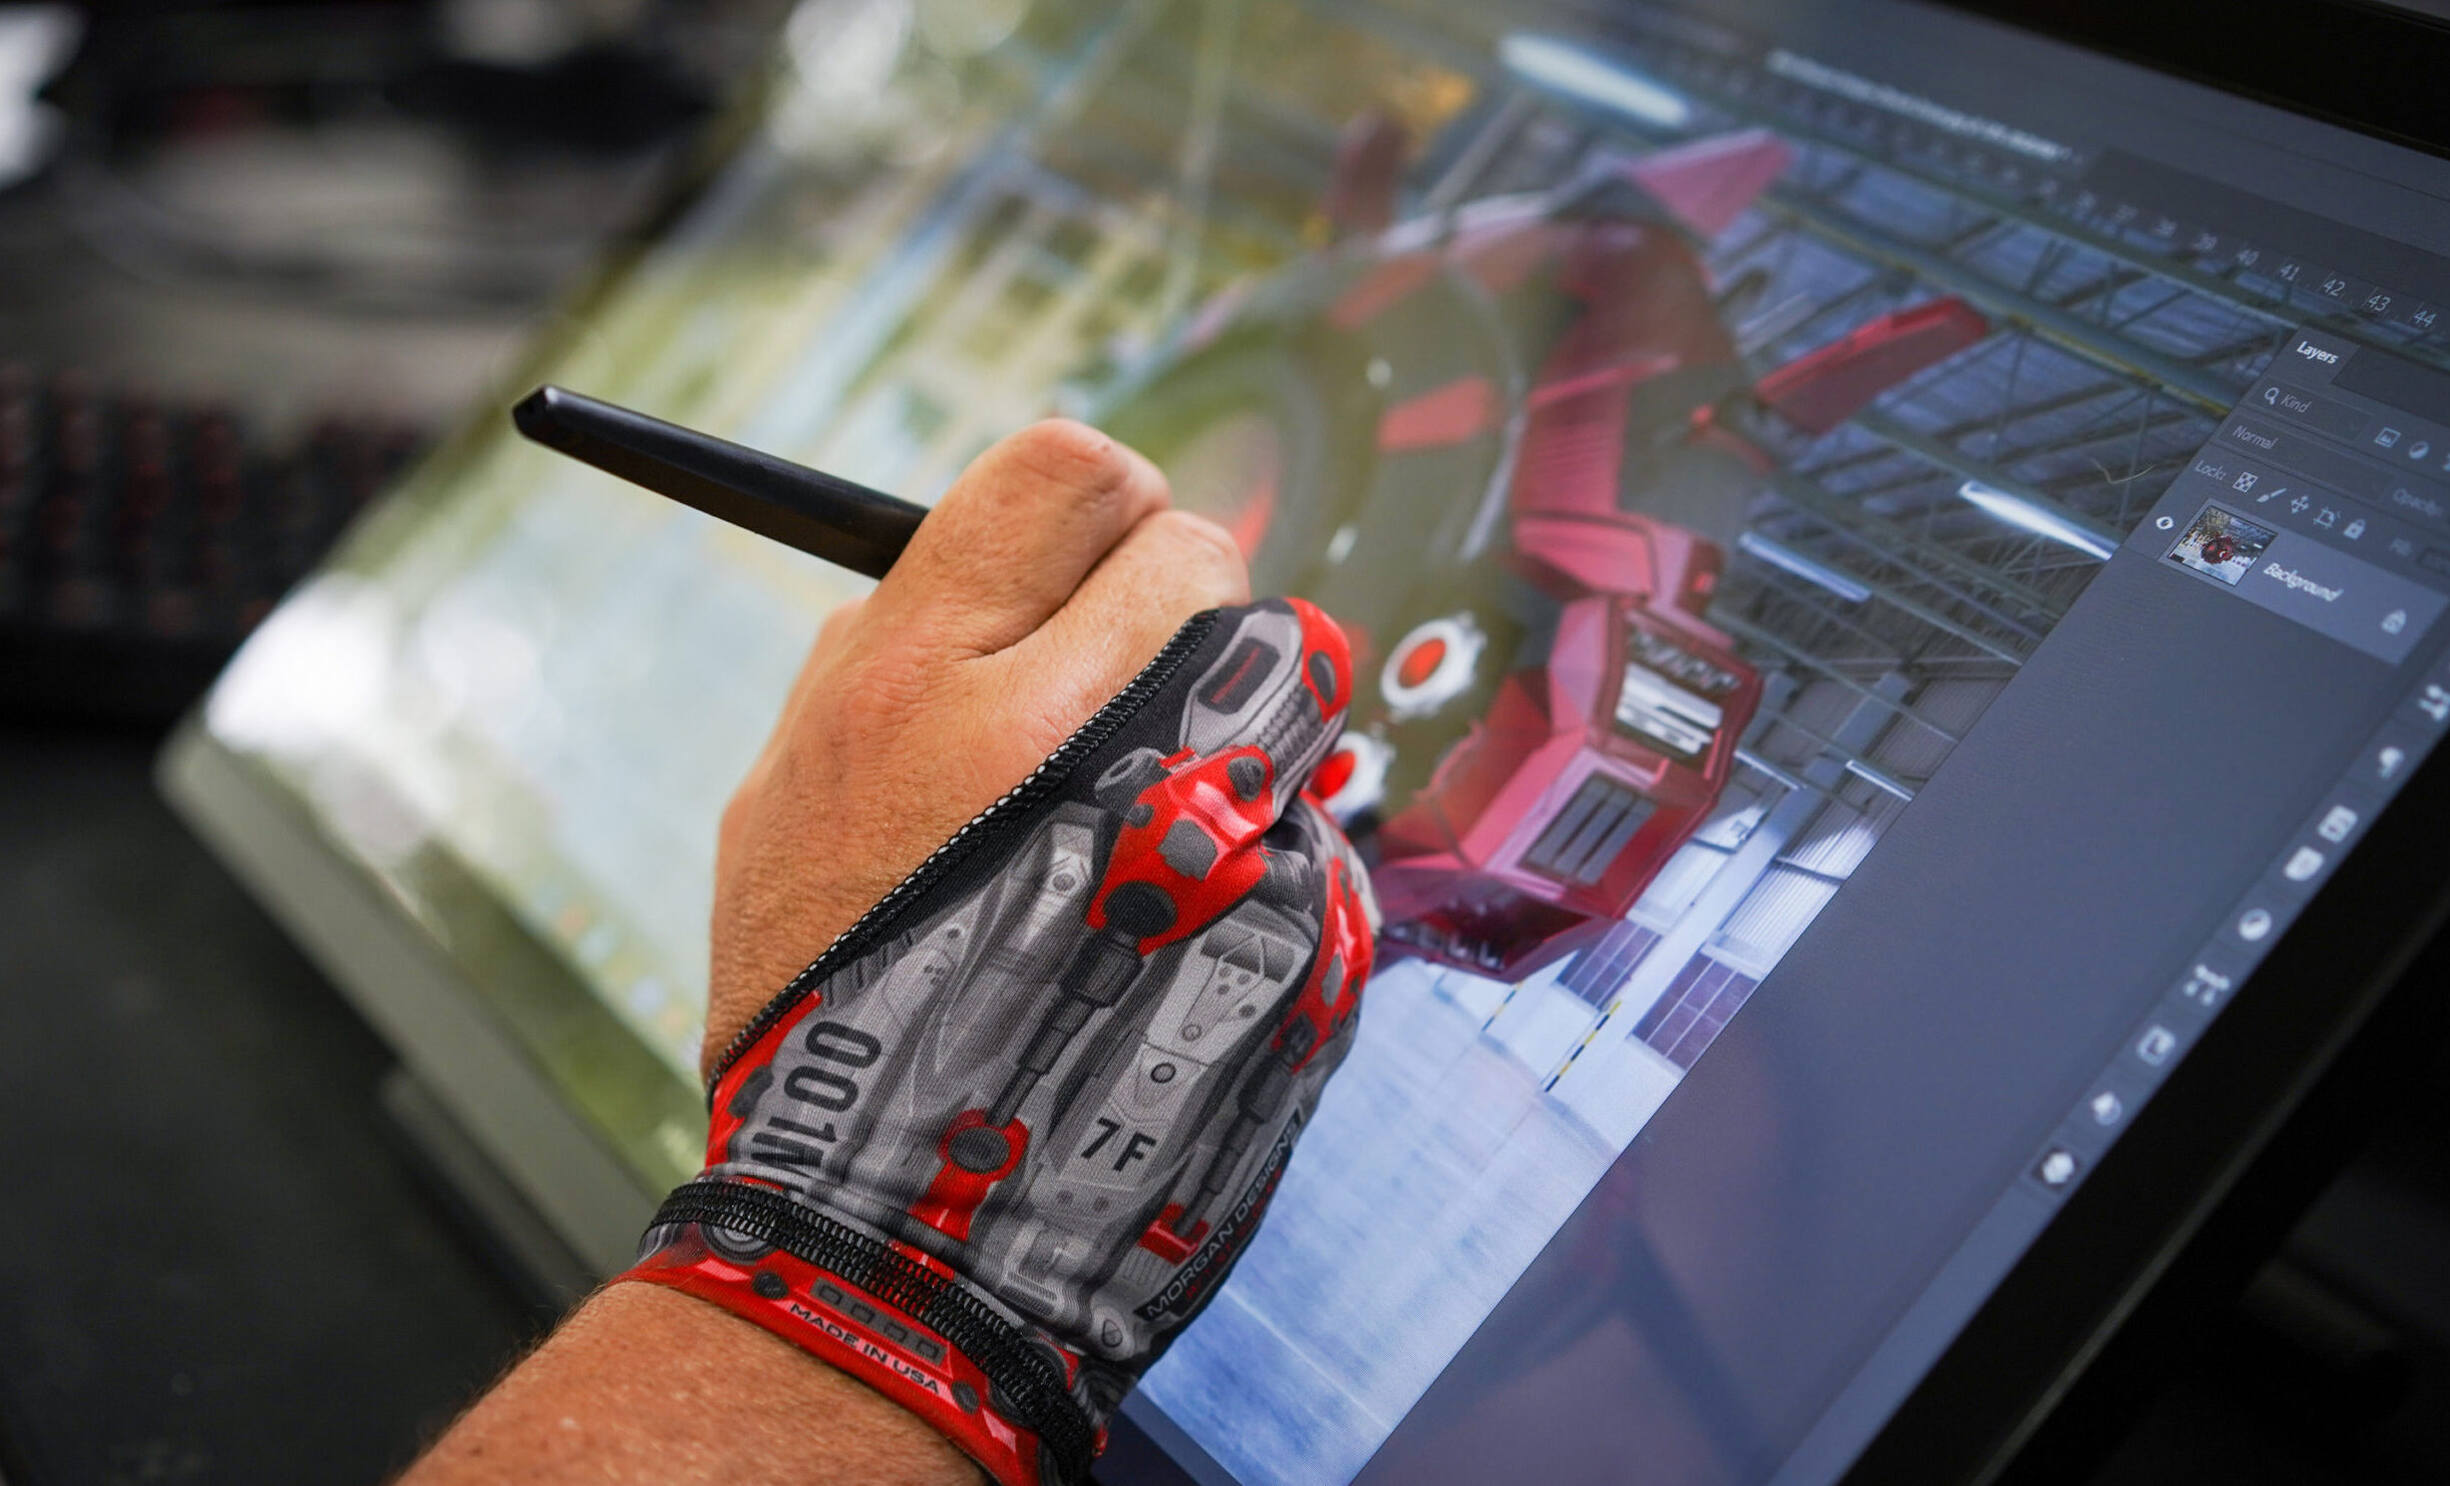
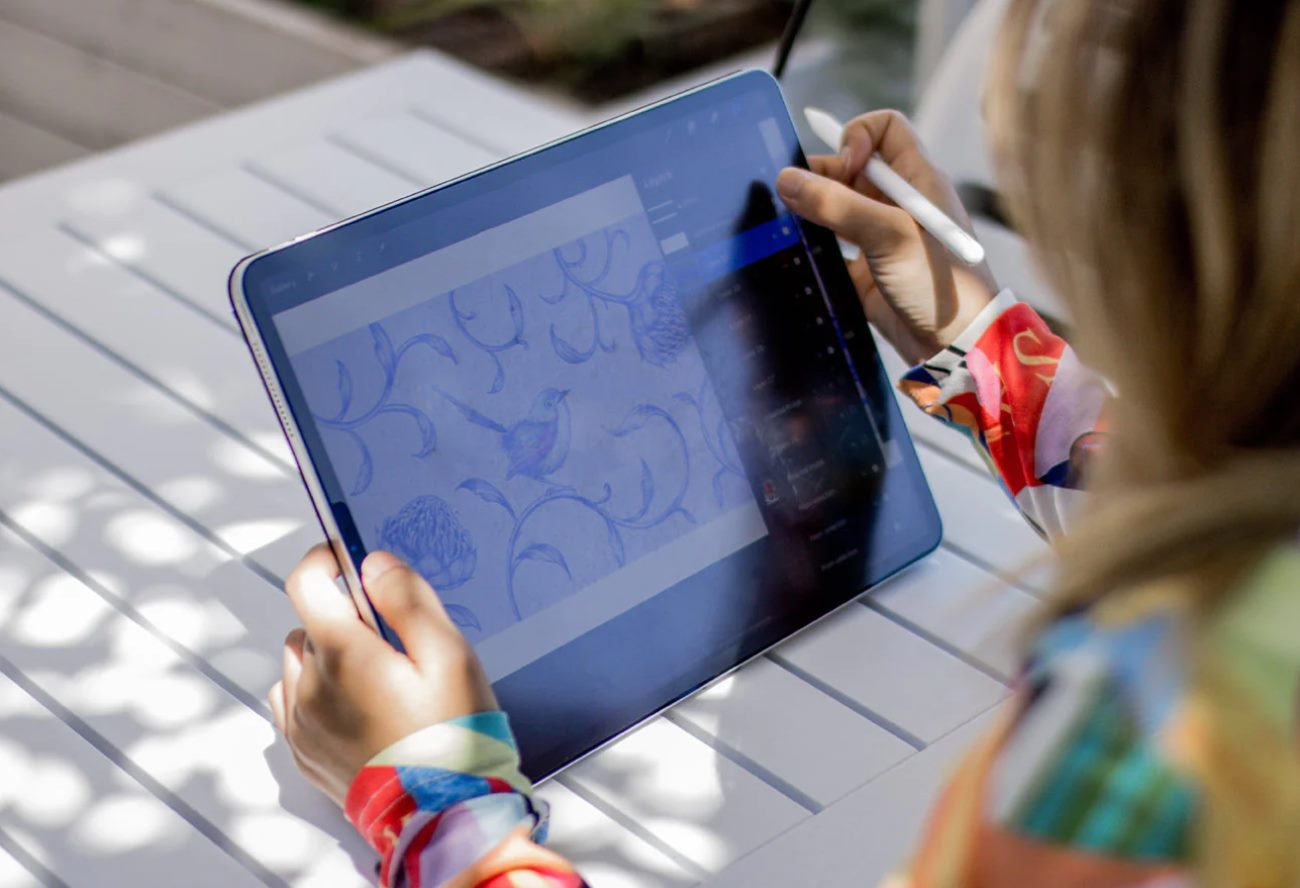
Cleaning the stylus
The stylus is an essential tool for any drawing tablet user and requires regular cleaning to ensure optimal performance. Over time, dirt, oils, and debris can accumulate on the stylus, affecting its precision and functionality. Follow these steps to effectively clean your stylus:
- Power off your drawing tablet: Before you begin cleaning the stylus, make sure your drawing tablet is turned off to prevent any accidental inputs.
- Prepare a soft cloth or cotton swab: Use a soft cloth, such as a microfiber cloth, or a cotton swab, for cleaning the stylus. Avoid using abrasive materials that could scratch the surface.
- Clean the surface of the stylus: Gently wipe the surface of the stylus using the cloth or cotton swab. If there are any visible dirt or residue, you can dampen the cloth or swab with water or isopropyl alcohol for more effective cleaning.
- Pay attention to the tip: The tip of the stylus is the most crucial part for accurate drawing or design work. Inspect the tip for any dirt, debris, or built-up residue. If necessary, use a cotton swab moistened with water or isopropyl alcohol to gently clean the tip, removing any accumulated dirt.
- Dry the stylus: After cleaning, make sure the stylus is completely dry before use. Use a dry cloth or allow it to air dry naturally.
It’s important to note that different stylus models may have unique cleaning instructions. Refer to the manufacturer’s guidelines for your specific stylus to ensure proper cleaning and maintenance.
By regularly cleaning your stylus, you can maintain its performance and ensure precise and accurate input on your drawing tablet.
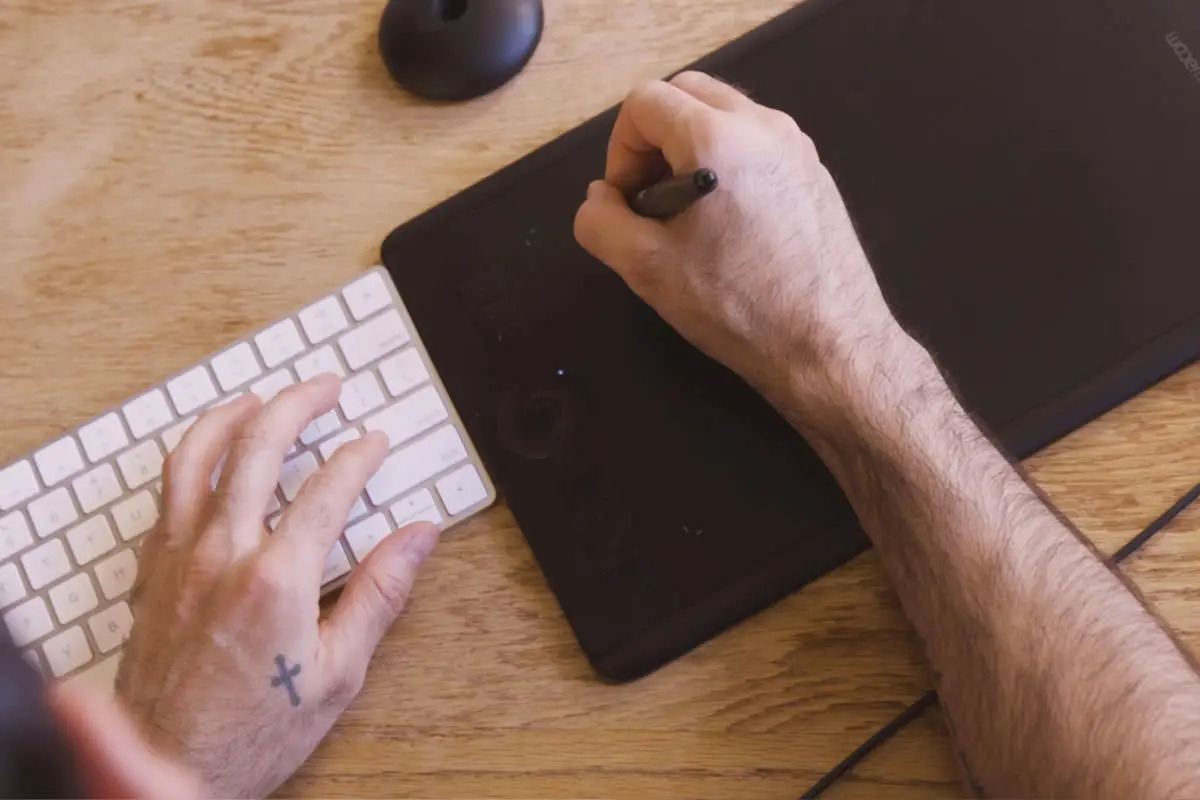
Cleaning the tablet surface or drawing area
The tablet surface or drawing area is where you create your digital artwork, and it is essential to keep it clean for smooth and accurate drawing. Dust, dirt, and oils can accumulate on the surface over time, which can affect the stylus’s performance and result in less precise strokes. Follow these steps to effectively clean the tablet surface or drawing area:
- Power off your drawing tablet: Before you begin cleaning, make sure your drawing tablet is turned off to avoid accidental inputs.
- Prepare a microfiber cloth: Use a soft, lint-free microfiber cloth specifically designed for electronics. This type of cloth is ideal for cleaning the tablet surface or drawing area as it is gentle and won’t scratch the surface.
- Wipe the surface: Start by gently wiping the tablet surface or drawing area with the microfiber cloth. Use a circular motion to remove any dust, smudges, or fingerprints that may have accumulated.
- Focus on stubborn smudges or grease: If there are stubborn smudges or grease on the surface, slightly dampen the microfiber cloth with water or isopropyl alcohol. Be careful not to use excessive moisture that may seep into the device. Gently wipe the affected areas until the smudges or grease marks are removed.
- Dry the surface: After cleaning, use a dry part of the microfiber cloth to remove any remaining moisture from the surface. Make sure it is completely dry before turning your drawing tablet back on.
Always refer to the manufacturer’s guidelines for your specific drawing tablet model to ensure proper cleaning instructions.
By regularly cleaning the tablet surface or drawing area, you can maintain smooth and accurate strokes, ensuring an optimal drawing experience.
Cleaning the tablet’s buttons and ports
The buttons and ports on your drawing tablet are essential for accessing various functions and connecting external devices. Over time, dirt, dust, and debris can accumulate in these areas, affecting their functionality. Follow these steps to effectively clean the buttons and ports of your drawing tablet:
- Power off your drawing tablet: Before you start cleaning, it is important to turn off your drawing tablet and unplug any cables connected to it.
- Inspect the buttons and ports: Take a close look at the buttons and ports to identify any visible dirt, dust, or debris that may have collected. Pay special attention to any crevices or gaps where debris can accumulate.
- Use a cotton swab or compressed air: Dip a cotton swab into isopropyl alcohol or use a can of compressed air specifically designed for electronics. Gently clean around each button and port, removing any dirt or debris that may have accumulated. Be careful not to press too hard or introduce excessive moisture into the device.
- Wipe clean: After using a cotton swab or compressed air, take a microfiber cloth and wipe the buttons and ports to ensure they are clean and free from any remaining residue.
It’s important to note that different drawing tablets may have unique button and port designs, so refer to the manufacturer’s guidelines for any specific cleaning instructions or recommendations.
By regularly cleaning the buttons and ports of your drawing tablet, you can ensure their smooth operation, prevent any potential damage caused by debris, and maintain a seamless connection with external devices.
Maintaining your drawing tablet
To prolong the lifespan and ensure optimal performance of your drawing tablet, it is important to incorporate regular maintenance into your routine. Here are some tips for maintaining your drawing tablet:
- Store it properly: When you’re not using your drawing tablet, make sure to store it in a clean and dust-free environment. Consider using a protective case or sleeve to prevent scratches or damage when transporting or storing the tablet.
- Avoid extreme temperatures and humidity: Exposure to extreme temperatures or high humidity can potentially damage your drawing tablet. Keep it away from direct sunlight, heat sources, and areas of high humidity.
- Keep it clean: Regularly clean the screen, stylus, surface, buttons, and ports as outlined in the previous sections. By keeping your tablet clean, you prevent dirt and debris from affecting its performance.
- Update firmware and software: Check for firmware and software updates regularly. Manufacturers often release updates that include bug fixes, performance improvements, and new features. Updating your tablet’s firmware and software ensures that you have the latest enhancements and compatibility.
- Use a screen protector: Consider using a screen protector to protect your tablet’s screen from scratches. Be sure to choose a high-quality protector that is specifically designed for drawing tablets to maintain the touch sensitivity and visual clarity of the screen.
- Be mindful of the stylus tip: The tip of the stylus is a critical component for accurate drawing. Replace the tip periodically or as recommended by the manufacturer to ensure optimal performance. Avoid applying excessive force when using the stylus to prevent unnecessary wear and tear on the tip.
- Follow manufacturer guidelines: Each drawing tablet may have specific maintenance guidelines provided by the manufacturer. Refer to the user manual or the manufacturer’s website for any additional instructions or recommendations.
By incorporating these maintenance tips into your routine, you can prolong the lifespan of your drawing tablet and enjoy a consistent and reliable drawing experience for years to come.
Conclusion
Regularly cleaning and maintaining your drawing tablet is essential for preserving its performance, prolonging its lifespan, and ensuring an optimal drawing experience. By following the step-by-step cleaning instructions and incorporating regular maintenance into your routine, you can keep your drawing tablet in pristine condition and prevent any potential issues that may arise from dirt, dust, or debris accumulation.
Remember to gather the necessary items such as microfiber cloth, isopropyl alcohol, cotton swabs, compressed air, and water before starting the cleaning process. Take care to power off your device and follow the specific cleaning guidelines provided by the manufacturer for your drawing tablet model.
While cleaning the screen, stylus, tablet surface, buttons, and ports are crucial, it is equally important to store your tablet properly, avoid extreme temperatures and humidity, and keep it up to date with the latest firmware and software updates. By practicing these maintenance tips, you can ensure the longevity and optimal performance of your drawing tablet.
So, embrace the habit of regular cleaning and maintenance to enjoy a seamless and enjoyable drawing experience every time you pick up your tablet. With proper care and attention, your drawing tablet will continue to be an invaluable tool in your creative journey.