Introduction
Welcome to the world of digital art! Using a tablet to draw on your PC can be a game-changer for artists, graphic designers, and anyone who loves to create visually compelling artwork. With the advancements in technology, tablets have become a popular tool for unleashing your creativity and translating your ideas into digital masterpieces.
By harnessing the power of a tablet, you can enjoy the benefits of a pen-like stylus, pressure sensitivity, and precise control, which can greatly enhance your artistic capabilities. Whether you are a beginner or an experienced artist, this guide will provide you with all the necessary information to get started with using a tablet to draw on your PC.
In this article, we will explore the process of choosing the right tablet for your needs, setting it up, installing the required software, and familiarizing yourself with the drawing software. We will also provide tips on using the tablet effectively, adjusting pen settings, utilizing shortcuts, saving and exporting artwork, as well as maintaining your tablet for optimal performance.
So, let’s dive in and discover the exciting world of digital drawing with a tablet as your artistic tool!
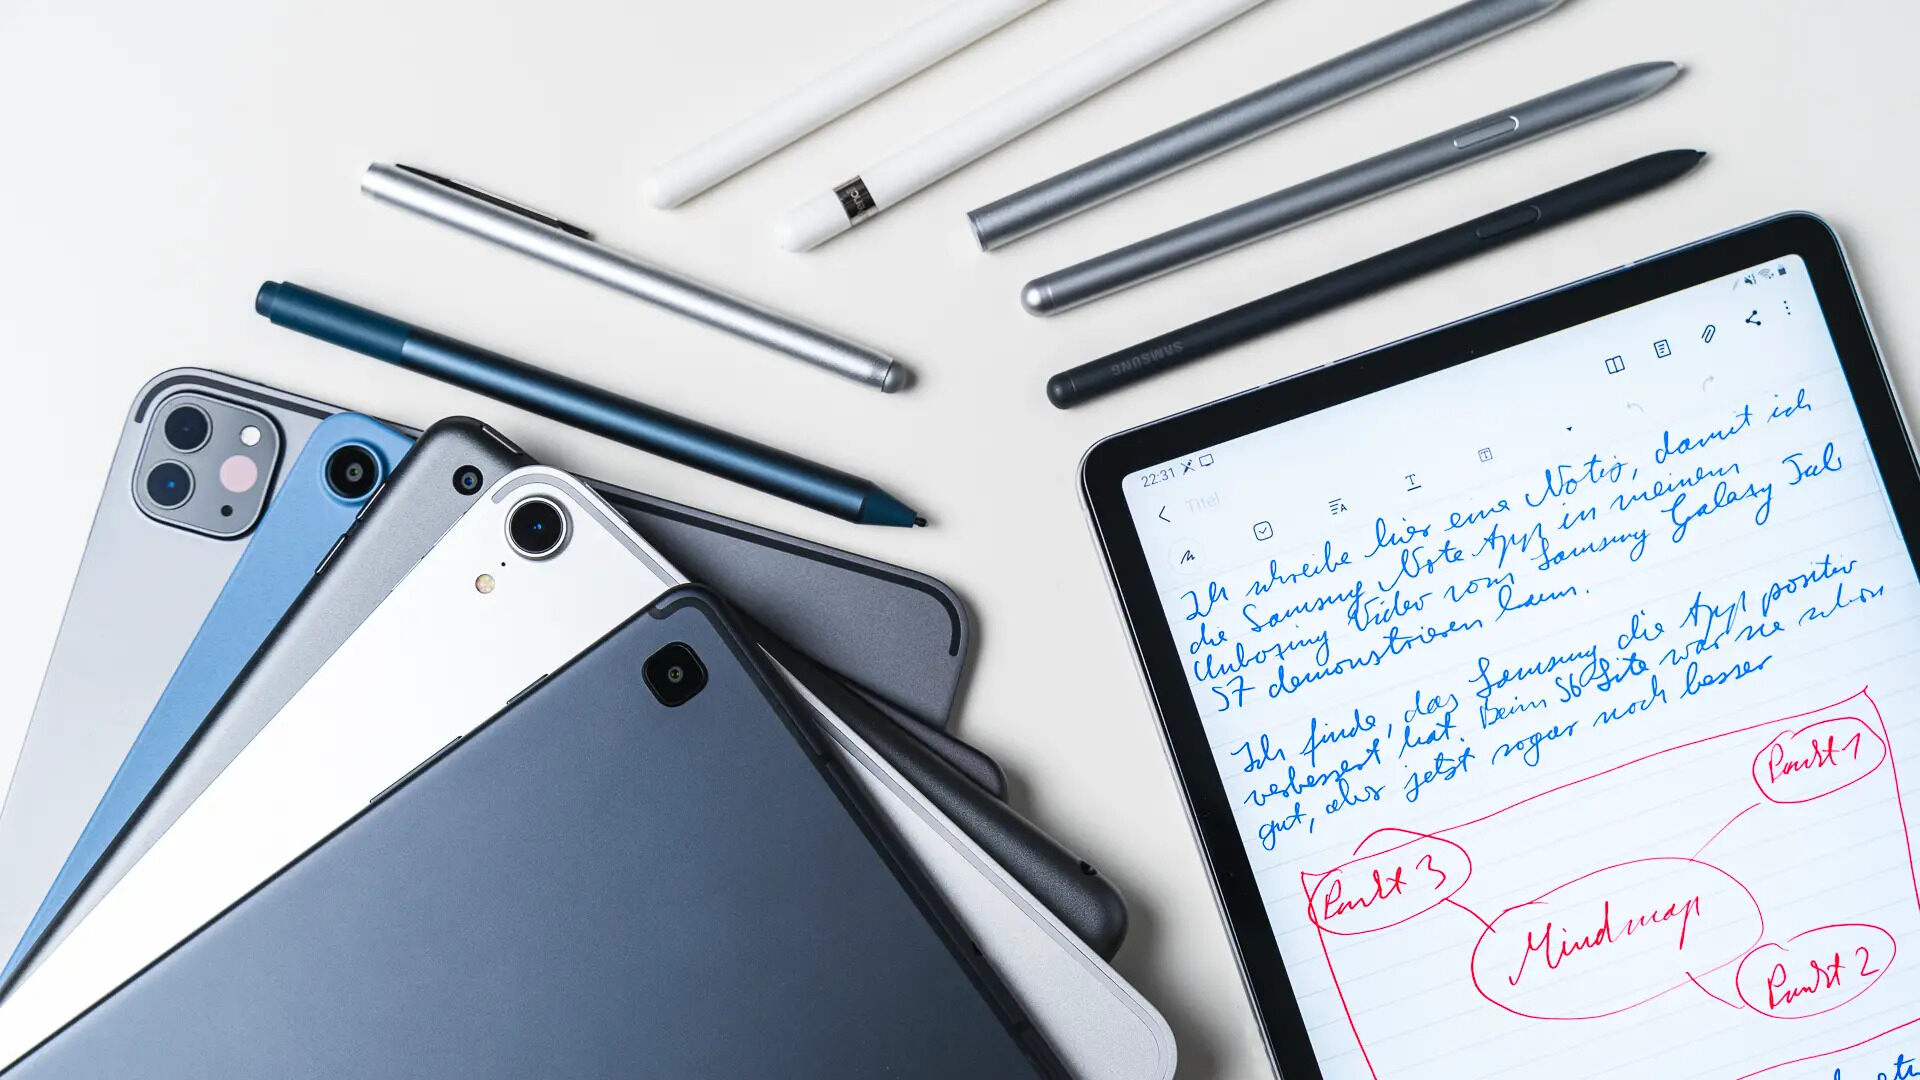
Choosing the Right Tablet
When it comes to choosing a tablet for drawing on your PC, there are a few key factors to consider. The right tablet will depend on your specific needs and budget. Here are some important points to keep in mind:
1. Purpose: Determine the primary purpose of the tablet. If you plan to use it mainly for drawing, look for a tablet that offers high levels of pressure sensitivity and a pen-like stylus. On the other hand, if you need a tablet for multitasking and general use, consider factors such as display size, resolution, and processing power.
2. Size and Portability: Tablets come in various sizes, from compact 7-inch models to larger 12-inch tablets. Consider your workspace and portability needs when choosing a size. A smaller tablet may be more convenient for on-the-go use, while a larger tablet may offer a better drawing experience with a bigger canvas.
3. Pressure Sensitivity: The sensitivity of the tablet’s stylus is crucial for drawing. Look for a tablet that offers a high level of pressure sensitivity to ensure smooth and accurate drawing experience, with the ability to control the thickness and opacity of lines based on the pressure applied.
4. Screen Quality and Resolution: A high-resolution display ensures better clarity, detail, and color accuracy. Look for a tablet with a bright, color-accurate, and crisp display to enhance your drawing experience and accurately represent your artwork.
5. Compatibility: Check the tablet’s compatibility with your PC’s operating system. Ensure that the tablet you choose is compatible with your preferred drawing software as well. Some tablets are compatible with both Windows and Mac, while others may be limited to specific operating systems.
6. Budget: Determine your budget range and look for tablets that offer the best value for your money. Remember that higher-end tablets with advanced features may come with a higher price tag, while more affordable options may still offer decent functionality for beginners.
By considering these factors, you can narrow down your options and find the tablet that perfectly suits your requirements and artistic aspirations. Remember to read reviews, compare specifications, and think about your specific needs before making a final decision.
Setting Up the Tablet
Once you have chosen the perfect tablet for your drawing needs, it’s time to set it up and get ready to unleash your creativity. Here’s a step-by-step guide to help you set up your tablet:
1. Connect the Tablet: Connect your tablet to your PC using the provided USB cable or wireless connection, depending on the model. Ensure that the tablet is securely connected or paired with your PC.
2. Install Device Drivers: Most tablets require you to install device drivers to ensure proper functionality. These drivers translate your tablet’s input into commands that your computer can understand. Check the manufacturer’s website for the latest drivers and installation instructions.
3. Calibrate the Tablet: Calibration is essential to ensure accurate stylus tracking. Open the tablet’s settings or control panel and locate the calibration option. Follow the on-screen instructions to calibrate the tablet by tapping on the crosshairs or following the guided process.
4. Adjust Display Settings: To optimize the tablet’s display for drawing, adjust the screen orientation and screen mapping. This ensures that the tablet’s active area corresponds to your computer screen. The tablet’s settings or control panel should have options to adjust these settings.
5. Customize Button Functions: Many tablets have programmable buttons that can be customized to perform specific functions. Explore the tablet’s settings or control panel to assign shortcuts such as zooming, undo, or switching between brushes to the tablet’s buttons for quick access.
6. Test the Pen Pressure: Open your preferred drawing software and test the pen pressure sensitivity. Use a variety of brush sizes and pressure levels to ensure that the tablet correctly registers the pressure you apply. Adjust the pressure settings in the drawing software if necessary.
7. Check for Firmware Updates: Manufacturers often release firmware updates to enhance the tablet’s performance and address any bugs or issues. Visit the manufacturer’s website regularly to check for firmware updates and install them if available.
By following these steps, you can set up your tablet correctly and optimize its performance for a seamless drawing experience. Remember to consult the tablet’s user manual or online resources provided by the manufacturer for detailed instructions specific to your tablet model.
Installing the Required Software
After setting up your tablet, the next step is to install the necessary software to begin drawing on your PC. Here’s a guide on how to install the required software:
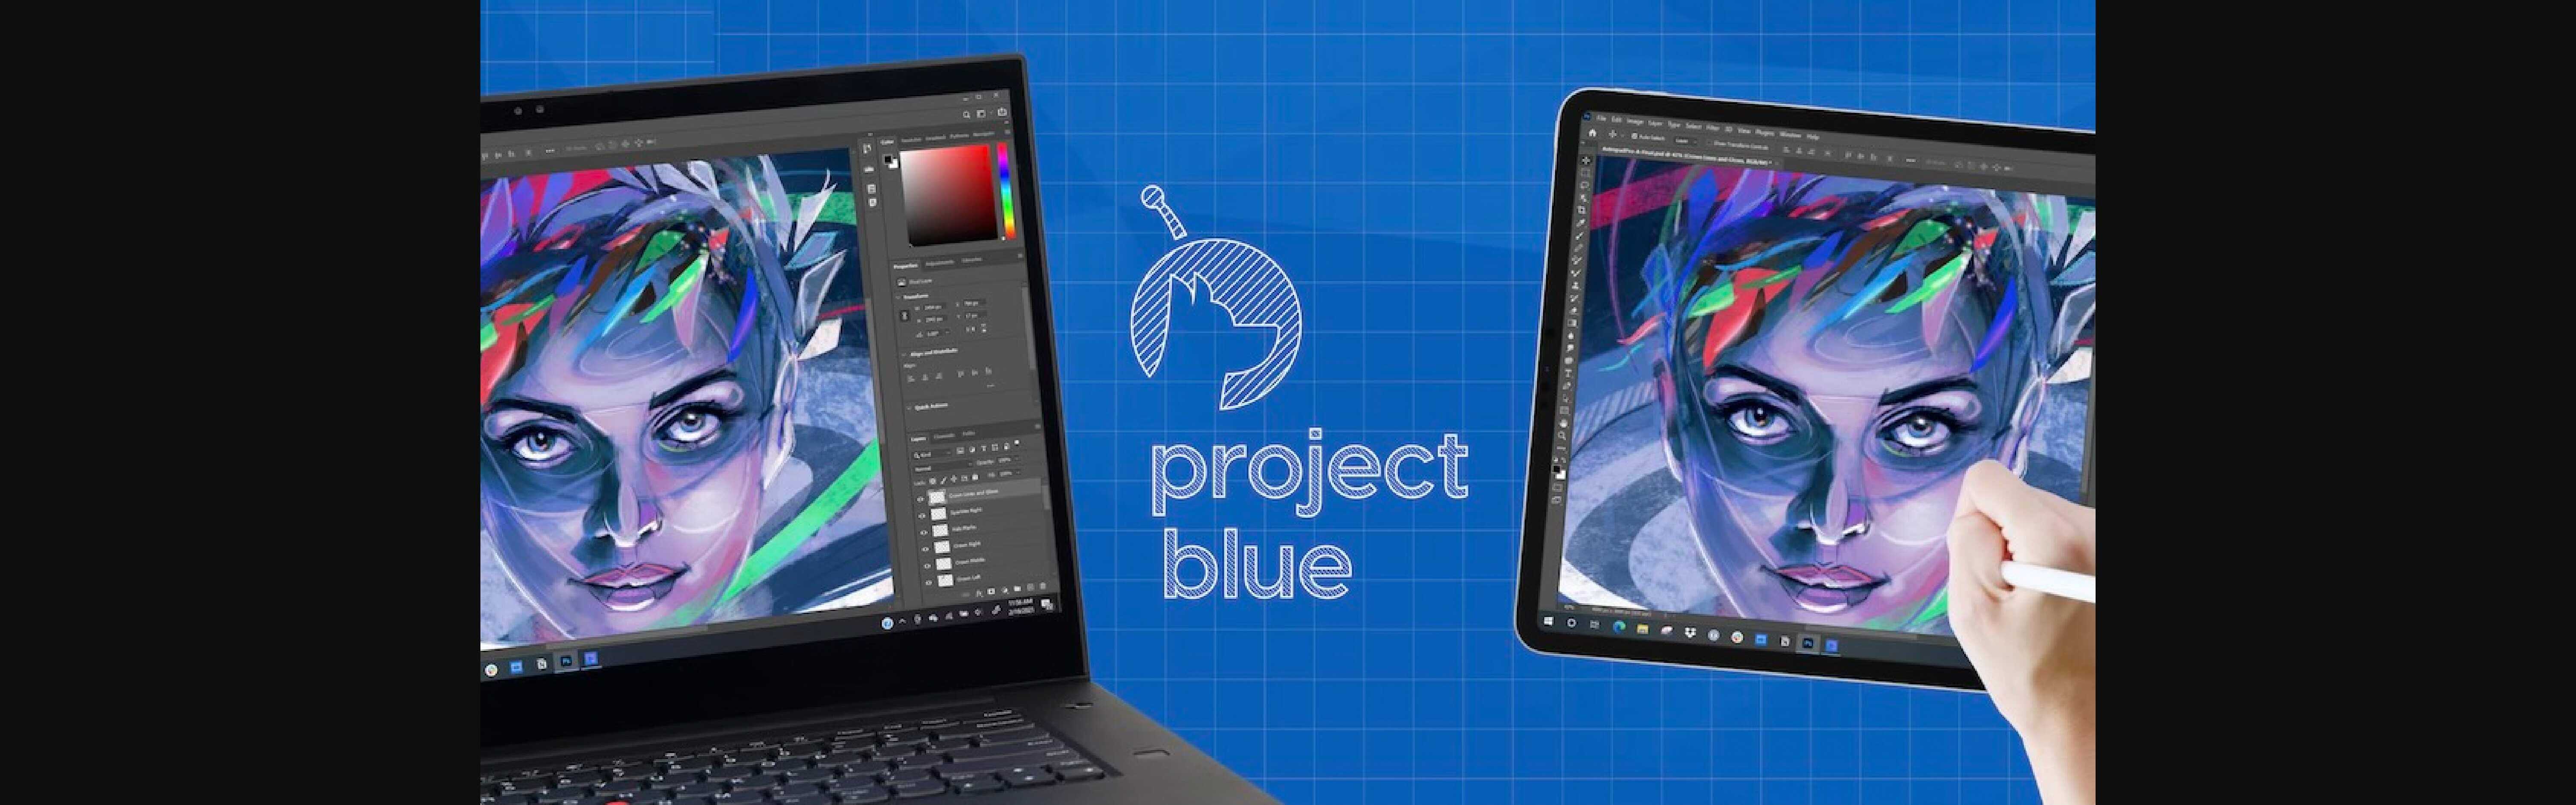
1. Choose Your Drawing Software: There are various drawing software options available, each with its own features and user interface. Some popular choices include Adobe Photoshop, Corel Painter, Clip Studio Paint, and Krita. Research and select the software that best fits your artistic needs and budget.
2. Purchase or Download: Depending on the software you choose, you may need to purchase a license or opt for a free version. Some software offers trial versions that allow you to test the features before committing to a purchase. Visit the software’s official website to make your selection and proceed with the download or purchase process.
3. Install the Software: Once you have obtained the software, run the installation file and follow the on-screen instructions to install it on your PC. Choose the desired installation location and options that suit your preferences.
4. Configure the Software: After installation, open the drawing software and navigate through its settings to customize it according to your preferences. Adjust settings such as canvas size, brush presets, color profiles, and interface layout to create a personalized workspace that suits your needs.
5. Import Tablet Drivers: Some drawing software may require additional tablet drivers to recognize the tablet’s input. Check the software’s official website or user guide to determine if any drivers or plugins need to be installed for optimal tablet functionality. Follow the provided instructions to import the drivers, if necessary.
6. Test Connectivity: Once the software and tablet drivers are installed, ensure that your tablet is properly connected to your PC. Open the drawing software, and verify that it recognizes the tablet’s input. Test the pen pressure, tilt functionality, and any other features specific to your tablet to ensure everything is working correctly.
By following these steps, you can successfully install the necessary software and ensure that your tablet is seamlessly integrated with your chosen drawing application. Remember to consult the software’s documentation or online resources provided by the software developer for any specific installation instructions or troubleshooting guidance.
Calibrating the Tablet
Calibrating your tablet is an essential step to ensure precise tracking and accurate pen input. Here’s a step-by-step guide on how to calibrate your tablet:
1. Access Tablet Settings: Locate the tablet settings or control panel on your PC. This can usually be found in the system tray or by searching for your tablet’s name in the Start Menu. Open the settings or control panel to access the calibration options.
2. Open Calibration Tool: In the tablet settings or control panel, look for the calibration or pen settings option. Click on it to open the calibration tool. Some tablets may have a specific name for this tool, such as “Pen and Touch” or “Tablet Properties”.
3. Follow On-Screen Instructions: The calibration tool will provide on-screen instructions to guide you through the calibration process. Typically, you will be prompted to tap on specific areas or crosshairs displayed on the screen using the tablet’s stylus.
4. Tap Accurately: When calibrating, make sure to tap accurately and precisely on the designated areas. Take your time to ensure that you’re hitting the crosshairs accurately, as this will affect the overall accuracy of your pen input.
5. Repeat Calibration: Some calibration tools may require you to go through the calibration process multiple times to ensure optimal accuracy. Follow the instructions and repeat the calibration if necessary until you’re satisfied with the results.
6. Test Calibration: After completing the calibration, open your preferred drawing software and test the pen accuracy and sensitivity. Draw a few lines or shapes to verify that the tablet registers your pen input correctly and that the strokes appear as expected. Make any necessary adjustments in the drawing software’s brush settings or pen pressure settings if the results are not accurate.
It is recommended to calibrate your tablet periodically, especially if you feel a decrease in accuracy or notice any inconsistencies in your pen inputs. Additionally, if you’re using multiple monitors, it’s advisable to calibrate the tablet for each individual display to ensure accurate pen tracking across all screens.
By following these calibration steps and regularly fine-tuning your tablet’s settings, you can optimize your drawing experience and ensure that the tablet accurately translates your pen strokes onto the digital canvas.
Familiarizing Yourself with the Drawing Software
Once you have your tablet set up and calibrated, it’s time to familiarize yourself with the drawing software you’ve chosen. Understanding the features and tools offered by the software will help you unleash your creativity and make the most out of your tablet’s capabilities. Here are some steps to help you get started:
1. Explore the User Interface: Take some time to navigate the software’s user interface. Familiarize yourself with the different panels, menus, and toolbars. Pay attention to the location of essential tools such as brush settings, layers, and color selection.
2. Learn the Basic Tools: Start by learning and experimenting with the basic tools such as brush, eraser, selection, and fill. Understand how they work and how you can modify their settings to achieve different effects and achieve the desired results.
3. Experiment with Brush Settings: Brushes are a fundamental tool in digital drawing. Explore the various brush settings available, such as size, opacity, flow, and blending modes. Experiment with different brush types, shapes, and textures to find the ones that suit your style and desired outcomes.
4. Layers and Blending Modes: Layers allow you to separate elements and make non-destructive edits to your artwork. Learn how to create and manipulate layers in the software. Additionally, explore the different blending modes to combine and blend colors and elements in unique ways.
5. Shortcut Keys and Customization: Get familiar with the software’s shortcut keys and customize them according to your preferences. Keyboard shortcuts can significantly enhance your workflow and save you time by providing quick access to frequently used tools and functions.
6. Tutorials and Resources: Take advantage of online tutorials and resources available for your chosen drawing software. Many websites, forums, and YouTube channels offer valuable tutorials that can help you learn advanced techniques and unleash your creativity.
Remember, becoming proficient with a drawing software takes time and practice. Start with small projects and gradually increase the complexity of your artwork as you become more comfortable with the software. Don’t be afraid to experiment and try new techniques to develop your unique artistic style.
By familiarizing yourself with the features and tools of your drawing software, you’ll be equipped to confidently create stunning digital artwork using your tablet.
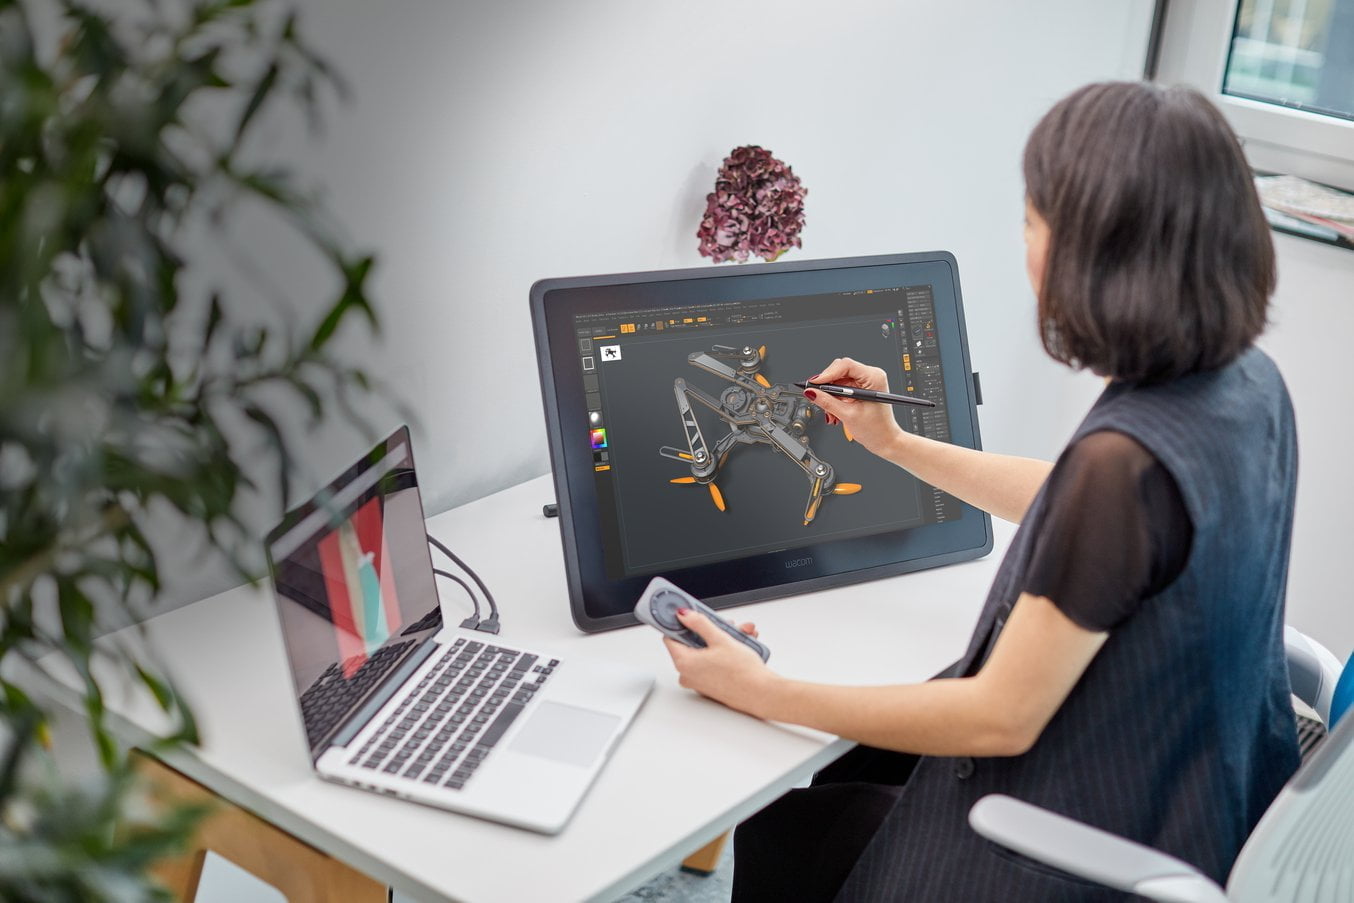
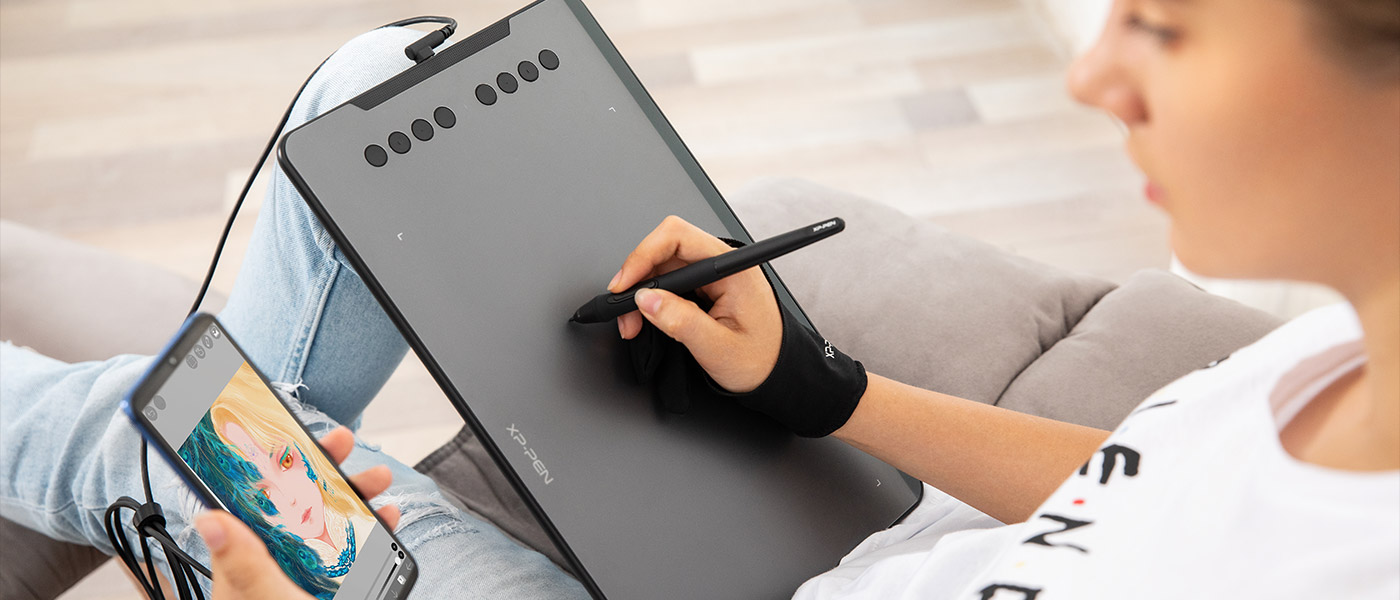
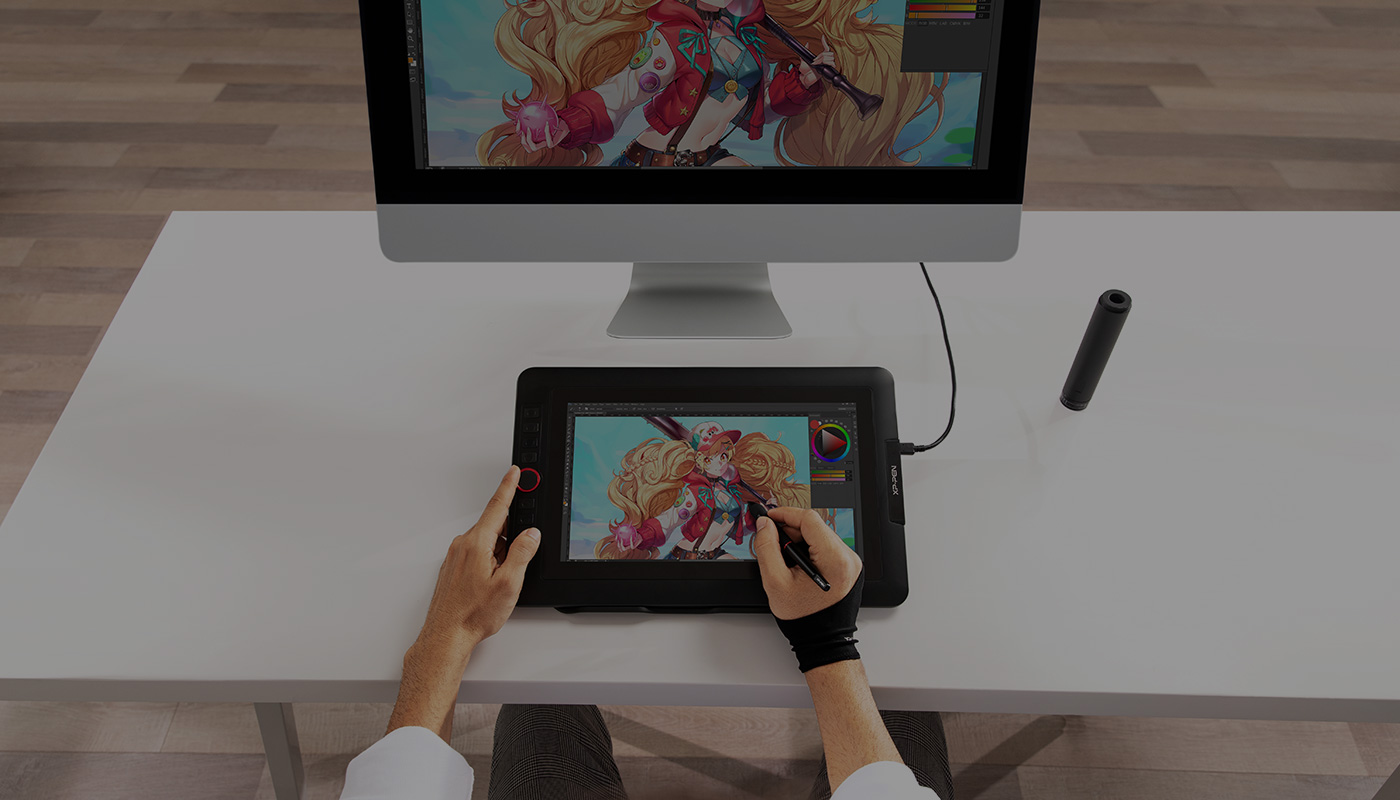
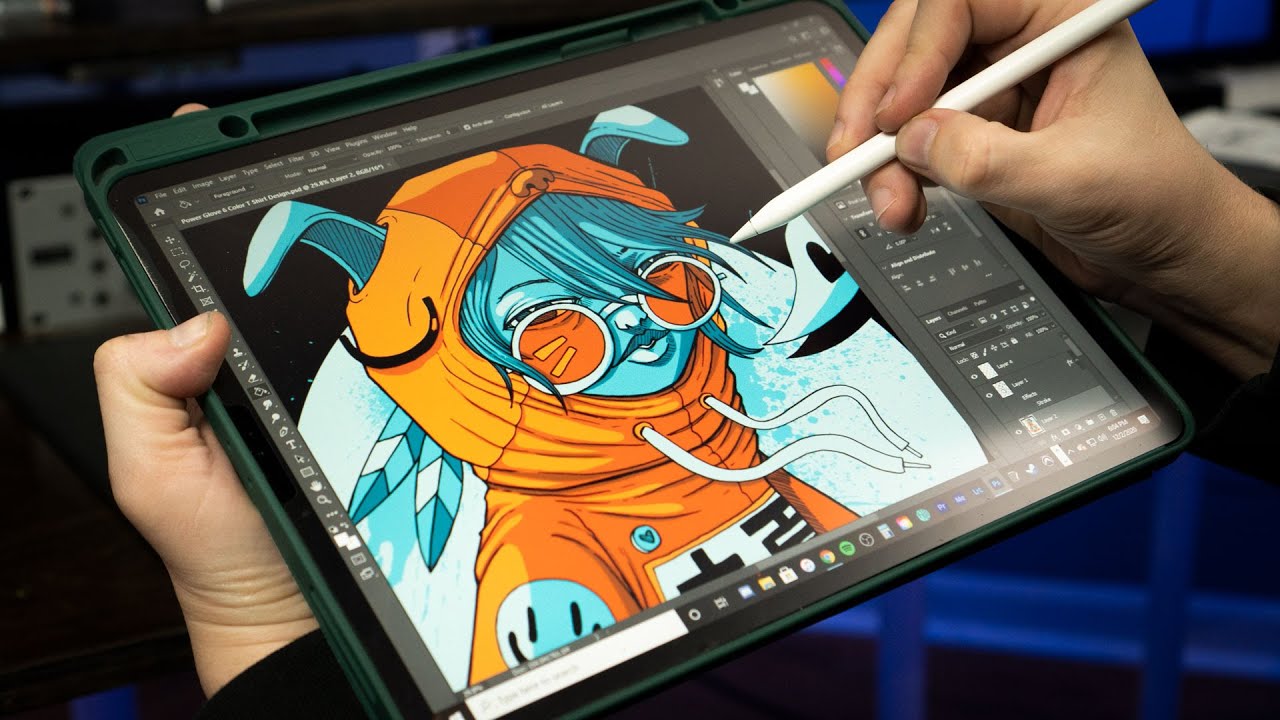
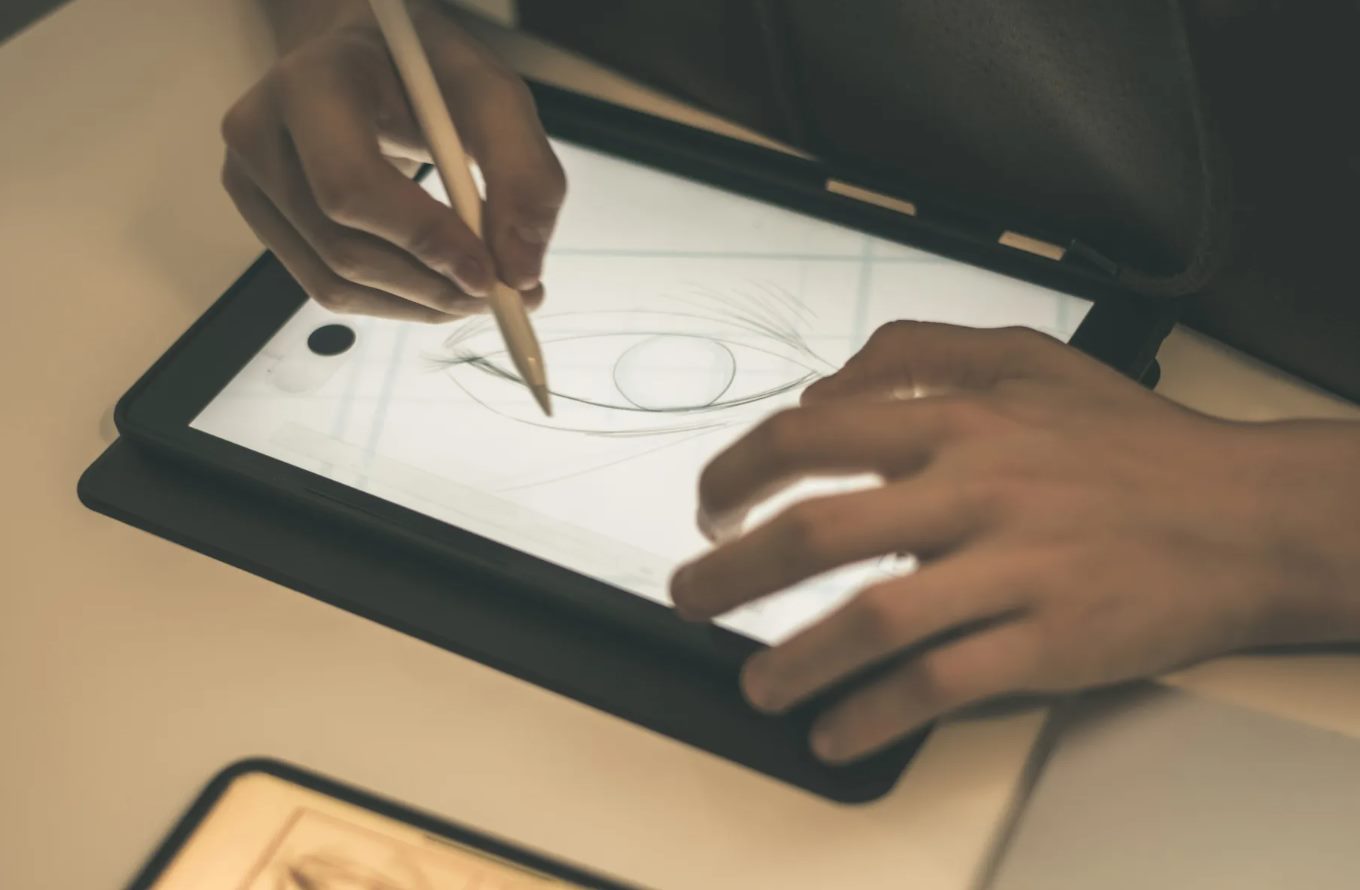
Using the Tablet to Draw
Now that you’re familiar with the drawing software, it’s time to unleash your creativity and start using your tablet to draw. Here are some important tips to help you make the most out of your tablet when creating artwork:
1. Hold the Stylus Comfortably: Hold the stylus in a way that feels comfortable for you. Experiment with different grips and find the one that allows you to have precise control over your strokes. Remember to relax your hand and arm to avoid unnecessary strain during long drawing sessions.
2. Explore Pressure Sensitivity: Take advantage of the tablet’s pressure sensitivity feature to add more depth and variation to your artwork. Apply lighter pressure for lighter strokes and heavier pressure for thicker strokes. Experiment with different pressure levels to create dynamic and expressive lines.
3. Utilize Tilt and Rotation: Many tablets support tilt and rotation functions, which can mimic traditional drawing tools like pencils or brushes. Explore these features and experiment with the angles at which you hold the stylus to achieve different effects and textures in your artwork.
4. Zoom and Pan: Use the tablet’s touch functionality to zoom in and out or pan across your canvas. This can help you focus on small details or work on larger areas with ease. Familiarize yourself with the touch gestures supported by your tablet to make navigation effortless.
5. Layers for Flexibility: Take advantage of layers to organize your artwork and make non-destructive edits. Use different layers for different elements, such as background, foreground, or specific objects. This allows you to edit individual layers without affecting the rest of your artwork.
6. Experiment and Have Fun: Don’t be afraid to experiment and try new techniques. Digital drawing provides endless possibilities and allows you to easily undo or redo your work. Play with different brushes, colors, textures, and effects to find your own unique style and bring your artistic vision to life.
Remember, practice is key to improving your skills. Set aside dedicated time for drawing and continue to challenge yourself with new projects and subjects. Don’t be discouraged by initial setbacks, as each stroke brings you closer to honing your craft.
So, embrace the power of your tablet and let your imagination run wild as you create beautiful and captivating artwork using this incredible digital tool.
Adjusting Pen Settings for Accurate Drawing
To ensure a smooth and accurate drawing experience with your tablet, it’s important to adjust the pen settings according to your preferences. Fine-tuning these settings can greatly enhance your control and precision while creating digital artwork. Here are some key pen settings to consider:
1. Pressure Sensitivity: Most drawing tablets offer pressure sensitivity, allowing you to control the thickness and opacity of your strokes based on how hard you press the stylus on the tablet surface. Adjust the pressure sensitivity settings in your drawing software to match your desired level of responsiveness.
2. Stylus Buttons: Some drawing tablets come equipped with stylus buttons that can be customized to perform specific functions. Commonly used functions include right-click, eraser mode, or brush size adjustment. Explore the tablet’s settings or control panel to configure the stylus buttons based on your preferences and workflow.
3. Flow and Opacity: In addition to pressure sensitivity, many drawing software applications offer separate settings for brush flow and opacity. Flow determines the amount of paint or ink flowing from the brush tip, while opacity controls the transparency of the strokes. Adjust these settings to achieve the desired blending and texture effects in your artwork.
4. Tilt and Rotation: If your tablet supports tilt and rotation functionality, explore the settings in your drawing software to calibrate these features. Tilt sensitivity allows you to create different line widths or shading effects by adjusting the angle of the stylus. Rotation sensitivity lets you create natural-looking brush strokes that mimic the behavior of traditional art tools.
5. Cursor Offset: Some tablets may have a slight discrepancy between the actual position of the stylus on the tablet and the on-screen cursor. This can impact precision in detailed work. If you notice any cursor offset, look for options in the tablet settings or calibration tool to correct this misalignment.
6. Pen Accuracy: Fine-tuning your tablet’s pen accuracy settings can impact the overall tracking and responsiveness of the stylus. Adjust settings such as the tablet’s sampling rate or the distance at which the stylus activates to ensure a smooth and accurate drawing experience. Consult your tablet’s user manual or online resources for guidance on adjusting these settings.
Remember, pen settings are highly personal and may require some experimentation to find the configuration that suits your drawing style and comfort. Take the time to adjust and refine these settings to optimize their benefits for your artistic endeavors.
By adjusting the pen settings to your liking, you can achieve greater control and accuracy when creating digital artwork with your tablet, unlocking your full creative potential.
Utilizing Shortcuts for Efficiency
In the world of digital art, time is precious, and every second counts. Utilizing shortcuts can significantly boost your efficiency and speed up your workflow when using a tablet to draw. Here are some tips for making the most out of shortcuts:
1. Learn Default Shortcuts: Familiarize yourself with the default keyboard shortcuts available in your drawing software. These shortcuts are often designed to provide quick access to frequently used tools and functions, such as selecting brushes, changing brush sizes, or undoing and redoing actions. Take the time to memorize these shortcuts to save time and avoid unnecessary clicks.
2. Create Custom Shortcuts: Many drawing software applications allow you to customize shortcuts based on your preferences. Identify tasks or functions that you perform frequently and consider assigning personalized shortcuts for them. This can include tasks like saving your work, zooming in or out, or switching between different brush modes. Custom shortcuts can be a time-saving lifesaver, so take advantage of this feature when available.
3. Utilize Pen Buttons: If your drawing tablet comes with programmable buttons on the stylus, consider assigning shortcuts to them. These buttons can be configured to perform specific actions like changing brush settings, switching between canvas rotation modes, or activating the eraser. Having these shortcuts readily available at your fingertips can greatly enhance your efficiency and streamline your workflow.
4. Use Radial Menus or Pie Menus: Some drawing software applications offer radial menus or pie menus that can be accessed by holding down a specific key or stylus button. These menus provide quick access to a variety of tools and functions, saving you from navigating through multiple menus. Explore whether your software supports this feature and take advantage of it to speed up your work process.
5. Set Up Brush Presets: Drawing software often allows you to save and organize brush presets. Take the time to create and organize a library of frequently used brushes. This way, you can easily switch between different brush types and sizes with a simple click or shortcut, enabling a seamless transition while working on your artwork.
6. Use Modifier Keys: Modifier keys such as Shift, Ctrl/Cmd, and Alt/Option can expand the capabilities of shortcuts. By combining these keys with other keyboard shortcuts, you can unleash additional functions or modify existing ones. For example, holding down the Shift key while using a selection tool can create perfectly straight lines or constrain proportions while transforming an object. Explore the possibilities and experiment with different combinations to increase your efficiency.
By utilizing shortcuts, you can streamline your workflow and accomplish tasks more efficiently when using a tablet to draw. Remember to practice and familiarize yourself with the shortcuts to master them effectively. Over time, these shortcuts will become second nature, empowering you to focus more on your art and less on navigating through menus and options.
Saving and Exporting your Artwork
Once you have completed your artwork using your drawing tablet, it’s important to save and export your creations properly to preserve their quality and ensure easy sharing or printing. Here are some key points to consider when saving and exporting your artwork:
1. Save in Native Format: When saving your artwork, it is often best to save it in the native format of your drawing software. This preserves all the layers, effects, and adjustments made during the creation process, allowing you to make future edits or modifications if needed. Native formats typically have file extensions specific to the software, such as .PSD for Adobe Photoshop or .AI for Adobe Illustrator.
2. Export as High-Quality Image: If you plan to share your artwork or print it, exporting it as a high-quality image is essential. Choose a file format that supports high resolution and preserves details, such as PNG or JPEG. Adjust the image compression settings to balance file size and image quality. Keep in mind that higher compression results in smaller file sizes but may compromise image quality.
3. Consider File Size and Compatibility: Before exporting your artwork, consider the file size and compatibility with the intended use. Large file sizes may be an issue when sharing online or via email. If the artwork is too large, you may need to resize the image or adjust the quality settings to reduce the file size. Additionally, remember to consider the file format’s compatibility with the platforms or devices where you plan to view or share your artwork.
4. Include Metadata: Some drawing software allows you to embed metadata into your saved files. Metadata can include information such as your name, copyright details, description, or artistic process. Adding metadata is a good practice for maintaining ownership and providing relevant information about your artwork when sharing or publishing it online.
5. Create Versions: It’s always a good idea to create different versions of your artwork for different purposes. For instance, you might want to save a high-resolution version for printing and a smaller, optimized version for online sharing. By creating different versions, you ensure that your artwork is optimized for each specific use, without compromising quality or sacrificing file size.
6. Backup your Artwork: Lastly, always prioritize backing up your artwork. Whether it’s saving it to an external hard drive, cloud storage, or using an automated backup solution, protecting your artwork from potential data loss is crucial. Consider maintaining multiple copies of your files to safeguard against accidental deletion, computer malfunctions, or other unforeseen circumstances.
By following these guidelines for saving and exporting your artwork, you can preserve its quality, ensure compatibility, and make it ready for sharing and printing, allowing your creations to be enjoyed and appreciated by others.
Cleaning and Maintaining your Tablet
Proper cleaning and maintenance of your drawing tablet are essential to ensure its longevity and optimal performance. Regular maintenance can help prevent dirt, dust, or debris from affecting the tablet’s functionality. Here are some tips on how to clean and maintain your tablet:
1. Turn off and Unplug: Before cleaning your tablet, ensure that it is turned off and unplugged from your computer. This will prevent any accidental input or damage while cleaning.
2. Use a Soft, Lint-Free Cloth: Gently wipe the surface of your tablet using a soft, lint-free cloth. Microfiber cloths are great for this purpose, as they are effective at removing smudges and fingerprints without scratching the surface. Avoid using abrasive materials or harsh chemicals that could damage the tablet’s screen or coating.
3. Clean the Stylus: Wipe the stylus with the same soft cloth to remove any dirt or oils that may accumulate over time. Pay attention to the stylus tip, as it can accumulate debris that may affect the accuracy of your pen strokes. Use a gentle sweeping motion to remove any dust or particles.
4. Avoid Excessive Moisture: It’s important to avoid excessive moisture when cleaning your tablet. If needed, lightly dampen the cloth with clean water or a screen-cleaning solution specifically designed for electronic devices. Avoid using excessive liquid that could seep into the tablet’s sensitive components. Never spray liquid directly onto the tablet.
5. Protect the Tablet Surface: Consider using a screen protector to protect the tablet’s surface from scratches and smudges. A screen protector can be replaced easily if it becomes worn or damaged. Be sure to choose a screen protector that is compatible with your tablet model.
6. Store Properly: When not in use, store your tablet in a clean and dust-free area. Utilize the protective case or sleeve that came with your tablet, or consider investing in a protective carrying case. This helps prevent dust, dirt, or accidental damage when the tablet is not in use.
7. Software Updates: Regularly check for software updates for your tablet’s drivers or firmware. Manufacturers often release updates to improve performance, fix bugs, or introduce new features. Keeping your tablet’s software up to date ensures that you have the latest enhancements and compatibility improvements.
By following these cleaning and maintenance tips, you can ensure that your drawing tablet remains in top-notch condition, providing you with a reliable and enjoyable drawing experience for years to come.
Conclusion
Congratulations on completing this guide to using a tablet to draw on your PC! We have covered important aspects such as choosing the right tablet, setting it up, installing the required software, calibrating the tablet, and familiarizing yourself with the drawing software. Additionally, we explored tips for utilizing shortcuts, adjusting pen settings, saving and exporting artwork, and cleaning and maintaining the tablet.
Using a tablet to draw on your PC opens up a world of creative possibilities. Whether you are an aspiring artist, an experienced designer, or simply someone who enjoys expressing their creativity through digital art, a drawing tablet can greatly enhance your artistic journey.
Remember to take the time to explore your tablet’s features, experiment with different brushes and techniques, and most importantly, enjoy the process of creating unique and inspiring artwork. Along the way, continue to refine your skills, learn new techniques, and seek inspiration from other artists in order to expand your artistic horizons.
Lastly, never hesitate to share your artwork with others. Display your creations proudly, seek feedback, and be open to constructive criticism. Sharing your artwork allows you to connect with other artists, gain valuable insights, and inspire others through your creativity.
Now that you are equipped with the knowledge and tips from this guide, it’s time to unleash your imagination and create amazing digital art with your tablet. Embrace the versatility, precision, and endless possibilities that a tablet provides, and let your creativity flourish on the digital canvas.