Introduction
Welcome to the world of digital art! With the rapid advancement of technology, artists no longer need to rely solely on traditional methods to create stunning masterpieces. The emergence of tablets and their powerful drawing capabilities has revolutionized the art industry, providing artists with a versatile and portable tool for unleashing their creativity.
In this article, we will explore how you can transform your iPad into a drawing tablet, allowing you to take your artistic skills to new heights. Whether you are a professional artist, a hobbyist, or just starting your artistic journey, using your iPad as a drawing tablet offers a whole new realm of possibilities.
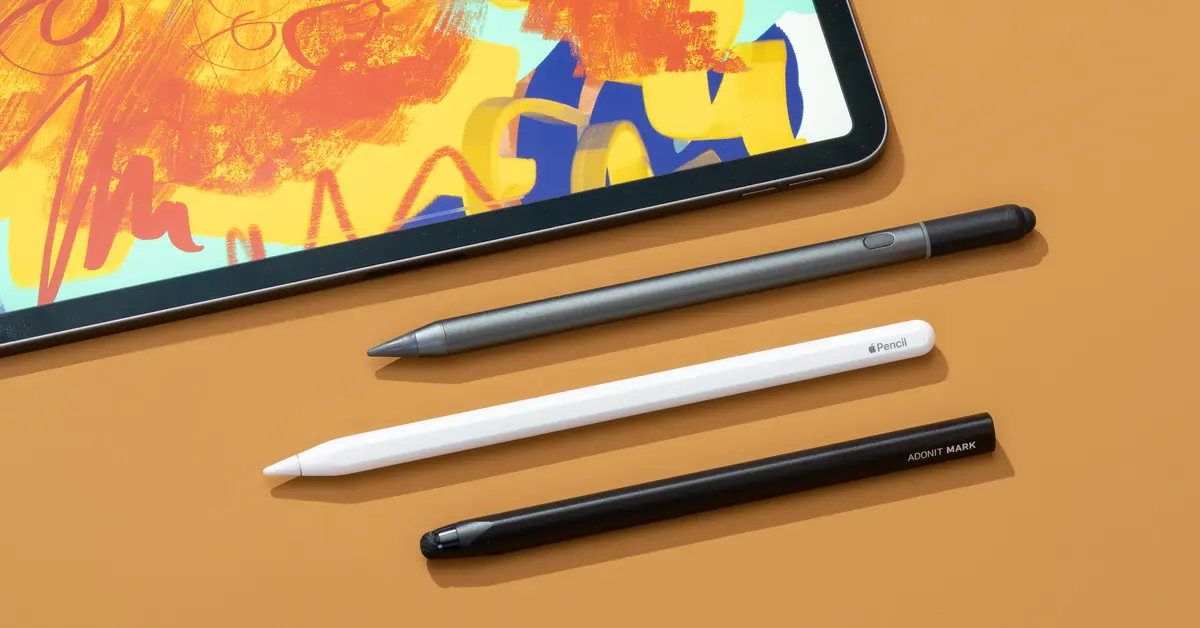
The popularity of iPads as drawing tablets is not without reason. The combination of Apple’s intuitive software, the larger screen size compared to smartphones, and the precision of the Apple Pencil makes the iPad an ideal choice for digital artists. Not only can you sketch and draw with ease, but you can also edit and fine-tune your artwork on the go.
By using your iPad as a drawing tablet, you can enjoy the convenience of carrying your art studio with you wherever you go. No more lugging around heavy art supplies or worrying about creating a mess. Simply grab your iPad, and you’ll have a wide range of digital brushes and tools at your disposal.
Whether you’re interested in creating stunning illustrations, intricate digital paintings, or even comic strips, your iPad can be your canvas. This article will guide you through the process of setting up your iPad as a drawing tablet, choosing the right drawing app, connecting it to your computer, and exploring various drawing tools and techniques.
So, whether you’re a traditional artist looking to explore digital art or a seasoned digital artist wanting to add a new dimension to your work, let’s dive in and discover the exciting world of turning your iPad into a top-notch drawing tablet!
Benefits of Using Your iPad as a Drawing Tablet
There are numerous benefits to using your iPad as a drawing tablet, bringing a whole new level of convenience and versatility to your artistic endeavors. Here are some key advantages:
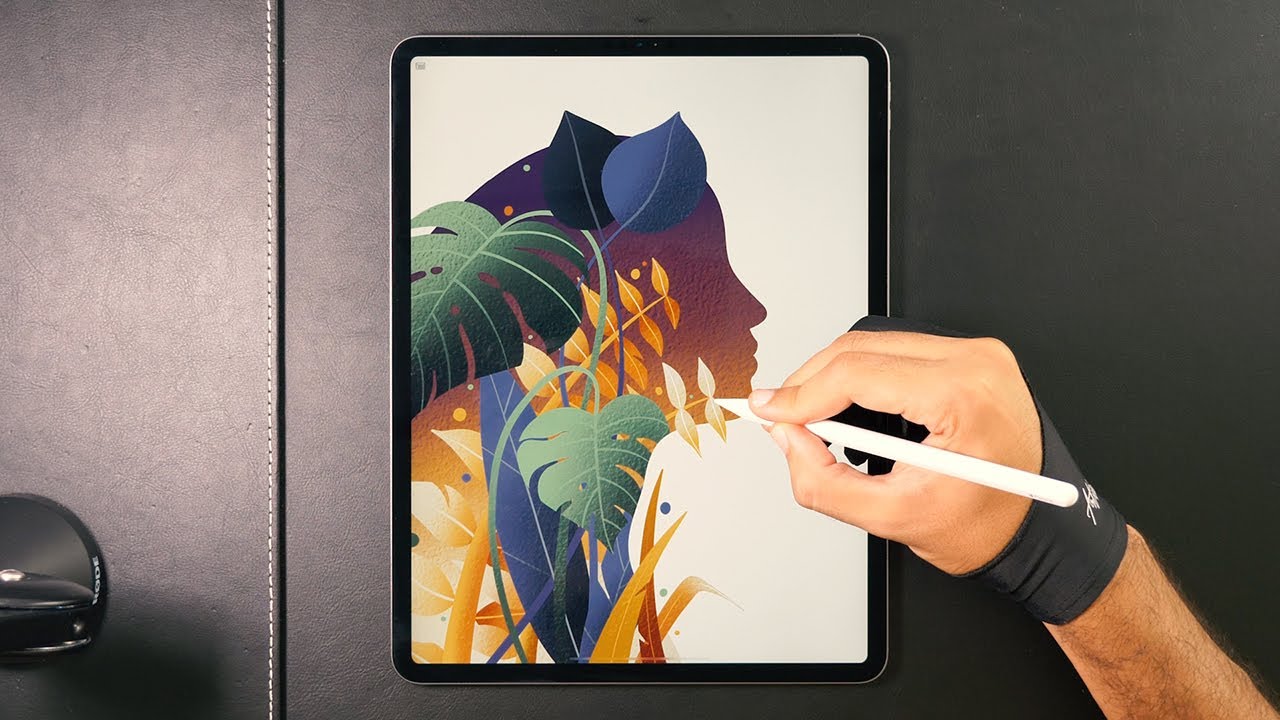
- Portability: One of the biggest advantages of using your iPad as a drawing tablet is its portability. Unlike traditional drawing tablets or graphic tablets, an iPad is lightweight and compact, making it easy to carry around and use wherever inspiration strikes. You can create art on the go, whether you’re sitting in a cafe, traveling, or simply relaxing in your backyard.
- Cost-effective: Investing in an iPad and an Apple Pencil is often more affordable than purchasing a standalone drawing tablet. This makes it an attractive option, especially for beginners or artists on a budget. Instead of buying separate devices for drawing and other tasks, you can have all the functionality in one device.
- Wide Choice of Drawing Apps: The App Store offers a myriad of drawing apps designed specifically for iPad users. These apps come with various features, such as a wide range of brushes, layers, blending modes, and more. You can experiment with different apps to find the one that suits your artistic style and preferences.
- Pressure Sensitivity: The sensitivity of the Apple Pencil allows for precise control in your artwork. With different levels of pressure, you can vary the thickness and opacity of your brush strokes, giving your digital art a more natural and authentic feel.
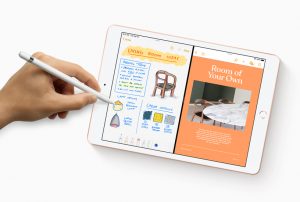
- Versatility: Your iPad is not only limited to drawing. You can also use it for photo editing, digital design, note-taking, and even as a second screen for your computer. It serves as a multipurpose tool that adapts to your creative needs.
- Real-time Editing and Undo: Digital artwork enables you to make instant changes and corrections. Unlike traditional media, where mistakes can be difficult to rectify, working on an iPad allows you to easily undo or modify your work. This flexibility and instant editing capability make the creative process more efficient and enjoyable.
- Connectivity: Thanks to its seamless integration with other devices, you can easily transfer your artwork from your iPad to your computer for further editing or sharing. This connectivity also allows for collaboration with other artists, opening up new opportunities for learning and artistic growth.
These are just a few of the many benefits of using your iPad as a drawing tablet. The combination of portability, affordability, and versatility makes it a compelling choice for both professional artists and beginners venturing into digital art. Now that you’re aware of the advantages, let’s move on to the next steps of turning your iPad into a powerful drawing tool.
Choosing the Right Drawing App
Once you’ve set up your iPad as a drawing tablet, the next step is to find the right drawing app that suits your artistic needs. The App Store offers a wide range of drawing apps, each with its own unique features and capabilities. Here are some factors to consider when choosing the right drawing app for your iPad:
- User Interface: A good drawing app should have an intuitive and user-friendly interface. Look for an app that allows you to easily access and navigate through various tools, brushes, and settings. The interface should be responsive and customizable, ensuring a seamless and enjoyable drawing experience.
- Drawing Tools: Consider the variety and quality of drawing tools available in the app. Look for a wide range of brushes, pens, pencils, and other tools that suit your artistic style. The app should offer options to adjust brush size, opacity, and pressure sensitivity, allowing for precise control over your strokes.
- Layers Support: Working with layers is essential for digital art as it allows you to separate elements of your artwork and make changes without affecting the rest of the composition. Look for a drawing app that supports layers and offers features like opacity adjustment, blending modes, and the ability to reorder and merge layers.
- Import and Export Options: Consider the app’s ability to import and export your artwork. Look for features like the ability to import images from your camera roll or cloud storage, as well as exporting options in various file formats such as JPEG, PNG, PSD, or even SVG. This will ensure compatibility with other software and platforms.
- Additional Features: Some drawing apps offer advanced features like symmetry tools, perspective grids, shape tools, gradient fills, and more. Consider if these additional features align with your artistic style and if they enhance your creative process.
- Community and Support: Look for drawing apps that have an active community and provide reliable customer support. This ensures that you can seek guidance, learn new techniques, and troubleshoot any issues that may arise while using the app.
It’s important to take your time and experiment with different drawing apps to find the one that best suits your workflow and artistic preferences. Many drawing apps offer free versions or trial periods, allowing you to test them out before committing to a purchase. Consider reading reviews and seeking recommendations from other artists to get insight into their experiences with different apps.
Remember that finding the right drawing app is a personal choice. What works for one artist may not necessarily work for another. Don’t hesitate to explore different options, experiment with different tools and brushes, and find the app that aligns perfectly with your creative vision. Once you’ve found the right drawing app, you’ll be ready to unleash your artistic potential on your iPad!
Connecting Your iPad to Your Computer
Connecting your iPad to your computer is an essential step in turning it into a drawing tablet. This connection allows you to transfer files between your iPad and computer, mirror your iPad’s screen on your computer, and use drawing software on your computer with your iPad as a input device. Here’s how to connect your iPad to your computer:
- USB Cable: Start by ensuring you have a USB cable that is compatible with both your iPad and computer. Most modern iPads use a USB-C or Lightning port. Check your computer’s available USB ports and make sure you have the necessary adapters or cables.
- Computer Operating System: Ensure that your computer is running on a compatible operating system. For Mac users, make sure you’re on macOS X 10.11 or later. For Windows users, ensure you have Windows 7 or later.
- iTunes or Finder: On your computer, open iTunes (for macOS Mojave or earlier) or Finder (for macOS Catalina or later). Ensure that you have the latest version of iTunes or macOS installed on your computer.
- Trust the Computer: Connect one end of the USB cable to your iPad and the other end to an available USB port on your computer. Unlock your iPad if it’s locked and check if a pop-up message appears on your iPad asking you to “Trust This Computer.” Tap “Trust” to establish the connection. This step may vary slightly depending on your iPad model and software version.
- Sync or Share: Once the connection is established, you can use iTunes or Finder to sync files between your iPad and computer. You can transfer your artwork, reference images, or any other files you need for your creative process. You can also use file-sharing services like iCloud, Dropbox, or Google Drive to transfer files wirelessly.
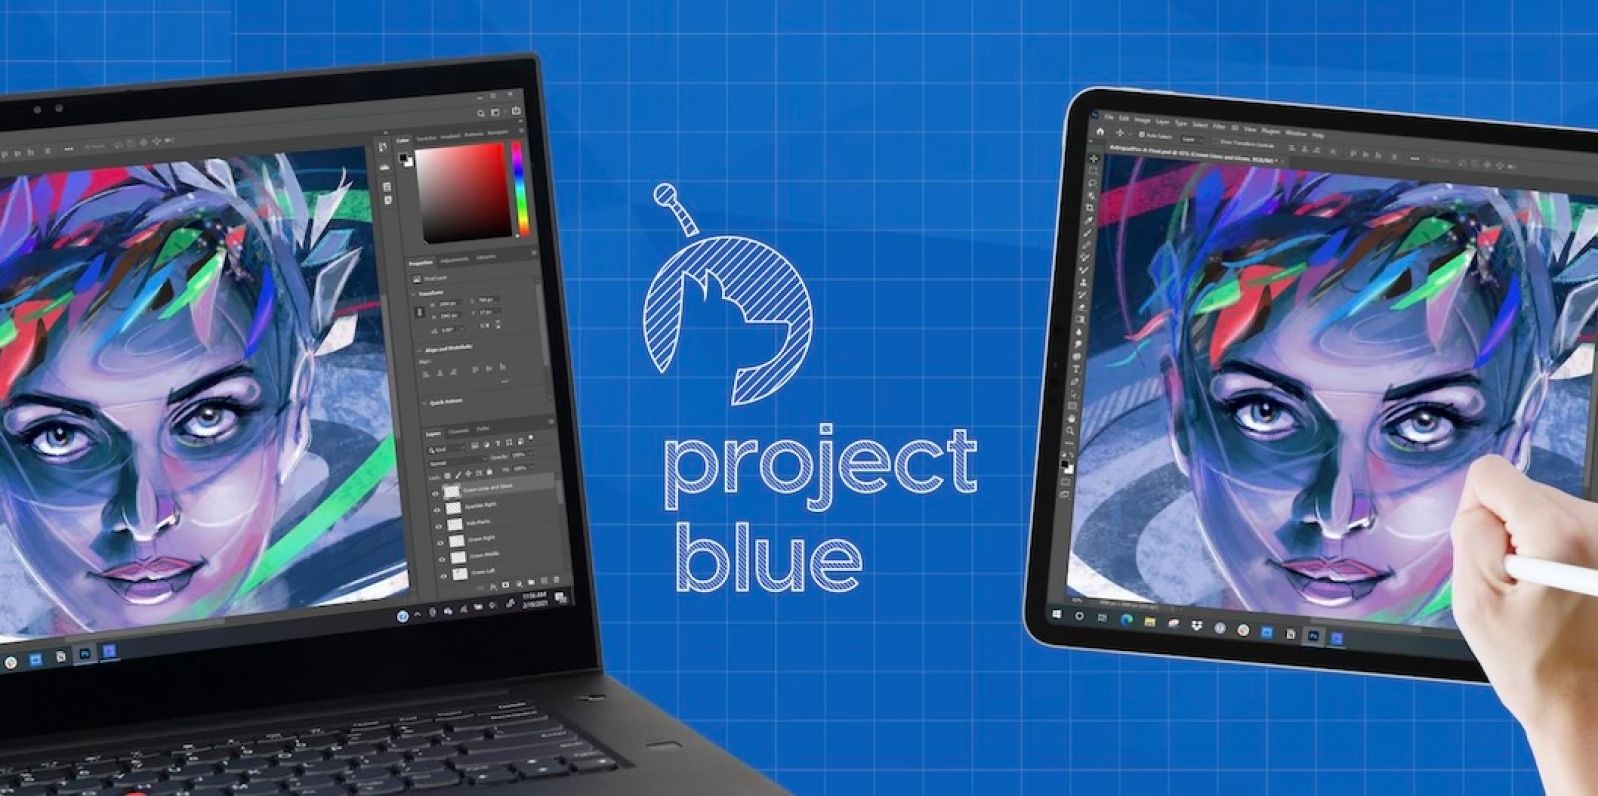
- Screen Mirroring: To mirror your iPad’s screen on your computer, you can use built-in software like QuickTime Player (macOS) or the Project to a Second Screen functionality (Windows). This allows you to view your iPad’s screen in real-time on a larger display, enabling you to showcase your artwork, record tutorials, or collaborate with others.
- Drawing Software: Install drawing software on your computer that supports the use of a drawing tablet. This can be professional software like Adobe Photoshop or Illustrator, or free alternatives like GIMP or Krita. Configure the software to recognize your iPad as an input device, giving you the ability to draw directly on your computer’s screen using your iPad.
Connecting your iPad to your computer opens up a world of possibilities for your digital art. It allows you to seamlessly transfer files, mirror your screen, and use professional-grade drawing software with the precision of your iPad and Apple Pencil. Make sure to follow the steps above to establish a solid connection between your iPad and computer and start exploring the full potential of your iPad as a drawing tablet.
Configuring Your iPad for Drawing
To ensure the best drawing experience on your iPad, it’s important to configure your device settings for optimal performance. Here are some key settings to consider when setting up your iPad for drawing:
- Apple Pencil Settings: If you’re using an Apple Pencil, access the Apple Pencil settings on your iPad to customize its behavior. You can adjust settings such as double-tap functionality, pressure sensitivity, palm rejection, and more. Experiment with these settings to find what works best for you and your drawing style.
- Screen Brightness and Display: Adjust your iPad’s screen brightness to a level that suits your preference and the lighting conditions in which you’ll be drawing. Additionally, consider enabling True Tone, which automatically adjusts the color temperature of your screen to match the ambient light around you, providing a more natural viewing experience.
- Auto-Lock and Sleep: To avoid interruptions while drawing, you can adjust your Auto-Lock settings so that your iPad doesn’t automatically lock or turn off the screen too quickly. This allows you to focus on your artwork without any unnecessary distractions.
- Do Not Disturb: Activate the Do Not Disturb feature to temporarily silence notifications, phone calls, and other interruptions while you’re drawing. This ensures that you can fully immerse yourself in your creative process without any disturbances.
- Storage and iCloud: Consider managing your iPad’s storage by deleting unnecessary files or apps to free up space for your artwork. You can also enable iCloud storage or other cloud services to back up and sync your drawings across multiple devices, providing added security and accessibility to your work.
- Software Updates: Regularly check for software updates on your iPad and ensure that you have the latest version of iOS installed. Software updates often include bug fixes, performance improvements, and new features that can enhance your drawing experience.
- Customizing Gestures: Explore the accessibility settings on your iPad to customize gestures that may interfere with your drawing process. You can adjust settings such as multitasking gestures, swipe gestures, and more, allowing for a smoother and uninterrupted drawing experience.
- App Settings: Each drawing app may have its own set of settings that you can customize. Take some time to explore the settings within your chosen drawing app and adjust them to your liking. This can include settings for brush behavior, canvas size, layers management, and more.
By configuring your iPad for drawing, you can optimize the device to meet your specific artistic needs. Experiment with different settings and make adjustments as you go along, taking into account your personal preferences and the requirements of your chosen drawing app.
Remember that the settings mentioned above are not set in stone. Feel free to adapt and customize them according to your workflow and artistic style. The goal is to create an environment that allows you to fully immerse yourself in the creative process and make the most out of your iPad as a drawing tablet.
Exploring Different Drawing Tools and Brushes
One of the exciting aspects of using your iPad as a drawing tablet is the vast array of drawing tools and brushes available at your fingertips. Whether you’re aiming for realistic pencil sketches, vibrant digital paintings, or intricate illustrations, exploring different tools and brushes can help you achieve the desired effects. Here’s a look at some commonly used drawing tools and brushes:
- Pencil: The pencil tool is a versatile drawing tool that emulates the look and feel of a traditional pencil. It’s great for sketching, shading, and creating fine lines. Experiment with different pencil tips and hardness levels to achieve different effects.
- Pen: The pen tool offers a smooth and consistent line quality, making it ideal for precise linework and detailed illustrations. You can adjust the pen size and opacity to vary the thickness and transparency of your strokes.
- Brush: Brushes come in various shapes, sizes, and textures, allowing you to create a wide range of effects. From soft and flowing brushes for digital painting to textured brushes for adding depth and texture, there are endless possibilities to explore. Play around with brush settings like opacity, flow, and blending modes to achieve desired results.
- Ink: Ink brushes are great for creating bold, expressive lines and adding calligraphic elements to your artwork. They can mimic the fluidity and richness of traditional ink drawings, providing a unique aesthetic.
- Watercolor: Watercolor brushes offer a realistic and organic watercolor effect, allowing you to create beautiful washes, blending, and translucent layers. Explore different watercolor brushes that simulate the flow and behavior of watercolor paints for stunning results.
- Airbrush: The airbrush tool allows for soft and gradual gradients, making it useful for creating smooth shading and soft transitions. It’s commonly used in digital painting to add depth and realism to artwork.
- Eraser: Don’t forget the power of the eraser tool. It allows you to correct mistakes, create highlights, and refine edges. Experiment with different eraser sizes and hardness levels to achieve the desired effect.
Take the time to try out different brushes and tools within your chosen drawing app. Combine different brushes, customize settings, and experiment with different strokes and techniques. Find the tools and brushes that resonate with your creative vision and help you achieve the desired artistic style and expression.
Remember, there are no hard rules when it comes to using specific tools or brushes. Artistic expression is subjective, and what works for one artist may not work for another. Embrace the process of exploration, playfulness, and experimentation to find your own unique artistic voice using the diverse range of tools available on your iPad.
Creating Custom Brushes and Tools
While the pre-existing brushes and tools in drawing apps offer a wide range of options, you can take your digital art to the next level by creating custom brushes and tools. This allows you to customize brushes and tools according to your specific artistic needs and style. Here’s how you can create your own custom brushes and tools:
- Brush Settings: Start by exploring the brush settings within your drawing app. Look for options like brush shape, size, opacity, flow, scattering, texture, and more. Experiment with different combinations to achieve the desired brush effect.
- Brush Dynamics: Adjust the brush dynamics to add more variation and responsiveness to your brush strokes. Experiment with pressure sensitivity, tilt sensitivity, and velocity controls to create brushes that react to your unique drawing style.
- Texture and Pattern: Incorporate custom textures and patterns into your brushes to add unique visual elements to your artwork. You can import textures or create your own custom texture using various methods, such as scanning traditional artwork or photographing real textures.
- Shape Dynamics: Utilize shape dynamics to create brushes that change shape or size dynamically based on your drawing pressure or stroke direction. This can add versatility and organic qualities to your brushes, allowing for more expressive and dynamic artwork.
- Smudging and Blending: Experiment with smudging and blending settings to create custom brushes that can blend colors together or smudge existing artwork. This can be useful for creating smooth transitions, soft edges, and realistic blending effects in your artwork.
- Custom Tool Presets: In addition to brushes, you can also create custom tool presets for other tools such as pencils, pens, or erasers. Adjust the settings of these tools to match your preferences and save them as presets for quick access and consistency in your artwork.
- Share and Import: Some drawing apps allow you to share and import custom brushes created by other artists. Explore online communities, forums, or websites dedicated to digital art to find and import custom brushes created by fellow artists. This can expand your creative options and inspire new artistic directions.
Don’t be afraid to experiment and tweak various settings to create brushes and tools that align with your artistic vision. Take the time to explore different combinations and observe how they affect your artwork. Keep in mind that creating custom brushes and tools is a continuous learning process, and you can always refine and adjust them as you gain more experience and understanding of your unique style.
With custom brushes and tools, you can add your own creative touch to your digital artwork. It allows for greater personalization and enables you to unleash your creativity in ways that are unique to you. So, dive in, explore the possibilities, and let your imagination run wild as you create and refine your own custom brushes and tools.
Tips for Drawing on Your iPad
Drawing on your iPad offers a world of creative possibilities. To make the most out of your digital drawing experience, here are some valuable tips to keep in mind:
- Experiment with Different Brushes: Don’t limit yourself to using the same brushes for every artwork. Explore different brush styles and combinations to expand your artistic techniques and create diverse effects in your artwork.
- Use Layers: Take advantage of layers to organize your artwork and make edits more easily. Use separate layers for different elements, such as line work, shading, and background, allowing you to make adjustments without affecting the rest of your artwork.
- Save Regularly: Remember to save your work regularly to avoid losing any progress. Use the auto-save feature if available and consider backing up your work in a cloud storage service or external device to ensure its safety.
- Utilize Gestures and Shortcuts: Familiarize yourself with gestures and shortcuts specific to your drawing app, as they can significantly speed up your workflow. Learn how to zoom, rotate the canvas, switch between tools, and undo/redo actions with ease.
- Work in High Resolution: Choose a high-resolution canvas to ensure that your artwork can be scaled up without losing quality. This is especially important if you plan to print your digital artwork or display it on larger screens.
- Take Breaks: Drawing for long periods can strain your eyes and muscles. Take regular breaks to rest your eyes, stretch your muscles, and prevent fatigue. This will help you maintain focus and prevent discomfort during your drawing sessions.
- Experiment with Blending Modes: Blending modes can add depth and interest to your artwork. Experiment with different blending modes to create unique effects, such as overlay, multiply, screen, and more.
- Explore Reference Images: Utilize reference images to improve your drawing skills and understanding of form, lighting, and anatomy. Take advantage of apps or websites that provide access to a wide range of reference photos for various subjects.
- Practice Regularly: Like any skill, regular practice is key to improving your drawing abilities. Set aside dedicated time for drawing practice, whether it’s sketching from life, studying master artworks, or experimenting with new techniques.
- Seek Feedback and Learn: Share your artwork with others, whether through social media, online art communities, or in-person feedback sessions. Constructive criticism and advice from fellow artists can help you grow and refine your craft.
Remember, drawing on your iPad is a journey of exploration and growth. Be patient with yourself, embrace experimentation, and allow yourself to make mistakes. With time, practice, and dedication, you’ll continue to refine your skills and create beautiful artwork on your iPad.
Troubleshooting Common Issues
While drawing on your iPad can be a seamless experience, you may encounter some common issues along the way. Here are some troubleshooting tips to help you overcome these challenges:
- Pen Lag or Delay: If you experience lag or delays when using your Apple Pencil or stylus, try restarting your iPad and closing any unnecessary background applications. Additionally, ensure that your iPad and drawing app are updated to the latest software versions for optimal performance.
- Unresponsive Touchscreen: If your iPad’s touchscreen becomes unresponsive, make sure that it’s clean and free of any debris. You can gently wipe the screen with a microfiber cloth. If the issue persists, restart your iPad or try performing a force restart by holding down the sleep/wake button and the home button simultaneously until the Apple logo appears.
- App Crashing: If your drawing app crashes frequently, check if there is an update available for the app and make sure your iPad’s software is up to date. If the problem persists, try closing any other background apps that may be consuming resources. Reinstalling the app may also help resolve any software conflicts.
- Palm Rejection Issues: If you encounter palm rejection issues, where your iPad registers unintended touches while you’re drawing, adjust the palm rejection settings in your drawing app. Some apps have specific palm rejection settings to prevent unwanted marks caused by resting your palm on the screen while using the stylus.
- Pressure Sensitivity Not Working: If you’re experiencing issues with pressure sensitivity, make sure that your drawing app supports this feature. Check the app’s settings and ensure that pressure sensitivity is enabled. If the issue persists, try disconnecting and reconnecting your stylus or Apple Pencil.
- Brush Lag or Stutter: If you notice brush lag or stuttering while drawing, it could be due to a large canvas size or high brush complexity. Consider reducing the canvas size or simplifying the brush settings to improve performance. You can also try closing other apps or restarting your iPad to free up memory.
- Storage Space: If your iPad has limited storage space, it may affect the performance of your drawing app. Delete unnecessary files or apps to free up space. Consider transferring your artwork to cloud storage to save local storage space while still having access to your creations.
- Bluetooth Connectivity: If you’re using a Bluetooth-enabled stylus or Apple Pencil, ensure that your iPad’s Bluetooth is turned on and that the stylus is properly paired with your device. If the connection is unstable, try disconnecting and reconnecting the stylus or restarting your iPad.
If you encounter persistent issues that cannot be resolved through troubleshooting, consider reaching out to the customer support of your drawing app or Apple support for further assistance. Remember, these issues are often solvable with a little troubleshooting, allowing you to get back to your creative flow and continue enjoying the world of digital drawing on your iPad.
Conclusion
Congratulations! You have now learned how to transform your iPad into a powerful drawing tablet. By utilizing the drawing apps, connecting your iPad to your computer, configuring the settings, and exploring different tools and brushes, you are equipped with the knowledge and skills to create incredible digital artwork.
Using your iPad as a drawing tablet offers a multitude of benefits, including portability, cost-effectiveness, and a wide range of drawing apps to choose from. You can enjoy the convenience of creating art on the go while having access to a variety of digital brushes, tools, and effects. The pressure sensitivity and precision of the Apple Pencil allow for accurate and expressive drawings, bringing your artistic vision to life.
To enhance your drawing experience, remember to regularly update your software, experiment with various brushes and tools, and customize settings to fit your artistic style. Additionally, incorporate reference images, practice regularly, and seek feedback from fellow artists to continue growing and refining your skills.
While you may encounter some common issues while drawing on your iPad, the troubleshooting tips provided can help you overcome these challenges and ensure a smooth and enjoyable drawing experience.
Now that you have the knowledge and tools at your disposal, it’s time to unleash your creativity and explore the boundless possibilities of turning your iPad into a remarkable digital drawing tablet. Embrace your artistic journey, experiment with different techniques, and most importantly, have fun as you create beautiful artwork using your iPad!