Introduction
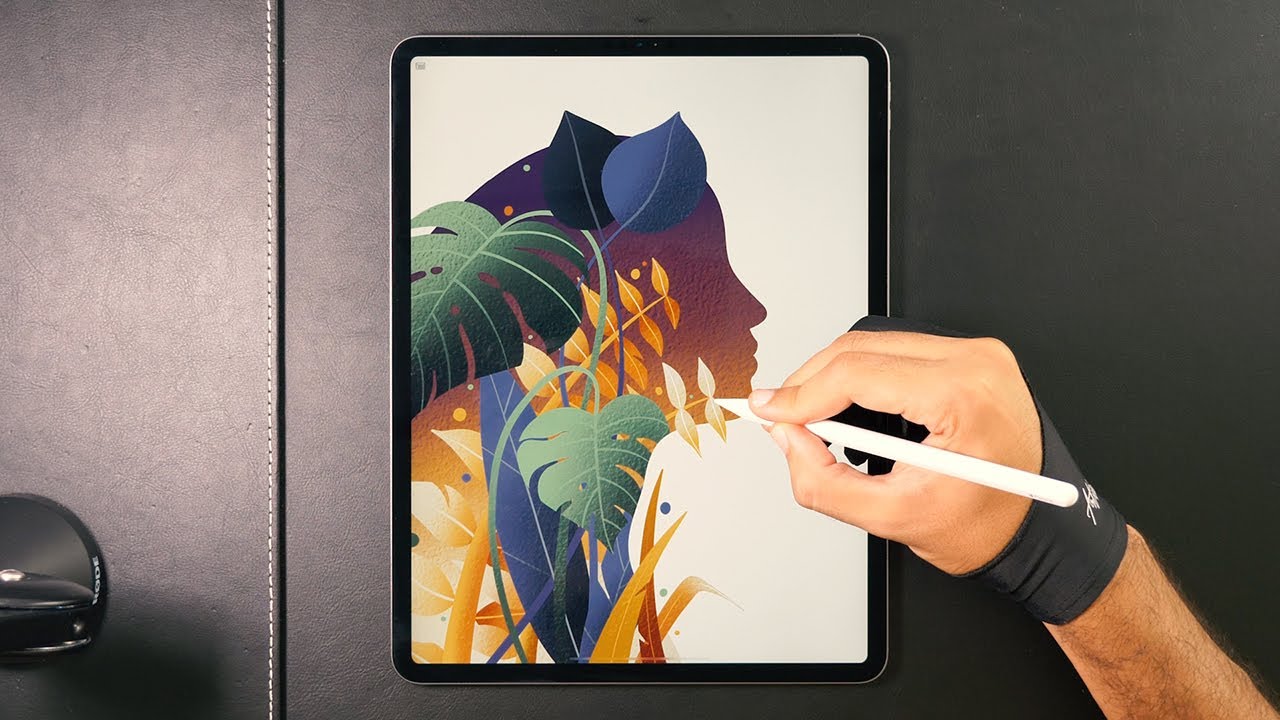
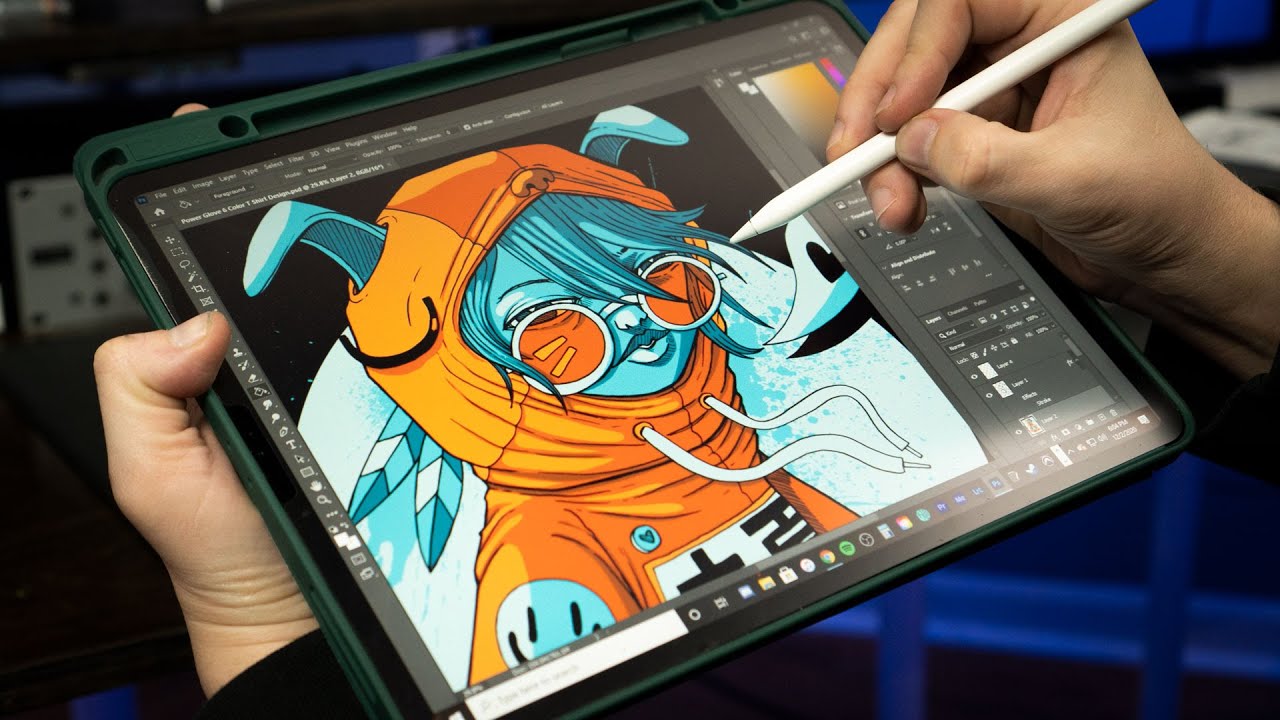
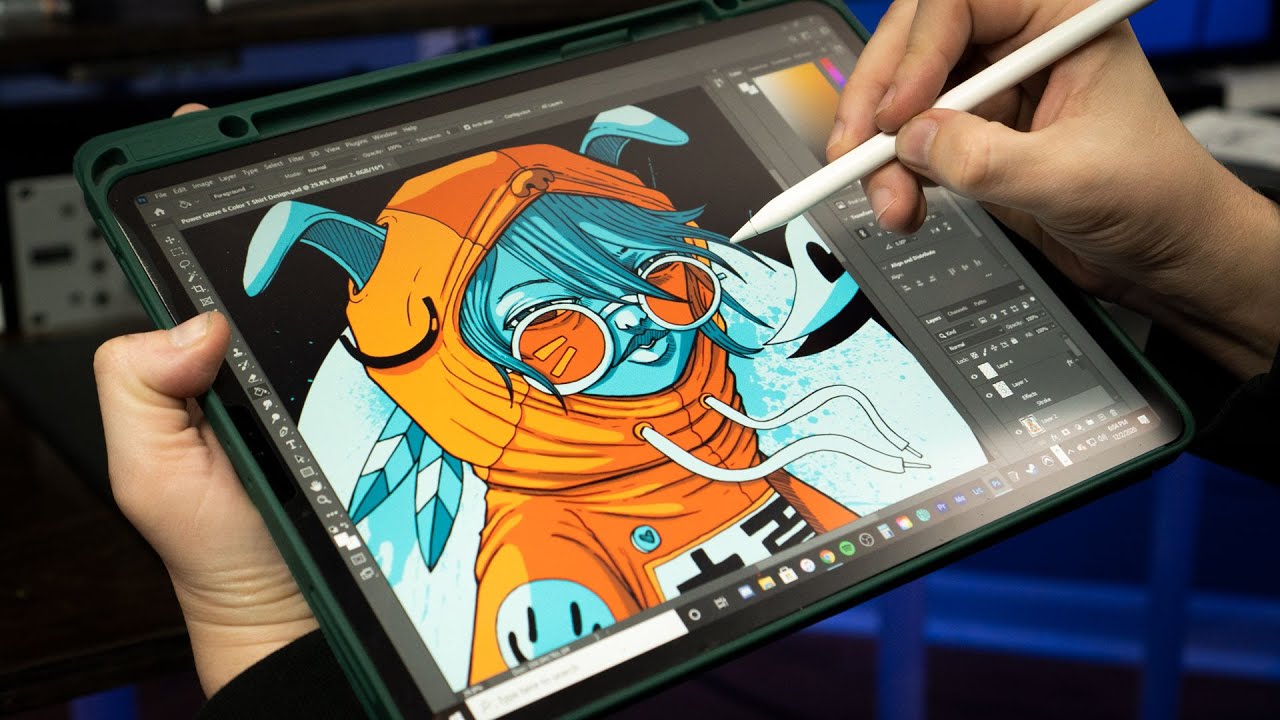
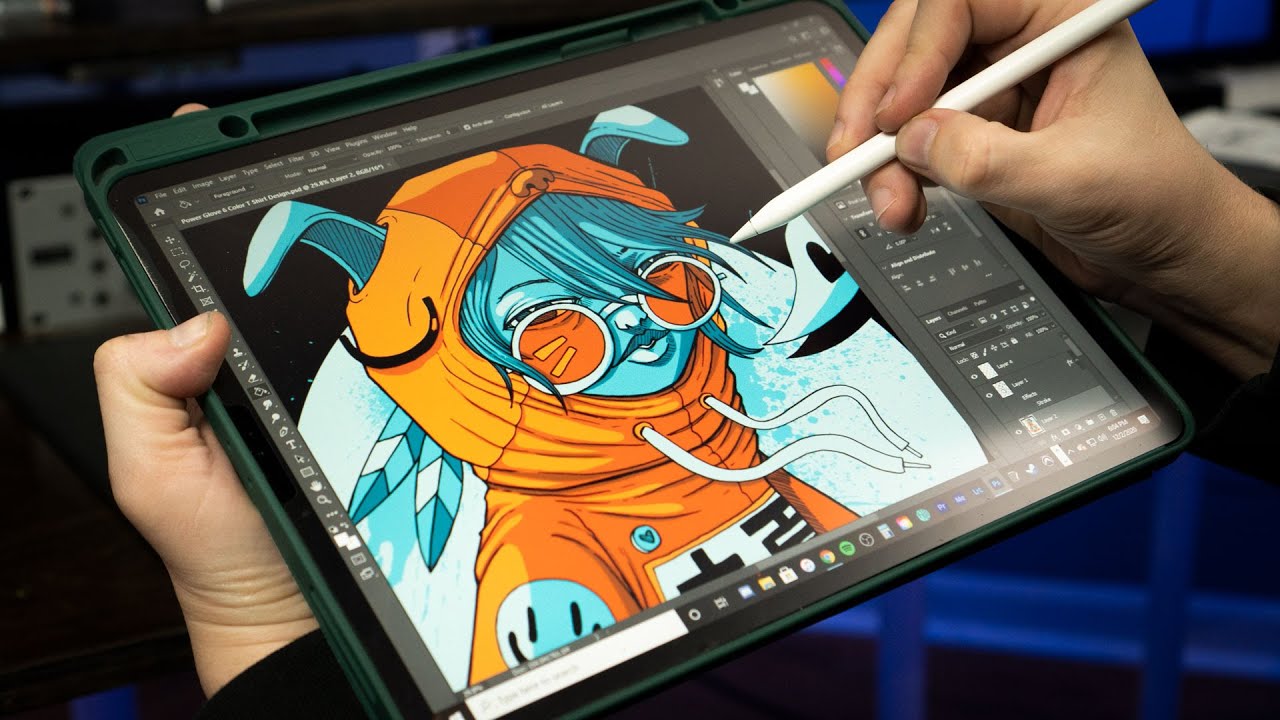
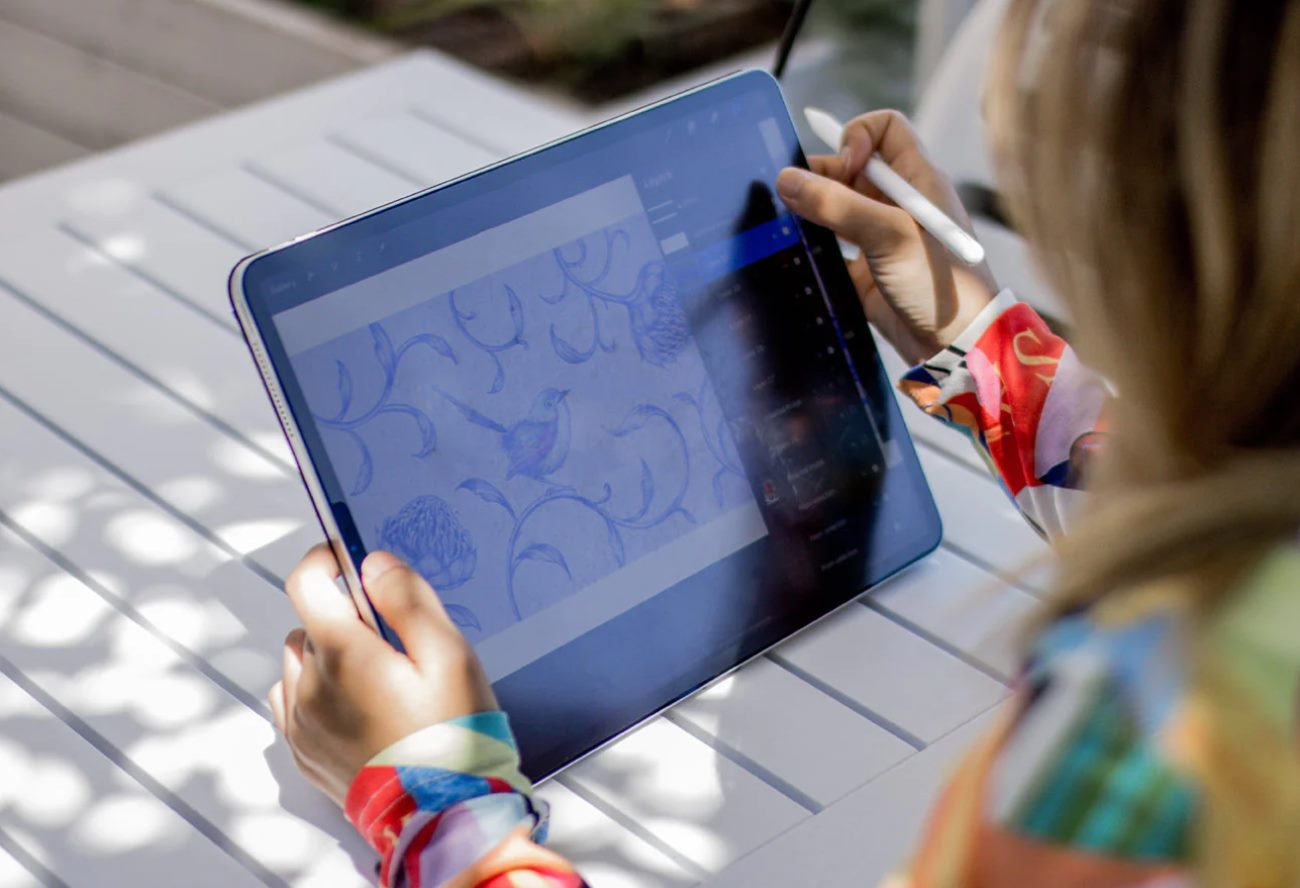
Welcome to this guide on how to use an iPad as a drawing tablet. With its sleek design, responsive touch screen, and a plethora of drawing apps available, the iPad has become a popular choice for artists and designers looking for a versatile digital drawing tool. Whether you are a professional artist or just getting started with digital art, this article will provide you with the essential steps and tips to unleash your creative potential using your iPad as a drawing tablet.
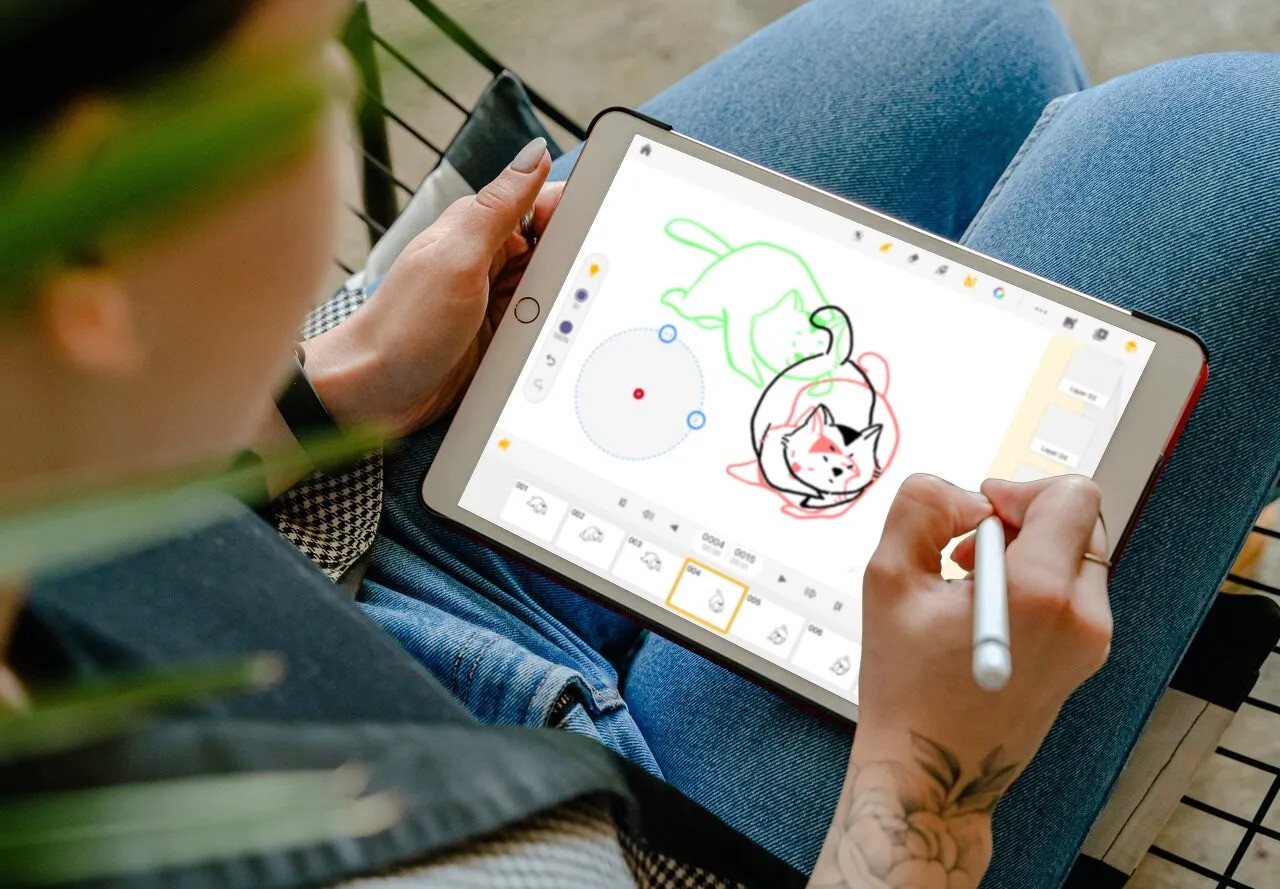
Drawing on an iPad offers a range of benefits, including portability, convenience, and a wide range of digital tools and features at your fingertips. By using your iPad as a drawing tablet, you can take your art wherever you go, without the need to carry around bulkier drawing tablets or art supplies. Additionally, the iPad’s touch screen and pressure-sensitive technology provide a natural and intuitive drawing experience, allowing you to create artwork with precision and accuracy.
In this guide, we will explore how to set up your iPad as a drawing tablet, install drawing apps, connect it to your computer, adjust drawing settings, and explore various drawing tools and features. We will dive into topics such as utilizing liquidation features, customizing your workspace, and share some handy tips and tricks to enhance your digital drawing experience.
Whether you prefer sketching, painting, or creating intricate illustrations, using an iPad as a drawing tablet opens up a world of possibilities. With the right apps and techniques, you can create stunning digital artwork, add special effects, and even enjoy the benefits of digital layers to experiment with different elements of your creation.
So, if you’re ready to tap into your creative side and make the most out of your iPad as a powerful drawing tool, let’s dive in and explore the exciting world of digital art!
Getting Started
Before diving into the world of digital art using your iPad as a drawing tablet, it’s essential to ensure that you have all the necessary tools and devices. Here are a few things you’ll need to get started:
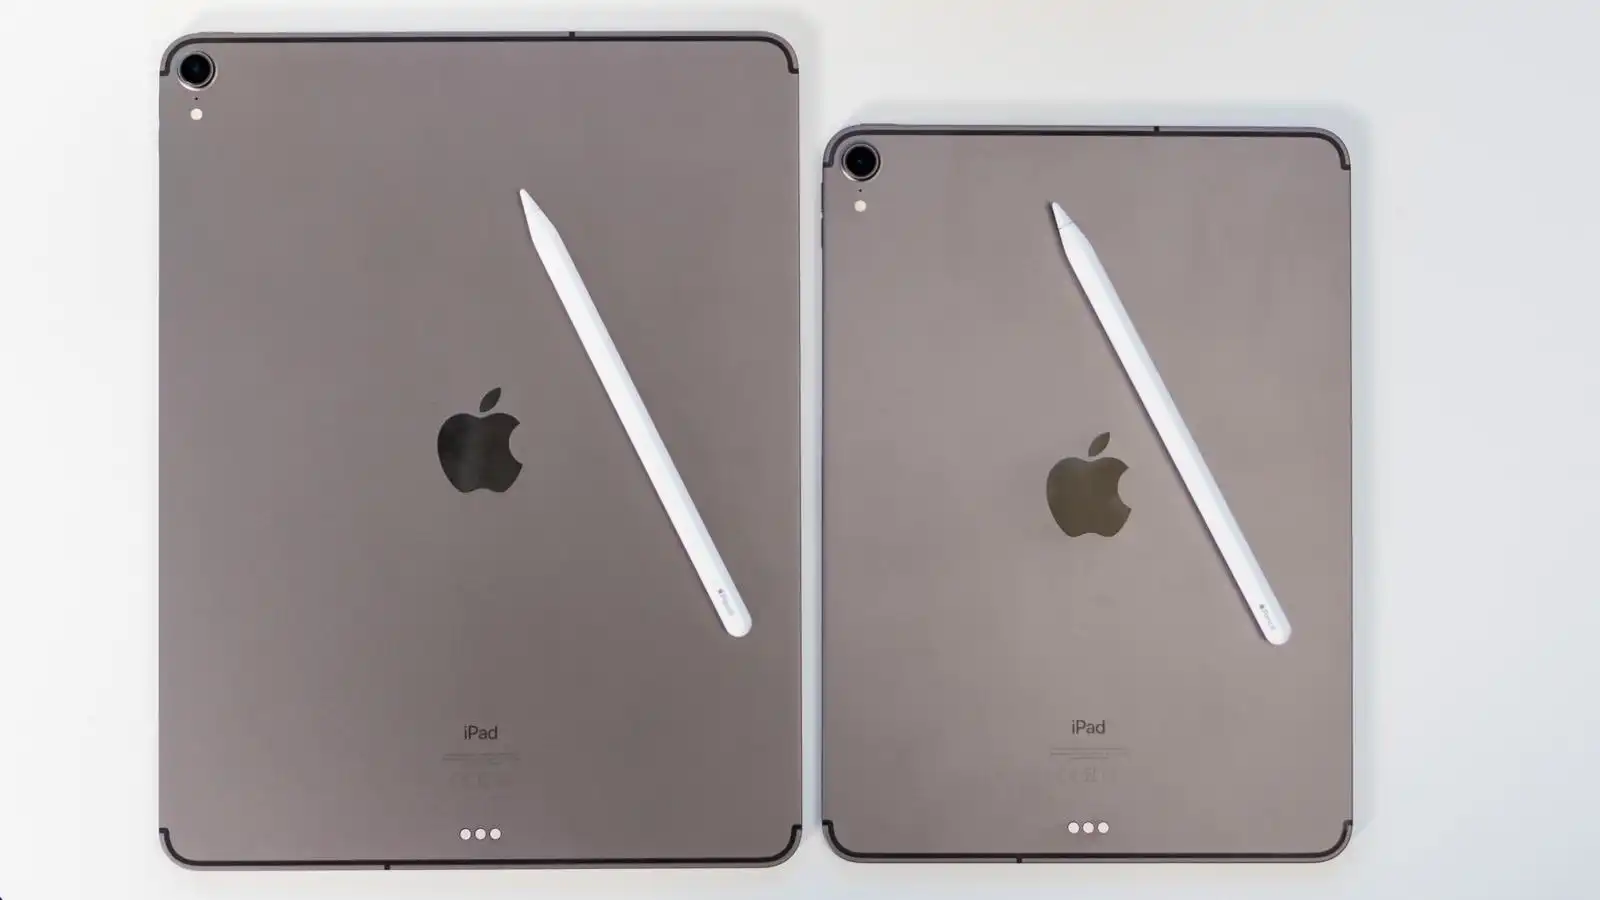
- An iPad: You can use various iPad models, including the iPad Pro, iPad Air, or iPad Mini. Ensure that your iPad has a compatible version of iOS installed.
- An Apple Pencil or a compatible stylus: These devices provide precise input and pressure sensitivity, enhancing your drawing experience.
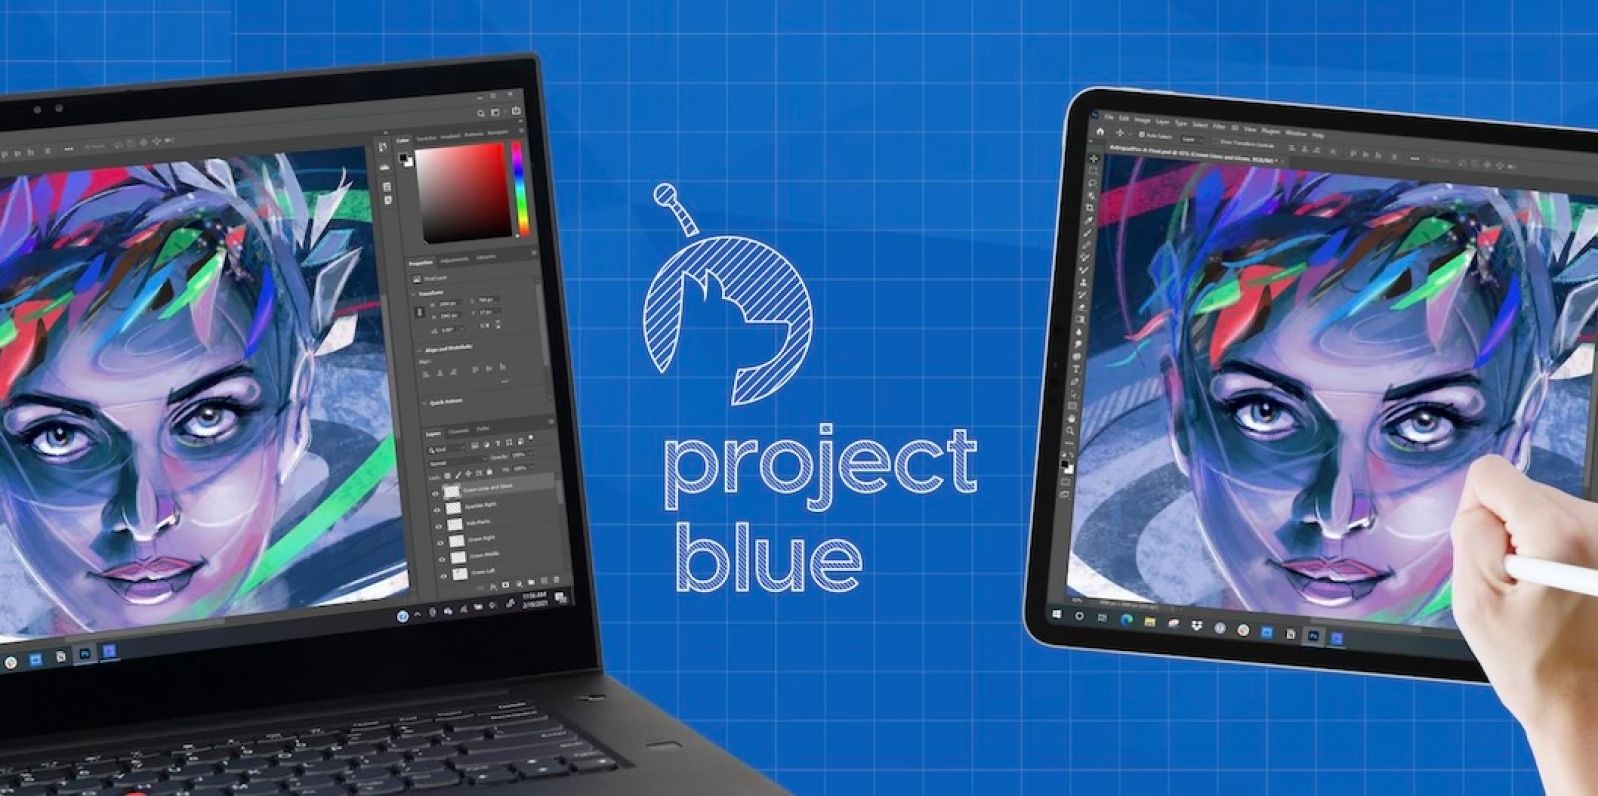
- A computer with compatible software: While the iPad can function as a standalone drawing tablet, connecting it to a computer expands your capabilities and enables you to use professional software.
- A drawing app: There are numerous drawing apps available for the iPad, ranging from free to paid options. Choose one that suits your needs and preferences.
Once you have gathered all of the necessary tools, follow these steps to start using your iPad as a drawing tablet:
- Charge your iPad and stylus: Make sure your iPad and stylus have enough battery power to sustain your drawing session.
- Update your iOS: Ensure that your iPad’s operating system is up to date. This will provide you with the latest features and improvements.
- Install drawing apps: Browse the App Store for drawing apps that align with your artistic requirements. Popular options include Procreate, Adobe Photoshop Sketch, and Autodesk Sketchbook.
- Download additional brushes or tools (optional): Some drawing apps offer additional brushes, textures, or tools that you can download to customize your artwork further.
- Familiarize yourself with the app’s interface: Take some time to explore the drawing app’s interface, including its menus, tools, and settings. Understanding the app’s layout and functionality will help you navigate and utilize its features efficiently.
Once you have completed these initial steps, you are ready to delve into the world of digital art using your iPad as a drawing tablet. In the next sections, we will guide you through setting up your iPad, connecting it to your computer, adjusting drawing settings, and exploring the various drawing tools and features at your disposal.
Setting Up Your iPad as a Drawing Tablet
In order to use your iPad as a drawing tablet, you’ll need to set it up correctly. Follow these steps to ensure a smooth and seamless setup:
- Connect your Apple Pencil or stylus: If you are using an Apple Pencil, simply attach it magnetically to the side of your iPad. If you are using a compatible stylus, ensure that it is paired with your iPad via Bluetooth.
- Adjust the palm rejection feature: To prevent unwanted marks from registering while you rest your hand on the iPad’s screen, make sure to enable the palm rejection feature. This can be done in the iPad’s settings or through the drawing app you are using.
- Enable pressure sensitivity (if available): If your drawing app supports pressure sensitivity, ensure that it is enabled in the app settings. This feature allows your strokes to vary in thickness and opacity based on the pressure you apply.
- Enable tilt functionality (if available): Some drawing apps and styluses offer tilt functionality, which allows you to create shading effects by tilting the stylus. If this feature is available, make sure it is enabled in the app settings.
- Configure gesture controls (optional): Many drawing apps allow you to assign specific gestures to various functions, such as undoing, panning, or zooming. Customize these gestures according to your preferences and workflow to streamline your drawing process.
- Calibrate your stylus (if required): If your stylus requires calibration, follow the instructions provided by the manufacturer or the app to ensure accurate tracking and precise drawing.
- Adjust screen brightness and display settings: Depending on your personal preferences and lighting conditions, you may want to adjust the screen brightness and display settings to optimize your viewing experience.
- Consider using a screen protector: To protect your iPad’s screen from scratches and smudges, consider using a screen protector specifically designed for drawing tablets. There are various options available, including matte screen protectors that provide a paper-like texture.
By following these steps, you can ensure that your iPad is properly set up as a drawing tablet, providing you with an immersive and enjoyable digital drawing experience. Once your iPad is configured, it’s time to install the necessary drawing apps and explore the vast array of drawing tools and features available to unleash your creativity.
Installing Apps
To transform your iPad into a full-fledged drawing tablet, you’ll need to install drawing apps that cater to your artistic needs and preferences. Here’s a step-by-step guide to installing and managing drawing apps on your iPad:
- Open the App Store: Locate and launch the App Store app on your iPad. It can be easily accessed from your home screen or by using the search function.
- Search for drawing apps: In the App Store, use the search bar to look for drawing apps. You can search for specific apps by name, or browse categories such as “Drawing” or “Art & Design.”
- Read reviews and ratings: Before making a decision, take the time to read user reviews and check app ratings. This will give you insights into the app’s usability, performance, and features.
- Consider both free and paid options: Many drawing apps offer both free and paid versions. Free apps often come with limited features, while paid apps may provide a more comprehensive set of tools and functionalities. Explore your options based on your budget and requirements.
- Select and download: Once you have decided on an app, tap the “Get” or “Buy” button to download and install it on your iPad. You may need to enter your Apple ID password or utilize Face ID/Touch ID for verification.
- Organize your apps: As you download multiple drawing apps, it’s essential to keep them organized for easy access. Create folders on your home screen or within the App Library to categorize your drawing apps and streamline your workflow.
- Stay updated: Regularly check for app updates in the App Store. Developers often release updates to enhance performance, add new features, or fix any issues. Keeping your drawing apps up to date ensures optimal functionality.
Remember, installing drawing apps on your iPad opens up a world of creative possibilities. Take the time to explore different apps and find the ones that align with your artistic goals and workflow. Additionally, don’t hesitate to experiment with a variety of drawing apps to discover new tools, brushes, and features that can enhance your digital artwork.
Now that you have installed your desired drawing apps, the next step is to connect your iPad to your computer and explore the various drawing settings and tools available. Let’s move on to the next section to learn how to do that.
Connecting Your iPad to Your Computer
Connecting your iPad to your computer expands the capabilities of your iPad as a drawing tablet by allowing you to utilize professional software and take advantage of a larger screen. Follow these steps to connect your iPad to your computer:
- Use a compatible cable: Depending on your iPad model, you may need a Lightning or USB-C cable to connect it to your computer. Ensure you have the appropriate cable on hand.
- Connect your iPad to your computer: Plug one end of the cable into your iPad’s charging port and the other end into an available USB port on your computer.
- Trust the computer: When you connect your iPad to your computer for the first time, a prompt will appear on your iPad asking you to trust the connected computer. Tap on “Trust” to establish a secure connection.
- Launch the drawing software on your computer: Open your preferred drawing software on your computer. Popular options include Adobe Photoshop, Corel Painter, or Clip Studio Paint.
- Select your iPad as the input device: Once your drawing software is running, navigate to the settings or preferences panel and select your iPad as the input device or graphics tablet. This allows your computer to recognize your iPad as a drawing tablet.
- Fine-tune settings (optional): Depending on your drawing software, you may have additional settings to configure, such as pen pressure sensitivity or shortcut key mapping. Adjust these settings to your preference.
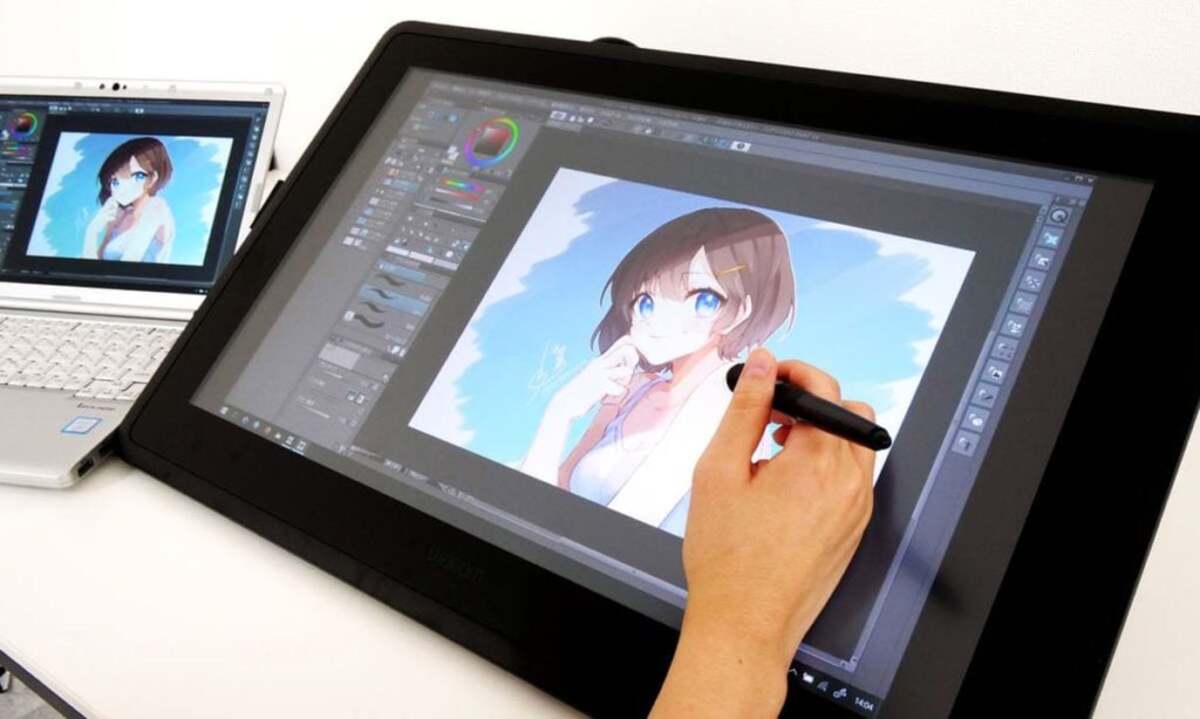
- Start drawing on your computer: With your iPad and computer connected, you can now start creating digital art directly on your computer. Your iPad’s screen will mirror on your computer, providing a larger canvas to work on.
- Utilize the touch gestures: If your drawing software supports touch gestures, you can use your fingers on your iPad’s screen to perform tasks such as zooming or rotating the canvas.
- Save your artwork: Make sure to regularly save your artwork to your computer’s storage or cloud services to prevent any data loss.
By connecting your iPad to your computer, you can access a range of advanced features and tools offered by professional drawing software. This combination allows you to harness the power of both your iPad and computer to create stunning digital art with precision and detail.
In the next section, we will delve into adjusting the drawing settings on your iPad, which will enable you to personalize your drawing experience and make it more tailored to your preferences and artistic style.
Adjusting the Drawing Settings
To optimize your drawing experience on your iPad, it is important to adjust the drawing settings according to your preferences. These settings allow you to customize aspects such as brush sensitivity, canvas size, and color settings. Here are some key settings to consider when adjusting your drawing settings:
- Brush Size and Opacity: Depending on your drawing app, you may have the ability to adjust the size and opacity of your brushes. Experiment with different settings to find the brush size and opacity that suit your artistic style and the level of control you desire.
- Pressure Sensitivity: If your iPad and stylus support pressure sensitivity, adjust this setting to ensure that the brush strokes respond accurately to the pressure you apply. This allows for more nuanced and expressive drawing.
- Canvas Size and Orientation: Most drawing apps offer the ability to set the canvas size and orientation. Consider the proportions and dimensions that best suit your artwork. Whether you’re working on a square composition or a panoramic landscape, choosing the right canvas size can make a significant difference in your final result.
- Color Settings: Explore the color settings in your drawing app to customize your color palette, including options like color wheel, gradients, or color swatches. Adjusting the color settings lets you create the desired mood and atmosphere in your artwork.
- Layer Management: Layers are a powerful tool in digital art that allows you to separate different elements in your artwork and edit them individually. Familiarize yourself with the layer management features in your drawing app. Experiment with creating, duplicating, merging, and adjusting layer opacity to enhance your workflow and make non-destructive edits to your artwork.
- Backup and Autosave: Drawing apps often offer automatic backup and autosave features to prevent accidental data loss. Enable these options to ensure that your work is continuously saved, providing you with peace of mind while you create.
- Gesture Controls: Some drawing apps allow you to customize gesture controls for specific functions like undo, redo, or brush selection. Customize these gestures to streamline your workflow and improve efficiency.
Keep in mind that the specific options and settings may vary depending on the drawing app you are using. Spend some time exploring the settings menu and experimenting with different configurations to find the ones that work best for you. Adjusting your drawing settings to your liking will allow you to create with ease and enhance your digital art experience.
Now that you have adjusted the drawing settings on your iPad, it’s time to explore the various drawing tools and features available to elevate your artwork. In the next section, we will delve into different drawing tools that can further enhance your creativity on your iPad.
Exploring Different Drawing Tools
When using your iPad as a drawing tablet, you have access to a wide array of digital drawing tools that can enhance your creativity and bring your artwork to life. Here are some of the common drawing tools you can explore:
- Pencil Tool: The pencil tool mimics the texture and behavior of a traditional pencil, allowing for precise and controlled drawing. It is great for sketching, hatching, and creating fine details in your artwork.
- Brushes: Drawing apps offer a variety of brushes that emulate different traditional art mediums such as oil paint, watercolor, charcoal, and more. Experiment with different brushes to achieve various textures and effects in your digital artwork.
- Eraser Tool: Just like a physical eraser, the eraser tool allows you to remove unwanted marks or correct mistakes. Most drawing apps offer different eraser types, such as soft, hard, or textured erasers, giving you versatility in your editing process.
- Selection Tools: Selection tools allow you to isolate specific areas of your artwork for editing or manipulation. Use these tools to refine your artwork, adjust colors, add gradients, or apply various filters and effects.
- Gradient Tool: The gradient tool allows you to create smooth transitions between colors, adding depth and dimension to your artwork. You can use gradients to create realistic lighting, shading, or gradient backgrounds.
- Smudge Tool: The smudge tool simulates the blending of colors on a canvas. It can be used to create soft transitions, merge colors, or achieve a painterly effect in your artwork.
- Text Tool: Adding text to your digital artwork can be a great way to incorporate titles, quotes, or annotations. Explore the text tool in your drawing app to add informative or decorative text elements to your work.
- Transform Tools: Transform tools allow you to resize, rotate, or distort elements in your artwork. These tools are handy for adjusting proportions, creating perspective, or transforming objects to fit your composition.
- Layers: As mentioned earlier, layers are a fundamental tool in digital art. They allow you to work on different elements of your artwork separately, providing flexibility and control. Experiment with layer blending modes, opacity adjustments, and layer masks to create complex and layered artwork.
These are just a few of the many drawing tools available in drawing apps for your iPad. Spend time exploring and experimenting with different tools to discover their unique features and how they can contribute to your artistic expression. Remember to combine and layer different tools to create varying effects and styles in your digital artwork.
Now that you are familiar with the different drawing tools, let’s explore some additional features that can further enhance your drawing experience on your iPad.
Using Liquidation Features
Liquidation features, often found in drawing apps for iPads, provide unique and dynamic effects that can add depth and fluidity to your artwork. These features replicate real-life mediums like watercolors, oils, or inks, allowing you to create stunning effects in your digital drawings. Let’s explore some common liquidation features and how to use them:
- Watercolor Brush: The watercolor brush simulates the blending and bleeding of colors just like traditional watercolor paints. Experiment with different brush settings, such as wetness, flow, and drying time, to achieve desired effects. You can use this brush to create delicate washes, texture, and soft gradients.
- Smudging Tool: The smudging tool is ideal for creating organic transitions and softening edges. It replicates the smudging and blending effects of charcoal or pastel on your canvas. Use it to create atmospheric effects, blend colors, or add depth to your artwork.
- Wet-on-Wet Technique: This technique involves layering wet colors on top of each other while they are still wet. It can create beautiful and unpredictable effects. Experiment with various brushes and opacity settings to achieve different results.
- Ink Tool: The ink tool is perfect for creating precise lines and sharp contrasts. It replicates the depth and translucency of ink on paper. Play around with ink density, line thickness, and ink flow settings to achieve the desired effect in your drawings.
- Layer Blend Modes: Layer blend modes allow you to combine and interact different layers in your artwork. Experiment with blending options such as multiply, overlay, or screen, to achieve various effects and enhance the overall mood of your artwork.
- Dry Brush Technique: The dry brush technique involves using a brush with minimal paint to create rough and textured strokes. Adjust the brush settings to achieve a dry brush effect, adding texture and visual interest to your artwork.
Keep in mind that the specific liquidation features may vary depending on the drawing app you are using. Take the time to explore these features, adjust their settings, and experiment with different combinations to discover unique effects that suit your artistic style.
Liquidation features are a valuable tool for adding richness and vibrancy to your digital artwork. By incorporating these effects into your drawings, you can elevate your artwork to new levels and create captivating pieces that leave a lasting impression.
Now that you’re familiar with the liquidation features, let’s move on to the next section to explore how you can customize your workspace to maximize your productivity and comfort as you create digital art on your iPad.
Customizing Your Workspace
Customizing your workspace on your iPad provides you with a personalized environment that enhances your creativity and productivity. Here are some tips and techniques to help you create a workspace that suits your needs:
- Arrange your tools: Most drawing apps allow you to customize the arrangement of essential tools, such as brushes, colors, layers, and opacity controls. Place these tools in a way that is convenient and accessible for your workflow. Consider grouping similar tools together for easy navigation.
- Create custom brushes: Many drawing apps offer the ability to create and save custom brushes. Experiment with different brush settings, shapes, and textures to create brushes that are tailored to your artistic style. Organize your brushes in a way that makes them readily available for quick selection.
- Utilize shortcuts: Familiarize yourself with the keyboard shortcuts available in your drawing app. These shortcuts can greatly expedite your workflow and save you time. Customize shortcuts to match your preferences, making it more efficient to switch between tools and perform common actions.
- Save custom workspaces: Some drawing apps allow you to save custom workspaces or layouts, allowing you to switch between different setups depending on the task or style of artwork you’re working on. Customize and save workspaces that cater to your specific needs, such as sketching, painting, or photo editing.
- Set up reference materials: If you often refer to photo references or inspiration, utilize the split-screen feature on your iPad to have images or reference materials displayed alongside your drawing app. This can streamline your creative process, making it easier to incorporate accurate details into your artwork.
- Use external keyboards or accessories: If you prefer a physical keyboard or additional accessories for your iPad, such as a stylus stand or ergonomic arm support, incorporate them into your workspace. These accessories can enhance your comfort and allow for a more streamlined drawing experience.
- Organize your files: Create a systematic file organization structure for your artwork. Use folders to categorize works in progress, completed pieces, reference materials, and any other relevant files. This ensures that your workspace remains clutter-free and easy to navigate.
- Experiment and adapt: Don’t be afraid to experiment with different workspace configurations and adjust them as needed. Everyone’s artistic process is unique, so find a setup that works best for you. Continuously evaluate and refine your workspace to optimize your productivity.
By customizing your workspace to align with your artistic needs and preferences, you can create an environment that enhances your creativity, improves your workflow, and boosts your overall productivity on your iPad.
Now that you have personalized your workspace, let’s explore some additional tips and tricks to further enhance your digital drawing experience on your iPad in the next section.
Tips and Tricks
When using your iPad as a drawing tablet, incorporating some tips and tricks into your workflow can greatly enhance your overall digital art experience. Here are some valuable tips to help you make the most out of your iPad as a drawing tablet:
- Utilize layers effectively: Take advantage of layers in your drawing app to work on different elements of your artwork separately. This allows for easier editing, experimentation, and non-destructive changes.
- Experiment with different brush settings: Explore the various brush settings available in your drawing app. Adjusting parameters such as size, opacity, flow, and texture can add depth and variety to your strokes.
- Take advantage of blending modes: Experiment with different blending modes when working with layers. This can produce unique and captivating effects, adding character and style to your artwork.
- Explore tutorials and online resources: Online tutorials and resources can provide inspiration and guidance. Explore websites, blogs, and video tutorials to learn new techniques and expand your artistic skill set.
- Try different brushes and textures: Make use of the vast array of brush presets and textures available in your drawing app or download additional brushes from artist communities. This can help you achieve different effects, textures, and styles in your artwork.
- Use reference images: When working on drawings, reference images can be incredibly helpful for understanding proportions, perspective, and lighting. Incorporate image references into your workspace to ensure accuracy in your artwork.
- Experiment with different canvas textures: Some drawing apps offer various canvas textures to emulate traditional art surfaces. Experiment with different textures to add an authentic feel to your digital artwork.
- Save your work regularly: Avoid losing your progress by saving your artwork frequently. Use cloud storage or external devices to back up your files and ensure their safety.
- Join art communities and seek feedback: Connect with other artists by joining online art communities or forums. Share your work, seek feedback, and engage in discussions to gain inspiration and improve your skills.
- Practice regularly: Like any skill, digital art requires practice. Set aside regular time for drawing on your iPad to hone your techniques and explore your creativity.
By incorporating these tips and tricks into your digital art practice, you can enhance your skills, discover new artistic possibilities, and create stunning artwork using your iPad as a drawing tablet.
Now that you are armed with these valuable tips, it’s time for you to embark on your digital art journey using your iPad as a drawing tablet. Let your creativity soar and enjoy the endless possibilities that await!
Conclusion
Congratulations! You have reached the end of this guide on how to use an iPad as a drawing tablet. We have covered important steps, tips, and tricks to help you unlock the full potential of your iPad as a versatile digital drawing tool. By now, you should have a firm grasp on how to set up your iPad, install drawing apps, connect it to your computer, customize your drawing settings, and explore various drawing tools and features.
Using an iPad as a drawing tablet offers a range of benefits, including portability, convenience, and access to a vast selection of drawing apps and tools. Whether you are a professional artist or just starting on your creative journey, the iPad provides an intuitive and immersive drawing experience that allows you to unleash your artistic talent.
Remember, as you embark on your digital art journey, take the time to experiment, explore, and practice regularly. Utilize the wide range of drawing tools, liquidation features, and customization options available to create artwork that is uniquely yours. Engage with the art community, seek inspiration, and embrace the joy of continuous learning and improvement.
Now, armed with this knowledge, it’s time for you to pick up your Apple Pencil or stylus and let your imagination run wild. Whether you prefer sketching, painting, or creating intricate illustrations, your iPad is now a powerful tool that can bring your creative vision to life.
So go ahead, create art that expresses your passions, tells your stories, and brings joy to others. Unleash your creativity, master your skills, and enjoy the limitless possibilities of digital art on your iPad as a drawing tablet. Happy drawing!


