Introduction
Welcome to the world of digital art! If you’re looking to explore your artistic talents and take your creativity to the next level, using your iPad as a drawing tablet is a fantastic option. The iPad, with its powerful hardware and versatile software, has transformed the way artists create and share their artwork.
Gone are the days of being tied to a physical drawing tablet or sketchbook. With your iPad, you have an entire digital art studio at your fingertips. Whether you’re a professional artist or just starting out, using your iPad as a drawing tablet opens up a world of possibilities.
In this article, we will guide you through the process of transforming your iPad into a drawing tablet. We will cover everything from connecting your iPad to your computer to optimizing your device settings for the best drawing experience. We will also explore different drawing apps and discuss how to use popular tools like Procreate and Adobe Illustrator with your iPad.
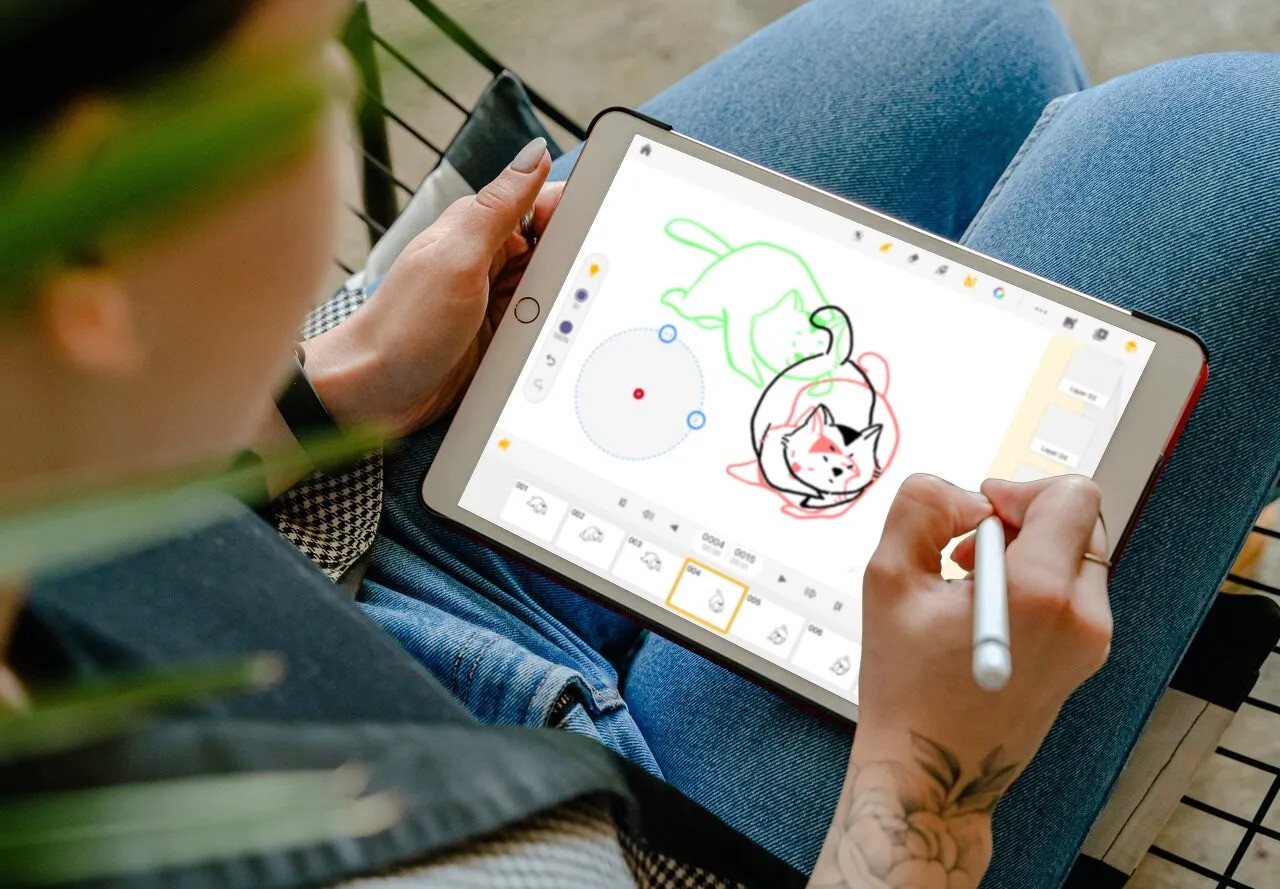
Using your iPad as a drawing tablet offers numerous benefits. Not only does it provide you with a portable and convenient tool for creating art on the go, but it also gives you access to a vast range of digital drawing tools and features. Whether you prefer the simplicity of sketching with a pencil or the precision of using a digital pen, your iPad can accommodate your artistic preferences.
Additionally, using your iPad as a drawing tablet allows you to easily share your artwork with others. You can instantly upload your creations to social media platforms, share them with friends and family, or even sell your artwork online. The possibilities are endless when it comes to showcasing and monetizing your artistic talents.
So, if you’re ready to unleash your creativity and dive into the world of digital art, let’s get started on transforming your iPad into a powerful drawing tablet. Whether you’re a beginner or an experienced artist, this guide will provide you with the knowledge and tools to take your artistic journey to new heights.
Getting Started
Before you begin using your iPad as a drawing tablet, there are a few steps you need to take to ensure a smooth setup process. Let’s walk through the essential requirements and preparations to get started.
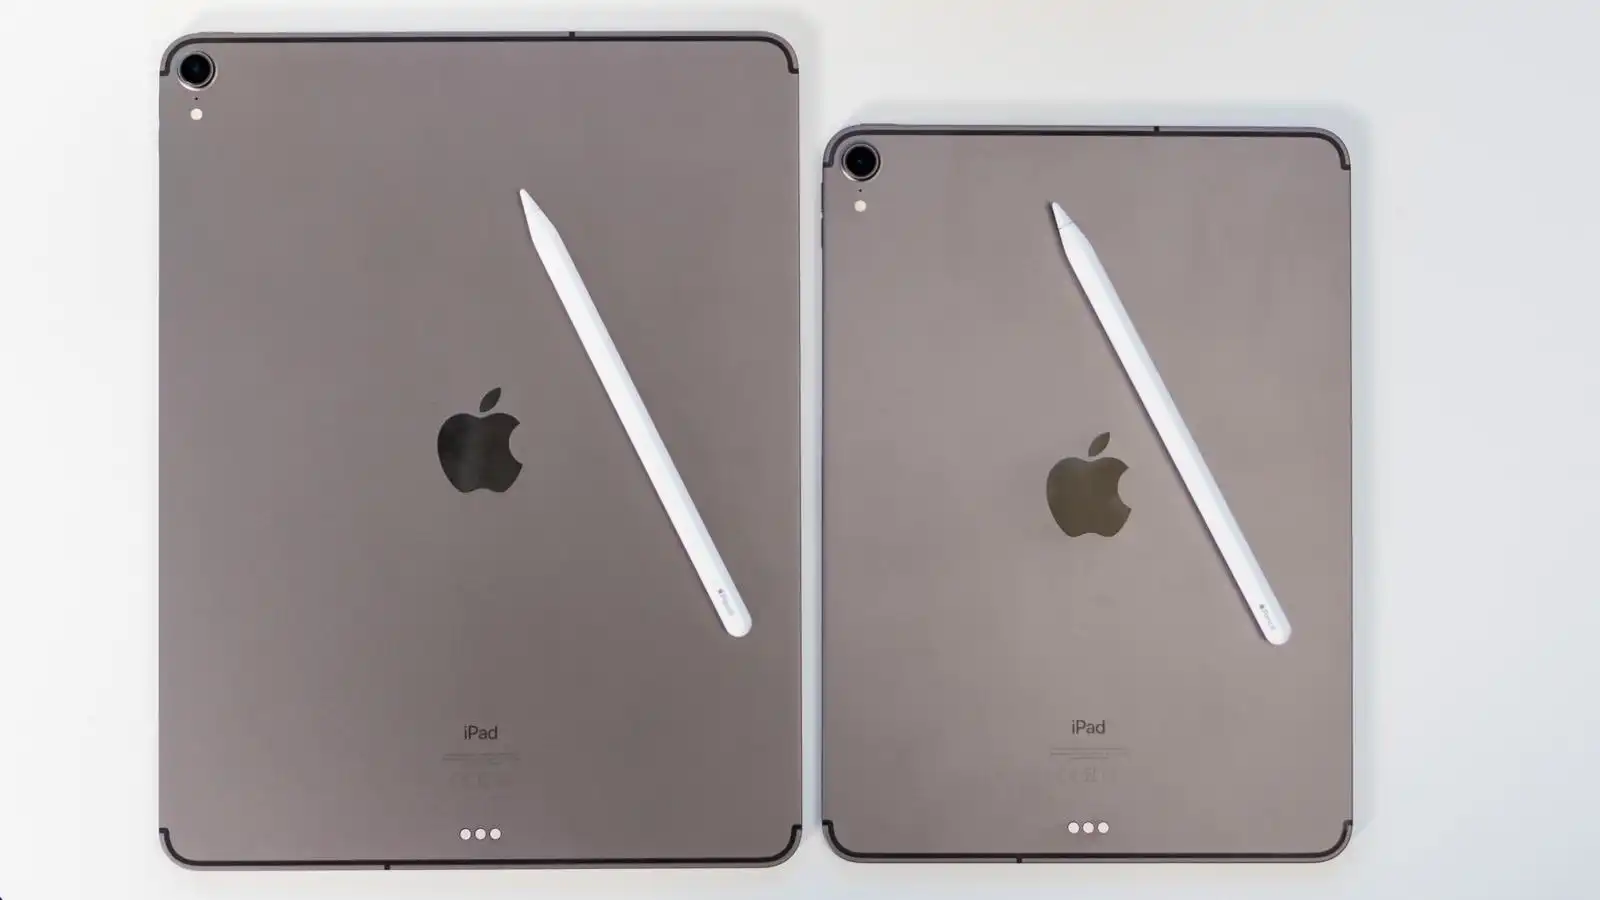
- Make sure you have the necessary hardware: To use your iPad as a drawing tablet, you will need an iPad model that supports Apple Pencil compatibility. This includes the iPad Pro, iPad Air (3rd generation), and iPad (6th generation or newer). Additionally, you will need an Apple Pencil or a compatible stylus that works with your iPad.
- Install the latest software updates: It’s essential to keep your iPad’s software up to date to benefit from the latest features and improvements. Check for any available software updates by going to “Settings” > “General” > “Software Update” on your iPad. Follow the prompts to download and install the updates if found.
- Download drawing apps: There are many drawing apps available for the iPad, each offering different features and functionalities. Some popular options include Procreate, Adobe Illustrator, Autodesk SketchBook, and Concepts. Visit the App Store on your iPad and search for the drawing app that suits your needs. Download and install the app on your device.
- Charge your iPad and Apple Pencil: Before you start using your iPad as a drawing tablet, ensure that both your iPad and Apple Pencil have sufficient battery charge. Connect your iPad to a power source and attach the Apple Pencil to the iPad’s charging port to charge it. It’s recommended to have a full charge to avoid interruption during your drawing sessions.
Once you have completed these initial steps, you’re ready to connect your iPad to your computer and start using it as a drawing tablet. The next section will guide you through the process of connecting your iPad to your computer effectively.
Connecting Your iPad to Your Computer
To utilize your iPad as a drawing tablet, you need to establish a connection between your iPad and your computer. This connection allows you to mirror your iPad’s display onto your computer screen and control it using your computer’s mouse or stylus. Follow the steps below to connect your iPad to your computer:
- Ensure your computer and iPad are on the same Wi-Fi network: Both devices should be connected to the same Wi-Fi network for a seamless connection. Check and connect both devices to the same network if they are not already.
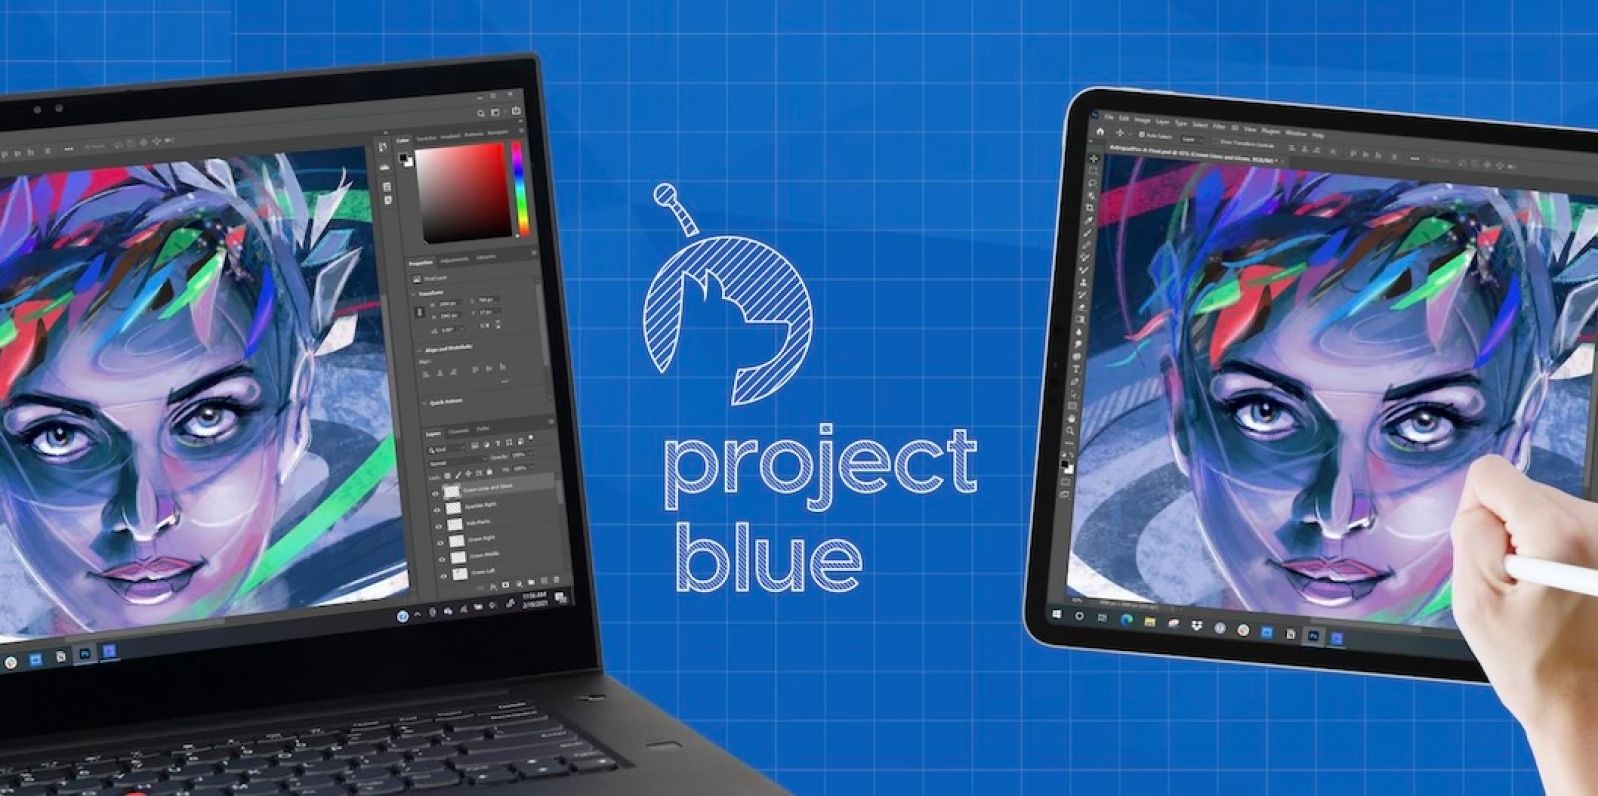
- Download and install a drawing tablet app on your computer: There are various drawing tablet apps available for different operating systems, such as Duet Display, Astropad, or Wacom’s software. Select the app that is compatible with your computer’s operating system and follow the installation instructions on their respective websites.
- Open the drawing tablet app on your computer: Once the app is installed, open it on your computer. It should detect your iPad automatically if both devices are connected to the same Wi-Fi network.
- Launch the corresponding app on your iPad: Open the drawing app you downloaded earlier on your iPad. It will act as your canvas while the drawing tablet app on your computer mirrors its display.
- Establish the connection: In the drawing tablet app on your computer, look for an option to connect to your iPad. This can usually be found in the settings or preferences section of the app. Follow the prompts to establish the connection between your computer and iPad.
Once the connection is established, your computer screen should mirror your iPad’s display. You can now use your computer’s mouse or stylus to draw directly on your iPad, just like you would with a dedicated drawing tablet.
Note that the specific steps and methods may vary depending on the drawing tablet app and computer model you are using. It’s always helpful to consult the app’s documentation or support resources for detailed instructions if you encounter any difficulties during the setup process.
With your iPad successfully connected to your computer, you’re ready to explore the various drawing apps available and unleash your creativity. In the following sections, we will discuss selecting the right drawing app for your needs and optimizing your iPad settings for the best drawing experience.
Choosing the Right Drawing App
With a wide range of drawing apps available for the iPad, choosing the right one for your artistic needs is crucial. Each app offers unique features, interfaces, and tools that cater to different art styles and workflows. Consider the following factors when selecting a drawing app:
- Intuitive Interface: A user-friendly and intuitive interface allows for easy navigation and quick access to essential drawing tools. Look for an app with a clean and organized layout that suits your preferences.
- Drawing Tools and Brushes: The variety and quality of drawing tools and brushes are important considerations. Determine the type of art you want to create and ensure that the app offers the necessary brushes and tools to achieve your desired effects.
- Layer Support: Layers are instrumental in digital art, allowing you to separate elements, make adjustments, and experiment with different effects. Ensure that the drawing app supports multiple layers and provides options for easily manipulating them.
- Export and Sharing Options: If you plan to share your artwork digitally or print it, check the app’s export and sharing capabilities. Look for options to save your artwork in various file formats and compatibility with cloud storage platforms or social media networks.
- Compatibility with External Devices: Some drawing apps offer compatibility with external devices such as styluses or graphic tablets, providing enhanced control and precision. If you have an Apple Pencil or another compatible stylus, check if the app supports advanced pressure sensitivity and tilt functionality.
Here are a few popular drawing apps for the iPad:
- Procreate: Procreate is a highly regarded drawing app known for its extensive range of brushes, customizable tools, and powerful layer management. It offers a seamless interface and advanced features suitable for both beginners and professionals.
- Adobe Illustrator: If you are already familiar with Adobe’s Creative Cloud suite, Adobe Illustrator for the iPad is an excellent choice. It provides a comprehensive set of vector-based tools and features, allowing for precise artwork creation and seamless integration with other Adobe products.
- Autodesk SketchBook: SketchBook is a versatile drawing app with a wide array of brushes and tools. It offers a straightforward interface and a range of drawing guides, making it suitable for beginners and seasoned artists alike.
- Concepts: Concepts is a powerful drawing app known for its flexible and adaptive workspace. It offers a variety of brushes, vector-based tools, and customizable brushes for creating dynamic and detailed artwork.
Take your time to explore and experiment with different drawing apps to find the one that best suits your artistic style and needs. Remember, the app you choose will significantly impact your digital drawing experience and the quality of your artwork.
Optimizing Your iPad Settings
Before diving into your digital drawing journey, it’s essential to optimize your iPad settings for the best drawing experience. Adjusting certain settings can help enhance performance, responsiveness, and compatibility with drawing apps. Here are some key settings to consider:
- Apple Pencil Settings: If you’re using an Apple Pencil or a compatible stylus, you can customize its behavior and sensitivity. Go to “Settings” > “Apple Pencil” or “Stylus” to adjust settings such as double-tap functionality, pressure sensitivity, and palm rejection. Experiment with these settings to find what works best for you.
- Display Brightness and True Tone: Adjusting the display brightness can help create the optimal environment for drawing. Slide the brightness control in the Control Center or go to “Settings” > “Display & Brightness” to find the appropriate brightness level. Additionally, consider enabling True Tone in the settings to enhance color accuracy and reduce eye strain.
- Enable Guided Access: Guided Access is a feature that locks your iPad to a specific app and restricts touch input to a designated area. Enabling Guided Access can prevent accidental taps or gestures while drawing, ensuring a smoother and uninterrupted creative process. To enable Guided Access, go to “Settings” > “Accessibility” > “Guided Access” and toggle it on.
- Auto-Lock and Sleep Timer: To avoid interruptions while drawing, adjust the auto-lock and sleep timer settings. Go to “Settings” > “Display & Brightness” > “Auto-Lock” to set a longer duration or choose “Never” to keep the iPad display on continuously during your drawing sessions.
- Background App Refresh: Background app refresh can consume power and resources, potentially affecting the performance of your drawing app. Consider disabling background app refresh for non-essential apps by going to “Settings” > “General” > “Background App Refresh” and selecting “Off” or customizing it based on your preferences.
It’s worth noting that specific options and settings may vary slightly depending on your iPad model and iOS version. Take the time to explore the various settings available on your device and experiment with adjustments to find what works best for your drawing workflow.
By optimizing your iPad settings, you can create an environment that maximizes your productivity and enjoyment while using your device as a drawing tablet. With these settings in place, you’re well-equipped to delve into the world of digital art.
Exploring Different Drawing Tools
One of the advantages of using your iPad as a drawing tablet is the ability to explore a variety of digital drawing tools. These tools, ranging from brushes and pens to textures and effects, can help you bring your artistic vision to life. Let’s explore some of the different drawing tools you can use on your iPad:
- Brushes: Drawing apps offer a wide range of brushes that simulate traditional art materials like pencils, pens, markers, and even watercolors. Experiment with different brush types to achieve various textures and effects in your artwork.
- Eraser: Just like a physical eraser, the eraser tool in drawing apps allows you to remove or correct any mistakes or unwanted marks. Some apps even offer specialized erasers, such as smudge or soften, that can create unique blending effects.
- Layers: Utilizing layers in digital art allows for greater flexibility and control. You can separate different elements of your artwork onto separate layers, making it easier to make adjustments, add details, or experiment with different effects without affecting the rest of your composition.
- Selection Tools: Drawing apps often provide various selection tools, such as rectangular or lasso selections, which allow you to isolate specific areas of your artwork. This can be useful for applying effects, adjusting colors, or resizing parts of your composition.
- Transform Tools: Transform tools enable you to scale, rotate, and distort your artwork or selected elements. These tools allow you to easily resize and reshape your drawings, giving you more creative flexibility in adjusting proportions or creating dynamic perspectives.
- Blending Tools: Blending tools simulate the effect of blending traditional art materials. They can be used to create smooth transitions between colors, smudge edges for softer textures, or create gradient effects.
- Text and Typography Tools: Some drawing apps offer text and typography tools, allowing you to add captions, titles, or decorative text to your artwork. These tools often provide options for selecting fonts, adjusting size, and manipulating the text’s appearance.
- Filters and Effects: Drawing apps may include filters and effects that can enhance or transform your artwork. These can range from simple adjustments like brightness and contrast to more artistic effects like adding textures, applying halftone patterns, or simulating different styles of painting.
Explore and experiment with different drawing tools within your chosen drawing app to familiarize yourself with their capabilities. Combining and mastering these tools will enable you to create stunning and distinct digital artworks.
Remember, mastery of these tools and techniques takes time and practice. Allow yourself to experiment, learn, and develop your own unique style as you continue your creative journey on your iPad.
Using Procreate with Your iPad as a Drawing Tablet
Procreate is a powerful drawing app exclusively available for the iPad. It is highly regarded by artists for its extensive features, intuitive interface, and exceptional performance. Here’s a guide on how to use Procreate with your iPad as a drawing tablet:
- Create a New Canvas: Open Procreate and tap the “+” icon to create a new canvas. Choose the desired dimensions, resolution, and orientation for your artwork. Procreate offers a wide range of pre-set canvas sizes, or you can create a custom canvas.
- Explore the Brushes: Procreate provides a vast selection of brushes, ranging from pencils and inks to watercolors and oils. Tap the brush icon to access the brush library. Experiment with different brush settings and customize them to suit your artistic style.
- Layers and Blending Modes: Take advantage of Procreate’s layer system to organize and manipulate your artwork. Tap the layers icon to access the layer options. Blend different elements together using blending modes for interesting effects.
- Use Gestures: Procreate offers a range of gestures that make your drawing experience more efficient. For example, you can use a pinch gesture to zoom in and out or swipe sideways with two fingers to undo or redo actions. Familiarize yourself with these gestures to streamline your workflow.
- Reference and Assist Tools: Utilize Procreate’s reference and assist tools to enhance your drawing process. You can import images as references, apply a perspective grid for accurate drawing, or use the streamline feature for smoother lines and curves.
- Experiment with Effects: Procreate offers a variety of creative effects and adjustments. Explore features like Gaussian blur, color balance, or layer masks to add depth and enhance your artwork. Don’t be afraid to experiment and push the boundaries of your creativity.
- Export and Share: Once you’ve finished your artwork, you can export it in various formats, such as PNG, JPEG, or PSD. Procreate also allows you to share your creations directly to social media platforms, cloud storage, or other apps for further editing or printing.
Procreate’s powerful toolset and user-friendly interface make it an excellent choice for artists of all skill levels. Spend time exploring and learning the features and capabilities of Procreate to fully unleash your creative potential on your iPad.
Remember, the more you practice with Procreate, the more comfortable and proficient you will become. Don’t be afraid to experiment, try new techniques, and develop your unique artistic style using this versatile app.
Using Adobe Illustrator with Your iPad as a Drawing Tablet
Adobe Illustrator is a powerful vector-based design software that can be used on your iPad as a drawing tablet. This creative tool offers precise control over your artwork, making it an excellent choice for creating digital illustrations and graphics. Here’s how you can use Adobe Illustrator with your iPad as a drawing tablet:
- Install Adobe Illustrator: Download and install the Adobe Illustrator app from the App Store on your iPad. Ensure you have an active Adobe Creative Cloud subscription to access all the features and functionality offered by Adobe Illustrator.
- Create a New Document: Open Adobe Illustrator and select “Create New” to start a new project. Choose the document size and orientation that suits your artistic needs.
- Use the Drawing Tools: Adobe Illustrator provides a comprehensive set of drawing tools, including the Pen tool, Shape tools, Pencil tool, and more. Familiarize yourself with these tools and experiment with their settings to create precise and detailed vector artwork.
- Work with Layers: Similar to other design software, Adobe Illustrator uses layers to organize and separate elements in your artwork. Use layers to easily manage different parts of your composition and make necessary adjustments without affecting the entire design.
- Utilize the Pathfinder Panel: The Pathfinder panel in Adobe Illustrator allows you to combine and manipulate shapes in various ways. You can use it to create complex shapes, merge or subtract objects, and achieve unique designs.
- Apply Effects and Styles: Adobe Illustrator offers a wide range of effects and styles to enhance your artwork. Experiment with gradients, brushes, blends, and other special effects to add depth, texture, and visual interest to your illustrations.
- Work with Text: Adobe Illustrator enables you to add and manipulate text within your designs. Utilize its typography tools to create eye-catching headlines, incorporate readable body text, or experiment with different font styles.
- Export and Share Your Artwork: Once you’ve completed your artwork, you can export it in various formats such as PNG, JPEG, or SVG. Adobe Illustrator also provides options to save your files directly to Adobe Creative Cloud or share them across different platforms and applications.
Adobe Illustrator offers a wide range of advanced features and tools that can take your digital artwork to new creative heights. Continuous learning and experimentation will help you master this powerful design software and create captivating vector illustrations using your iPad as a drawing tablet.
Remember to save your progress regularly in Adobe Illustrator to avoid any loss of work. With dedication and practice, you can unlock the full potential of Adobe Illustrator and create exceptional vector-based artwork on your iPad.
Troubleshooting Common Issues
While using your iPad as a drawing tablet, you may encounter certain issues that can disrupt your creative workflow. Understanding and troubleshooting these common problems can help you overcome any obstacles and continue creating art smoothly. Here are a few common issues you may face and their potential solutions:
- Lag or Delay: If you experience lag or delay when drawing on your iPad, it can be frustrating. Try closing any unnecessary apps running in the background to free up system resources. Additionally, reducing the canvas size or using a lower brush opacity in your drawing app may help improve performance.
- Connectivity Problems: If you’re having trouble establishing a reliable connection between your iPad and computer, ensure both devices are connected to the same Wi-Fi network. Restart your router and iPad, and make sure all necessary software and apps are updated to their latest versions.
- Inaccurate Stroke or Pressure Sensitivity: If you notice that stroke or pressure sensitivity is not functioning correctly, check the settings of your drawing app. Calibrate the pressure settings or sensitivity options to align with your drawing style. Also, make sure your stylus or Apple Pencil is charged and properly connected to your iPad.
- App Crashes: If your drawing app keeps crashing, it’s essential to update both the app and your iPad’s operating system to the latest versions. Clearing cache or reinstalling the app may also help resolve any potential conflicts causing the crashes. If the issue persists, contacting the app’s support team can provide further assistance.
- Synchronization Problems: When using drawing tablet apps that rely on synchronization between your iPad and computer, ensure both devices are connected to the same network and running the latest software versions. If synchronization issues persist, try restarting both devices or re-establishing the connection as outlined in the app’s documentation or support resources.
It’s important to note that troubleshooting may vary depending on your specific setup and the drawing app you’re using. Checking the app’s documentation or contacting the app’s support team can provide more specific guidance tailored to your situation.
Finally, regular maintenance of your iPad, such as clearing cache, closing unnecessary apps, and restarting your device, can help prevent and resolve common issues.
By addressing these common problems and finding appropriate solutions, you can ensure a smooth and enjoyable digital drawing experience using your iPad as a drawing tablet.
Conclusion
Using your iPad as a drawing tablet opens up a world of creative possibilities. With the right tools, apps, and settings, you can transform your iPad into a powerful digital art studio. Whether you’re a professional artist or just starting out, utilizing your iPad as a drawing tablet offers convenience, mobility, and a wide range of artistic tools at your fingertips.
In this article, we discussed the essential steps to get started, including connecting your iPad to your computer, choosing the right drawing app, optimizing your iPad settings, and exploring different drawing tools. We also explored how to use specific apps like Procreate and Adobe Illustrator on your iPad as a drawing tablet. Additionally, we provided troubleshooting tips for common issues to ensure a smooth drawing experience.
Remember to experiment, practice, and explore your artistic journey with your iPad as a drawing tablet. Take advantage of the vast array of digital drawing tools, brushes, layers, and effects that these apps offer. Allow your creativity to flourish, and don’t be afraid to push the boundaries of your artistic abilities.
With commitment, patience, and continuous learning, your iPad can become a versatile and invaluable tool for creating stunning digital artwork. So, grab your Apple Pencil or compatible stylus, launch your favorite drawing app, and let your imagination soar as you embark on your creative adventures with your iPad as a drawing tablet!