Introduction
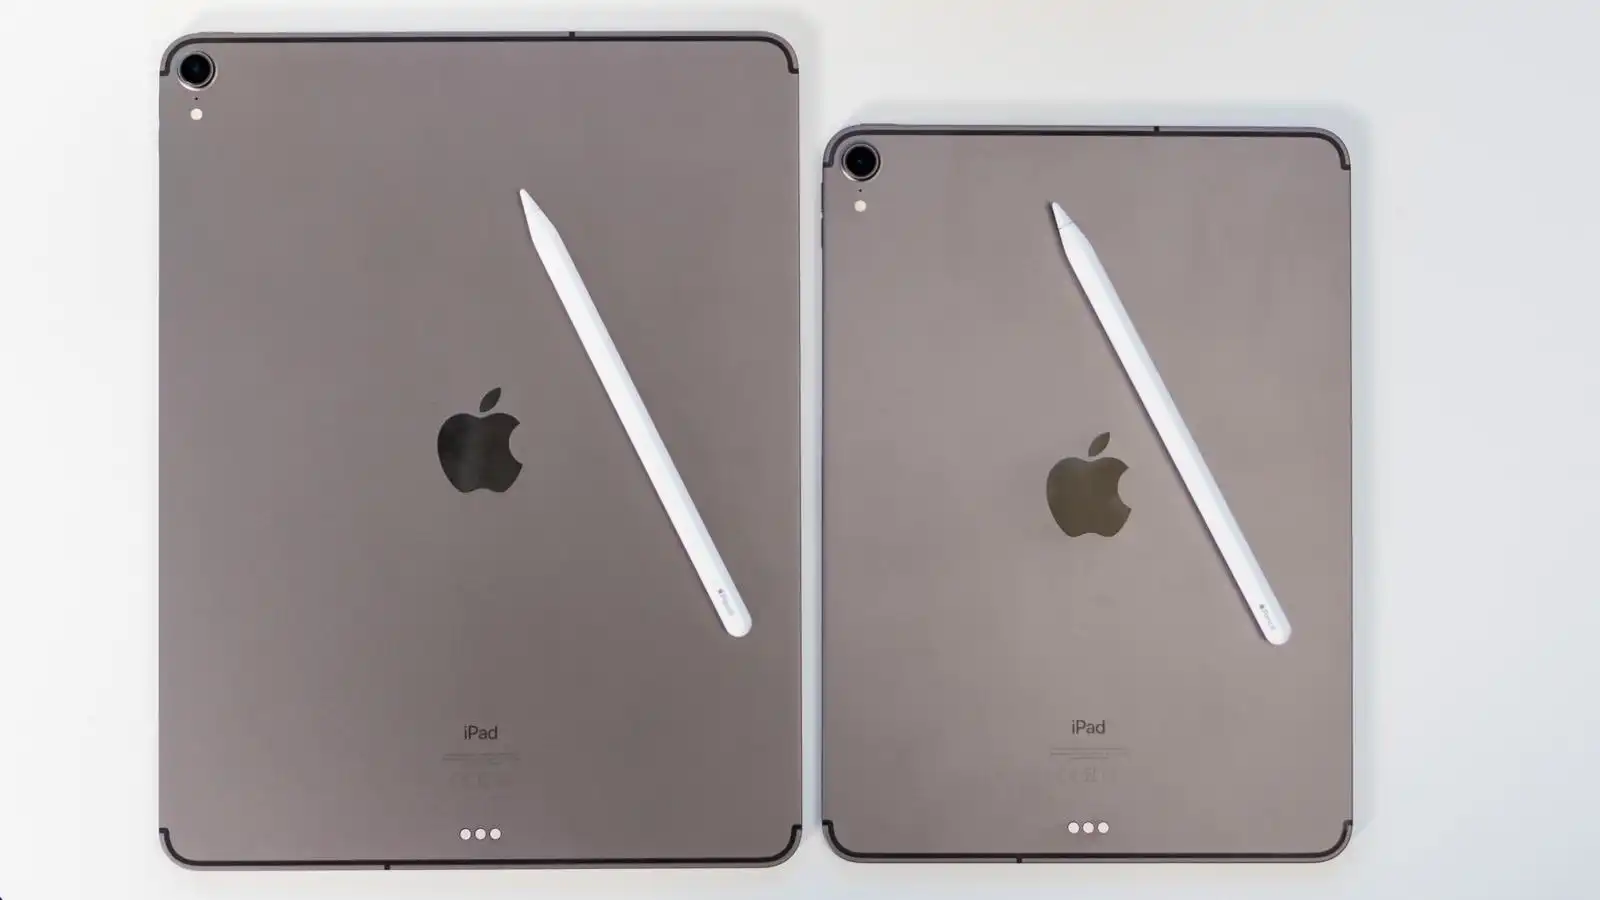
Are you an aspiring digital artist or a professional illustrator looking for an affordable solution to use as a drawing tablet for your Mac? Look no further than your trusty iPad! With its powerful hardware and versatile capabilities, the iPad can be transformed into a high-quality drawing tablet that enhances your creativity and productivity.
In this article, we will guide you through the process of setting up your iPad as a drawing tablet for your Mac. You’ll learn how to connect your devices, choose the right drawing app, customize your tools, utilize the Apple Pencil for precision drawing, navigate through different modes, adjust brush settings and color options, take advantage of pressure sensitivity, use gestures for quick actions, and save and export your artwork with ease.
By the end of this guide, you’ll have all the knowledge you need to harness the full potential of your iPad as a drawing tablet, unlocking endless artistic possibilities on your Mac.
So, if you’re ready to take your digital art to the next level, let’s dive into the world of iPad drawing tablets for Mac!
Setting up your iPad as a drawing tablet
Before you can start using your iPad as a drawing tablet for your Mac, you’ll need to set it up properly. Follow the steps below to get started:
- Ensure that both your Mac and iPad are connected to the same Wi-Fi network.
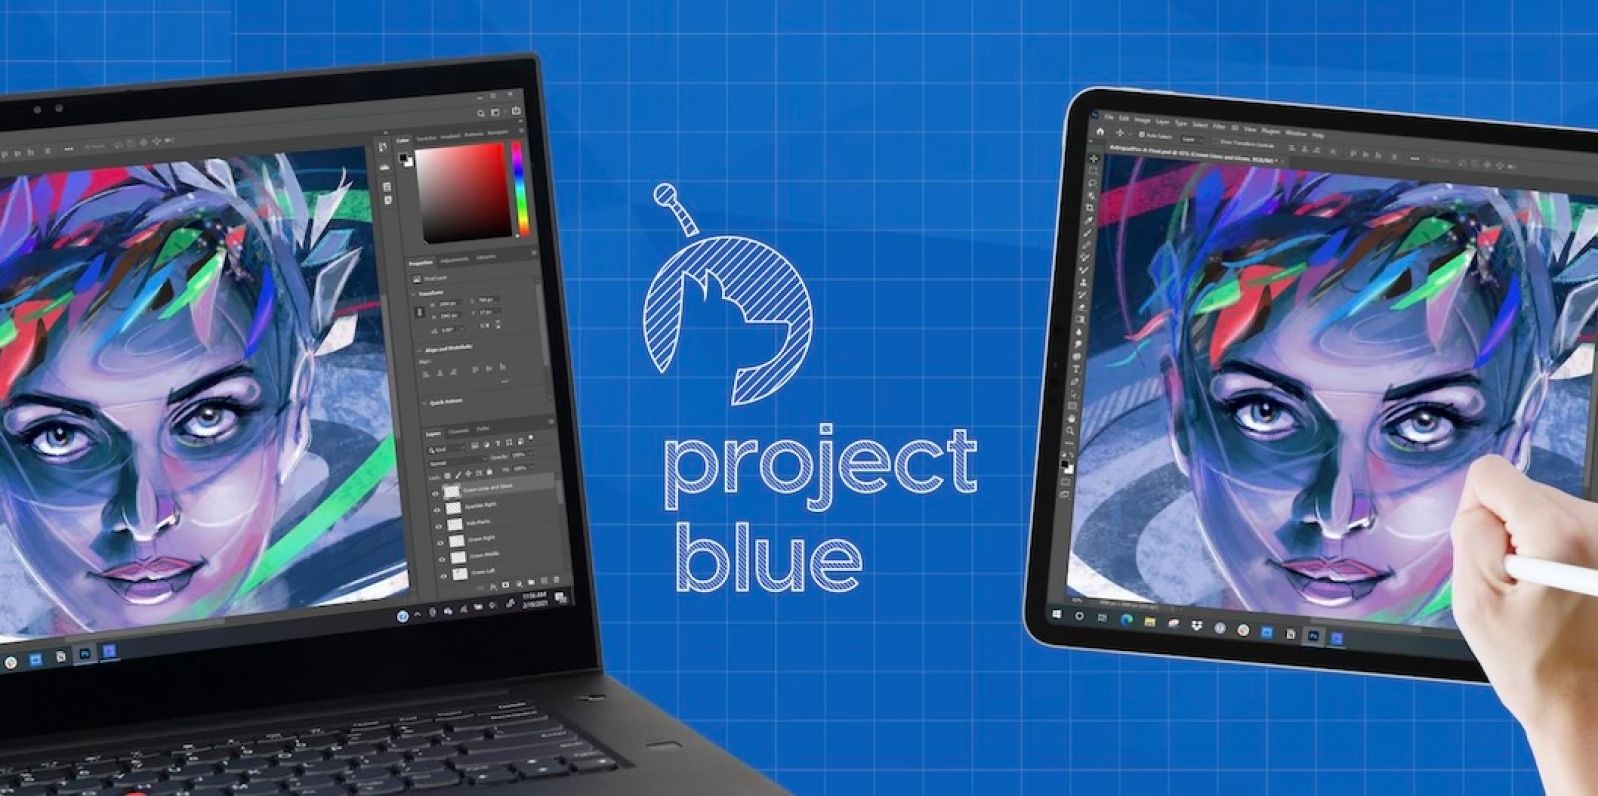
- On your Mac, download and install a drawing tablet app such as Astropad, Duet Display, or Procreate. These apps provide seamless integration between your iPad and Mac, allowing you to use your iPad as a drawing tablet.
- Install the corresponding app on your iPad from the App Store.
- Launch the app on both your Mac and iPad.
- On your Mac, you’ll be prompted to connect your iPad. Follow the on-screen instructions to establish a connection.
- Once the connection is established, your iPad screen will mirror on your Mac, turning it into a virtual drawing tablet.
Once you’ve completed these steps, you’re ready to start using your iPad as a drawing tablet. You’ll be able to use your Apple Pencil or any other compatible stylus to interact with your Mac, just like a traditional drawing tablet.
Remember to keep your iPad charged during your drawing sessions, as using it as a drawing tablet can drain its battery faster than normal usage. Additionally, ensure that your iPad and Mac are both updated with the latest software versions to guarantee compatibility and optimal performance.
With your iPad set up as a drawing tablet, you’re now ready to explore the various drawing apps and unlock your creativity. In the next section, we’ll delve into choosing the right drawing app to suit your needs.
Connecting your iPad to your Mac
Connecting your iPad to your Mac is a crucial step in using it as a drawing tablet. Follow the steps below to establish a seamless connection:
- Ensure that both your iPad and Mac are connected to the same Wi-Fi network.
- On your Mac, open the drawing app that you installed in the previous step.
- In the drawing app, look for the option to connect your iPad. This option may be located in the settings or preferences menu.
- Tap on the option to connect your iPad and wait for your Mac to detect it.
- On your iPad, you may be prompted to allow the connection. Make sure to grant permission for the connection to be established.
- Once the connection is established, your iPad screen will be mirrored on your Mac, turning it into a virtual drawing tablet.
During the connection process, ensure that both devices are on, have sufficient battery life, and are updated with the latest software versions. This helps to avoid any compatibility issues and ensures smooth functionality.
It’s worth noting that some drawing apps may require additional settings adjustments to optimize the connection between your iPad and Mac. These settings may include screen resolution, pressure sensitivity, and touch response. Explore the app’s settings and adjust them according to your preferences for an enhanced drawing experience.
Now that your iPad is successfully connected to your Mac, you’re ready to unleash your creativity! In the next section, we’ll guide you in choosing the right drawing app to suit your artistic needs.
Choosing the right drawing app
When using your iPad as a drawing tablet for your Mac, selecting the right drawing app is pivotal to ensure a smooth and enjoyable creative process. Consider the following factors when choosing the app that suits your artistic needs:
- Compatibility: Ensure that the drawing app you choose is compatible with both your iPad and Mac operating systems. Check the app’s compatibility requirements before downloading.
- Features: Different drawing apps offer a variety of features, such as different brush styles, layer support, and advanced tools. Determine the features that are important to you and find an app that aligns with your artistic vision.
- User Interface: The user interface of a drawing app should be intuitive and easy to navigate. Look for an app that provides a fluid drawing experience with minimal learning curve.
- Community and Tutorials: Consider the availability of a supportive community and online tutorials for the chosen drawing app. Joining a community or accessing tutorials can help you learn new techniques, gain inspiration, and troubleshoot any issues you may encounter.
- Price: Some drawing apps are free, while others require a one-time purchase or a subscription. Consider your budget and choose an app that offers the right balance between features and cost.
Some popular drawing apps for iPad that work well as drawing tablets for Mac include Procreate, Adobe Photoshop, Clip Studio Paint, and Affinity Designer. These apps offer a wide range of features and a user-friendly interface, making them ideal choices for digital artists.
Ultimately, the right drawing app is a personal preference. Consider experimenting with a few different apps to find the one that best suits your style and workflow. Don’t be afraid to explore and push the boundaries of your creativity.
Now that you have chosen the drawing app that resonates with you, let’s move on to customizing your drawing tools for a truly personalized artistic experience.
Customizing your drawing tools
One of the advantages of using your iPad as a drawing tablet for your Mac is the ability to customize your drawing tools to suit your artistic preferences. With most drawing apps, you can personalize various settings to create a unique drawing experience. Here are some key customization options to consider:
- Brushes: Most drawing apps offer a wide range of brush options. Experiment with different brush styles, sizes, and opacity settings to find the ones that match your artistic style. Some apps even allow you to import custom brushes created by other artists.
- Color palette: Customize your preferred color palette by selecting colors that resonate with your artistic vision. Some drawing apps provide the ability to create custom color swatches or save favorite color combinations for easy access.
- Layer settings: Layers allow you to work on different elements of your artwork separately, making it easier to make adjustments and apply effects. Adjust layer opacity, blending modes, and organize them to create complex compositions.
- Shortcut keys: Some drawing apps allow you to assign custom shortcut keys to perform specific actions quickly. This can save time and enhance your workflow by eliminating the need to navigate through menus.
- Canvas size and resolution: Adjusting the canvas size and resolution allows you to create artwork suited for different output requirements, whether it’s for print or digital media. Consider the final destination of your artwork to optimize the canvas settings accordingly.
Take some time to familiarize yourself with the customization options offered by your chosen drawing app. Experiment with different settings and find the combination that enhances your artistic process and helps you bring your creative ideas to life.
Remember, customization is not limited to the initial setup. As you progress and gain more experience, you may find the need to refine and adjust your drawing tools. Continuously exploring and adapting to your evolving artistic style will result in a more personalized and engaging creative journey.
Now that your drawing tools are customized to your liking, let’s explore the capabilities of the Apple Pencil, a powerful tool that can elevate your drawing experience on your iPad paired with a Mac, in the next section.
Using Apple Pencil for precision drawing
If you have an Apple Pencil, you have a powerful tool at your disposal to enhance your precision and control while drawing on your iPad. Here are some tips to make the most out of your Apple Pencil:
- Pressure sensitivity: The Apple Pencil is designed to be pressure-sensitive, allowing you to control line thickness and opacity by applying varying amounts of pressure. Experiment with different pressure levels to achieve the desired effect in your artwork.
- Tilt sensitivity: The Apple Pencil also supports tilt sensitivity. By tilting the pencil, you can create shading effects or vary the angle of your brush strokes, replicating the natural feel of traditional drawing tools.
- Double-tap gesture: Some drawing apps and iPad models support the double-tap gesture feature of the Apple Pencil. This allows you to customize shortcuts and assign specific functions, such as switching between different brush sizes or activating an eraser tool.
- Palm rejection: The Apple Pencil has palm rejection technology, which means you can rest your hand on the iPad screen while drawing without unwanted marks appearing. This feature helps to create a more natural and comfortable drawing experience.
- Charging and pairing: To charge your Apple Pencil, simply attach it magnetically to the side of your iPad. It will automatically pair and start charging. Keep in mind that the charging method may vary depending on the model of your iPad and Apple Pencil.
The Apple Pencil offers a level of precision and responsiveness that can greatly enhance your drawing experience. Take the time to explore and experiment with its various features in your drawing app of choice to fully unlock its potential.
Even if you don’t have an Apple Pencil, you can still use your finger or a compatible stylus to create digital artwork on your iPad. Many drawing apps offer touch support and compatibility with alternative styluses, providing a versatile drawing experience for users without an Apple Pencil.
Now that you’re familiar with using the Apple Pencil for precision drawing, let’s delve into the different drawing modes and explore how they can aid your creative process.
Navigating through different drawing modes
When using your iPad as a drawing tablet for your Mac, understanding and utilizing the different drawing modes available in your chosen drawing app can greatly enhance your creative process. Here are some common drawing modes to be aware of:
- Freehand mode: This is the default mode in most drawing apps. It allows you to freely draw and sketch on the canvas using your Apple Pencil or stylus. Freehand mode provides a flexible and unrestricted drawing experience, allowing you to unleash your creativity.
- Shape recognition mode: Some drawing apps offer a shape recognition feature that can automatically convert your rough sketches into precise geometric shapes. By drawing a rough shape and holding your stroke for a moment, the app can recognize the intended shape and refine it for you. This mode can be handy for creating accurate shapes without the need for manual adjustments.
- Symmetry mode: Symmetry mode allows you to create mirrored and symmetrical drawings. By enabling this mode, every stroke or adjustment you make on one side of the canvas is automatically mirrored on the other side, creating perfectly balanced compositions. Use this mode to effortlessly achieve symmetrical designs and patterns.
- Layer clipping mask mode: Layer clipping mask mode allows you to create complex effects and apply adjustments to specific areas of your artwork without affecting the entire composition. By creating a clipping mask, you can restrict the visibility and edits of a layer to the contents of a specific layer beneath it. This mode is useful for adding textures, shadows, and highlights, or applying localized adjustments to specific elements of your artwork.
- Text mode: Some drawing apps include a text mode that allows you to incorporate text into your artwork. This mode can be useful for adding titles, captions, or other textual elements to your digital illustrations. Customize the font, size, color, and alignment of the text to achieve the desired aesthetic.
Explore the different drawing modes and experiment with them in your chosen drawing app to expand your creative horizons. Each mode offers unique capabilities and can help you achieve specific artistic effects or streamline your creative workflow.
Remember that not all drawing apps may have the same drawing modes, so it’s essential to familiarize yourself with the options available within your selected app. Take advantage of tutorials or online resources provided by the app’s developers or the community to learn more about the drawing modes and how to make the most of them.
Now that you’re acquainted with the various drawing modes, let’s delve into how you can adjust brush settings and color options to create stunning digital artwork.
Changing brush settings and color options
In order to create captivating digital artwork on your iPad, it’s important to understand how to customize brush settings and color options in your chosen drawing app. Here’s how you can modify these settings to suit your creative vision:
- Brush settings: Most drawing apps provide a selection of brushes with adjustable settings. You can typically modify the size, opacity, hardness, and shape of the brush to achieve different effects. Experiment with these settings to create a wide range of strokes, from fine details to bold and expressive lines.
- Color options: The ability to select and customize colors is crucial for digital artists. Drawing apps offer various ways to choose colors, including color pickers, palettes, and even color wheel systems. Some advanced apps also provide features like color harmony and gradient tools to assist in creating visually appealing color schemes for your artwork.
- Brush dynamics: Some drawing apps offer advanced options for brush dynamics, allowing you to simulate natural media. For example, you can adjust the pressure sensitivity, tilt response, or even the drying time of simulated paints. These settings can add depth and realism to your digital art.
- Custom brushes: Some apps allow you to import or create your own custom brushes. This provides an opportunity to design brushes that are tailored to your unique artistic style. Experiment with different textures, patterns, and shapes to create brushes that suit your specific needs.
- Color blending and mixing: Depending on the app and brush settings, you may have the ability to blend colors directly on the canvas. This allows you to achieve smooth gradients, simulate watercolor washes, or create vibrant color transitions. Explore blending modes and techniques to enhance the depth and richness of your artwork.
By customizing the brush settings and color options, you can make your artwork truly unique and reflective of your artistic style. Don’t be afraid to experiment and try new combinations to discover exciting artistic possibilities.
Remember, different drawing apps may have varying options and features for brush settings and color customization. Take the time to explore and familiarize yourself with the tools and options provided in your chosen app. Utilize tutorials, user guides, and online forums to learn from experienced artists and expand your knowledge.
Now that you’re armed with the knowledge of brush settings and color options, let’s explore the utilization of pressure sensitivity for varied strokes in your digital artwork.
Utilizing pressure sensitivity for varied strokes
One of the key features of using an iPad as a drawing tablet for your Mac is the ability to leverage pressure sensitivity. With the Apple Pencil or compatible stylus, you can apply varying degrees of pressure to create different stroke widths and effects in your digital artwork. Here’s how you can make the most out of pressure sensitivity:
- Varying line thickness: Adjusting the pressure you apply while drawing can result in lines that range from thin and delicate to bold and expressive. Experiment with different levels of pressure to achieve the desired line weight and add depth to your artwork.
- Creating shading and gradients: By adjusting the pressure on your Apple Pencil or stylus, you can create smooth gradients and shading effects. Applying more pressure will result in darker and more intense shades, while lighter pressure will create lighter tones. This technique is particularly useful when depicting volume, texture, and lighting in your artwork.
- Emulating traditional tools: Using pressure sensitivity, you can simulate the behavior of traditional drawing tools such as pencils, charcoal, or brushes. Light pressure can imitate the light touch of a pencil, while heavier pressure can mimic the bold strokes of a brush or the deep marks of charcoal. Experimenting with different tools and pressure levels can add a realistic feel to your digital art.
- Highlighting details: Pressure sensitivity can be used to highlight specific areas of your artwork. By applying subtle pressure, you can add fine details, highlights, or delicate textures to your illustrations. This technique helps to bring attention to important elements and adds visual interest to your artwork.
- Expressing emotion: Pressure sensitivity allows you to infuse emotion and expressiveness into your strokes. Light and delicate pressure can convey a sense of softness and subtlety, while strong and bold pressure can create a sense of power and dynamism. Use this feature to evoke emotions and add personality to your artwork.
Mastering pressure sensitivity can take time and practice, but it opens up a world of possibilities in your digital artwork. Take the time to experiment with different pressures and stroke techniques to understand the range of effects you can achieve.
Remember to adjust the pressure sensitivity settings in your chosen drawing app to suit your preferences. Some apps allow you to customize the pressure response curve, offering more control over the relationship between pressure applied and stroke thickness or opacity.
Now that you’re familiar with utilizing pressure sensitivity, let’s explore how gestures can enhance your workflow and help you execute quick actions while drawing on your iPad.
Using gestures for quick actions
Gestures are an efficient and intuitive way to perform quick actions while using your iPad as a drawing tablet for your Mac. These gestures can help you navigate through your artwork, access important features, and streamline your workflow. Here are some commonly used gestures to consider:
- Two-finger tap: Tapping with two fingers on the canvas can trigger specific actions, such as toggling between different drawing modes, activating an eraser tool, or undoing/redoing a stroke. This gesture provides a quick and accessible way to execute common commands in your drawing app.
- Pan and zoom: Using a two-finger swipe or pinch gesture, you can pan and zoom in and out of your artwork. This allows you to navigate around the canvas and focus on specific areas for detailed work. Pinch to zoom in for precision, and pinch out to zoom out for a broader view of your artwork.
- Three-finger swipe: Swiping horizontally or vertically with three fingers can enable gesture-based navigation, such as switching between different layers, accessing a brush library, or bringing up an options menu. This gesture saves time by eliminating the need to search through menus or toolbars manually.
- Flick gesture: A quick flick with your finger can trigger actions like duplicating a layer, moving a selection, or rearranging objects in your artwork. This gesture is particularly useful for manipulating elements with ease and speed.
- Tap and hold: A tap and hold gesture can activate context-sensitive menus, allowing you to access additional options related to the selected tool or element. Experiment with this gesture to uncover hidden features and shortcuts that can enhance your workflow.
Remember to familiarize yourself with the gesture support offered by your drawing app. Each app may have its own set of supported gestures, and some apps even allow you to customize gestures based on your preferences.
Using gestures can significantly improve your efficiency and navigation while creating digital artwork. Once you become accustomed to these gestures, they become second nature and substantially speed up your creative process.
Now that you’re well-versed in using gestures for quick actions, let’s explore how to save and export your artwork for sharing or printing.
Saving and exporting your artwork
Once you’ve completed your digital artwork using your iPad as a drawing tablet for your Mac, it’s essential to save and export your work in a format that can be easily shared or printed. Here’s how you can effectively save and export your artwork:
- Save your project: The first step is to save your artwork within the drawing app you’re using. Most apps have a dedicated “Save” or “Save Project” option in the menu or toolbar. Saving your project ensures that you can revisit and make further edits later.
- Export as an image: If you want to share your artwork online or via messaging apps, exporting it as an image is a common choice. Most drawing apps provide options to export your artwork as JPEG, PNG, or TIFF files, with various resolution and quality settings. Choose a file format that suits your needs and adjust the resolution based on your intended use.
- Export as a PDF: If you plan to print your artwork or share it in a professional setting, exporting it as a PDF can help preserve the quality and formatting. PDF files maintain the layers and vector-based elements, ensuring that your artwork looks its best across different devices and print mediums.
- Share directly from the app: Many drawing apps offer built-in sharing options that allow you to send your artwork directly to social media platforms, email, or cloud storage services. This makes it convenient to showcase your creations to a wider audience.
- Backup your artwork: It’s wise to create backup copies of your artwork to prevent data loss. Consider saving your artwork to cloud storage services like iCloud, Google Drive, or Dropbox. Additionally, make regular backups on external hard drives or other reliable storage mediums.
Before exporting or sharing your artwork, take the time to review and make any final adjustments. Double-check for any misspellings, color inconsistencies, or unintended elements that may affect the overall quality of your work.
Each drawing app may have its own set of export options and settings. Take the time to explore and understand the export features offered by your chosen app to ensure optimal results.
Now that you know how to save and export your artwork, you’re ready to share your creative talent with the world! In the next section, we’ll address some common troubleshooting issues that you may encounter while using your iPad as a drawing tablet.
Troubleshooting common issues
While using your iPad as a drawing tablet for your Mac, you may encounter some common issues that can hinder your creative process. Here are a few troubleshooting tips to help you overcome these challenges:
- Connection problems: If you’re experiencing connectivity issues between your iPad and Mac, ensure that both devices are connected to the same Wi-Fi network. Restarting both devices and relaunching the drawing app can also help resolve any temporary connection glitches.
- Unresponsive stylus: If your Apple Pencil or stylus is not registering on the screen, first ensure that it’s charged or replace the battery if applicable. If the problem persists, check for any debris or dirt on the tip of the stylus and clean it gently with a soft cloth. Disconnecting and reconnecting the stylus may also resolve the issue.
- Lag or latency: If you’re experiencing lag or latency while drawing, it could be due to a variety of factors. Ensure that both your iPad and Mac have sufficient available storage. Close any unnecessary apps running in the background to free up system resources. Updating your device’s software and the drawing app to the latest versions may also improve performance.
- Inaccurate pen pressure: If the pressure sensitivity of your stylus is not functioning correctly, check if the drawing app you’re using supports pressure sensitivity. Some apps may have settings that allow you to adjust the pressure response to your preferences. Additionally, ensure that your iPad and stylus are both compatible and running on compatible operating systems.
- App crashes or freezes: If the drawing app consistently crashes or freezes, try force-quitting the app and relaunching it. Restarting your iPad may also help resolve the issue. If the problem persists, check for any available updates for the drawing app and install them.
If the troubleshooting tips provided above do not resolve your issue, consult the user guide or support resources provided by the app’s developer. They may have additional troubleshooting steps specific to their app.
Remember, not all issues can be resolved through troubleshooting alone. In some cases, it may be necessary to seek assistance from technical support or consider alternative drawing apps or devices.
Now that you’re equipped with troubleshooting knowledge, you can confidently address any challenges that may arise while using your iPad as a drawing tablet. Let’s wrap up this guide and summarize what we’ve learned.
Conclusion
Using your iPad as a drawing tablet for your Mac opens up a world of artistic possibilities. With the right setup, drawing app, and customization options, you can transform your iPad into a powerful tool for digital art creation. Throughout this guide, we have covered the essential steps and considerations to help you get started on your artistic journey.
We started by setting up your iPad as a drawing tablet, ensuring a seamless connection between your devices. We explored the importance of choosing the right drawing app that suits your artistic needs, and we discussed how to customize your drawing tools and color options to create your unique artistic style.
Utilizing the pressure sensitivity of the Apple Pencil or compatible stylus, we deepened our understanding of how to achieve varied strokes and add depth to your artwork. We also learned how to navigate through different drawing modes and leverage gestures for quick actions, enhancing your workflow and efficiency.
Additionally, we covered the essential steps of saving and exporting your artwork in various formats, allowing you to share your creations with others. And when faced with common issues, we provided troubleshooting tips to help overcome these challenges and keep your creative process running smoothly.
By harnessing the power of your iPad as a drawing tablet, you have the tools and knowledge to dive into the world of digital art. Embrace your creativity, experiment with different techniques, and continue to refine your skills. With practice and dedication, the possibilities for artistic expression are endless.
Now it’s time to unleash your imagination and create extraordinary works of art. Let your iPad become your canvas, and may your artistic journey be filled with inspiration, growth, and fulfillment.