Introduction
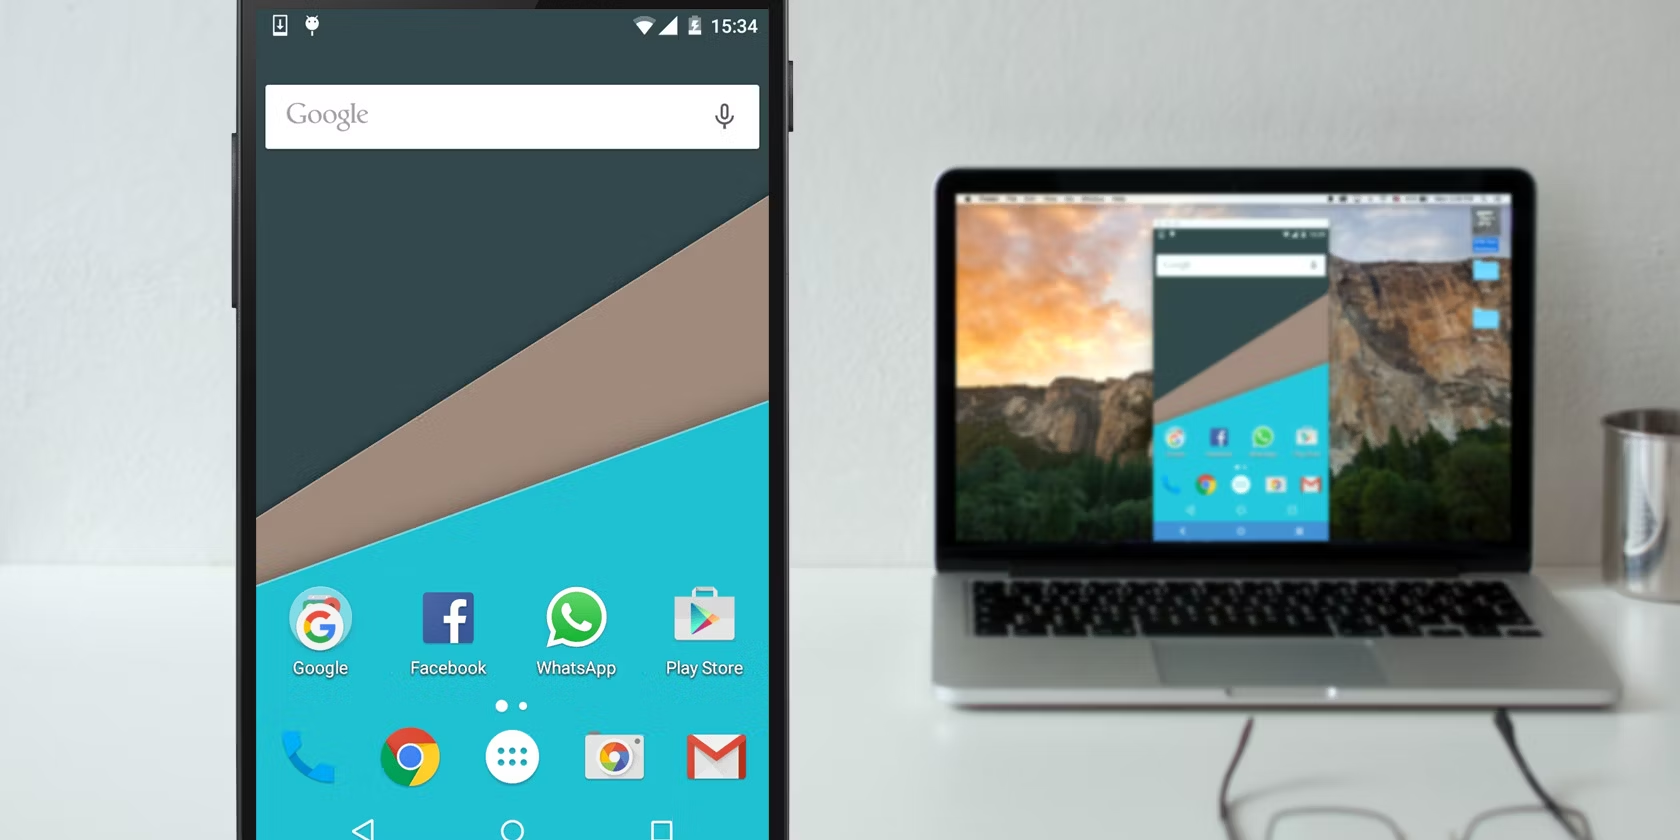
Welcome to our guide on how to install Windows on an Android tablet! With the rapid advancements in technology, it is now possible to turn your Android tablet into a versatile device capable of running both the Android and Windows operating systems. This opens up a world of possibilities and allows you to take advantage of the extensive software and compatibility that Windows offers.
By installing Windows on your Android tablet, you can enjoy a full desktop computing experience, complete with the ability to run Windows applications, access the Microsoft Office suite, and much more. Whether you’re a student, professional, or simply someone looking to expand the capabilities of your tablet, this guide will walk you through the process step by step.
Before we dive into the installation process, it’s important to note that installing Windows on an Android tablet requires technical knowledge and carries some risks, including the potential loss of data or damage to your device. Therefore, it is essential to follow the instructions carefully and proceed at your own risk.
In this guide, we will cover the prerequisites for installing Windows on an Android tablet, the step-by-step installation process, and post-installation steps to ensure your Windows installation is fully functional and optimized. It’s important to note that not all Android tablets are compatible with this process, so we will also discuss how to check if your tablet is compatible.
By the end of this guide, you’ll have all the information and tools you need to transform your Android tablet into a powerful Windows device. Let’s get started!
Prerequisites for installing Windows on an Android tablet
Before you begin the process of installing Windows on your Android tablet, there are a few prerequisites you need to consider. These requirements will ensure a smooth and successful installation process.
- Compatibility: Not all Android tablets are compatible with Windows installation. To determine if your device is supported, check the manufacturer’s website or do a quick online search for your tablet model to see if there are any known issues or restrictions.
- Storage space: Installing Windows on your tablet requires a significant amount of storage space. Ensure that your tablet has enough available space to accommodate the Windows installation files. Keep in mind that Windows installations can take up several gigabytes of storage.
- Battery level: It is crucial to have your tablet fully charged or connected to a reliable power source throughout the installation process. Installing windows can be a resource-intensive task and may drain the battery quickly.
- Backup your data: Before proceeding with the installation, make sure to back up all your important data on the Android tablet. This includes photos, videos, documents, and any other files you don’t want to risk losing during the installation process.
- USB debugging: To communicate effectively with your Android tablet during the installation process, enable USB debugging mode. You can do this by going to the “Developer options” menu in the Android settings. If you don’t see the “Developer options” menu, follow these steps to unlock it:
On your tablet, go to the “Settings” menu and scroll down to “About phone” or “About tablet.” Tap on it and look for the “Build number” or “Build version” option. Tap on the “Build number” or “Build version” option seven times to enable Developer mode. Once developer mode is enabled, you can access the “Developer options” menu in the settings.
By ensuring that your tablet meets these prerequisites, you’ll be ready to proceed with the installation process without any hiccups. In the next section, we’ll detail the step-by-step process of installing Windows on your Android tablet. So without further ado, let’s move on to the exciting part!
Step 1: Check if your tablet is compatible with Windows installation
Before you begin installing Windows on your Android tablet, it is crucial to check if your device is compatible with this process. Not all tablets support running Windows, so it’s important to verify compatibility to avoid any potential issues or wasted efforts.
There are a few ways you can check if your tablet is compatible with Windows installation:
- Manufacturer’s website: Start by visiting the official website of your tablet’s manufacturer. Look for any information regarding Windows compatibility or support. Many manufacturers provide detailed documentation on whether or not their devices can run Windows.
- Online search: Conduct a search online using your tablet’s model number and the keyword “Windows installation.” This search will help you find any community forums or discussions where users might have shared their experiences with installing Windows on your specific tablet model. Keep in mind that not all information found online may be accurate, so verify the credibility of sources.
- Third-party software: Some third-party software tools claim to enable Windows installation on Android tablets. While they may offer a solution, proceed with caution, as these tools may not be reliable or could potentially harm your device. It’s best to stick to official manufacturer guidance whenever possible.
If you are unable to find any information regarding Windows compatibility for your tablet, it’s likely that your device does not support this installation process. In this case, it is recommended to explore other options based on the capabilities and limitations of your Android OS.
Remember, attempting to install Windows on an incompatible tablet can result in significant issues and may even render your device unusable. It’s better to be safe than sorry, so take the time to research and verify compatibility before proceeding.
Once you have confirmed that your tablet is compatible with Windows installation, you can move on to the next step, which involves backing up your Android tablet data. We’ll cover this in detail in the following section.
Step 2: Backup your Android tablet data
Before proceeding with the installation of Windows on your Android tablet, it is crucial to back up all your important data. This step ensures that you don’t risk losing any valuable files during the installation process.
There are several methods you can use to back up your Android tablet data:
- Cloud storage: Utilize cloud storage services, such as Google Drive, Dropbox, or OneDrive, to upload your files and folders to the cloud. This way, even if something goes wrong during the installation process, your data will remain safe and accessible.
- Manual backup: Connect your tablet to a computer using a USB cable and manually transfer your files to a designated folder on your computer. This method allows you to create a local backup of your data, which can be handy if you prefer to have physical copies of your files.
- Backup apps: Use third-party backup apps from the Google Play Store to back up your data. These apps can create comprehensive backups of your apps, contacts, messages, and other important data, making it easier to restore everything once the Windows installation is complete.
It’s essential to ensure that your backup process is thorough and includes all the necessary files, including documents, photos, videos, music, and any other important data stored on your tablet. Take the time to organize your files and make sure everything is accounted for before proceeding.
Once you’ve successfully backed up all your data and verified that the backup files are accessible, you can proceed with confidence to the next step. In the following section, we will guide you through enabling USB debugging on your Android tablet.
Step 3: Enable USB debugging on your Android tablet
To communicate effectively with your Android tablet during the installation process, you need to enable USB debugging mode. This mode allows for a stable and secure connection between your tablet and the computer.
Here’s how you can enable USB debugging on your Android tablet:
- Developer options: First, you need to enable the hidden “Developer options” menu on your Android tablet. Navigate to the “Settings” menu and scroll down to find the “About phone” or “About tablet” option. Tap on it.
- Build number: Look for the “Build number” or “Build version” option within the “About phone” or “About tablet” section. Tap on it repeatedly, usually around seven times, until you see a message indicating that you have enabled Developer mode.
- Developer options: Go back to the main settings menu and scroll down to find the newly unlocked “Developer options” menu. Tap on it to access the developer settings.
- USB debugging: Within the “Developer options” menu, locate the “USB debugging” option and toggle it on. You may see a warning message about the potential security risks of enabling USB debugging. Confirm your decision and proceed.
- Connection mode: Now, connect your Android tablet to your computer using a USB cable. When prompted on the tablet’s screen, select “Transfer files” or “File transfer” as the connection mode. This ensures that your tablet is recognized as a storage device on the computer.
Enabling USB debugging allows for smooth data transfer and ensures a proper connection between your tablet and the computer during the Windows installation process. It’s important to note that the steps to enable USB debugging may vary slightly depending on the Android version and device manufacturer. If you can’t find the developer options or USB debugging on your tablet, refer to the device’s manual or perform an online search for specific instructions related to your device model.
Now that you have successfully enabled USB debugging, you’re ready to move on to the next step: downloading and preparing the necessary tools for the Windows installation process. We’ll cover this in detail in the following section.
Step 4: Download and prepare the necessary tools
Before installing Windows on your Android tablet, you need to download and prepare the necessary tools that will facilitate the installation process. These tools will help create a bootable environment and provide the required files and drivers.
Here are the key tools you’ll need:
- Windows ISO file: First and foremost, you’ll need a Windows ISO file. This is the installation file for the Windows operating system. You can download the Windows ISO file from the official Microsoft website. Make sure to choose the Windows version and edition that you want to install on your tablet.
- ADB and Fastboot drivers: You’ll need to download and install the ADB (Android Debug Bridge) and Fastboot drivers on your computer. These drivers enable communication between your tablet and the computer. You can find the drivers on various Android development forums or websites. Make sure to download the drivers compatible with your specific tablet and follow the installation instructions carefully.
- Bootable USB drive: To install Windows on your Android tablet, you’ll need a bootable USB drive. This is where you’ll create a bootable environment for the installation process. You can use tools like Rufus or Win32 Disk Imager to create the bootable USB drive. Follow the instructions provided by the tool to generate a bootable USB drive using the Windows ISO file.
- OTG cable: An OTG (On-The-Go) cable is required to connect your tablet to the bootable USB drive. Make sure you have a compatible OTG cable that can establish a solid connection between the tablet and the USB drive.
Once you have downloaded and prepared these necessary tools, you’re one step closer to installing Windows on your Android tablet. Ensure that you have the Windows ISO file, ADB and Fastboot drivers installed on your computer, and a bootable USB drive ready. In the next section, we’ll discuss the step-by-step process of installing Windows on your Android tablet.
Step 5: Install Windows on your Android tablet
Now that you have all the necessary tools prepared, it’s time to proceed with installing Windows on your Android tablet. Follow these steps to install Windows:
- Connect the bootable USB: Connect the bootable USB drive to your Android tablet using the OTG cable. Ensure that the tablet is powered off before connecting.
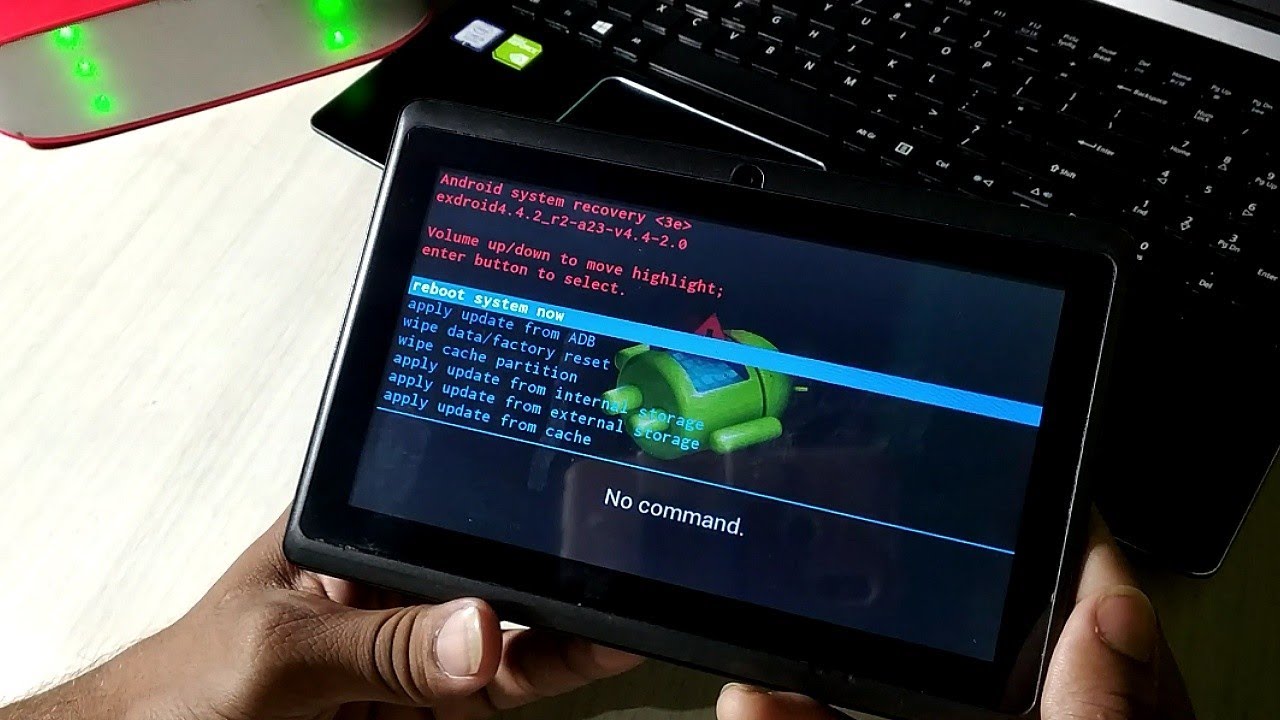
- Enter the boot menu: Power on your tablet and simultaneously press the appropriate key combination to enter the boot menu. The key combination may vary depending on the tablet model.
- Select the bootable USB: In the boot menu, navigate to the option that allows you to select the bootable USB drive as the primary boot device. Once selected, proceed to boot from the USB drive.
- Start the Windows installation: After successfully booting from the USB drive, the Windows installation process will begin. Follow the on-screen instructions to select the preferred language, edition, and installation options.
- Format the tablet’s storage: During the installation process, you’ll be prompted to choose the installation location. Select the storage partition or drive on your tablet and format it to install Windows.
- Complete the installation: Once you have selected the installation location, the Windows installation will proceed. This process may take some time, so be patient and avoid interrupting the installation.
- Set up Windows: After the installation is complete, your tablet will restart. Follow the on-screen prompts to set up Windows, including configuring your account, privacy settings, and network connection.
Once you’ve completed these steps, your Android tablet will be running Windows. You can now enjoy the full functionality and features of the Windows operating system on your tablet. Remember to keep the bootable USB drive safe, as it may come in handy for future Windows updates or troubleshooting.
It’s important to note that the installation process may vary slightly depending on your tablet model and the Windows version you are installing. Therefore, it’s recommended to refer to the specific instructions provided by your tablet’s manufacturer or the Windows installation guide for any additional or customized steps.
In the next section, we will cover the post-installation steps, including installing necessary drivers for Windows. These steps are essential to ensure the smooth functioning of your tablet with the newly installed Windows operating system.
Step 6: Configure Windows settings on your tablet
After successfully installing Windows on your Android tablet, it’s time to configure the settings to personalize and optimize your Windows experience. Follow these steps to configure Windows settings:
- Set up user accounts: Create a new user account or sign in with an existing Microsoft account. This will allow you to access personalized features, sync settings across devices, and download apps from the Microsoft Store.
- Windows Update: Check for and install any available Windows updates. This will ensure that your tablet has the latest security patches and bug fixes.
- Personalization: Customize the look and feel of your Windows interface by changing the desktop background, theme, and lock screen settings. You can also adjust the display resolution and scaling to suit your preference.
- Privacy settings: Review and adjust the privacy settings according to your preferences. Windows provides various privacy options to control how your device and data are shared with Microsoft and other apps.
- Install antivirus software: Protect your tablet from malware and security threats by installing reliable antivirus software. Windows Defender is a built-in security tool that provides basic protection, but you may opt for third-party antivirus software for enhanced security features.
- Configure network settings: Connect to your Wi-Fi network and ensure that the network settings are properly configured. This includes setting up a static IP address if required and managing network connections.
- Install essential software and apps: Install the necessary software and apps that you require for your day-to-day activities. This may include productivity tools, communication apps, media players, or any other software that enhances your tablet experience.
- Backup and recovery: Set up a backup and recovery system to protect your data. You can use built-in Windows features or opt for third-party backup tools to keep your important files secure.
Configuring these settings will help tailor the Windows experience to your needs and ensure that your tablet is optimized for smooth performance. Take the time to explore the various settings and options available in Windows to make the most out of your device.
Once you have configured the Windows settings on your tablet, you can move on to the next step: installing the necessary drivers for Windows. In the following section, we will guide you on how to install the required drivers to ensure the proper functioning of Windows on your tablet.
Step 7: Install necessary drivers for Windows
After configuring the basic settings of Windows on your tablet, it is important to install the necessary drivers to ensure optimal functionality and compatibility. Drivers allow the hardware components of your tablet to communicate with the Windows operating system.
Here’s how you can install the necessary drivers:
- Manufacturer’s website: Visit the official website of your tablet’s manufacturer and navigate to the support or downloads section. Look for the drivers specifically designed for your tablet model and the version of Windows you have installed. Download the drivers to your computer.
- Device Manager: On your Windows tablet, go to the Start menu and search for “Device Manager.” Open the Device Manager and look for any devices with a yellow exclamation mark or that are listed as unrecognized or missing drivers.
- Update driver: Right-click on the device with missing or outdated drivers and select “Update driver.” Choose the option to browse your computer for drivers.
- Locate the downloaded drivers: Navigate to the location where you downloaded the drivers from the manufacturer’s website. Select the appropriate drivers for the device you are updating and proceed with the installation. Follow any on-screen prompts or instructions that appear during the driver installation process.
- Repeat for other devices: Repeat the process for any other devices in Device Manager that require driver updates.
- Restart your tablet: After installing the drivers, restart your tablet to ensure that the changes take effect.
It’s important to note that the driver installation process may vary depending on the tablet model and the specific drivers you are installing. Some manufacturers may provide an installation package that simplifies the installation process, while others may require manual installation of individual drivers.
If you encounter any issues during the driver installation, refer to the manufacturer’s documentation or support resources for further assistance. They may provide specific instructions or troubleshooting steps for driver installation on your tablet model.
By installing the necessary drivers, you ensure that all the hardware components of your tablet are recognized by Windows and function properly. This step is crucial for maximizing the performance and usability of your tablet with the Windows operating system.
In the next step, we will discuss how to customize and optimize your Windows installation on the tablet. These steps will help you fine-tune the system according to your preferences and ensure a smooth user experience.
Step 8: Customize and optimize your Windows installation
After installing the necessary drivers for your tablet, it’s time to customize and optimize your Windows installation to enhance your user experience. By customizing and optimizing Windows, you can personalize the settings, improve performance, and tailor the operating system to your specific needs.
Here are some steps you can take to customize and optimize your Windows installation:
- Personalize the desktop: Customize your desktop background, theme, and colors to reflect your personal style. Right-click on the desktop and select “Personalize” to access these settings.
- Adjust power settings: Optimize power settings to balance performance and battery life. Go to the Control Panel and search for “Power Options” to configure power plans based on your preferences.
- Manage startup programs: Control which programs launch automatically at startup to improve boot times. Open the Task Manager by pressing Ctrl+Shift+Esc, go to the “Startup” tab, and disable any unnecessary programs.
- Uninstall pre-installed apps: Uninstall any pre-installed apps that you don’t need or use. Go to the “Apps & Features” settings and remove any unwanted or unused apps to free up storage space.
- Optimize storage: Run disk cleanup and remove temporary files to free up storage space. Use the built-in Disk Cleanup tool or third-party software to optimize your tablet’s storage.
- Configure notifications: Customize which notifications appear and how they are displayed. Go to the “Notifications & actions” settings to manage notification preferences for different apps and system notifications.
- Set up security options: Configure Windows Security settings to ensure your tablet is protected. Enable features like Windows Firewall, Windows Defender, and automatic updates for enhanced security.
- Install essential software: Install additional software and apps that you need for your everyday tasks. Consider productivity tools, media players, web browsers, and other applications that will enhance your tablet experience.
- Take advantage of built-in features: Explore the various built-in features of Windows, such as Cortana, Windows Ink, and Virtual Desktops. These features can enhance productivity and provide additional functionality.
By customizing and optimizing your Windows installation, you can create a personalized and efficient computing environment on your tablet. Take the time to explore the various settings and make adjustments according to your preferences and usage patterns.
Remember to periodically review and update your customization choices as your needs may change over time. This will ensure that your Windows installation remains optimized and tailored to your evolving requirements.
With the completion of this step, you have successfully customized and optimized your Windows installation on the tablet. You can now enjoy a fully personalized and efficient computing experience tailored to your preferences and needs.
Congratulations on successfully installing and customizing Windows on your Android tablet!
Conclusion
Congratulations on successfully installing Windows on your Android tablet! By following the step-by-step guide outlined in this article, you have transformed your tablet into a versatile device capable of running both the Android and Windows operating systems.
We started by ensuring the compatibility of your tablet with Windows installation and backing up your data to prevent any potential loss. Then, we enabled USB debugging and downloaded the necessary tools, including the Windows ISO file, ADB and Fastboot drivers, and created a bootable USB drive.
Next, we walked through the process of installing Windows on your tablet, configuring the initial settings, and installing the required drivers to establish proper functionality. We then covered the customization and optimization of your Windows installation, allowing you to personalize the operating system and fine-tune it to meet your specific needs.
It’s important to note that installing Windows on an Android tablet requires technical knowledge and comes with inherent risks. Proceed with caution and ensure that you understand the implications and potential consequences before proceeding.
Now that you have successfully installed Windows on your tablet, the possibilities are endless. You can take advantage of the extensive software compatibility of Windows, access the Microsoft Office suite, use Windows applications, and explore a new world of productivity and functionality.
Remember to keep your Windows installation up to date with the latest updates and security patches, and regularly back up your data to protect against any unforeseen issues. Additionally, make sure to consult the official documentation provided by your tablet’s manufacturer for any specific instructions or recommendations related to installing Windows on your device.
We hope that this guide has been helpful in transforming your Android tablet into a powerful Windows device. Enjoy exploring the endless capabilities of Windows on your tablet and make the most out of your new computing experience!