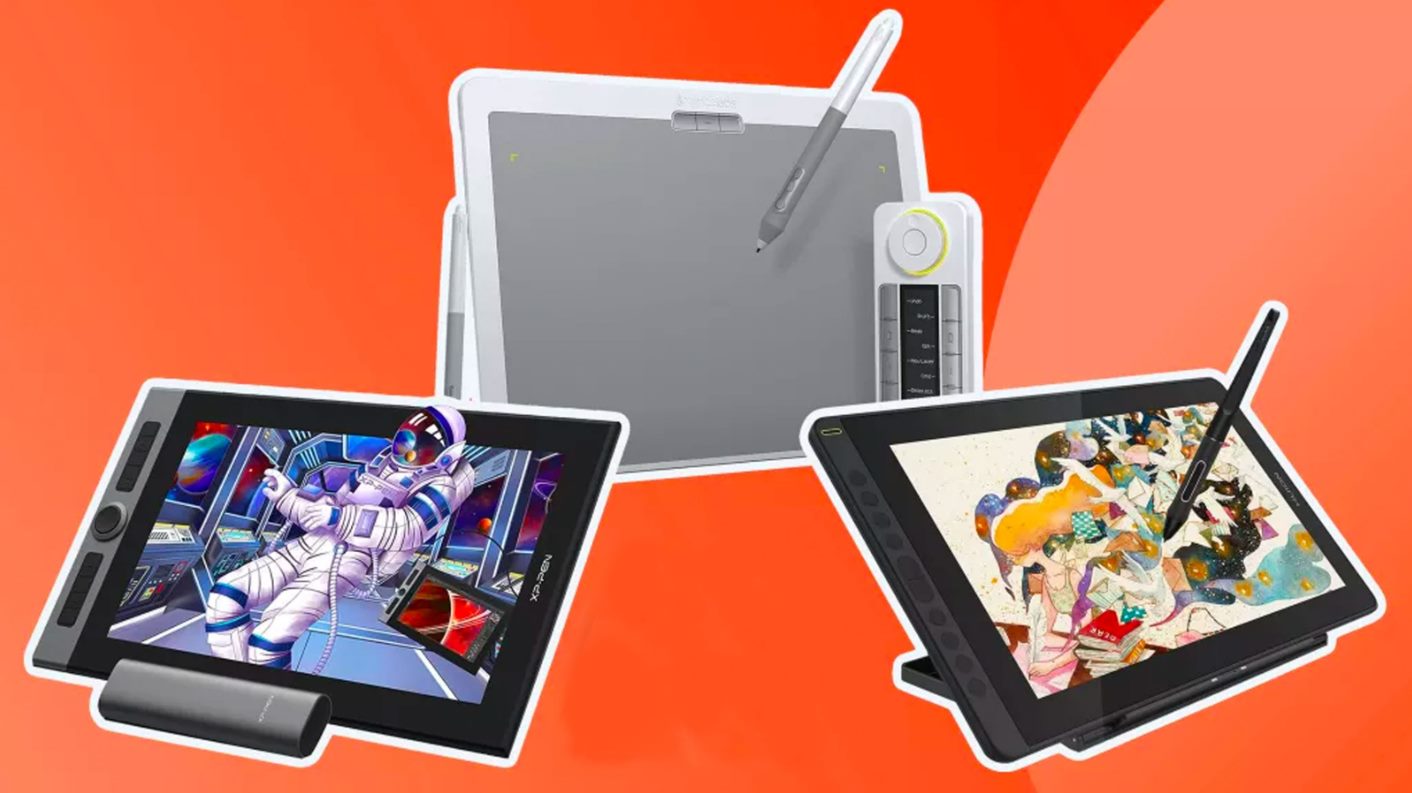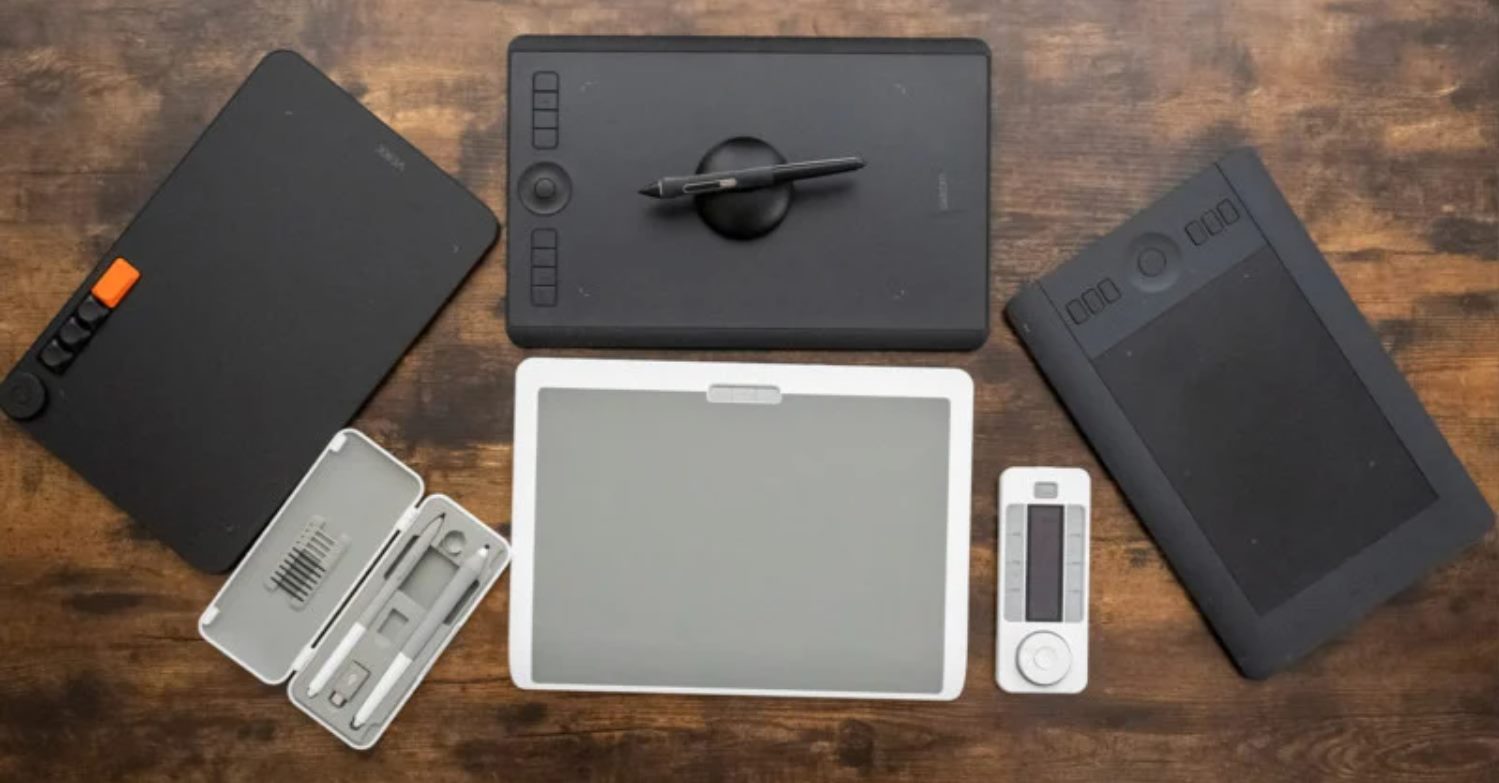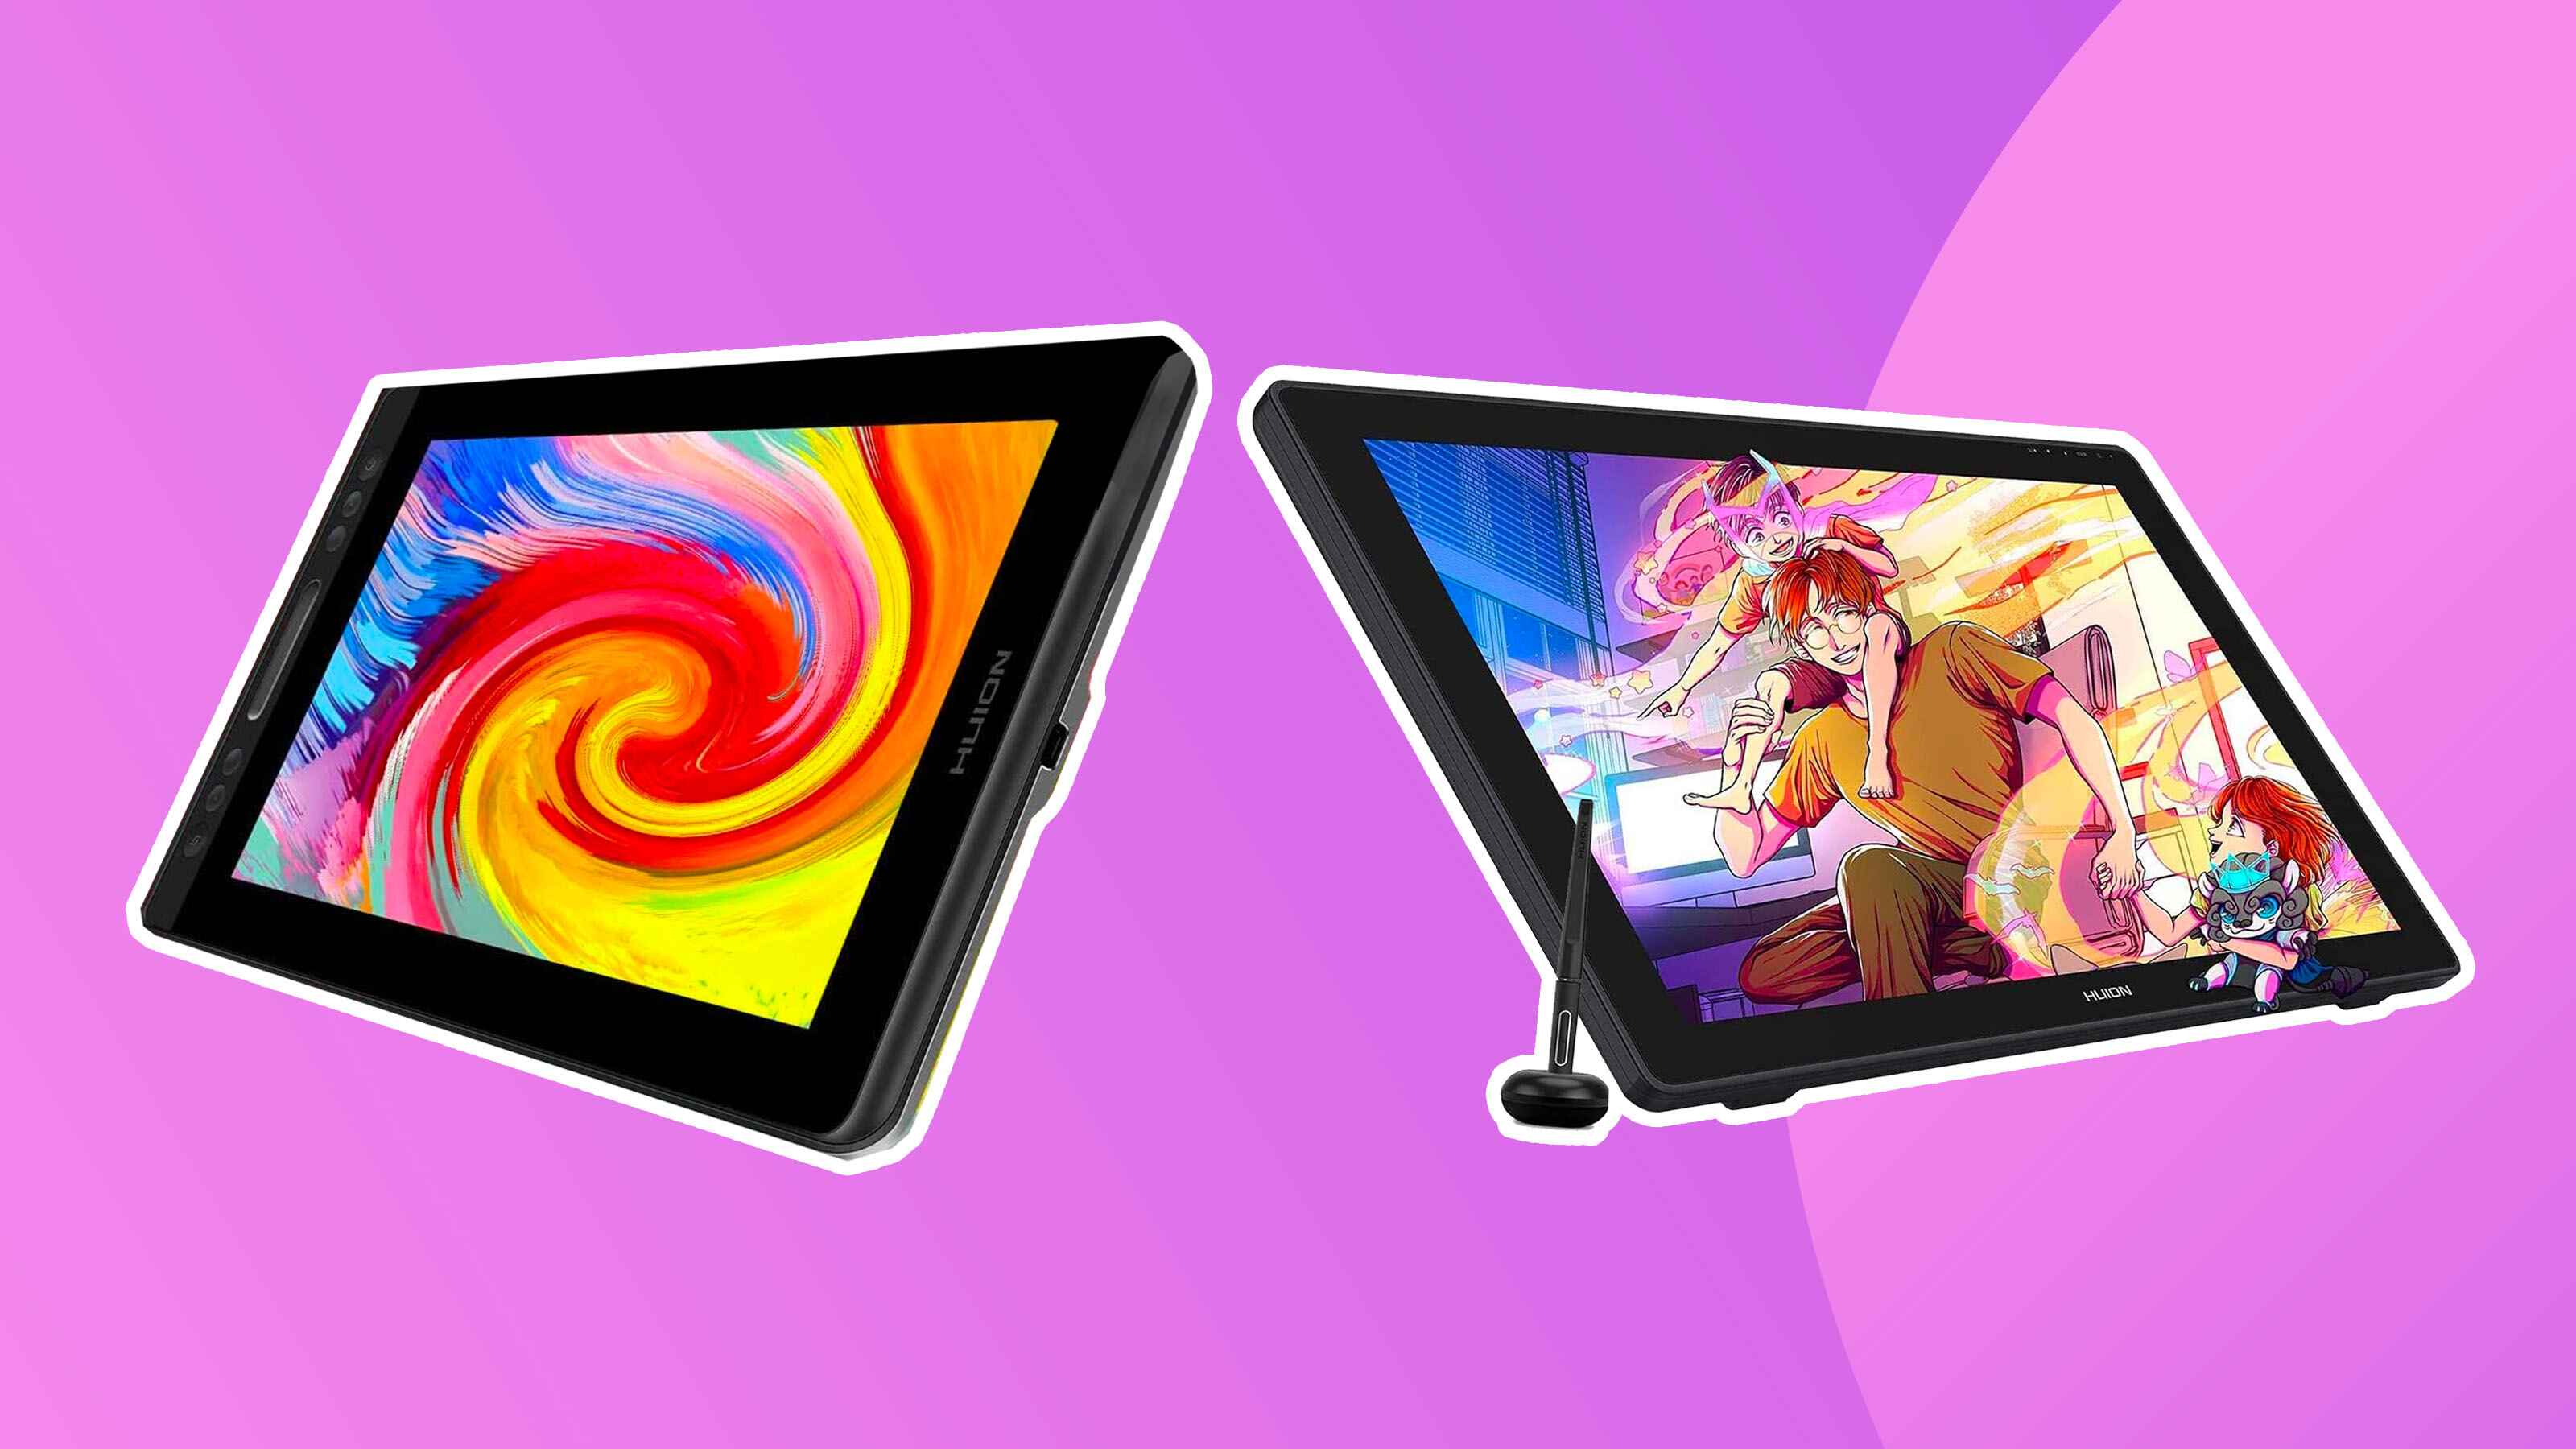
Choosing the Right Graphic Tablet
When it comes to selecting a graphic tablet, there are several factors to consider to ensure you find the right one that suits your needs and preferences. Here are some key points to keep in mind:
1. Size and Active Area: Graphic tablets come in various sizes, ranging from small portable models to larger professional-grade ones. Consider the size of the tablet relative to your workspace and the level of precision you require. Also, pay attention to the active area—the usable space on the tablet’s surface where your strokes will be registered.
2. Pressure Sensitivity: The pressure sensitivity of a graphic tablet determines how responsive it is to different levels of pressure when using the stylus. Look for a tablet with higher pressure sensitivity levels, as this will provide greater control and accuracy in your digital artwork.
3. Stylus and Pen Type: Pay attention to the type of stylus that comes with the tablet. Some styluses may offer additional features like customizable buttons, tilt recognition, or even a built-in eraser. Consider your preferred drawing style and whether these features would be beneficial to your workflow.
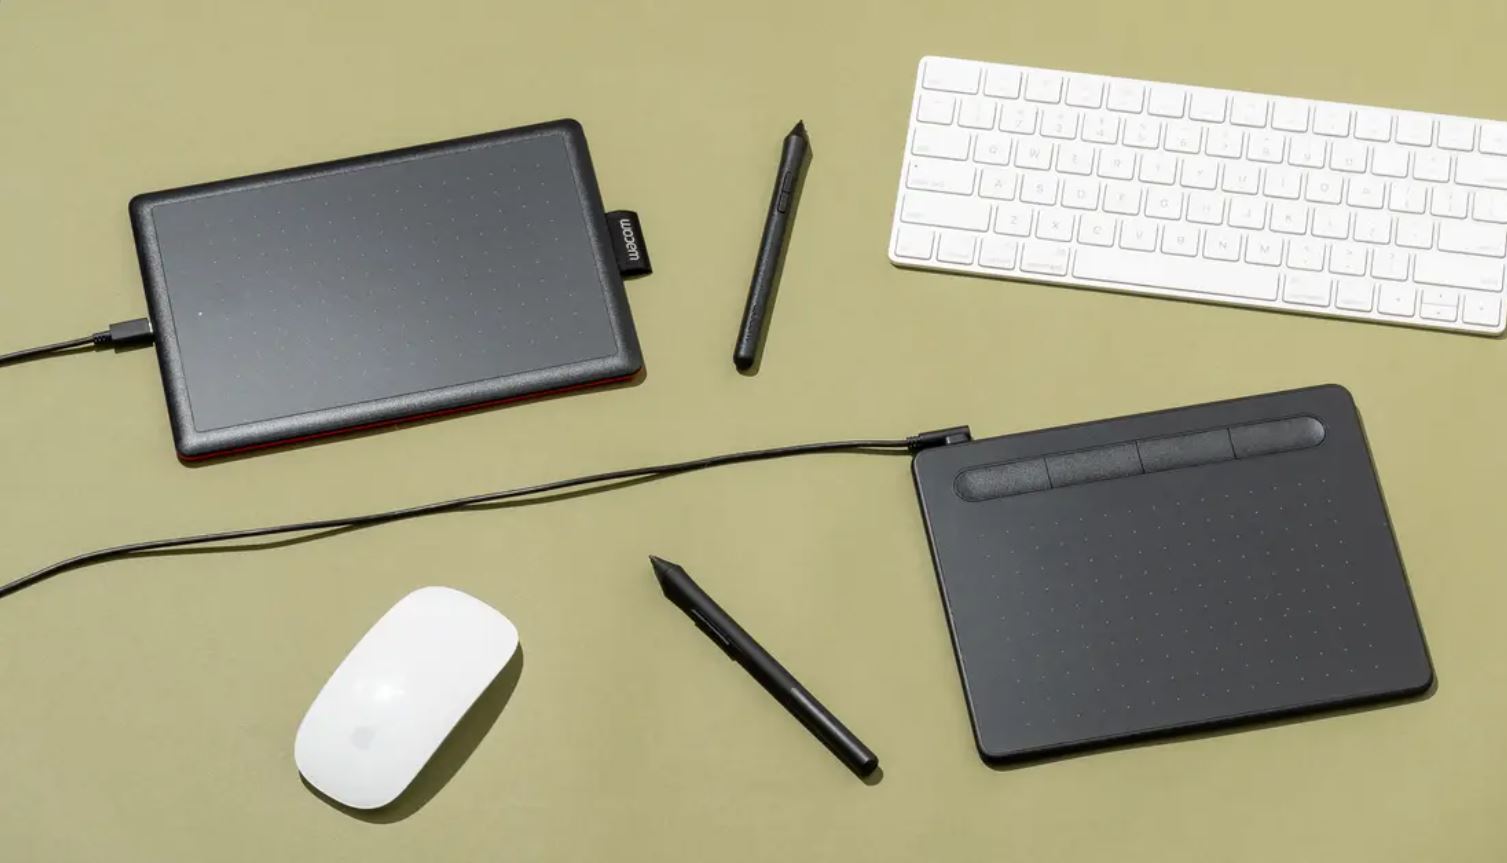
4. Connectivity: Determine the compatibility of the tablet with your computer or device. Most graphic tablets connect via USB, while some newer models offer wireless connectivity. Ensure that the tablet you choose is compatible with your operating system and software.
5. Budget: Set a budget range before you start searching for a graphic tablet. There are options available for every price point, from budget-friendly models for beginners to high-end tablets for professional artists. Consider your skill level and how much you are willing to invest in a graphic tablet.
6. Reviews and Recommendations: Before making a final decision, research and read reviews from other artists or professionals who have used the tablet you are considering. Their insights can provide valuable information about performance, durability, and overall user experience.
By considering these factors, you will be able to make an informed decision when choosing a graphic tablet that suits your specific needs and helps you unleash your creativity in the digital realm.
Setting Up Your Graphic Tablet
Setting up your graphic tablet properly is essential for a seamless and efficient workflow. Here are the steps to follow:
1. Install Drivers: Before connecting your graphic tablet to your computer, ensure you have the latest drivers installed. These drivers allow your device to communicate effectively with your computer’s operating system. Visit the tablet manufacturer’s website to download and install the drivers specific to your tablet model.
2. Connect the Tablet: Once the drivers are installed, connect your graphic tablet to your computer using the provided USB cable. If your tablet supports wireless connectivity, follow the manufacturer’s instructions to set it up wirelessly.
3. Calibrate the Tablet: Calibration ensures that your stylus movements on the tablet align accurately with the cursor on your computer screen. Most tablets come with a calibration tool or software. Follow the on-screen instructions to calibrate your tablet. Be sure to perform this step periodically to maintain optimal performance.
4. Customize Settings: Take advantage of the customization options offered by your tablet software. This allows you to tailor the tablet’s settings to your preferences. You can adjust pen sensitivity, set up shortcuts for commonly used functions, and configure pressure sensitivity levels.
5. Test Your Tablet: Launch your preferred drawing or painting software and ensure that your tablet is recognized. Test the pressure sensitivity by varying your pen strokes to see how the software responds. Check if all buttons on the stylus are functioning properly as well.
6. Additional Accessories: Depending on your workflow, you may want to consider additional accessories for your graphic tablet. These can include a stand to elevate the tablet, a screen protector to reduce glare and protect the surface, or extra nibs for the stylus. Explore the options available and choose the accessories that enhance your user experience.
7. Regular Maintenance: To keep your graphic tablet in good condition, it’s important to clean it regularly. Use a soft cloth or the provided cleaning kit to remove dust, smudges, and fingerprints from the tablet’s surface. Avoid using harsh chemicals or abrasive materials that could damage the tablet.
By following these steps, you will have your graphic tablet set up and optimized for your creative endeavors. Remember to refer to the tablet’s user manual or online resources for further guidance specific to your tablet model.
Understanding the Pressure Sensitivity
Pressure sensitivity is a crucial feature of graphic tablets that allows you to vary the thickness, opacity, and intensity of your digital strokes based on the amount of pressure you apply with the stylus. Understanding how pressure sensitivity works and harnessing its power can greatly enhance your digital artwork. Here’s what you need to know:
1. How Pressure Sensitivity Works: Pressure sensitivity is achieved through the technology embedded in the tablet and stylus. The tablet detects the varying levels of pressure exerted by the stylus, sending this information to the drawing software, which translates it into changes in line thickness, opacity, and other attributes of your brush strokes.
2. Levels of Pressure Sensitivity: Graphic tablets come with different levels of pressure sensitivity, typically ranging from 1,024 to 8,192 levels. Higher levels of pressure sensitivity provide more precise control over your artistic expressions, allowing for subtle variations in line weight and stroke dynamics.
3. Benefit in Digital Art: Pressure sensitivity enables you to create more dynamic and expressive digital art. By applying different pressures, you can achieve effects such as soft shading, thin delicate lines, or bold strokes. This level of control can mimic traditional art techniques, giving your digital artwork a more organic and natural feel.
4. Adjusting Pressure Sensitivity: Most graphic tablet drivers allow you to adjust the pressure sensitivity settings based on your preference and working style. Experiment with different settings to find the sensitivity that feels most comfortable and intuitive for you. This customization can further enhance your productivity and artistic expression.
5. Compatibility with Software: Pressure sensitivity is well-supported by mainstream drawing and painting software like Adobe Photoshop, Corel Painter, and Clip Studio Paint. However, it’s important to verify if your tablet and software are compatible to ensure you can fully utilize the pressure sensitivity feature.
6. Practice and Experiment: To make the most of pressure sensitivity, practice regularly and experiment with different brush types, sizes, and pressure techniques. Familiarize yourself with the responsiveness of your graphic tablet and stylus to achieve the desired effects in your digital art.
Whether you’re a digital painter, illustrator, or graphic designer, understanding and utilizing pressure sensitivity will unlock a world of creative possibilities. Embrace this feature and explore the full potential of your graphic tablet to elevate your digital artwork to new levels.
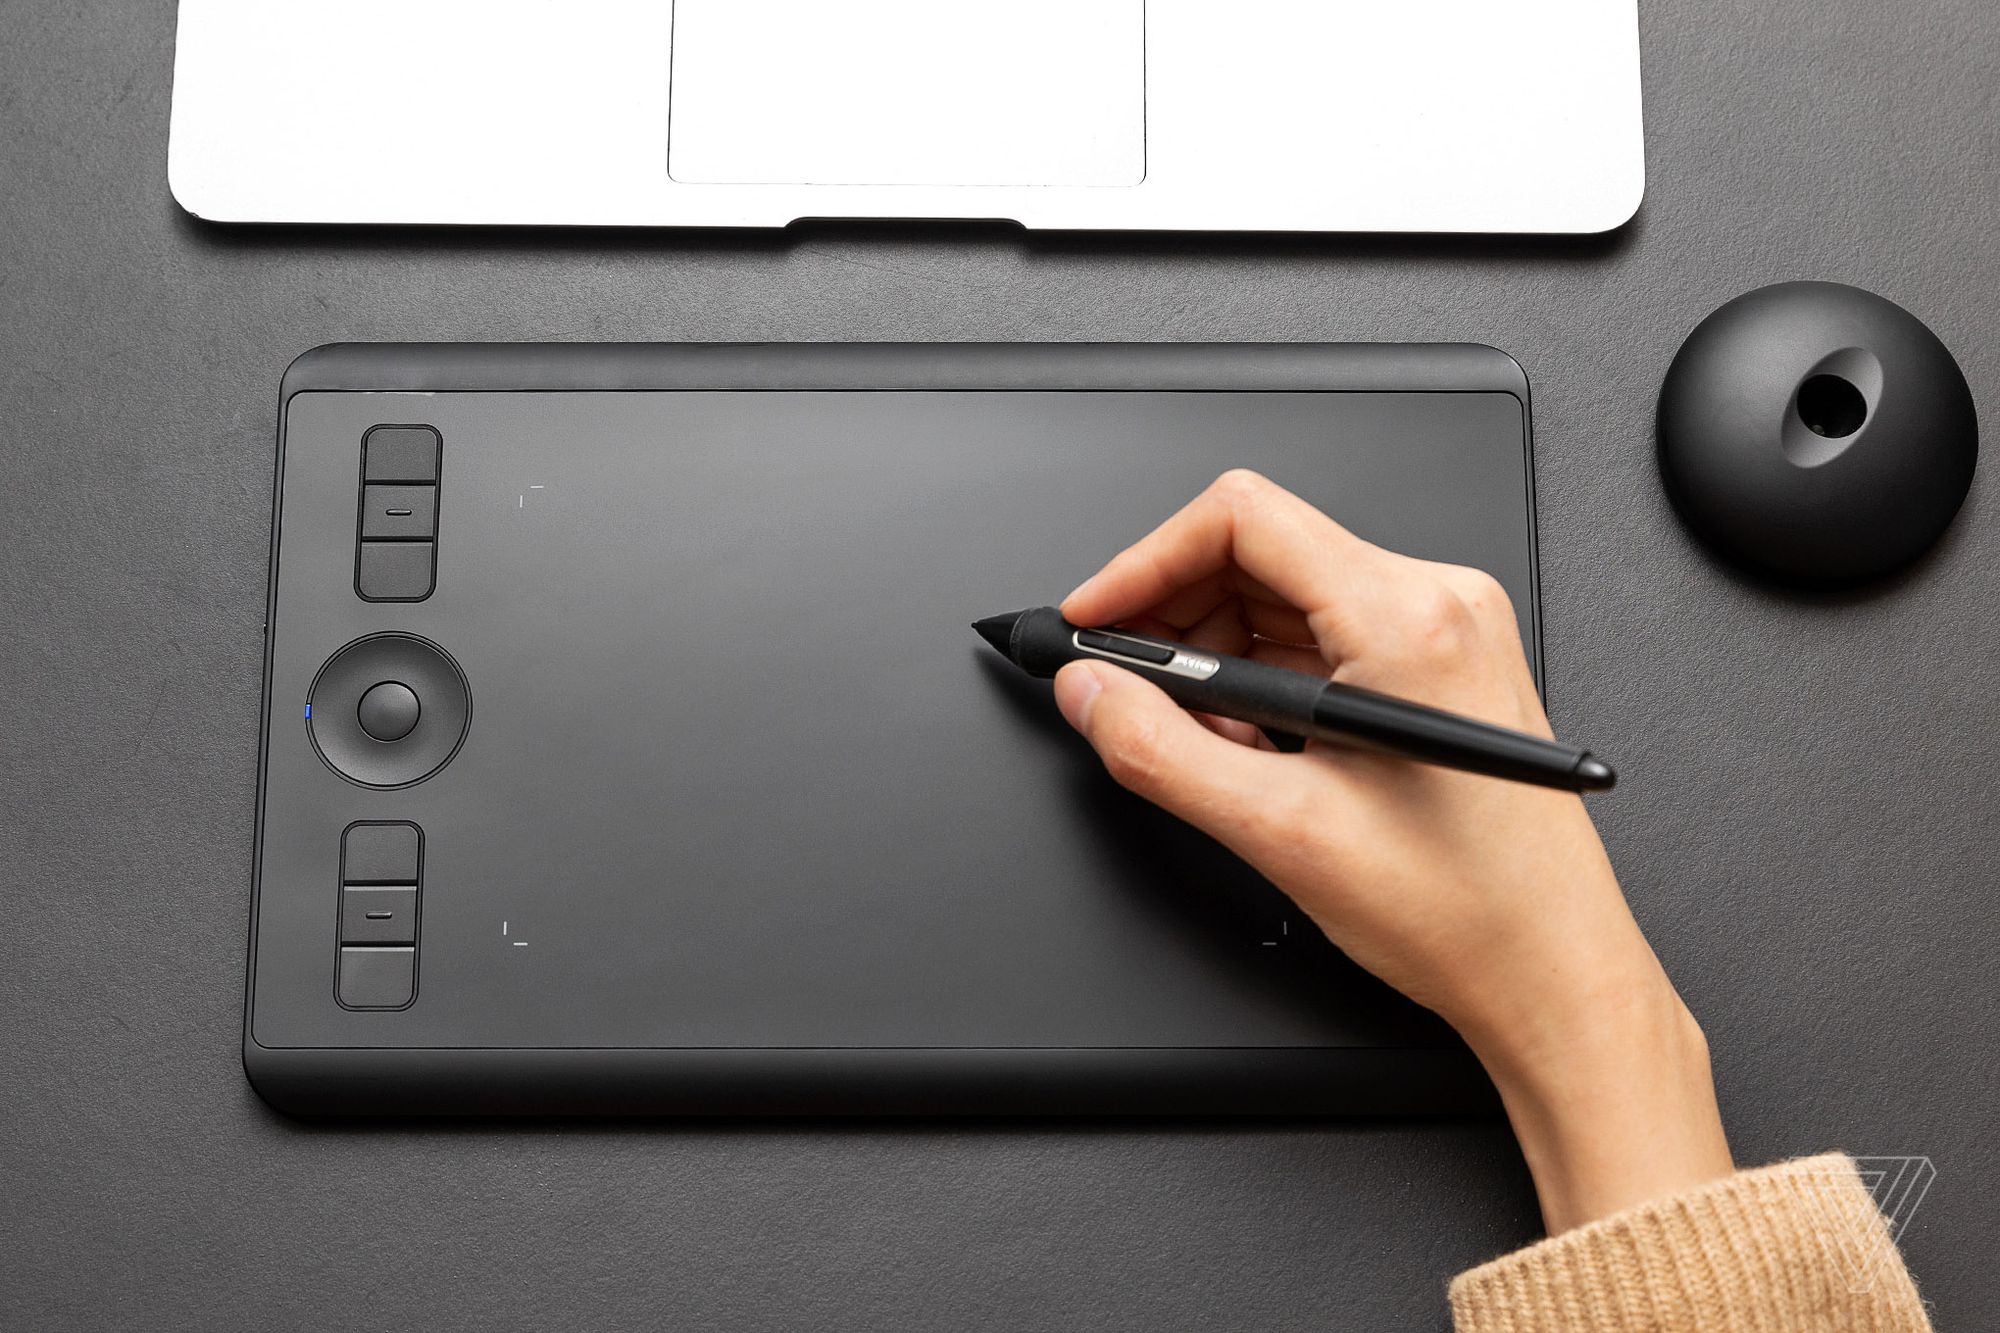
Customizing the Pen and Tablet Settings
Customizing the pen and tablet settings on your graphic tablet can greatly enhance your digital art experience, allowing you to tailor the device to your preferences and workflow. Here are some key points to consider when customizing these settings:
1. Pen Sensitivity: Adjusting the sensitivity of your pen determines how responsive it is to different levels of pressure. Most graphic tablets offer options to customize the pen sensitivity to match your drawing style. Experiment with different settings to find the balance that feels comfortable and natural for you.
2. Button Customization: Many graphic tablets come with buttons on the stylus that can be customized to perform various functions. Common options include right-clicking, erasing, switching between brushes, or activating a specific tool. Set up these buttons according to your workflow to improve efficiency and streamline your digital art process.
3. Tablet Mapping: Tablet mapping refers to adjusting the active area of the tablet to correspond with the size and resolution of your computer screen. This ensures that your movements on the tablet align accurately with the cursor on your screen. Mapping your tablet properly ensures precise and accurate drawing experiences.
4. Express Keys: Some graphic tablets include physical buttons, known as express keys, on the tablet surface for quick access to commonly used functions or shortcuts. Customize these keys to perform actions like zooming, changing brush sizes, or activating specific tools. This saves you time and reduces the need to navigate through menus in your drawing software.
5. Tilt Recognition: If your graphic tablet and stylus support tilt recognition, take advantage of this feature. Tilt recognition allows you to create shading effects and simulate the tilt of traditional drawing tools like pencils or brushes. Configure the tilt sensitivity to achieve the desired effects based on your drawing technique and style.
6. Pressure Curves: Pressure curves allow you to adjust how the tablet responds to different pressure levels. This customization can help fine-tune your stylus movements to achieve the desired response in your digital art. Experiment with different pressure curves to find one that suits your drawing style and preferences.
7. Test and Refine: After customizing the pen and tablet settings, it’s essential to test your changes in your preferred drawing software. Make adjustments as needed to ensure the customized settings provide the best drawing experience and achieve the desired effects in your digital artwork.
By customizing the pen and tablet settings, you can optimize your graphic tablet to match your specific needs and artistic preferences. Take the time to explore and experiment with these settings to create a comfortable and personalized digital art environment.
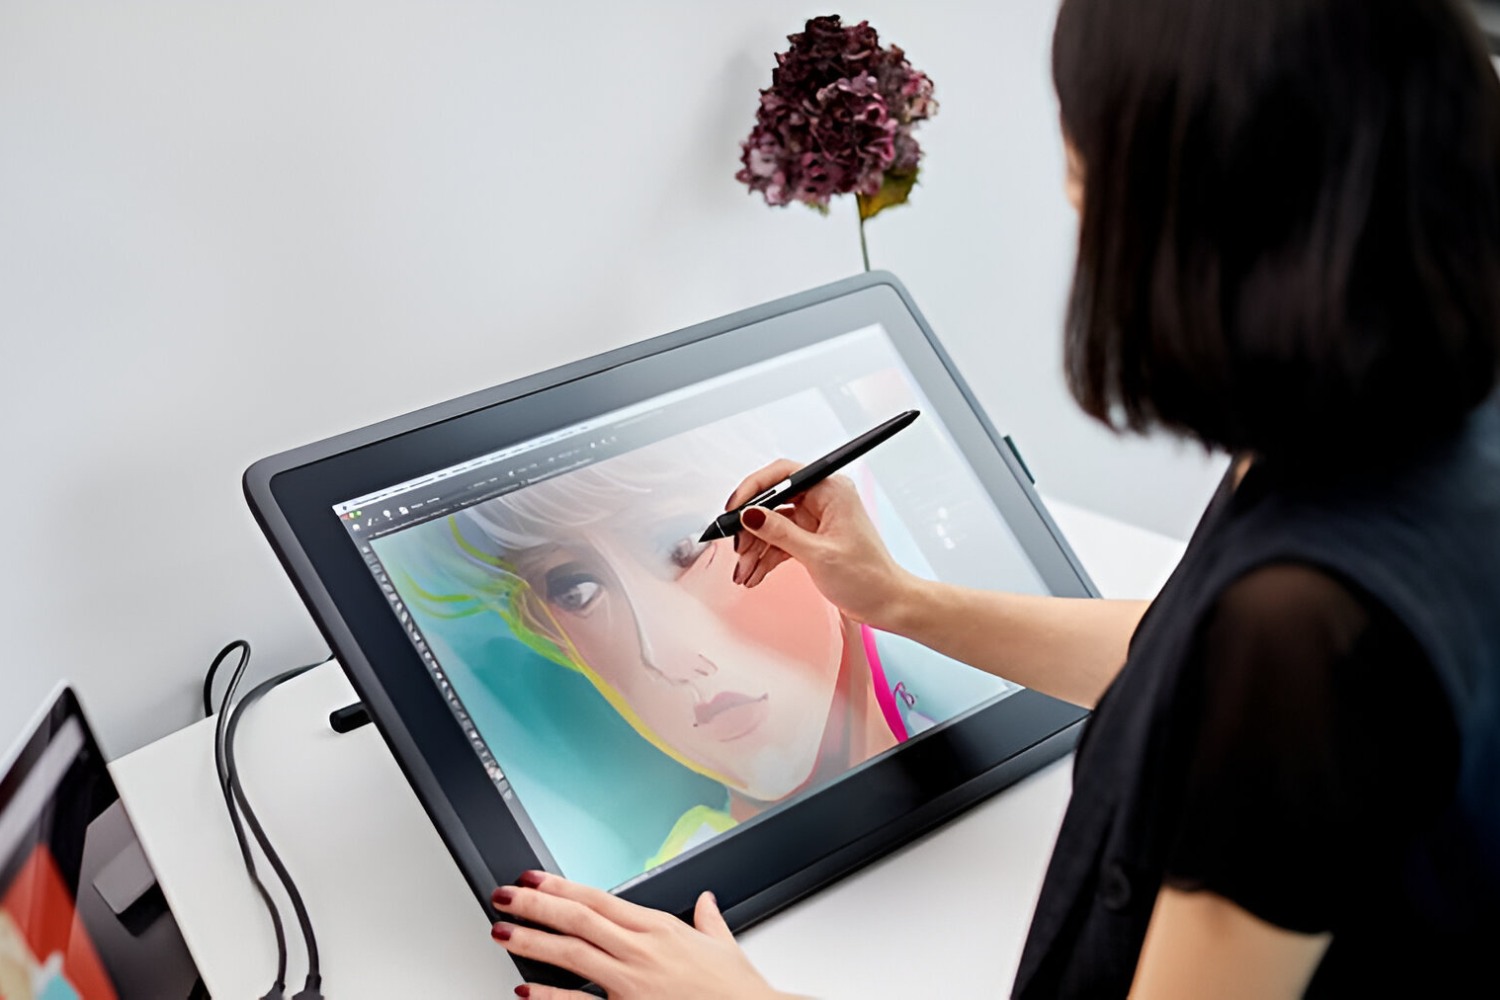
Using Drawing and Painting Software
Drawing and painting software is an essential tool for unleashing your creativity on a graphic tablet. Whether you’re a beginner or an experienced artist, understanding how to navigate and utilize these software programs can greatly enhance your digital art. Here are some key points to consider:
1. Popular Drawing Software: There is a wide range of drawing software available, each with its own unique features and user interface. Some popular options include Adobe Photoshop, Corel Painter, Clip Studio Paint, and Procreate. Explore the different software programs and choose one that aligns with your artistic goals and preferences.
2. Basic Tools and Features: Familiarize yourself with the basic tools and features offered by the software. These can include brushes of various types, layer functionality, selection tools, blending modes, and color palettes. Experiment with different tools to understand how they can be used to achieve different effects in your artwork.
3. Shortcut Keys and Customizations: Learning and utilizing keyboard shortcuts can greatly enhance your workflow and efficiency while using drawing software. Take the time to learn the commonly used shortcuts for tasks like undo, zoom, brush size, and selecting tools. Additionally, many software programs allow you to customize the user interface and create personalized workspaces to suit your needs.
4. Layers and Blend Modes: Layers are a powerful feature in drawing software that allow you to work on different elements of your artwork independently. Understanding how to create, manipulate, and organize layers can provide greater control and flexibility in your digital art. Experiment with different blend modes to create interesting and unique blending effects.
5. Brush Customization: Most drawing software provides options for customizing brushes. Adjust parameters like size, hardness, opacity, flow, and spacing to create brushes tailored to your specific needs. Experiment with different brush settings and variations to achieve the desired texture and effect in your artwork.
6. Utilizing Brushes and Textures: Explore the vast array of brushes and textures available in drawing software or through third-party resources. These can range from realistic brushes that mimic traditional media to unique and imaginative brushes. Experiment with different brush styles to add depth and texture to your digital art.
7. Utilize Tutorials and Online Resources: Take advantage of online tutorials, courses, and forums to learn new techniques and expand your knowledge of using drawing software. Engage with the digital art community to learn from experienced artists and share your own experiences.
By familiarizing yourself with drawing and painting software and exploring their features, you can unlock endless possibilities for creating stunning digital artwork on your graphic tablet. Embrace the tools and resources available to you, and let your creativity soar.
Creating Digital Art with a Graphic Tablet
Creating digital art with a graphic tablet opens up a world of limitless possibilities for artists. Whether you’re a traditional artist transitioning to digital or starting your artistic journey from scratch, here are some key points to consider when it comes to creating digital art:
1. Familiarize Yourself with the Tools: Take the time to familiarize yourself with the tools and features of your chosen drawing software. Experiment with different brushes, layers, and effects to understand their capabilities and how they can enhance your artwork.
2. Utilize Pressure Sensitivity: One of the advantages of using a graphic tablet is the ability to take full advantage of the pressure sensitivity feature. Varying the pressure applied to the stylus can create dynamic lines, shading, and textures in your digital artwork to add depth and realism.
3. Embrace Layers: Layers are a powerful feature in digital art that allow for non-destructive editing and give you the freedom to work on different elements of your artwork separately. Use layers to build up your artwork step by step, making adjustments and adding details as needed.
4. Experiment with Brushes and Textures: Digital art software often provides a wide array of brushes and textures to choose from. Take the time to explore different brush styles and textures to find ones that resonate with your artistic style. Customizing and creating your own brushes can also add a unique touch to your artwork.
5. Learn from Traditional Art Techniques: Many traditional art techniques, such as color theory, composition, and perspective, are applicable to digital art as well. Bringing your knowledge of these techniques into the digital realm can help you create well-balanced and visually appealing artwork.
6. Practice and Experiment: Creating digital art is a journey that requires practice and experimentation. Take the time to experiment with different techniques, styles, and subject matters. Don’t be afraid to make mistakes as they can often lead to new discoveries and artistic growth.
7. Seek Inspiration and Feedback: Surround yourself with sources of inspiration, such as following other digital artists, visiting art galleries, or exploring online art communities. Engage with fellow artists and seek feedback on your work to gain insights and improve your skills.
8. Push Your Boundaries: As you become more comfortable with the digital medium, challenge yourself to explore new techniques and push the boundaries of your creativity. Experiment with different styles, incorporate mixed media elements, or even venture into animation or digital sculpting.
Creating digital art with a graphic tablet is an exciting and rewarding journey. Embrace the versatility and possibilities this medium offers, and let your imagination run wild as you express yourself through your digital creations.
Working with Photos and Retouching Images
Graphic tablets are an invaluable tool for photographers and digital artists when it comes to working with photos and retouching images. Whether you’re aiming to enhance the colors, remove imperfections, or create stunning digital manipulations, here are some important points to consider:
1. Photo Editing Software: Choose a photo editing software that suits your needs and skill level. Popular options include Adobe Photoshop, Lightroom, and Capture One. These software programs offer powerful tools for adjusting colors, exposure levels, and performing various retouching techniques.
2. Selection and Adjustments: Graphic tablets allow for precision and control when making complex selections and adjustments. Use the stylus to carefully outline areas for retouching, adjusting exposure, or applying selective edits. The pressure sensitivity of the tablet can be particularly useful when making subtle adjustments.
3. Healing and Cloning Tools: Retouching imperfections in photos is made easier with the healing and cloning tools available in photo editing software. Use the tablet’s stylus to accurately remove blemishes, scratches, and unwanted elements from your images. The pressure sensitivity can help you blend the retouching seamlessly into the original image.
4. Dodge and Burn: Dodging and burning are techniques used to selectively lighten or darken areas of an image. With a graphic tablet, you can precisely control the intensity and extent of the dodge and burn effect, giving you greater flexibility in enhancing the highlights and shadows of your photos.
5. Color Correction and Grading: Graphic tablets also excel in color correction and grading. With the tablet’s stylus, you can fine-tune color levels, adjust saturation, and create unique color grading effects. The pressure sensitivity of the tablet allows for subtle adjustments, resulting in more natural and realistic color enhancements.
6. Non-Destructive Editing: Take advantage of non-destructive editing techniques to preserve the original image while making adjustments. This ensures that you can revert back to the original photo or make further modifications without compromising image quality. Utilize adjustment layers and masks to apply edits selectively and non-destructively.
7. Experiment with Filters and Effects: Photo editing software often provides a variety of filters and effects that can transform your images. With a graphic tablet, you can apply and customize these filters and effects with precision. Experiment with different styles to give your photos a unique and artistic touch.
8. Learn from Tutorials and Resources: Continuous learning is key when it comes to photo retouching. Take advantage of tutorials, online resources, and forums dedicated to photo editing. These can provide valuable insights, tips, and techniques to improve your retouching skills and expand your creative possibilities.
Working with photos and retouching images using a graphic tablet opens up a world of possibilities for fine-tuning and enhancing your photography. Embrace the flexibility and control that a tablet offers, and let your creativity shine as you transform your photos into stunning works of art.
Handwriting and Digital Signatures
Graphic tablets provide a seamless and natural way to incorporate handwriting and digital signatures into your digital documents. Whether you need to annotate PDFs, fill out forms, or add a personal touch to your digital artwork, here are some key points to consider when using a graphic tablet for handwriting and digital signatures:
1. Handwriting on Digital Documents: With a graphic tablet, you can write directly on digital documents, such as PDFs or handwritten notes. Use a stylus to create handwritten annotations, jot down ideas, or make corrections to documents. Handwriting on a tablet provides a more natural and personal touch compared to typing.
2. Digital Signature: Graphic tablets offer a convenient way to create digital signatures. Instead of printing out documents, signing them by hand, and scanning them back in, you can simply sign the document directly on the tablet’s surface using the stylus. This process saves time and eliminates the need for physical paperwork.
3. Pressure Sensitivity for Authenticity: The pressure sensitivity of a graphic tablet is beneficial when it comes to creating digital signatures. It allows you to mimic the pressure applied with a pen, making your digital signature more authentic and unique. Adjusting the pressure sensitivity settings can help you create a signature that closely resembles your natural handwriting.
4. Handwriting Recognition: Some software programs and applications offer handwriting recognition capabilities. This means that your handwritten notes can be converted into digital, editable text. This feature can be useful for converting meeting minutes, lecture notes, or any handwritten information into text-based documents.
5. Personalizing Artwork and Designs: Graphic tablets also enable you to incorporate custom handwritten elements into your digital artwork and designs. Whether it’s hand-drawn typography, calligraphy, or artistic flourishes, the tablet allows for precise control and nuance, giving your digital creations a unique touch.
6. Security and Encryption: When it comes to digital signatures, security is paramount. Ensure that the software or platform you are using for digital signatures provides encryption and other security measures to protect the integrity of your signed documents. This ensures that your digital signatures are legally binding and tamper-proof.
7. Practice and Adjust: Just like traditional handwriting, it may take some practice to get comfortable with writing and signing on a graphic tablet. Spend some time experimenting with different stylus grips and pressure levels. Adjust the tablet settings to suit your handwriting style and achieve the desired effect for your digital signatures and handwritten notes.
By harnessing the capabilities of a graphic tablet, you can seamlessly incorporate handwriting and digital signatures into your digital documents. Enjoy the convenience, personalization, and efficiency that comes with embracing the digital realm while preserving the human touch.
Taking and Editing Screen Captures
Screen captures, or screenshots, are a valuable tool for capturing and sharing visual information from your computer or device. With a graphic tablet, you can enhance your screen capture capabilities and easily edit and annotate the captured images. Here are some important points to consider when it comes to taking and editing screen captures:
1. Taking Screen Captures: Graphic tablets provide a precise and accurate way to take screen captures. Use the stylus to select and capture specific areas of your screen, whether it’s an entire window, a specific region, or a particular element. Many tablets also have quick buttons or shortcuts that allow you to take screen captures with a simple click.
2. Enhancing Annotation and Drawing: Once you have captured the desired screen image, a graphic tablet offers a seamless way to annotate and draw on the captured image. Use the stylus to add arrows, circles, text, or freehand drawings to highlight specific areas or provide additional context. This capability is especially useful for creating tutorials, presentations, or providing feedback.
3. Precise Editing and Retouching: With a graphic tablet, you can perform precise editing and retouching on your screen captures. Use the stylus to make pixel-perfect adjustments, remove sensitive information, or retouch imperfections in the captured image. The tablet’s pressure sensitivity allows for accurate brush strokes and fine-detail editing.
4. Customizing Drawing Tools and Brushes: Most graphic tablet software allows you to customize drawing tools and brushes, providing you with a wide range of options to enhance your screen captures. Experiment with different pen types, sizes, opacity, and brush styles to achieve the desired effects in your annotations and edits.
5. Overlaying and Comparing: Graphic tablets are particularly useful for overlaying screen captures and comparing changes or differences between multiple captures. You can align and compare images side by side, easily highlighting the variations, improvements, or changes made. This can be helpful for design iterations, troubleshooting, or before-and-after comparisons.
6. Utilizing Screen Capture Software: While the basic screen capture functions are typically available on your operating system, specialized screen capture software can offer additional features and flexibility. Explore screen capture software options that provide advanced editing capabilities, annotations, and organizational tools to streamline your workflow.
7. Practice and Explore: Taking and editing screen captures with a graphic tablet may require some practice to get comfortable and efficient. Familiarize yourself with the tablet’s settings, stylus pressure, and drawing software functions. With time and exploration, you will develop techniques and workflows that suit your needs and allow you to create impactful screen captures.
By utilizing a graphic tablet for taking and editing screen captures, you can elevate your visual communication, create professional annotations, and provide clear instructions or feedback. Embrace the precision and versatility that a tablet offers to enhance your screen capture workflow.
Using a Graphic Tablet for 3D Modeling
A graphic tablet can greatly enhance the process of 3D modeling, providing digital artists and designers with a more intuitive and precise way to create complex three-dimensional designs. Here are some key points to consider when using a graphic tablet for 3D modeling:
1. Sculpting and Shaping: A graphic tablet’s stylus offers a natural and responsive tool for sculpting and shaping 3D models. With pressure sensitivity, you can easily control the depth and intensity of your sculpting strokes, allowing for more organic and detailed designs.
2. Precise Control and Detailing: Working with a graphic tablet enables artists to have precise control over the positioning, orientation, and detailing of 3D objects. The tablet’s pinpoint accuracy allows for accurate placement of vertices, edges, and polygons, resulting in cleaner and more refined models.
3. Texturing and Painting: Graphic tablets are ideal for applying textures and painting onto 3D models. With the tablet’s pressure sensitivity, you can seamlessly blend colors, apply realistic brush strokes, and add intricate details to your designs, enhancing the realism and visual appeal of the model.
4. Customizing Shortcuts and Hotkeys: Many 3D modeling software programs allow users to customize shortcuts and hotkeys. A graphic tablet can provide a more fluid and efficient interaction by assigning specific functions or tools to the tablet’s Express Keys or stylus buttons. This speeds up the workflow and allows for a more immersive modeling experience.
5. 3D Navigation and Rotation: Graphic tablets often have touch-sensitive surfaces that can be used for easy navigation and rotation of the 3D viewport. By simply swiping or pinching on the tablet, artists can effortlessly manipulate the 3D model, facilitating a more intuitive and dynamic modeling process.
6. Working with 3D Brushes: Many 3D modeling software programs offer a wide range of brushes and sculpting tools that can be utilized with a graphic tablet. These brushes emulate the behavior of real sculpting tools, allowing artists to create intricate surface details and simulate various materials.
7. Workflow Integration: Integrating a graphic tablet into your 3D modeling workflow requires some practice and experimentation. Take the time to explore the tablet’s settings, adapt the stylus sensitivity to your preference, and familiarize yourself with the tablet’s compatibility and functionality within your chosen 3D software.
By incorporating a graphic tablet into your 3D modeling process, you can elevate your artistic abilities, achieve more precise control, and bring greater detail and realism to your designs. Embrace the fluidity and tactile nature of a tablet to sculpt, texture, and paint your way to incredible 3D creations.
Tips and Tricks for Efficiently Using a Graphic Tablet
When using a graphic tablet, there are several tips and tricks that can help improve your efficiency and overall user experience. These techniques will allow you to make the most of your tablet and unleash your creativity. Here are some key tips to consider:
1. Customize Your Workspace: Take the time to arrange and customize your digital workspace to suit your preferences. Arrange the placement of your tablet, keyboard, and monitor for optimal comfort and productivity. Make sure you have easy access to commonly used shortcuts and tools.
2. Use Shortcut Keys: Many graphic tablets come with programmable shortcut keys or buttons on the tablet or stylus. Assign frequently used functions, such as zooming, brush size adjustment, or switching between tools, to these shortcuts to streamline your workflow and reduce the need to reach for the keyboard or mouse.
3. Experiment with Pressure Sensitivity: Explore different pressure sensitivity settings to find the level that feels most natural and comfortable for your drawing or design style. Adjusting the pressure sensitivity can help you achieve more nuanced and expressive strokes in your digital artwork.
4. Utilize Pen Tilt: If your graphic tablet supports pen tilt functionality, take advantage of it. Pen tilt allows you to create shading effects and simulate angles akin to traditional drawing techniques. Experiment with different tilt angles and settings to add depth and dimension to your artwork.
5. Practice Hand-eye Coordination: Using a graphic tablet requires hand-eye coordination. Dedicate time to practice and improve your hand-eye coordination by performing exercises and regularly using the tablet for drawing, painting, or other tasks. With practice, you’ll develop a more natural and fluid interaction between your hand movements and the tablet surface.
6. Utilize Gesture Controls: Some graphic tablets offer gesture controls on the touch-sensitive surface. Familiarize yourself with these gestures, as they can enable you to easily zoom in and out, pan across the canvas, or perform other common actions without having to reach for additional buttons or tools.
7. Utilize Software Shortcuts: Become familiar with the keyboard shortcuts specific to the software you are using. Knowing application-specific shortcuts will help you navigate menus, access tools, and perform tasks more quickly, enhancing your efficiency and productivity.
8. Keep Your Tablet Clean: Regularly clean your tablet’s surface and stylus to maintain optimal performance. Use a soft cloth and cleaning solution specifically designed for electronic devices to remove any dust, smudges, or fingerprints. A clean tablet surface ensures accurate and smooth pen movement.
By implementing these tips and tricks, you can enhance your efficiency and productivity while using a graphic tablet. Embrace the versatility and functionality of your tablet, and continue to explore and experiment to find techniques that work best for your creative process. With practice, you’ll unlock the full potential of your tablet and take your digital artwork to new heights.
Troubleshooting Common Issues with Graphic Tablets
While graphic tablets are powerful tools for digital artists and designers, they can sometimes encounter issues that can hinder your workflow. Understanding how to troubleshoot these common issues can save you time and frustration. Here are some key troubleshooting techniques to help you resolve common problems with your graphic tablet:
1. Connection Issues: If your graphic tablet is not being recognized by your computer, ensure that it is properly connected. Check the USB connection or wireless connectivity, and try using a different cable or port if necessary. Restarting your computer or updating the tablet’s drivers may also help resolve connection problems.
2. Driver Issues: Outdated or incompatible drivers can cause problems with your graphic tablet’s functionality. Visit the manufacturer’s website and download the latest drivers for your tablet model. Ensure that the drivers are properly installed and up to date to avoid any issues with performance or compatibility.
3. Calibration Problems: If you notice a misalignment between your stylus movements and the cursor on the screen, recalibrating your tablet can fix the issue. Most tablets provide a calibration tool or software that allows you to align the tablet’s active area with the screen. Follow the on-screen instructions and recalibrate the tablet for accurate tracking.
4. Pressure Sensitivity Issues: If you experience problems with pressure sensitivity, such as inconsistent brush strokes or no response to pressure, check the settings in your drawing software and tablet driver. Make sure that pressure sensitivity is enabled and properly configured. Adjusting the pressure sensitivity settings within the software and the tablet driver can help resolve any issues related to pressure sensitivity.
5. Stylus or Tablet Responsiveness: If your stylus or tablet is unresponsive, try cleaning the tablet surface and the stylus’ tip. Dust or debris on the tablet surface can interfere with the stylus’ tracking. Additionally, ensure that the stylus’ battery is charged or replace it with a new one if necessary. If the problem persists, contact customer support for further assistance.
6. Compatibility with Software: Some software may not fully support all features of your graphic tablet or may require specific settings to be adjusted. Check the software’s documentation or online resources to ensure compatibility with your tablet model. If you encounter any issues, reach out to the software’s technical support for guidance.
7. Conflicting Software or Hardware: Conflicts with other software or hardware on your computer can sometimes cause issues with your graphic tablet. Disable any unnecessary programs running in the background, particularly those that have the potential to interfere with tablet functionality. Disconnect any unrelated peripherals that may be causing conflicts.
8. Firmware Updates: Check if there are any firmware updates available for your graphic tablet. Firmware updates can address known issues and improve the overall functionality of the tablet. Follow the manufacturer’s instructions to safely update the firmware, ensuring that you have a stable internet connection and proper power source during the update process.
By employing these troubleshooting techniques, you can effectively address common issues that may arise with your graphic tablet. Remember to refer to the manufacturer’s documentation, online support resources, and forums for further assistance specific to your tablet model.
Cleaning and Maintaining Your Graphic Tablet
Cleaning and maintaining your graphic tablet is crucial to ensure its longevity and optimal performance. Regular upkeep will not only extend the lifespan of your tablet but also maintain its accuracy and responsiveness. Here are some essential tips for cleaning and maintaining your graphic tablet:
1. Clean the Tablet Surface: Dust, fingerprints, and smudges on the tablet surface can interfere with the stylus’ tracking and affect your drawing experience. Use a soft, lint-free cloth to gently wipe the surface of the tablet. Avoid using abrasive materials or harsh chemicals that could potentially damage the surface.
2. Clean the Stylus: The stylus is in direct contact with the tablet surface and can accumulate dust and dirt over time. Wipe the stylus gently with a soft cloth to remove any debris. If necessary, slightly dampen the cloth with water, but make sure the cloth is not excessively wet to prevent any moisture from entering the stylus.
3. Replace Stylus Nibs: Stylus nibs tend to wear down with regular use. Replace the nibs as needed to maintain a smooth and precise drawing experience. Consult the manufacturer’s instructions for the specific procedure to replace the nibs. Remember to use the compatible nibs provided by the manufacturer or available for purchase for your specific tablet model.
4. Store Properly: When not in use, store your graphic tablet in a clean and dry environment. Protect it from dust, sunlight, and extreme temperatures that can potentially damage the tablet. If your tablet came with a protective cover or case, use it to shield the tablet from scratches and accidental damage.
5. Be Mindful of Cables: Take care when handling the USB or power cables connected to your tablet. Avoid putting excessive strain on the cables, as they could become damaged or cause connectivity issues. Routinely inspect the cables for any signs of wear or fraying, and replace them if necessary.
6. Update Drivers and Firmware: Periodically check for driver and firmware updates for your graphic tablet. Updating the drivers and firmware ensures that your tablet operates with the latest improvements and bug fixes. Consult the manufacturer’s website for the appropriate updates and follow the instructions provided.
7. Avoid Liquid Damage: Keep liquids away from your graphic tablet to prevent accidental spills. Liquids can cause irreparable damage to the electronics inside the tablet. In the event of a spill, immediately disconnect the tablet, turn it off, and consult the manufacturer or professional technicians for guidance.
8. Follow Manufacturer’s Guidelines: It is important to follow the specific cleaning and maintenance recommendations provided by the manufacturer of your graphic tablet. These guidelines are designed to ensure the longevity and optimal performance of your tablet and may vary depending on the model and brand.
By following these cleaning and maintenance practices, you can keep your graphic tablet in excellent condition. Regular upkeep will help preserve its accuracy, responsiveness, and overall functionality, enabling you to continue creating stunning digital artwork with ease and precision.
Conclusion
Graphic tablets are powerful tools that enable artists, designers, and digital creators to unleash their creativity and enhance their digital workflows. With their precise stylus control, pressure sensitivity, and customizable features, graphic tablets offer a seamless and intuitive way to create stunning digital artwork, retouch photos, annotate documents, and perform a wide range of creative tasks.
Choosing the right graphic tablet is crucial, considering factors such as size, pressure sensitivity, and connectivity options to ensure it aligns with your needs and preferences. Setting up the tablet properly, calibrating it, and customizing its settings further enhance the user experience, allowing for a more personalized and efficient workflow.
Understanding features like pressure sensitivity and utilizing drawing and painting software to their full potential can bring your digital creations to life, providing greater control and expression in your artwork. Additionally, integrating handwriting and digital signatures, as well as using the tablet for 3D modeling, screen captures, and other tasks, expands the versatility and functionality of graphic tablets.
While using graphic tablets, it’s essential to troubleshoot common issues, clean and maintain the tablet regularly, and follow manufacturer guidelines to ensure optimal performance and a long lifespan for your device.
In conclusion, graphic tablets have revolutionized the way digital art and design are created. These versatile tools empower artists to unleash their imagination, enhance their artistic abilities, and produce stunning digital artwork. By leveraging the capabilities of graphic tablets, artists can explore new horizons in their creative endeavors and express their vision with incredible precision and control.