What is a Graphic Tablet?
A graphic tablet, also known as a drawing tablet or digitizer, is a specialized input device that allows users to digitally create and manipulate graphics. It consists of a flat, pressure-sensitive pad that connects to a computer or other devices, acting as a virtual canvas for artists, designers, and other creative professionals. Graphic tablets are widely used in industries such as graphic design, animation, architecture, and digital art.
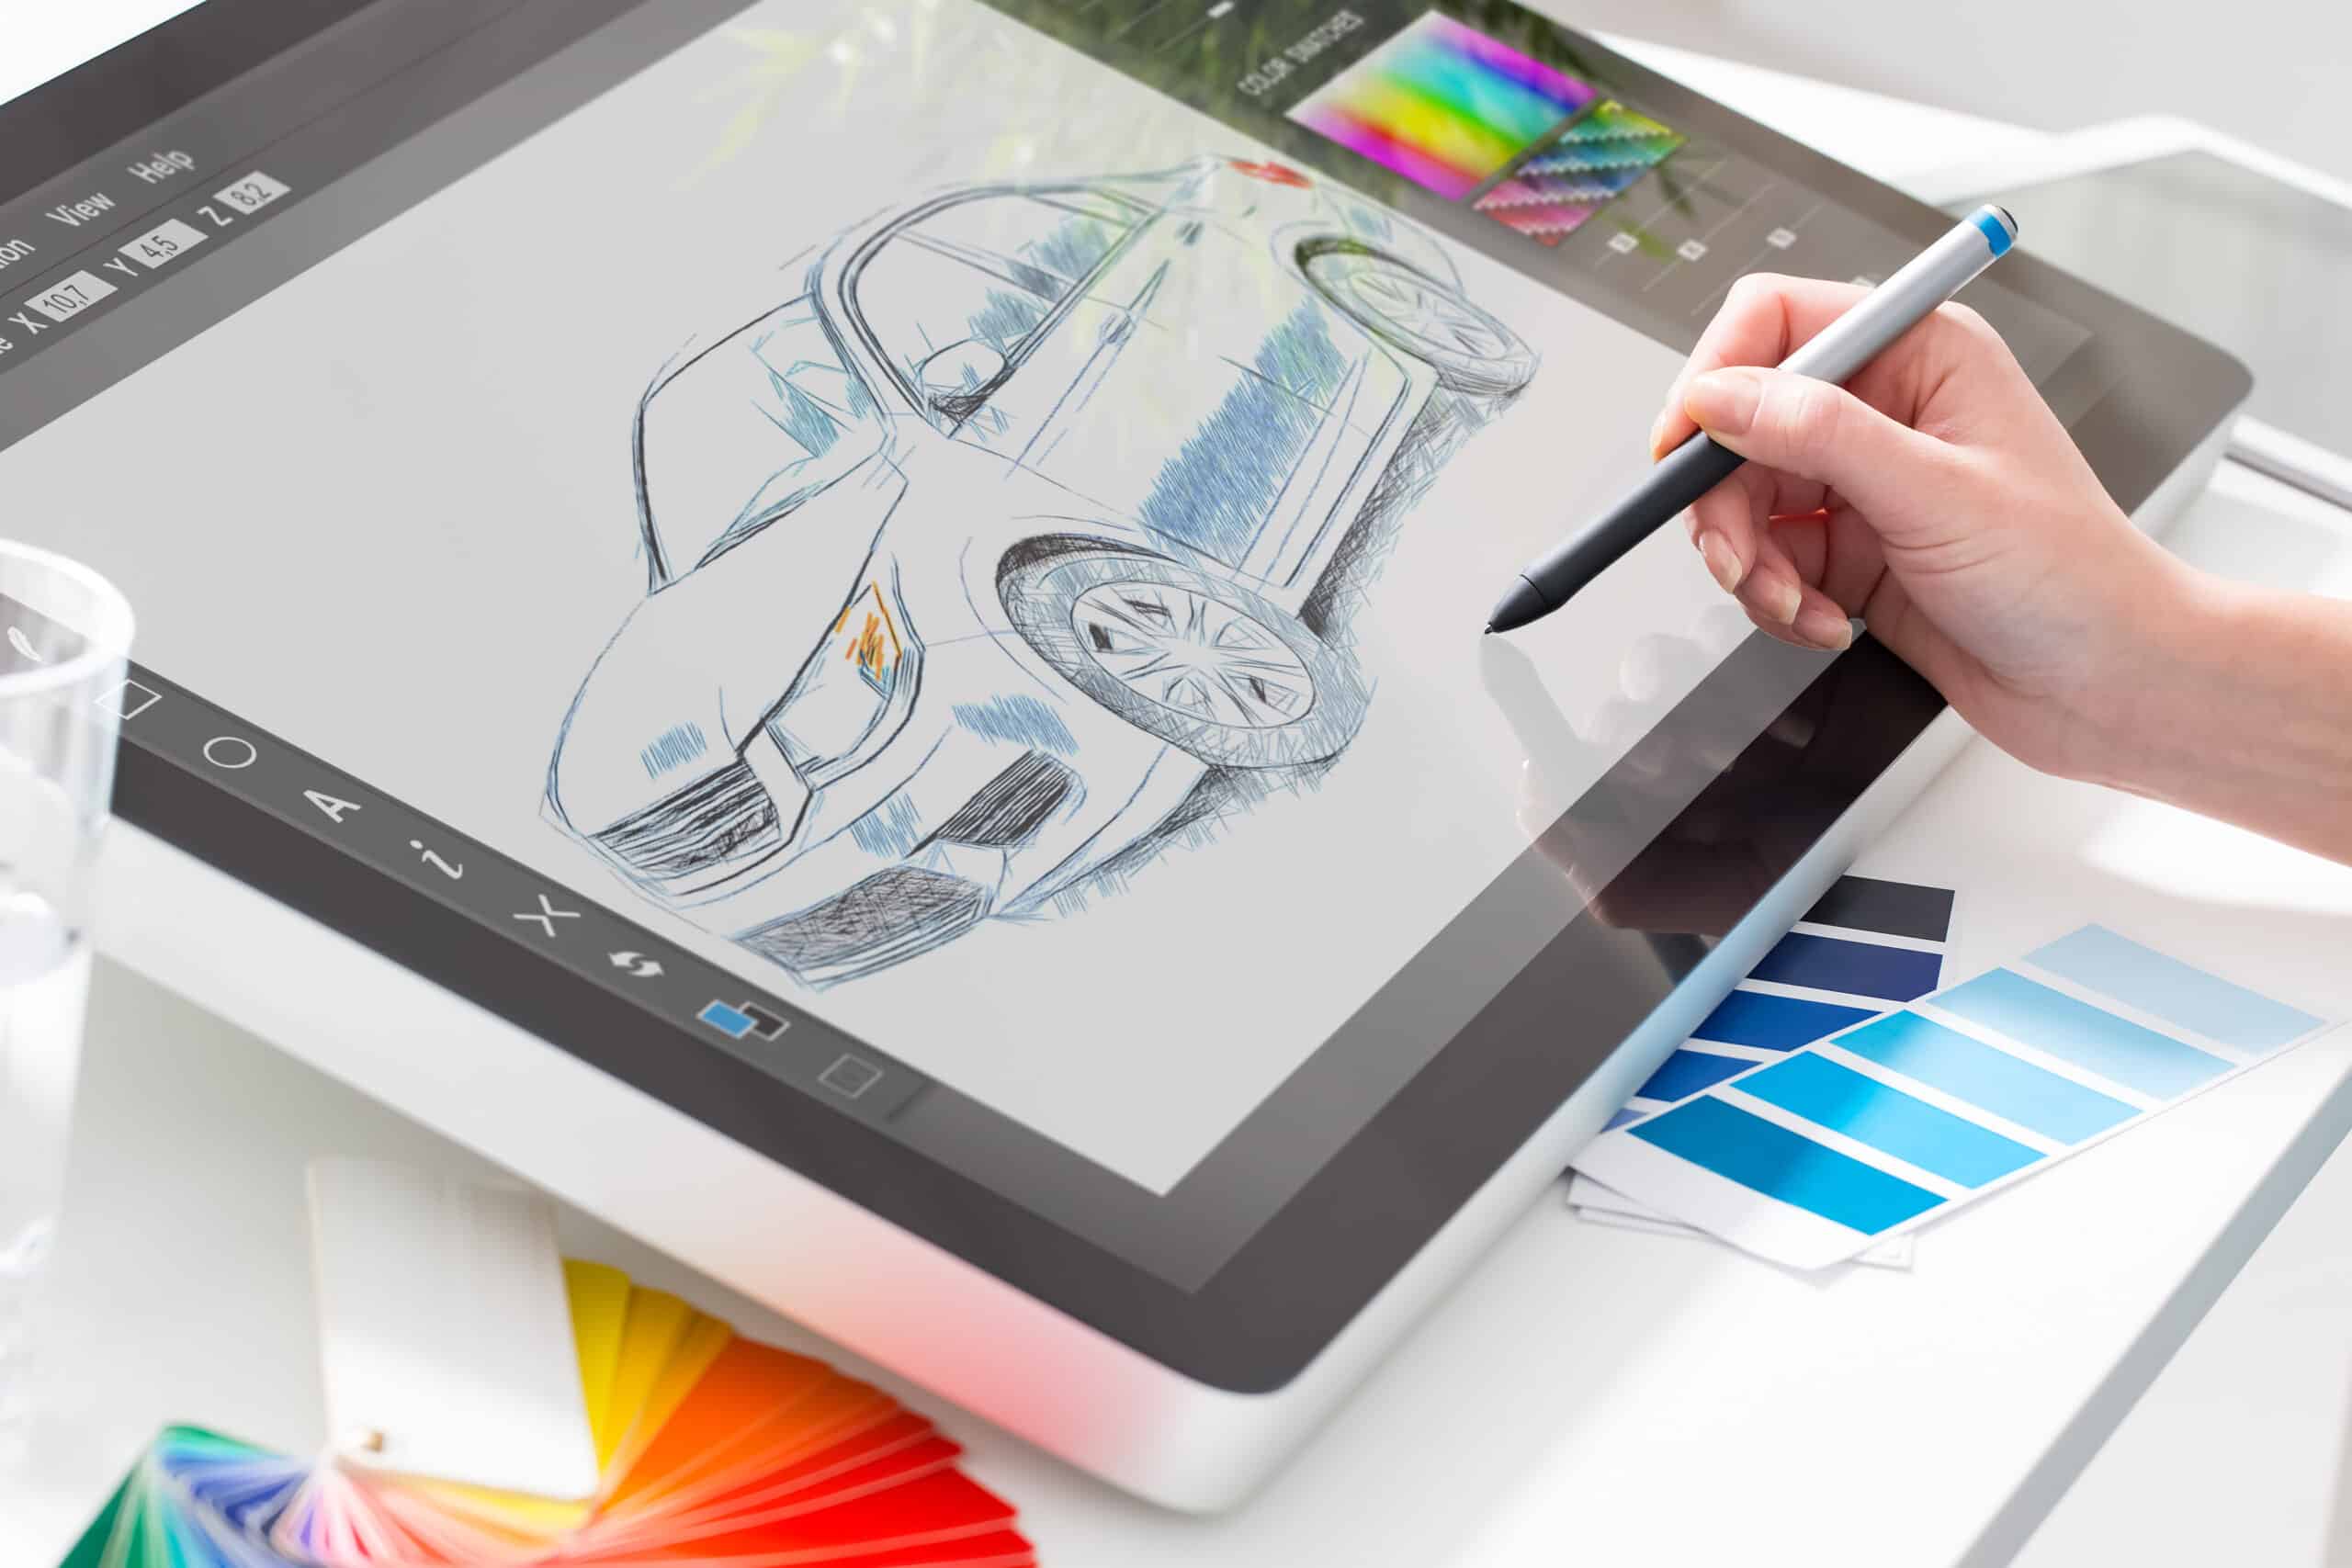
Unlike a regular computer mouse or trackpad, a graphic tablet enables users to draw directly on its surface using a stylus pen. These tablets come in various sizes, ranging from small portable models to larger professional-grade options. They provide a more natural and precise way of working, giving artists the ability to control line thickness, opacity, and other artistic qualities.
One of the key features of a graphic tablet is its ability to detect pressure sensitivity. This means that when an artist presses harder or softer on the tablet’s surface, the software registers that variation in pressure and translates it into different brush strokes or line thickness. This feature allows for a more expressive and realistic drawing experience, closely simulating traditional art mediums such as pen and paper or paintbrush and canvas.
Graphic tablets usually connect to a computer via USB or wirelessly, depending on the model. They are compatible with different operating systems such as Windows, macOS, and Linux, and are often bundled with software programs specifically designed for digital art creation and editing. These programs provide a range of tools, brushes, and effects to enhance the creative process.
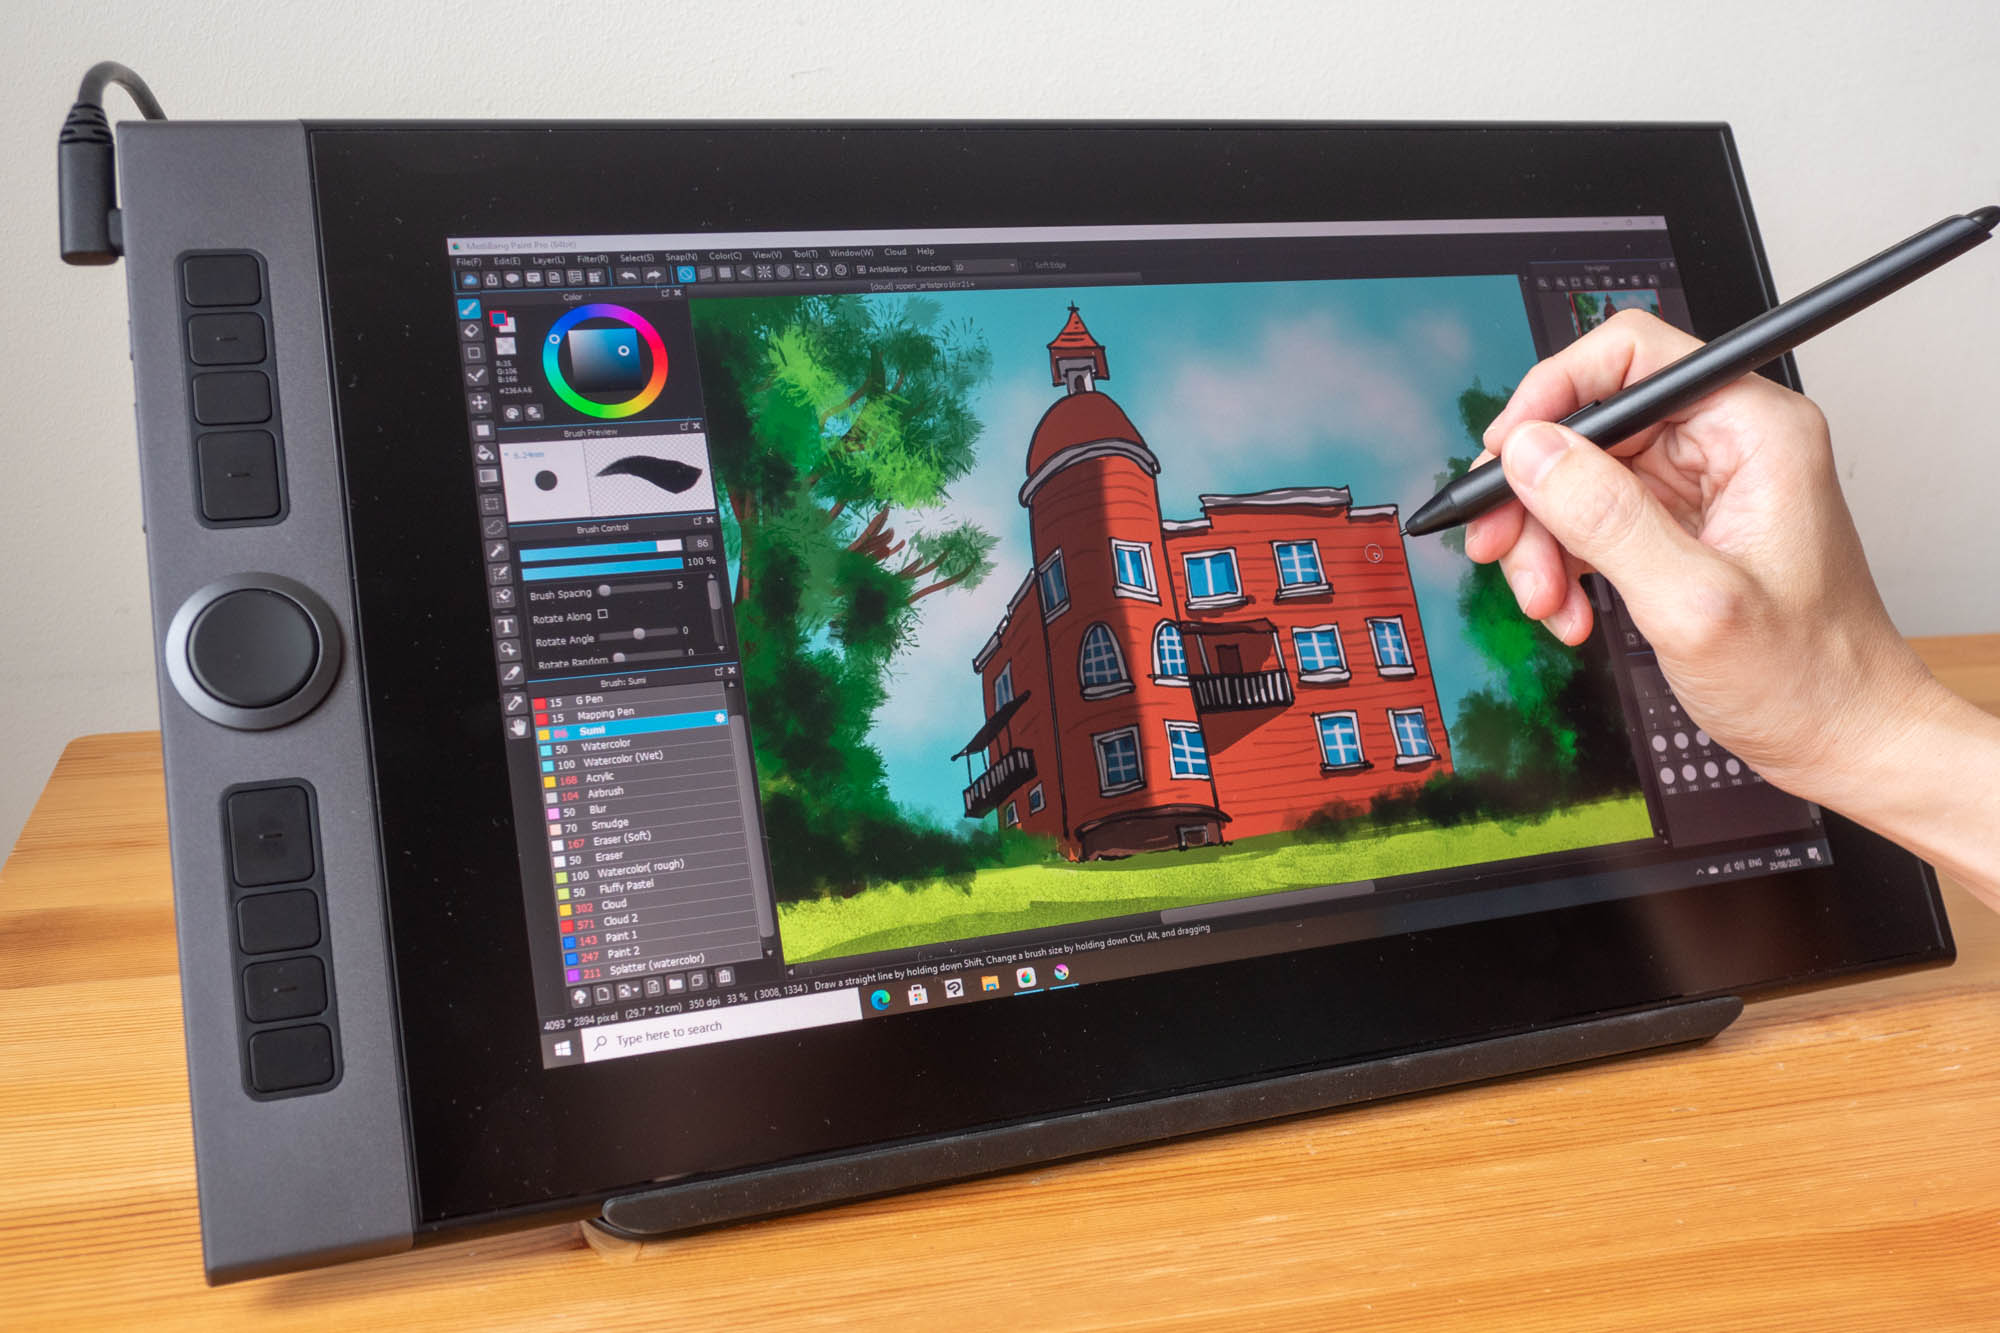
Many graphic tablets also offer customizable buttons or touch strips that can be programmed to perform specific functions or shortcuts, increasing productivity and workflow efficiency. Some high-end models even feature built-in displays, allowing artists to draw directly on the screen, eliminating the need for a separate monitor.
Whether you are a professional artist looking to enhance your digital workflow or a beginner just starting your creative journey, a graphic tablet can be a valuable tool. With its intuitive and precise input capabilities, it opens up a world of possibilities for digital art creation, design, and illustration.
How does a Graphic Tablet work?
A graphic tablet works by using advanced technology to detect and track the movement of a stylus pen on its surface. It consists of several key components that work together to accurately translate the user’s input into digital data.
At the heart of a graphic tablet is the digitizer, which is responsible for tracking the movement of the stylus pen. The digitizer uses electromagnetic or electrostatic technology to detect the pen’s position on the tablet’s surface. This information is then sent to the computer via a USB or wireless connection.
The graphic tablet also incorporates a pressure-sensitive layer, often made of a material called “digitizer film” or “digitizer tablet.” This layer detects variations in pressure as the user presses down on the pen, allowing for precise control over line thickness and opacity. The pressure sensitivity is registered by the digitizer and communicated to the computer, which translates it into corresponding brush strokes or other actions in the software.
In addition to pressure sensitivity, graphic tablets can also detect tilt and rotation of the stylus pen. These features further enhance the natural feel of drawing and allow artists to create more nuanced and expressive artwork. When the pen is tilted or rotated, sensors in the tablet detect these changes and transmit the data to the computer, which in turn adjusts the brush angle or other settings in the software.
The stylus pen itself is an essential component of a graphic tablet. It is designed to mimic the feel of a traditional pen or pencil, providing artists with a comfortable and familiar drawing experience. The pen may include buttons or an eraser on the side, which can be programmed for specific functions or shortcuts, providing quick access to commonly used tools.
To ensure accuracy and precision, graphic tablets often have high resolution and sampling rates. Resolution refers to the number of lines per inch (LPI) that the tablet can detect, while sampling rate refers to the frequency at which the tablet captures data. Higher resolutions and sampling rates result in smoother and more accurate drawings.
Overall, a graphic tablet combines hardware and software components to create a seamless drawing experience. It allows artists to harness their creativity digitally, with the added benefit of easy editing, undoing, and limitless possibilities for digital art creation and design.
The Components of a Graphic Tablet
A graphic tablet consists of several key components that work together to provide a seamless and accurate drawing experience. Understanding these components is essential when choosing a tablet that suits your needs and preferences.
1. Digitizer: The digitizer is the heart of a graphic tablet. It is responsible for tracking the movement of the stylus pen on the tablet’s surface. The digitizer can use different technologies, such as electromagnetic or electrostatic, to detect and transmit the pen’s position data to the computer.
2. Pressure Sensitivity Layer: The pressure sensitivity layer is a crucial component of a graphic tablet. It detects the amount of pressure applied by the stylus pen on the tablet’s surface. This information allows for precise control over line thickness, opacity, and other artistic qualities. Typically, the more levels of pressure sensitivity a tablet has, the more nuanced and realistic the drawing experience.
3. Stylus Pen: The stylus pen is the input device used to interact with the graphic tablet. It is designed to mimic the feel and functionality of a traditional pen or pencil, providing a comfortable and familiar drawing experience. Some stylus pens may have buttons or an eraser on the side that can be programmed for specific functions or shortcuts.
4. Buttons and Touch Strips: Many graphic tablets come with programmable buttons or touch strips, which can be customized to perform various functions or shortcuts. These additional controls can greatly enhance productivity by providing quick access to commonly used tools and commands.
5. Resolution and Sampling Rate: Resolution refers to the number of lines per inch (LPI) that the tablet can detect, while the sampling rate determines how frequently the tablet captures data. Higher resolution and sampling rates result in smoother and more accurate drawings. When choosing a tablet, it’s essential to consider the resolution and sampling rate to ensure precision and detail in your artwork.
6. Connectivity: Graphic tablets can connect to a computer or other devices using USB or wireless technology. USB is the most common and reliable method, while wireless connectivity offers freedom of movement and flexibility. The choice of connectivity depends on your preferences and the specific requirements of your creative workflow.
7. Software Compatibility: Graphic tablets are generally compatible with various operating systems such as Windows, macOS, and Linux. However, it’s important to ensure that the tablet you choose is compatible with the software programs you intend to use for your digital art creation and editing.
Understanding the components of a graphic tablet allows you to make an informed decision when selecting a tablet that aligns with your artistic goals and preferences. Consider factors such as pressure sensitivity, stylus pen functionality, additional controls, resolution, connectivity, and software compatibility to find the perfect graphic tablet for your needs.
Understanding Pressure Sensitivity
Pressure sensitivity is a critical feature of graphic tablets that allows for a more natural and expressive drawing experience. It refers to the tablet’s ability to detect variations in the amount of pressure applied by the stylus pen on its surface, translating it into different brush strokes or line thickness.
Pressure sensitivity provides artists with a level of control that closely resembles traditional art mediums like pencil or paintbrush. By applying more pressure, artists can create bold and thicker lines, while using lighter pressure produces faint and thinner lines. This feature allows for a wide range of artistic effects and techniques, giving artists the ability to create detailed and nuanced artwork.
Graphic tablets measure pressure sensitivity in levels, which can range from a few hundred to thousands, depending on the tablet model. The higher the levels of pressure sensitivity, the more precise, subtle, and responsive the tablet is to the user’s input. Tablets with higher levels of pressure sensitivity allow artists to achieve finer details and more accurate control over line width and opacity.
Most graphic tablets utilize electromagnetic or electrostatic technology to detect pressure sensitivity. Electromagnetic tablets measure pressure through the differences in electromagnetic field strength between the stylus pen and the tablet’s surface. Electrostatic tablets, on the other hand, use the variations in electrical charge as the pen comes into contact with the tablet.
To take full advantage of pressure sensitivity, it is essential to use software that supports this capability. Most professional graphic software programs, such as Adobe Photoshop, Corel Painter, and Clip Studio Paint, have built-in pressure sensitivity support. These software programs allow users to customize the pressure response, adjusting how the software interprets pressure levels and translating them into brush strokes or other artistic effects.
It’s worth noting that pressure sensitivity is not limited to brush strokes and line thickness. In some software programs, it can also be applied to other parameters such as brush size, opacity, or even the angle of the brush. This versatility allows artists to explore different artistic styles and techniques using the same tablet and software combination.
Overall, pressure sensitivity is a crucial feature for artists and designers working with graphic tablets. It enhances the creative process by providing a realistic and intuitive drawing experience. When choosing a tablet, consider the levels of pressure sensitivity and ensure compatibility with software programs that support this feature. By harnessing the power of pressure sensitivity, artists can unlock their full creative potential and produce stunning digital artwork.
Types of Graphic Tablets
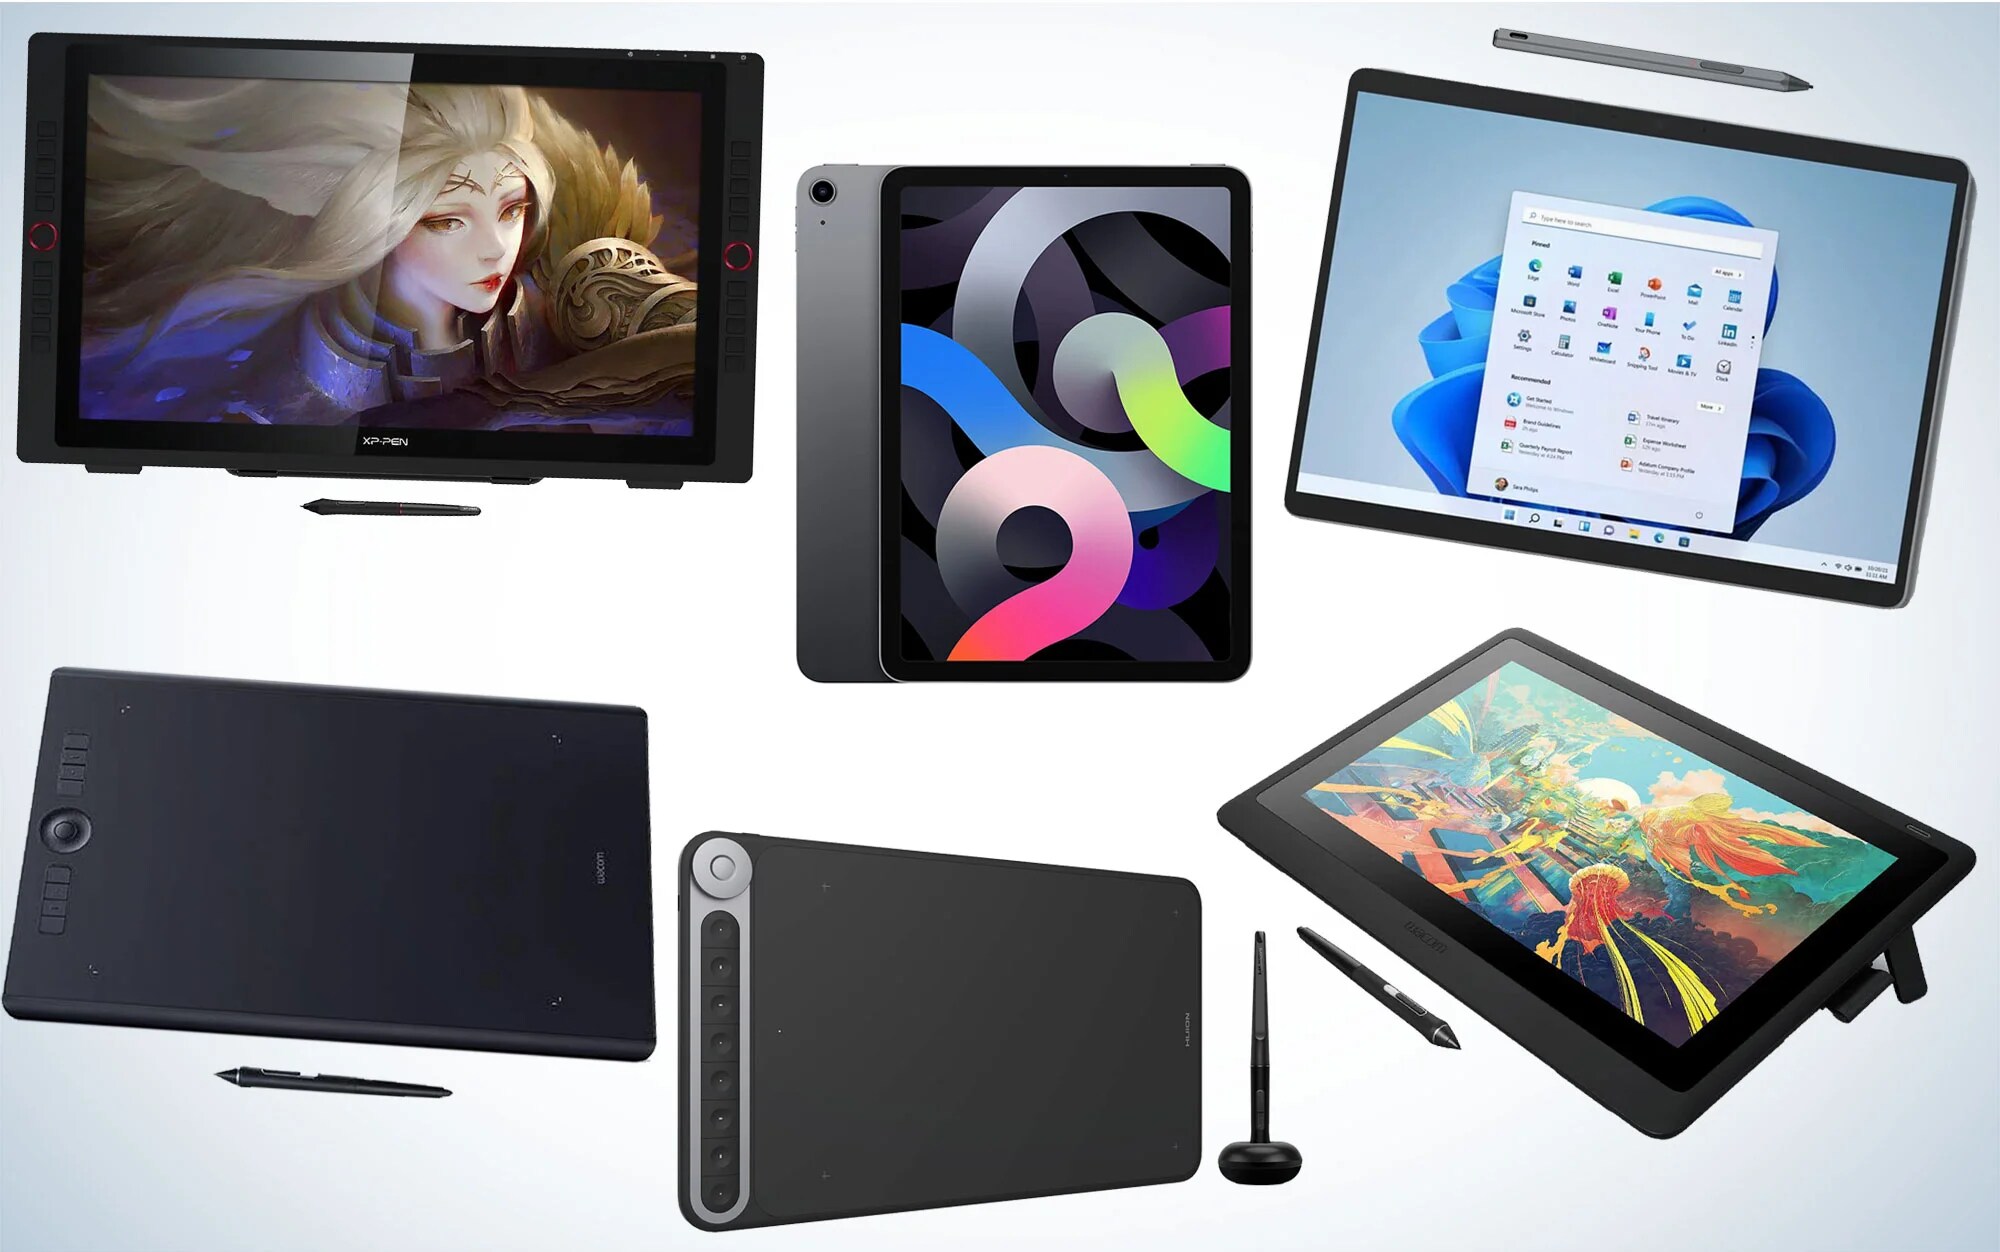
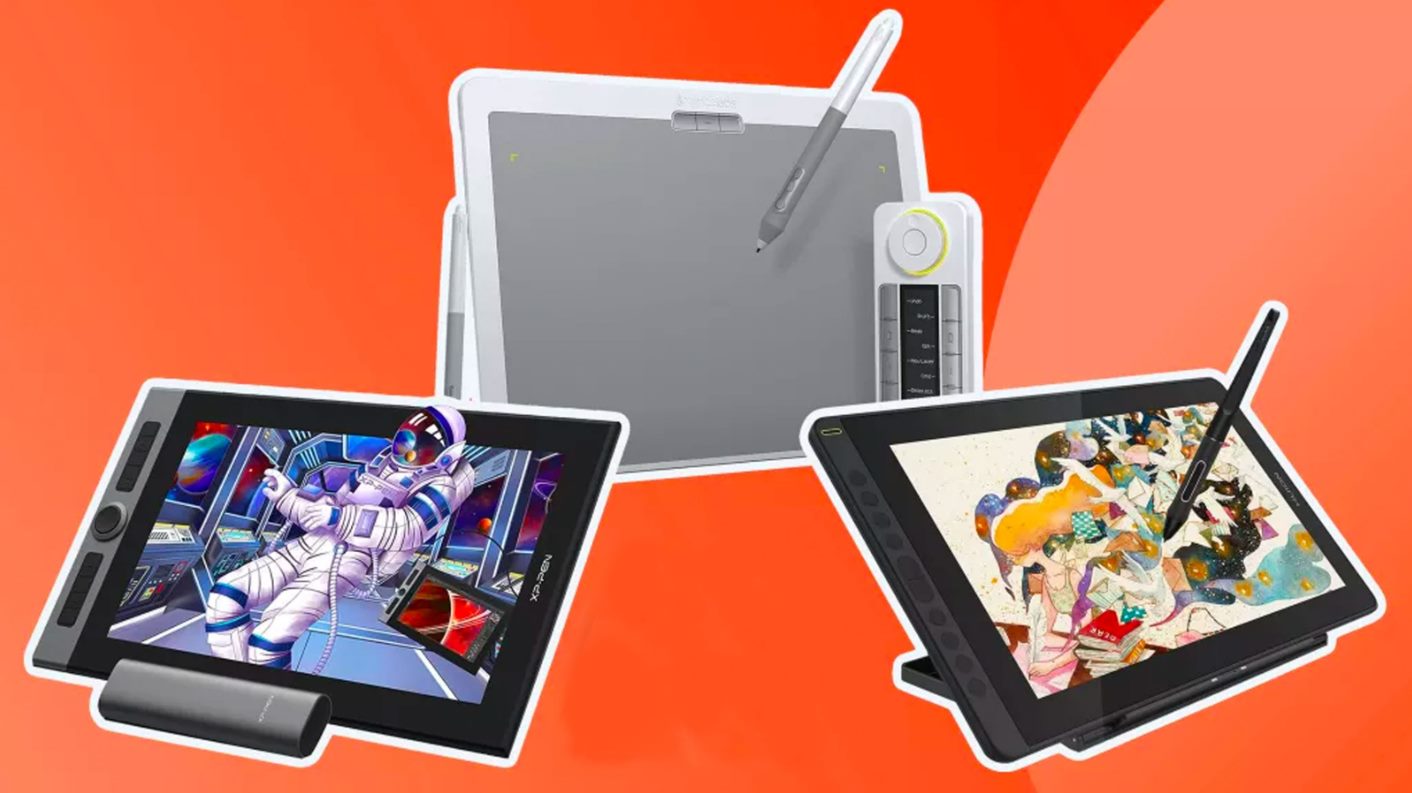
Graphic tablets come in various types and sizes, catering to different needs and budgets. Understanding the different types can help you choose the right tablet that best suits your creative requirements.
1. Pen Tablets: Pen tablets are the most common type of graphic tablets. They consist of a pressure-sensitive surface and a stylus pen. These tablets do not have a built-in display and require you to connect them to a computer or other compatible devices. Pen tablets are often portable and come in different sizes, making them suitable for artists on the go.
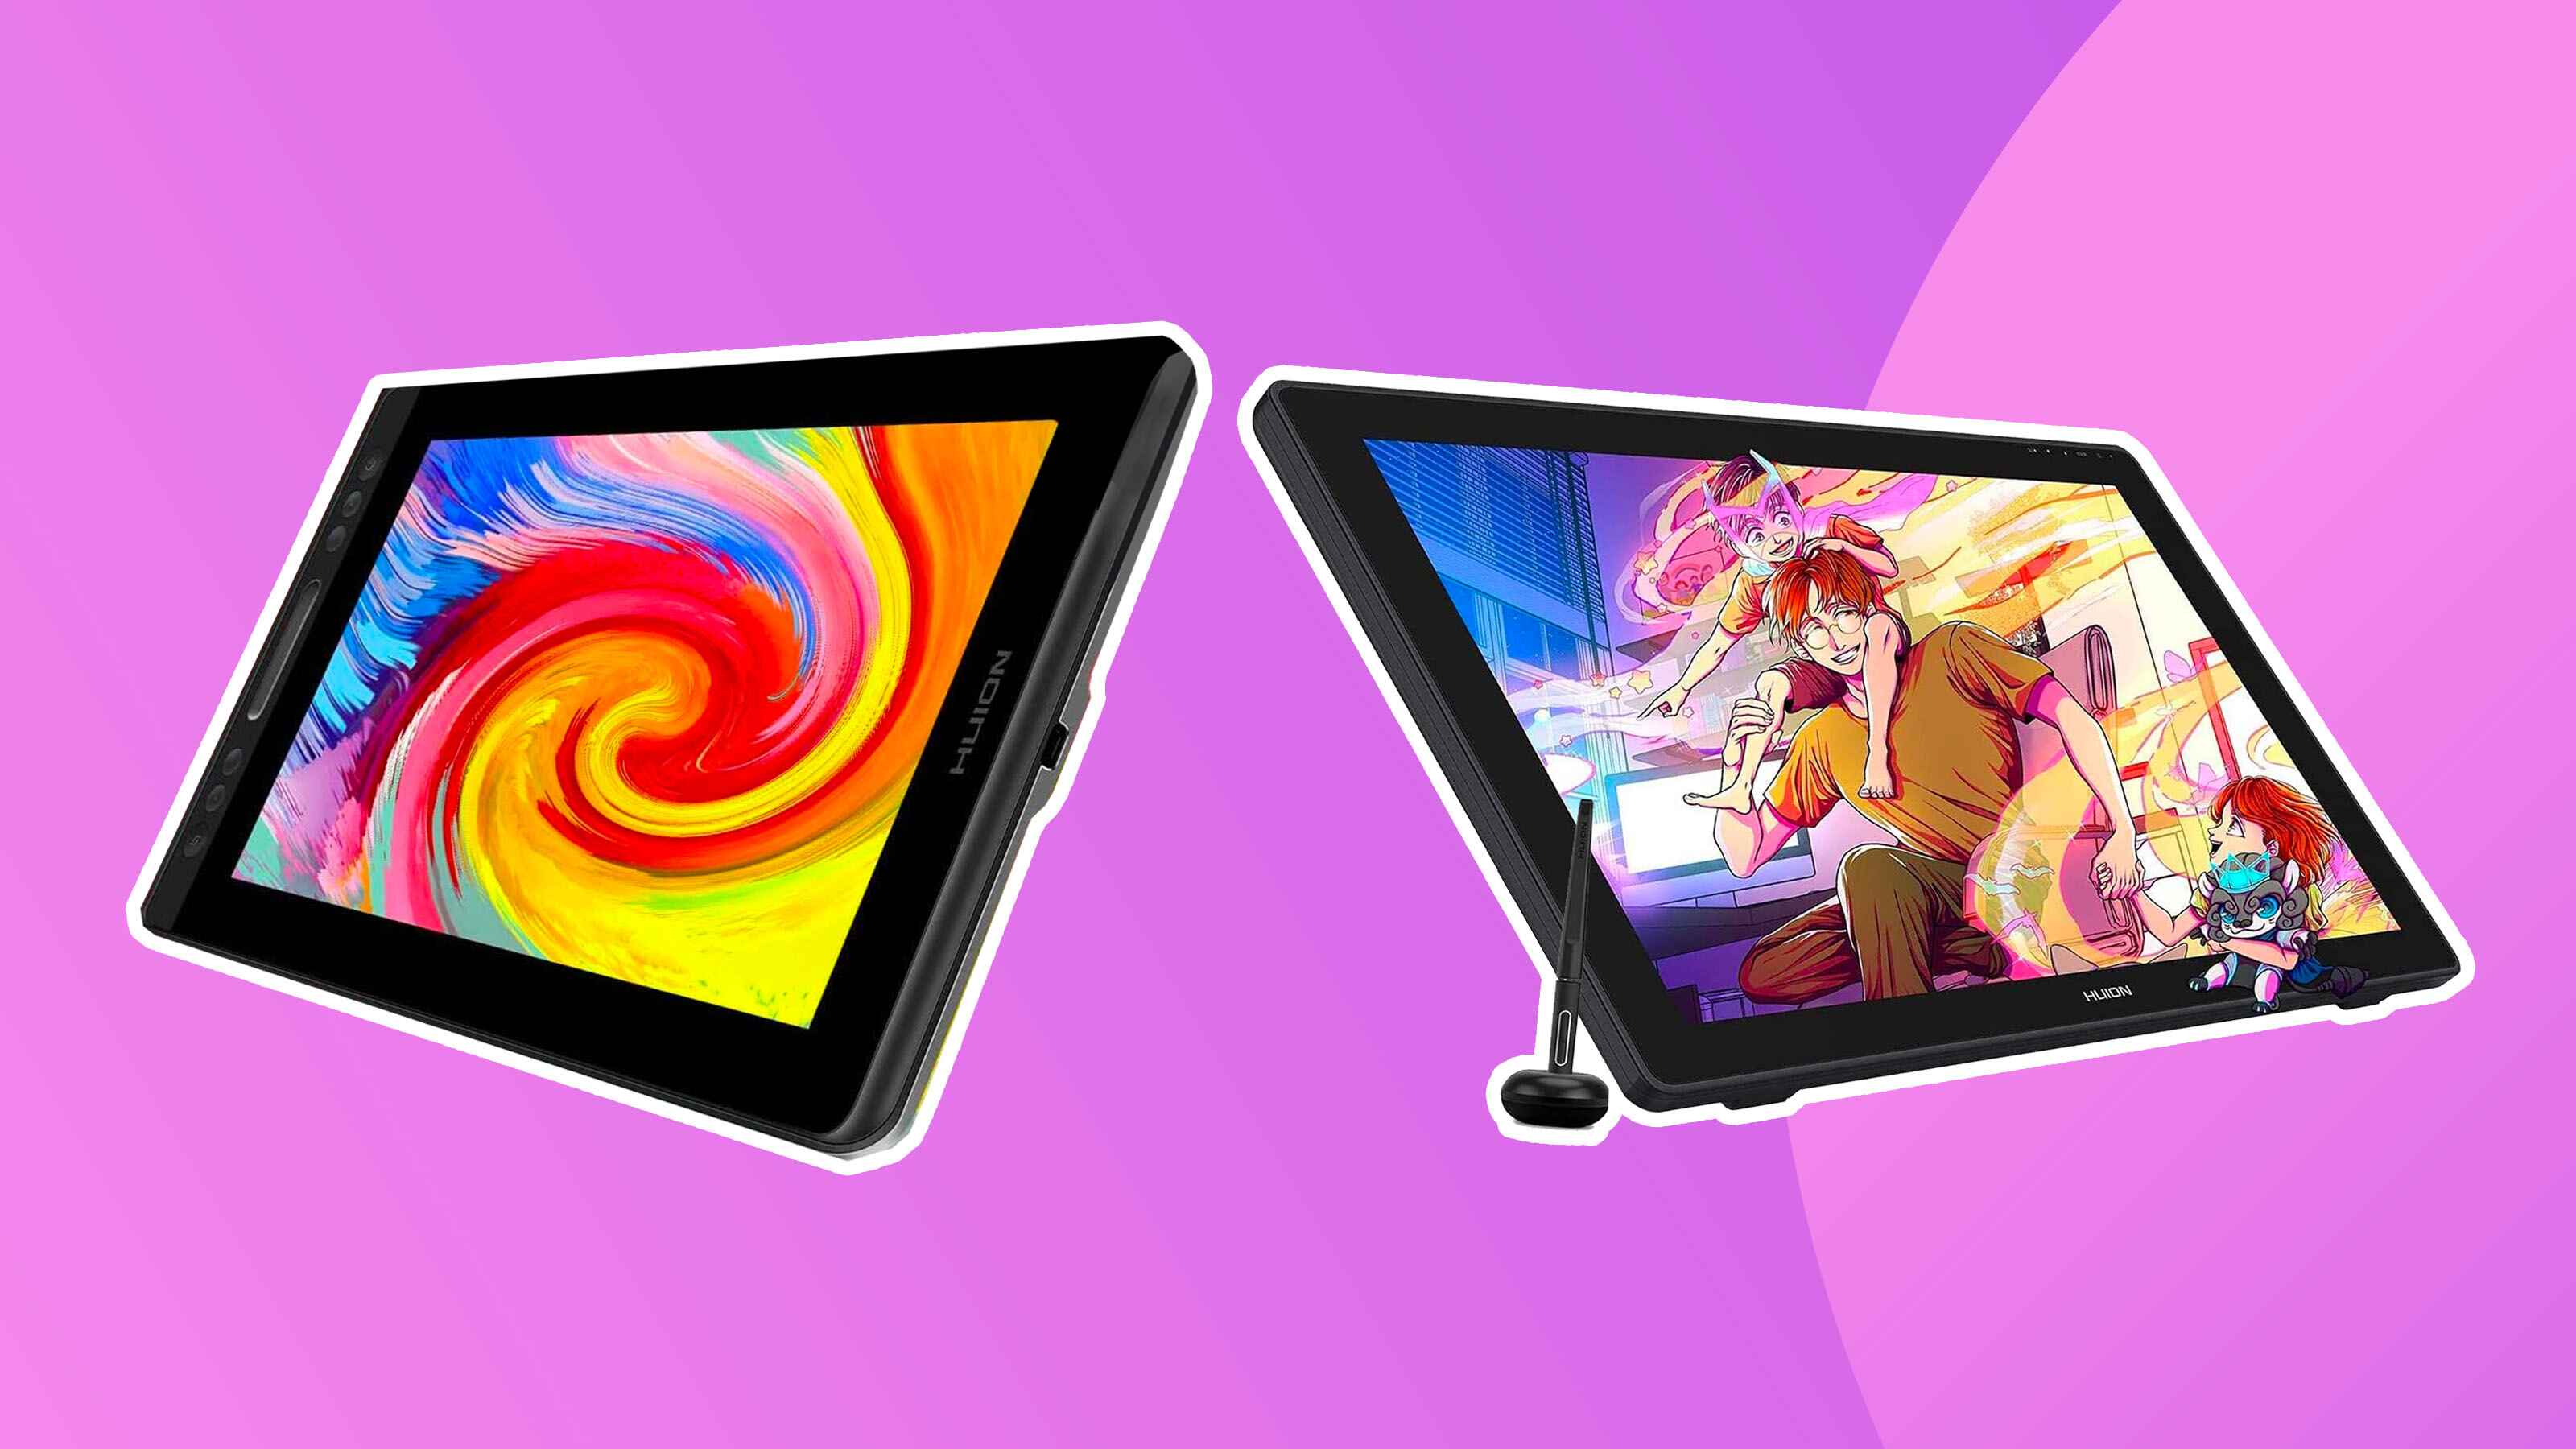
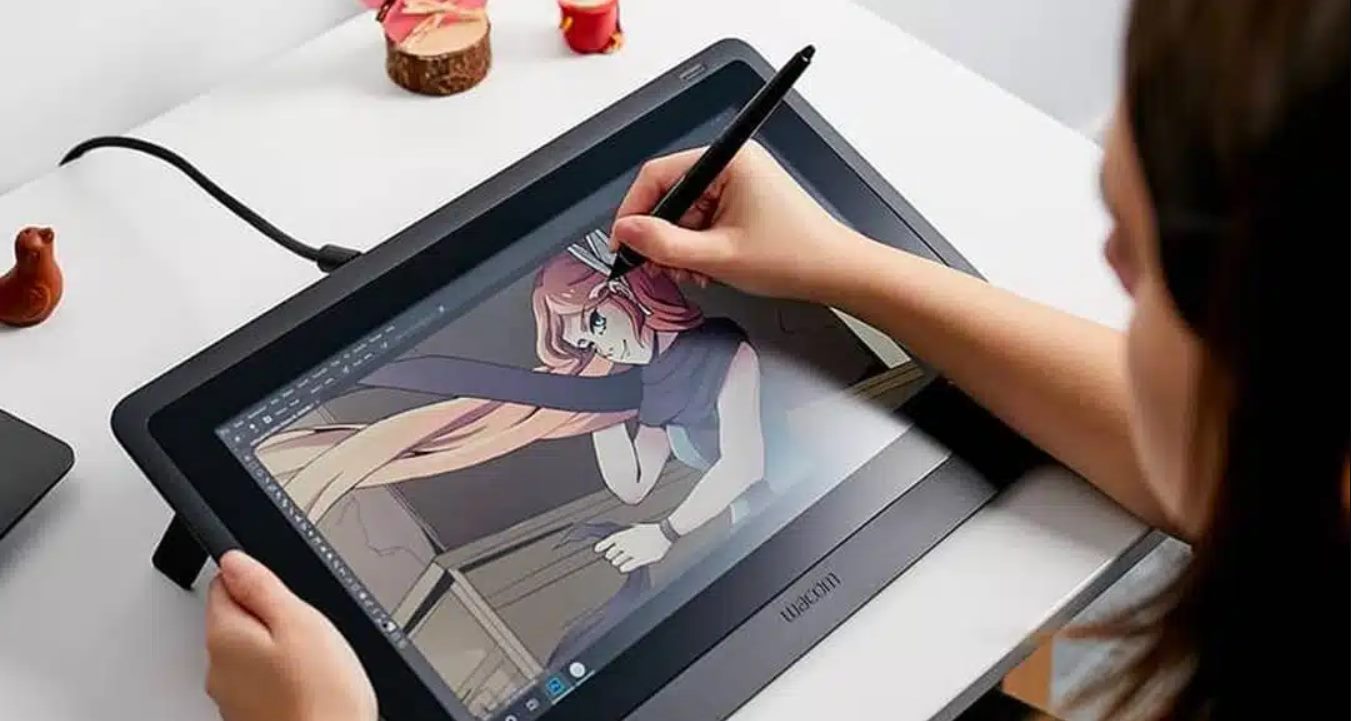
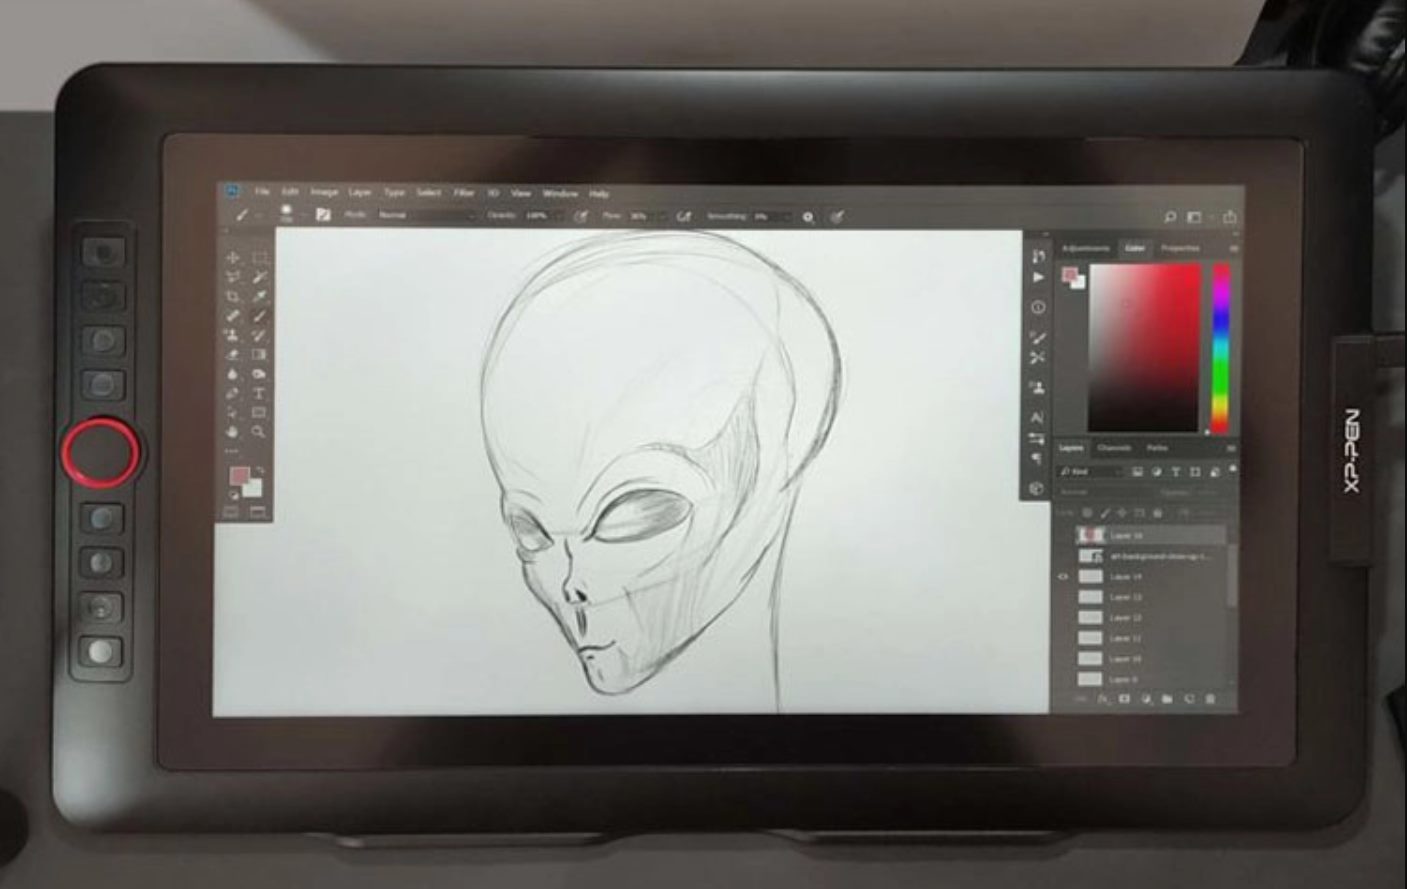
2. Pen Display Tablets: Pen display tablets, also known as interactive pen displays, feature a built-in display that allows you to directly draw on the screen. They provide a more natural and intuitive drawing experience, as you can see your artwork unfold directly beneath the stylus. Pen display tablets are available in different sizes, from compact to larger, professional-grade models.
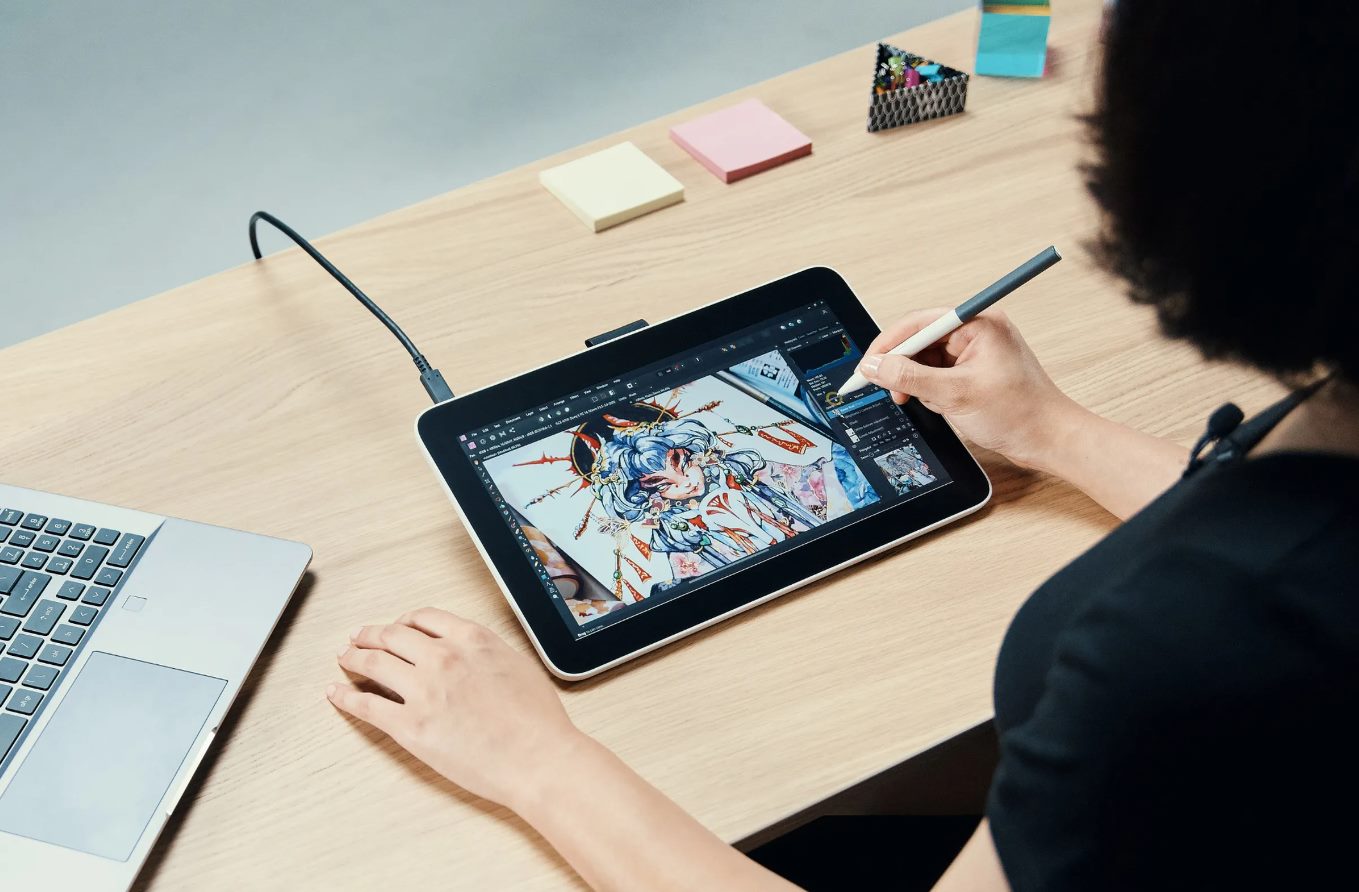
3. All-in-One Tablets: All-in-one tablets combine the functionality of a graphics tablet and a computer in a single device. These tablets have a built-in display, eliminating the need for a separate computer or monitor. All-in-one tablets provide a streamlined and compact solution for artists who prefer an all-inclusive setup.
4. Graphics Tablets for Mobile Devices: As technology advances, graphic tablets designed specifically for mobile devices have become increasingly popular. These tablets are compatible with smartphones and tablets, allowing you to create digital art directly on your mobile device. They often come with specialized apps that offer a range of drawing and editing tools.
5. Wireless Tablets: Wireless tablets provide the freedom to move around without being restricted by cables. They can connect to your computer or other devices via Bluetooth or Wi-Fi, enabling a more flexible working environment. Wireless tablets are ideal for artists who prefer a clutter-free workspace or need to move around while working
When choosing a graphic tablet, consider factors such as your workflow, preferred drawing experience, budget, and portability needs. The size of the tablet is also an important consideration, as larger tablets provide more surface area for drawing but may be less portable. Additionally, pay attention to the tablet’s compatibility with your preferred operating system and software.
No matter which type of graphic tablet you choose, each offers unique features to enhance your digital art creation experience. Evaluate your artistic goals and requirements to make an informed decision that will support your creativity and productivity.
The Different Types of Stylus Pens
Stylus pens are an essential component of graphic tablets, providing the means for users to interact with the tablet’s surface. There are various types of stylus pens available, each offering different features and functionalities to suit different creative needs and preferences.
1. Battery-powered Stylus: Battery-powered stylus pens require a battery for operation. The battery provides power to the stylus, enabling additional features such as pressure sensitivity and tilt recognition. These stylus pens tend to be more advanced and offer a wider range of functionality.
2. Rechargeable Stylus: Rechargeable stylus pens are designed to be used multiple times without the need for batteries. They often come with a charging dock or cable, allowing you to recharge the stylus when the power is depleted. These stylus pens are more eco-friendly and cost-effective in the long run.
3. Passive Stylus: Passive stylus pens do not require a battery or external power source. They operate based on the tablet’s passive touch technology, which detects the pen’s movement and pressure. Passive stylus pens are simpler in design and generally offer basic functionality.
4. Art Pen: An art pen is specifically designed for artists and offers additional features not found in regular stylus pens. These pens often have a wider range of pressure sensitivity levels, allowing for more precise control over line thickness and opacity. Art pens may also have an eraser on the end or programmable buttons for quick access to commonly used tools.
5. Replacement Nibs: Some stylus pens come with replaceable nibs to accommodate different artistic styles and preferences. These nibs can vary in thickness and material, such as felt or rubber, providing different sensations and textures when drawing on the tablet’s surface. Replacement nibs allow for customization and flexibility in adapting the stylus pen to your individual needs.
When selecting a stylus pen, consider factors such as the tablet’s compatibility, battery life (if applicable), pressure sensitivity levels, and any additional features that may be important for your workflow. It’s also important to check if the stylus pen is compatible with the software applications you plan to use for your digital art creation or design work.
Ultimately, the choice of stylus pen will depend on your personal preferences and requirements as an artist or designer. Experimenting with different types of stylus pens can help you find the one that feels most comfortable and natural in your hand and provides the level of functionality and control that suits your artistic style.
Connectivity Options for Graphic Tablets
Graphic tablets offer different connectivity options to connect to your computer or other compatible devices. Understanding these connectivity options is essential when choosing a tablet that fits your needs and workflow.
1. USB Connection: The most common and widely used connectivity option for graphic tablets is the USB connection. USB provides a reliable and stable connection between the tablet and your computer. You simply need to connect the tablet to your computer using a USB cable, and the tablet will be recognized as an input device. This type of connection ensures fast data transfer and is compatible with most operating systems.
2. Wireless Connection: Some graphic tablets offer wireless connectivity options, allowing you to work without the restrictions of cables. Wireless tablets can connect to your computer or other devices using Bluetooth or Wi-Fi technology. With a wireless connection, you can work from a distance, creating a more flexible and comfortable working environment. However, it is important to ensure that the tablet and computer are within the range of the wireless signal for a stable and smooth connection.
3. Bluetooth: Bluetooth connectivity is a wireless option commonly found in graphic tablets. Bluetooth allows the tablet to establish a connection with your computer or other Bluetooth-enabled devices without the need for cables. It provides a convenient and seamless connection experience, and many tablets offer a quick pairing process. Keep in mind that Bluetooth connectivity may have some latency compared to a wired connection, although this is generally not noticeable for most creative applications.
4. Wi-Fi: Some advanced graphic tablet models support Wi-Fi connectivity. Wi-Fi connection enables you to connect the tablet to your computer or other devices through your Wi-Fi network. This type of connectivity provides a stable and fast connection, allowing for smooth data transfer and minimal latency. Wi-Fi connectivity is especially useful if you need to work at a greater distance from your computer or if you want to connect multiple devices to the tablet simultaneously.
When choosing a graphic tablet, consider your preference for connectivity options. If you prefer a stable and straightforward connection, a USB option may be the best choice. If you value flexibility and the freedom to move around, a wireless option such as Bluetooth or Wi-Fi may be more suitable.
It is important to note that different tablets may have specific connectivity requirements and compatibility with different operating systems. Before purchasing a graphic tablet, ensure that the tablet you choose is compatible with your computer’s operating system and any specific software applications you plan to use for your creative work.
By considering the connectivity options and compatibility of graphic tablets, you can select a tablet that seamlessly integrates into your creative workflow, allowing you to focus on your art and design projects with ease.
Choosing the Right Graphic Tablet for Your Needs
Choosing the right graphic tablet is crucial to ensure a smooth and enjoyable creative experience. With numerous options available in the market, it’s essential to consider various factors to determine which tablet best suits your specific needs and preferences.
1. Intended Use: Consider how you plan to use the tablet. Are you a professional artist, a beginner, or a digital designer? Determine if you need a tablet for detailed illustrations, photo editing, 3D modeling, or general graphic design projects. Certain tablets may cater more specifically to these different creative endeavors.
2. Size and Portability: The size of the tablet matters, as it affects both the workspace available for drawing and the portability of the tablet. Larger tablets provide more room for detailed work but may be less portable. Consider your expected work environment and your need for mobility to choose an appropriate size.
3. Pressure Sensitivity and Accuracy: Look for a tablet with high pressure sensitivity levels for greater control over your brush strokes and line thickness. Also, consider the accuracy and precision of the tablet, which is determined by factors such as resolution, sampling rate, and pen tip sensing technology.
4. Compatibility: Ensure that the tablet is compatible with your computer’s operating system and any specific software you plan to use. Check if the drivers and software needed for the tablet are compatible with your system to avoid any potential compatibility issues.
5. Connectivity: Consider the connectivity options that best suit your needs. Choose between USB, wireless (Bluetooth or Wi-Fi), or tablets with built-in displays that connect directly to your computer. The type of connection can impact your workflow and flexibility.
6. Brand and User Reviews: Research different brands and read user reviews to gain insight into the reliability, performance, and overall user experience with various tablet models. Pay attention to the reputation of the brand and consider the after-sales support and warranty provided.
7. Budget: Determine your budget based on your requirements and the features you prioritize. Graphic tablets come in a wide range of price points, so it’s important to find a balance between your budget and the features you need for your creative projects.
8. Try Before Buying: If possible, try out different tablets before making a decision. Visit retail stores or attend technology expos where you can get hands-on experience with the tablets. This will help you assess the ergonomics, feel, and overall usability of the tablet.
By carefully considering these factors and doing thorough research, you can choose a graphic tablet that aligns with your artistic goals, fits your budget, and provides the features and functionality you need to bring your creative visions to life.
Common Uses of Graphic Tablets
Graphic tablets have become invaluable tools for various creative professionals across different industries. Their versatility and intuitive interface make them suitable for a wide range of applications. Here are some common uses of graphic tablets:
1. Graphic Design: Graphic tablets are widely used in graphic design for tasks such as creating logos, illustrations, and website layouts. The precise control and pressure sensitivity offered by the tablet make it easier to achieve intricate designs and precise brush strokes.
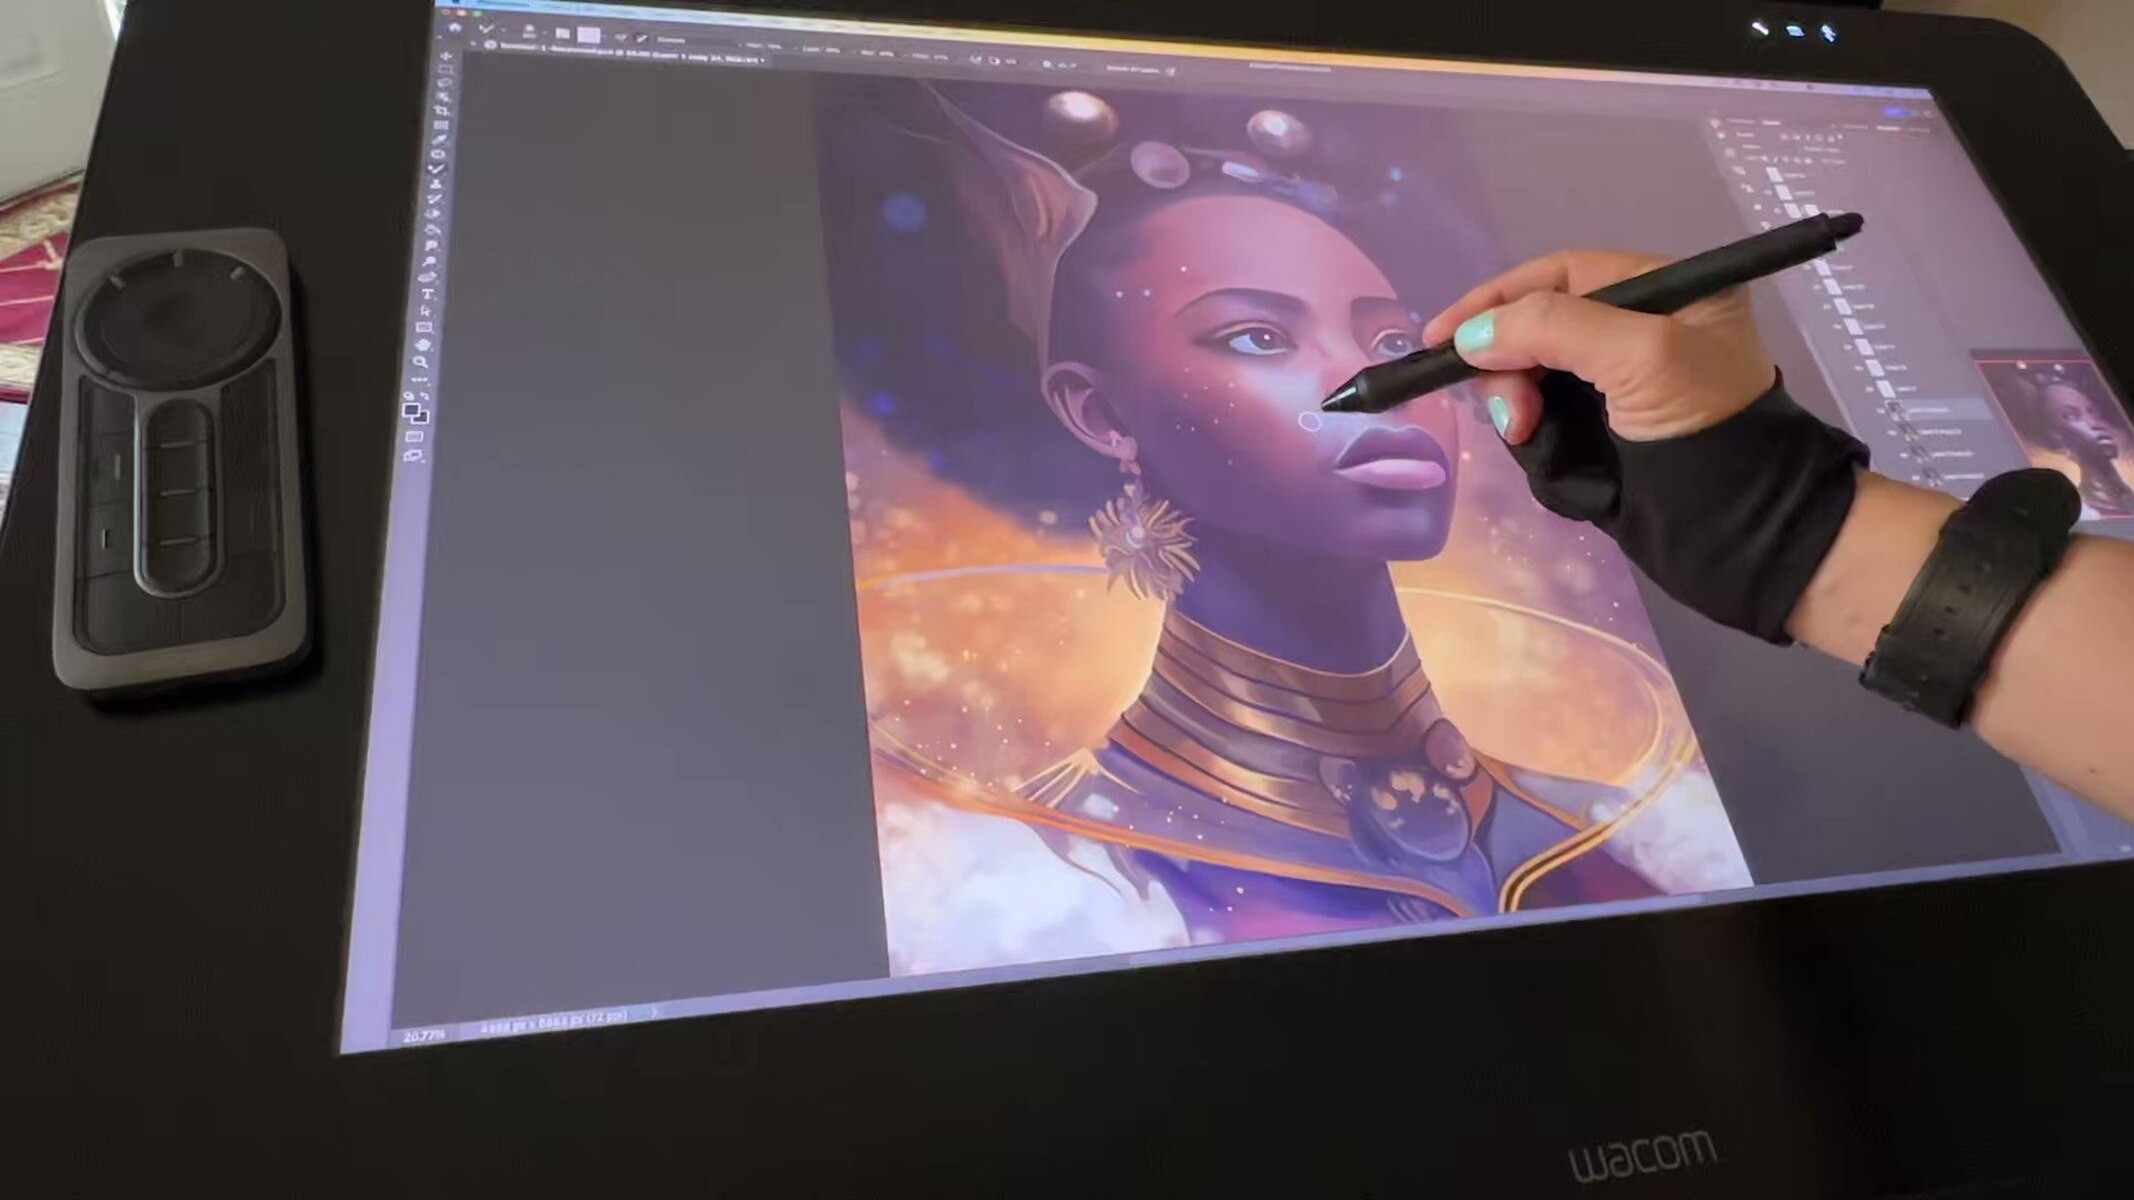
2. Digital Art: Artists use graphic tablets to create digital artwork. Whether it’s digital painting, concept art, or character design, tablets provide a more natural and expressive drawing experience, allowing artists to bring their visions to life digitally.
3. Photo Editing and Retouching: Graphic tablets are essential for professional photographers and photo editors. The tablets’ pressure sensitivity and accuracy help fine-tune images, remove imperfections, and create precise selections and masks.
4. Animation: Graphic tablets are widely used in the animation industry for tasks like storyboarding, character animation, and creating backgrounds. The tablet’s pressure sensitivity allows animators to add subtle movements and create smooth, fluid animations.
5. Architecture and Industrial Design: Architects and industrial designers use graphic tablets to create detailed plans, blueprints, and 3D models. The tablets provide precise control over lines and shapes, making it easier to create accurate and intricate designs.
6. Calligraphy and Handwriting: Graphic tablets are excellent tools for calligraphy and handwriting enthusiasts. They allow users to practice and hone their skills digitally, providing a paper-like feel and replicating different writing instruments.
7. Education: Graphic tablets are increasingly used in educational settings, allowing students to digitally create and collaborate on projects. They support interactive teaching methods and enhance students’ creativity and engagement.
8. Medical and Scientific Applications: Graphic tablets find applications in the medical and scientific fields. They are used for tasks such as annotating medical images, illustrating scientific concepts, or capturing patient signatures electronically.
9. Presentations and Annotations: Graphic tablets enable professionals to make digital presentations and annotations in real-time. They can be used to annotate slides, highlight important information, or sketch out ideas during meetings or presentations.
10. Digital Note-Taking: Graphic tablets are ideal for digital note-taking in meetings, lectures, or brainstorming sessions. They allow users to write, draw, and add annotations digitally, making it easier to organize and share notes.
These are just a few examples of how graphic tablets are utilized across various industries. The wide range of applications demonstrates the versatility and usefulness of these devices, enabling creative professionals to enhance their workflow, increase productivity, and unleash their artistic potential.
Tips for Using a Graphic Tablet Efficiently
Using a graphic tablet efficiently can greatly enhance your digital art creation process. Here are some tips to help you make the most out of your tablet:
1. Practice Regularly: Familiarize yourself with the tablet and its features by practicing regularly. The more you use it, the more comfortable and efficient you will become in navigating its functions and getting the desired results.
2. Customize Settings: Take advantage of the tablet’s customization options. Set up shortcut keys, pen buttons, and touch strips to match your preferred workflow. Customizing these settings can greatly speed up your work process and give you quick access to commonly used tools.
3. Experiment with Different Brushes: Explore the various brush options available in your digital art software. Experiment with different brushes to find those that suit your style and desired visual effects. Adjust brush settings like opacity, size, and hardness to achieve the desired results.
4. Utilize Pressure Sensitivity: Make full use of the tablet’s pressure sensitivity. Adjust the pressure sensitivity settings in your software to match your drawing style, allowing you to create varied line thicknesses and achieve more nuanced artistic effects.
5. Take Breaks: Just like with traditional art, it’s important to take regular breaks to rest your hand and eyes. Continuous usage of a tablet can cause strain. Take short breaks, stretch your muscles, and give your eyes some rest to prevent fatigue and ensure a better working experience.
6. Use Keyboard Shortcuts: Familiarize yourself with keyboard shortcuts in your digital art software. Using keyboard shortcuts alongside your tablet can significantly speed up your workflow by reducing the need to switch back and forth between the tablet and the keyboard.
7. Experiment with Layering: Take advantage of layers in your digital art software. Use them to separate different elements of your artwork and make adjustments without affecting the entire image. This allows for more flexibility and easier editing.
8. Save Your Work: Regularly save your work to avoid losing progress or encountering unexpected system failures. Additionally, consider setting up automatic backup to ensure your work is protected, especially for long and complex projects.
9. Learn from Others: Join online communities or forums dedicated to digital art. Engaging with fellow artists can provide valuable insights, tips, and feedback. You can learn new techniques, discover helpful resources, and connect with a supportive creative community.
10. Keep Learning: Keep exploring and learning new techniques, software features, and artistic styles. Staying curious and open to new ideas will help you continually grow and improve your digital art skills.
By implementing these tips and techniques, you can maximize your efficiency and productivity when using a graphic tablet. With practice, you’ll develop a more comfortable and intuitive workflow, leading to more polished and visually stunning digital artwork.
Troubleshooting Common Issues with Graphic Tablets
While graphic tablets are powerful tools for digital art creation, they may encounter some common issues. Here are some troubleshooting tips to help you overcome these challenges:
1. Driver Issues: Ensure that you have the latest drivers installed for your graphic tablet. Outdated or incompatible drivers can result in various issues. Check the manufacturer’s website for the most recent driver updates and install them accordingly.
2. Connection Problems: If your tablet is not connecting or being recognized by your computer, try the following steps: unplug and replug the USB cable, reconnect the wireless connection, or restart both the tablet and your computer. If the issue persists, try connecting the tablet to another USB port or checking your wireless connection settings.
3. Pen Tracking Issues: If you experience inaccuracies in pen tracking, recalibrate the tablet by following the instructions provided by the manufacturer. Ensure that there is no interference from other electronic devices, as this can affect the accuracy of the pen tracking. Additionally, clean the tablet’s surface and the pen’s tip to remove any dirt or debris that may hinder smooth tracking.
4. Pressure Sensitivity Problems: If the pressure sensitivity is not working correctly, check your software settings. Ensure that the pressure sensitivity option is enabled, and the appropriate settings are selected. You may also need to recalibrate the tablet or adjust the pressure sensitivity settings within your software.
5. Cursor Offset: If the cursor position on the screen does not align with the pen’s actual location on the tablet, perform a calibration or repositioning process. This recalibrates the tablet and ensures better alignment between the pen and the cursor.
6. Pen Tip Wear: Over time, the pen tip may become worn out and affect the accuracy of your strokes. Replace the pen tip with a new one, following the manufacturer’s instructions. Keeping spare pen tips can be helpful in case of wear or damage.
7. Compatibility Issues: Ensure that your tablet is compatible with your operating system and software applications. Check the manufacturer’s specifications and verify the system requirements of your tablet’s drivers and software. Some software may require specific versions or updates for optimal performance with your tablet.
8. Power and Battery Problems: If you are using a battery-powered or rechargeable stylus, ensure that it has sufficient power or is fully charged. Make sure to replace batteries or charge the stylus when necessary to avoid interruptions during your creative workflow.
9. Software Glitches: If you experience software-related issues, such as lag or freezing, try restarting the software. Update your software to the latest version to benefit from bug fixes and performance improvements. If the issue persists, contact the software developer’s support team for further assistance.
10. Consult Manufacturer Support: If you encounter persistent issues that cannot be resolved through troubleshooting, refer to the manufacturer’s support resources. Their customer support team can provide specific guidance and troubleshoot the issue in-depth.
By following these troubleshooting tips, you can resolve common issues and optimize your experience with graphic tablets. Remember to regularly update your drivers, keep your software up to date, and maintain good care of your tablet to ensure smooth and uninterrupted creativity.
Conclusion
Graphic tablets have revolutionized the way artists and designers create digital artwork, offering a more intuitive and precise drawing experience. With their pressure sensitivity, customizable settings, and various connectivity options, graphic tablets have become indispensable tools for professionals and enthusiasts alike.
Understanding the different components and types of graphic tablets allows you to choose the one that best aligns with your specific needs and preferences. Whether you’re a graphic designer, illustrator, photographer, or animator, there is a tablet suited to your creative journey.
By following tips for efficient tablet usage, you can enhance your workflow and create stunning digital art. Regular practice, customization of settings, and familiarizing yourself with keyboard shortcuts will boost your productivity and creativity.
While graphic tablets offer incredible advantages, it’s essential to troubleshoot common issues that may arise. From driver updates to connectivity problems, understanding how to address these challenges ensures a smooth and enjoyable experience with your tablet.
In conclusion, graphic tablets have transformed the way artists and designers work, offering a digital canvas for their creativity to thrive. By selecting the right tablet, mastering its features, and troubleshooting any issues that arise, you can unlock your artistic potential and unleash your imagination in the digital realm.