Introduction
Welcome to this guide on how to fix a slow Nexus 7 tablet. If you own a Nexus 7 tablet and have been experiencing sluggish performance, you’re not alone. Over time, tablets can become slower due to various factors such as accumulated cache, outdated apps, and limited storage space. However, there’s no need to worry! With a few simple steps, you can optimize your Nexus 7 and restore its speed and performance.
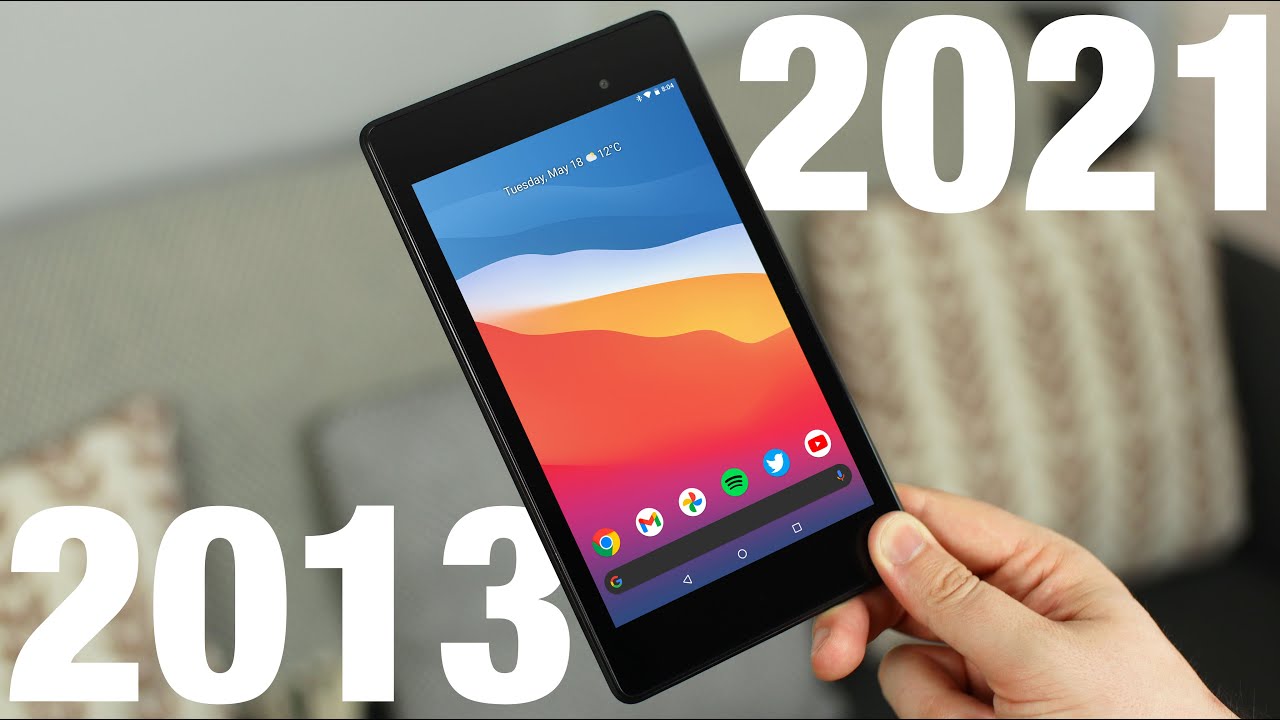
The Nexus 7 tablet, manufactured by Google, was a popular device known for its sleek design and smooth performance. However, as with any electronic device, it may start to slow down after prolonged use. This can be frustrating, especially if you rely on your tablet for work, entertainment, or other daily tasks.
Before diving into the troubleshooting steps, it’s worth noting that often a combination of factors can contribute to the overall sluggishness of your Nexus 7. Therefore, it’s best to go through each step to systematically identify and resolve any issues causing the slowdown.
In the following sections, we will explore various methods to fix a slow Nexus 7 tablet. These methods include cleaning up storage space, clearing the cache, updating apps and the system, disabling unused apps and services, reducing animations and transitions, and performing a factory reset if necessary. By following these steps, you can optimize your Nexus 7 tablet’s performance and enjoy a seamless user experience once again.
So, let’s get started with the first step: cleaning up storage space on your Nexus 7 tablet.
Clean Up Storage Space
One of the primary reasons for a slow Nexus 7 tablet is insufficient storage space. When your device’s storage is full, it can negatively impact its performance and responsiveness. By clearing up unnecessary files and apps, you can free up valuable storage space and improve the overall speed of your Nexus 7.
To clean up storage space on your Nexus 7 tablet, follow these steps:
- Uninstall Unused Apps: Start by identifying and uninstalling any apps that you no longer use. Go to the Settings menu, navigate to Apps or Applications, and select the apps you want to uninstall. This will not only free up storage space but also reduce background processes.
- Delete Cache and Temporary Files: App cache and temporary files can accumulate over time and take up precious storage space. To clear the cache, go to Settings, select Storage or Storage & USB, and tap on Cached Data. Confirm the action to clear the cache files.
- Transfer Files to External Storage: If you have media files such as photos, videos, or documents taking up significant space, consider transferring them to an external storage device or cloud storage. This will help optimize the internal storage space on your Nexus 7.
- Remove Unnecessary Downloads: Navigate to the Downloads app or the Downloads folder on your Nexus 7 and delete any unnecessary files that you no longer need. Often, downloaded files can accumulate and consume a significant amount of storage space.
- Clear App Data: Certain apps store data that can accumulate over time, leading to bloated storage. To clear app data, go to Settings, select Apps or Applications, choose the app, and tap on Clear Data. Be aware that clearing app data will also remove any personalized settings or preferences associated with the app.
- Manage Photos and Videos: If your Nexus 7 is filled with photos and videos, consider transferring them to a computer or an online photo storage service like Google Photos. After transferring the media, you can safely delete them from your tablet’s internal storage.
- Use a Storage Cleaning App: There are various third-party apps available on the Google Play Store that can help you clean up storage space efficiently. These apps can identify large files, duplicate files, and junk files that can be safely removed to free up storage space.
By following these steps and regularly maintaining your storage space, you can keep your Nexus 7 tablet running smoothly and avoid any unnecessary slowdowns caused by limited storage capacity.
Clear Cache
Clearing the cache on your Nexus 7 tablet can help improve its performance by removing temporary data and accumulated cache files. These files can take up valuable space and cause your tablet to slow down. Clearing the cache regularly can help optimize your device and ensure smooth operation. Here’s how you can clear the cache on your Nexus 7:
- Access the App Settings: Start by opening the Settings app on your Nexus 7 tablet.
- Navigate to the Storage Menu: In the Settings menu, scroll down and find the “Storage” option. Tap on it to access the storage settings.
- Clear Cached Data: Within the storage settings, you’ll find an option called “Cached data.” Tap on it to clear the accumulated cache files on your device.
- Confirm the Action: A prompt will appear asking if you want to clear the cached data. Confirm the action by tapping “OK” or “Clear” to proceed.
- Reboot Your Nexus 7: After clearing the cache, consider rebooting your tablet. Restarting the device can help complete the cache clearing process and refresh the system.
Clearing the cache can have a noticeable impact on your Nexus 7’s speed and responsiveness. It removes unnecessary data from apps and websites, allowing them to load faster and operate more efficiently. However, it’s important to note that clearing the cache will not delete any personal data, such as photos, documents, or saved app settings.
It’s recommended to clear the cache periodically, especially if you notice your Nexus 7 becoming slower or encountering performance issues. By doing so, you can optimize your tablet’s storage and enhance its overall performance.
Update Apps and System
Keeping your apps and system up to date is crucial to maintaining optimal performance on your Nexus 7 tablet. App developers regularly release updates that include bug fixes, performance improvements, and new features. Similarly, system updates from Google introduce enhancements and security patches that can help improve the overall functionality and speed of your device.
To update apps and the system on your Nexus 7, follow these steps:
- Update Individual Apps: Open the Google Play Store on your Nexus 7 and tap on the menu icon in the top-left corner. Select “My apps & games” from the menu. Here, you’ll find a list of all installed apps with available updates. Tap on the “Update” button next to each app to install the latest version.
- Enable Automatic App Updates: If you prefer a more hands-off approach, you can enable automatic app updates. In the Google Play Store settings, tap on “Auto-update apps” and select either “Over any network” or “Over Wi-Fi only.” With this setting enabled, your apps will update automatically, ensuring you always have the latest versions.
- Check for System Updates: Google periodically releases system updates for Nexus devices. To check for updates, go to the Settings app, scroll down to “About tablet” or “About device,” and tap on it. Look for the “System updates” or “Software update” option and tap on it to check for available updates. If an update is available, follow the on-screen instructions to download and install it.
- Wi-Fi Connection: Ensure that your Nexus 7 tablet is connected to a stable Wi-Fi network before initiating any updates. System updates can be quite large, and using a Wi-Fi connection will prevent excessive data usage and potential interruptions.
By regularly updating your apps and system, you can benefit from improved performance, security patches, and additional features. These updates are designed to optimize the functionality of your Nexus 7 tablet and address any known issues that may affect its speed or responsiveness.
It’s essential to note that some older Nexus 7 models may no longer receive official system updates from Google. If you find that your device is no longer eligible for updates, you can still take advantage of app updates and other optimization techniques to maximize its performance.
Disable Unused Apps and Services
One of the common culprits for a slow Nexus 7 tablet is having too many active apps and services running in the background. These processes consume system resources, including CPU power and memory, which can lead to sluggish performance. By disabling unused apps and services, you can free up valuable resources and improve the speed and responsiveness of your device.
Here are the steps to disable unused apps and services on your Nexus 7 tablet:
- Access the Apps Settings: Open the Settings app on your Nexus 7 tablet.
- Navigate to the Apps Menu: Scroll down and find the “Apps” or “Applications” option and tap on it to access the app settings.
- Select the App to Disable: In the app settings, you’ll see a list of all installed apps on your Nexus 7. Scroll through the list and select the app you want to disable.
- Disable the App: Once you’ve selected the app, you’ll see an option to “Disable” or “Turn off” the app. Tap on this option to disable the app. A warning may appear, stating that disabling the app may cause related data to be deleted. If you’re sure you want to disable the app, proceed with the action.
- Repeat for Other Unused Apps: Go through the list of installed apps and repeat the process to disable any other apps that you no longer use or need.
In addition to disabling unused apps, you can also review and disable unnecessary services running in the background. To access the services settings, go to the Settings app, navigate to “Developer options” (if available), and look for options such as “Running services” or “Process stats.” Here, you can see a list of services and processes currently running on your Nexus 7. Identify any unnecessary or resource-intensive services and disable them accordingly.
By disabling unused apps and services, you’re effectively reducing the strain on your Nexus 7’s resources. This allows your tablet to allocate more power to the tasks and apps that matter, ultimately improving its overall speed and performance.
Reduce Animations and Transitions
If you find your Nexus 7 tablet to be slow or sluggish, adjusting the device’s animation and transition settings can provide a noticeable improvement in speed and responsiveness. Nexus 7 tablets, like other Android devices, come with various visual effects and animations that enhance the user experience but can also put a strain on the system resources. By reducing these animations and transitions, you can free up processing power and make your tablet feel faster.
Here are the steps to reduce animations and transitions on your Nexus 7:
- Access the Developer Options: Open the Settings app on your Nexus 7 tablet.
- Enable Developer Mode: Scroll down and find the “About tablet” or “About device” option, then tap on it. Look for the “Build number” or “Build version” and tap on it repeatedly (around 7 times) until you see a message stating that you are now a developer.
- Access Developer Options: Return to the main Settings menu and scroll down again. You should now see an option called “Developer options.” Tap on it to access the developer settings.
- Disable or Reduce Animations: Within the developer options, look for the “Window animation scale,” “Transition animation scale,” and “Animator duration scale” settings. By default, these settings are set to “1x” or “Animation scale 1x.” Tap on each of these settings and choose the “Animation off” or the shortest duration available option.
- Reboot Your Nexus 7: After adjusting the animation and transition settings, it’s recommended to reboot your tablet. Restarting the device will ensure that the changes take effect system-wide.
By reducing the animations and transitions on your Nexus 7 tablet, you can achieve a snappier user interface and improve overall performance. The reduced visual effects allow the device to allocate its resources more efficiently, resulting in a smoother and more responsive experience.
Keep in mind that disabling or reducing animations may make the user interface feel less visually appealing, as some of the fluid motion effects will be minimized or turned off. However, the trade-off is a noticeable boost in performance, particularly if your Nexus 7 is struggling with slow response times or laggy transitions.
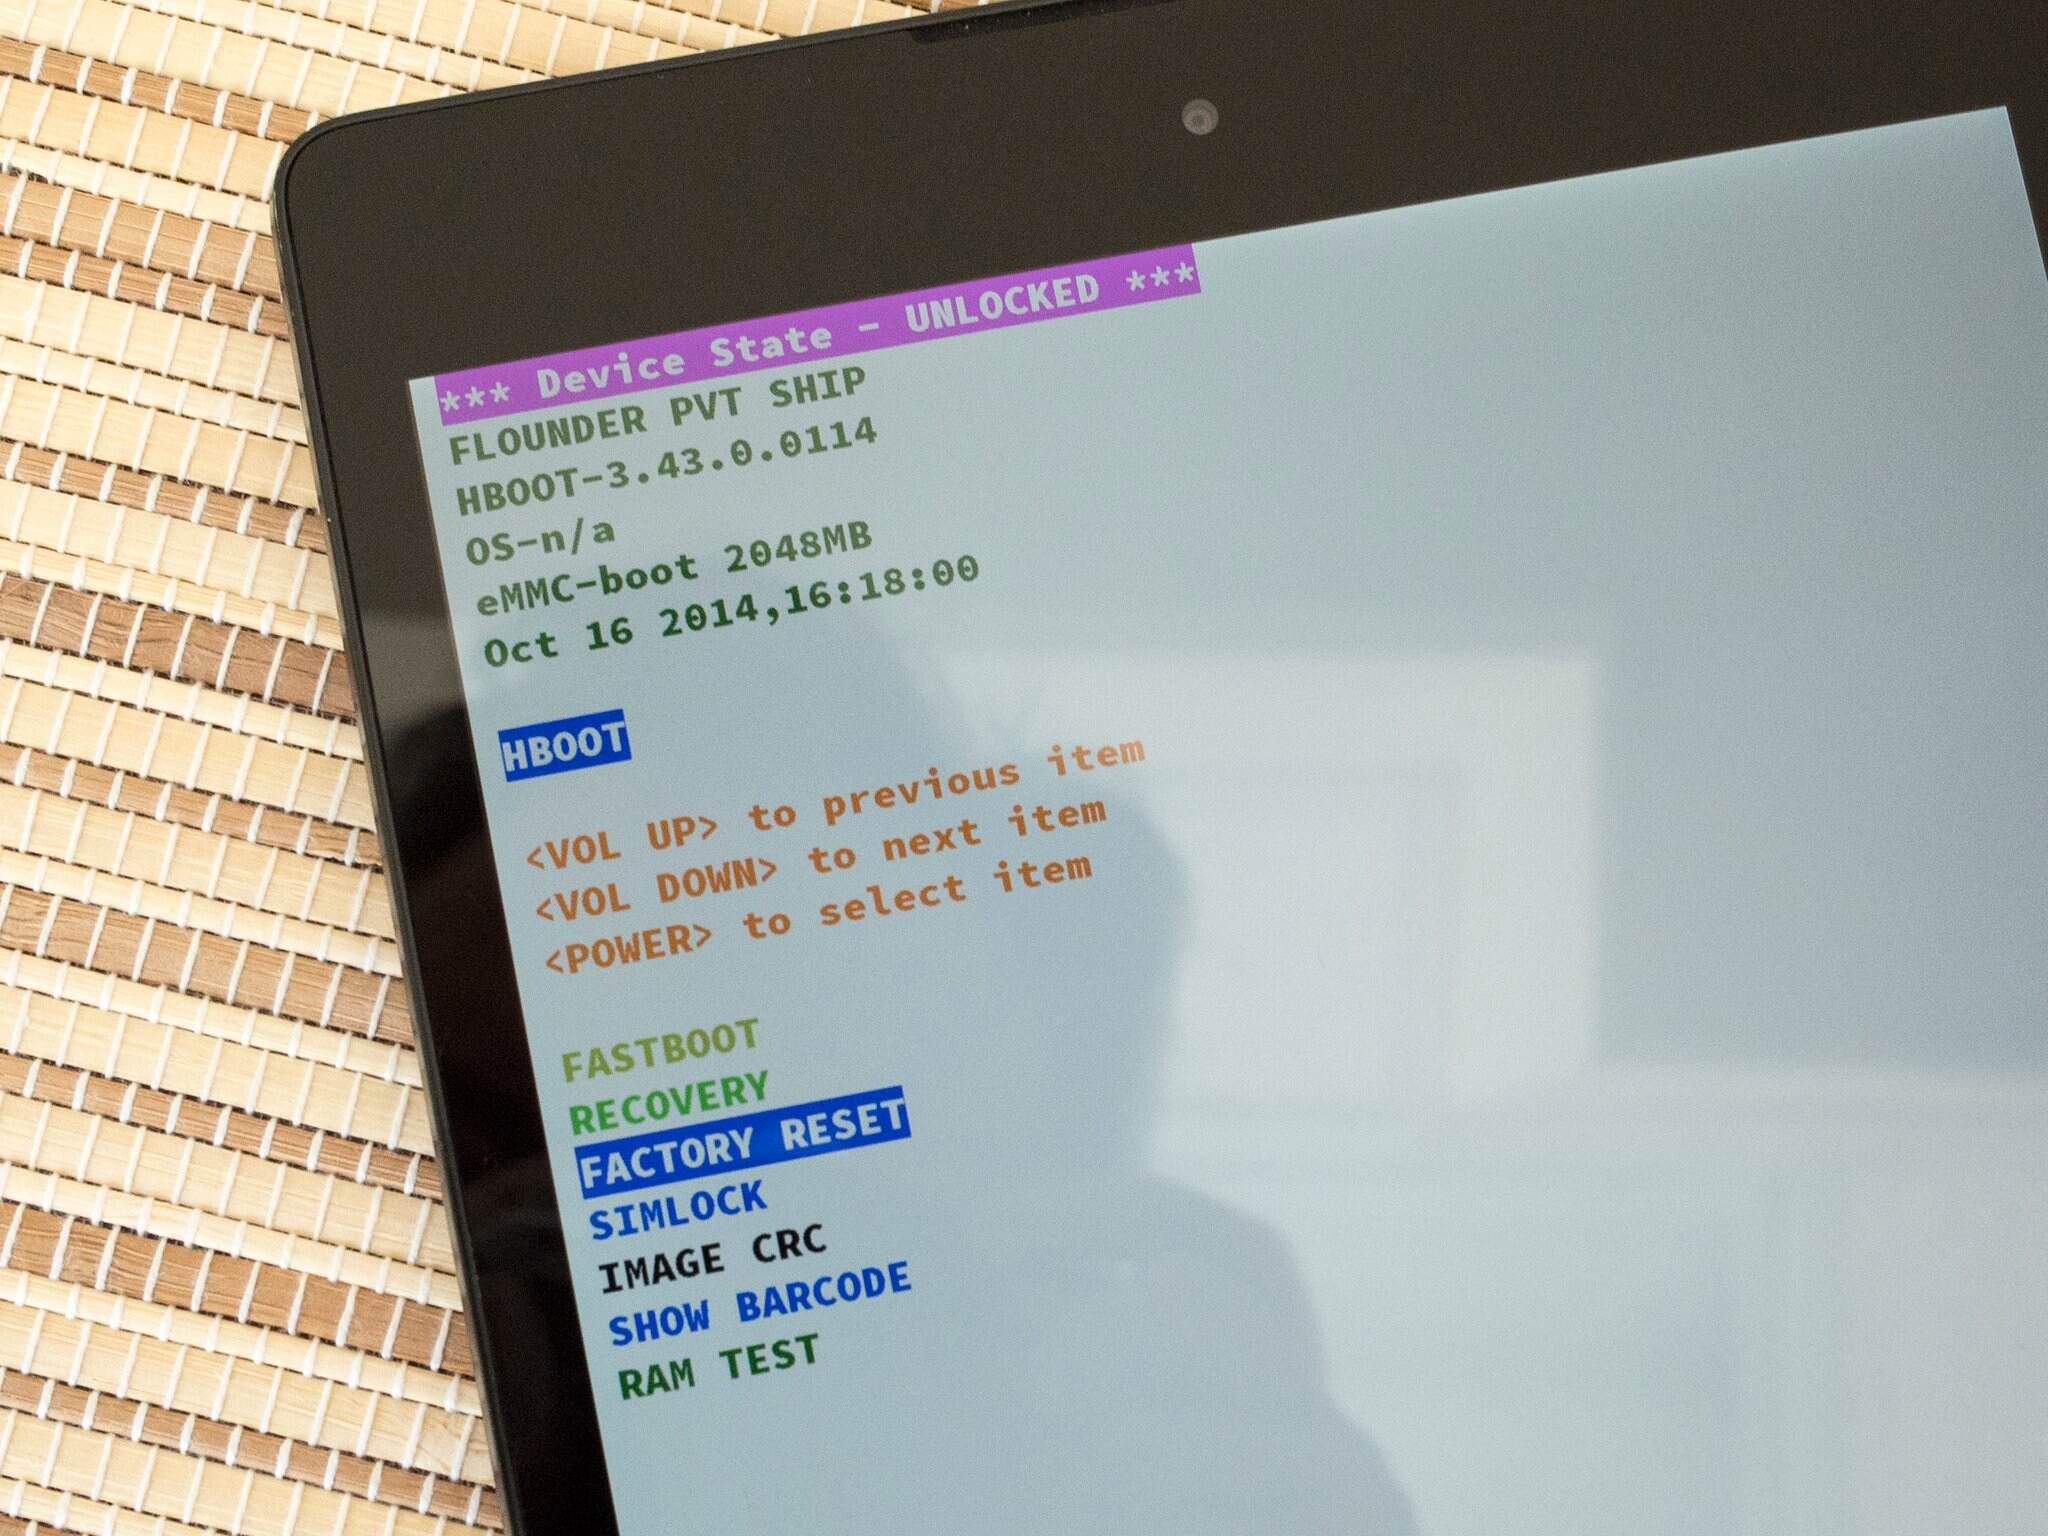
Perform a Factory Reset
If none of the previous troubleshooting methods have improved the performance of your Nexus 7 tablet, performing a factory reset can be a last resort. A factory reset will revert your device back to its original state, erasing all data, settings, and apps installed on the tablet. This process can help resolve any underlying software issues or conflicts that may be causing the slowdown.
Before proceeding with a factory reset, it’s crucial to back up any important data or files that you want to preserve. Here are the steps to perform a factory reset on your Nexus 7:
- Back up Your Data: Go to the Settings app, navigate to “Backup & reset,” and toggle on “Back up my data” and “Automatic restore.” This will ensure that your data and settings are backed up to your Google account and can be restored after the factory reset.
- Access the Reset Options: In the Settings app, scroll down to “Backup & reset” or “System” and tap on it. Look for the “Factory data reset” or “Reset” option and tap on it.
- Confirm the Reset: A warning will appear, stating that all data will be erased. Read the information carefully to understand the consequences of a factory reset. If you’re certain you want to proceed, tap on “Reset device” or “Erase everything.”
- Wait for the Reset to Complete: Your Nexus 7 tablet will begin the factory reset process. This may take a few minutes to complete. Make sure your tablet is connected to a power source to prevent any interruptions during the reset.
- Set up Your Nexus 7: After the reset is complete, your Nexus 7 will restart and prompt you to set up the device as if it were new. Follow the on-screen instructions to set up your tablet, sign in with your Google account, and restore your backed-up data and settings.
Performing a factory reset can often resolve persistent performance issues on your Nexus 7 tablet. It essentially gives your device a fresh start, eliminating any software-related problems that may have been causing the slowdown. However, it’s important to note that a factory reset will erase all data and settings, so ensure you have a backup before proceeding.
If the performance issues persist even after a factory reset, it may be worth considering contacting the Nexus support team or taking your tablet to a professional for further assistance.
Conclusion
If you own a Nexus 7 tablet that is running sluggish, the methods outlined in this guide can help you restore its speed and performance. By following these troubleshooting steps, including cleaning up storage space, clearing the cache, updating apps and the system, disabling unused apps and services, reducing animations and transitions, and performing a factory reset if needed, you can optimize your Nexus 7 and enjoy a smoother user experience.
It’s essential to note that the effectiveness of these methods may vary based on individual usage patterns and the specific hardware and software configuration of your Nexus 7 tablet. It’s always a good practice to perform regular maintenance on your device to prevent any potential slowdowns.
Remember to back up your important data before performing any major changes or a factory reset. This will ensure that you can restore your settings and files once the troubleshooting is complete.
If you find that your Nexus 7 tablet continues to experience performance issues even after attempting these troubleshooting steps, it may be worth seeking further technical support or contacting the Nexus support team for assistance. They can provide specialized guidance based on your specific situation.
By following the guidelines in this guide, you can optimize your Nexus 7 tablet and enjoy its speedy performance once again. With a little maintenance and care, your Nexus 7 can continue to be your reliable companion for work, entertainment, and everyday tasks.