Introduction
Welcome to the wonderful world of digital art and graphic design! Whether you are a professional artist or just starting out, a drawing tablet can greatly enhance your creativity and productivity. In this article, we will explore the ins and outs of using a drawing tablet and how to get the most out of this powerful tool.
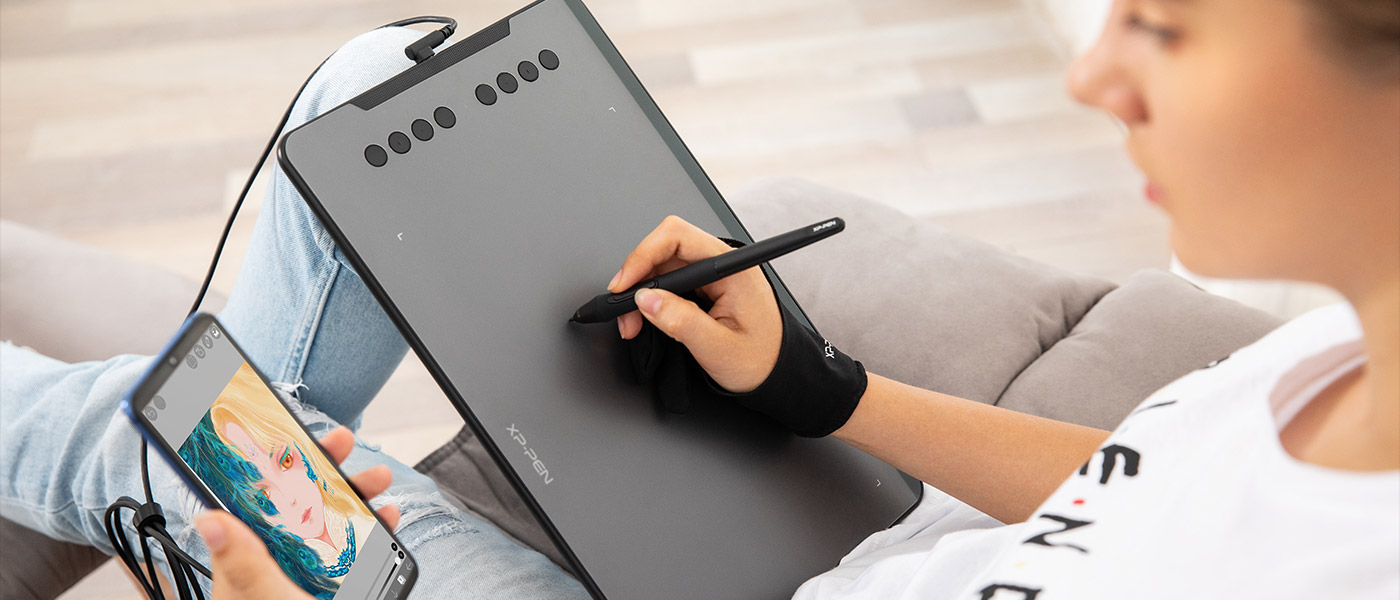
A drawing tablet, also known as a graphics tablet or a pen tablet, is a device that allows you to draw, paint, and sketch on a digital canvas. It consists of a flat surface, called the active area, which detects the movement and pressure of a specially designed pen or stylus. This pen acts as a virtual brush, giving you full control over your artistic creations.
One of the main advantages of using a drawing tablet is that it provides a more natural and intuitive way of creating digital art compared to using a mouse or touchpad. The ability to directly draw on the screen enables precise control over brush strokes, resulting in more accurate and lifelike illustrations.
There are various types of drawing tablets available on the market, ranging from small and portable options to larger and more advanced models. Some drawing tablets come with display screens, allowing you to see your artwork as you draw, while others require you to connect them to a computer monitor.
Setting up a drawing tablet is usually a straightforward process. It typically involves connecting the tablet to your computer using a USB cable, installing the necessary drivers and software, and calibrating the pen for optimal performance. Once everything is set up, you can start unleashing your artistic potential.
In the next sections of this article, we will delve into the specific steps and techniques for using a drawing tablet effectively. Whether you are a beginner or an experienced artist, this guide will help you navigate the world of digital art and make the most of your drawing tablet.
What is a Drawing Tablet?
A drawing tablet, also known as a graphics tablet or pen tablet, is a device that allows artists and designers to create digital artwork by directly drawing on a surface with a special pen or stylus. It acts as a bridge between traditional art techniques and the digital world, providing a more natural and intuitive way of creating digital art.
Unlike a mouse or touchpad, which rely on indirect control, a drawing tablet allows for precise and pressure-sensitive input. By detecting the movement and pressure applied by the pen, the tablet translates these actions into digital strokes on the screen. This makes drawing and painting on a tablet feel more like traditional media, such as using a pencil or brush on paper or canvas.
Drawing tablets come in various sizes, ranging from smaller portable models to larger, more professional-grade options. Some drawing tablets have built-in display screens, allowing artists to directly interact with their artwork. These are often referred to as pen displays or interactive pen displays. Other tablets require you to connect them to a separate computer monitor.
The key component of a drawing tablet is the pen or stylus. These pens are designed to be lightweight, ergonomic, and pressure-sensitive. Most drawing tablets also offer additional features like tilt sensitivity, which allows for more natural shading and brush effects.
One of the primary advantages of using a drawing tablet is the ability to work digitally, offering artists and designers greater flexibility and versatility. Digital artwork can be easily edited, resized, or duplicated with just a few clicks, reducing the need for physical materials and saving time in the creative process. Additionally, drawing tablets often come with software that offers a wide range of brushes, textures, and tools, enabling artists to experiment and explore their creativity.
Drawing tablets are used by a diverse range of professionals and hobbyists alike. Digital artists, graphic designers, animators, architects, and photographers are just a few examples of those who can benefit from the precision and control offered by drawing tablets. The versatility and adaptability of these devices make them indispensable tools in the digital art world.
In the next sections, we will delve into the specifics of setting up and using a drawing tablet. Whether you are a seasoned artist or just starting, this guide will help you unlock your creative potential and make the most of your drawing tablet.
Different Types of Drawing Tablets
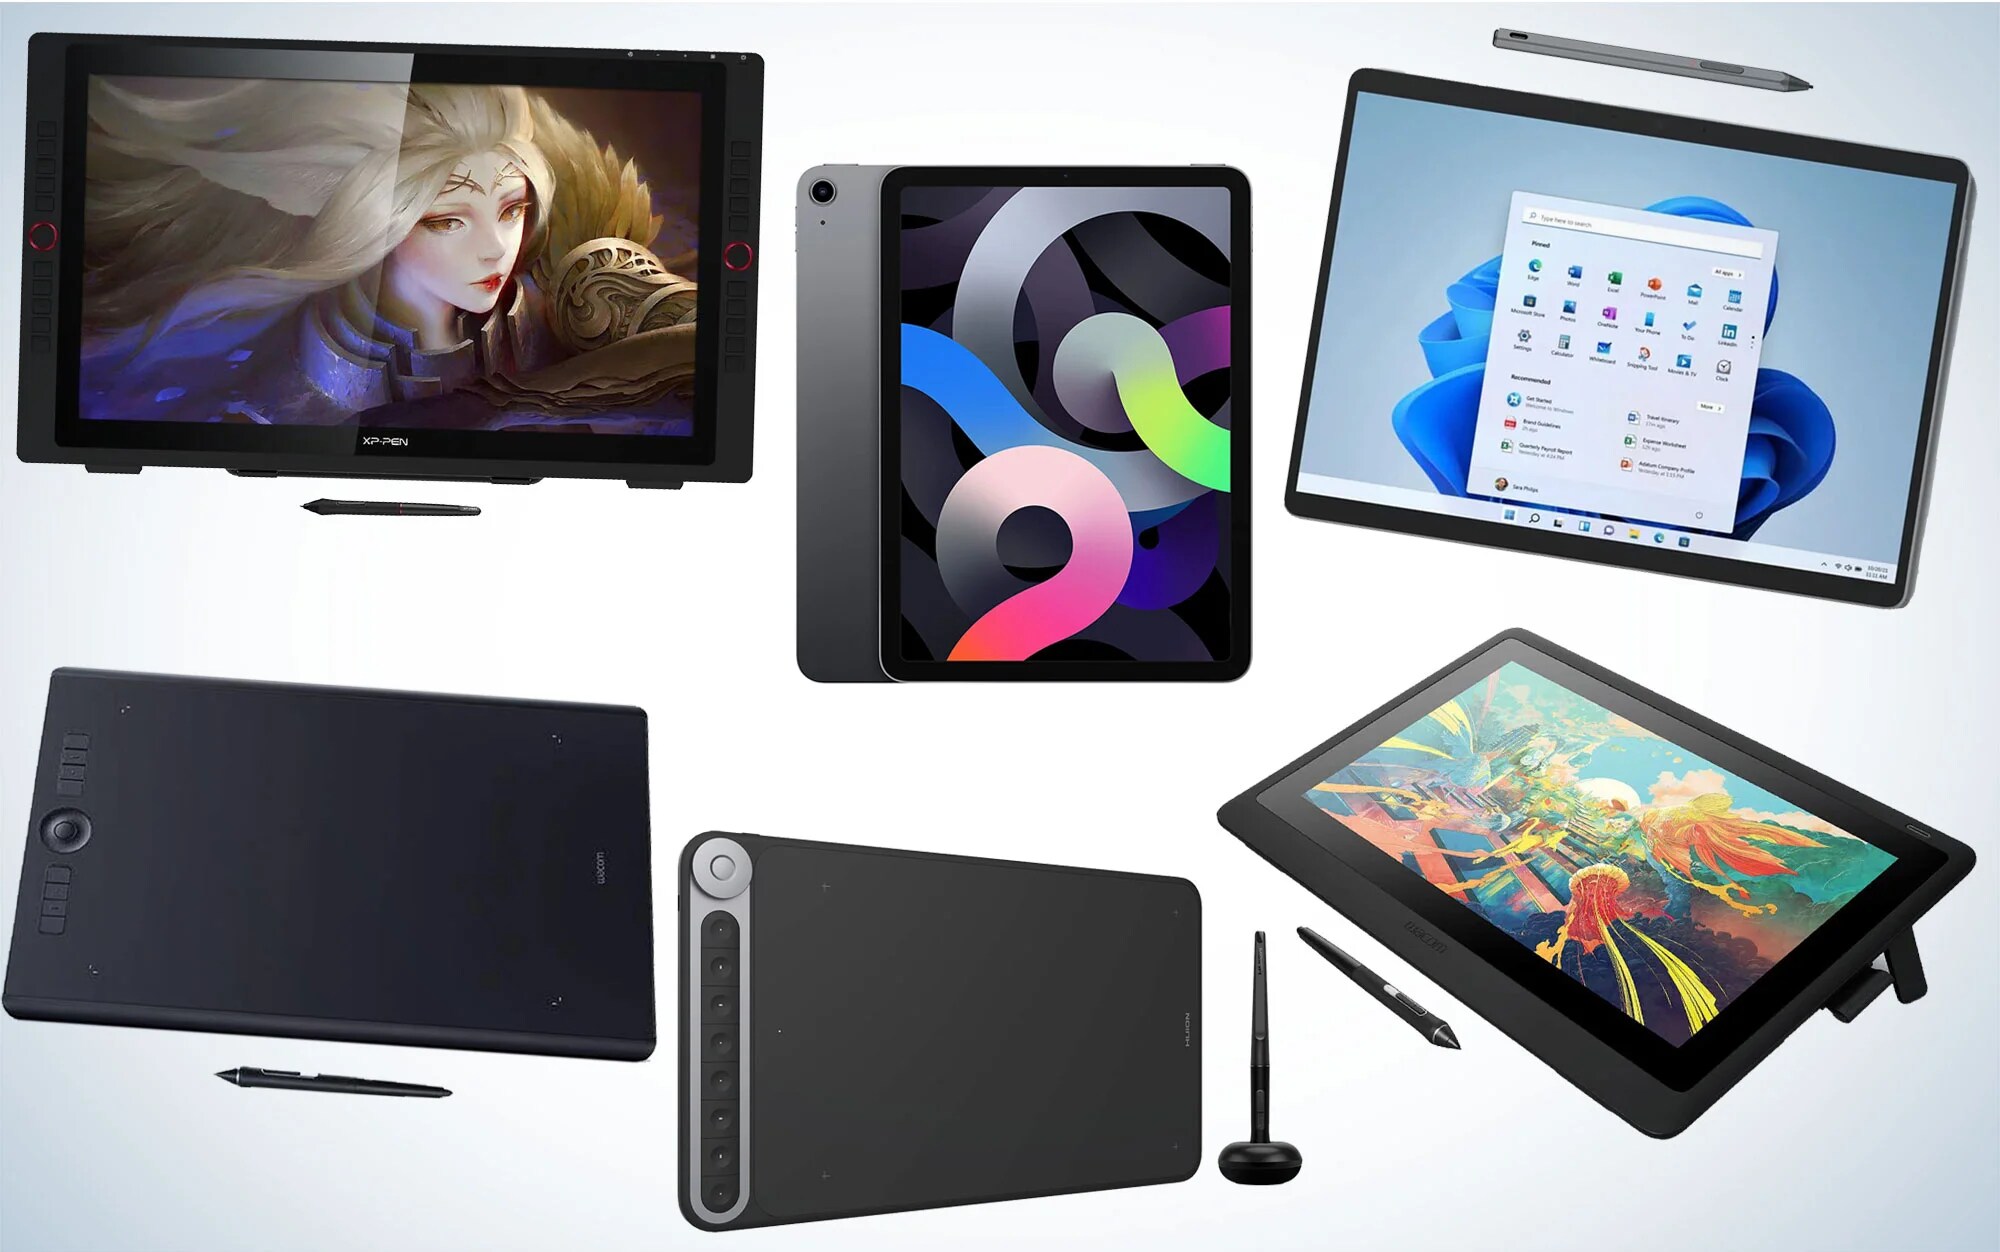
When it comes to drawing tablets, there are various options available to suit different needs and preferences. Let’s explore the different types of drawing tablets to help you make an informed decision.
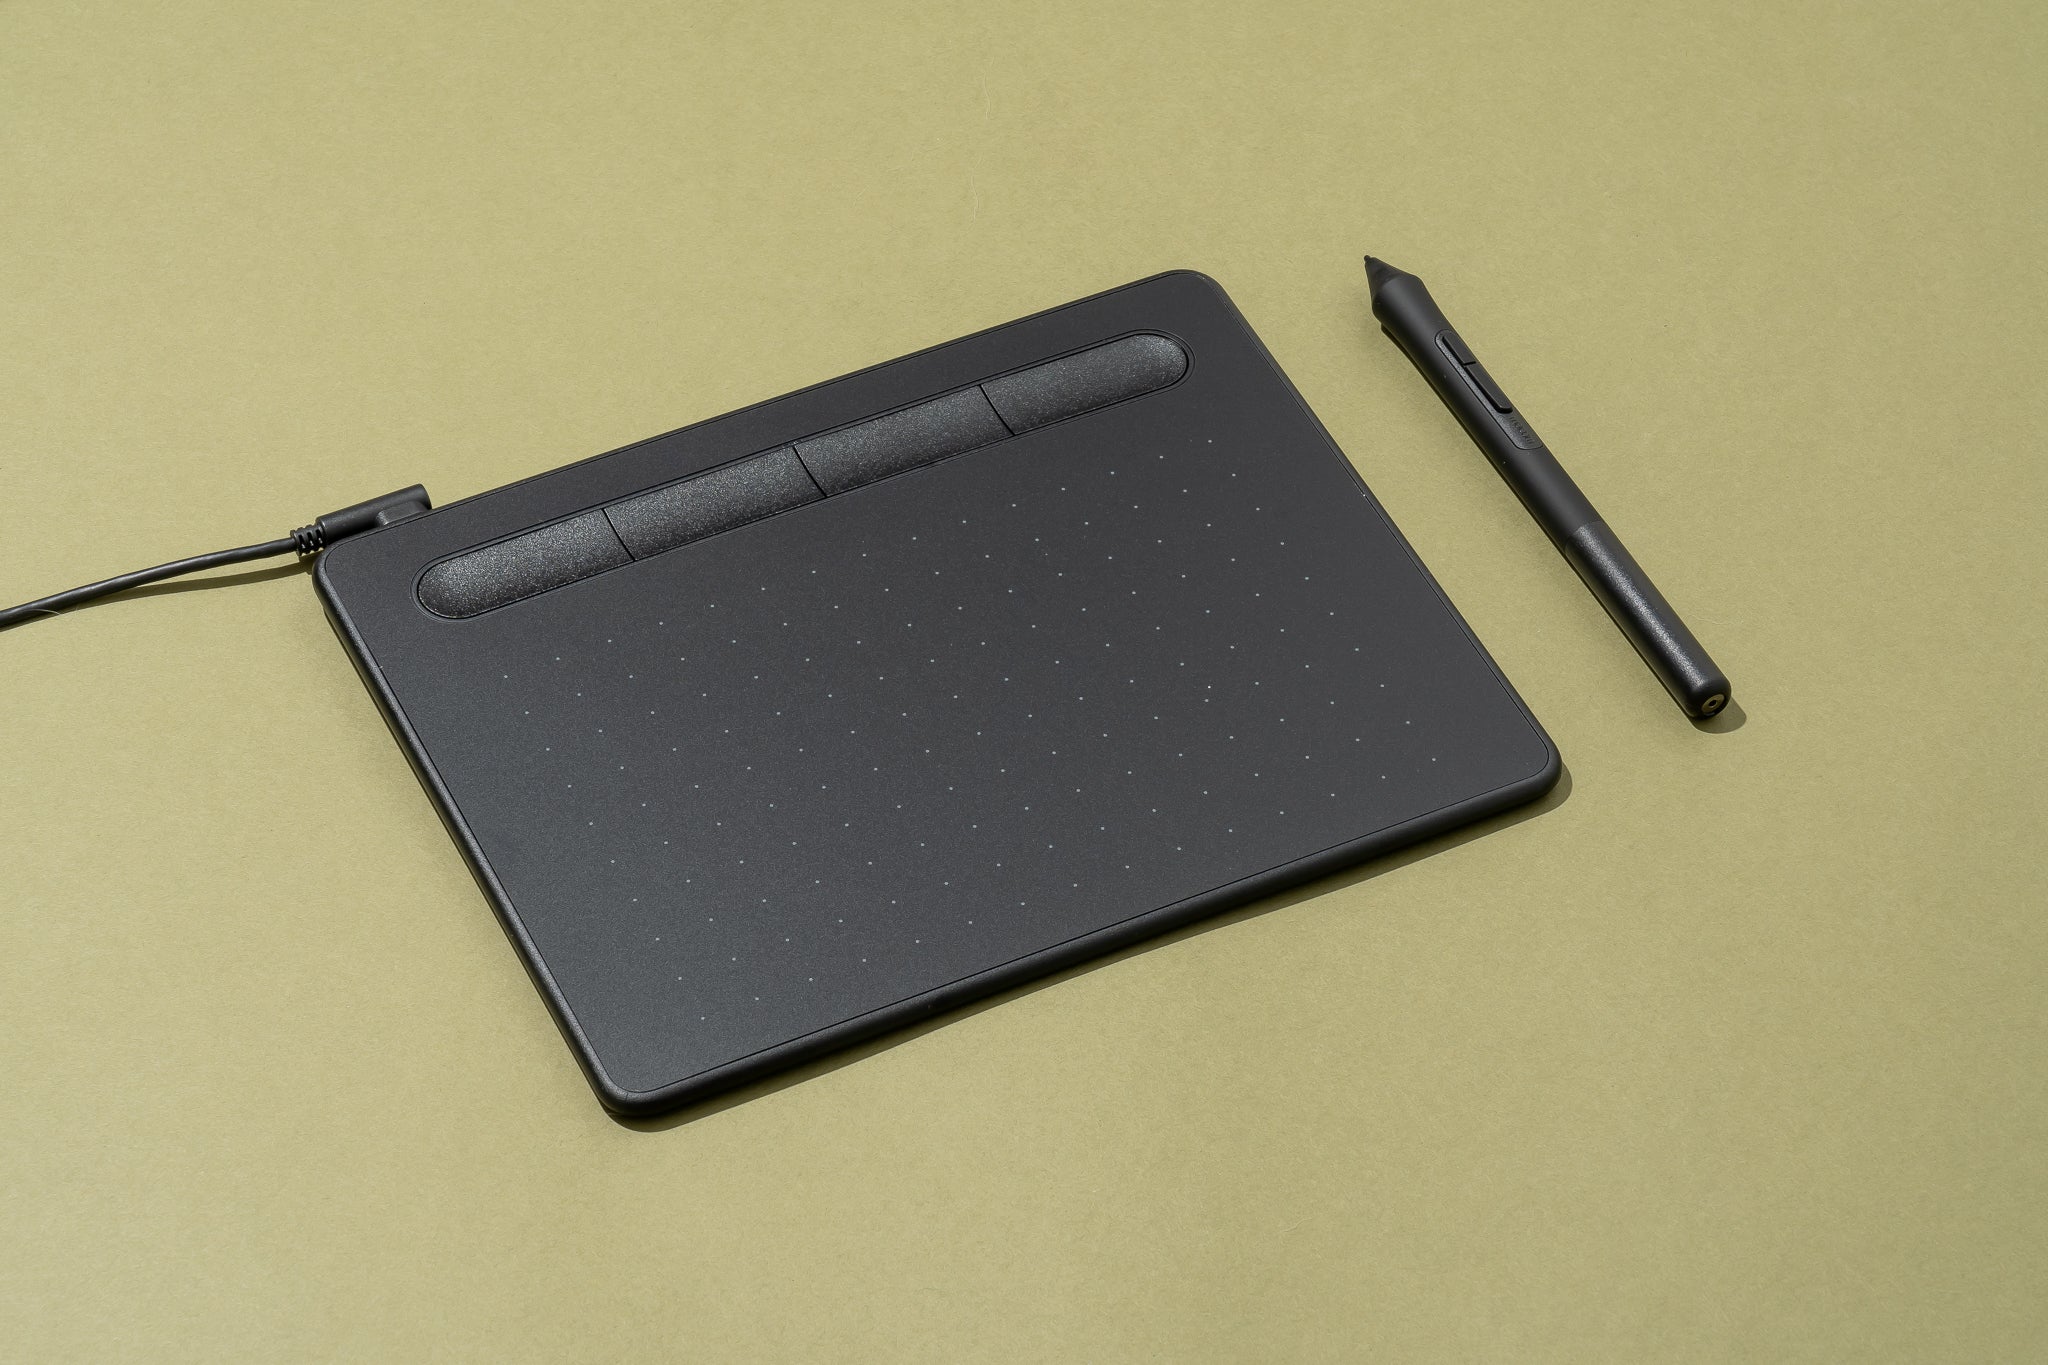
- Graphics Tablets: These are the most common type of drawing tablets. They consist of a flat, pressure-sensitive surface that detects the movement and pressure of the pen. Graphics tablets need to be connected to a computer monitor to visualize the artwork.
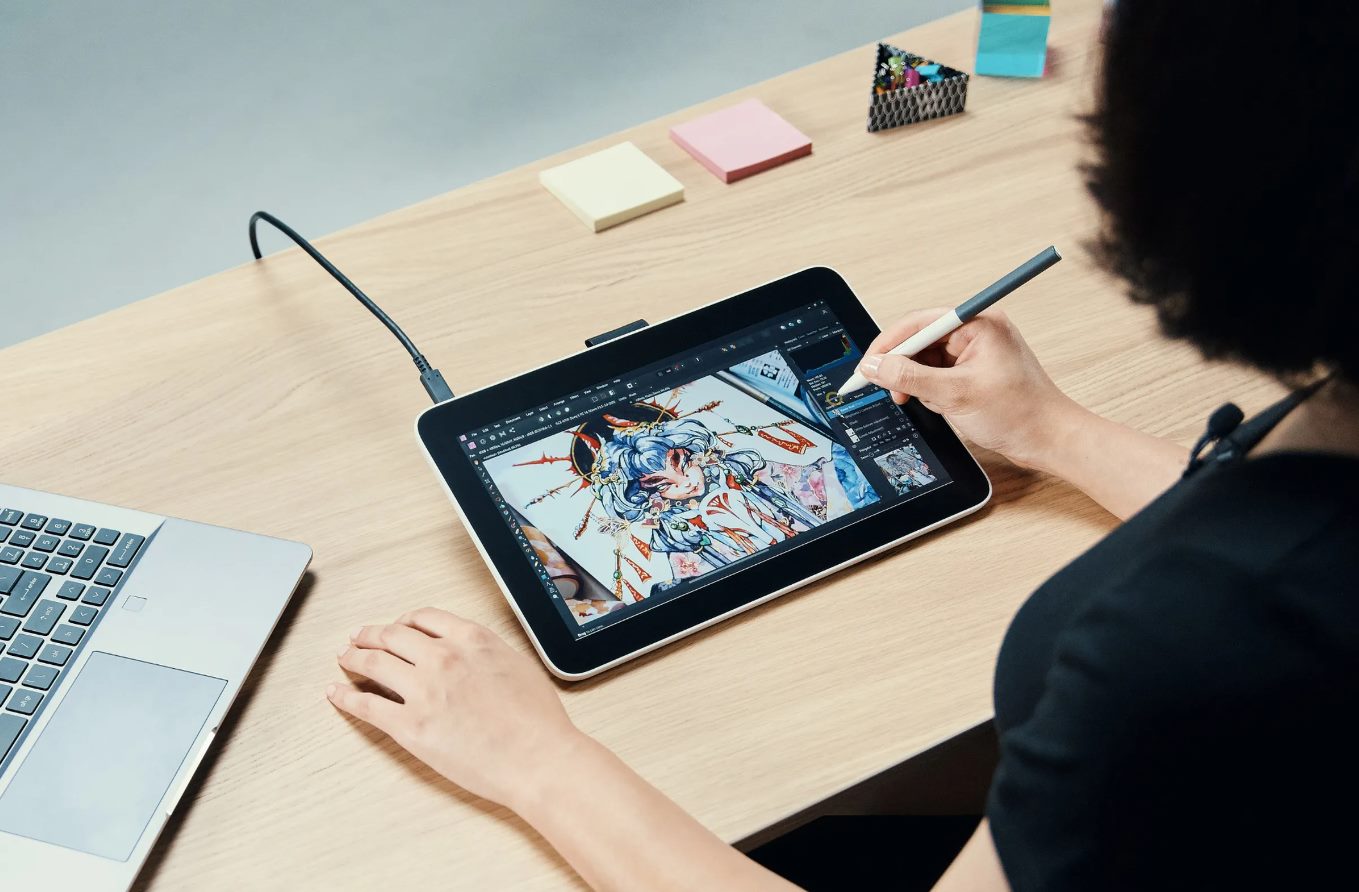
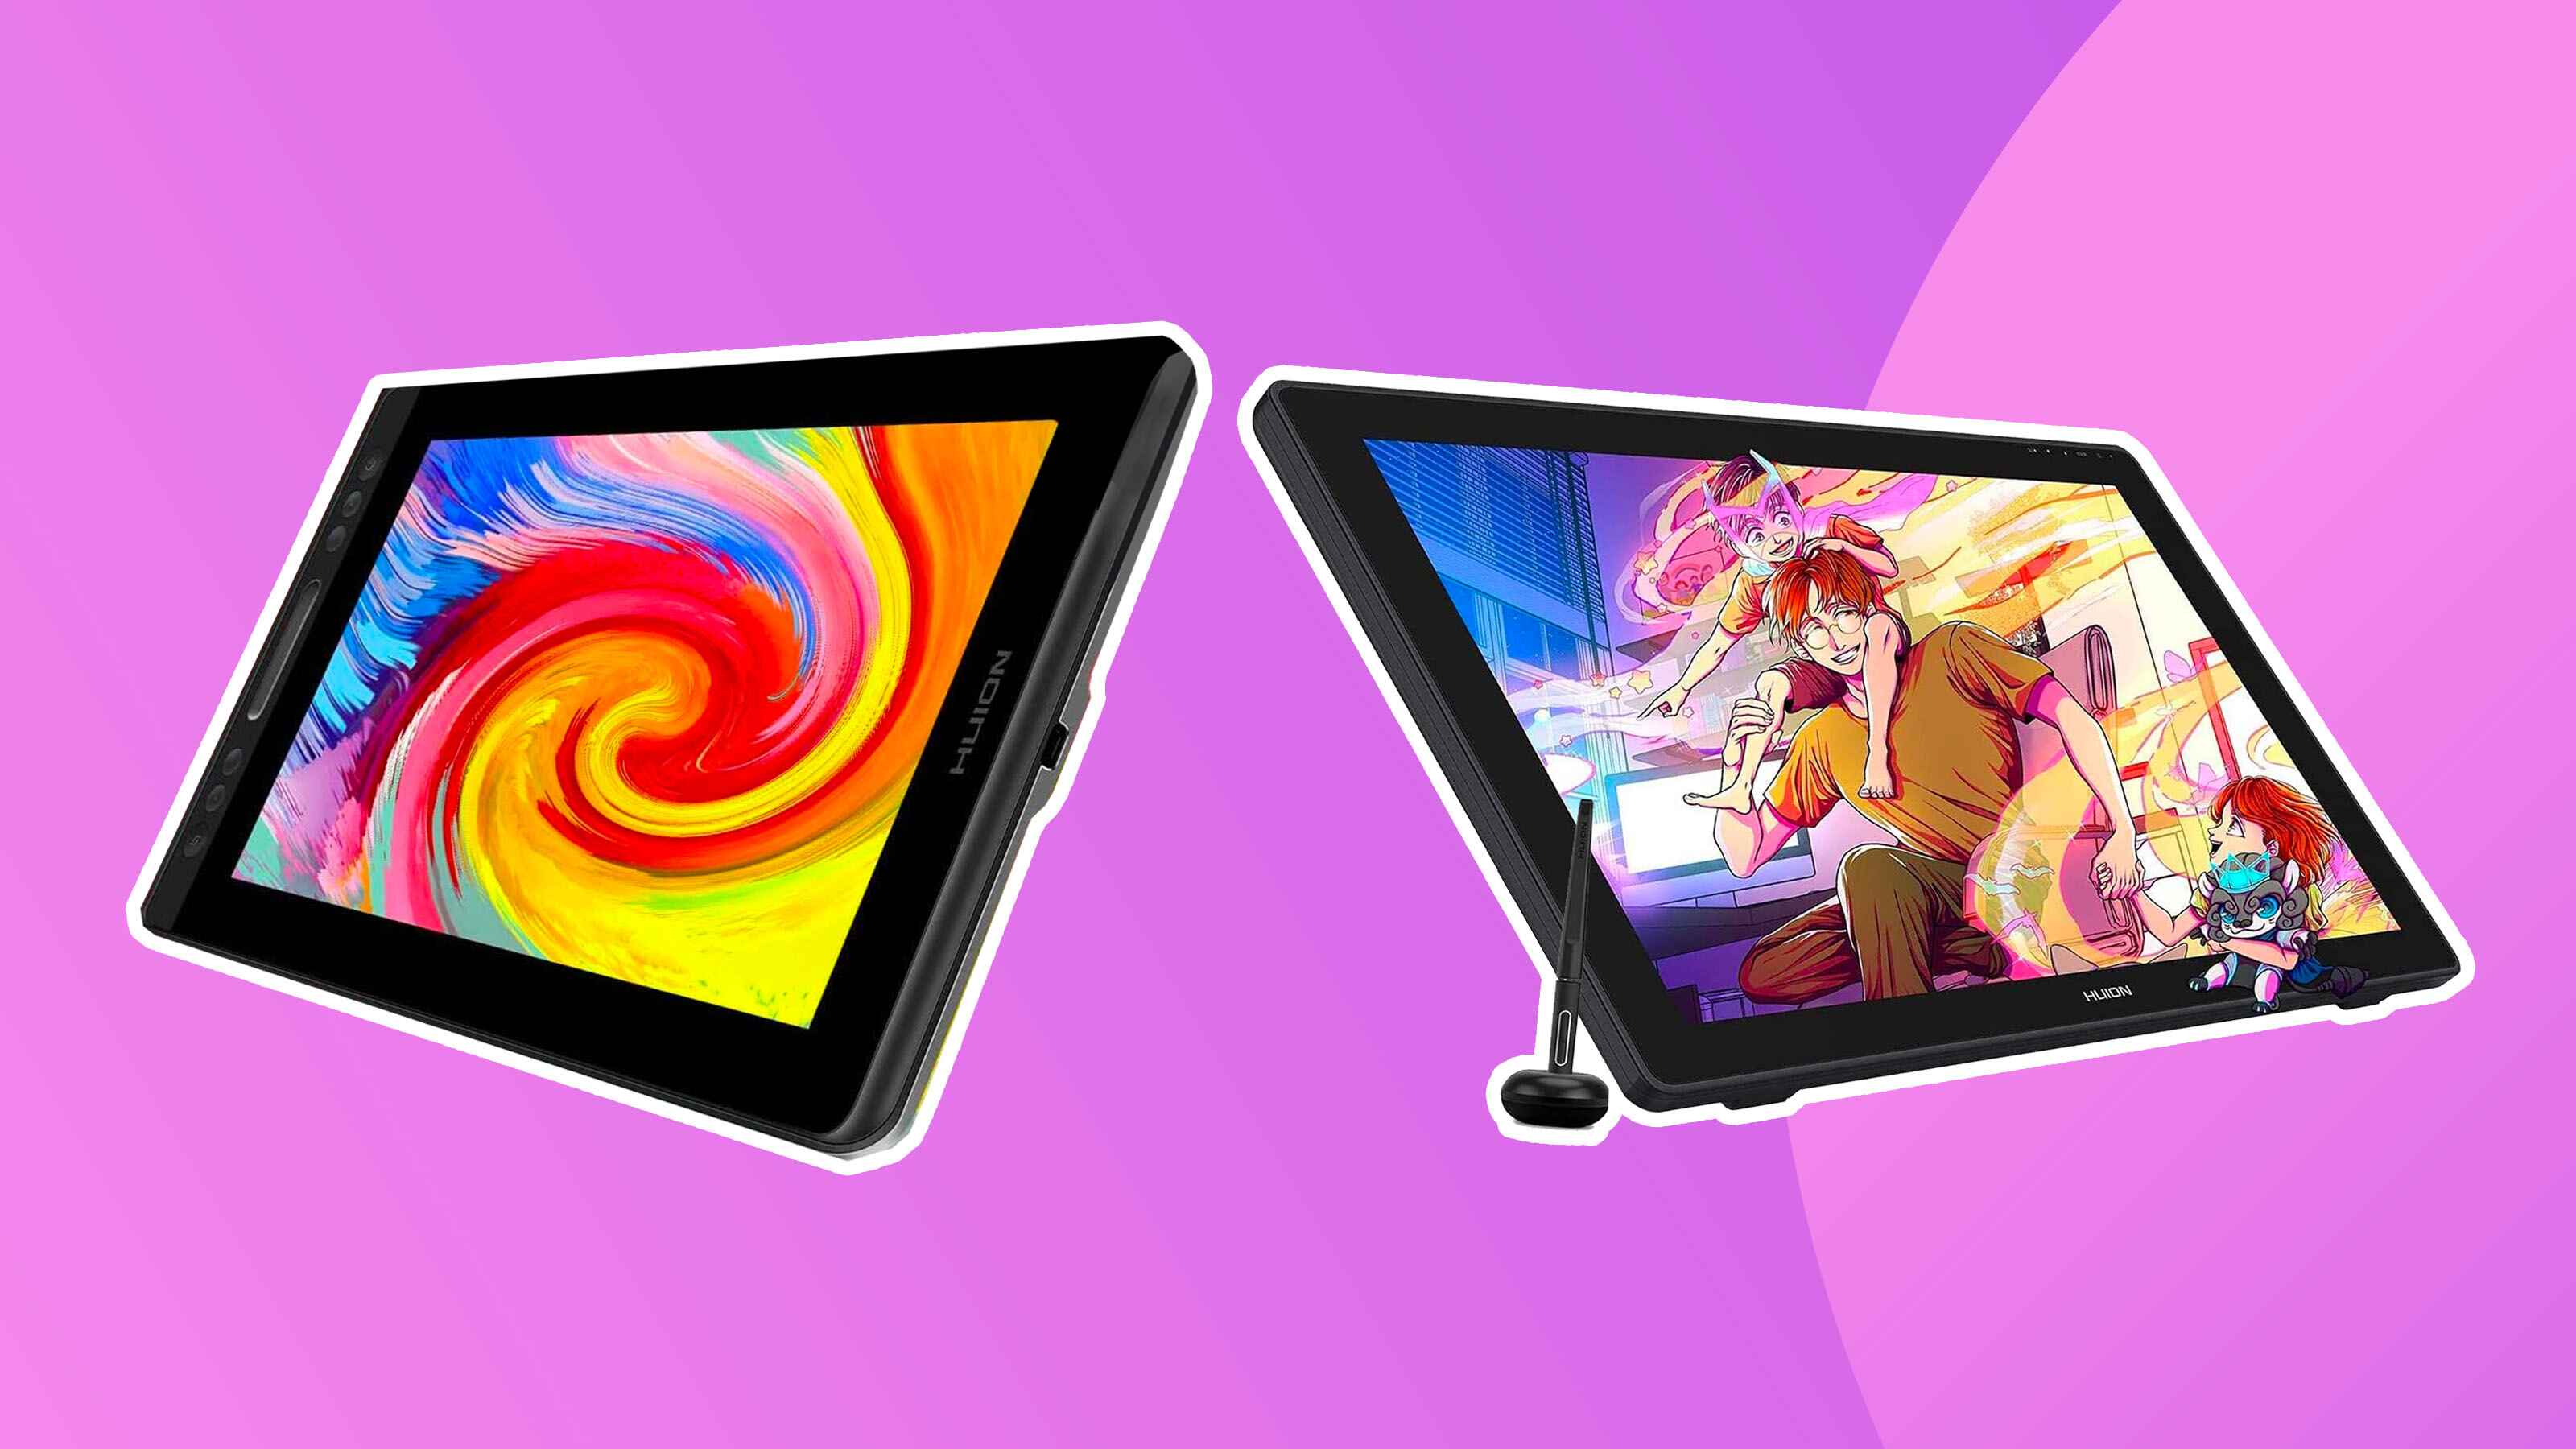
- Pen Displays: Pen displays, also known as interactive pen displays, have a built-in display screen where you can directly see and draw on your artwork. These tablets provide a more immersive and intuitive drawing experience, as it feels like working on paper or canvas.
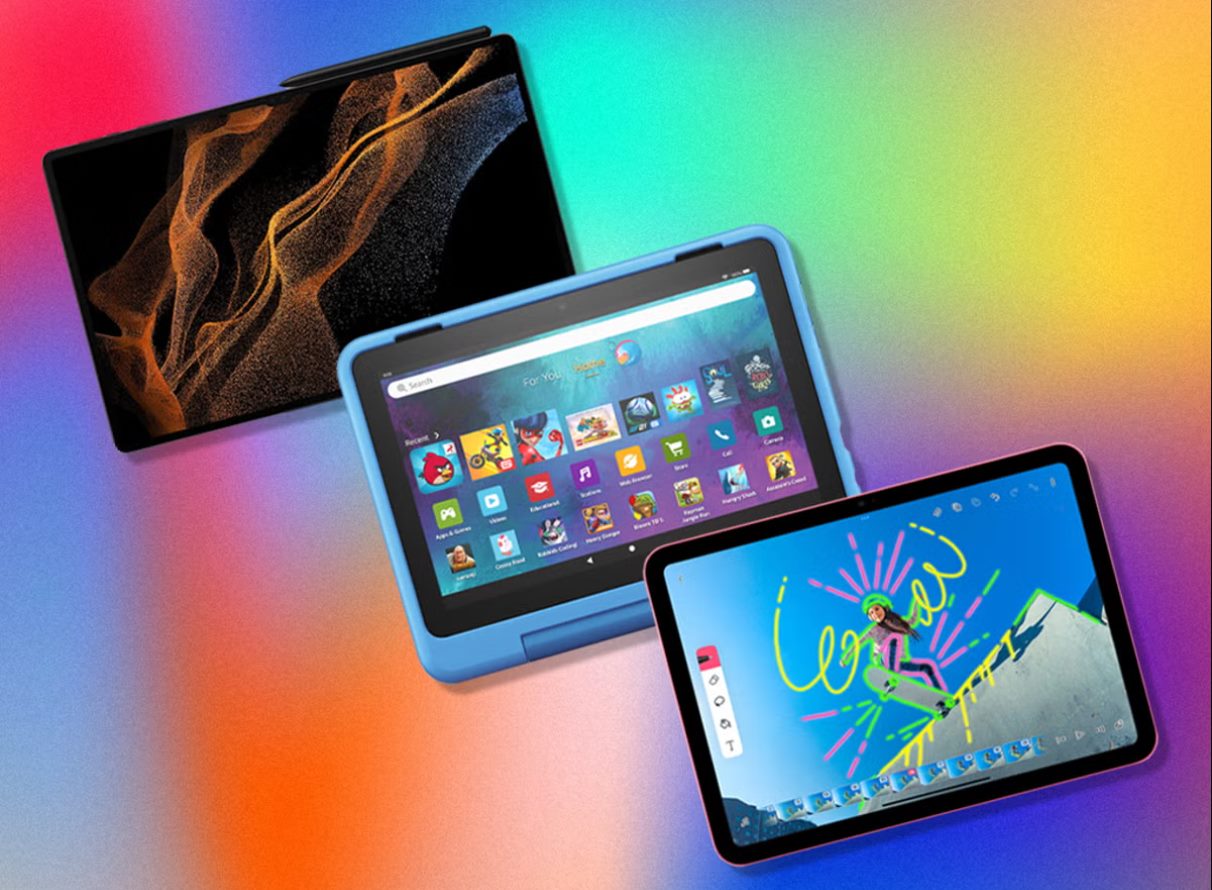
- Tablet Computers: Tablet computers, such as the iPad Pro and Samsung Galaxy Tab, have their own touchscreens and offer drawing functionality. They often come with specialized pen stylus options that provide precision and pressure sensitivity. These tablets are portable and ideal for artists who prefer a more versatile and standalone device.
- 2-in-1 Laptops: 2-in-1 laptops, like the Microsoft Surface Pro, combine the functionality of a laptop and tablet. They usually come with a detachable or convertible keyboard that can be used in tablet mode, providing a drawing tablet experience with the added capabilities of a full-fledged computer.
Each type of drawing tablet has its pros and cons, and the choice ultimately depends on your specific requirements, budget, and personal preference. If you prefer a traditional workflow and already have a powerful computer, a graphics tablet might be a cost-effective option. On the other hand, if mobility and direct interaction with your artwork are important to you, a pen display or tablet computer would be worth considering.
It’s also important to keep in mind other factors such as screen size, resolution, pressure sensitivity, and compatibility with software applications. Researching and reading reviews can help you make an informed decision and find the perfect drawing tablet that suits your needs.
In the next sections, we will explore how to set up and use your drawing tablet effectively, regardless of the type you choose. So, let’s dive in and unleash your creativity!
Setting Up Your Drawing Tablet
Setting up your drawing tablet is a crucial step to ensure a seamless and productive drawing experience. Here’s a step-by-step guide to help you set up your drawing tablet properly:
- Connect Your Tablet: Connect your drawing tablet to your computer using the provided USB cable or any other appropriate connection method. Ensure that the connection is secure and stable.
- Install Drivers and Software: Most drawing tablets come with specific drivers and software that need to be installed on your computer. These drivers allow your computer to recognize and communicate with the tablet effectively. Follow the manufacturer’s instructions to install the necessary drivers and software for your specific tablet model.
- Calibrate Your Tablet: After installing the drivers, you may need to calibrate your tablet for accurate pen tracking. This involves following the on-screen instructions to align the tablet’s active area with your computer screen. Calibration helps ensure that the cursor movement on the tablet corresponds accurately to the cursor movement on your screen.
- Familiarize Yourself with the Pen: Take some time to get familiar with the features and buttons on your pen. Different pens may have customizable buttons or an eraser function. Familiarize yourself with how they work so you can utilize them effectively in your artwork.
- Customize Tablet Settings: Many drawing tablets come with software that allows you to customize settings according to your preferences. This includes adjusting pressure sensitivity, pen cursor speed, and button functions. Explore the settings and customize them to suit your workflow and artistic style.
- Test and Practice: Before diving into your artwork, take some time to test your drawing tablet. Launch your preferred drawing software and test various brush strokes, lines, and pressure sensitivity. This will help you get comfortable and acquainted with the tablet’s responsiveness.
It’s important to note that the setup process may vary slightly depending on the brand and model of your drawing tablet. Always refer to the user manual or manufacturer’s instructions for your specific tablet to ensure proper setup.
By following these steps and taking the time to properly set up your drawing tablet, you will maximize its potential and create a smooth and enjoyable drawing experience. Now that your tablet is ready, let’s move on to the next steps of using your drawing tablet effectively.
Installing Drivers and Software
Once you have connected your drawing tablet to your computer, the next important step is to install the necessary drivers and software. Installing the correct drivers and software ensures that your computer can recognize and communicate effectively with your drawing tablet. Here’s a helpful guide to walk you through the installation process:
- Visit the Manufacturer’s Website: Start by visiting the official website of the drawing tablet manufacturer. Look for the “Support” or “Downloads” section of the website where you can find the latest drivers and software for your specific tablet model.
- Check Compatibility: Before downloading any drivers or software, ensure that they are compatible with your operating system. The manufacturer’s website should provide information about which operating systems their drivers and software support.
- Download the Drivers: Locate the driver for your drawing tablet model and click on the download link. Save the file to your computer’s designated location, such as the Downloads folder.
- Run the Installer: Once the driver file is downloaded, locate it and run the installer. Follow the on-screen instructions to complete the installation process. It’s important to read each step carefully and select any additional software components or customization options you may want.
- Connect Your Tablet: After the driver installation is complete, connect your drawing tablet to your computer using the provided USB cable or any other appropriate connection method. Ensure that the connection is secure and stable.
- Software Installation: In addition to installing the drivers, the manufacturer’s website may provide software specifically designed for your drawing tablet. Download the software if applicable and follow the same steps as mentioned above to install it on your computer.
After the drivers and software are successfully installed, restart your computer to ensure that the changes take effect. Once your computer boots up, your drawing tablet should be ready to use.
If you encounter any difficulties during the installation process, refer to the user manual or help documentation provided by the manufacturer. They should include troubleshooting steps or frequently asked questions to assist you in resolving any issues.
By installing the proper drivers and software, you ensure that your computer and drawing tablet can communicate effectively. Now that your drawing tablet is set up and the drivers and software are installed, let’s move on to the next steps of getting familiar with the pen and customizing your drawing tablet settings.
Getting Familiar with the Pen
Now that you have your drawing tablet set up and the drivers installed, it’s time to get familiar with the pen or stylus that comes with your tablet. The pen is essential for creating precise and detailed artwork on your tablet’s surface. Here are some key things to consider as you familiarize yourself with the pen:
Pen Grip: Hold the pen in a relaxed grip that feels comfortable for you. Experiment with different grip styles to find the one that allows you to have control while minimizing strain on your hand and wrist.
Pen Pressure Sensitivity: Most drawing tablets offer pressure sensitivity, which means that the tablet can detect varying pen pressure levels. Experiment with different levels of pressure to see how it affects the thickness and opacity of your digital brush strokes. This feature allows for more expressive and nuanced artwork.
Pen Buttons and Functions: Explore the buttons on the pen and familiarize yourself with their functions. Each pen may have different programmable buttons or an eraser function. These buttons can be customized to perform various actions, such as undoing or redoing, changing brush sizes, or activating specific tools. Knowing how to use these buttons efficiently can greatly enhance your workflow.
Pen Accuracy and Cursor Alignment: While using the pen, ensure that the cursor on your drawing software aligns accurately with the pen tip. If there is any misalignment, refer to your tablet’s manual or settings to calibrate and adjust the pen accuracy.
Pen Nibs: The pen nib is the replaceable tip at the end of the pen. Different nib types can provide different textures and sensations while drawing. Some nibs may be softer for a smoother feel, while others may be firmer for more precise control. Experiment with different nibs to find the one that suits your drawing style and preference.
Tilt Recognition: Depending on your drawing tablet, the pen may also have tilt recognition capabilities. This means that the tablet can detect the angle at which you hold the pen, allowing for more natural shading and varied strokes. Get familiar with tilt recognition and explore its potential in your artwork.
By spending time getting familiar with your drawing tablet’s pen, you’ll be able to unlock its full potential and improve your overall drawing experience. Experiment with different pressures, button functions, and techniques to find what works best for you.
In the next sections, we will delve into customizing your drawing tablet settings and explore various drawing and sketching techniques that can elevate your digital artwork. So, grab your pen and let’s dive into the creative world of your drawing tablet!
Customizing Your Drawing Tablet Settings
Customizing your drawing tablet settings is an essential step in optimizing your drawing experience and tailoring it to your specific needs and preferences. By adjusting settings such as pressure sensitivity, cursor speed, and pen button functions, you can create a personalized workflow that enhances your efficiency and creativity. Here’s how to customize your drawing tablet settings:
- Access the Tablet Settings: Each drawing tablet brand may have different software programs for customizing settings. Look for the tablet settings or control panel software that corresponds to your tablet model. These programs can usually be accessed through your computer’s system tray or preferences menu.
- Pressure Sensitivity: Adjusting pressure sensitivity allows you to control how much pressure is required to create variations in line thickness and opacity. Increase the sensitivity for more pronounced effects or decrease it for more subtle changes. Experiment with different settings to find what feels most natural and comfortable for you.
- Pen Button Functions: Many drawing tablets include programmable buttons on the pen. Take advantage of these buttons to assign frequently used commands or shortcuts, such as undo or brush size adjustments. Customizing the pen buttons can save you time and streamline your workflow.
- Cursor Speed: Adjust the cursor speed setting to match your preferred drawing speed. You may want a faster cursor speed for quick sketches or slower speed for precise details. Find a balance that allows you to draw smoothly and comfortably.
- Tilt Sensitivity: If your drawing tablet supports tilt recognition, explore the tilt sensitivity settings. Tilt sensitivity allows you to control and adjust brush angles and shading techniques based on the angle at which you hold the pen. Experiment with different settings to find the tilt sensitivity that works best for your style of drawing.
- Custom Presets and Shortcuts: Many drawing tablet software programs allow you to create custom presets and shortcuts. This can include saving your preferred brush settings, creating custom brushes, or setting up keyboard shortcuts to perform specific actions. Utilize these customization options to create a personalized workspace that fits your artistic workflow.
- Pen Calibration: If you notice any misalignment between your pen tip and the cursor on the screen, recalibrate your tablet. The calibration process varies for different tablets, but it generally involves following on-screen instructions to align the cursor with the pen tip accurately.
Remember to consult your drawing tablet’s user manual or visit the manufacturer’s website for specific instructions and guidance on customizing settings for your particular tablet model.
By customizing your drawing tablet settings, you can optimize your workflow and make drawing more intuitive and efficient. Take the time to explore various settings and experiment with different configurations until you find what works best for your artistic style and preferences.
In the upcoming sections, we will dive deeper into drawing and sketching techniques using your tablet and explore advanced features such as pressure sensitivity and shortcut keys. So, let’s continue our journey and uncover the full potential of your drawing tablet!
Drawing and Sketching on a Tablet
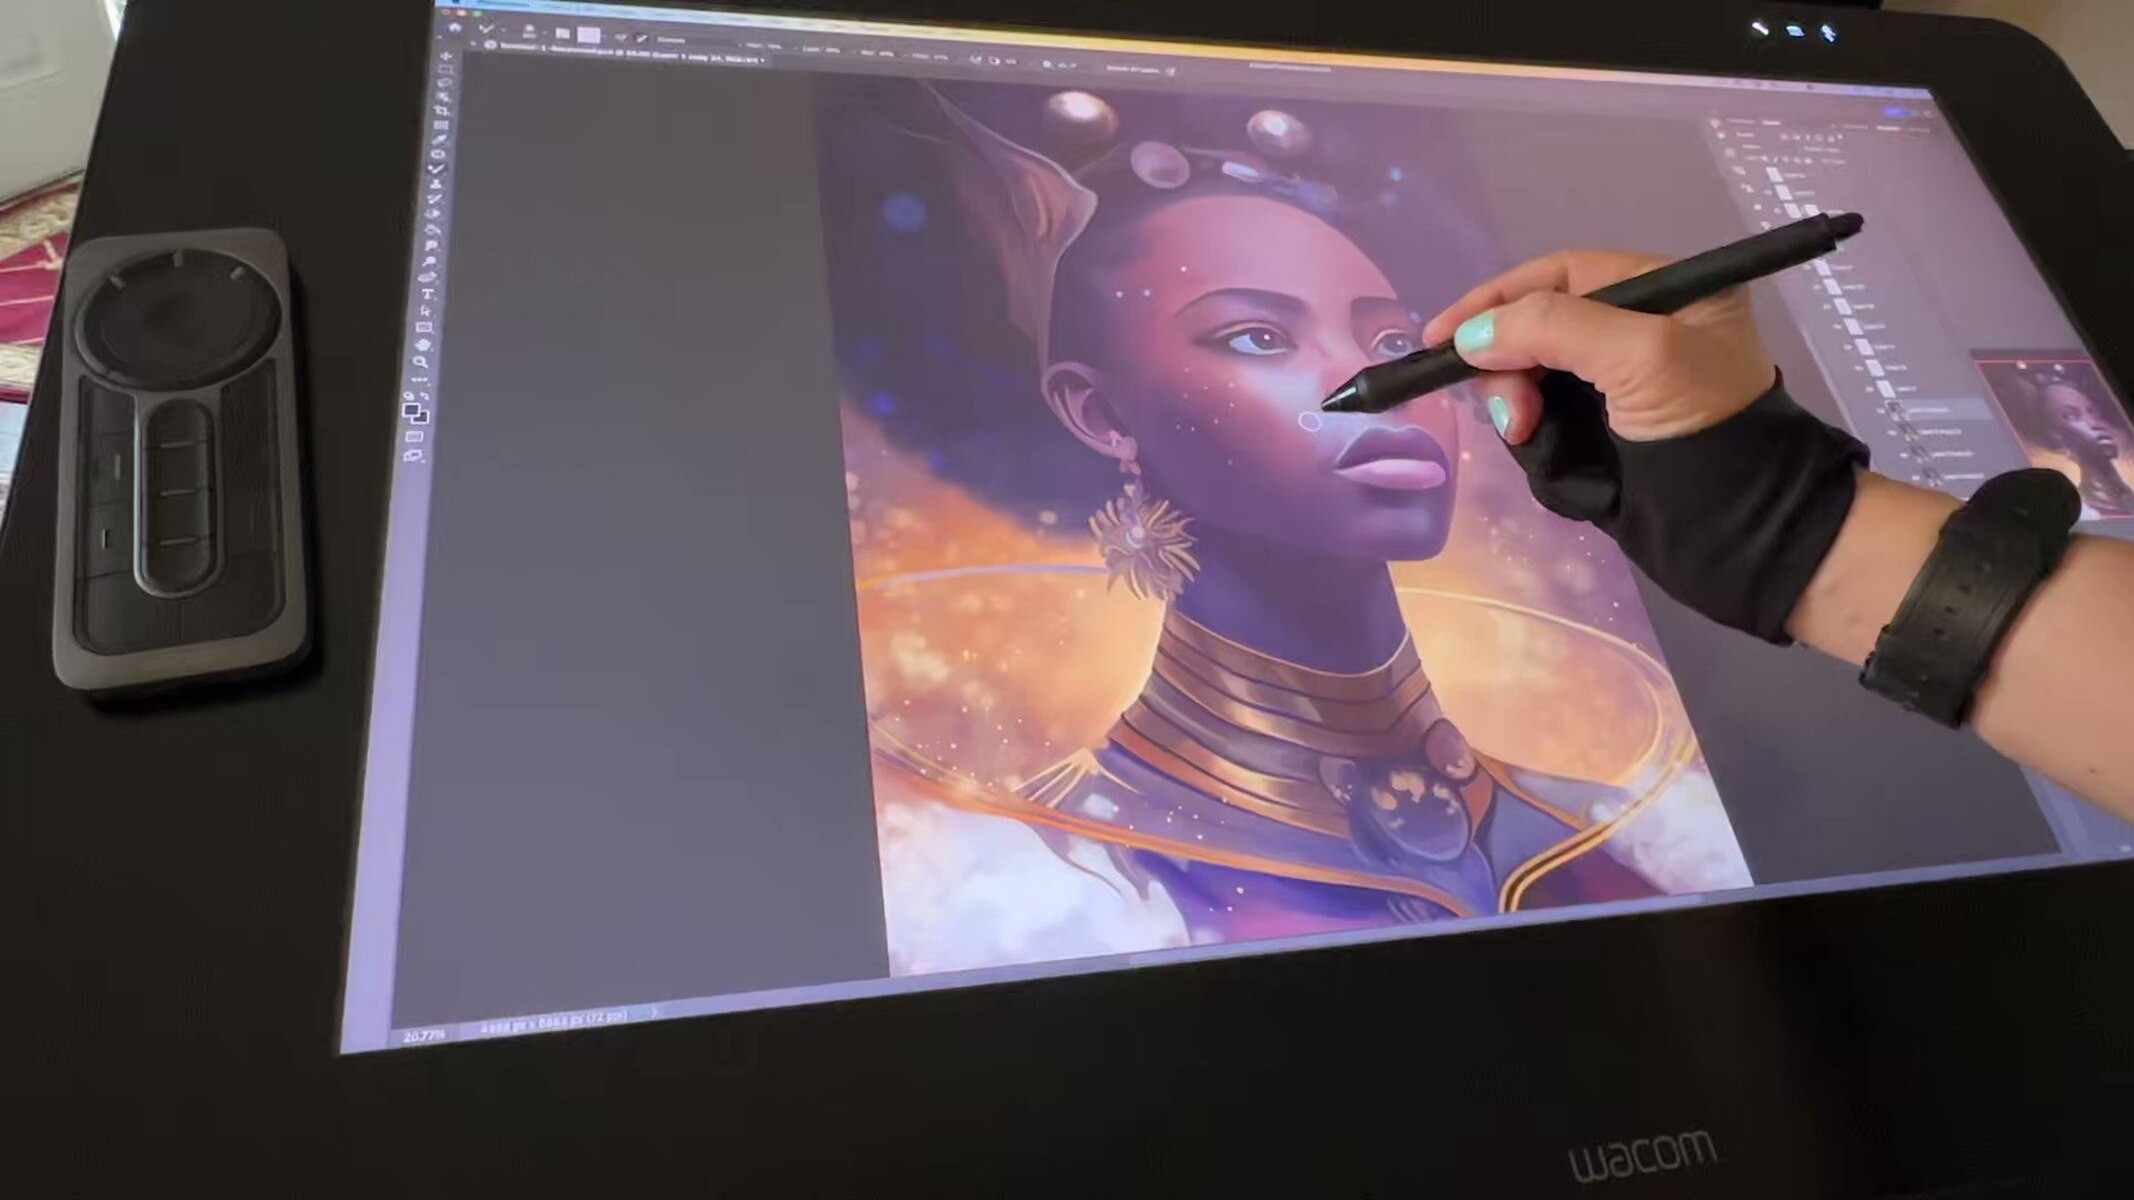
Now that you have set up your drawing tablet and customized the settings, it’s time to unleash your creativity and start drawing and sketching on your tablet’s digital canvas. Here are some key tips and techniques to enhance your drawing and sketching experience:
- Choose the Right Drawing Software: There are numerous drawing software options available, ranging from free programs like Krita and GIMP to industry-standard software like Adobe Photoshop and Corel Painter. Experiment with different software and find the one that suits your style and preferences.
- Experiment with Brushes and Textures: Drawing software offers a variety of digital brushes and textures. Explore different brush types, sizes, and textures to create various effects and mimic traditional media. Experimenting with brushes allows for more versatility and enables you to create unique and expressive artwork.
- Start with Rough Sketches: When starting a new artwork, begin with rough sketches to plan out your composition and basic shapes. Use lighter lines and strokes to create loose outlines and establish the overall structure of your drawing. Refine your sketch gradually as you progress.
- Refine with Layers: Take advantage of layers in your drawing software to separate different elements of your artwork. This allows for easier adjustments, corrections, and fine-tuning. Start with a rough sketch on the bottom layer and gradually build up details on separate layers above it.
- Utilize Pressure Sensitivity: Your drawing tablet’s pen is pressure-sensitive, allowing you to create varying line thicknesses and opacity levels. Experiment with different levels of pressure to add depth and dimension to your artwork. Use lighter pressure for fine details and heavier pressure for broader strokes and shading.
- Take Advantage of Undo and Redo: One of the advantages of digital drawing is the ability to undo and redo actions easily. Don’t be afraid to experiment and make mistakes. If you’re not happy with a particular stroke or change, simply undo and try again until you achieve the desired result.
- Practice Gesture Drawing: Gesture drawing is a technique used to capture the rhythm, movement, and overall essence of a subject quickly. It helps to improve your observation skills and capture the essence of a pose or object in a few swift lines. Incorporate gesture drawing into your warm-up routine to improve your overall drawing skills.
- Save and Back Up Your Work: Digital artwork can be lost due to technical issues or accidental deletion. Make it a habit to regularly save your work and create backups to prevent any data loss. You can also use cloud storage solutions or external hard drives to keep multiple copies of your artwork.
Remember that drawing on a tablet may take some getting used to, especially if you have transitioned from traditional art mediums. Practice regularly and experiment with different techniques and styles to improve your digital drawing skills.
In the upcoming sections, we will explore advanced techniques, such as using pressure sensitivity to control brush strokes and utilizing shortcut keys on your drawing tablet. So, let’s continue our journey and uncover the full potential of your drawing tablet!
Using Pressure Sensitivity to Control Brush Strokes
One of the most powerful features of a drawing tablet is its ability to detect and respond to varying levels of pressure applied by the pen. This pressure sensitivity allows you to have precise control over the thickness, opacity, and overall appearance of your brush strokes. Here are some tips to help you make the most of pressure sensitivity when creating digital art:
- Adjust Pressure Sensitivity Settings: Most drawing tablet software allows you to customize the pressure sensitivity settings. Experiment with different pressure curves and sensitivities to find a configuration that feels natural and responsive to your drawing style.
- Vary Line Thickness: Apply lighter pressure for thinner lines and heavier pressure for thicker lines. This enables you to create dynamic and expressive linework, adding depth and dimension to your artwork.
- Control Opacity: Take advantage of pressure sensitivity to control the opacity of your brush strokes. Apply light pressure for more translucent or faded strokes, and increase the pressure for more solid and opaque areas. This technique is particularly useful for shading and creating subtle textures in your artwork.
- Layer Blending: Experiment with layer blending modes to achieve interesting effects with pressure sensitivity. Use brushes with varying levels of opacity and pressure sensitivity to create smooth transitions and blend colors seamlessly. This technique can add depth and richness to your artwork.
- Explore Crosshatching and Hatching: Crosshatching and hatching are techniques that involve using parallel lines to create shading and texture in drawings. With pressure sensitivity, you can achieve more nuanced and realistic results by varying the pressure and density of the lines.
- Create Tapered Strokes: By adjusting the pressure as you make a stroke, you can create tapered lines that start thin and gradually become thicker or vice versa. This technique is particularly useful for creating flowing hair, wispy details, or adding emphasis to certain parts of your artwork.
- Combine Pressure with Tilt Sensitivity: If your drawing tablet supports tilt sensitivity, consider using it in conjunction with pressure sensitivity. Tilt the pen at different angles while applying varied pressure to achieve realistic shading and achieve more organic, brush-like effects.
- Practice and Experiment: Like any skill, mastering pressure sensitivity takes practice and experimentation. Spend time exploring different techniques, brushes, and levels of pressure to understand the full potential of your tablet’s pressure sensitivity capabilities.
By harnessing the power of pressure sensitivity, you can add depth, expressiveness, and realism to your digital artwork. Remember to take breaks and experiment with different approaches to find what works best for your artistic style and the specific effects you want to achieve.
In the upcoming sections, we will explore using shortcut keys on your drawing tablet and techniques for importing and exporting artwork. So, let’s continue our journey and unlock more possibilities with your drawing tablet!
Using Shortcut Keys on Your Drawing Tablet
Shortcut keys on a drawing tablet are programmable buttons that can significantly enhance your productivity and workflow. These customizable keys allow you to access frequently used commands and tools with a simple press, reducing the need to navigate menus or use keyboard shortcuts. Here’s how you can make the most of shortcut keys on your drawing tablet:
- Identify Commonly Used Commands: Take note of the commands and tools that you use frequently in your digital artwork. These could include functions like undo/redo, brush size adjustment, eraser tool, zoom, or saving your work. Identifying these commands will help you determine which shortcuts to assign to your tablet’s buttons.
- Customize Shortcut Keys: Use the tablet settings or control panel software to customize the shortcut keys according to your preferences. Each tablet manufacturer may have its own software for customizing shortcut keys. Assign specific commands or tools to the available buttons on your tablet, based on your identified commonly used functions.
- Experiment with Workflow: After setting up the shortcut keys, experiment with your workflow. Use the tablet’s buttons to access the assigned commands and tools while drawing or sketching. With practice, you’ll become more comfortable using the shortcut keys, leading to a smoother and more efficient drawing experience.
- Create Custom Macros: Some drawing tablet software allows you to create custom macros, which are sequences of commands grouped together. This can be especially useful for complex tasks or repetitive actions. By creating custom macros, you can streamline your workflow and save time in executing a series of commands.
- Refine and Adjust: As you use your tablet’s shortcut keys, you may discover that certain commands or tools are more frequently used than others. Don’t hesitate to refine and adjust your shortcut key assignments accordingly. You can also create multiple configurations for different workflows or software applications.
- Pair with Keyboard Shortcuts: Consider pairing your tablet’s shortcut keys with keyboard shortcuts for even greater efficiency. By using a combination of both, you can access a wider range of commands and tools without needing to take your hands off the tablet or interrupt your drawing flow.
- Practice and Muscle Memory: Just like any new tool or technique, it takes practice to become comfortable and efficient with shortcut keys. Spend time using your tablet’s buttons and develop muscle memory for your most frequently used commands. With time, accessing shortcuts will become second nature and boost your overall productivity.
By utilizing shortcut keys on your drawing tablet, you can streamline your workflow and access frequently used commands and tools with ease. Customizing the shortcut keys to fit your needs and practicing regularly will significantly enhance your overall digital drawing experience.
In the upcoming sections, we will explore techniques for importing and exporting artwork, as well as troubleshooting common issues with drawing tablets. So, let’s continue our journey and uncover more tips and tricks for optimizing your use of a drawing tablet!
Importing and Exporting Artwork
Importing and exporting artwork is an essential part of working with a drawing tablet. Whether you want to bring in external resources, transfer your work to different software, or share your creations with others, understanding how to import and export artwork is crucial. Here’s a guide to help you navigate this process:
Importing Artwork:
- Scan Traditional Art: If you have artwork created on traditional mediums like paper or canvas, you can use a scanner to digitize it. Scan your artwork at a high-resolution setting, ensuring good lighting and proper alignment during the scanning process.
- Open Existing Digital Artwork: If you have previously saved digital artwork, open it in your preferred drawing software. Most drawing programs support various file formats such as JPEG, PNG, TIFF, and PSD. Choose the appropriate file format for your artwork.
- Importing External Resources: When creating digital artwork, you may need to import external resources such as reference images, textures, or pre-made elements. Use the import function in your drawing software to bring in these resources and incorporate them into your artwork.
Exporting Artwork:
- Save as Native Format: It is recommended to save your artwork in the native format of your drawing software (e.g., .PSD for Adobe Photoshop, .AI for Adobe Illustrator). Saving in the native format preserves all the layers, settings, and editable elements of your artwork for future modifications.
- Export for Sharing: To share your artwork with others, export it in a commonly supported format like JPEG or PNG. These formats maintain the visual quality of your artwork while reducing file size for easy sharing via email, social media, or online platforms.
- Export for Printing: If you intend to print your artwork, consider exporting it in a high-resolution format such as TIFF or PDF. These formats ensure that your artwork retains its sharpness and detail when reproduced in print.
Consider creating a folder or directory specifically for your artwork files to keep them organized. This will make it easier to locate and manage your digital art files in the future.
Remember to adhere to any copyright laws or usage rights associated with external resources or references you use in your artwork. Give proper credit where necessary to respect the work of others.
By understanding the process of importing and exporting artwork, you can seamlessly incorporate external resources, share your creations with others, and ensure your artwork is preserved in the appropriate formats. Now that you’re equipped with these skills, let’s explore troubleshooting common issues with drawing tablets in the next section.
Tips and Techniques for Using a Drawing Tablet
Using a drawing tablet effectively involves more than just mastering the technical aspects. It’s about harnessing your creativity and employing smart techniques to bring your digital artwork to life. Here are some valuable tips and techniques to enhance your drawing tablet experience:
- Get Comfortable: Ensure that you are seated in a comfortable position when using your drawing tablet for extended periods. Maintain good posture and use a supportive chair and desk setup to minimize any physical discomfort or strain.
- Take Advantage of Undo and Redo: Digital drawing gives you the ability to undo and redo your actions easily. Don’t be afraid to experiment and make mistakes. Utilize these functions to explore different ideas and iterate on your artwork until you achieve the desired result.
- Use Reference Images: Incorporate reference images to improve accuracy and add realism to your artwork. Whether it’s for anatomy, lighting, or textural details, having references beside your canvas can help you create more lifelike and visually appealing illustrations.
- Practice Regularly: The more you practice using your drawing tablet, the more comfortable and skilled you will become. Dedicate time each day or week to practice different techniques, experiment with new brushes, or try out various styles to continuously improve your digital art skills.
- Explore Online Resources: Online tutorials, forums, and communities are an excellent source of inspiration and learning. Join social media groups, participate in art communities, and watch video tutorials to expand your knowledge, discover new techniques, and gain insight from other artists.
- Experiment with Brush Customization: Take advantage of the brush customization options in your drawing software. Adjust brush settings such as opacity, flow, texture, and scattering to create unique and personalized brush presets that suit your artistic style.
- Take Breaks: Drawing for long periods can strain your eyes and lead to fatigue. Remember to take short breaks to rest your eyes and relax your hand and wrist. This helps maintain focus and prevents repetitive strain injuries.
- Keep Learning and Growing: Artistic growth is a continuous process. Never stop learning and trying new things. Explore different art styles, experiment with different subjects, and push your creative boundaries to keep developing your skills as an artist.
Remember, using a drawing tablet is a journey of exploration and self-expression. Embrace the unique capabilities of your tablet while adding your personal touch to create art that truly reflects your vision and talent.
In the next section, we will discuss common issues with drawing tablets and troubleshooting techniques to help you overcome them. So, let’s continue our journey and refine your drawing tablet skills!
Troubleshooting Common Issues with Drawing Tablets
While drawing tablets are powerful tools for digital art creation, they can occasionally encounter issues that affect their performance. Here are some common problems with drawing tablets and troubleshooting techniques to help you resolve them:
- Driver Issues: If your drawing tablet is not working properly, the first step is to ensure that you have the latest drivers installed. Check the manufacturer’s website for any available driver updates and download/install them accordingly. Make sure to follow the installation instructions provided by the manufacturer to ensure a proper installation.
- Connectivity Problems: If your tablet is not recognized by your computer or is experiencing connectivity issues, try the following solutions:
- Reconnect the USB cable and ensure it is securely plugged in.
- Try using a different USB port on your computer.
- Restart your computer.
- Check for any physical damage to the cable or port and replace if necessary.
- Pen Sensitivity Issues: If the pressure sensitivity or tilt recognition of your pen is not functioning correctly, there are a few troubleshooting steps to try:
- Check the sensitivity settings in your tablet’s software and adjust them if needed.
- Ensure that the pen is properly calibrated by following the calibration process recommended by the manufacturer.
- Inspect the pen tip for any damage or wear and replace it if necessary.
- Verify that the pen is compatible with your specific tablet model and that it is not malfunctioning.
- Software Compatibility Issues: If your drawing tablet is not working as expected with certain software applications, consider the following solutions:
- Check for any updates or patches for the software you are using and ensure that you have the latest version installed.
- Verify that the software is compatible with your drawing tablet model. Some older or less common tablets may have limited software compatibility.
- Consult the drawing tablet’s user manual or visit the manufacturer’s website for a list of recommended software applications.
- Erratic Cursor Movement: If you are experiencing unsteady or jumping cursor movement, try the following troubleshooting steps:
- Ensure that there are no other electronic devices or wireless signals nearby that may interfere with the tablet’s signal.
- Check for any dust or debris on the drawing tablet’s surface or the pen sensor and clean them using a soft, lint-free cloth.
- Restart your computer and recalibrate the pen to restore accurate cursor movement.
If you have attempted these troubleshooting techniques and are still experiencing issues with your drawing tablet, consider reaching out to the manufacturer’s customer support for further assistance. They are often best equipped to provide specific guidance and resolve any persistent problems.
By addressing common issues and implementing troubleshooting techniques, you can ensure the optimal performance of your drawing tablet and uninterrupted creation of digital artwork.
In the final section, we will summarize the key points discussed and wrap up our comprehensive guide to using a drawing tablet efficiently.
Conclusion
Congratulations on completing this comprehensive guide to using a drawing tablet effectively! We’ve covered various aspects, from setting up your tablet and installing drivers to customizing settings, utilizing pressure sensitivity, and troubleshooting common issues. By following these tips and techniques, you can unleash your creativity and make the most of your drawing tablet.
Drawing tablets provide an intuitive and versatile platform for creating digital artwork, bridging the gap between traditional and digital art mediums. They offer precise control, pressure sensitivity, and customization options that enhance your ability to bring your artistic visions to life.
Remember to continue practicing regularly, exploring new techniques, and seeking inspiration from online resources and art communities. The journey of becoming a skilled digital artist is a continuous process of learning and growth.
Whether you are a professional artist, designer, or someone who appreciates the art of creation, a drawing tablet is a powerful tool that can unlock your artistic potential. Embrace your tablet, experiment with different brushes and techniques, and develop your unique style and voice as a digital artist.
Should you encounter any difficulties or issues along the way, remember to consult the manufacturer’s documentation, online resources, and reach out to their customer support for assistance. They are there to help you navigate any challenges you may face.
Now that you have a solid foundation in using a drawing tablet, it’s time to embark on your creative journey. Embrace the boundless possibilities of digital art and let your imagination soar. With your drawing tablet as your trusty tool, you are equipped to create beautiful, extraordinary, and impactful artworks.
Happy creating and best wishes on your artistic endeavors!