Introduction
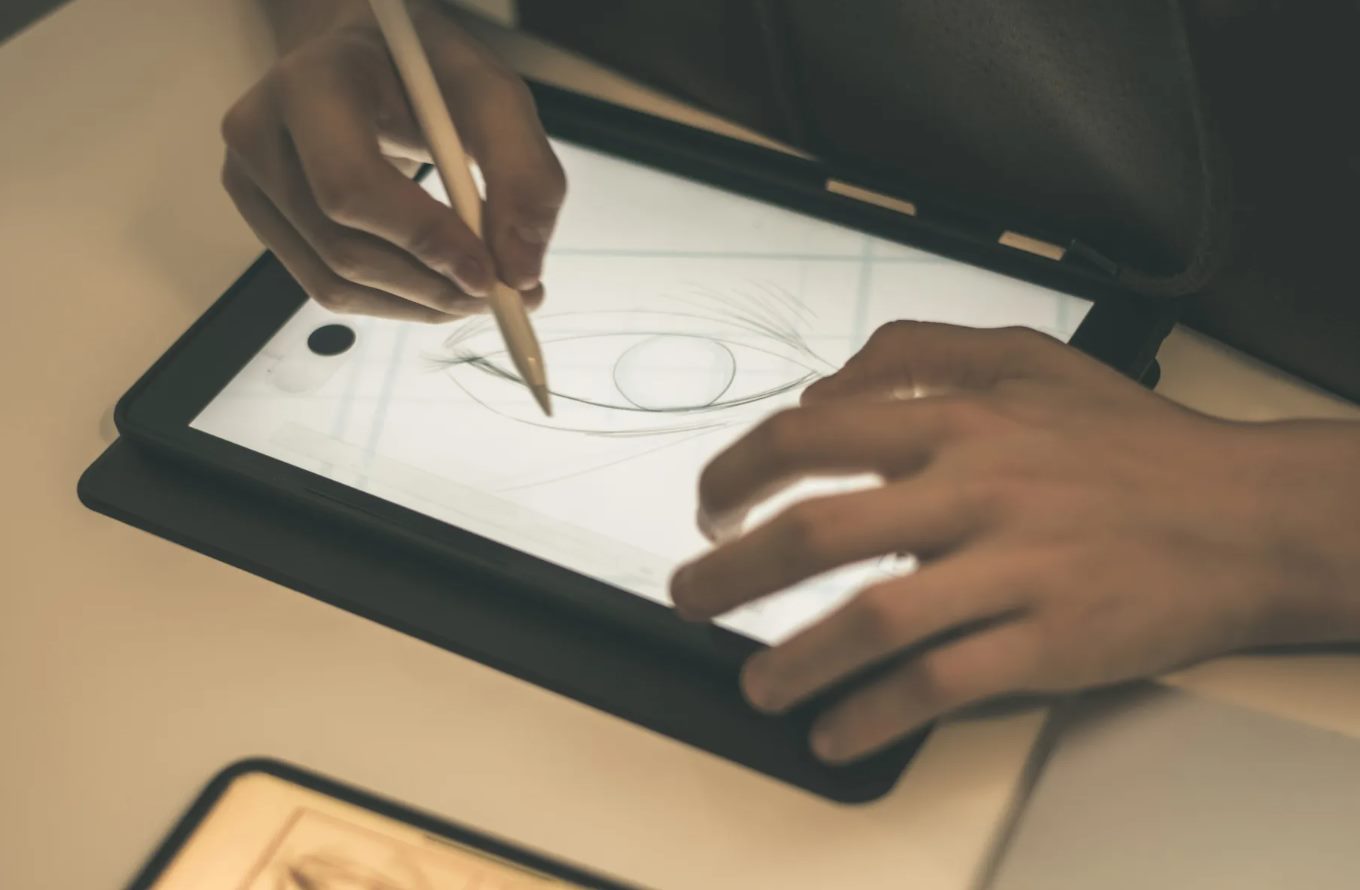
Connecting a drawing tablet to your laptop is a fundamental step in unleashing your creativity as an artist or graphic designer. Whether you’re a beginner or a seasoned professional, using a drawing tablet can greatly enhance your workflow and provide you with more precision and control.
In this guide, we will walk you through the process of connecting your drawing tablet to your laptop, ensuring that you have all the necessary drivers and settings properly configured. By following these steps, you’ll be ready to start creating digital masterpieces in no time!
Before we dive into the technical aspects of connecting your tablet, it’s important to note that not all drawing tablets are compatible with all laptops. Therefore, it’s essential to check the specifications and system requirements of both your tablet and laptop to ensure they can work together seamlessly.
In the following sections, we will discuss the step-by-step process of connecting your drawing tablet to your laptop, installing the necessary drivers, and configuring the tablet settings for optimal performance. So, let’s get started and unlock the full potential of your digital artistry!
Step 1: Check for Compatibility
The first step in connecting your drawing tablet to your laptop is to ensure that they are compatible with each other. Compatibility issues can arise if the tablet’s drivers are not supported by your laptop’s operating system or if the tablet requires specific hardware capabilities that your laptop does not have.
To check for compatibility, start by referring to the documentation or the manufacturer’s website of your drawing tablet. Look for the system requirements and make sure that your laptop meets or exceeds them. Pay attention to the operating system compatibility, available USB ports, and any other specific requirements mentioned.
If you’re unsure about the compatibility or finding it difficult to interpret the technical information, you can reach out to the manufacturer’s customer support for assistance. They will be able to guide you and clarify any doubts you may have.
Apart from the technical specifications, it’s also important to consider the physical dimensions of your tablet and your laptop’s workspace. Make sure that you have enough space to comfortably use the tablet and that it fits well within your setup.
Additionally, keep in mind the type of work you’ll be doing. If you’re primarily using the tablet for casual artwork or photo editing, a basic tablet with fewer features might suffice. However, if you’re a professional artist or designer with complex projects and precise requirements, you may need a tablet with advanced features and a higher level of sensitivity.
By thoroughly checking for compatibility, you can ensure a smooth and hassle-free experience when connecting your drawing tablet to your laptop. Once you’re confident that they are compatible, you can proceed to the next steps of the setup process.
Step 2: Install Drivers
After confirming the compatibility of your drawing tablet with your laptop, the next step is to install the appropriate drivers. Drivers are software programs that allow your operating system to communicate effectively with the tablet and enable its full functionality.
Most drawing tablets come with a driver disc or a download link from the manufacturer’s website. Start by inserting the driver disc into your laptop’s CD/DVD drive or visit the manufacturer’s website and download the drivers for your specific tablet model.
Once you have the drivers, follow the instructions provided to install them on your laptop. The installation process may vary depending on the tablet and the operating system you are using, but it generally involves running the setup file and following the prompts on the screen.
During the installation, you may be prompted to restart your laptop. Ensure that you save any unsaved work before proceeding with the restart.
After the drivers are successfully installed, it is recommended to check for any available updates. Manufacturers regularly release driver updates to enhance performance, fix bugs, and add new features. Visit the manufacturer’s website or use their software (if provided) to check for updates and install them if available.
Installing the correct drivers is crucial for the optimal functioning of your drawing tablet. It allows you to take advantage of all the features, such as pressure sensitivity, tilt recognition, and customizable buttons. Properly installed drivers ensure a smooth and accurate drawing experience.
Once the drivers are installed and updated, you are ready to move on to the next step: connecting your drawing tablet to your laptop.
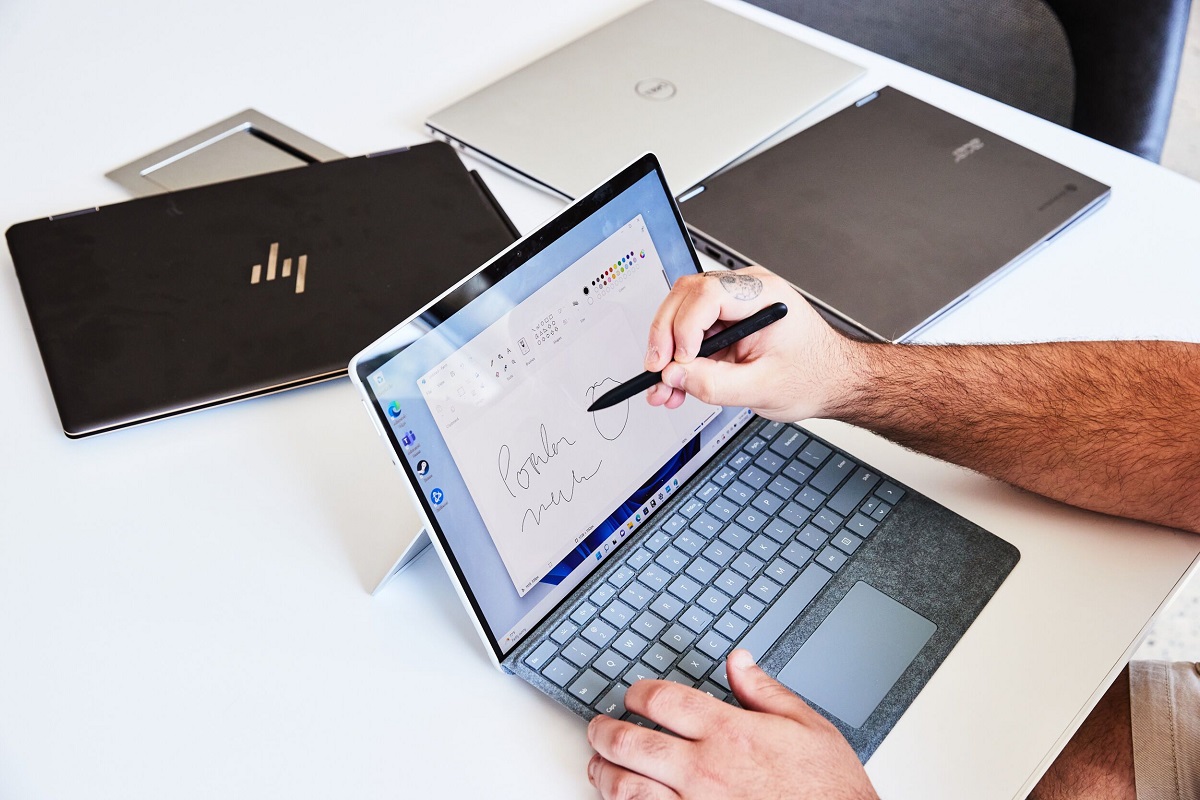
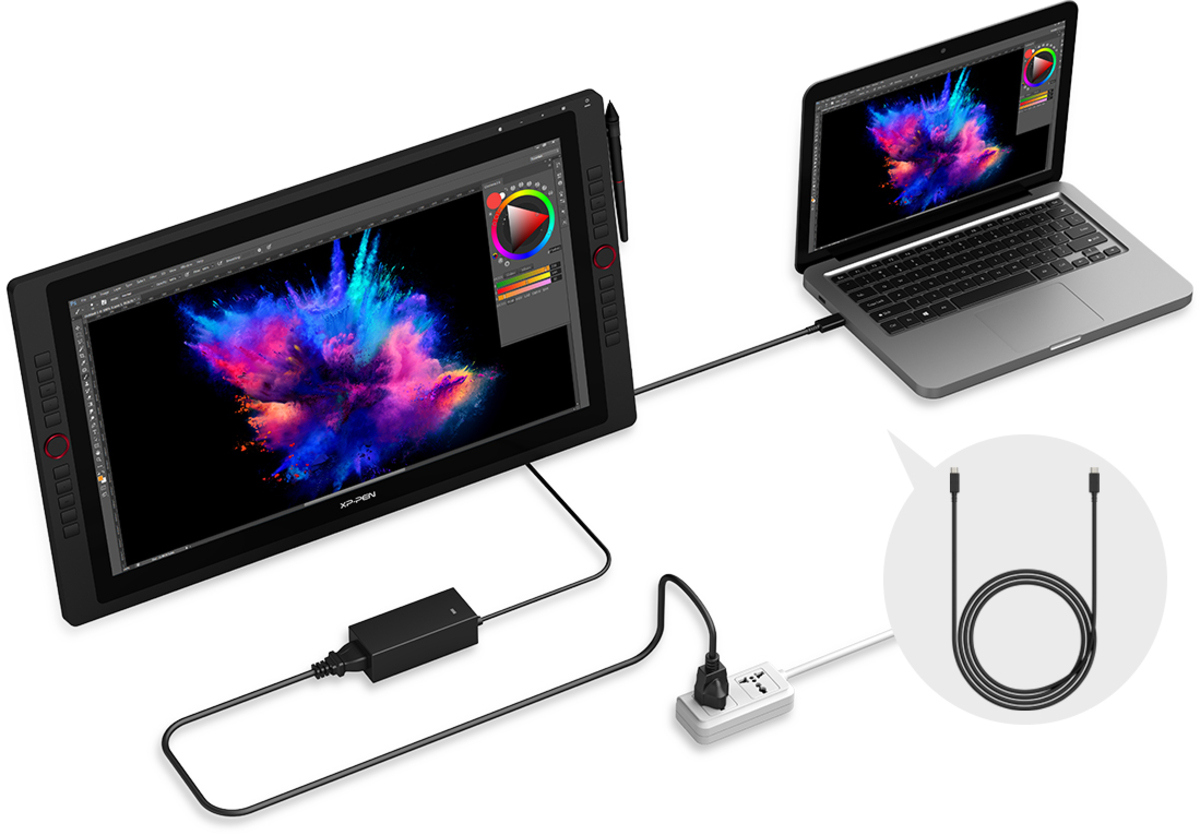
Step 3: Connect the Tablet to the Laptop
Now that you have installed the necessary drivers, it’s time to physically connect your drawing tablet to your laptop. Follow these steps to establish a connection:
- Start by locating the USB cable that came with your drawing tablet.
- Next, find an available USB port on your laptop. It is often preferable to use a USB 3.0 port for faster data transfer, but a USB 2.0 port will also work fine.
- Plug one end of the USB cable into the corresponding port on your drawing tablet.
- Plug the other end of the USB cable into the USB port on your laptop.
- Once the cable is securely connected to both devices, your laptop should recognize the drawing tablet.
Depending on the brand and model of your drawing tablet, it may require additional power. If this is the case, make sure to connect the tablet to a power source using the provided power adapter.
While connecting the tablet, ensure that the cable is not twisted or bent excessively, as this can damage the cable or the ports. It’s also a good idea to keep the cable away from any potential hazards or obstructions on your workspace to prevent accidental disconnection.
Now that the physical connection between your drawing tablet and laptop is established, you can proceed to the next step: configuring the tablet settings.
Step 4: Configure Tablet Settings
After connecting your drawing tablet to the laptop, it’s important to configure the tablet settings to ensure optimal performance and customize it according to your preferences. Here’s how you can do it:
- Open the driver software that you installed earlier. This software allows you to access and modify the tablet settings. Look for the software icon in your system tray or search for it in the Start Menu.
- Once you locate the software, open it to access the settings panel. The layout and options may vary depending on the tablet brand and model chosen.
- Explore the settings panel and adjust the settings to match your desired preferences. This includes customizing pen pressure sensitivity, assigning functions to the tablet buttons, adjusting the tablet’s active area, and configuring any additional input settings.
- Take some time to experiment with different settings to find the configuration that suits your workflow best. It may require a bit of trial and error until you find the perfect balance of sensitivity and responsiveness.
- Make sure to save your settings once you are satisfied with the adjustments you made.
Keep in mind that every artist has their own unique set of preferences, so there’s no one-size-fits-all solution. The goal is to customize the tablet settings according to your drawing style, hand position, and personal comfort.
If you are unsure about certain settings or need more guidance, refer to the user manual or online tutorials provided by the tablet manufacturer. They can provide detailed instructions on how to configure specific settings tailored to your tablet model.
Now that you have successfully configured the tablet settings, you are ready to move on to the next step: calibrating the tablet.
Step 5: Calibrate the Tablet
Calibrating your drawing tablet is an essential step to ensure accurate and precise pen input. Calibration helps align the tablet’s active area with your laptop’s screen, ensuring that your pen strokes are accurately translated to the digital canvas. Follow these steps to calibrate your tablet:
- Open the driver software for your tablet.
- Look for the calibration or mapping settings within the software. The location and naming of this option may vary depending on your tablet brand and model.
- Follow the on-screen instructions to perform the calibration process. Typically, this involves touching the digital pen to specific markers or tapping on the corresponding points on your screen.
- Make sure to perform the calibration process on a flat and stable surface to avoid any interference.
- Once the calibration process is complete, review the tablet’s behavior by testing your pen input. Verify that the pen strokes match your movements accurately.
If you encounter any issues with accuracy or consistency after calibration, you can try recalibrating or adjusting the settings to achieve a better result. Some tablets also offer advanced options for fine-tuning the calibration, such as adjusting the pressure curve to match your drawing style.
It’s important to note that calibration is not a one-time process. It’s advisable to perform regular calibrations, especially if you switch between different displays or if you feel that the accuracy of your pen input has changed over time.
By calibrating your tablet, you ensure that your digital drawings and strokes are accurately translated onto the screen, allowing for a seamless and natural drawing experience.
Once you have successfully calibrated your drawing tablet, you are ready to move on to the final step: testing the tablet to ensure everything is working correctly.
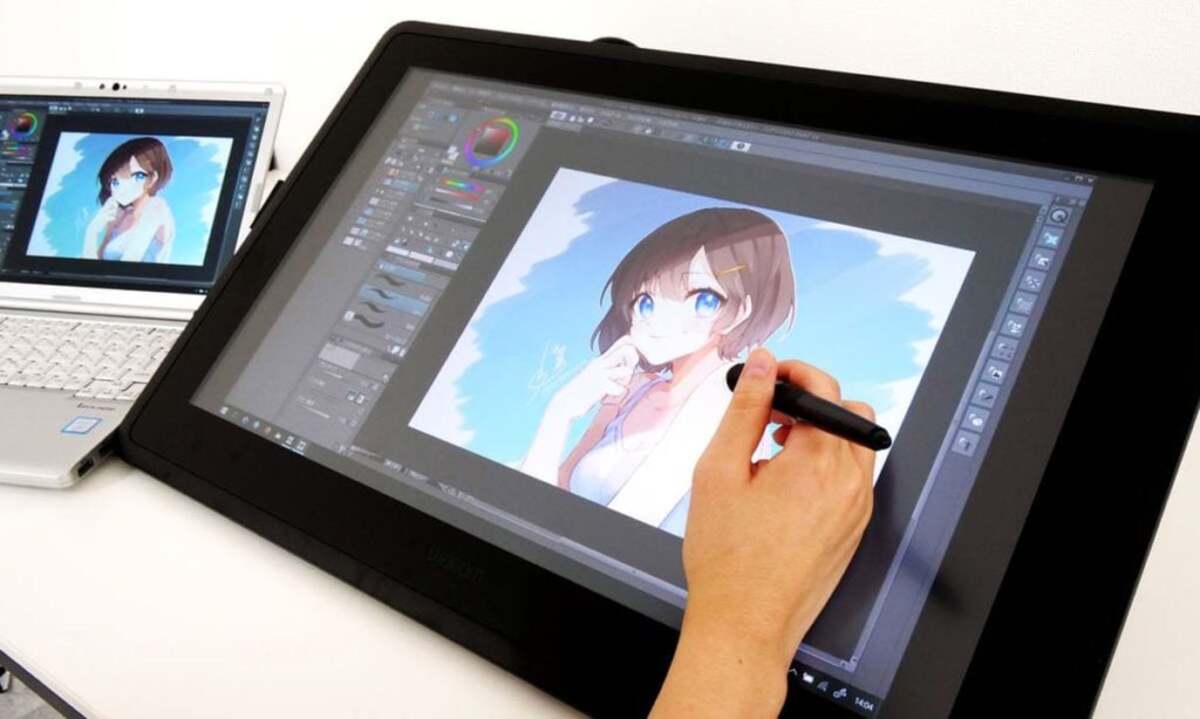
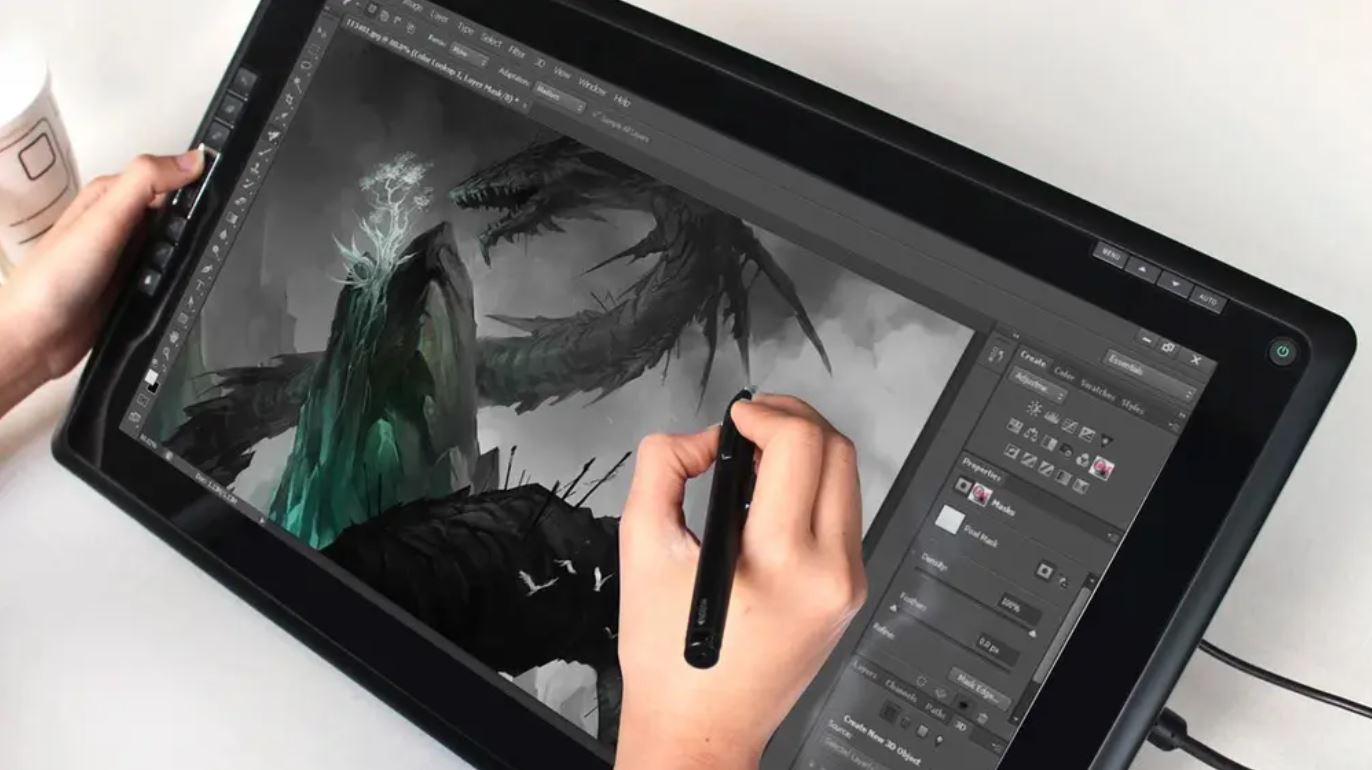
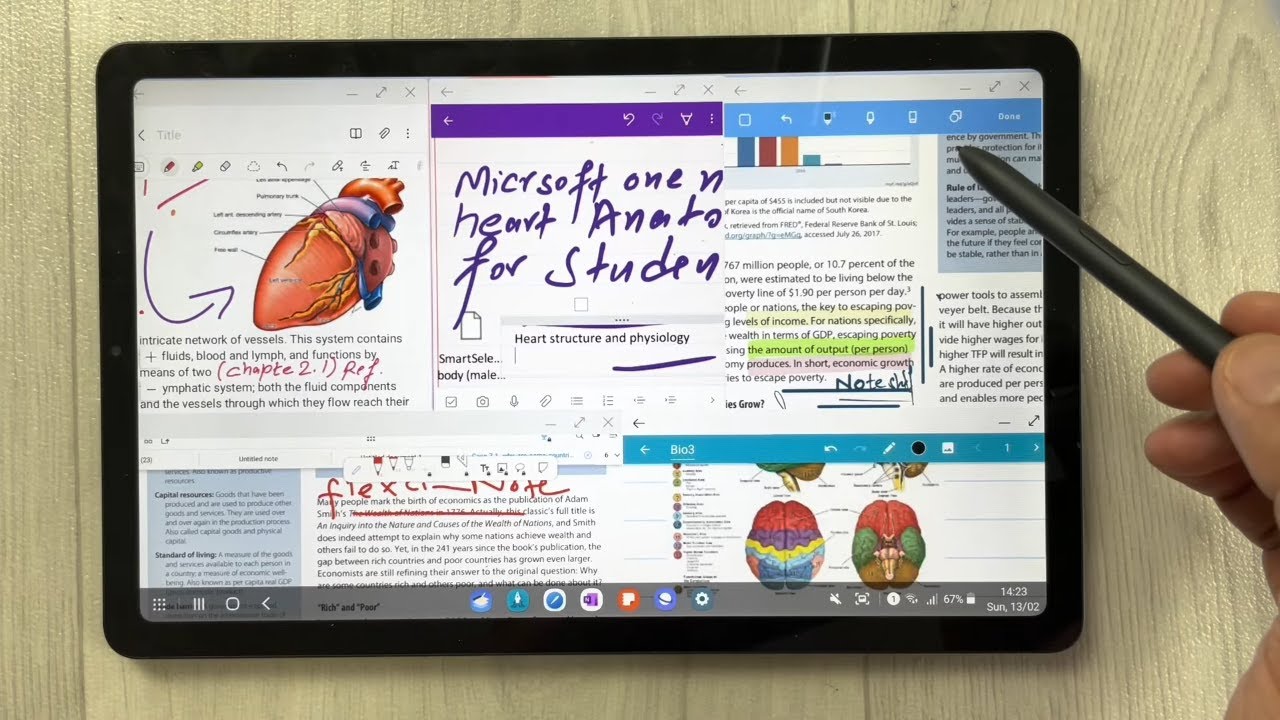
Step 6: Test the Tablet
Now that you have connected, installed drivers, configured settings, and calibrated your drawing tablet, it’s time to test it to ensure that everything is working as expected. Here are some steps to follow when testing your tablet:
- Launch your preferred drawing software or application on your laptop.
- Create a new canvas or open an existing artwork to test the tablet’s functionality.
- Start drawing with your digital pen, testing various brush sizes, pressure sensitivity, and different drawing techniques.
- Pay attention to the responsiveness of the tablet and the accuracy of the pen strokes. Verify that the tablet recognizes varying pressure levels and accurately captures your movements.
- Test the tablet’s buttons and any other features you have customized. Ensure that they perform the assigned functions correctly.
- Try out different drawing tools, such as the eraser or any special pen features your tablet may offer. Verify that they work as intended.
During the testing phase, it’s a good idea to create a simple drawing or sketch to evaluate how well the tablet performs. Pay attention to any lag, jitter, or other issues that may affect your drawing experience. If you encounter any problems, refer back to the manufacturer’s documentation or contact customer support for assistance.
It’s also useful to test the tablet’s compatibility with different software applications you plan to use. Verify that the tablet works seamlessly with your preferred digital art software, photo editing tools, or 3D modeling applications.
Testing your tablet allows you to identify any potential issues early on and make any necessary adjustments to improve your drawing experience. This step ensures that you can confidently utilize the tablet to unleash your creativity on the digital canvas.
Once you have thoroughly tested your drawing tablet and ensure that everything is functioning correctly, congratulations! You have successfully connected and set up your drawing tablet with your laptop. Now, let your imagination and artistic skills soar as you explore the world of digital art!
Conclusion
Connecting a drawing tablet to your laptop opens up a world of possibilities for digital artists and graphic designers. By following the step-by-step process outlined in this guide, you can successfully connect, install drivers, configure settings, calibrate, and test your drawing tablet, ensuring optimal performance and an enjoyable creative experience.
Checking for compatibility between your tablet and laptop is the first crucial step, followed by installing the necessary drivers and connecting the tablet to your laptop using a USB cable. Once connected, configuring the tablet settings according to your preferences allows for a more personalized workflow.
Calibrating the tablet ensures accurate pen input, aligning the tablet’s active area with your laptop’s screen. Regular calibration helps maintain optimal performance. Finally, testing the tablet in your preferred drawing software allows you to evaluate its responsiveness, accuracy, and functionality.
Remember, every artist has different preferences, so take the time to customize the tablet settings to suit your unique style and comfort. If you encounter any issues during the setup process, refer to the manufacturer’s documentation or seek customer support for assistance.
With your drawing tablet successfully connected to your laptop, you now have a powerful tool at your disposal to unleash your creativity and bring your artistic visions to life. Embrace the digital canvas, experiment with different techniques, and continue honing your skills as you embark on your digital art journey.
Now go forth, create, and let your imagination run wild with your newly connected drawing tablet and laptop combination!