Introduction
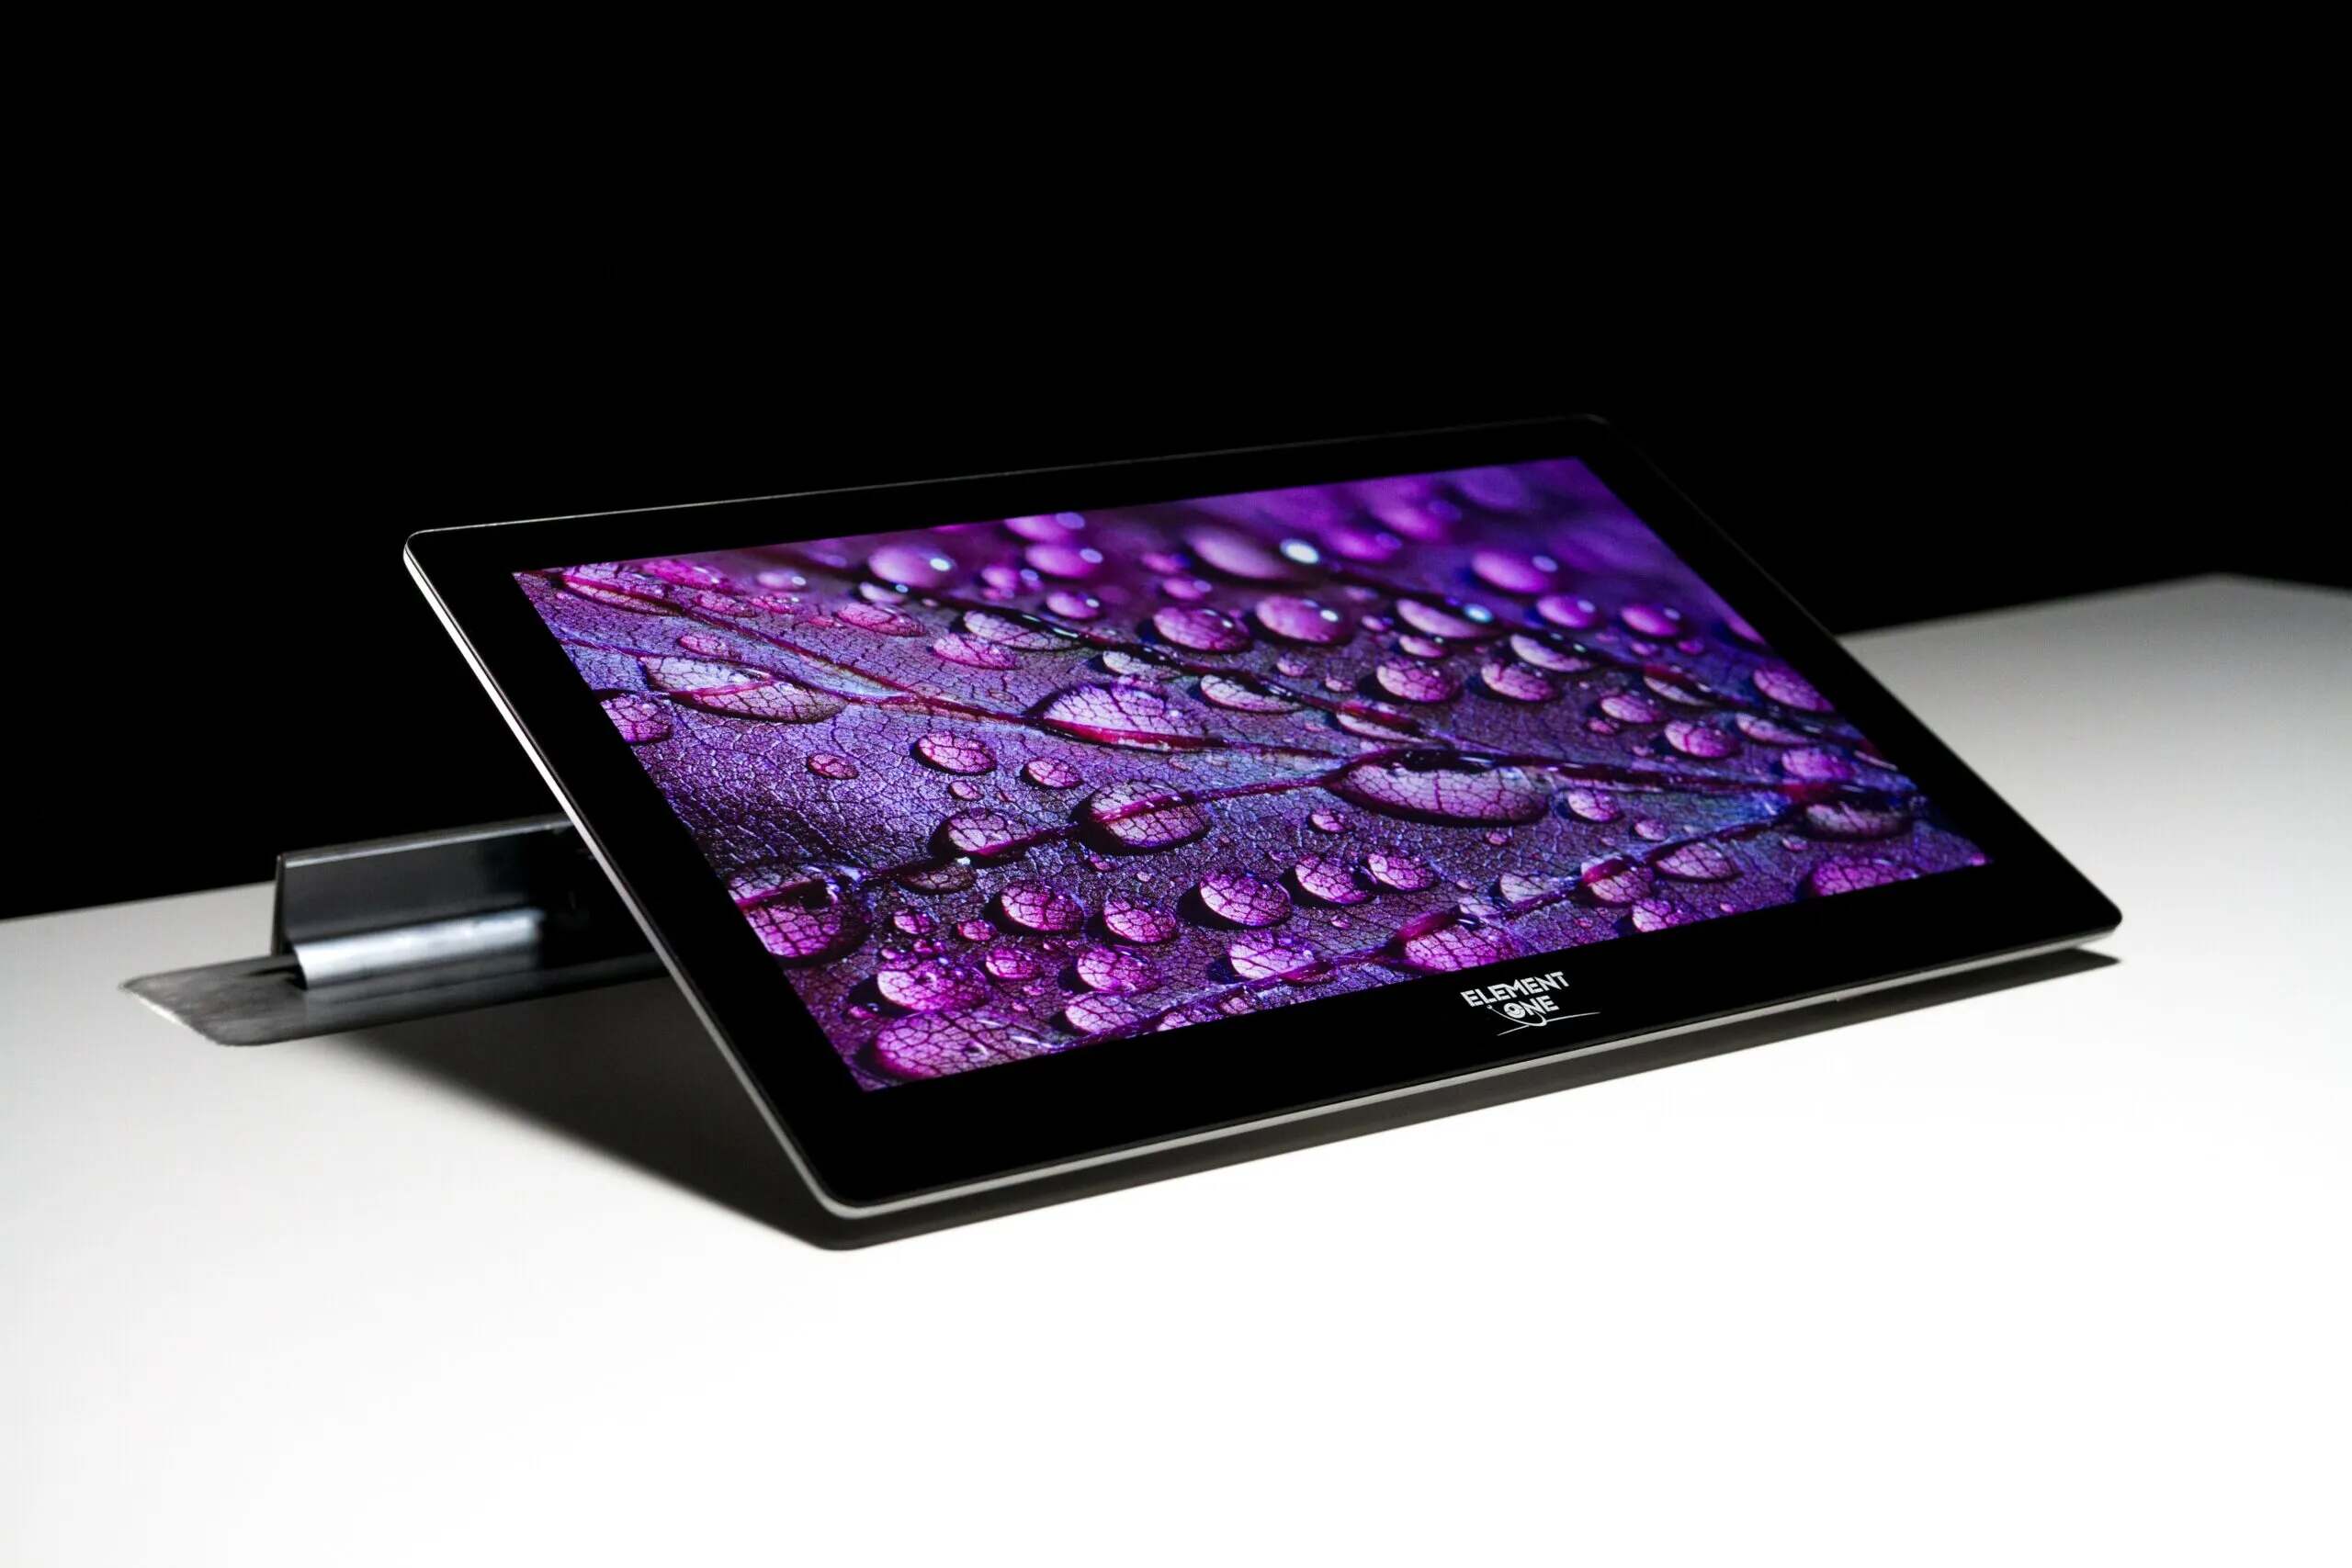
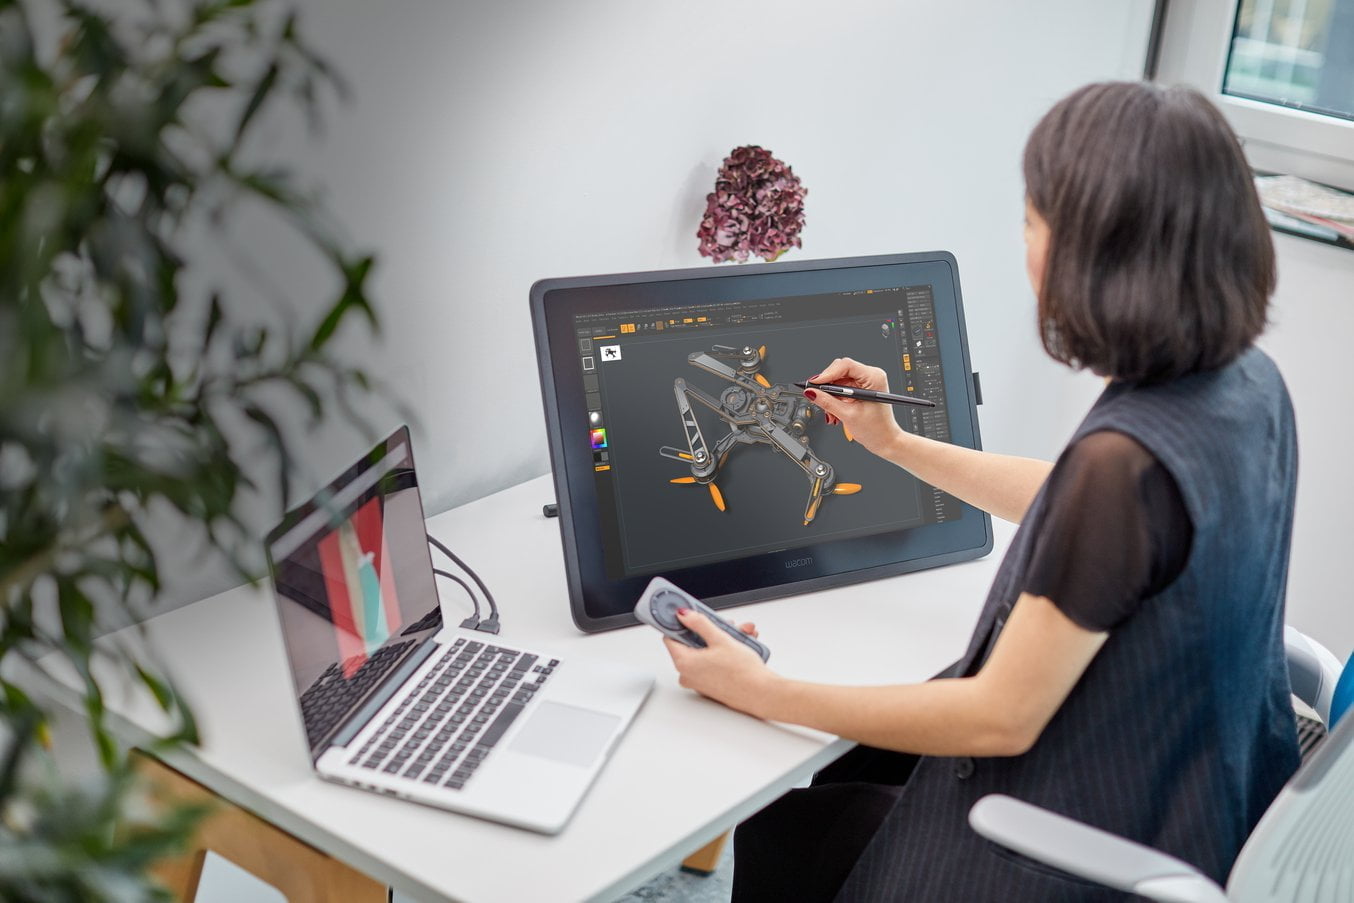
Welcome to the world of digital art and design, where creativity knows no bounds. In today’s technology-driven era, the line between traditional and digital mediums continues to blur. With the advancement of tablets and their incredible capabilities, it is now possible to use your tablet as a drawing pad for your PC, opening up a world of opportunities for digital artists and designers.
Gone are the days of needing separate devices for drawing and designing. By connecting your tablet to your PC, you can harness the power of both devices and enjoy a seamless creative experience. Whether you are a professional artist, graphic designer, or simply someone who enjoys exploring their artistic side, using your tablet as a drawing pad for PC offers numerous benefits.
With your tablet serving as a drawing pad, you have the flexibility and convenience of a portable device combined with the processing power of your PC. This allows you to create stunning digital art and designs on a larger screen, utilizing the advanced software and tools available on your computer.
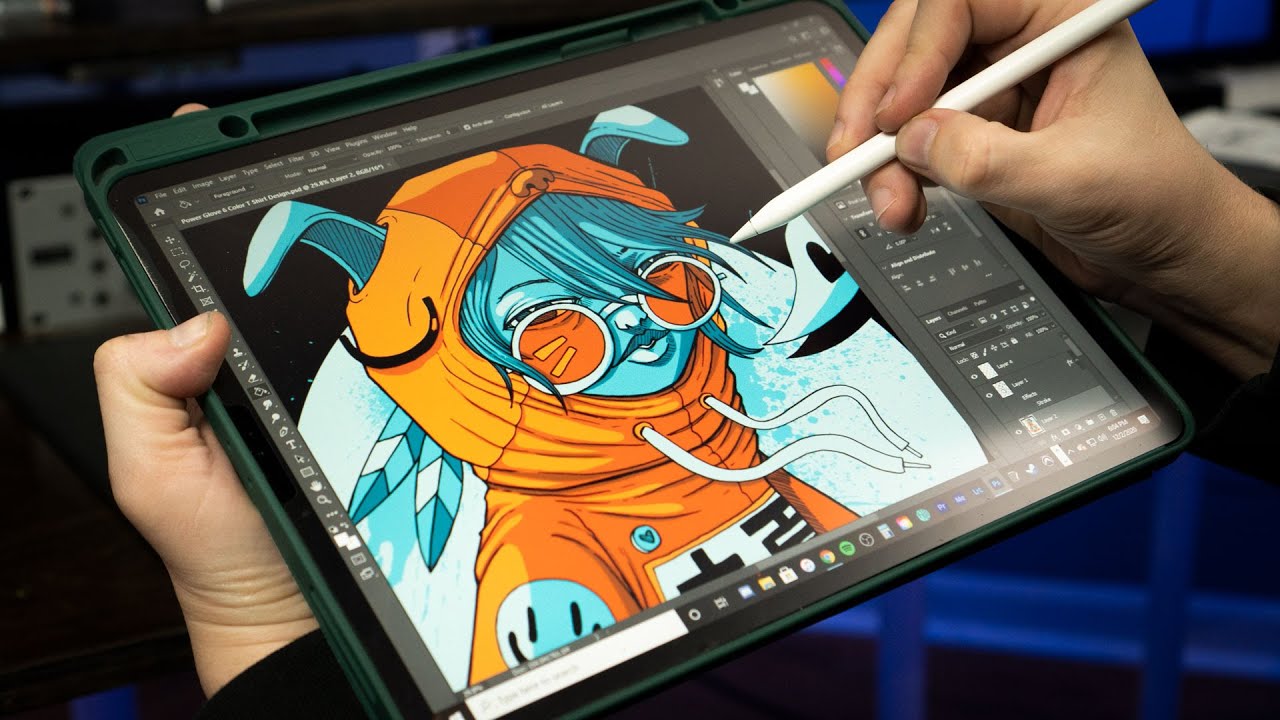
Not only does using your tablet as a drawing pad provide an efficient workflow, but it also offers a more intuitive and natural drawing experience. Tablets are designed with touch sensitivity that closely mimics the feeling of pen on paper, making it easier to translate your artistic ideas onto the digital canvas.
Furthermore, utilizing your tablet as a drawing pad opens up a world of possibilities in terms of artistic techniques. With a wide range of drawing applications available, you can experiment with various styles, brushes, and effects to bring your artistic visions to life.
In this guide, we will explore the necessary equipment and software required to use your tablet as a drawing pad for PC. We will also provide step-by-step instructions on how to connect your tablet to your PC, install drawing applications, configure tablet settings, and unleash your creativity through different drawing techniques. By the end of this guide, you will be ready to embark on a journey of digital art and design using your tablet as your trusty drawing pad for PC.
Why Use Your Tablet as a Drawing Pad for PC?
Using your tablet as a drawing pad for your PC offers a plethora of advantages that can revolutionize your artistic journey. Let’s delve into the reasons why incorporating your tablet into your digital art and design workflow is a game-changer.
1. Portability and Flexibility: One of the main reasons to use your tablet as a drawing pad is the freedom it provides. Tablets are lightweight and portable, allowing you to create art on the go and work from different locations. Whether you’re sitting in a café, traveling, or simply moving around your house, your tablet can be your mobile art studio.
2. Large Screen Real Estate: While tablets have relatively small screens, when connected to your PC, you can take advantage of the larger screen size. This is particularly beneficial for intricate designs and detailed artwork, as you have more room to work on and can view your creations in greater detail.
3. Advanced Software and Tools: PCs offer a vast array of professional-grade software and design tools, some of which may not be available on tablets. By using your tablet as a drawing pad, you can harness the power of these sophisticated programs and take your digital art to the next level.
4. Pressure Sensitivity and Precision: Most tablets come with pressure-sensitive screens, allowing you to control the thickness and opacity of your brush strokes by applying varying amounts of pressure. This level of precision and control is essential for digital artists, providing an authentic drawing experience that closely resembles traditional mediums.
5. Seamless Workflow: Drawing directly on your tablet while seeing the results on your PC screen creates a seamless workflow. This eliminates the need for scanning or transferring your traditional sketches to the computer, saving you time and effort. You can easily make adjustments, experiment with different techniques, and undo or redo actions instantly with the touch of a digital pen.
6. Cost-Effective Solution: Investing in a high-quality drawing tablet is often more economical than purchasing a dedicated drawing pad or graphics tablet. With your tablet serving as a drawing pad for PC, you get the best of both worlds without the need for additional equipment.
7. Learning and Growth: Embracing new technology and incorporating your tablet as a drawing pad allows you to expand your artistic horizons. By exploring digital art, you can learn new techniques, experiment with different styles, and enhance your overall creative skillset.
Incorporating your tablet as a drawing pad for PC is a smart choice for digital artists and designers, enabling you to unleash your creativity, improve your workflow, and take your artistic skills to new heights. Now that we understand the benefits let’s explore the necessary equipment and software needed to transform your tablet into a powerful drawing pad for your PC.
Necessary Equipment and Software
To use your tablet as a drawing pad for your PC, you’ll need a few essential pieces of equipment and software. Let’s take a look at what you’ll need to get started.
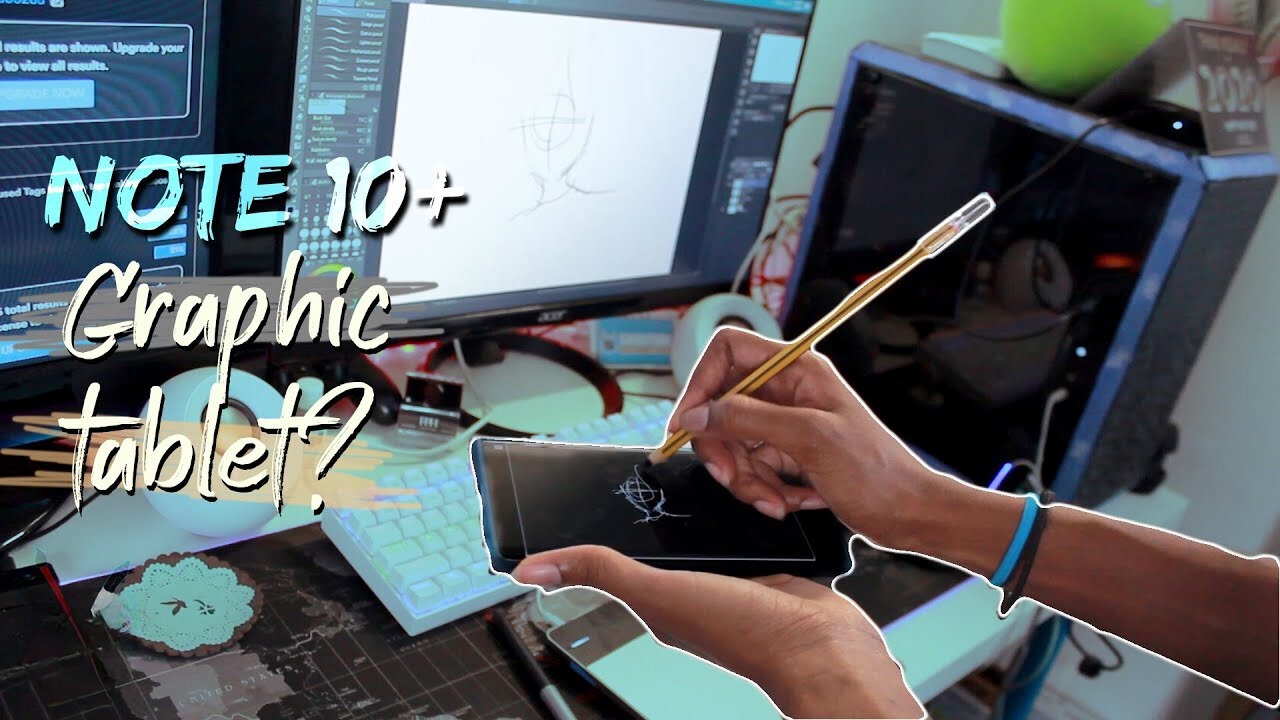
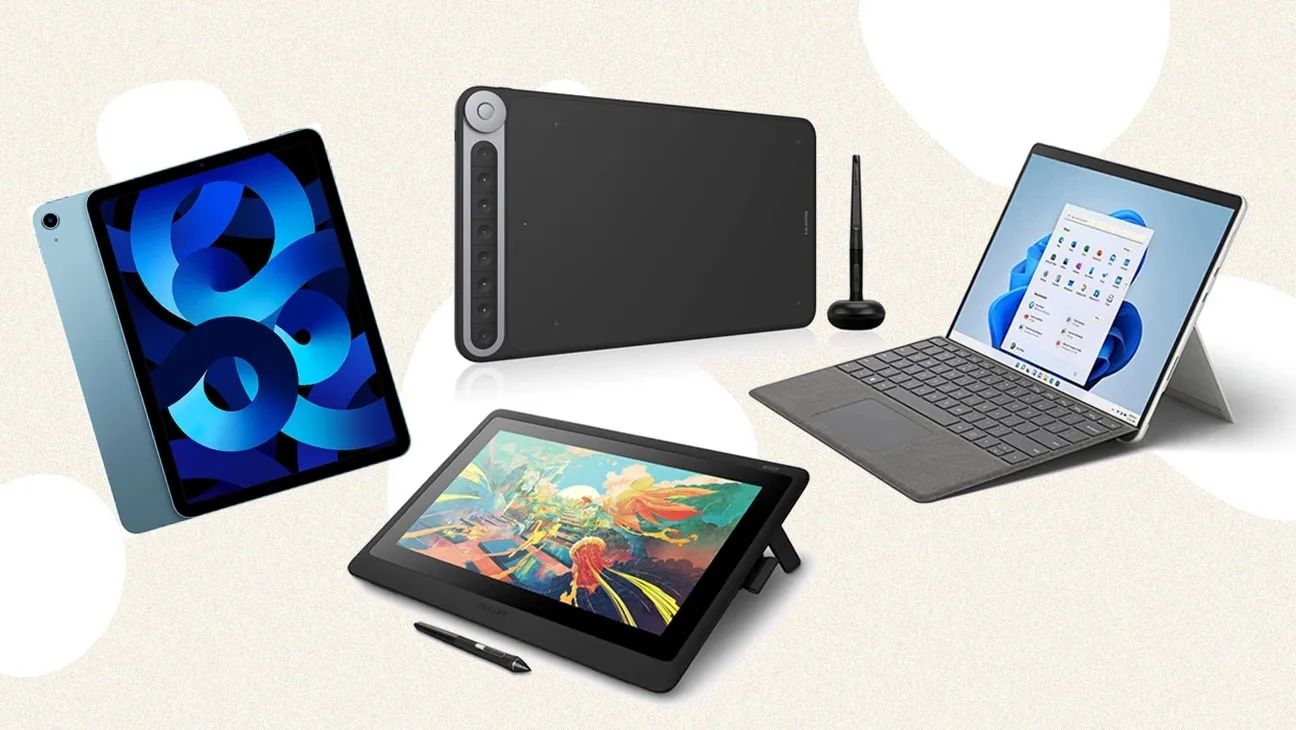
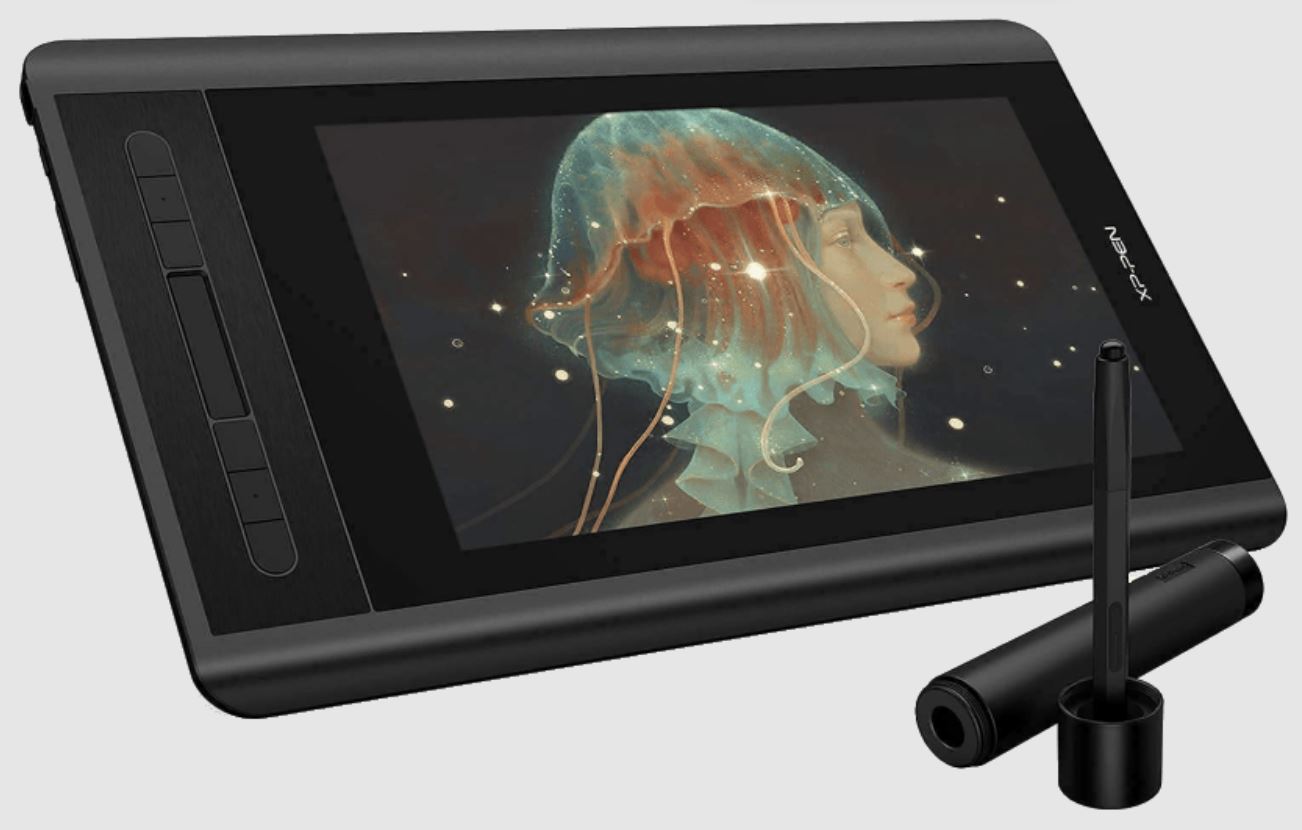
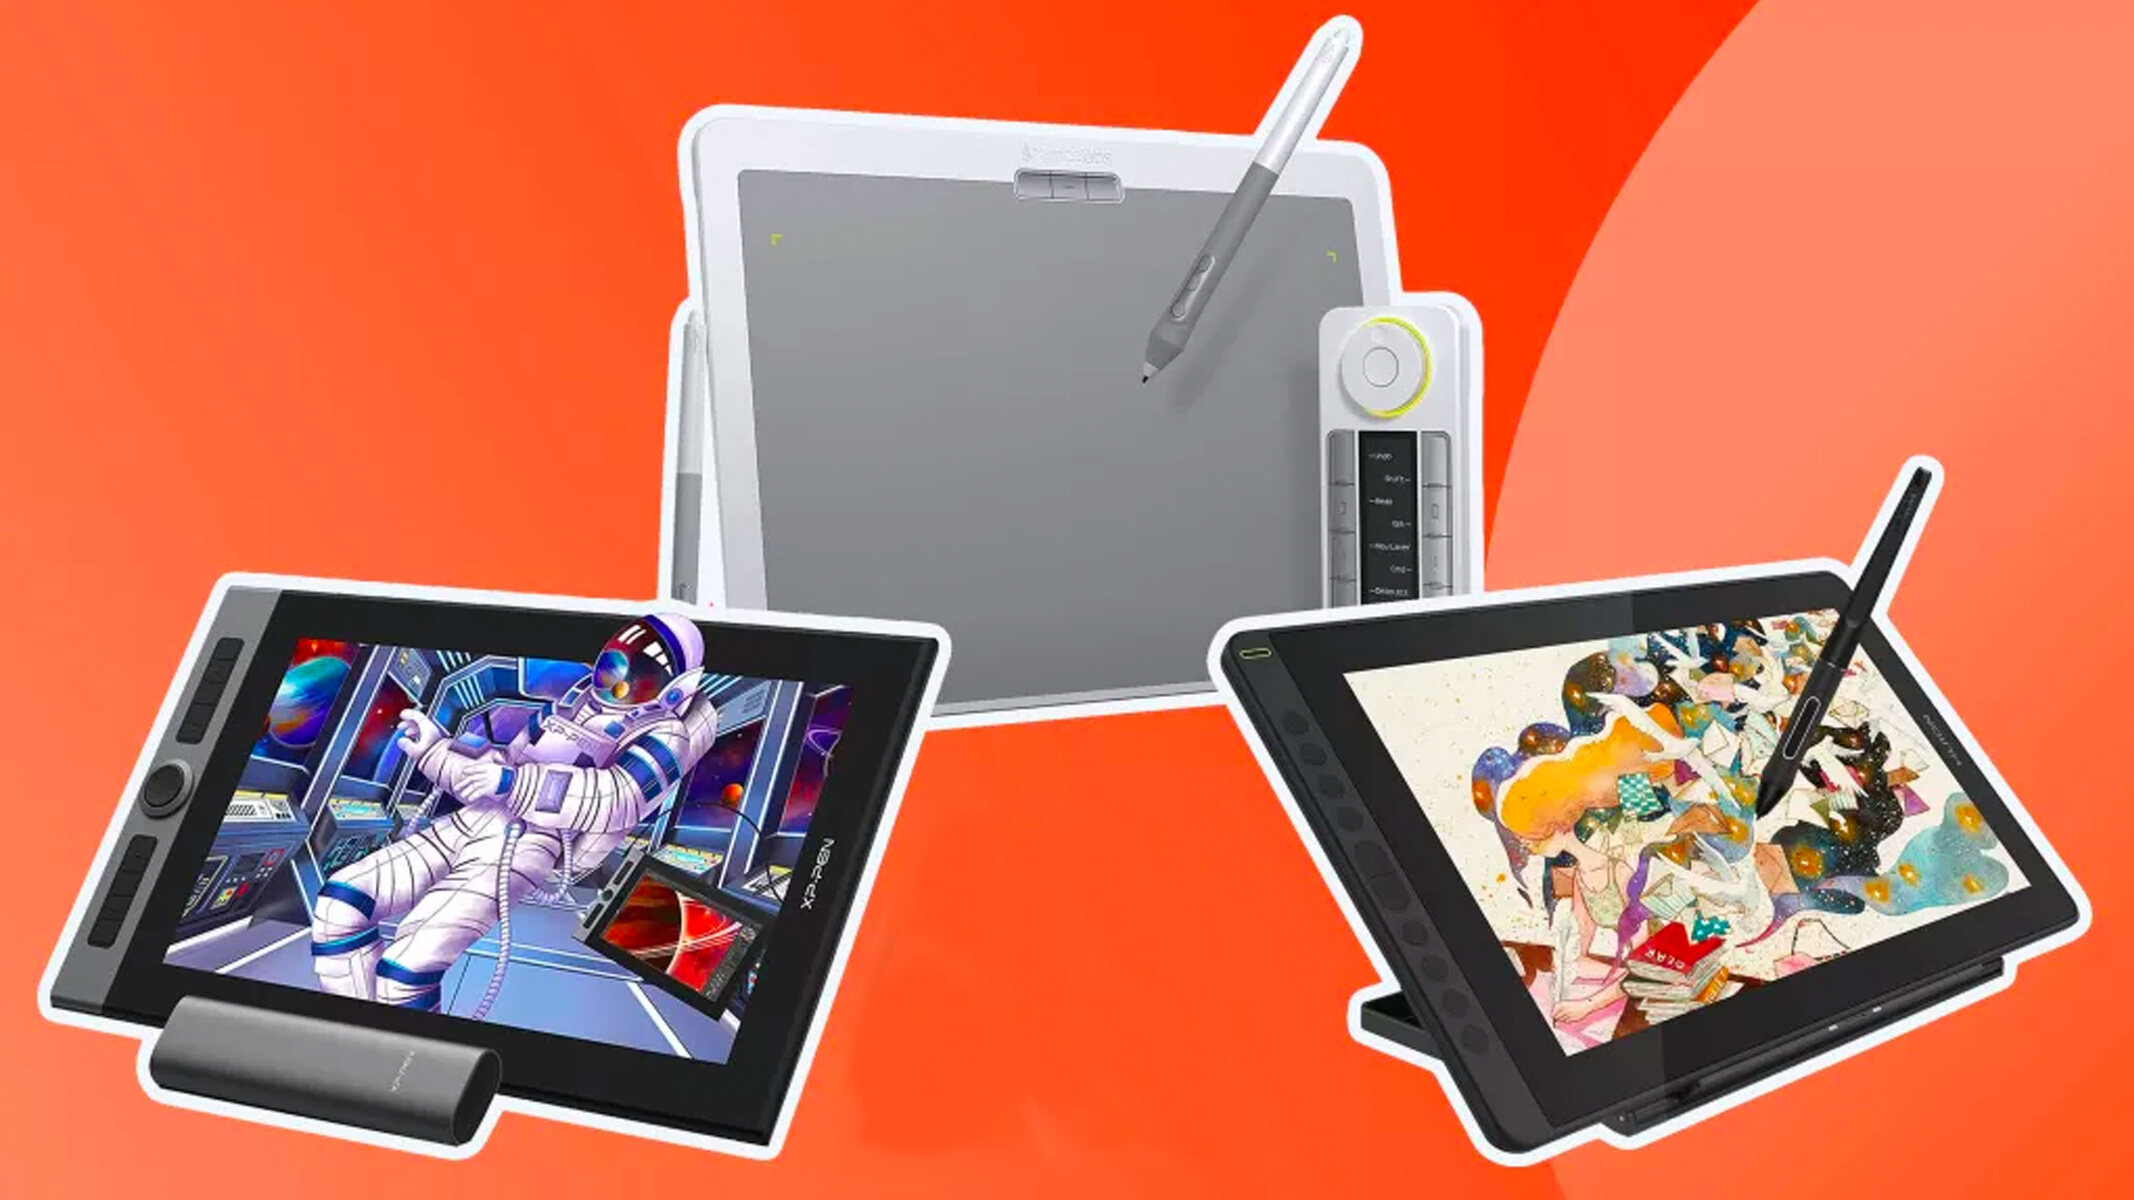
1. Tablet: The first and most obvious requirement is a tablet. There are numerous options available in the market, ranging from budget-friendly to high-end models. Look for a tablet that has a good screen resolution, pressure sensitivity, and compatibility with your PC operating system.
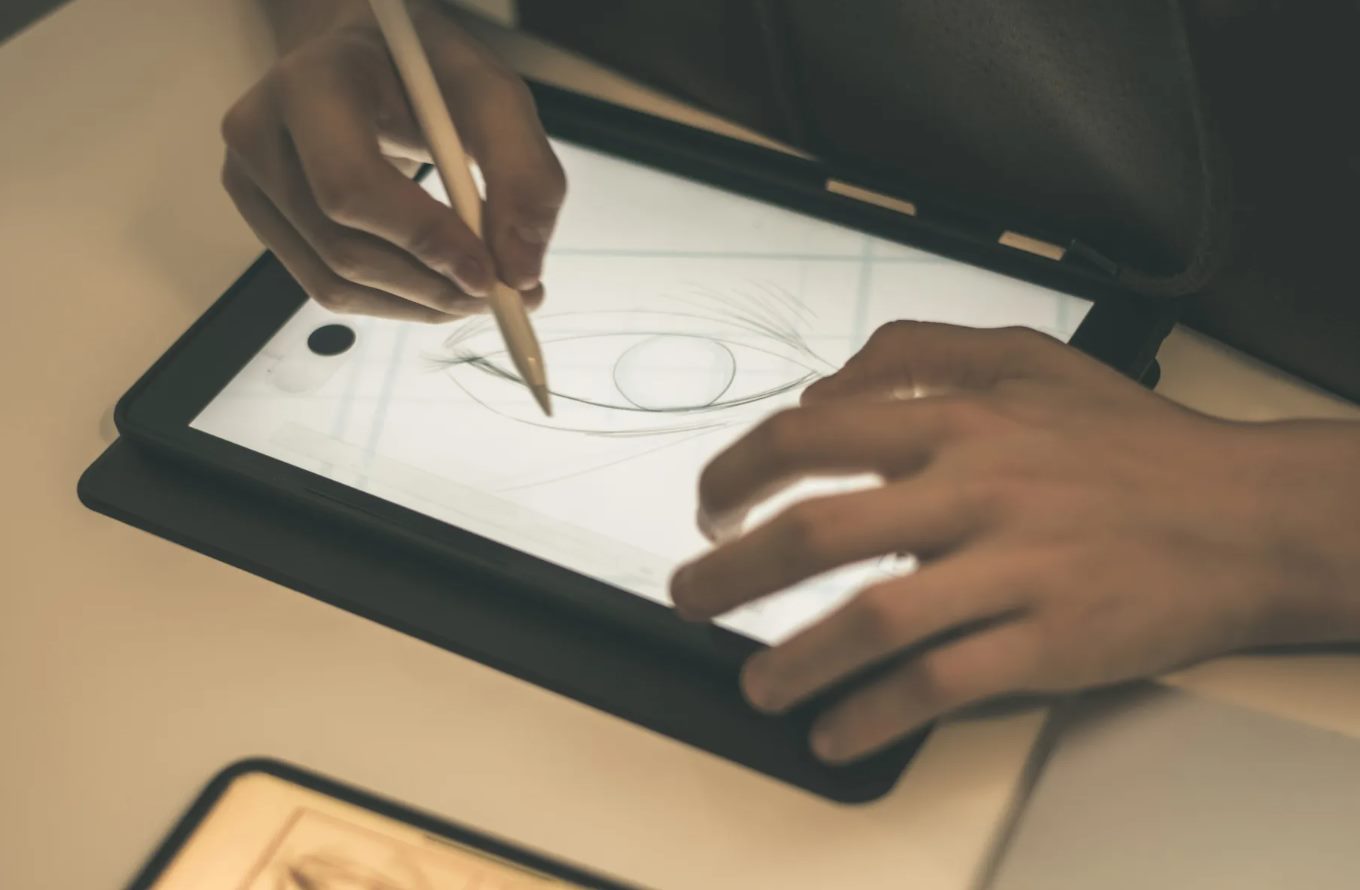
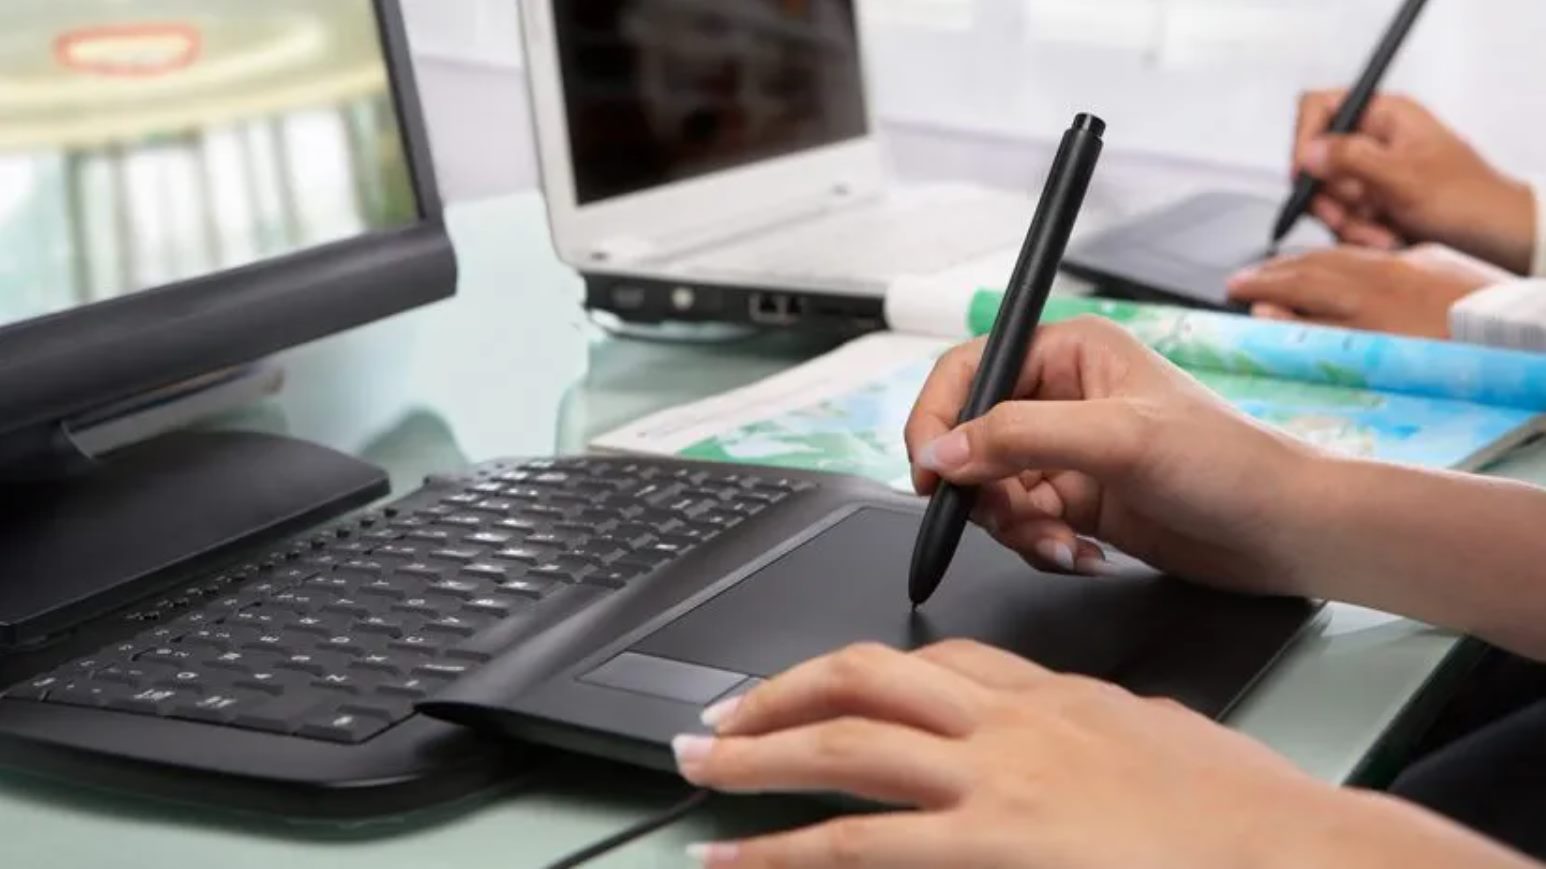
2. Stylus or Digital Pen: A stylus or digital pen is a crucial accessory for your tablet. It provides precise control and a natural drawing experience. Some tablets come with an included stylus, while others require you to purchase one separately. Ensure that the stylus is compatible with your tablet and has pressure sensitivity capabilities.
3. PC or Laptop: You’ll need a PC or laptop with sufficient processing power and storage capacity to handle the demands of digital art software. Ensure that your PC has the required system specifications to run the drawing applications smoothly.
4. Drawing Software: There is a wide range of drawing applications available, both free and paid. Popular choices include Adobe Photoshop, Corel Painter, Clip Studio Paint, and Autodesk SketchBook. Research and choose a software that suits your needs and budget. Some drawing software offers advanced features like brush customization, layer management, and a vast array of artistic tools.
5. Connection Cable: You’ll need a connection cable to establish the link between your tablet and PC. Most tablets come with a USB cable or a USB-C cable for connecting to a PC or laptop. If your tablet uses a different connection type, such as HDMI or Mini DisplayPort, you may need an adapter or specific cable to establish the connection.
6. Screen Protector: Investing in a screen protector can help protect the display of your tablet from scratches and reduce the risk of accidental damage. Look for a screen protector that is compatible with your tablet model and provides a smooth drawing surface.
7. Drawing Glove (optional): A drawing glove is a useful accessory, especially if you tend to rest your hand on the tablet while drawing. It reduces friction between your hand and the screen, preventing smudges and improving overall comfort during extended drawing sessions.
These are the essential equipment and software needed to transform your tablet into a drawing pad for PC. It’s important to ensure compatibility between your tablet, stylus, and drawing software to achieve the best results. Once you have all the necessary tools, you’re ready to start using your tablet as a drawing pad for your PC. In the next section, we’ll guide you through the process of connecting your tablet to your PC.
Step 1: Connecting Your Tablet to Your PC
Before you can start using your tablet as a drawing pad for your PC, you need to establish a connection between the two devices. Follow these steps to connect your tablet to your PC:
1. Check Compatibility: Ensure that your tablet and PC are compatible with each other. Check the system requirements of your tablet and ensure that your PC meets those specifications. Additionally, verify that your tablet’s operating system is compatible with your PC’s operating system.
2. Connect via USB Cable: Most tablets come with a USB cable for connecting to a PC. Connect one end of the USB cable to your tablet’s charging port and the other end to a USB port on your PC. Make sure the cable is securely plugged in on both ends.
3. Install USB Drivers: Some tablets require specific USB drivers to be installed on your PC for proper communication. Visit the manufacturer’s website and download the necessary drivers. Follow the installation instructions provided by the manufacturer to install the drivers on your PC.
4. Enable USB Debugging (Android Devices): If you’re using an Android tablet, you may need to enable USB debugging to establish the connection. Go to the Settings menu on your tablet, select Developer Options, and enable USB debugging. This allows your tablet to communicate with your PC.
5. Verify Connection: Once the cable is connected and the drivers are installed (if needed), your tablet should be recognized by your PC. On your tablet, you may see a notification indicating that the device is connected as a media device or in transfer mode. On your PC, you should see a notification or a popup indicating that a new device has been detected.
6. Test the Connection: To ensure that the connection is working properly, open a drawing software on your PC and try drawing on your tablet’s screen using the stylus. If the drawing appears on the software, then the connection is successful, and you’re ready to start drawing on your tablet as a drawing pad for your PC.
Note: Some tablets may require additional steps or settings to establish the connection. Refer to the user manual or support documentation provided by the tablet manufacturer for specific instructions related to your device.
Now that your tablet and PC are connected, you’re one step closer to utilizing your tablet’s drawing capabilities for your digital art and design projects. In the next section, we’ll guide you through the process of installing drawing applications on your PC.
Step 2: Installing Drawing Applications
To make the most of your tablet as a drawing pad for your PC, you’ll need to install drawing applications that cater to your creative needs. Follow these steps to install drawing applications on your PC:
1. Research and Choose: Start by researching and exploring different drawing applications available in the market. Consider your budget, preferences, and the specific features you require. Popular drawing software options include Adobe Photoshop, Corel Painter, Clip Studio Paint, and Autodesk SketchBook. Read reviews, compare features, and choose the application that aligns with your artistic goals and workflow.
2. Purchase or Download: Depending on the software you select, you may have the option to purchase a license or download a free version with limited features. Evaluate your needs and budget before making a decision. Some software may offer trial versions, allowing you to test it out before committing to a purchase.
3. Visit the Official Website: Once you’ve chosen the drawing application, visit the official website of the software provider. Look for the download or purchase section and follow the instructions provided. Make sure to download the correct version of the software that is compatible with your PC operating system.
4. Install the Software: After downloading the drawing application, locate the setup file and run it. Follow the installation wizard’s instructions, selecting the desired options during the installation process. Pay attention to any prompts or settings that may affect the functionality of the drawing application.
5. Activate the Software (if required): Some drawing applications require activation after installation. This usually involves entering a license key or creating an account to verify your purchase. Follow the provided instructions to activate the software as per the terms and conditions specified by the software provider.
6. Update the Application: After installation, it is recommended to check for updates or patches for the drawing application. Visit the software provider’s website or use the built-in updater within the application to ensure you have the latest version. Updates often include bug fixes, new features, and performance enhancements.
7. Configure the Application: Once the drawing application is installed, take some time to explore the settings and preferences. Customize the brush presets, canvas size, color settings, and any other options that will enhance your drawing experience. Familiarize yourself with the various tools and features available within the application.
Now that you have installed your preferred drawing application on your PC, you’re ready to unleash your creativity with your tablet as a drawing pad. In the next section, we’ll guide you through the process of configuring your tablet settings to optimize your drawing experience.
Step 3: Configuring Your Tablet Settings
In order to fully utilize your tablet as a drawing pad for your PC, it’s important to configure the tablet settings to optimize your drawing experience. Follow these steps to configure your tablet settings:
1. Driver Installation: If your tablet came with specific drivers, make sure they are installed on your PC. These drivers allow your tablet to communicate effectively with your PC and provide additional functionality.
2. Access Tablet Settings: Locate the tablet settings on your PC. This can typically be done through the Control Panel or by accessing the settings via the tablet manufacturer’s software. The tablet settings will allow you to customize features such as pen sensitivity, mapping, and button options.
3. Adjust Pen Pressure Sensitivity: One of the key features to configure is pen pressure sensitivity. This setting determines how the tablet responds to the amount of pressure applied by the stylus. You can calibrate the pressure sensitivity according to your preferences to achieve the desired effect in your drawings.
4. Customize Mapping and Screen Area: Mapping allows you to control how the tablet maps to your PC screen. You can specify the monitor on which the tablet will work and adjust the screen area to match the tablet’s active area. This ensures that your strokes align accurately on the screen.
5. Assign Buttons and Express Keys: Most drawing tablets come with buttons or express keys that can be customized for quick access to frequently used functions. Assign specific functions to these buttons according to your requirements. For example, you may assign Undo, Redo, Brush Size, or Zoom functions to these keys for easy access while drawing.
6. Test and Fine-Tune: After configuring the settings, test the tablet’s responsiveness and ensure that the adjustments you made suit your drawing style. Fine-tune the settings as needed until you’re satisfied with the results.
7. Update Tablet Firmware: Check if there are any firmware updates available for your tablet. These updates typically address bugs, improve performance, and provide compatibility with newer software versions. Visit the tablet manufacturer’s website and follow the instructions to update the firmware.
By configuring your tablet settings to your liking, you can enhance your drawing experience and make the most of the tablet’s capabilities while using it as a drawing pad for your PC. In the next section, we’ll explore different drawing techniques that you can utilize with your tablet.
Step 4: Exploring Different Drawing Techniques
Once you have your tablet connected to your PC, the drawing applications installed, and the tablet settings configured, it’s time to dive into the world of digital art and explore different drawing techniques. Let’s take a look at some techniques you can experiment with:
1. Brush Selection: The choice of brush plays a vital role in digital art. Experiment with various brush types, such as pencils, pens, and airbrushes, to understand their different textures, opacities, and strokes. Adjust the brush size and opacity based on your preferences and the effect you want to achieve.
2. Layer Management: Digital art allows for easy layering, enabling you to work on different elements separately and manipulate them independently. Utilize layer management features in your drawing software to organize your artwork, add depth, and make editing and adjustments convenient.
3. Blending and Smudging: Emulate traditional art techniques by using the blending and smudging tools available in your drawing software. These tools can help you create smooth transitions, blend colors, and achieve realistic textures.
4. Using Masks and Selections: Masks and selections allow you to isolate specific areas of your artwork for editing or applying effects. Experiment with using masks to control the application of color, textures, or adjustments, and use selections to work on specific areas without affecting the rest of the artwork.
5. Texturing and Patterns: Explore different methods to add texture and patterns to your digital artwork. Incorporate pre-made patterns or create your own by experimenting with brush settings, layer modes, and combination techniques. Texturing can enhance the overall look and feel of your artwork.
6. Stylus Techniques: Take advantage of your tablet’s stylus capabilities to explore different drawing techniques. Vary the pressure, angle, and tilt of your stylus to create varying line weights, shading effects, and textures. Experiment with different strokes, hatching, cross-hatching, and stippling techniques to add depth and dimension to your artwork.
7. Experiment with Filters and Effects: Drawing applications often come equipped with a variety of filters and effects. Dive into these features and explore different effects like blur, sharpen, distort, lighting, and stylize. These tools can transform your artwork and add unique touches.
Don’t be afraid to try new techniques and push the boundaries of your creative abilities. Digital art provides a platform for endless experimentation and exploration. With your tablet as a drawing pad for your PC, you have the freedom to craft unique and stunning artworks using an array of tools and techniques.
In the next section, we’ll discuss utilizing your tablet as a drawing pad for specific digital art and design projects.
Step 5: Using Your Tablet for Digital Art and Design Projects
Now that you’re familiar with your tablet as a drawing pad for your PC and have explored various drawing techniques, it’s time to put your tablet to use for digital art and design projects. Here are some ideas on how you can utilize your tablet:
1. Illustration and Character Design: Create stunning illustrations and character designs using your tablet. Experiment with different styles, brush presets, and color palettes to bring your imagination to life. Take advantage of layer management and the ability to easily make adjustments to refine your illustrations.
2. Digital Painting: Use your tablet to create digital paintings and explore a wide range of subjects, from landscapes to still life. Take advantage of the extensive color options, blending techniques, and texture tools available in your drawing software to achieve realistic and visually appealing digital paintings.
3. Graphic Design: Develop branding materials, posters, flyers, and other graphic design projects using the drawing applications on your tablet. Utilize the convenience of digital tools to create precise shapes, play with typography, and add special effects to your designs. Remember to use layers effectively to keep your design elements organized.
4. Photo Editing and Manipulation: Use your tablet and drawing software to enhance and manipulate your photographs. Adjust colors, remove unwanted elements, apply filters, and create stunning photo collages. Take advantage of advanced editing tools and layer blending modes to achieve professional-quality results.
5. Concept Art and Storyboarding: If you’re interested in concept art or creating storyboards for videos or animations, your tablet can be a valuable tool. Use it to sketch out initial ideas, develop character designs, and create storyboards that visualize scenes and actions. Take advantage of the flexibility and portability of your tablet to work on your concepts wherever inspiration strikes.
6. Digital Calligraphy and Hand Lettering: Explore the art of digital calligraphy and hand lettering using your tablet. Experiment with different brush settings, textures, and lettering styles to create unique and visually appealing designs. Customize your own digital brushes to achieve the desired calligraphic effect.
7. Animation and Motion Graphics: If you’re interested in animation or motion graphics, utilize your tablet to create frame-by-frame animations or vector-based animations. Take advantage of the drawing tools and timeline features in your software to bring your designs to life and add movement and dynamics to your artwork.
With your tablet as a drawing pad for your PC, you have a versatile tool at your disposal to unleash your creativity and accomplish various digital art and design projects. Explore different projects, experiment with techniques, and let your imagination soar to create impressive and visually captivating artworks.
In the concluding section, we’ll recap the essential steps and highlight the benefits of using your tablet as a drawing pad for your PC.
Conclusion
Congratulations! You have now learned how to use your tablet as a drawing pad for your PC, unlocking a world of possibilities for digital art and design. By following the steps outlined in this guide, you have connected your tablet to your PC, installed drawing applications, configured tablet settings, explored different drawing techniques, and discovered ways to utilize your tablet for various digital art and design projects.
Using your tablet as a drawing pad offers numerous benefits. It combines the flexibility and portability of a tablet with the power and advanced features of your PC, providing you with a seamless and efficient workflow. The pressure sensitivity, precision, and natural drawing experience offered by tablets allow you to translate your artistic ideas onto the digital canvas with ease.
Throughout this guide, you have learned how to customize your tablet settings, experiment with different brushes and techniques, and utilize drawing applications to enhance your artwork. From illustration and digital painting to graphic design and motion graphics, your tablet opens up a realm of creative possibilities.
Remember to continue exploring and pushing the boundaries of your artistic abilities. Embrace new techniques, learn from tutorials and online resources, and strive to improve your skills. Practice regularly and experiment with different styles, tools, and effects to develop your unique artistic voice.
Whether you are a professional artist, graphic designer, or simply someone who enjoys expressing their creativity, using your tablet as a drawing pad for your PC is a game-changer. It provides you with the tools and flexibility to create stunning digital art, unleash your imagination, and bring your artistic visions to life.
Now, armed with the knowledge and skills acquired in this guide, it’s time to embark on your digital art and design journey. So, grab your tablet, connect it to your PC, unleash your creativity, and let your artwork shine!