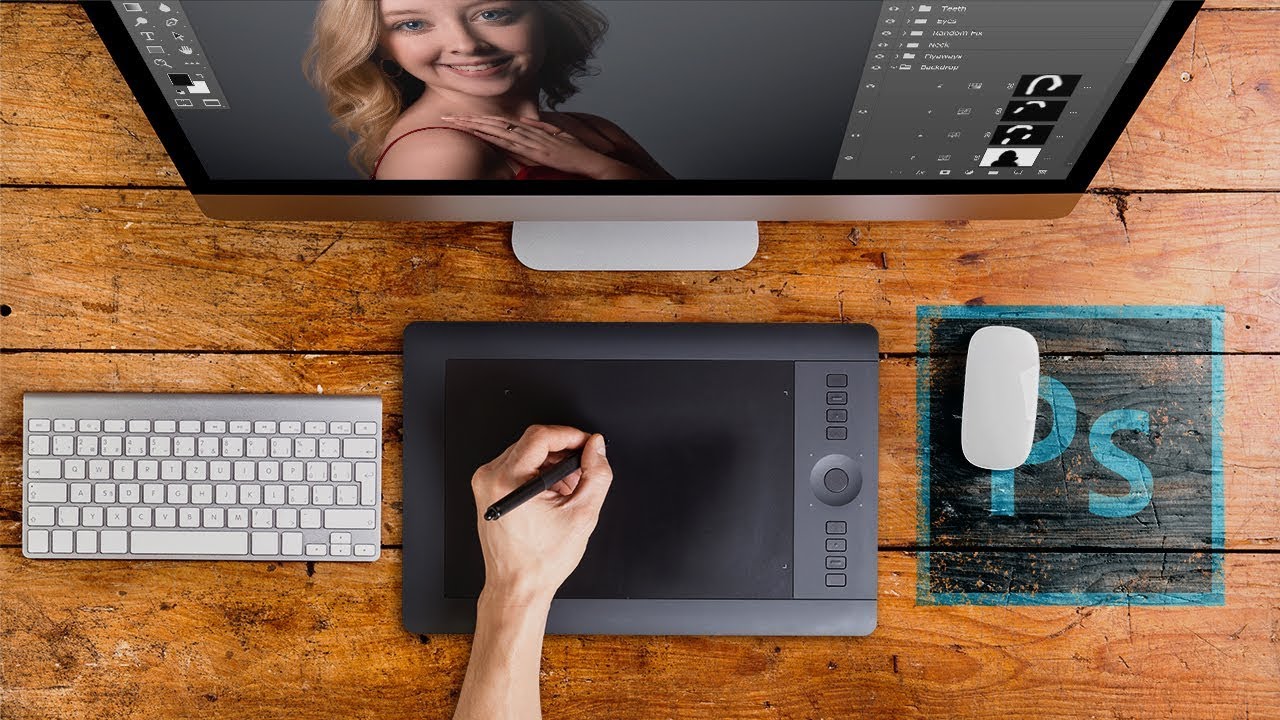
Setting Up Your Tablet
Setting up your tablet correctly is crucial for a seamless experience when using it with Photoshop. Follow these steps to ensure a smooth setup process:
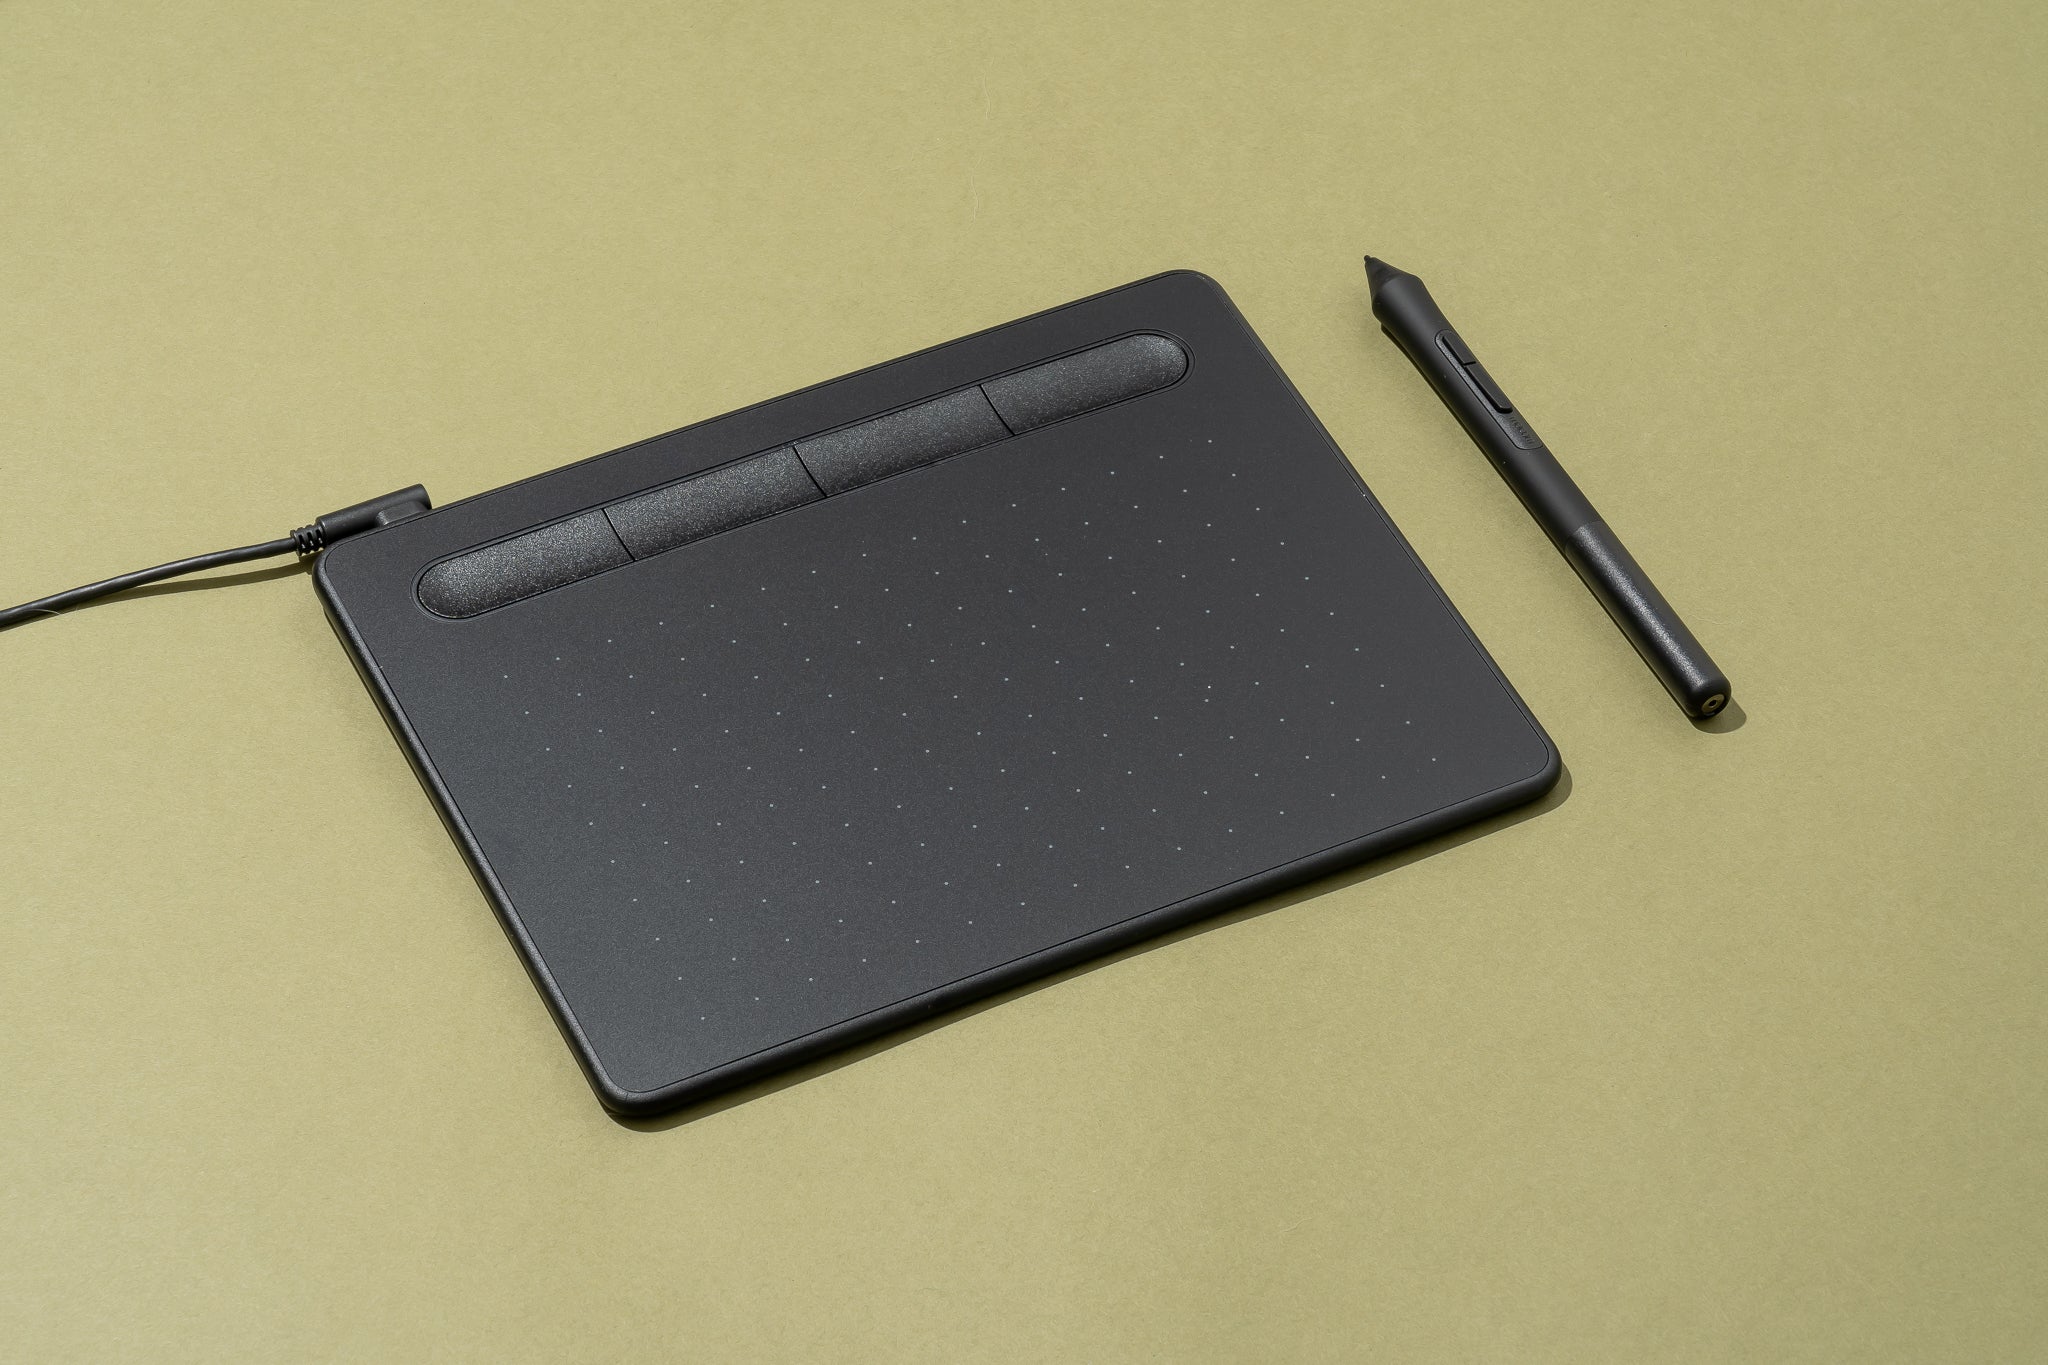
- Connect your tablet: Plug in your tablet to your computer using the USB cable provided. Make sure the connection is secure.
- Install tablet drivers: Visit the official website of your tablet’s manufacturer and download the latest drivers for your specific tablet model. Run the installer and follow the on-screen instructions to complete the installation process.
- Restart your computer: After the drivers are installed, it is recommended to restart your computer to ensure that the changes take effect.
- Customize pen settings: Open the tablet software or control panel and locate the pen settings. Here, you can adjust the pressure sensitivity, tip feel, and button functions according to your preferences. Experiment with different settings to find what works best for you.
- Calibrate your tablet: Calibration ensures accurate pen-to-screen mapping. Follow the instructions provided in the tablet software or control panel to calibrate your tablet. Usually, this involves tapping on specific points on the screen with your pen.
Once you have completed these steps, your tablet should be ready to use with Photoshop. Remember to periodically check for driver updates to ensure compatibility and access to the latest features.
Installing Tablet Drivers
Before you can fully utilize your tablet’s capabilities with Photoshop, you need to install the necessary drivers. These drivers establish the connection between your tablet and computer, enabling seamless communication and functionality. Here’s how you can install tablet drivers:
- Visit the manufacturer’s website: Start by visiting the official website of your tablet’s manufacturer. Look for the “Support” or “Downloads” section, where you can find the drivers and software for your tablet model.
- Choose the correct drivers: Navigate to the drivers section and locate the drivers specifically designed for your tablet and operating system. Make sure to select the latest version to ensure compatibility and access to the most up-to-date features.
- Download the drivers: Once you have identified the correct drivers, click on the download link to initiate the download process. Save the installer file to a location on your computer that is easily accessible.
- Run the installer: Locate the downloaded file and double-click on it to run the installer. Follow the on-screen instructions provided by the installer to complete the driver installation process. In some cases, you may need to extract the files from a compressed folder before running the installer.
- Restart your computer: After the installation is complete, it is recommended to restart your computer. This will allow the changes to take effect and ensure a smooth connection between your tablet and Photoshop.
Once you have successfully installed the tablet drivers, you can start exploring the various customization options and features offered by the tablet software or control panel. These options allow you to fine-tune the settings to suit your preferences and workflow.
Customizing Pen Settings
Customizing the pen settings for your tablet is essential to optimize your experience and make the most out of Photoshop. By adjusting various parameters, such as pressure sensitivity and button functions, you can create a setup tailored to your specific needs. Follow these steps to customize the pen settings:
- Open tablet software or control panel: Launch the tablet software or control panel on your computer. This software is typically provided by the tablet manufacturer and allows you to access advanced customization options.
- Explore pen settings: Look for the section dedicated to pen or stylus settings. Here, you will find options to adjust parameters like pressure sensitivity, tip feel, and tilt sensitivity. Experiment with different combinations to find the settings that feel most comfortable and responsive for your style of drawing or editing.
- Adjust pressure sensitivity: Pressure sensitivity determines how much variation in line thickness or opacity is produced based on how hard you press the pen on the tablet. You can increase or decrease this sensitivity to match your unique drawing or editing style.
- Configure button functions: Many tablets come with programmable buttons on the pen itself. These buttons can be customized to perform specific functions within Photoshop, such as undo/redo, brush size adjustment, or toggling between tools. Assign functions to the buttons that will help streamline your workflow and save time.
- Experiment and fine-tune: Don’t be afraid to experiment with different settings and combinations. Take some time to get accustomed to the changes and adjust them as necessary. It’s always a good idea to regularly revisit your pen settings and make adjustments based on your evolving needs and preferences.
Remember, every artist or editor has different preferences, so what works for someone else may not work for you. Take the time to fine-tune the pen settings until you achieve a setup that feels natural and enhances your productivity in Photoshop.
Calibrating Your Tablet
Calibrating your tablet is an important step to ensure accurate pen-to-screen mapping, improving the precision and responsiveness of your actions in Photoshop. Follow these steps to calibrate your tablet:
- Open tablet software or control panel: Launch the tablet software or control panel on your computer. Look for the section or tab that is dedicated to calibration.
- Choose the calibration option: Within the calibration section, you will find an option to start the calibration process. It may be labeled as “Calibrate” or “Setup.” Click on this option to proceed.
- Follow the calibration instructions: The calibration process will involve a series of on-screen instructions and prompts. Typically, this involves tapping on specific points or targets on your tablet’s screen with the pen. Follow these instructions carefully to complete the calibration.
- Retake calibration, if necessary: If you are not satisfied with the calibration results, some tablet software or control panels allow you to retake the process. Simply follow the prompts again to recalibrate your tablet.
- Save calibration settings: Once the calibration process is complete, the software will prompt you to save the calibration settings. Make sure to save the settings to ensure that they are applied whenever you use your tablet with Photoshop or other applications.
Regular calibration is essential to maintain accurate pen-to-screen mapping. Over time, factors such as screen alignment or changes in pen responsiveness may require recalibration. It is recommended to periodically check and recalibrate your tablet to maintain optimal performance.
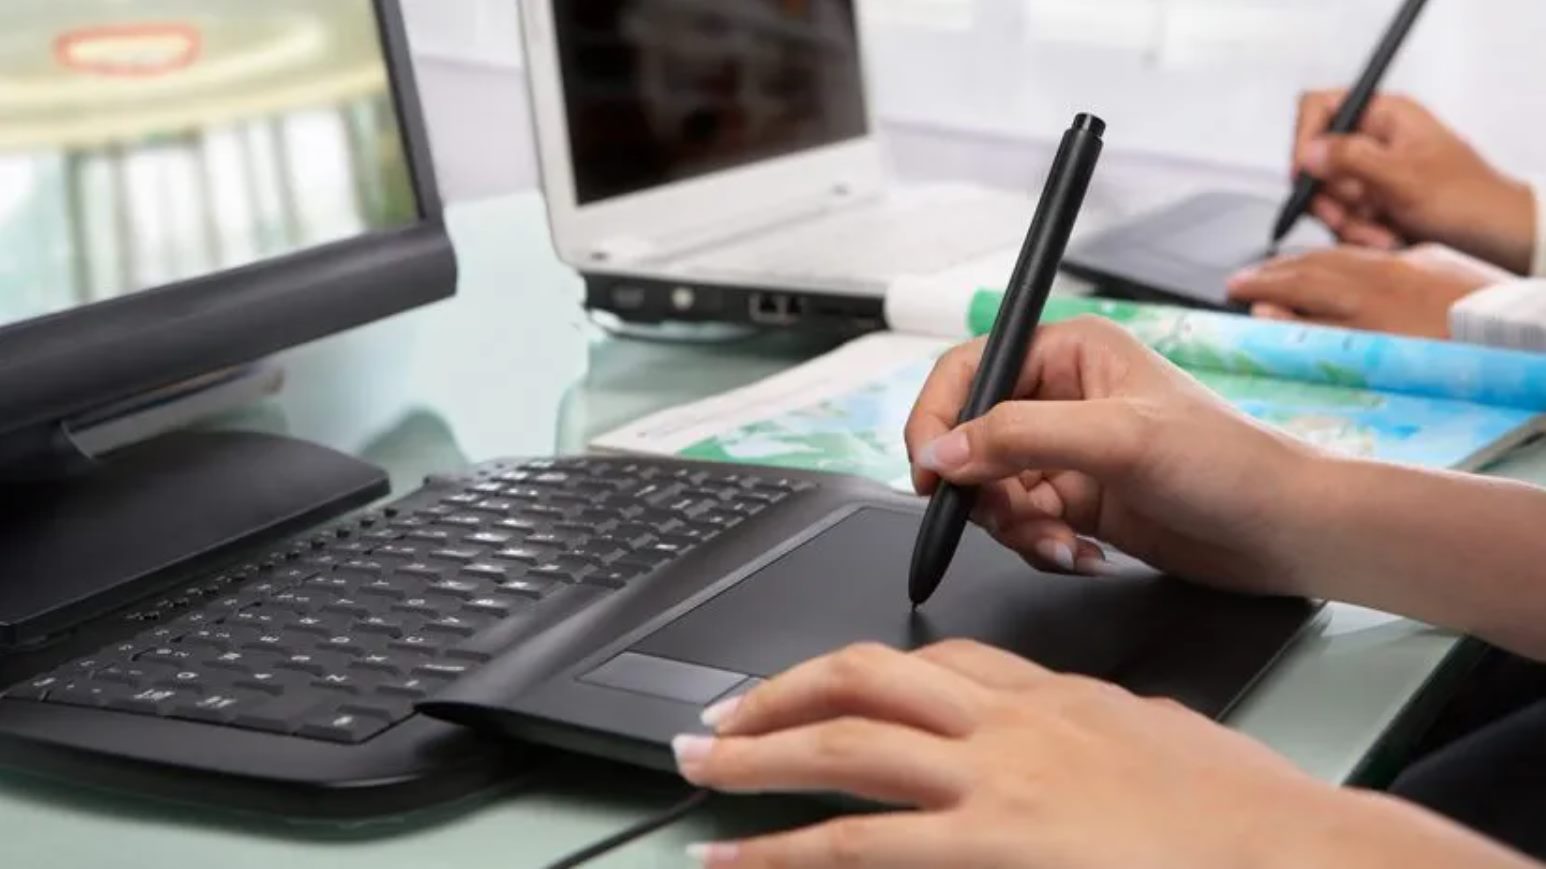
Navigating Photoshop with Your Tablet
Using a tablet in conjunction with Photoshop can greatly enhance your navigation and workflow. Here are some tips to help you navigate Photoshop more efficiently using your tablet:
- Zooming in and out: Use pinch gestures on the tablet’s touch surface to zoom in and out of your canvas. This allows for precise control over your view and helps you focus on specific details.
- Panning: To navigate across a large canvas, use the pan gesture on your tablet. Simply slide your finger or stylus across the tablet’s touch surface in the desired direction.
- Brush size adjustment: If your tablet has programmable buttons or an on-screen radial menu, assign one of them to adjust the brush size. This allows you to quickly increase or decrease the brush size without interrupting your workflow.
- Accessing tools: Assign commonly used tools to programmable buttons on your tablet for quick access. This ensures that your most frequently used tools are just a button press away, saving you time and effort.
- Using multi-touch gestures: Some tablets offer multi-touch gestures that can be customized for specific actions in Photoshop. Common gestures include two-finger swipe for undo/redo or rotating the canvas, and three-finger swipe for switching between open documents.
- Pressure-sensitive Brush control: Take advantage of your tablet’s pressure sensitivity to control brush opacity, size, or flow. Experiment with different pressure settings to achieve the desired effect and level of control in your brush strokes.
Remember to explore the tablet software or control panel for additional customization options specific to Photoshop. By fine-tuning your tablet’s settings and incorporating it into your Photoshop workflow, you can navigate and work with greater ease and efficiency.
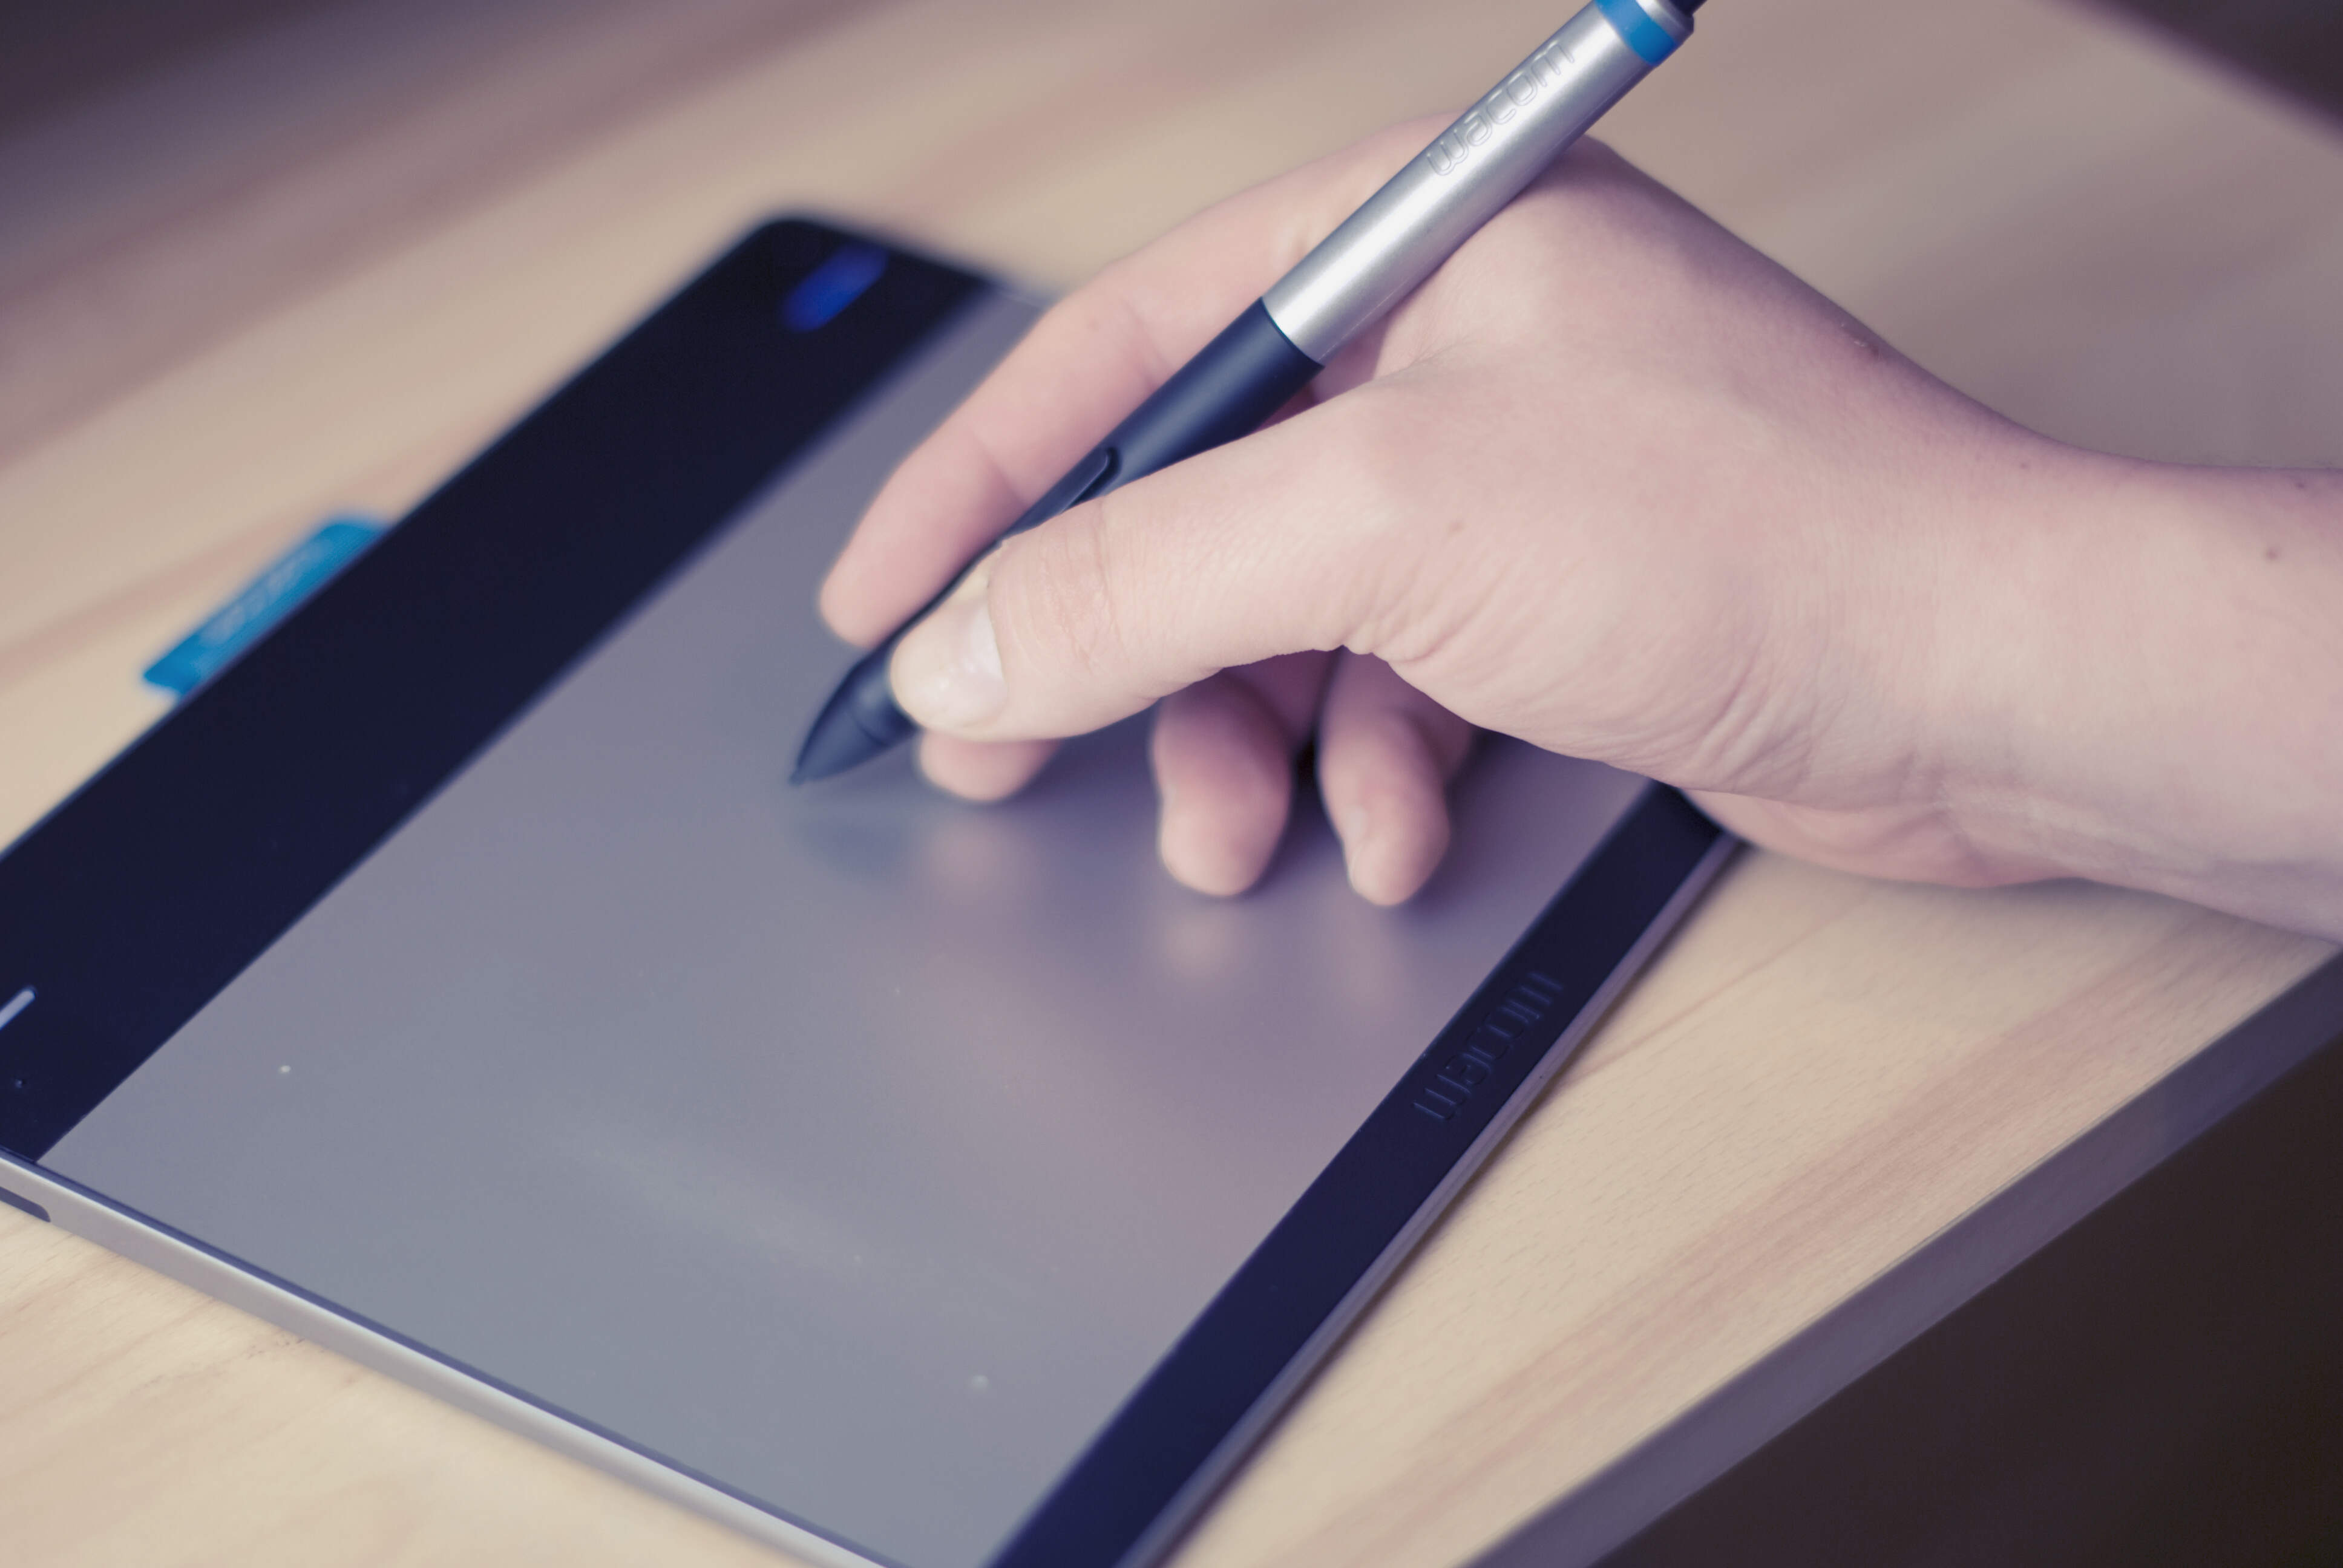
Using Pressure Sensitivity
One of the most valuable features of using a tablet in Photoshop is the ability to utilize pressure sensitivity. Pressure sensitivity allows the tablet to recognize the variation in pressure applied to the pen, resulting in natural and responsive brush strokes. Here are some tips on how to make the most of pressure sensitivity:
- Adjusting pressure sensitivity: Open the tablet software or control panel and locate the pressure sensitivity settings. Here, you can customize the sensitivity levels to match your drawing or editing style. Experiment with different settings to find what works best for you.
- Brush opacity and size: Take advantage of pressure sensitivity to control brush opacity and size. Apply light pressure for a softer, more transparent brush stroke, and increase pressure for a more solid and opaque stroke. Similarly, lightly touching the pen to the tablet surface will make the brush smaller, while applying more pressure will make it larger.
- Creating dynamic strokes: Utilize pressure sensitivity to create dynamic and expressive brush strokes. By varying the pressure as you paint or draw, you can achieve more nuanced and lifelike results. This is particularly useful when working on digital painting, illustrations, or portrait retouching.
- Shading and blending: Pressure sensitivity is invaluable when it comes to creating smooth gradients, shading, and blending in Photoshop. Apply lighter pressure for softer and lighter tones, and increase pressure gradually to darken or intensify areas. This allows for seamless transitions and a realistic rendering of light and shadow.
- Brush hardness and flow: Some brushes in Photoshop respond to pressure sensitivity by adjusting the hardness or flow. This enables you to control the sharpness or softness of edges and the amount of paint or ink flowing from the brush. Utilize pressure to achieve fine details or create smooth blends.
By understanding and harnessing the power of pressure sensitivity, you can unlock endless possibilities and elevate your digital artwork or editing in Photoshop. Take the time to experiment and practice, and soon you’ll find yourself creating stunning and natural-looking results.
Configuring Express Keys
Express keys are programmable buttons found on many tablets that can greatly enhance your productivity and workflow in Photoshop. Configuring these keys to perform specific functions can save you time and effort. Here’s how you can configure express keys:
- Open tablet software or control panel: Launch the tablet software or control panel on your computer. Look for the section or tab dedicated to express key settings.
- Assign functions to express keys: In the express key settings, you will find a list of available functions that can be assigned to the express keys. Common functions include undo/redo, brush size adjustment, switching between tools, or launching specific Photoshop actions or filters.
- Select the desired function: Choose the function you want to assign to an express key. You can select from the predefined list of functions or create custom commands using keyboard shortcuts or macros.
- Assign the function to an express key: Once you have selected the desired function, assign it to an available express key on your tablet. You can usually do this by clicking on the corresponding key icon and selecting the function from a dropdown menu.
- Test and refine: After assigning functions to the express keys, test them out in Photoshop. Make sure they perform the desired action or function. If needed, go back to the express key settings and make adjustments until you have a setup that suits your needs.
- Save your custom configuration: Once you are satisfied with your express key configuration, save the settings to ensure that they are retained for future use. This way, whenever you use your tablet with Photoshop, the express keys will be programmed according to your preferences.
Using express keys can significantly streamline your workflow and allow for more efficient navigation and tool selection in Photoshop. Take some time to explore the possibilities and experiment with different configurations to find the setup that works best for you.
Assigning Functions to Touch Ring
The touch ring is a unique feature found on some tablets that allows for quick and convenient access to various functions and shortcuts in Photoshop. By assigning functions to the touch ring, you can further customize your tablet experience and enhance your workflow. Here’s how you can assign functions to the touch ring:
- Open tablet software or control panel: Launch the tablet software or control panel on your computer. Locate the section or tab that allows you to configure the touch ring settings.
- Explore available functions: Depending on the tablet model, the software will provide a selection of functions and shortcuts that can be assigned to the touch ring. These can include brush size adjustment, zooming, scrolling, switching between layers, or any other frequently used functions.
- Select the desired function: Choose the function you want to assign to the touch ring from the available options. Consider selecting functions that you use frequently or find time-consuming to access through traditional methods.
- Adjust sensitivity and rotation: Some touch rings offer configurable sensitivity and rotation settings. Experiment with these settings to find a balance that feels comfortable and responsive to your touch.
- Test and refine: Once you have assigned a function and adjusted the touch ring settings, test it out in Photoshop. Make sure the function is performing as expected and adjust the settings if necessary.
- Save your custom configuration: After assigning functions to the touch ring, save your configuration to ensure that it is retained for future use. This way, whenever you use your tablet with Photoshop, the touch ring functions will be customized according to your preferences.
The touch ring can be a powerful tool for streamlining your workflow and enabling quick access to frequently used functions in Photoshop. Take the time to explore the possibilities and experiment with different function assignments and touch ring settings to find the setup that best suits your needs and enhances your productivity.
Using Gestures for Quick Actions
Gestures can be a game-changer when it comes to performing quick actions and navigating Photoshop on your tablet. By utilizing intuitive finger movements on the tablet’s touch surface, you can access various functions and commands with ease. Here’s how you can use gestures to enhance your workflow:
- Pinch-to-Zoom: Use the pinch gesture with two fingers to zoom in and out of your canvas in Photoshop. This allows for precise control and easy navigation while working on intricate details or larger projects.
- Swipe-to-Undo/Redo: Assign the swipe gesture to undo and redo actions in Photoshop. Swipe left to undo and swipe right to redo, providing a quick way to correct mistakes or restore previous changes.
- Rotate Canvas: Some tablets support the gesture for rotating the canvas with a two-finger twist motion. This can be particularly useful when working on digital paintings or illustrations that require different angles and perspectives.
- Three-Finger Swipe: Configure a three-finger swipe gesture to switch between open documents in Photoshop. Swiping left or right allows you to quickly navigate through your project files, saving you time and effort.
- Custom Gestures: Some tablet software or control panels allow you to create custom gestures for specific actions in Photoshop. This opens up a world of possibilities, giving you the ability to assign gestures for tasks like adjusting brush parameters, toggling layer visibility, or activating specific tools.
Experiment with various gestures and their assignments to find the combination that works best for your workflow. Keep in mind that not all tablets support all gestures, so make sure to check your tablet’s specifications and software compatibility.
By incorporating gestures into your tablet usage, you can perform tasks more quickly and efficiently. Take the time to learn and practice these gestures, and soon you’ll be seamlessly navigating through Photoshop with just a flick of your fingers.
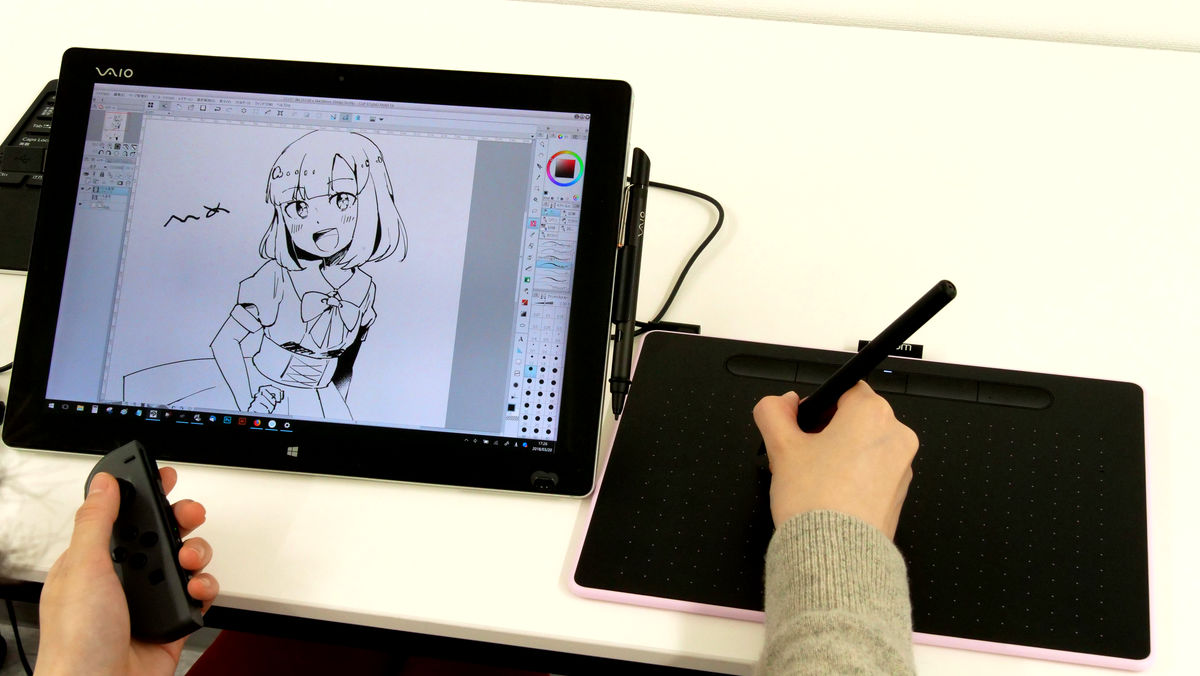
Sketching and Drawing with Your Tablet
Using a tablet for sketching and drawing in Photoshop offers a digital canvas that can unlock your artistic potential. With precise control and a wide array of digital brushes at your fingertips, you can create stunning and expressive artwork. Here are some tips to help you make the most of sketching and drawing with your tablet:
- Select the right brushes: Photoshop provides a vast selection of brushes, each with its own unique texture and behavior. Experiment with different brushes to find the ones that suit your style and desired effect. Adjust brush parameters like size, opacity, and flow to achieve the desired results.
- Take advantage of pressure sensitivity: Utilize your tablet’s pressure sensitivity to vary the thickness and opacity of your brush strokes. This adds depth and realism to your artwork, allowing for finer details and expressive lines.
- Use layers effectively: Take advantage of Photoshop’s layer functionality to work non-destructively. Use separate layers for the sketch, line work, color, and shading. This way, you can easily make edits and adjustments without affecting the rest of your artwork.
- Experiment with blending modes: Explore different blending modes in Photoshop to achieve unique effects and layer interactions. Overlay, Multiply, and Screen are just a few examples of blending modes that can add depth and texture to your artwork.
- Make use of reference images: Import reference images into Photoshop to assist you with proportions, lighting, or capturing specific details. Use the “Opacity” slider to adjust the transparency of the reference image layer, allowing you to draw directly on top while still referencing it.
- Take breaks and step back: When working on longer projects, remember to take breaks and step back from your artwork. This allows you to view it with fresh eyes and make more informed decisions regarding composition, color, and overall aesthetics.
Remember, practice makes perfect. Keep exploring and pushing your artistic boundaries with your tablet. Experiment with different techniques and tools, and don’t be afraid to make mistakes. With dedication and creativity, your tablet can become a powerful tool for bringing your artistic vision to life in Photoshop.
Painting and Coloring with Your Tablet
Painting and coloring digitally with your tablet in Photoshop opens up a world of possibilities for creating vibrant and dynamic artwork. With a wide range of brushes and tools at your disposal, you can bring your imagination to life. Here are some tips to help you make the most of painting and coloring with your tablet:
- Select the right brushes: Experiment with different brushes to find ones that suit the style and effect you want to achieve. Brushes with texture, opacity, and blending capabilities can add depth and dimension to your paintings and colorings.
- Utilize layer blending modes: Use blending modes in Photoshop to create interesting color interactions and layer effects. Multiply, Overlay, and Soft Light are just a few examples of blending modes that can enhance color depth and bring your artwork to life.
- Build up colors gradually: Start with a base color and gradually build up layers of color and shading. This creates a sense of dimension and realism in your artwork. Use the tablet’s pressure sensitivity to vary the opacity and flow of the brush for smoother color transitions.
- Experiment with layer opacity and blending: Adjusting the opacity and blending options of individual layers can create unique color effects. Lowering the opacity can result in translucent or watercolor-like qualities, while different blending modes can create interesting color combinations.
- Use the eyedropper tool: The eyedropper tool allows you to select colors from your artwork or reference images. Use it to sample colors and maintain color consistency throughout your painting or coloring process.
- Make use of selection tools: Selection tools in Photoshop give you the ability to isolate areas and apply specific colors or effects. Use the lasso tool, magic wand tool, or pen tool to create precise selections for detailed coloring and painting.
- Blend and smudge: Use the smudge tool or brush with low opacity to blend and smooth colors together. This can create soft transitions and add a painterly effect to your artwork.
Remember to experiment, practice, and develop your own techniques. Every artist has a unique style, and your tablet can become an invaluable tool for expressing your creativity in Photoshop. Embrace the digital medium and enjoy the unlimited possibilities for painting and coloring that it presents.
Editing and Retouching with Your Tablet
Your tablet can be a versatile tool for editing and retouching images in Photoshop. With precise control and the ability to make subtle adjustments, you can enhance your photographs and perfect your digital artwork. Here are some tips to help you make the most of editing and retouching with your tablet:
- Utilize selection tools: Use the selection tools in Photoshop, such as the lasso tool or quick selection tool, to isolate specific areas for editing. This allows you to make targeted adjustments without affecting the entire image.
- Take advantage of layer masks: Layer masks are invaluable for non-destructive editing. By adding a layer mask to your adjustment layer, you can selectively apply edits to specific areas of your image, preserving the original pixels.
- Experiment with adjustment layers: Adjustment layers offer a wide range of editing options, including curves, levels, hue/saturation, and more. These non-destructive layers allow you to fine-tune colors, brightness, and contrast to achieve your desired results.
- Use the healing brush and clone stamp: The healing brush and clone stamp tools can help you remove blemishes, unwanted objects, or distractions from your images. Use these tools in conjunction with your tablet’s pen for precise retouching.
- Take advantage of the tablet’s pressure sensitivity: Pressure-sensitive brushes can be extremely useful for tasks like dodging and burning, creating smooth gradient masks, or adding subtle texture. Adjust the brush size, opacity, and flow settings to achieve the desired effect.
- Try non-destructive filters: Photoshop offers a wide range of filters that can enhance your images creatively. Experiment with filters like blur, sharpen, and artistic effects to add depth and character to your photographs.
- Make use of the tablet’s pen pressure: Take advantage of the pen pressure sensitivity to control the intensity of your brush strokes while editing. This allows for more precise control when applying adjustments or retouching specific areas.
Remember to save your work frequently and keep multiple versions of your file as you progress through your editing and retouching process. This way, you can always go back to a previous stage if needed. With your tablet, you have a powerful tool to enhance and transform your images in Photoshop with precision and control.
Shortcut Tips and Tricks
Using keyboard shortcuts in Photoshop can greatly streamline your workflow and save you time while working on your tablet. Memorizing and utilizing these shortcuts can significantly improve your productivity. Here are some essential shortcut tips and tricks:
- Undo and Redo: Use the shortcut “Ctrl + Z” (Windows) or “Command + Z” (Mac) to quickly undo your previous action. To redo, use “Ctrl + Shift + Z” (Windows) or “Command + Shift + Z” (Mac).
- Brush Size Adjustment: Use the brackets “[” or “]” to decrease or increase the brush size, respectively. This allows for quick adjustments while painting or retouching.
- Switching Between Tools: Press the keyboard shortcut of the tool you want to select. For example, “B” for the Brush tool, “E” for the Eraser tool, or “V” for the Move tool.
- Zoom In and Out: Use “Ctrl + +” (Windows) or “Command + +” (Mac) to zoom in and “Ctrl + -” (Windows) or “Command + -” (Mac) to zoom out. To fit the image to the screen, use “Ctrl + 0” (Windows) or “Command + 0” (Mac).
- Crop Tool: Press “C” to quickly access the Crop tool. Drag the cursor over the area you want to crop, and press Enter or Return to apply the crop.
- Merge Visible Layers: Use “Ctrl + Shift + E” (Windows) or “Command + Shift + E” (Mac) to merge all visible layers into a new layer without affecting the original layers.
- Duplicate Layers: Press “Ctrl + J” (Windows) or “Command + J” (Mac) to quickly duplicate the selected layer. This is useful for creating multiple versions or applying different adjustments to the same layer.
- Fill with Foreground and Background Color: Press “Alt + Backspace” (Windows) or “Option + Delete” (Mac) to fill the current layer or selection with the foreground color. Use “Ctrl + Backspace” (Windows) or “Command + Delete” (Mac) to fill with the background color.
- Save for Web and Devices: Use “Ctrl + Shift + Alt + S” (Windows) or “Command + Shift + Option + S” (Mac) to quickly bring up the “Save for Web and Devices” dialog, making it easy to optimize and export your images.
These are just a few examples of the many keyboard shortcuts available in Photoshop. Familiarize yourself with these shortcuts and gradually incorporate more into your workflow. Remember that practice makes perfect, and becoming adept at using shortcuts will greatly enhance your efficiency and speed in Photoshop.
Troubleshooting Common Tablet Issues
While using a tablet with Photoshop can greatly improve your digital workflow, it is not uncommon to encounter certain issues or challenges along the way. Here are some common tablet-related issues and troubleshooting tips to help you overcome them:
- Connection Problems: If your tablet is not being detected or is experiencing intermittent connection issues, try the following steps:
- Ensure that the USB cable is securely connected to both the tablet and your computer.
- Try using a different USB port on your computer.
- Restart your computer to reset the connection.
- Check if there are any updated drivers available for your tablet and install them.
- Pressure Sensitivity Not Working: If your tablet is not registering pressure sensitivity in Photoshop, try these troubleshooting steps:
- Check if pressure sensitivity is enabled in the tablet software or control panel.
- Verify that you have selected a brush or tool in Photoshop that supports pressure sensitivity.
- Ensure that your tablet drivers are up to date.
- Try recalibrating your tablet to ensure accurate pen-to-screen mapping.
- Cursor Offset: If the cursor on your tablet is not aligned with the pen’s position on the screen, try these potential fixes:
- Calibrate your tablet using the calibration settings in the tablet software or control panel.
- Check if there are any software updates available for your tablet and install them.
- Try using your tablet on a different computer to see if the offset issue persists. This can help determine if the problem is specific to your computer.
- Contact the tablet manufacturer’s support or seek professional assistance if the issue persists.
- Tablet Lag or Slow Response: If your tablet is experiencing lag or slow response, follow these steps:
- Close any unnecessary programs or applications running in the background that may be consuming system resources.
- Ensure that your computer meets the minimum system requirements for running Photoshop and the tablet software.
- Check if there are any updates available for your tablet’s drivers or firmware.
- Adjust the tablet’s settings, such as sensitivity, to optimize performance.
- Incompatibility with Photoshop: If your tablet is not working properly with Photoshop or specific features are not functioning as expected, try the following troubleshoot strategies:
- Ensure that you have installed the latest drivers and software updates for your tablet.
- Check the tablet manufacturer’s website or support forums for any known compatibility issues or workarounds.
- Reset Photoshop’s preferences by holding down the Shift + Ctrl + Alt keys (Windows) or Shift + Command + Option keys (Mac) when launching Photoshop.
- Contact the tablet manufacturer’s support or seek assistance from Adobe’s support channels for further troubleshooting and guidance.
If you encounter any persistent issues with your tablet, don’t hesitate to reach out to the tablet manufacturer’s support or consult professional assistance. They can provide specific troubleshooting steps tailored to your tablet model and address any hardware or software-related problems you may be experiencing.
Conclusion
Using a tablet in conjunction with Photoshop can elevate your digital art and editing experience to new heights. By following the steps outlined in this guide, you can set up your tablet, install drivers, customize settings, and navigate Photoshop with ease.
Configuring pen sensitivity, calibrating your tablet, and assigning functions to express keys and the touch ring are important customization steps that can greatly enhance your workflow. Taking advantage of pressure sensitivity and gestures allows for more expressive and intuitive control over your creations.
Whether you’re sketching, painting, editing photos, or retouching images, your tablet can be a powerful tool to unleash your creativity. Experimenting with different brushes, layer blending modes, and utilizing shortcuts will help you achieve the desired effects and improve your productivity.
While using a tablet, it’s important to be aware of common issues that may arise. Troubleshooting problems like connection issues, pressure sensitivity problems, cursor offset, tablet lag, and software compatibility will ensure smooth and uninterrupted usage.
By combining the technical capabilities of your tablet with the vast array of features and tools in Photoshop, you can unlock your artistic potential and produce stunning digital artwork and professional-grade edits.
Remember, practice makes perfect, so don’t be afraid to explore, experiment, and refine your techniques. With time, patience, and dedication, your tablet will become an indispensable tool in your creative journey.