What is a Wacom Tablet?
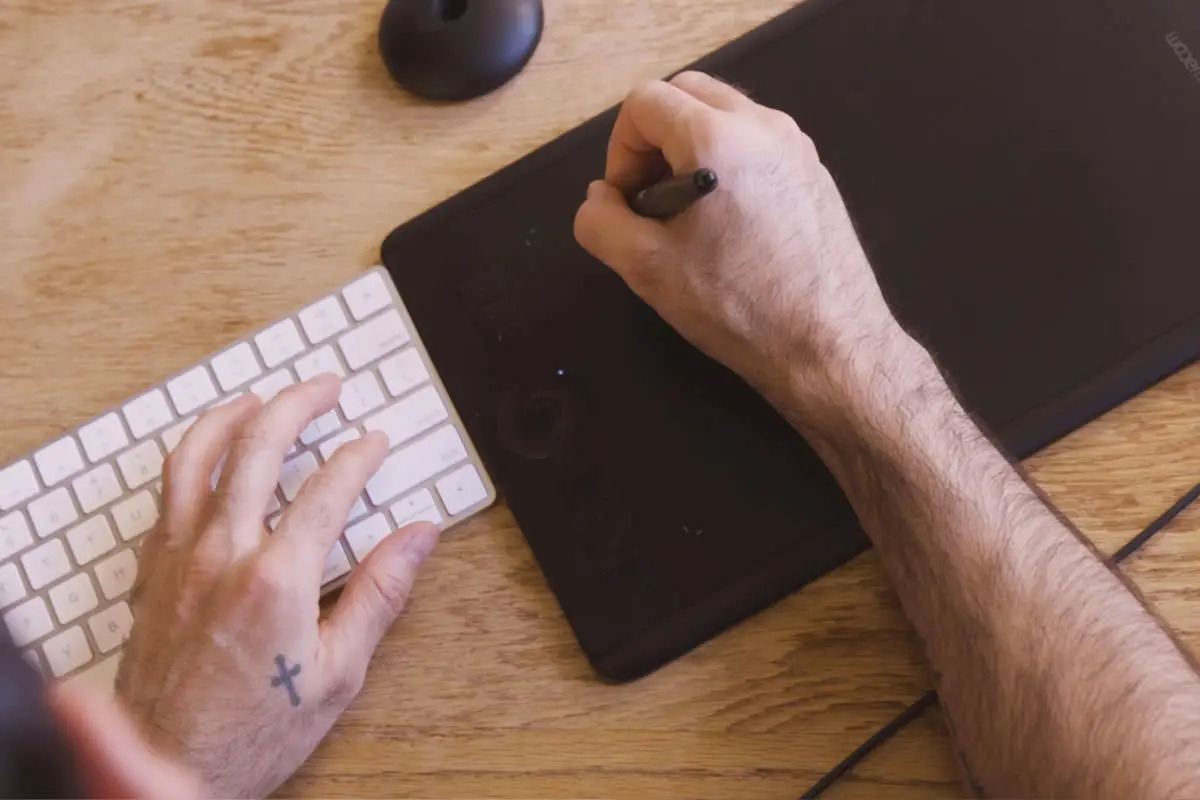
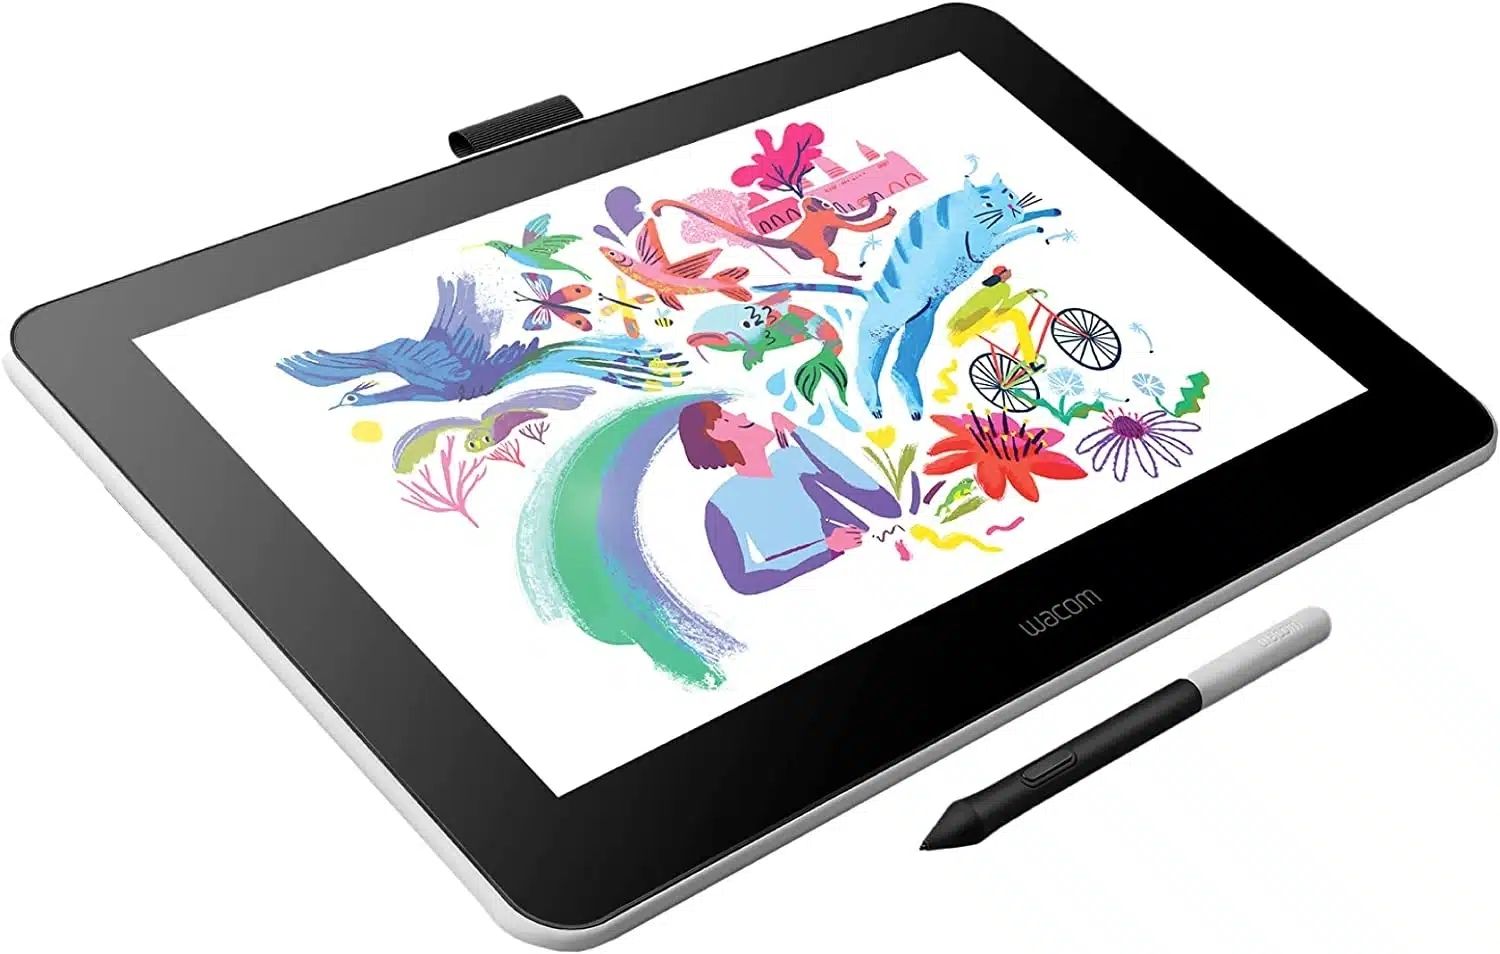
A Wacom Tablet is a digital drawing tablet that allows users to draw, sketch, and create digital art or graphics directly on the tablet surface using a stylus or pen. It offers a natural and intuitive way to interact with digital content, making it an essential tool for artists, designers, and photographers.
Unlike a regular computer mouse, a Wacom Tablet offers precise control and pressure sensitivity, allowing users to create intricate and detailed artwork. The tablet connects to a computer or laptop via USB or Bluetooth, and the stylus acts as a pen or brush, responding to the artist’s hand movements and capturing every stroke.
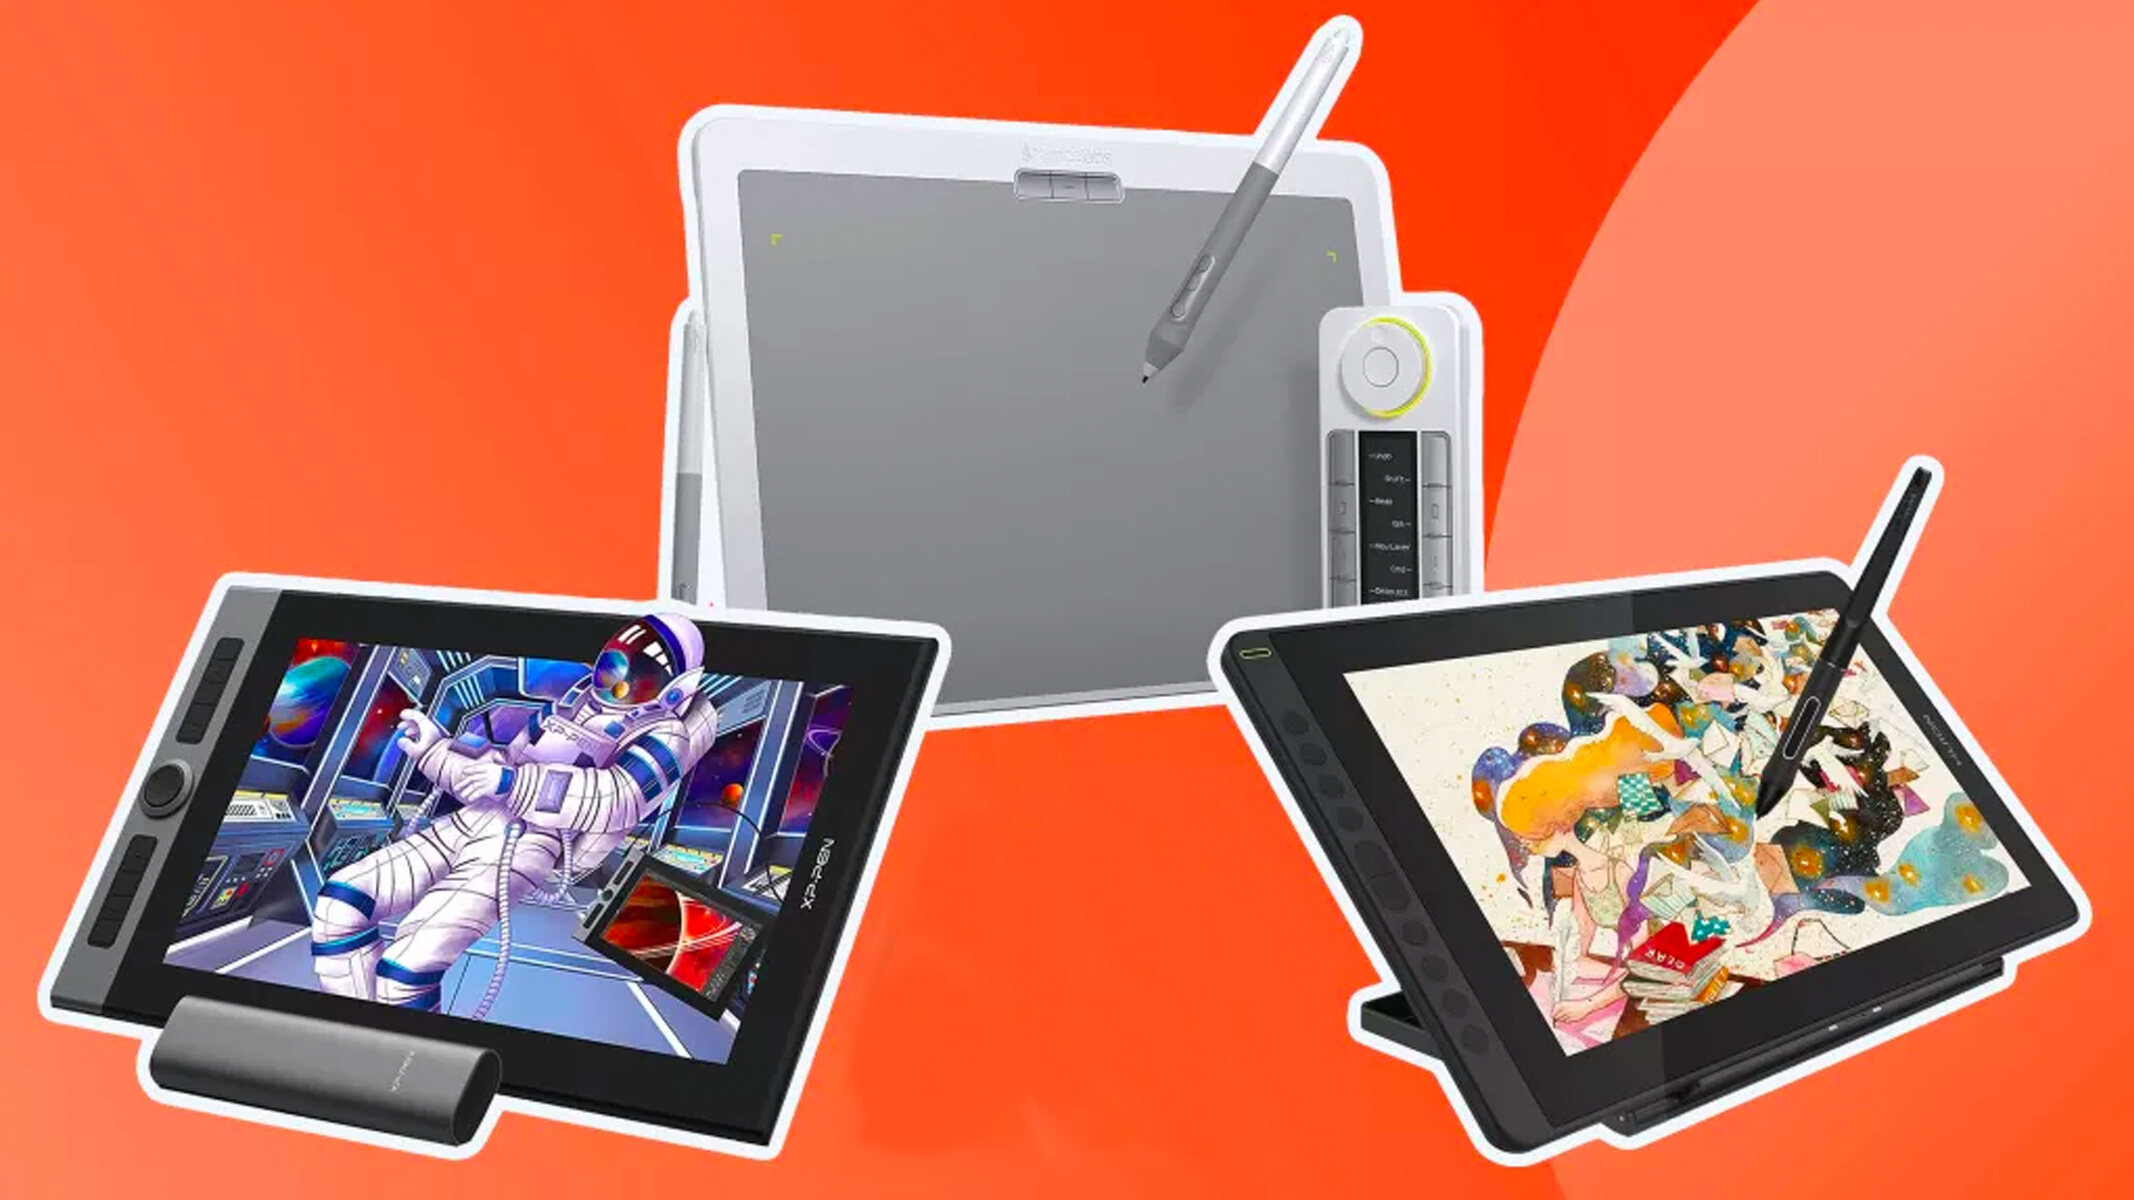
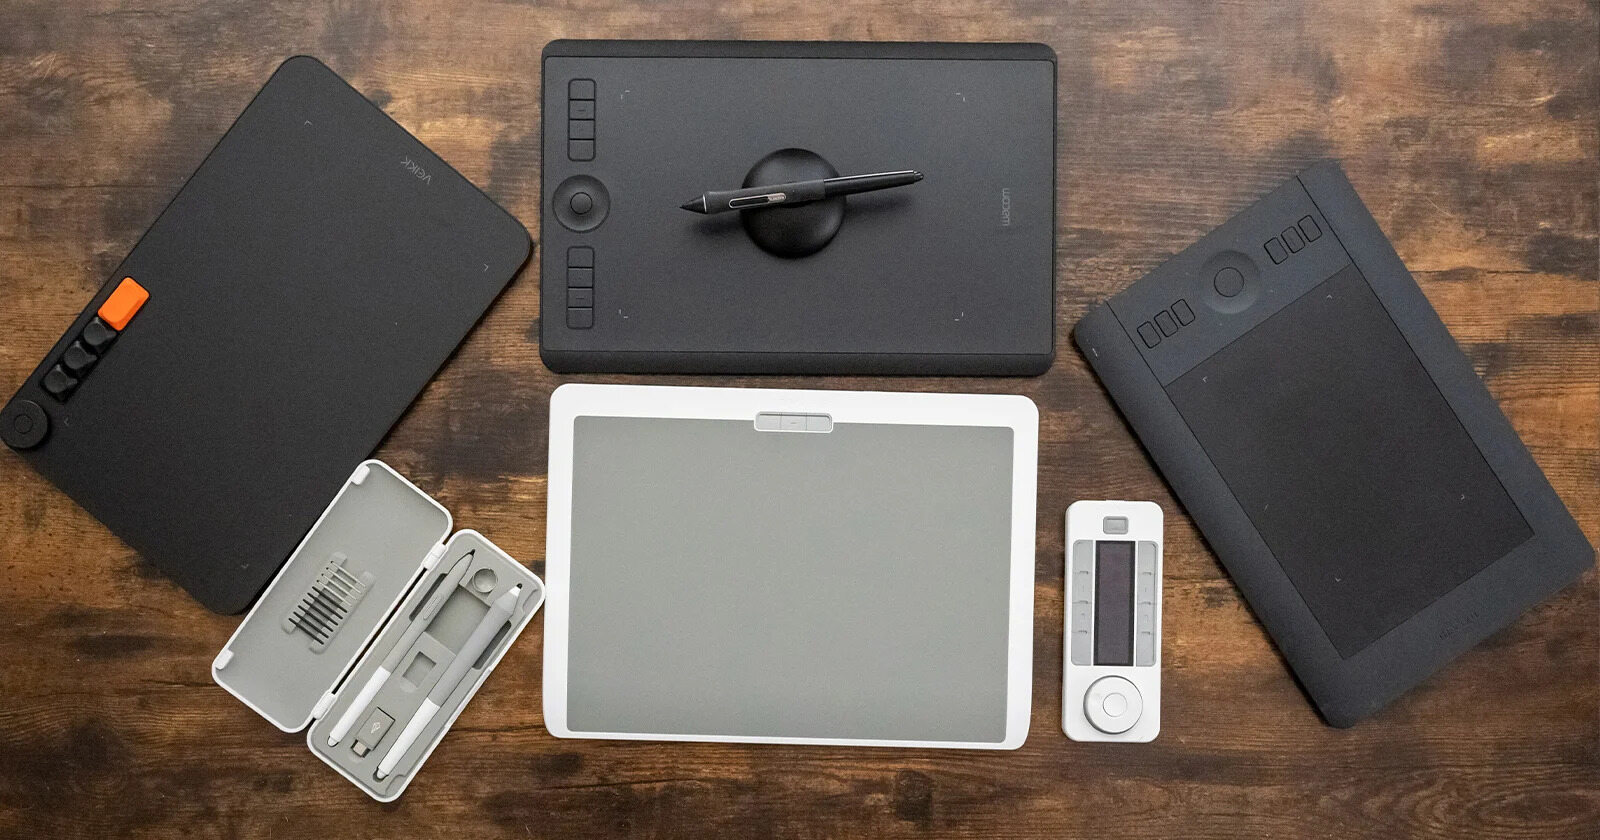
Wacom Tablets are available in different models and sizes to suit various needs and preferences. From compact tablets for on-the-go creativity to large, professional-grade tablets with advanced features, there’s a Wacom Tablet for every skill level and budget.
One of the key features of a Wacom Tablet is its ability to detect pressure sensitivity. This means that depending on how hard you press the stylus on the tablet surface, it can create thicker or thinner lines, adding depth and dimension to your artwork. This level of control and precision enables artists to create incredibly realistic and expressive digital illustrations.
Moreover, Wacom Tablets often come with customizable buttons and touch strips that can be programmed to perform specific functions. These shortcuts and gestures streamline the creative workflow, allowing artists to access frequently used tools and commands with a simple touch or swipe.
Whether you’re a professional artist working on a digital painting or a photographer retouching images, a Wacom Tablet offers a more intuitive and ergonomic approach to digital creation. It provides the tactile feedback and pressure sensitivity that traditional computer inputs lack, giving artists a more natural and fluid drawing experience. With a Wacom Tablet, you can let your creativity flow and bring your ideas to life on a digital canvas.
Benefits of Using a Wacom Tablet
Using a Wacom Tablet comes with a myriad of benefits that make it an indispensable tool for digital artists and designers. Here are some key advantages:
- Improved Precision and Control: A Wacom Tablet offers a level of precision and control that cannot be matched by a traditional mouse or trackpad. The stylus allows for precise, fine-tuned movements, enabling artists to create intricate details and smooth curves with ease.
- Pressure Sensitivity: The pressure sensitivity feature of a Wacom Tablet is a game-changer for digital artists. By applying varying pressure on the stylus, artists can control the thickness and opacity of their brush strokes, resulting in more realistic and expressive artwork.
- Ergonomic Design: Wacom Tablets are designed with ergonomics in mind, providing a comfortable drawing experience. The tablet’s surface mimics the feel of pen and paper, reducing strain and fatigue during long drawing sessions. Additionally, the customizable buttons and touch strips can be programmed to perform frequently used shortcuts, reducing the need to reach for the keyboard.
- Efficient Workflow: With customizable buttons and touch strips, artists can streamline their workflow and access commonly used tools, brushes, and commands with a simple press or swipe. This saves time and allows artists to focus on their creative process without interruption.
- Compatibility and Software Integration: Wacom Tablets are compatible with various operating systems and widely used creative software such as Adobe Photoshop, Illustrator, and Corel Painter. They seamlessly integrate with these software, offering enhanced functionality and improved productivity.
- Enhanced Creativity: The natural feeling of drawing on a tablet surface, combined with the pressure sensitivity and control, unleashes a whole new level of creativity. Artists can experiment with different brush styles, textures, and effects, resulting in unique and captivating digital artwork.
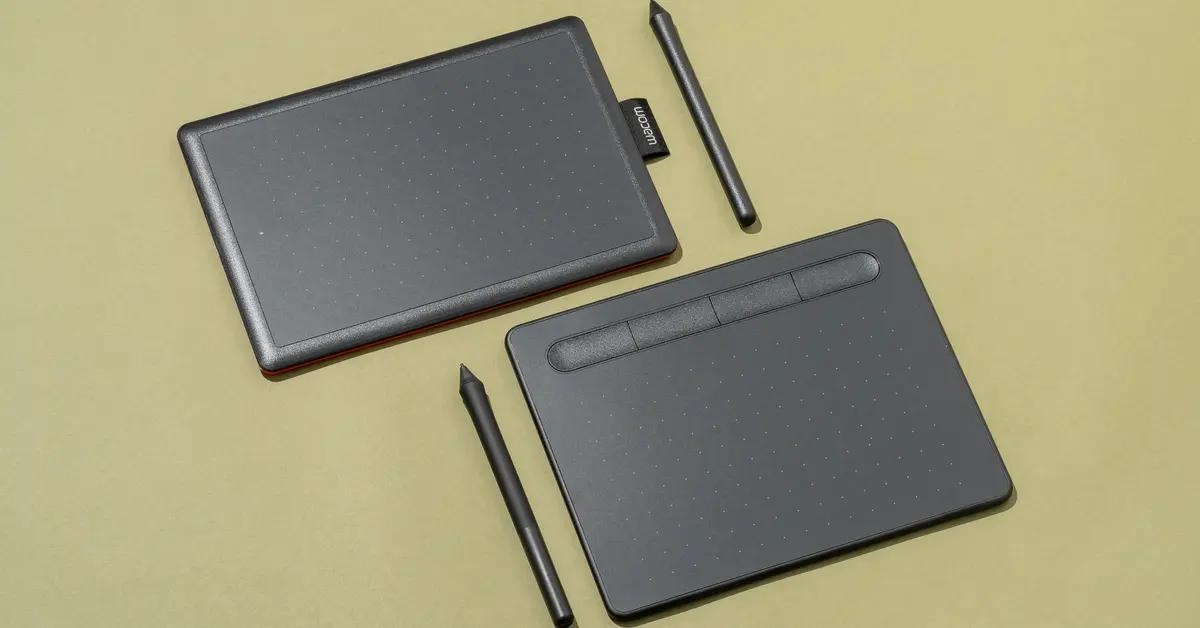
- Portability: Wacom Tablets come in various sizes, including compact and lightweight models, making them portable for artists on the go. Whether you’re at a coffee shop, on a train, or in a park, you can easily take your tablet with you and continue your creative work anywhere.
Overall, using a Wacom Tablet enhances the artist’s abilities and opens up a world of possibilities for digital art and design. Its features and functionalities provide artists with the tools they need to bring their imagination to life while enjoying a more intuitive and immersive drawing experience.
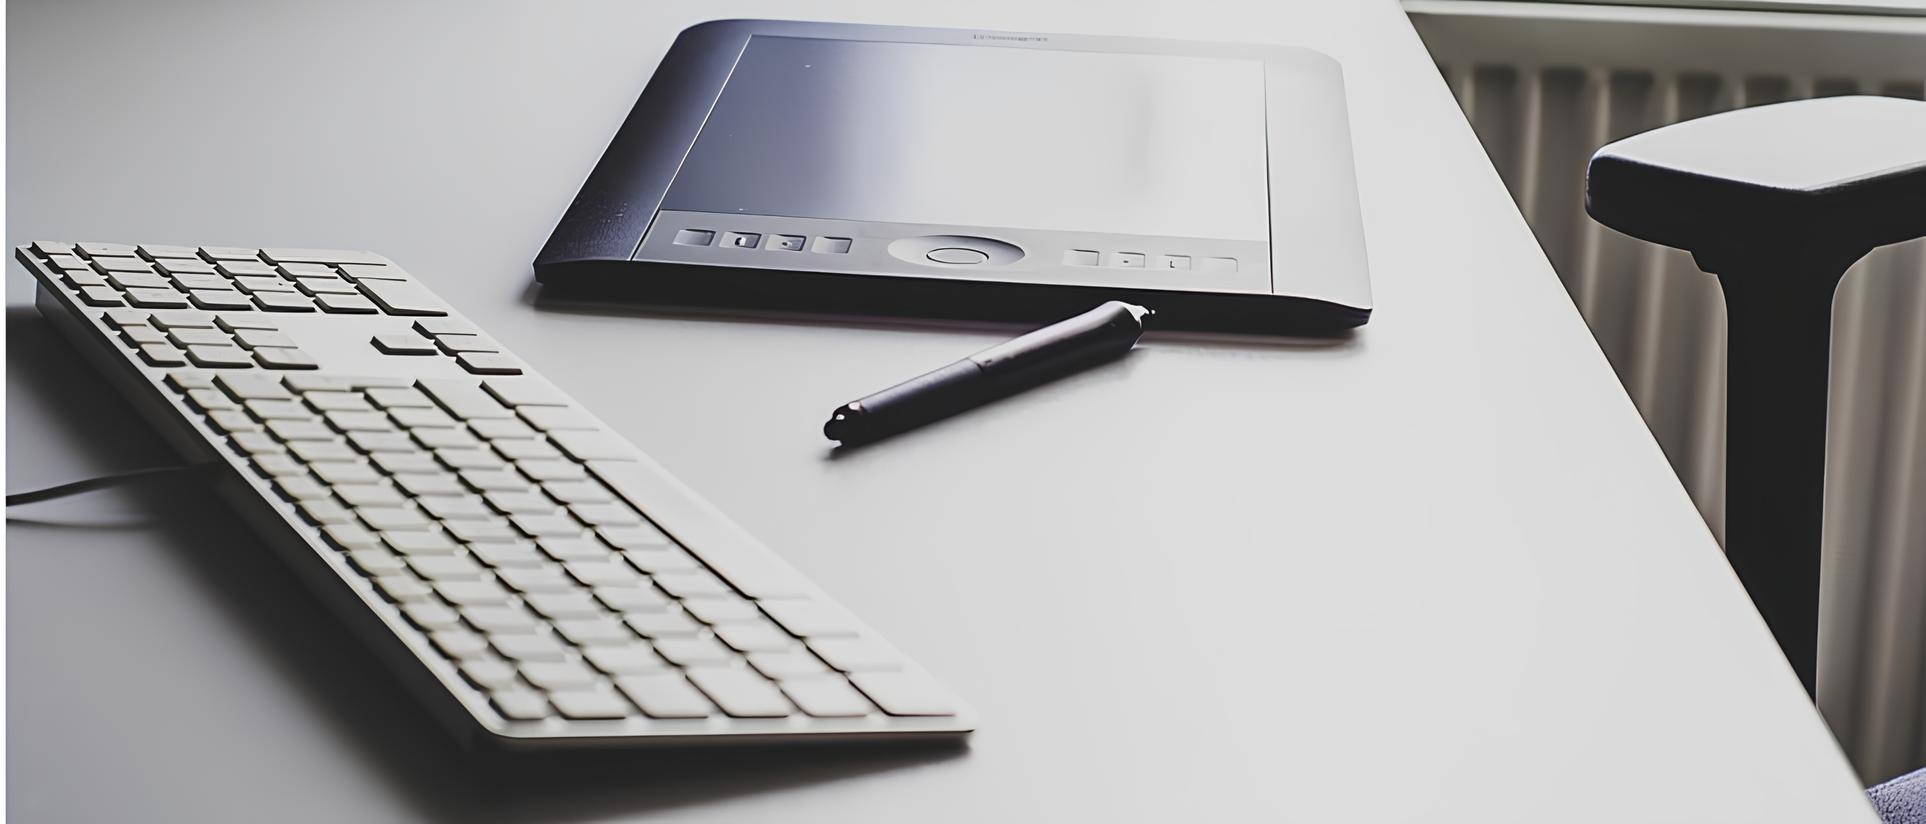
Setting Up Your Wacom Tablet
Setting up your Wacom Tablet is a straightforward process that ensures a smooth and efficient drawing experience. Here are the steps to get you started:
- Connect the Tablet: Start by connecting your Wacom Tablet to your computer or laptop using the provided USB cable. Alternatively, if your tablet supports Bluetooth, you can pair it wirelessly.
- Install the Drivers: Visit the official Wacom website and download the latest drivers for your tablet model. These drivers are essential as they enable your computer to recognize and communicate with the tablet effectively. Once downloaded, follow the on-screen instructions to install the drivers.
- Calibrate the Pen: After the drivers are installed, it’s important to calibrate the pen to ensure precise tracking on the tablet surface. This can usually be done through the tablet settings or control panel. Follow the instructions provided by the software to calibrate the pen.
- Customize Tablet Settings: Take the time to explore the tablet’s settings and customize them to your preference. This includes adjusting pen pressure sensitivity, assigning functions to the buttons and touch strips, and customizing pen buttons. Personalizing these settings will enhance your workflow and make drawing more intuitive.
- Install Compatible Software: To fully utilize the capabilities of your Wacom Tablet, it’s recommended to install compatible software such as Adobe Photoshop, Illustrator, or Corel Painter. These software programs seamlessly integrate with Wacom Tablets, offering a wide range of creative tools and features.
- Practice and Experiment: Once your tablet is set up, it’s time to start practicing and experimenting with different techniques. Familiarize yourself with the pressure sensitivity, try out various brush settings, and explore different drawing styles. The more you practice, the more comfortable you will become with using the tablet.
- Keep the Drivers Updated: It’s important to periodically check for driver updates on the Wacom website. Updated drivers often include bug fixes, performance improvements, and compatibility enhancements, ensuring that your tablet operates at its best.
Remember, setting up your Wacom Tablet is just the first step. As you get more comfortable with using the tablet and drawing digitally, you can continue to explore advanced features, experiment with different software, and refine your artistic skills. Embrace the versatility and creativity that a Wacom Tablet offers and let your imagination run wild!
Getting Familiar with Wacom Tablet Controls
Understanding the various controls and features of your Wacom Tablet is essential for optimizing your digital drawing experience. Here’s a guide to help you get familiar with the tablet’s controls:
- Pen/Stylus: The pen or stylus is the primary tool for interacting with the tablet. It is battery-free and lightweight, designed to replicate the feel of a traditional pen or brush. The pen offers pressure sensitivity, allowing you to control the thickness and opacity of your brush strokes.
- ExpressKeys: ExpressKeys are customizable buttons located on the side of the tablet. They can be programmed to perform various functions such as switching between tools, zooming in/out, or undo/redo. Customizing these keys to your preferred shortcuts will enhance your productivity and workflow.
- Touch Ring/Touch Strips: Some Wacom Tablet models feature a touch ring or touch strips. These circular or linear touch-sensitive areas can be customized to control parameters like brush size, canvas rotation, or zooming. By swiping or rotating your finger on the touch ring/strips, you can quickly adjust these settings.
- Express View Display: The Express View Display is a small screen located on the tablet that shows the assigned functions of the ExpressKeys. It provides a quick reference for your customized shortcuts, allowing you to easily remember the functions associated with each button.
- Touch Gesture Controls: Many Wacom Tablets support touch gesture controls, enabling you to navigate and interact with your artwork using multi-finger gestures. These gestures include pinch-to-zoom, swipe to scroll, and two-finger tap to right-click. Understanding and utilizing these gestures will enhance your overall tablet experience.
- Radial Menu: The Radial Menu is a circular menu that can be accessed by pressing one of the ExpressKeys. It provides quick access to a customizable set of functions and shortcuts. By organizing frequently used actions in the Radial Menu, you can navigate through menus and select tools more efficiently.
- On-Screen Controls: Some Wacom Tablets offer on-screen controls that display customizable buttons and sliders directly on your computer screen. These controls are overlayed onto your creative software and are context-sensitive, allowing for intuitive and efficient adjustments without having to rely solely on the physical tablet buttons.
Take the time to explore and experiment with these various controls and features of your Wacom Tablet. Adjust the sensitivity settings, assign functions to the ExpressKeys, and customize the touch gestures to fit your workflow. The better you understand and utilize these controls, the more efficient, precise, and enjoyable your digital drawing experience will be.
Customizing Your Wacom Tablet Settings
Customizing the settings of your Wacom Tablet is crucial for tailoring the tablet to your specific needs and preferences. By personalizing the settings, you can optimize your workflow and enhance your digital drawing experience. Follow these steps to customize your Wacom Tablet settings:
- Access the Settings: Depending on the model of your Wacom Tablet, you can access the settings either through the Wacom Tablet Properties software provided or through the tablet preferences section in your computer’s system settings.
- Pressure Sensitivity: Adjusting the pressure sensitivity settings allows you to control how light or hard you need to press on the stylus to achieve different brush strokes. Experiment with different pressure levels and find the setting that feels most comfortable and natural for your style of drawing.
- ExpressKeys: Customize the ExpressKeys to streamline your workflow. Assign frequently used functions or shortcuts to these buttons, such as brush selection, brush size adjustment, eraser, or zoom in/out. This way, you can access these functions quickly and easily without having to navigate through menus or use the keyboard.
- Touch Ring/Touch Strips: If your tablet has a touch ring or touch strips, customize their behavior to suit your needs. You can assign functions like canvas rotation, brush size adjustment, or scrolling through layers. By configuring these features to your liking, you can speed up your workflow and have more control over your digital art.
- Pen Buttons: Depending on your tablet model, the pen may have one or more buttons on the side. These buttons can be programmed to perform specific functions or access shortcuts. Customize the pen buttons according to your preferences and the functions you use most frequently.
- Radial Menu: Explore the Radial Menu feature if your tablet supports it. The Radial Menu is a circular menu that can be accessed by pressing one of the ExpressKeys. It allows you to assign multiple functions to a single button, giving you quick access to a variety of tools and options.
- Tablet Mode: Some tablets have a tablet mode option, which can disable touch input when the pen is in use. This prevents accidental touches while drawing and ensures a seamless drawing experience.
- Application-Specific Settings: Customize your tablet settings for different creative software programs. You can create application-specific settings profiles, allowing you to have different settings for different software. This is useful if you use different software for drawing, photo editing, or graphic design.
- Experiment and Adjust: Take the time to experiment with the settings and make adjustments as needed. Every artist has different preferences and working styles. Tweak the settings until you find the configuration that aligns with your artistic process, providing you with the most comfortable and efficient drawing experience.
By customizing your Wacom Tablet settings, you can optimize it to fit your creative needs and preferences. These personalized settings will allow you to work more efficiently, access functions easily, and have greater control over your digital art. Embrace the flexibility and versatility that customizing your Wacom Tablet offers and make the most out of your drawing experience.
Using the Wacom Tablet with Adobe Photoshop
Adobe Photoshop is a powerful software widely used by digital artists and photographers. When paired with a Wacom Tablet, the drawing experience becomes even more immersive and intuitive. Here are some tips for using your Wacom Tablet with Adobe Photoshop:
- Pressure-Sensitive Brush Strokes: The pressure sensitivity of your Wacom Tablet pairs seamlessly with Photoshop’s brush dynamics. Experiment with different brush types and sizes, and vary your pen pressure to create subtle variations in line thickness and opacity.
- Customizing Brushes: Photoshop offers a vast array of customizable brushes. Use your Wacom Tablet to adjust brush settings like size, hardness, and opacity on the fly. With the tablet’s express keys and touch strips, you can quickly switch between brushes or access frequently used brush settings.
- Pen Tilt Functionality: If your Wacom Tablet supports pen tilt sensitivity, take advantage of it in Adobe Photoshop. Tilt the pen to create unique brush effects such as shading or simulating calligraphy. This adds depth and realism to your artwork.
- Quick Access to Photoshop Tools: Customize your Wacom Tablet’s express keys to access frequently used Photoshop tools quickly. Assign shortcuts for tools like the selection brush, healing brush, or clone stamp tool. This streamlines your workflow and allows you to focus more on your creative process.
- Zooming and Panning: Utilize touch gestures or the touch ring on your Wacom Tablet to zoom in or out of your canvas. This makes it easier to work on intricate details. Additionally, use pan gestures to navigate around your artwork effortlessly.
- Masking and Selections: Wacom Tablets offer precise control, making complex tasks like masking and making selections in Photoshop much easier. Use the pen to create precise, smooth edges for your masks and selections, resulting in refined and professional-looking artwork.
- Layer Control: Organizing your artwork on different layers is essential in Photoshop. With your Wacom Tablet, you can seamlessly navigate through layers, adjust opacity, and make transformations with precision.
- Tablet-Based Gestures: Explore the tablet-based gestures in Photoshop. For example, use pinch-to-zoom or rotate gestures to adjust the canvas orientation or zoom level. These gestures provide a natural and intuitive way to interact with the software.
- Utilizing Photoshop’s Pen Pressure Sensitivity Setting: In Photoshop’s brush settings, you can adjust how the software responds to pen pressure sensitivity. Experiment with this setting to find the balance that feels most comfortable and natural for your drawing style.
- Integration with Photoshop’s Touch Shortcut Overlay: Some Wacom Tablets integrate with Photoshop’s touch shortcut overlay. This overlay provides on-screen controls and shortcuts that can be accessed by touch. Customize these controls based on your preferences for quick access to frequently used features.
By harnessing the power of your Wacom Tablet and combining it with Adobe Photoshop’s robust features and tools, you can take your digital artwork to the next level. With practice and experimentation, you’ll discover a seamless and enjoyable drawing experience that brings your creative vision to life.
Using the Wacom Tablet with Adobe Illustrator
Adobe Illustrator is a versatile software used by graphic designers and illustrators to create vector-based artwork. When paired with a Wacom Tablet, the drawing experience becomes even more dynamic and precise. Here are some tips for using your Wacom Tablet with Adobe Illustrator:
- Pressure-Sensitive Drawing: Take advantage of your Wacom Tablet’s pressure sensitivity to create varying line weights and strokes in Illustrator. Adjust the pen pressure to control the thickness and opacity of your brush strokes, resulting in more expressive and lifelike illustrations.
- Customizing Pen Tool Shortcuts: Illustrator’s Pen Tool is essential for creating precise and smooth vector shapes. Customize your Wacom Tablet’s express keys to assign shortcuts for the Pen Tool, Bezier curve adjustment, and anchor point selection. This allows for seamless navigation and editing of vector paths.
- Utilizing the Eraser Tool: Illustrator’s Eraser Tool can be useful for removing parts of a shape or creating custom vector shapes. Program one of your Wacom Tablet’s express keys to activate the Eraser Tool for quick access and seamless editing.
- Zooming and Navigating: Use the touch gestures on your Wacom Tablet or the touch ring to zoom in or out of your Illustrator canvas. This makes it easier to work on fine details or navigate through larger compositions. Additionally, use swipe gestures to pan across the artwork.
- Customizing Brushes and Calligraphy: Illustrator offers a wide range of customizable brushes and calligraphic tools. With your Wacom Tablet, you can easily adjust brush size, shape, and pressure sensitivity on the fly. This empowers you to create unique and intricate vector artwork.
- Working with Layers: Illustrator’s layer system allows for organized and structured artwork. Utilize your Wacom Tablet to seamlessly navigate through layers, adjust stacking order, and modify opacity. This makes workflow management more efficient and keeps your artwork organized.
- Using the Blob Brush Tool: The Blob Brush Tool in Illustrator allows for intuitive and fluid drawing, similar to traditional paintbrushes. Take advantage of your tablet’s pressure sensitivity and customize the Blob Brush Tool settings to create dynamic and organic vector shapes.
- Manipulating Anchor Points: Illustrator’s Pen Tool and Direct Selection Tool are essential for editing anchor points and manipulating paths. With your Wacom Tablet’s precision, you can accurately select, adjust, and refine anchor points, resulting in clean and precise vector artwork.
- Utilizing Illustrator’s Touch Workspace: Illustrator offers a touch workspace option that optimizes the software for touch input. This is particularly useful when using your Wacom Tablet’s touch gestures, as it provides a more intuitive and hands-on drawing experience.
- Exploring Shape Builder Tool: Illustrator’s Shape Builder Tool allows you to merge, combine, and subtract shapes. Customize your Wacom Tablet’s express keys to access the Shape Builder Tool quickly, allowing for seamless creation and manipulation of vector shapes.
By combining the power of Adobe Illustrator with the precision and control of your Wacom Tablet, you can unleash your creativity and create stunning vector-based artwork. Experiment with different tools, brushes, and techniques to find a workflow that suits your style and allows for fluid and intuitive digital illustration.
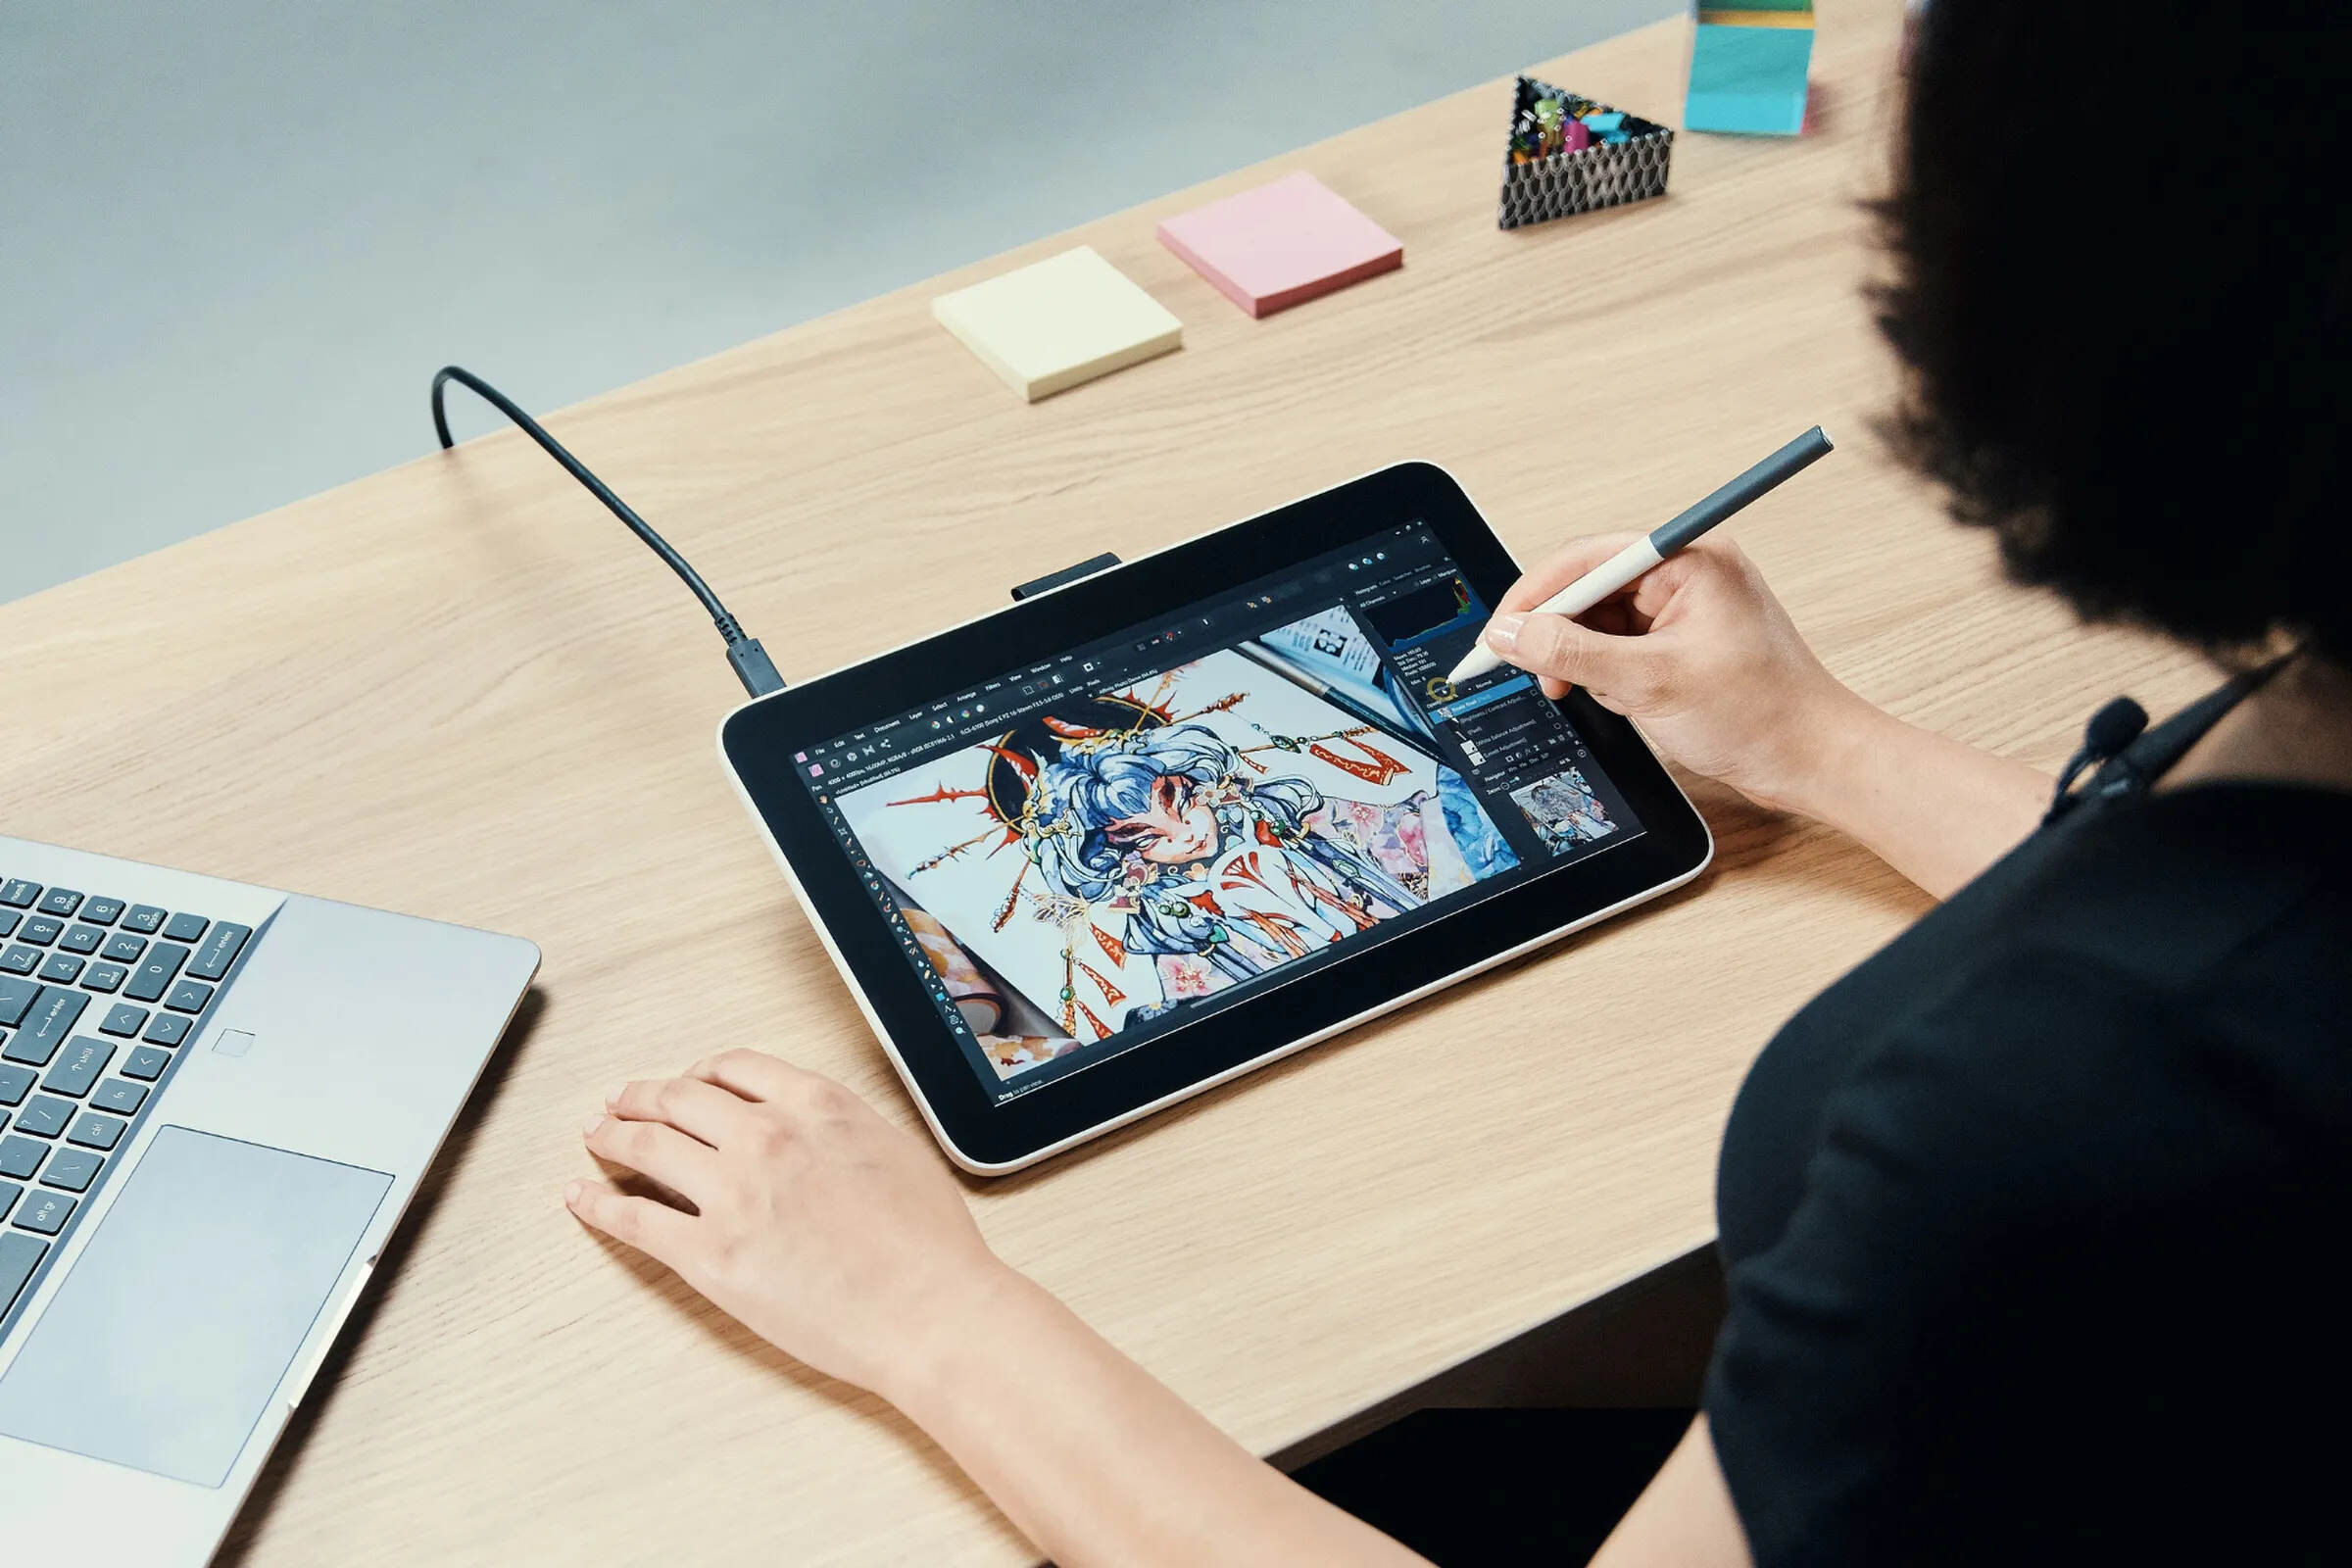
Using the Wacom Tablet for Digital Art
The Wacom Tablet is a versatile tool that can take your digital art to new heights. Whether you’re a professional artist or an aspiring digital creator, using a Wacom Tablet can provide numerous benefits and elevate your artwork to a whole new level. Here are some tips for using the Wacom Tablet for digital art:
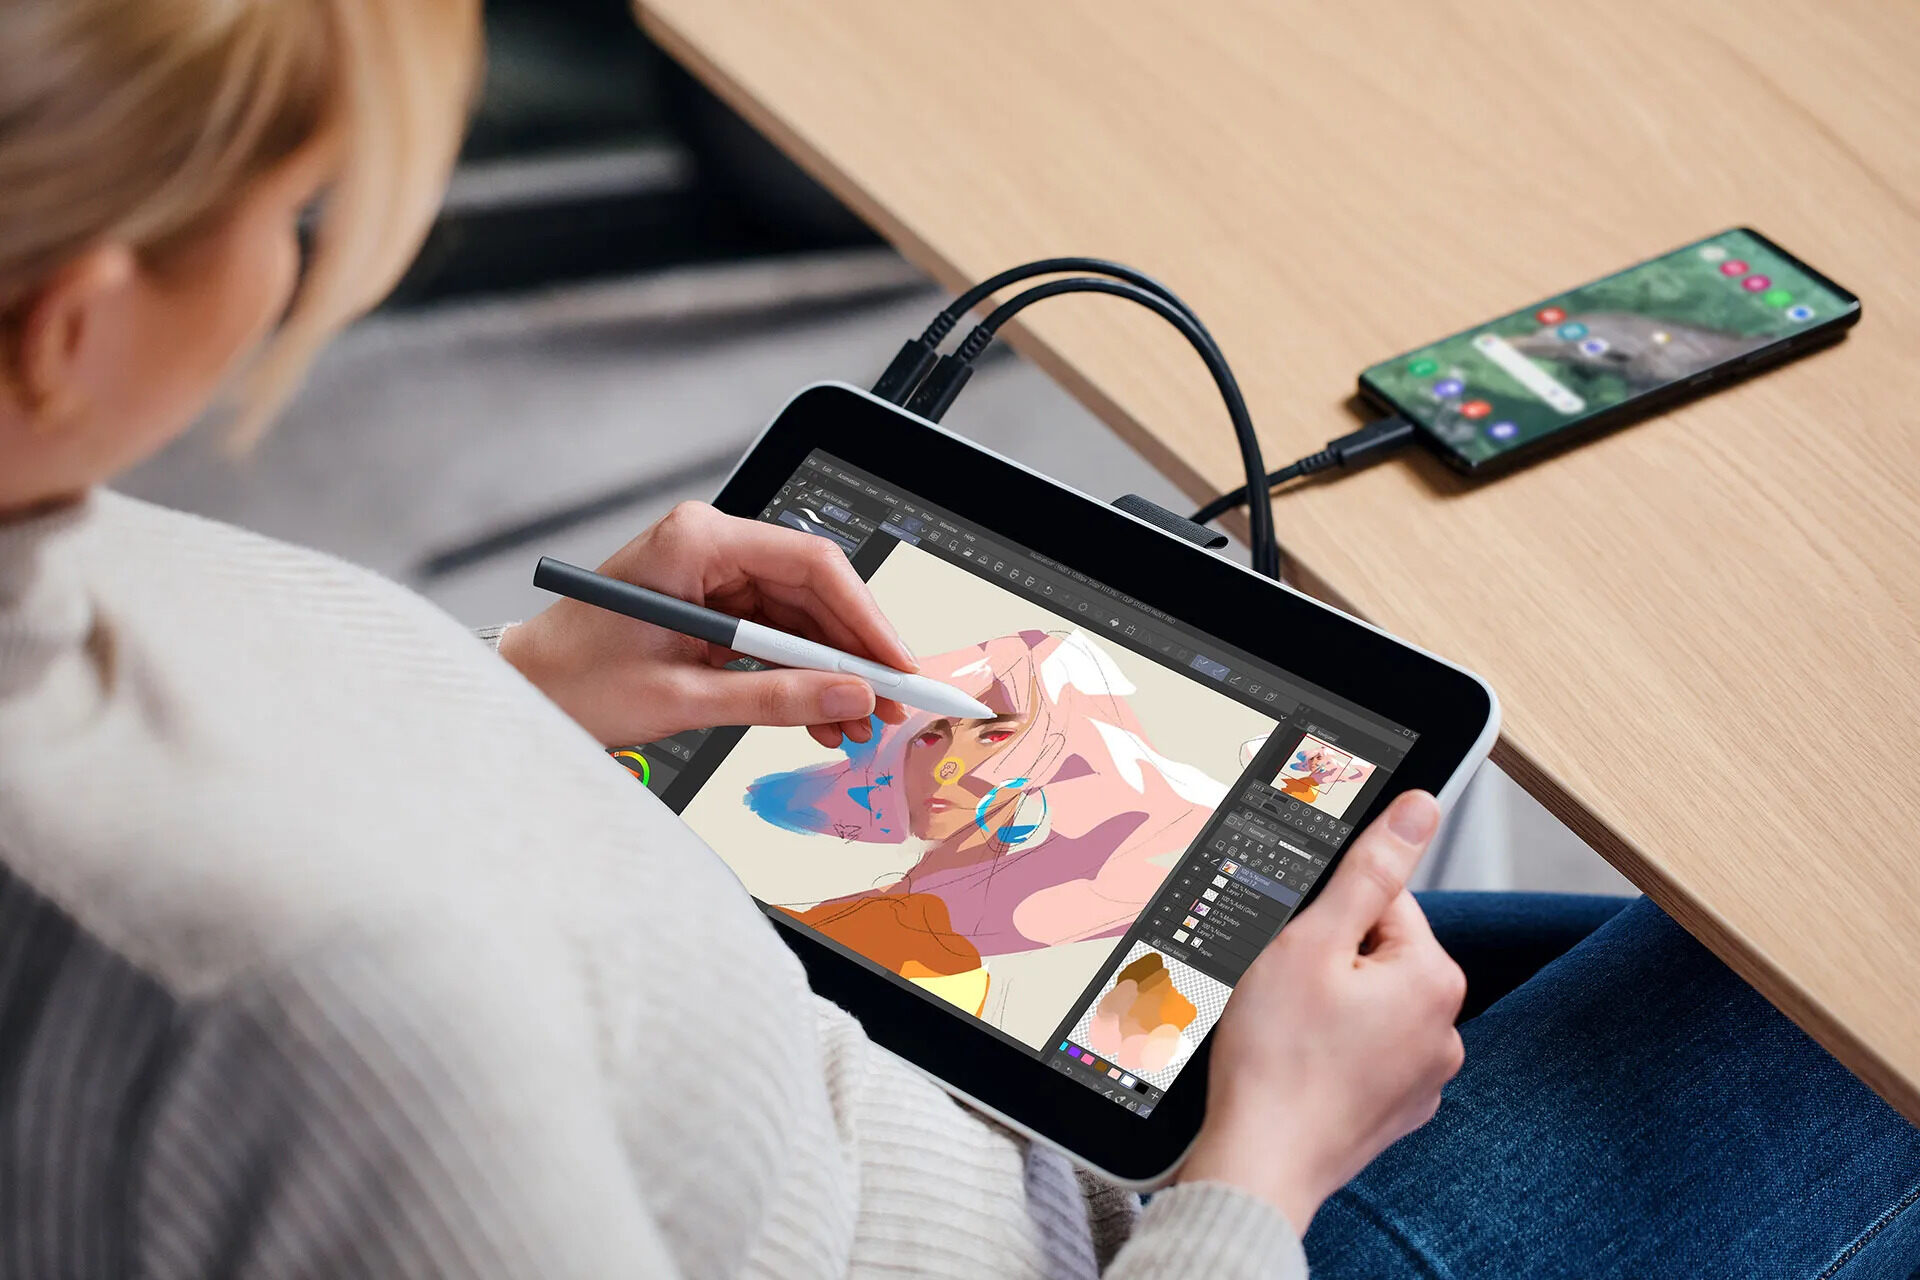
- Natural and Intuitive Drawing Experience: Drawing directly on the tablet surface with a stylus provides a more natural and intuitive experience compared to using a mouse or trackpad. The Wacom Tablet’s pressure sensitivity and tilt recognition allow for precise and expressive brush strokes, giving your digital art a more authentic and hand-drawn feel.
- Unleash Creativity with Digital Tools: The Wacom Tablet opens up a world of digital tools and creative possibilities. With a wide range of customizable brushes, textures, and effects available in software like Adobe Photoshop and Corel Painter, you can experiment and explore various artistic styles, techniques, and visual effects.
- Efficiency and Productivity: The Wacom Tablet’s programmable buttons, touch strips, and touch gestures can greatly enhance your workflow and productivity. Customize these controls to match your preferred shortcuts, allowing you to access frequently used tools and functions with a simple touch or swipe, saving you time and effort.
- Digital Editing and Manipulation: The precision of the Wacom Tablet is invaluable when it comes to editing and manipulating digital artwork. Whether it’s selecting and modifying specific elements, refining details, or seamlessly blending colors, the tablet’s pen accuracy and pressure sensitivity give you the control and finesse required for intricate digital editing.
- Wide Range of Artistic Mediums: The Wacom Tablet is not limited to traditional drawing and painting styles. Experiment with using it for various artistic mediums, such as creating digital illustrations, concept art, photo manipulation, 3D modeling, and even animation. The tablet’s versatility allows you to explore different artistic mediums and techniques in the digital realm.
- Flexibility and Portability: Wacom Tablets come in different sizes, including portable models that you can take with you wherever you go. This flexibility allows you to work on your digital art projects anytime and anywhere, whether you’re at home, in the studio, or on the move.
- Collaboration and Feedback: With the ability to easily share your digital artwork online, collaborating with other artists and receiving feedback becomes more accessible. Join online art communities, share your work on social media platforms, and engage with fellow artists to gain inspiration, learn new techniques, and receive valuable feedback on your digital art.
- Continuous Learning and Growth: Using a Wacom Tablet for digital art opens up endless opportunities for learning and growth as an artist. Stay updated with the latest software updates, brush packs, and tutorials to enhance your skills and explore new creative techniques. Keep pushing your creative boundaries and embracing new challenges to evolve as a digital artist.
The Wacom Tablet is a powerful tool that can revolutionize your approach to digital art. With its precision, sensitivity, and customizable features, it allows you to unleash your creativity, explore new artistic mediums, and bring your digital visions to life with enhanced control and expression.
Tips and Tricks for Using the Wacom Tablet
Mastering the art of using a Wacom Tablet requires practice, experimentation, and an understanding of its features. Here are some tips and tricks to make the most out of your Wacom Tablet:
- Experiment with Pressure Sensitivity: Take advantage of the pressure sensitivity feature of your Wacom Tablet. Try different brush styles and experiment with varying levels of pressure to achieve different effects and brush strokes. This will add depth and dimension to your digital artwork.
- Utilize the Pen Tilt Function: If your Wacom Tablet supports pen tilt functionality, don’t overlook it. Tilting the pen can simulate shading, calligraphy, and other brush effects. Explore this feature to add a unique touch to your artwork.
- Customize Your Express Keys and Touch Strips: Set up your express keys and touch strips to match your preferred shortcuts and functions. This will improve your workflow and allow for quick access to frequently used tools and commands. Experiment with different configurations until you find the setup that works best for you.
- Utilize Zoom and Navigation Gestures: Use touch gestures or the touch ring on your Wacom Tablet to zoom in and out of your artwork, making it easier to work on fine details. Familiarize yourself with pan gestures to navigate across your canvas effortlessly.
- Try Different Brush Styles and Textures: Explore the wide range of brush styles and textures available in your digital art software. Experiment with different brushes and presets to find the ones that suit your artistic vision. Combine textures and blending modes to add depth and visual interest to your artwork.
- Use Layers for Non-Destructive Editing: Organize your artwork using layers to make adjustments without affecting the original elements. This allows for easy editing, masking, and experimenting with different effects. Use your Wacom Tablet’s precision to work with layers seamlessly.
- Explore Shortcuts and Productivity Tricks: Familiarize yourself with keyboard shortcuts and hidden productivity features in your digital art software. These can save you time and make your workflow more efficient. Use your Wacom Tablet’s express keys to program and access these shortcuts easily.
- Take Regular Breaks and Stretch: Drawing for long periods can strain your hand and wrist. Take regular breaks and stretch your fingers, wrist, and arm to prevent discomfort or injury. Using an ergonomic pen grip can also help reduce fatigue during extended drawing sessions.
- Experiment with Different Software: While Adobe Photoshop and Illustrator are popular choices, don’t limit yourself to just one software. There are numerous digital art programs available, each with its own unique features. Explore different software options to find the one that best suits your style and preferences.
- Join Digital Art Communities: Engage with other digital artists by joining online communities or forums. Share your work, ask for feedback, and participate in challenges or collaborations. The input and support from fellow artists can inspire you to grow and improve your digital art skills.
Remember, every artist’s journey with a Wacom Tablet is unique. These tips and tricks will serve as a starting point, but don’t hesitate to explore and experiment with different techniques and settings. With time and practice, you’ll develop your own style and discover what works best for you when using your Wacom Tablet.
Troubleshooting Common Wacom Tablet Issues
While Wacom Tablets are reliable and high-quality devices, occasional issues may arise. Here are some common troubleshooting steps to help resolve common problems with your Wacom Tablet:
- Driver Issues: If your Wacom Tablet is not responding or behaving erratically, the first step is to check for driver issues. Ensure that you have the latest drivers installed for your tablet model. Visit the official Wacom website to download and install the most up-to-date drivers.
- Connection Problems: If your tablet is not connecting or responding, check the USB cable or wireless connection. Ensure that the cable is securely plugged in or the wireless connection is established. Try connecting the tablet to a different USB port or restarting your device.
- Pen Stylus Not Working: If the pen stylus is not working, first make sure that it is charged if it requires batteries. If it’s a battery-free pen, try replacing the nib. Ensure that the pen is properly paired and connected to the tablet. If the issue persists, try reinstalling the pen driver or contact Wacom support for assistance.
- Pressure Sensitivity Not Working: If the pressure sensitivity of your tablet is not working, check the software settings. Make sure the pressure sensitivity is enabled in your graphics software, such as Adobe Photoshop or Illustrator. If the problem persists, update your software and tablet drivers to the latest versions.
- Express Keys or Touch Strips Not Responding: If the express keys or touch strips on your tablet are not functioning, verify that they are properly programmed. Open the tablet settings or control panel and reassign the desired functions to the keys or strips. Ensure that third-party software or conflicting settings are not interfering with their functionality.
- Cursor Offset or Calibration Issues: If you notice cursor offset or calibration problems, recalibrate the tablet. Use the calibration utility software provided by Wacom to align the cursor accurately with the stylus. If the issue persists, try recalibrating in a different lighting environment or contact Wacom support for further assistance.
- Incompatibility with Software: If your Wacom Tablet is not functioning correctly with specific software, ensure that both the tablet drivers and the software are up to date. Check the compatibility of the software with your tablet model. Contact the software vendor or Wacom support for guidance if compatibility issues persist.
- Unresponsive Touch or Gestures: If touch or gesture functionality is not working, ensure that it is enabled in the tablet settings. If the tablet has touch or gesture settings specific to the software you are using, verify that they are configured correctly. If the issue persists, update the tablet drivers and restart your computer.
- Audio or Display Interference: Some Wacom Tablets can cause interference with audio or display devices due to electromagnetic emissions. If you experience interference, try relocating or adjusting the position of your tablet in relation to your audio or display equipment. Using shielding or ferrite cores may also help mitigate interference.
- Hardware Malfunctions: If you have tried all the troubleshooting steps and your Wacom Tablet is still not working correctly, it may indicate a hardware malfunction. In such cases, contact Wacom support for further assistance. They can provide guidance, repair services, or help in replacing any faulty components.
If you encounter any issues with your Wacom Tablet, it’s essential to remain patient and methodical during the troubleshooting process. Always refer to the official Wacom support resources, including manuals and online forums, and reach out to their support team if needed. This way, you can resolve any issues and continue enjoying a seamless drawing experience with your Wacom Tablet.