Introduction
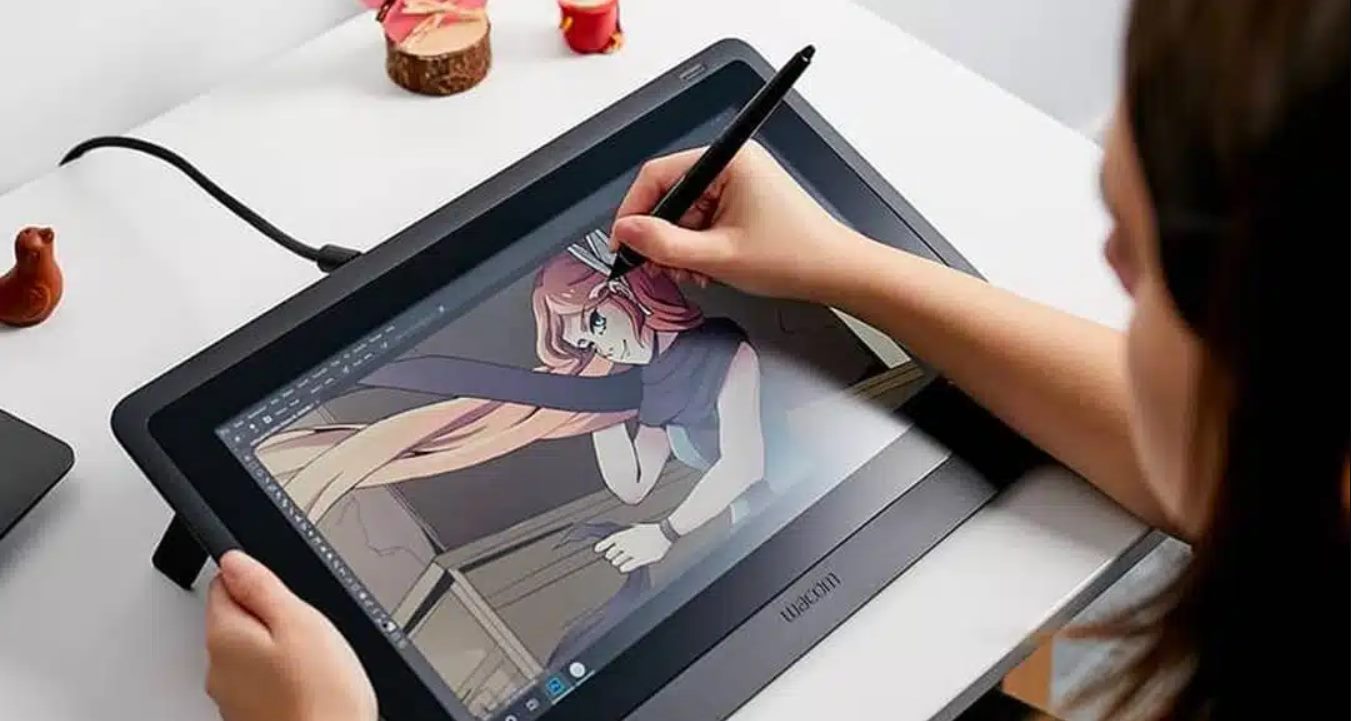
Welcome to the fascinating world of digital drawing with a Wacom tablet! If you have ever dreamt of creating beautiful artwork digitally, a Wacom tablet can make that dream come true. Whether you are a professional artist or a beginner looking to explore the world of digital art, a Wacom tablet is an invaluable tool that can greatly enhance your creative abilities.
Unlike traditional drawing tools, such as pencils and brushes, a Wacom tablet allows you to directly interact with your computer, providing a seamless and natural drawing experience. With its pressure-sensitive pen and versatile drawing surface, a Wacom tablet gives you unparalleled precision and control over your digital artwork.
In this article, we will guide you through the exciting journey of drawing with a Wacom tablet. We will cover everything from choosing the right tablet for your needs to setting it up, installing the necessary software, and mastering various drawing techniques.
Whether you are a seasoned artist or a newbie, don’t worry – we’ve got you covered. We’ll begin with the basics, ensuring that you have a solid foundation to build upon. From there, we will explore more advanced techniques, providing you with the tools and knowledge to create stunning digital masterpieces.
So, if you’re ready to unleash your creativity and dive into the world of digital drawing, grab your Wacom tablet and let’s get started!
Choosing the right Wacom tablet
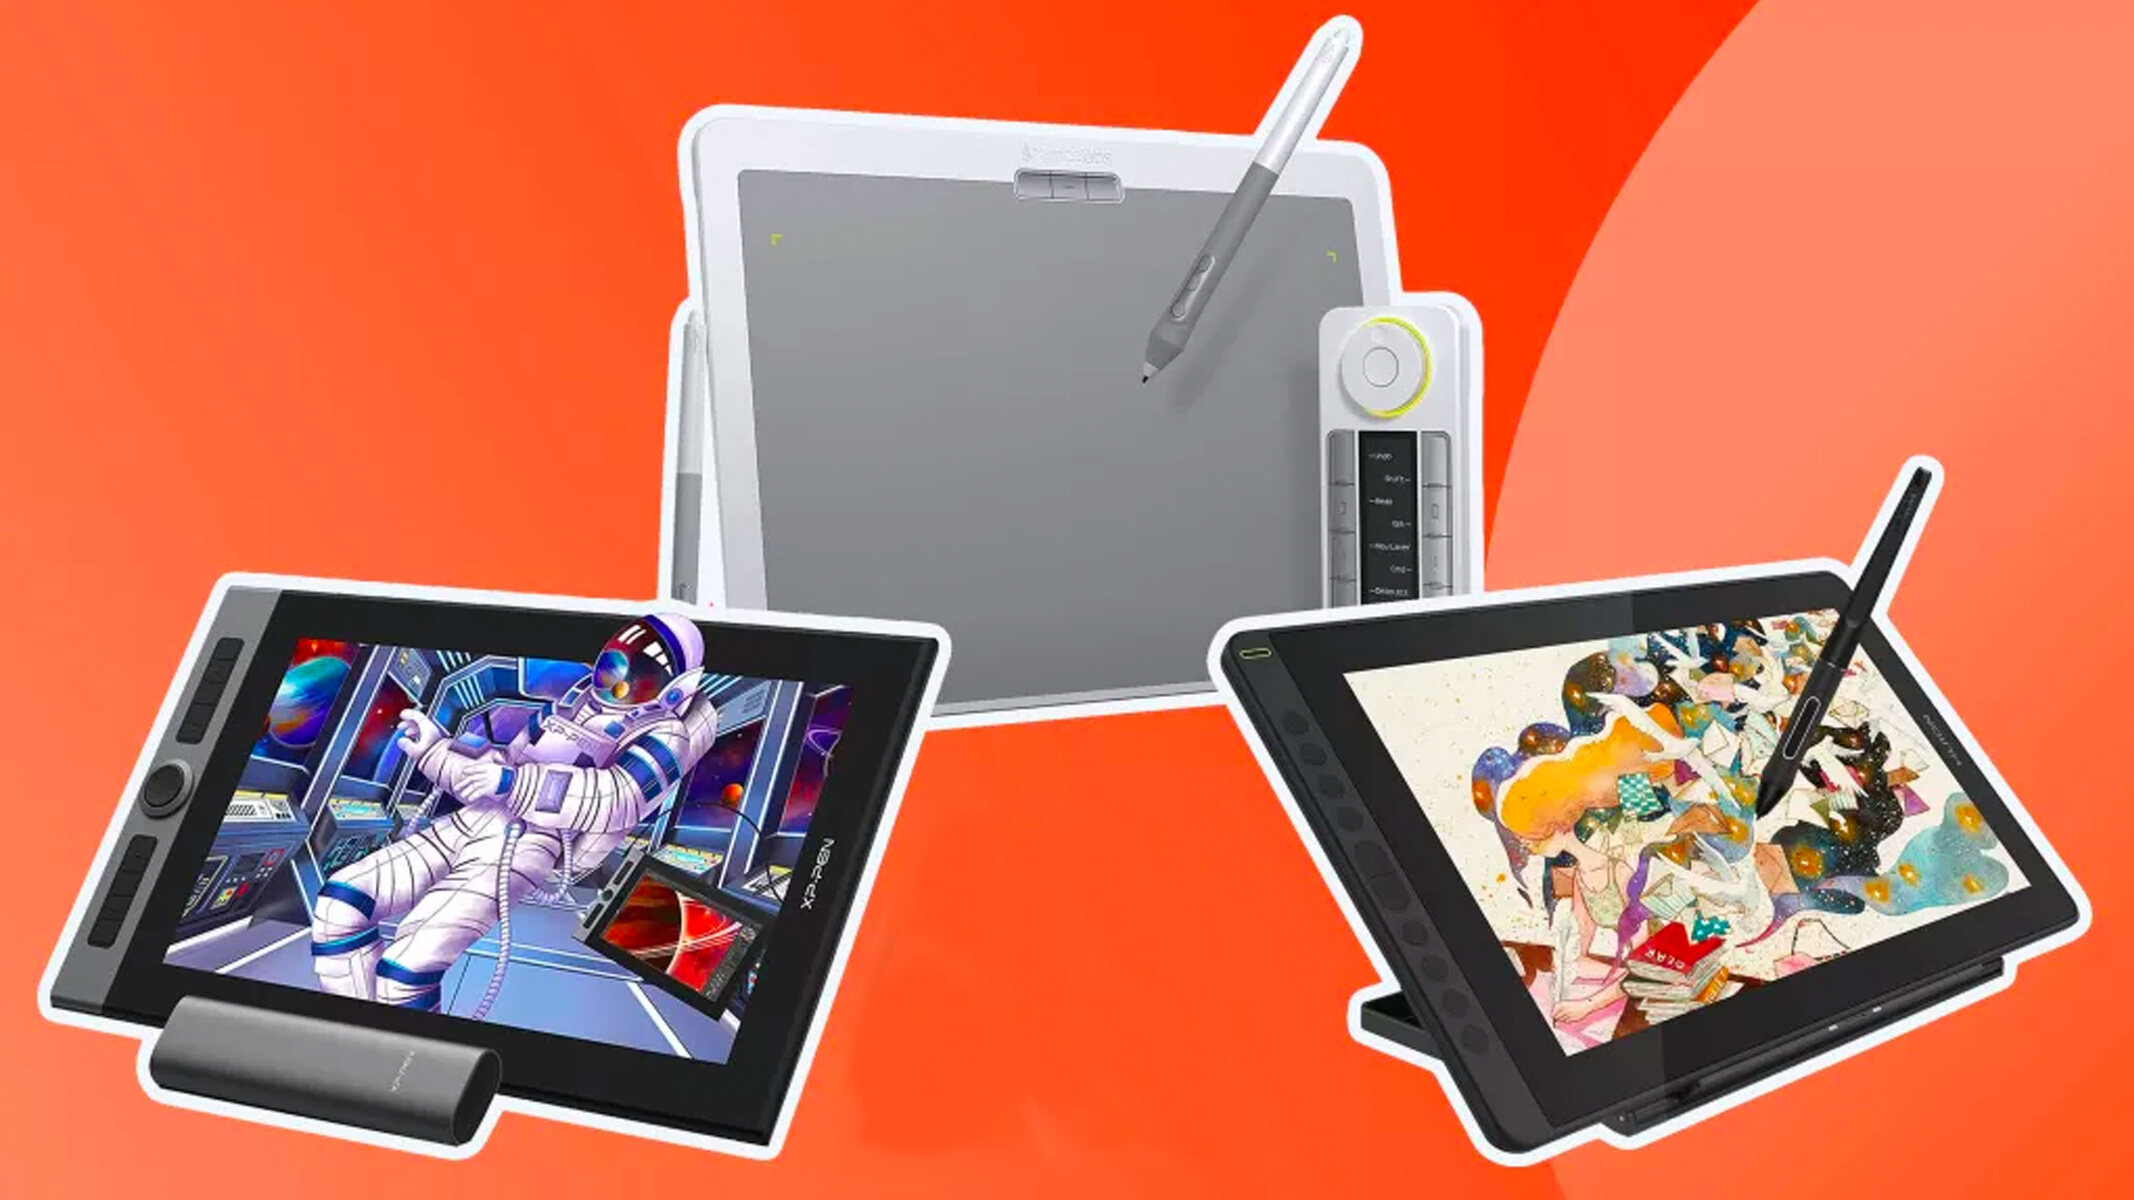
When it comes to choosing the right Wacom tablet, it’s essential to consider your specific needs and budget. Wacom offers a range of tablets that cater to different levels of expertise and artistic requirements. Here are some factors to consider before making your decision:
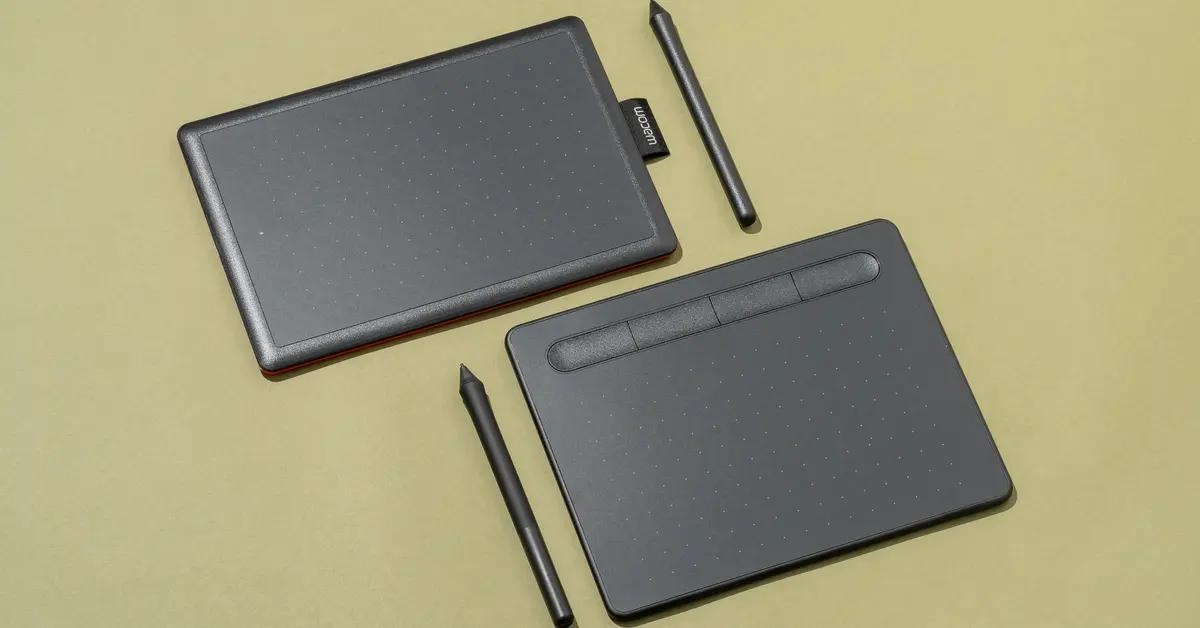
- Size and workspace: Wacom tablets come in various sizes, from compact models to large ones. The size you choose depends on your personal preference and the available workspace. If you have limited space or prefer portability, a smaller tablet might be suitable. However, if you require more drawing area and precision, a larger tablet would be a better choice.
- Pressure sensitivity: The sensitivity of the pen on a Wacom tablet is an important feature to consider. The higher the pressure sensitivity, the more control you will have over the thickness and opacity of your strokes. Most Wacom tablets offer a range of pressure sensitivity levels, so choose one that suits your artistic style.
- Connectivity options: Wacom tablets typically connect to your computer via USB, but some models also offer wireless connectivity options. Wireless tablets provide more freedom of movement, allowing you to work comfortably without worrying about tangled cables. However, keep in mind that wireless functionality may come at an additional cost.
- Additional features: Take note of any additional features that may enhance your drawing experience. Some Wacom tablets come with touch controls, customizable buttons, and even multitouch gestures. These features can significantly improve your workflow and efficiency, so consider whether they align with your artistic requirements.
- Budget: Wacom tablets range in price, so it’s important to establish a budget before making your decision. Determine how much you are willing to invest in your digital art journey and choose a tablet that offers the best combination of features for your budget.
Remember, the right Wacom tablet is the one that meets your specific needs and allows you to unleash your creativity. Take your time to research and compare different models, read reviews from artists, and consider your artistic goals before making a purchase.
Setting up your Wacom tablet
Once you have chosen the perfect Wacom tablet for your artistic endeavors, it’s time to set it up and get ready to bring your digital drawings to life. Follow the steps below to ensure a smooth setup process:
- Connect the tablet: Start by connecting your Wacom tablet to your computer using the provided USB cable. Ensure that the tablet is properly plugged in and powered on.
- Install the driver: Visit the Wacom website or insert the driver CD that came with the tablet, and follow the instructions to download and install the necessary driver. The driver enables your computer to recognize the tablet’s input and functionality.
- Calibrate the pen: Once the driver installation is complete, calibrate the pen for precise tracking. This process ensures that the cursor on the screen accurately corresponds with your pen movements. Follow the on-screen instructions provided by the driver software to calibrate your pen.
- Customize tablet settings: Take advantage of the customization options offered by your tablet’s software. This allows you to tailor the tablet’s settings to your personal preferences and workflow. You can adjust parameters such as pen pressure sensitivity, shortcut buttons, and touch gestures to optimize your drawing experience.
- Test the pen: Before diving into your artwork, test the functionality of your pen. Open a drawing program or a sketching app and perform test strokes to ensure that the pen pressure sensitivity and tracking are working correctly.
- Experiment with the settings: Spend some time experimenting with different settings and configurations to find what works best for you. Every artist has unique preferences, so feel free to adjust elements like pen pressure, cursor speed, and button functions to create a setup that maximizes your productivity and comfort.
By following these steps and familiarizing yourself with your tablet’s setup process, you will be well on your way to unlocking the full potential of your Wacom tablet. The initial setup may take some time, but the results will be well worth the effort.
Installing the necessary software
After setting up your Wacom tablet, the next step is to install the necessary software that will allow you to fully utilize its features and unleash your creativity. Here’s a step-by-step guide to help you through the installation process:
- Visit the Wacom website: Start by visiting the official Wacom website. Look for the “Support” or “Downloads” section, where you can find the latest software and drivers for your specific tablet model.
- Select your operating system: Choose your operating system from the provided options (Windows, macOS, etc.). Make sure to select the correct version that matches your computer’s specifications.
- Download the driver: Locate the driver for your tablet model and click on the download link. The driver is essential for your computer to communicate with the tablet and recognize its input. Save the downloaded file to a location on your computer.
- Run the installer: Once the driver file is downloaded, locate it on your computer and double-click to launch the installer. Follow the on-screen prompts and agree to any terms and conditions to proceed with the installation process.
- Complete the installation: The installer will guide you through the installation process, which typically involves selecting installation options and specifying the destination folder. Make sure to choose the recommended settings unless you have specific preferences. Once the installation is complete, restart your computer.
- Additional software: Depending on your artistic needs, you may want to consider installing additional software for drawing and painting. Popular digital art programs include Adobe Photoshop, Corel Painter, and Clip Studio Paint. These programs offer a wide range of tools and features to enhance your creative process.
- Software updates: It’s important to regularly check for software updates for both your tablet’s driver and any additional software you have installed. Updates often include bug fixes, performance improvements, and new features that can further enhance your digital drawing experience.
By following these steps, you will have the necessary software installed on your computer to fully utilize your Wacom tablet’s capabilities. Remember to periodically check for updates and keep your software and drivers up to date, ensuring the best possible performance and compatibility.
Familiarizing yourself with the Wacom tablet and pen
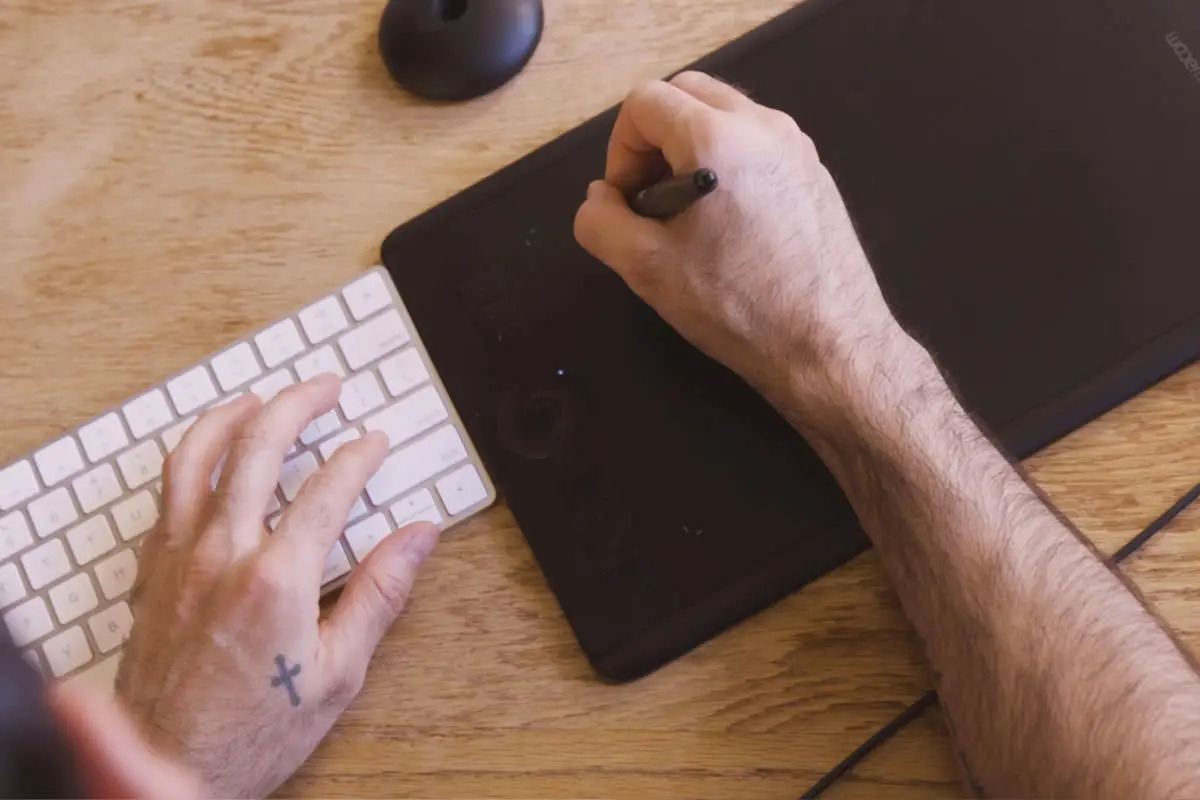
Once your Wacom tablet is set up and the necessary software is installed, it’s time to get familiar with the tablet and its accompanying pen. Understanding how to navigate the tablet surface and use the pen effectively is crucial for a seamless and enjoyable drawing experience. Here are a few key points to help you get started:
- Pen grip: Hold the Wacom pen naturally, just as you would hold a traditional pen or pencil. Find a grip that feels comfortable and allows you to have control over your strokes. Experiment with different grips to find the one that works best for you.
- Buttons and eraser: Depending on the model of your Wacom tablet, the pen may have buttons or an eraser at the opposite end. These buttons can be customized to perform specific functions, such as right-click or changing brush settings. The eraser end can be used to erase or as an alternative pen tip.
- Pressure sensitivity: The Wacom pen is pressure-sensitive, meaning that the pressure you apply when drawing determines the thickness and opacity of your strokes. Light pressure will create thin lines, while firmer pressure will result in thicker lines. Experiment with different pressure levels to understand this feature and to create diverse effects in your artwork.
- Hovering and tracking: One of the benefits of a Wacom tablet is the ability to hover the pen slightly above the tablet surface without making contact. This allows for precise cursor tracking and a natural hand-eye coordination. Hovering also activates the cursor, allowing you to easily navigate menus and options without actually making a mark on the drawing area.
- ExpressKeys: Many Wacom tablets come equipped with ExpressKeys, customizable buttons that are conveniently located on the tablet itself. These buttons can be programmed to perform frequently used functions, such as zooming, changing brush size, or undoing actions. Take advantage of these customizable buttons to streamline your workflow and access commonly used features with ease.
Take some time to practice using the Wacom tablet and pen before diving into more complex drawing techniques. Familiarize yourself with the pressure sensitivity, the pen’s buttons and eraser, and the tablet’s customizable options. The more comfortable you become with the tablet and pen, the better control you will have over your digital artwork.
Adjusting pen pressure sensitivity
One of the most powerful features of a Wacom tablet is its ability to sense pressure from the pen, allowing you to create a wide range of brush strokes and effects. The pressure sensitivity feature enables you to have greater control over the thickness and opacity of your lines, making your digital drawings more dynamic and expressive. Here’s how you can adjust the pen pressure sensitivity:
- Using the tablet settings: Most Wacom tablets come with software that allows you to customize the pen pressure sensitivity. Locate the tablet settings in the software provided by Wacom and look for options related to pen sensitivity or pressure settings.
- Pressure curve adjustments: Within the tablet settings, you will find a pressure curve that represents the relationship between the physical pressure you apply to the tablet and the resulting output on your screen. Experiment with adjusting this pressure curve to find a setting that feels comfortable and responsive to your drawing style.
- Testing the sensitivity: Once you’ve made adjustments to the pressure sensitivity settings, open a drawing application and test the pen sensitivity. Start with light strokes and gradually increase the pressure to see how it affects the thickness and opacity of the lines. If the sensitivity feels too strong or too weak, go back to the tablet settings and fine-tune the pressure curve until you achieve the desired results.
- Customizing per application: Some Wacom tablet software allows you to customize the pressure sensitivity settings on a per-application basis. This means you can have different sensitivity settings for each drawing program you use. Take advantage of this feature to tailor the pressure sensitivity to the requirements of each specific application.
- Practice and experimentation: Adjusting pen pressure sensitivity is a highly personal preference, and it may require some practice and experimentation to find the right balance. Take your time to explore different pressure levels and see how they affect your drawing. As you continue to use your Wacom tablet, you may find that you want to make further adjustments to achieve the desired results.
By adjusting the pen pressure sensitivity on your Wacom tablet, you can tailor the drawing experience to your liking, enabling you to create more dynamic and nuanced digital artwork. Remember to practice and experiment with different settings to find what works best for you and your artistic style.
Using different brushes and settings
One of the advantages of drawing with a Wacom tablet is the ability to utilize a wide range of digital brushes and settings. These brushes can mimic traditional art tools, such as pencils, pens, and brushes, or offer entirely unique effects and textures. Understanding how to use different brushes and settings on your Wacom tablet will allow you to unleash your creativity and bring your digital artwork to life. Here are some tips to get you started:
- Exploring brush libraries: Most digital art programs, such as Photoshop or Corel Painter, come with a variety of built-in brush libraries. Take the time to explore these libraries and experiment with different brushes. Each brush has unique characteristics, such as shape, texture, and opacity, that can create a wide range of effects.
- Customizing brush settings: Once you’ve selected a brush, dive deeper into its settings. Many digital art programs allow you to customize various parameters, such as brush size, opacity, hardness, and flow. Adjust these settings to achieve the desired effect and make the brush feel more natural and responsive to your drawing style.
- Using pressure sensitivity: Exploit the full potential of your Wacom tablet’s pressure sensitivity by linking it to brush settings. For example, you can set the pen pressure to control the brush size, opacity, or even the angle of the brush stroke. This allows you to create dynamic and expressive artwork by adjusting your pen pressure as you draw.
- Experimenting with blending modes: Blending modes can significantly enhance your digital drawings. These modes control how the colors interact when you apply new brush strokes. Experiment with different blending modes to achieve various effects, such as soft transitions, luminosity adjustments, or interesting color combinations.
- Creating custom brushes: Many digital art programs offer the ability to create custom brushes. This allows you to tailor a brush to your specific artistic needs. You can adjust parameters such as shape, texture, spacing, and dynamics to create a brush that is unique to your style.
- Creating brush presets: Once you are satisfied with a specific brush configuration, save it as a preset for future use. This way, you can quickly access your favorite brushes and maintain consistency throughout your artwork.
- Seeking inspiration and tutorials: Don’t hesitate to seek inspiration from other artists or follow tutorials that showcase different brush techniques. Learning from others can spark creativity and help you discover new possibilities for your digital artwork.
By experimenting with different brushes and settings on your Wacom tablet, you can unlock a wide range of artistic possibilities. Embrace the versatility of digital brushes and explore their capabilities to create unique and captivating digital artwork.
Exploring different drawing techniques
With a Wacom tablet, you have the opportunity to experiment with various drawing techniques and styles, taking advantage of the digital medium to create incredible artwork. Here are some popular drawing techniques and tips to inspire your artistic exploration:
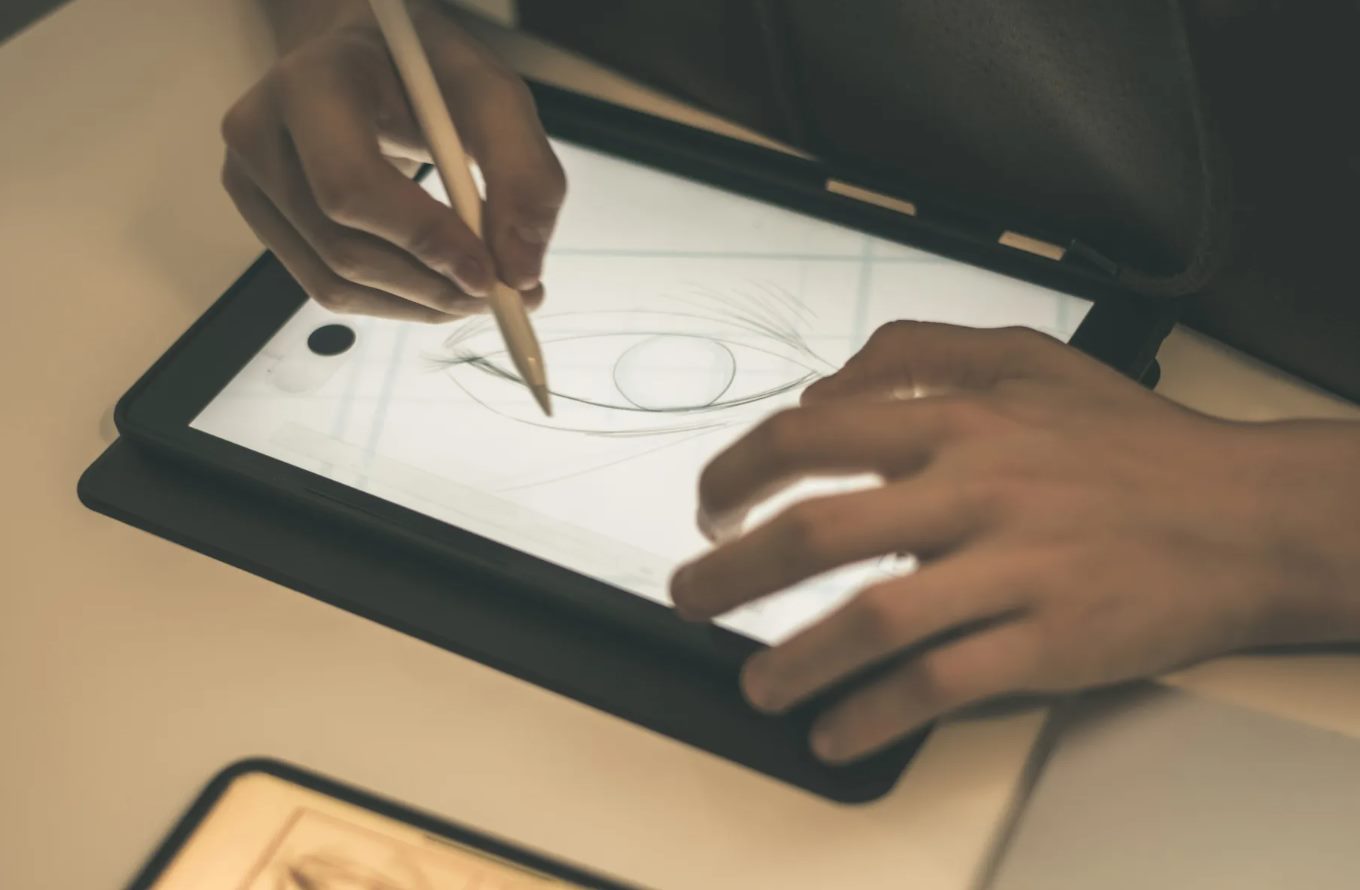
- Sketching: Start by using your Wacom tablet as a digital sketch pad. With the pressure sensitivity of the pen, you can create light, delicate lines for preliminary sketches and gradually build up thicker, more defined lines as needed. Experiment with different brush presets to achieve the desired sketching effect.
- Line art: With your Wacom tablet, you can create smooth, precise line art. Use a pen brush with a sharp edge and adjust the brush settings to match your desired line weight. Take advantage of the pressure sensitivity to vary the line thickness, adding depth and dimension to your artwork.
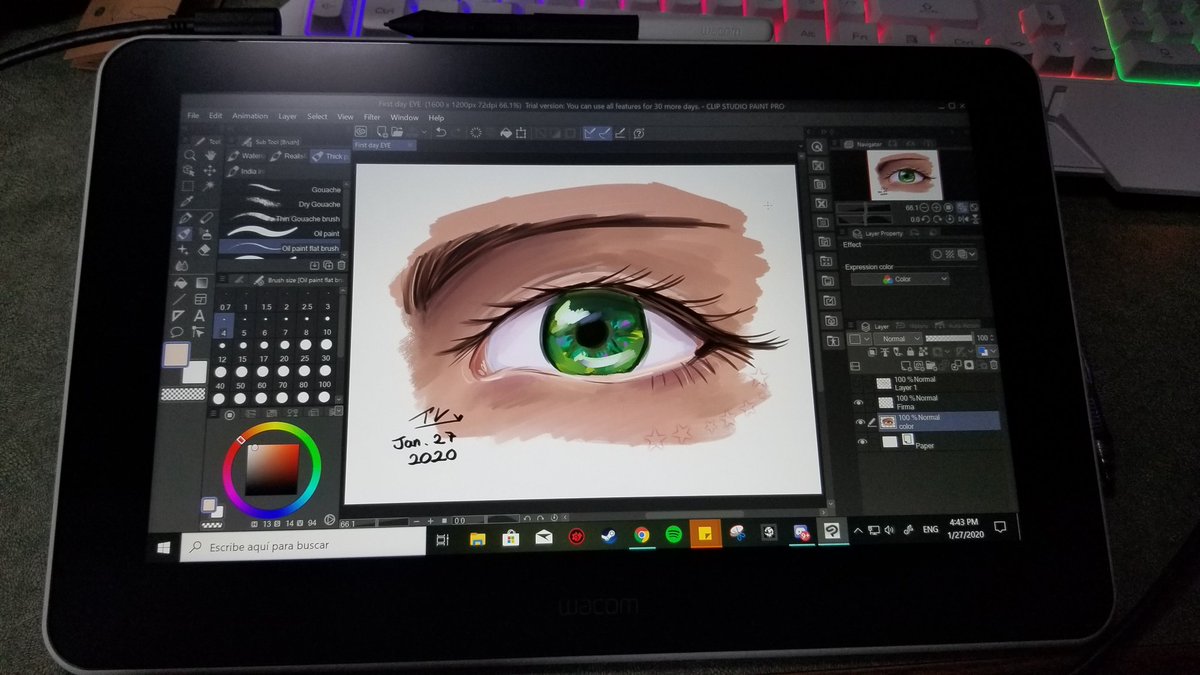
- Shading and coloring: The Wacom tablet allows for easy and precise shading and coloring. Apply varying pressure to the pen to control the opacity and intensity of the colors. Experiment with different brush presets and blending modes to achieve the desired shading and coloring effects. Layering and blending colors can add depth and dimension to your artwork.
- Texturing: Digital brushes can be used to add texture to your artwork, giving it depth and character. Experiment with brushes that mimic different textures, such as watercolor, oil paint, or charcoal. Use different brush settings to achieve the desired texture and experiment with blending modes to create interesting effects.
- Digital painting: Take advantage of the digital medium to create vibrant and detailed digital paintings. Use a combination of brushes and techniques to build up layers, adding depth, light, and shadow to your artwork. Experiment with different brushes and settings to achieve the desired painting style, whether it be realistic, impressionistic, or stylized.
- Mixed media experimentation: Don’t limit yourself to one artistic medium. Combine digital techniques with traditional art elements, such as scanned textures or hand-drawn elements. Explore the possibilities of incorporating multiple mediums into your digital artwork for a unique and engaging result.
- Storyboarding and concept art: Use your Wacom tablet to create storyboards and concept art for visual storytelling. With the ability to easily modify and rearrange elements, you can quickly iterate and refine your ideas. Experiment with different brushes and settings to bring your stories and concepts to life.
- Experimentation and play: One of the greatest advantages of digital art with a Wacom tablet is the ability to experiment and play. Don’t be afraid to try new techniques, explore different brush presets, and push the boundaries of your creativity. Allow yourself to make mistakes and learn from them, as they can often lead to unique discoveries and breakthroughs.
By exploring different drawing techniques and embracing the versatility of your Wacom tablet, you can create artwork that is uniquely yours. Experiment, practice, and have fun as you discover the incredible artistic possibilities that digital drawing offers.
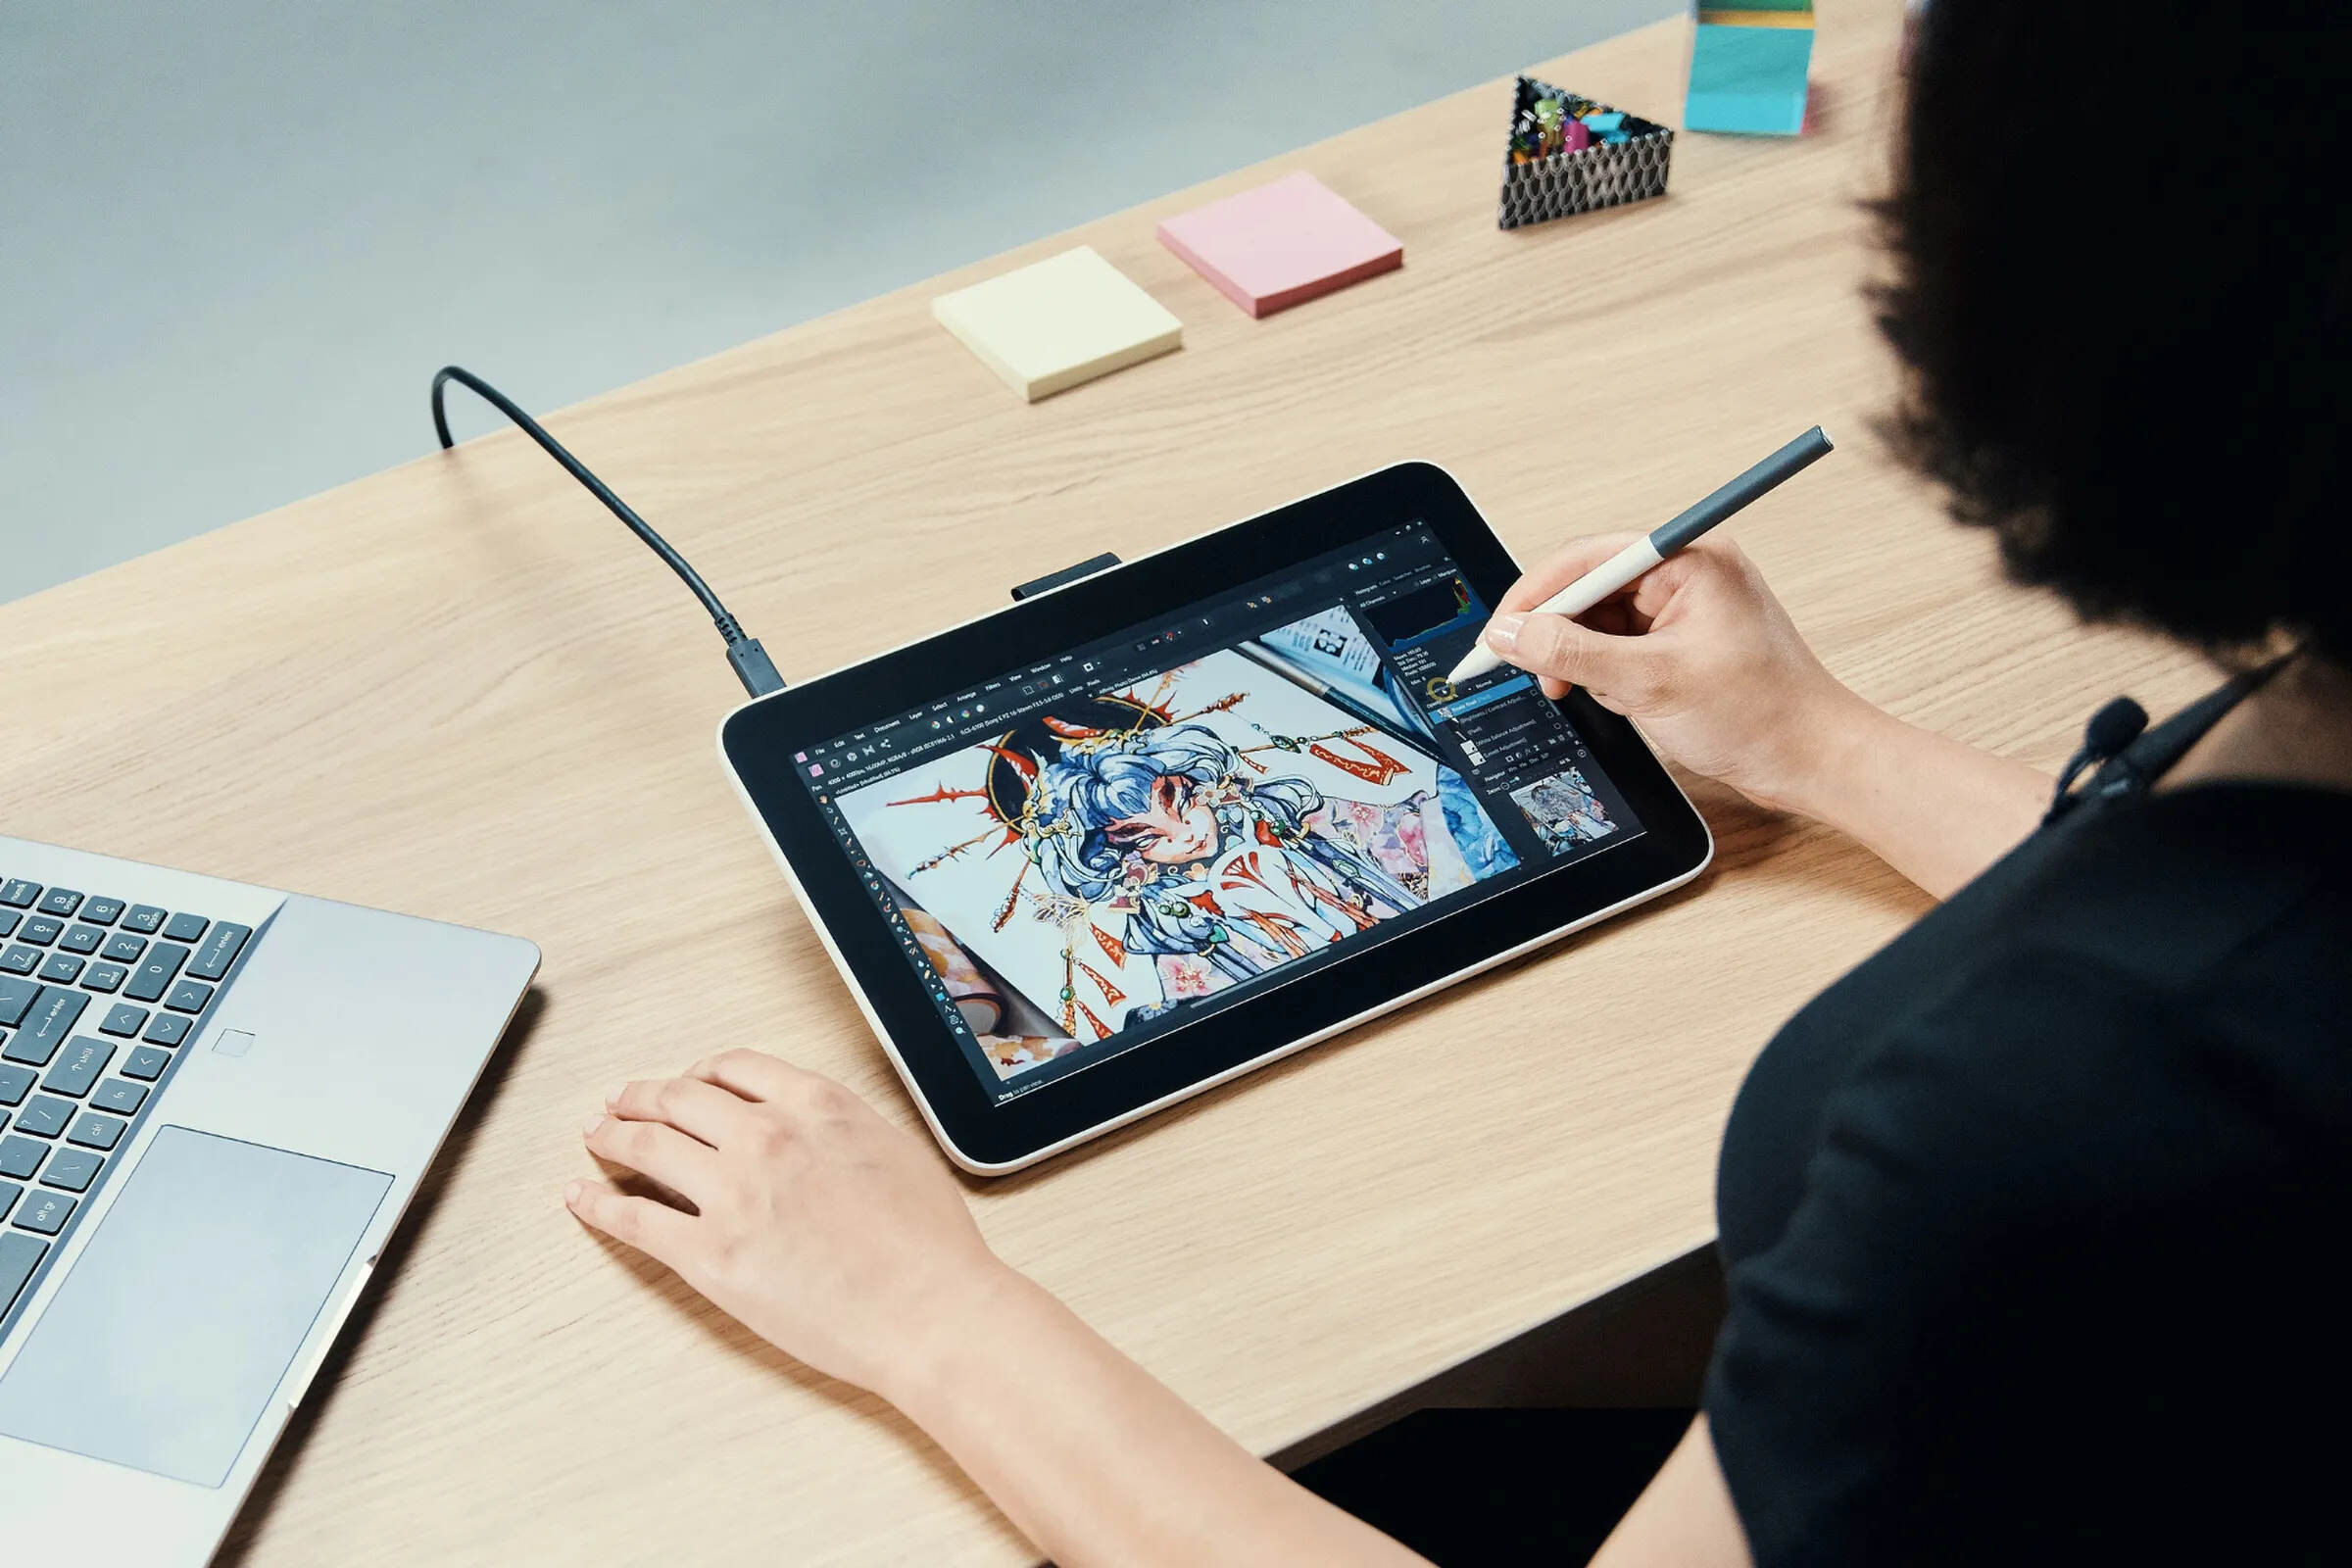
Mastering basic drawing with a Wacom tablet
Mastering basic drawing with a Wacom tablet involves developing fundamental skills that will serve as a strong foundation for your digital artwork. By focusing on the essentials and practicing regularly, you can enhance your drawing abilities and create stunning digital illustrations. Here are some tips to help you master basic drawing with your Wacom tablet:
- Practice hand-eye coordination: Drawing on a Wacom tablet requires hand-eye coordination since you are not directly drawing on the surface. Take time to practice and familiarize yourself with the tablet’s pressure sensitivity and hover capabilities. Gradually, you will improve your precision and create more accurate and controlled strokes.
- Start with simple shapes and lines: Begin by drawing simple shapes, such as circles, squares, and triangles, using the basic drawing tools available. Practice creating smooth and even lines as you gain control over the pen pressure and tablet sensitivity. This will help you develop your stroke technique and spatial awareness on the tablet surface.
- Study perspective and proportions: Understanding perspective and proportions is essential for creating realistic and well-balanced drawings. Study how objects appear in different viewpoints and practice drawing simple objects in various perspectives. Use guidelines and vanishing points to create depth and add dimension to your artwork.
- Learn anatomy and figure drawing: Studying human anatomy is crucial for drawing realistic figures. Familiarize yourself with the proportions and structure of the human body by studying references or taking life drawing classes. Practice sketching different poses and capturing the gesture and movement of the human form.
- Experiment with value and shading: Practice adding value and shading to your drawings to create depth and form. Experiment with different brush settings and techniques to achieve various shading effects, such as cross-hatching, stippling, or blending. Pay attention to light sources and analyze how they affect the form and shadows in your artwork.
- Find your own style: As you gain proficiency in basic drawing techniques, experiment with different styles to develop your own artistic voice. Explore different brush presets, colors, and compositions to create a unique and recognizable style that reflects your personality and artistic vision.
- Seek feedback and learn from others: Share your work with fellow artists, join online communities, and participate in critique sessions to receive constructive feedback. Learning from others and getting diverse perspectives can help you improve your skills and discover new techniques to refine your drawing abilities.
- Practice regularly: Consistency is key to mastering any skill, and drawing on a Wacom tablet is no exception. Set aside regular practice sessions to develop muscle memory, improve hand-eye coordination, and refine your drawing skills. The more you draw, the more your proficiency with the tablet will grow.
Mastering basic drawing with a Wacom tablet takes time and dedication. Embrace the learning process, celebrate small victories, and stay motivated. By practicing regularly and focusing on the essential techniques, you will build a solid foundation for creating stunning digital artwork with your Wacom tablet.
Tips for improving your drawing skills with a Wacom tablet
Improving your drawing skills with a Wacom tablet requires a combination of practice, experimentation, and a commitment to continuous learning. Here are some valuable tips to help you enhance your drawing abilities and take your digital artwork to the next level:
- Draw from observation: Take the time to observe and study the world around you. Practice drawing from life or using reference photos to develop your observation skills and accurately depict details, proportions, and lighting in your artwork.
- Seek inspiration from various sources: Look for inspiration in a variety of art forms, such as paintings, photography, and illustrations. Expose yourself to different styles, genres, and cultures to broaden your artistic perspective and gain new ideas for your own artwork.
- Experiment with different techniques: Don’t be afraid to step out of your comfort zone and try new drawing techniques. Use your Wacom tablet as a creative playground to explore different brush presets, textures, and effects. Push the boundaries of your creativity and take risks to discover unique and exciting possibilities.
- Embrace mistakes as learning opportunities: Don’t be discouraged by mistakes; instead, use them as opportunities to learn and improve. Analyze your work critically, identify areas for improvement, and apply those lessons to your future drawings. Embracing the learning process will accelerate your growth as an artist.
- Study color theory: Understanding the principles of color theory can greatly enhance your artwork. Learn about color harmonies, contrast, and temperature to create more visually appealing and harmonious compositions. Experiment with different color palettes and explore the emotional impact that colors can have on your drawings.
- Take breaks and rest your eyes: Drawing for long periods can strain your eyes and lead to fatigue. Take regular breaks to rest your eyes and stretch your hands and body. This will not only help prevent physical discomfort but also allow you to approach your work with fresh eyes and renewed focus.
- Join art communities and seek feedback: Connect with fellow artists by joining online communities or local art groups. Participate in critiques, share your work, and engage in discussions. Seeking feedback and constructive criticism from others can provide valuable insights and help you identify areas for further growth.
- Keep learning and experimenting: Artistic growth is a lifelong journey. Stay curious and open to new techniques, tools, and approaches. Invest time in learning from tutorials, workshops, and online resources. Continuously challenging yourself and pushing the boundaries of your skills will lead to continuous improvement and artistic breakthroughs.
- Stay motivated and practice regularly: Developing drawing skills requires consistency and discipline. Set achievable goals, create a schedule for regular practice sessions, and stick to it. Even dedicating a brief amount of daily practice can make a significant difference in your progress as an artist.
Improving your drawing skills with a Wacom tablet is an ongoing process that requires patience, dedication, and a love for art. Embrace the journey, stay motivated, and remember that every drawing is an opportunity to grow and express yourself creatively.
Troubleshooting common problems with a Wacom tablet
While using a Wacom tablet can greatly enhance your digital drawing experience, you may encounter certain issues or challenges along the way. Here are some common problems that users may face with a Wacom tablet and their possible solutions:
- Driver issues: If your tablet is not functioning properly, the first step is to ensure that you have the latest driver installed. Visit the Wacom website and download the latest driver for your tablet model. Uninstall the existing driver, restart your computer, and then install the new driver to resolve any compatibility or performance issues.
- Connection problems: If your computer does not recognize the tablet, check the USB cable and connection. Try plugging the tablet into a different USB port or using a different USB cable to rule out any potential connection issues. Restart your computer and reinsert the cable, ensuring a secure connection.
- Pen input not working: If the pen is not registering any input on the tablet surface, check the battery for wireless pens or ensure that it is firmly inserted. If you’re using a batteryless pen, make sure that the pen is properly calibrated in the tablet settings. If the issue persists, replace the pen nib and recalibrate the pen.
- Cursor or calibration issues: Inaccurate or misaligned cursor movements can be resolved by recalibrating the tablet. Access the tablet settings, locate the calibration option, and follow the on-screen instructions to recalibrate the pen. Also, ensure that there are no other devices or magnetic sources nearby that could interfere with the tablet’s performance.
- Pressure sensitivity problems: If the pressure sensitivity of the tablet is not working correctly, ensure that the pressure sensitivity settings are adjusted properly in the software you are using. If the issue persists, try reinstalling the driver and restarting your computer. You can also experiment with different brush settings within the drawing program to ensure it is not a software-related issue.
- ExpressKeys or touch gestures not responding: If the ExpressKeys or touch gestures on the tablet are not working, verify that they are enabled in the tablet settings and properly assigned to their desired functions. If the issue persists, try resetting the tablet settings to default or updating the driver to ensure compatibility.
- Interference or lag: If you experience lag or interference, first check if any other programs or applications are running in the background, stealing processing power. Closing unnecessary programs can help alleviate this issue. Also, ensure that your computer meets the system requirements for the tablet and that you have ample available storage space.
- Software compatibility: If your Wacom tablet is not working correctly with a specific drawing program, make sure that both the tablet driver and the drawing software are up to date. Check the Wacom website and the software developer’s website for any updates or compatibility issues. You may need to adjust settings within the drawing program or configure the tablet preferences to ensure compatibility.
If you encounter any other specific issues with your Wacom tablet, consult the user manual or visit the Wacom support website for troubleshooting guides and resources. Don’t hesitate to reach out to customer support for further assistance if needed. Remember that with proper troubleshooting and patience, you can resolve most common problems and continue to enjoy a seamless drawing experience with your Wacom tablet.
Conclusion
Drawing with a Wacom tablet opens up a vast world of possibilities for artists of all levels. With its advanced technology, pressure sensitivity, and customizable features, a Wacom tablet provides the tools to create stunning digital artwork that rivals traditional mediums. Throughout this article, we have covered various aspects of using a Wacom tablet, from choosing the right tablet for your needs to troubleshooting common problems that may arise.
By familiarizing yourself with the tablet and pen, adjusting the pressure sensitivity, and exploring different brushes and settings, you can unlock your creativity and bring your artistic visions to life. Mastering basic drawing techniques and continuously honing your skills will pave the way for creating more complex and engaging artwork. Remember to practice regularly, seek inspiration from various sources, and be open to experimenting with different styles and techniques.
While using a Wacom tablet can initially have a learning curve, with patience and persistence, you will become more comfortable and proficient in its usage. Don’t be discouraged by challenges you may encounter along the way. Instead, view them as valuable learning experiences and opportunities for growth. Take advantage of online resources, join art communities, and seek feedback from fellow artists to further enhance your skills.
Ultimately, drawing with a Wacom tablet is a journey of self-expression, creativity, and continuous improvement. Embrace the versatility and possibilities that digital art offers, and let your imagination soar. Whether you are a professional artist or a beginner exploring the digital realm, the Wacom tablet can be your trusted companion on this artistic adventure.