Introduction
Welcome to the world of digital art and design! If you are a creative professional or an aspiring artist, you have probably come across the term “Wacom tablet.” But what exactly is a Wacom tablet and what makes it so popular among artists and designers?
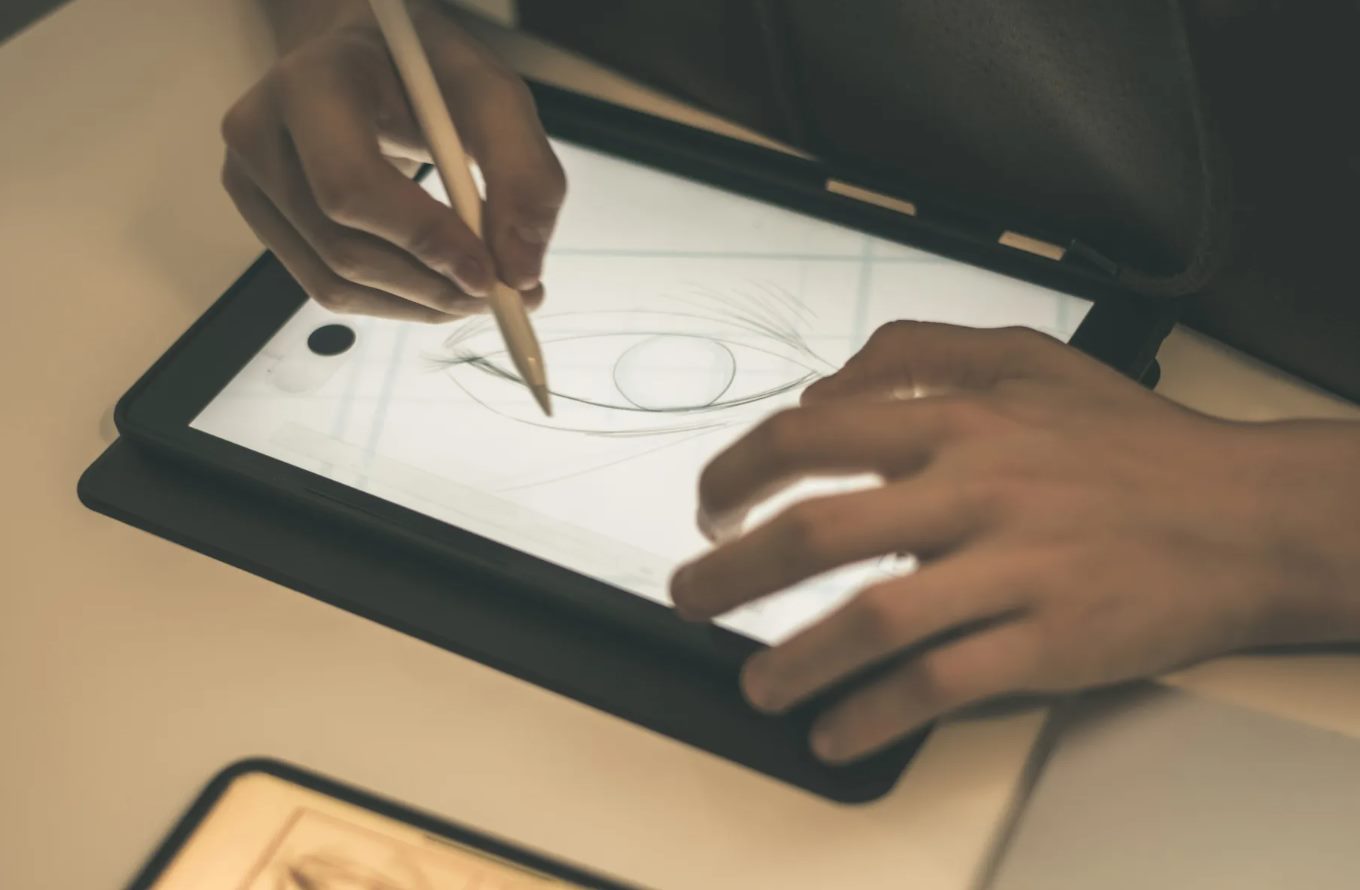
A Wacom tablet is a graphics tablet that allows you to create digital artwork using a stylus or pen-like device. Unlike a traditional mouse or trackpad, a Wacom tablet offers precise control and pressure sensitivity, making it a powerful tool for digital drawing, painting, photo editing, and much more.
Whether you are a professional artist looking to take your work to the next level or someone who simply enjoys exploring their creativity digitally, a Wacom tablet can revolutionize your creative process. But how does it actually work?
In this article, we will delve into the fascinating world of Wacom tablets, exploring their anatomy, functionality, and the advantages they offer. We will also provide useful tips and tricks to get the most out of your Wacom tablet.
So, if you are ready to discover the wonders of digital art and design with a Wacom tablet, let’s dive in!
What is a Wacom Tablet?
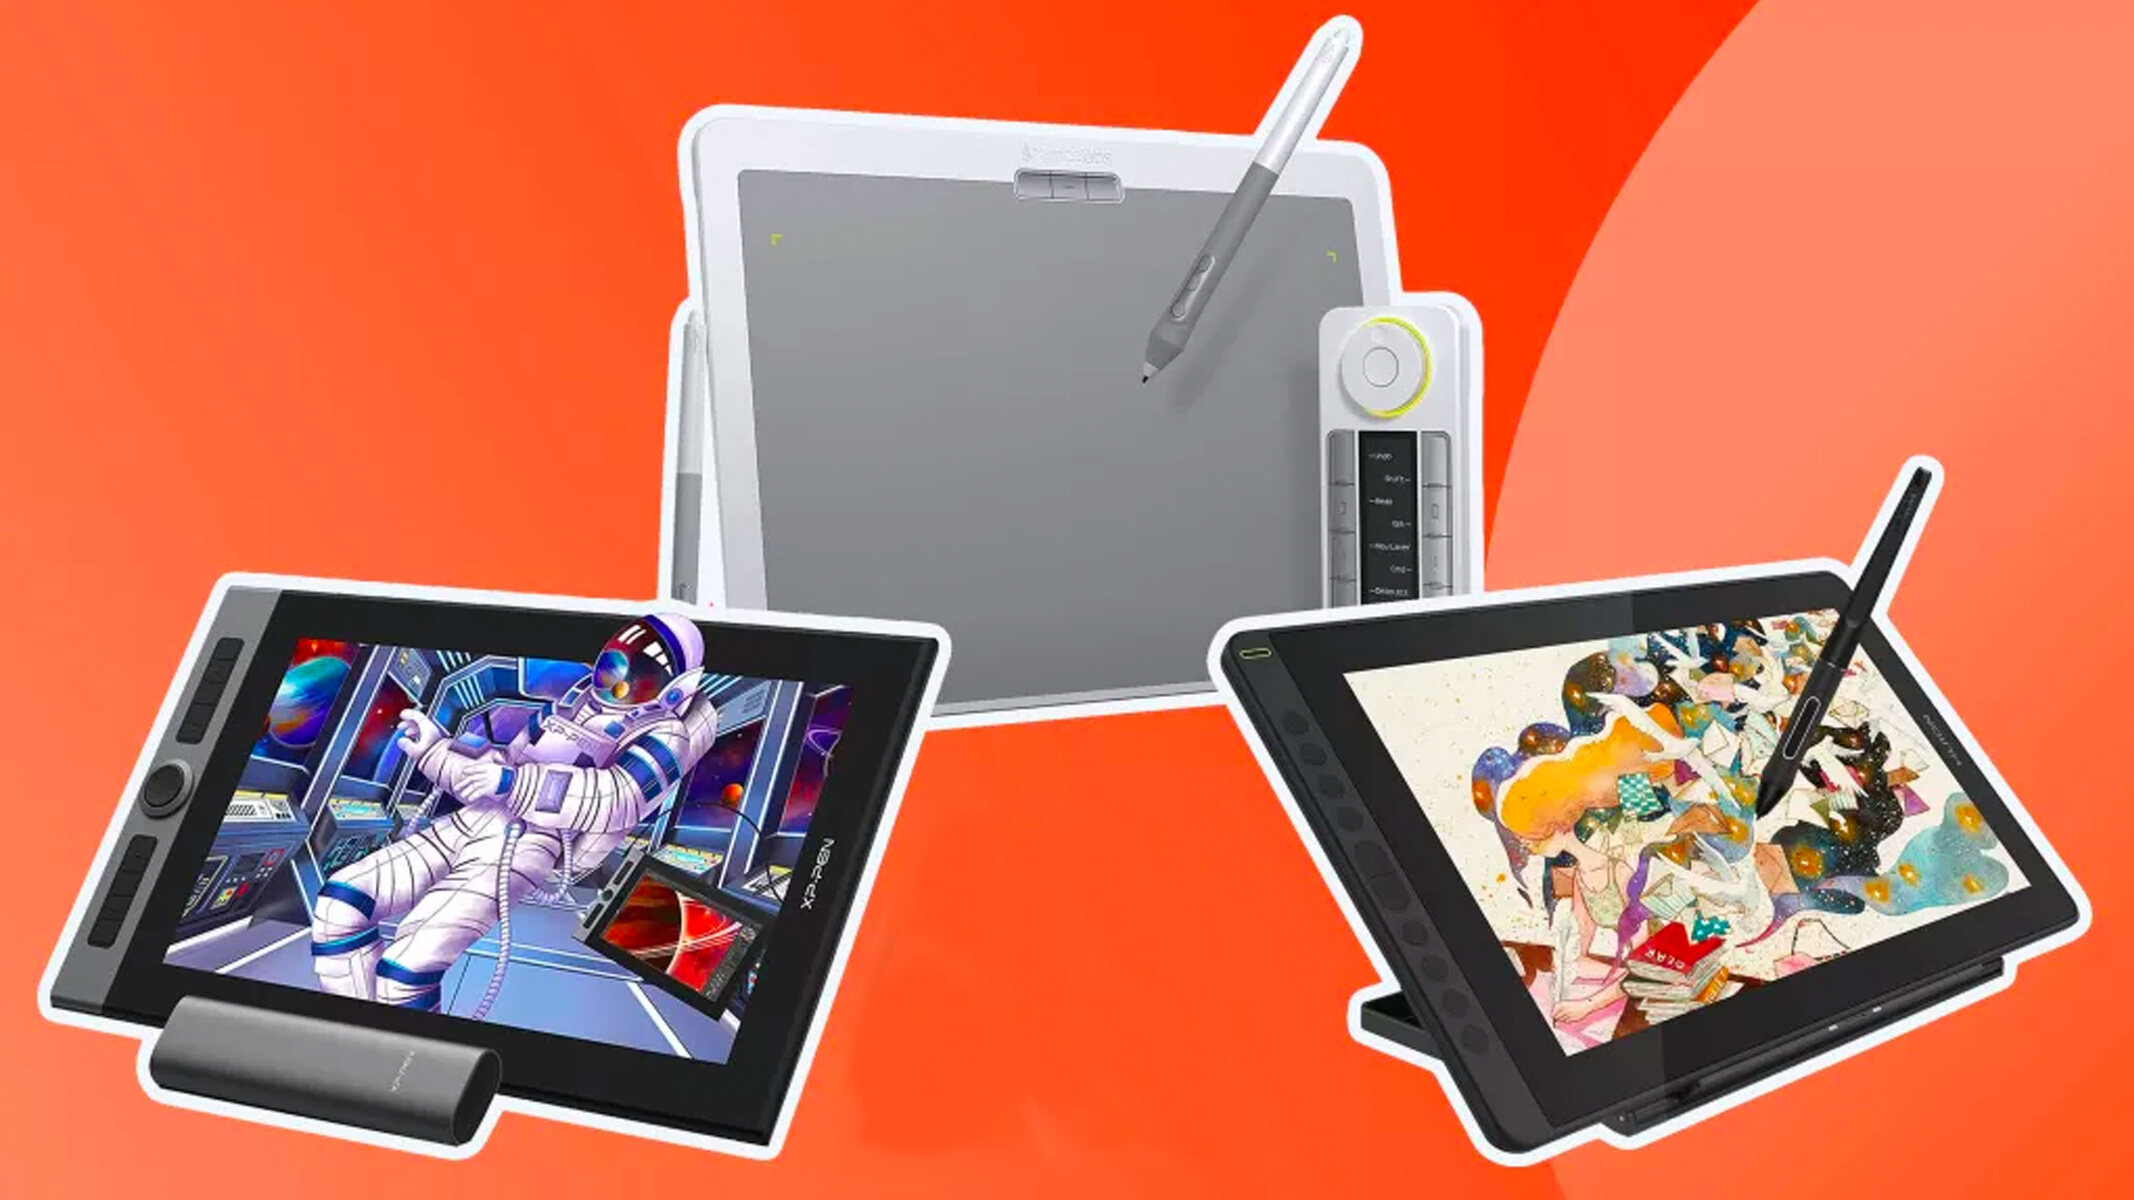
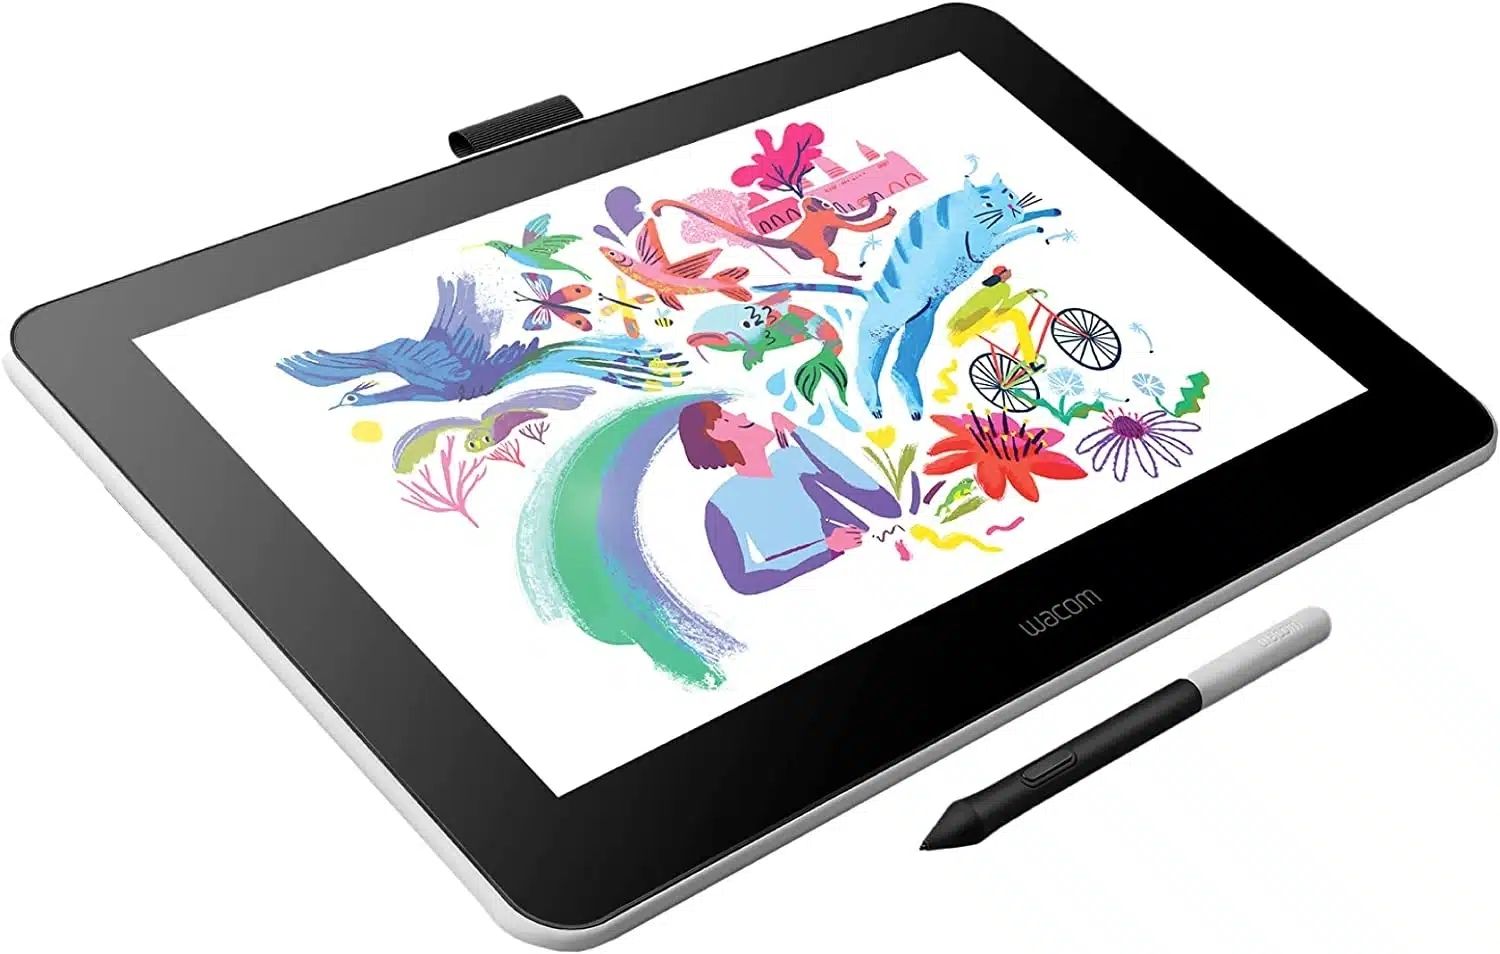
A Wacom tablet, also known as a graphics tablet or pen tablet, is a device that allows artists, designers, and other creative professionals to create digital artwork using a stylus or pen-like input device. It acts as a digital canvas, enabling users to draw, paint, and perform various tasks with precision and control.
One of the key features of a Wacom tablet is its pressure sensitivity. The tablet detects the amount of pressure applied to the stylus, allowing for varying line thicknesses and shading effects in digital artwork. This sensitivity mimics the experience of using traditional art supplies, such as a brush or pencil, on physical paper.
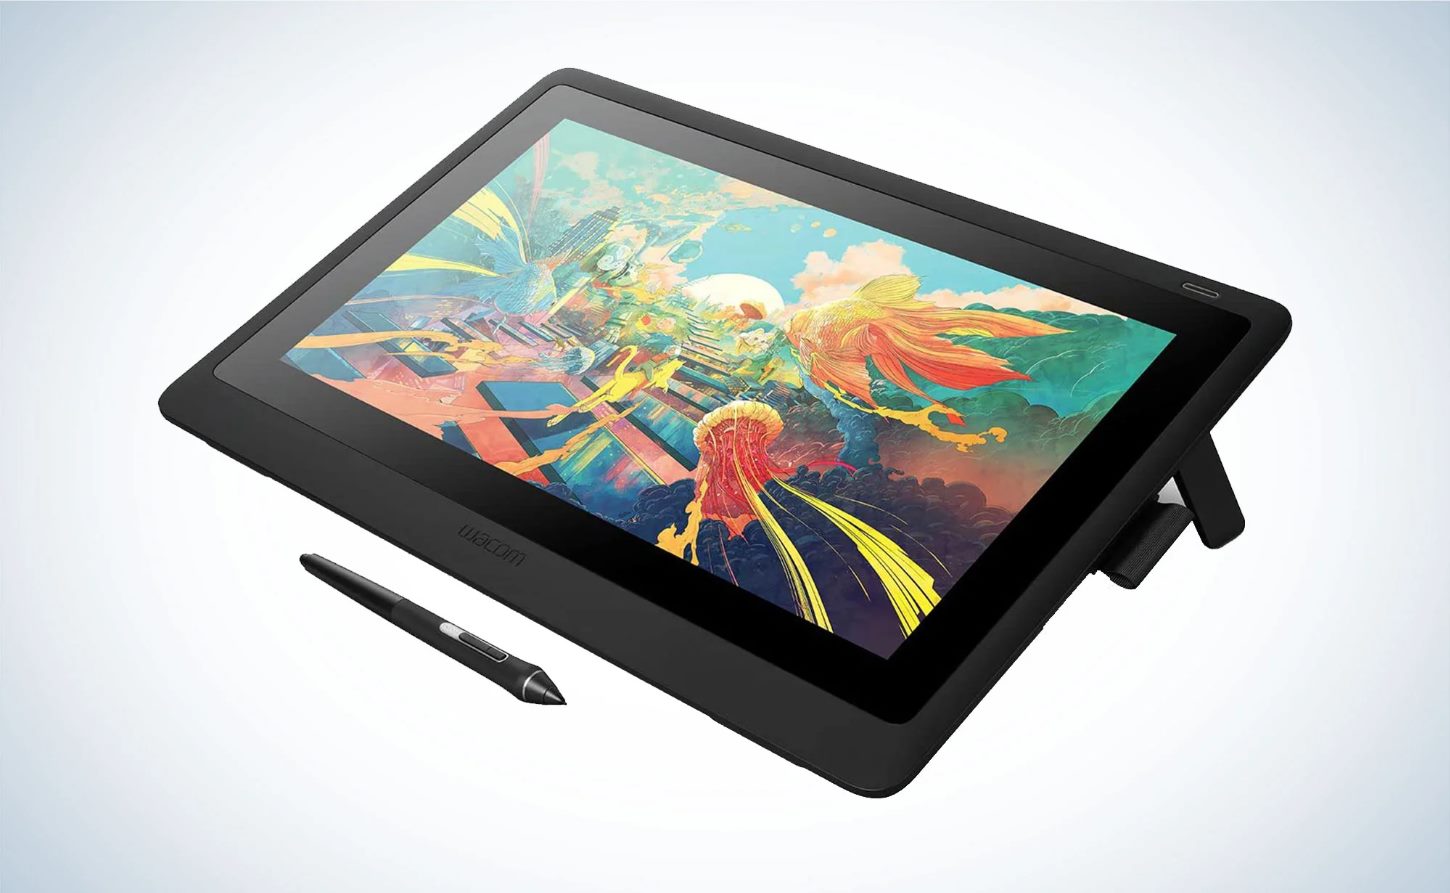
Wacom tablets come in various sizes, ranging from compact models suitable for travel to larger tablets that provide a more expansive drawing area. Some tablets are designed for general use, while others cater specifically to digital artists, photographers, or 3D designers.
Many Wacom tablets also feature customizable buttons and touch gestures, allowing users to assign shortcuts and commands for quick access to frequently used functions. This streamlines the creative process, enabling artists to focus on their work without constantly reaching for their keyboard or mouse.
Wacom tablets can be connected to a computer or laptop via a USB cable or wirelessly using Bluetooth technology. They are compatible with both Windows and Mac operating systems, making them accessible to a wide range of users.
Overall, a Wacom tablet is an essential tool for any artist or designer who wants to embrace digital art and create stunning, professional-grade work. With its pressure sensitivity, customizable features, and seamless integration with creative software, a Wacom tablet unlocks endless possibilities for artistic expression.
Anatomy of a Wacom Tablet
To understand how a Wacom tablet works, it’s important to familiarize yourself with its key components. Let’s take a closer look at the anatomy of a Wacom tablet:
- Active Area: The active area is the portion of the tablet’s surface that registers pen input. It is usually rectangular in shape and can vary in size depending on the model.
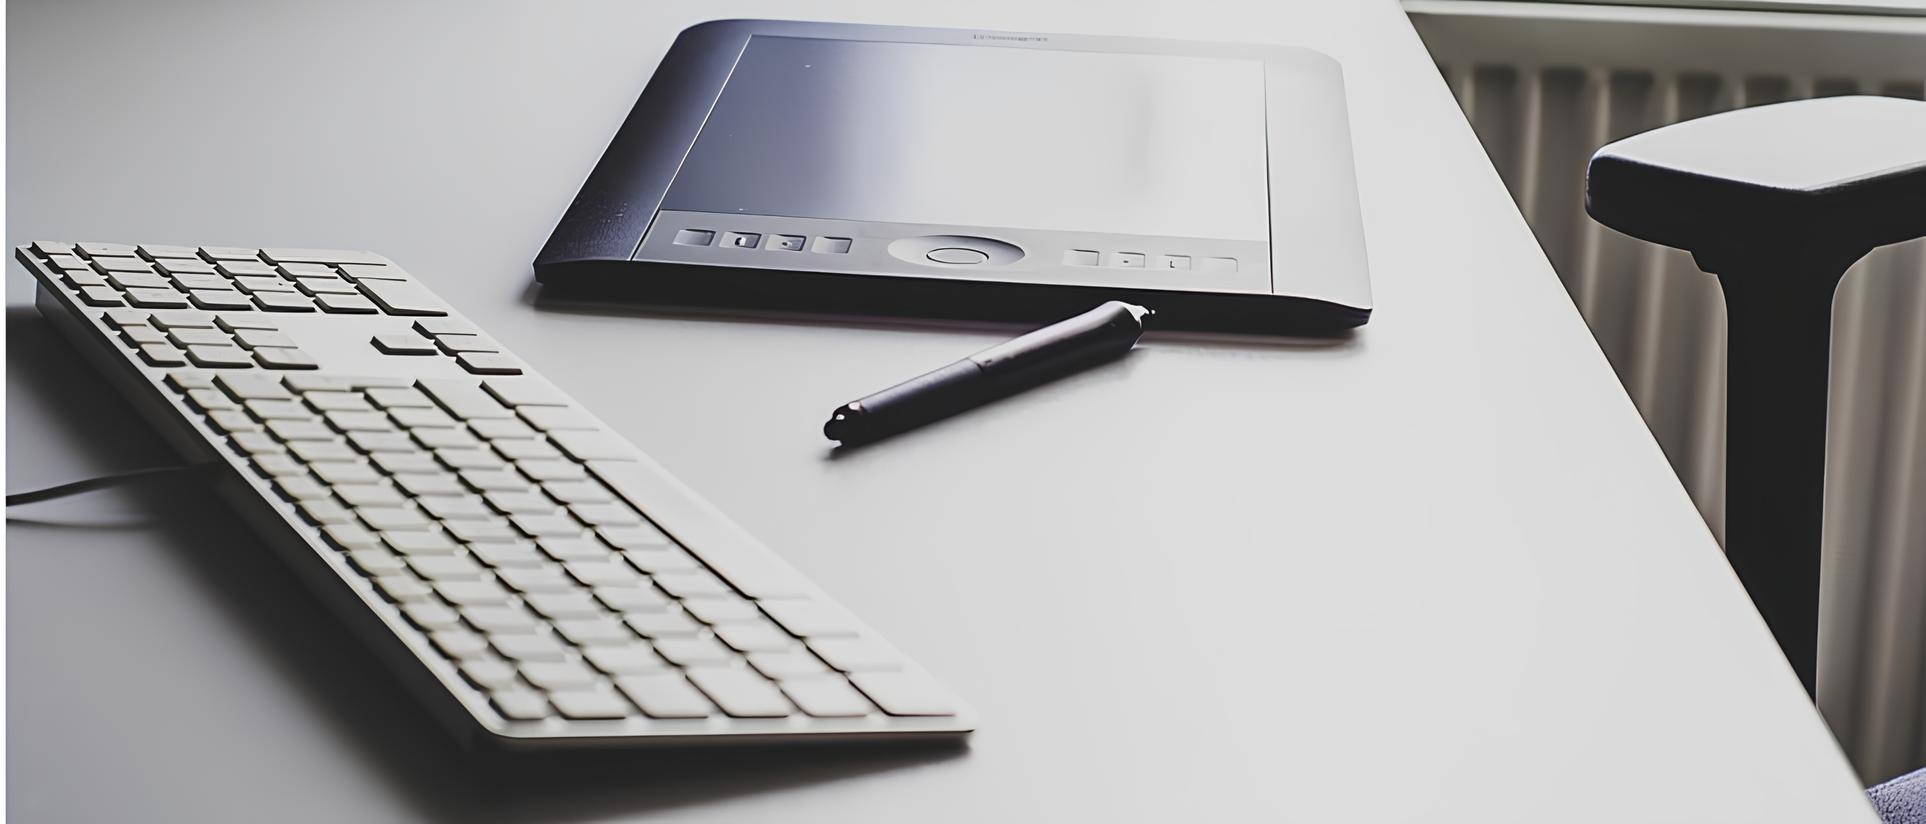
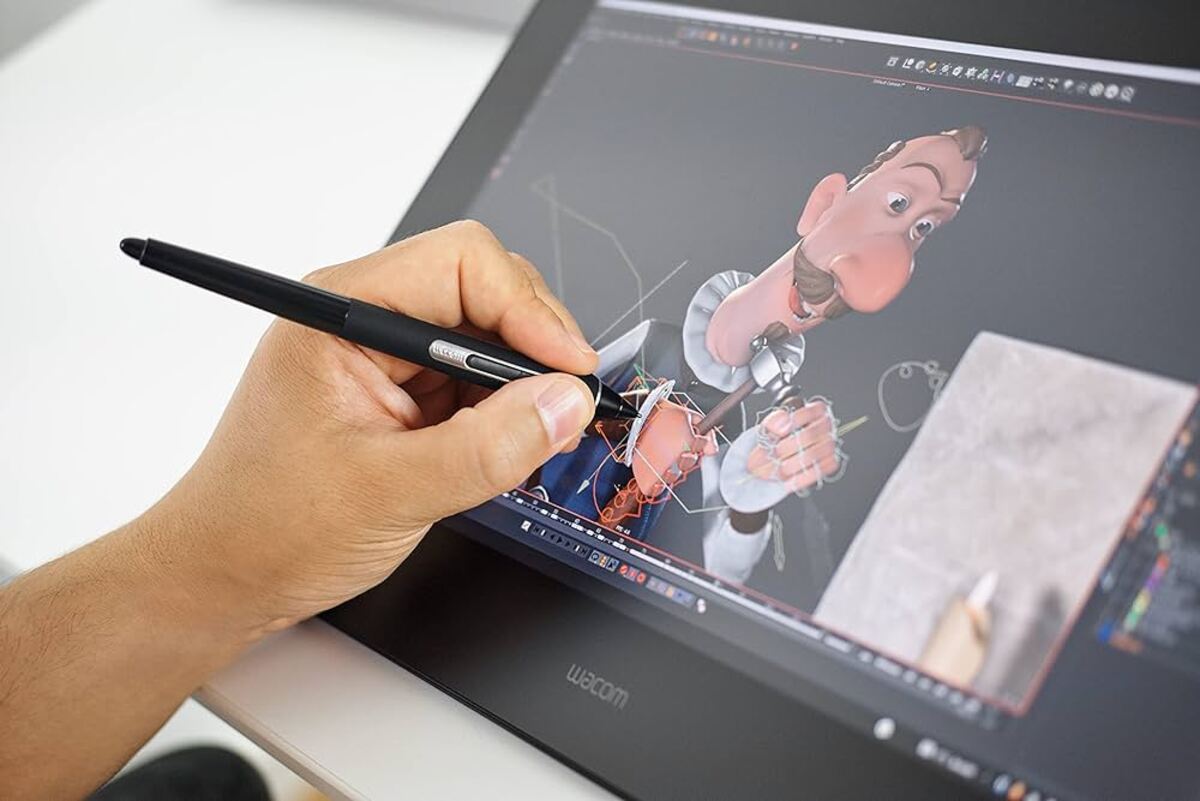
- Pen/Stylus: The pen or stylus is the primary input device for a Wacom tablet. It is battery-free and features a pressure-sensitive tip. Some models also have an eraser on the opposite end of the stylus, allowing users to switch between drawing and erasing with ease.
- Buttons and Controls: Wacom tablets often have buttons located on the tablet itself or on the stylus. These buttons can be customized to perform specific functions, such as zooming in or switching between tools, providing quick access to commonly used commands.
- Touch Strips and Rings: Some Wacom tablets come with touch strips or rings that can be used to control various parameters, such as zooming, scrolling, or adjusting brush size. These touch-sensitive controls offer additional flexibility and convenience for users.
- Connectivity: Wacom tablets can be connected to a computer or laptop using a USB cable or wirelessly through Bluetooth. This allows for seamless communication between the tablet and the computer, ensuring accurate pen tracking and performance.
- Pen Stand: Many Wacom tablets come with a pen stand or holder to keep the stylus safe and easily accessible when not in use. The pen stand may also double as a charging dock for models that have a rechargeable battery.
Each component of a Wacom tablet plays a crucial role in providing a seamless and intuitive drawing experience for artists and designers. The combination of the active area, pressure-sensitive pen, customizable buttons, and touch controls make Wacom tablets a powerful tool for digital creativity.
How Does a Wacom Tablet Work?
At first glance, a Wacom tablet may seem like a simple device, but its underlying technology is quite impressive. Understanding how a Wacom tablet works can give you a better appreciation for its capabilities. Here’s a glimpse into its inner workings:
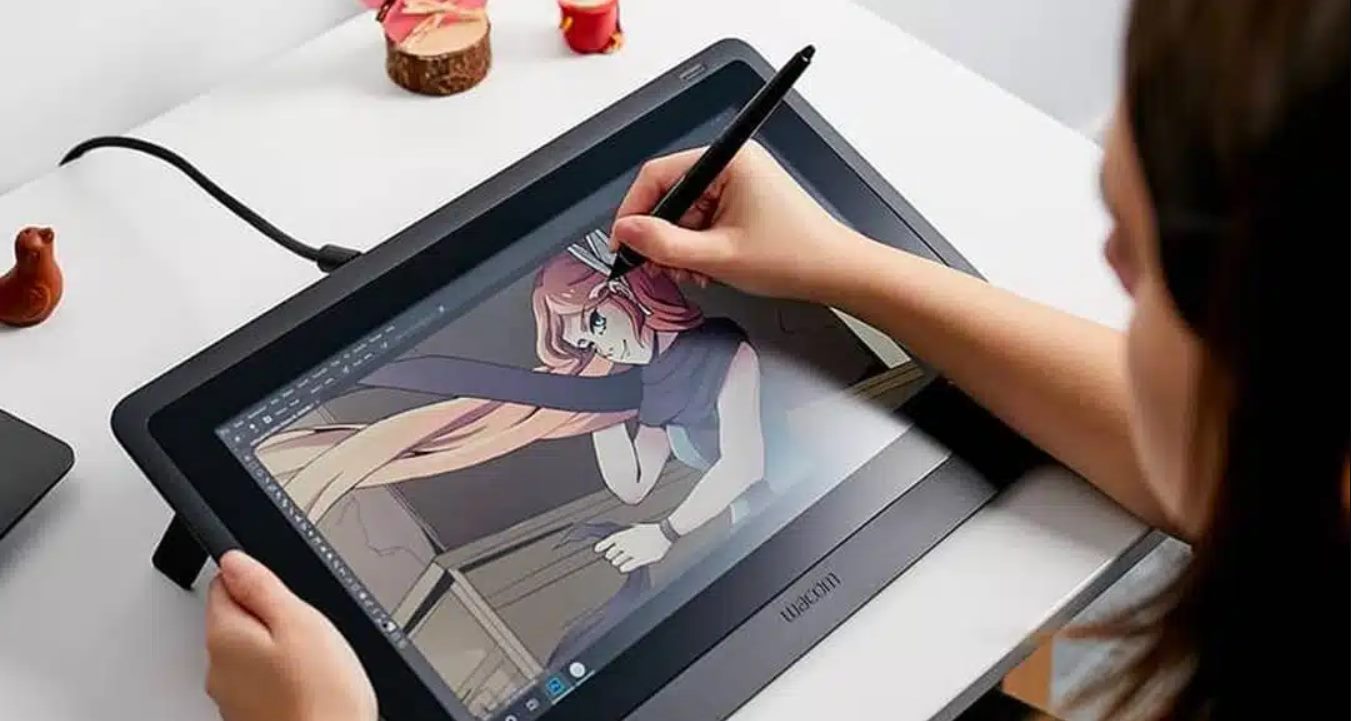
When you use a Wacom tablet, the stylus emits a signal that is picked up by the tablet’s electromagnetic resonance (EMR) sensors embedded within the active area. These sensors detect the location, pressure, and tilt of the stylus, translating your movements into digital data.
The pressure sensitivity feature of a Wacom tablet is particularly noteworthy. As you apply varying amounts of pressure with the stylus, the tablet’s sensors react accordingly, resulting in thicker or thinner lines, lighter or darker shades, and more textured strokes in your artwork.
Aside from pressure sensitivity, some Wacom tablets also offer tilt recognition. With tilt recognition, the tablet can detect the angle at which you hold the stylus, allowing for more realistic and nuanced brush strokes. This feature adds another level of control to your digital artistry, simulating the behavior of traditional art tools.
Once the tablet captures the input from the stylus, it transmits the data to your computer or laptop. The tablet communicates with the computer through a USB connection or wirelessly via Bluetooth, ensuring a fast and reliable transfer of information.
To fully unlock the potential of a Wacom tablet, you’ll need to install the appropriate software drivers. These drivers act as intermediaries, translating the tablet input into commands that your computer’s operating system and creative software can understand. The drivers also allow you to customize the tablet’s settings and assign specific functions to the stylus and buttons.
Notably, Wacom tablets are compatible with a wide range of creative software applications, including popular options like Adobe Photoshop, Illustrator, and Corel Painter. This seamless integration allows you to seamlessly transition from traditional artwork to digital creations, leveraging the familiarity of your favorite software tools.
In summary, a Wacom tablet combines innovative EMR sensor technology with fine-tuned software drivers to provide artists and designers with a highly responsive and intuitive drawing experience. By translating your pen strokes into digital data, a Wacom tablet empowers you to unleash your creativity on a digital canvas, creating artwork that rivals traditional art forms.
Advantages of Using a Wacom Tablet
Using a Wacom tablet offers numerous advantages and benefits for artists, designers, and anyone interested in digital art. Here are some key advantages of incorporating a Wacom tablet into your creative process:
- Precision and Control: A Wacom tablet provides exceptional precision and control, allowing you to create detailed and intricate artwork. The pressure sensitivity and tilt recognition capabilities of the stylus enable you to achieve a level of precision that is difficult to replicate with a mouse or trackpad.
- Natural Drawing Experience: With a Wacom tablet, you can experience the natural feel of drawing on paper. The pen-like stylus and the tablet’s pressure sensitivity technology provide a tactile and immersive drawing experience, making it easier to translate your artistic vision onto the digital canvas.
- Efficiency and Productivity: Wacom tablets are designed to enhance your workflow and boost productivity. The customizable buttons, touch gestures, and express keys on the tablet or stylus allow you to access frequently used functions and shortcuts with ease, saving you time and effort.
- Versatility and Flexibility: A Wacom tablet is a versatile tool that caters to a wide range of creative disciplines. Whether you are into digital painting, graphic design, photo editing, or 3D modeling, a Wacom tablet can adapt to your specific needs and provide a seamless experience across different software applications.
- Undo and Edit with Ease: One of the advantages of digital art is the ability to quickly undo and make edits to your artwork. With a Wacom tablet, you can easily erase or modify specific parts of your drawing without leaving any trace, giving you more freedom and experimentation in your creative process.
- Portability: Many Wacom tablets are lightweight and portable, allowing you to take your creative work on the go. Whether you’re traveling, attending art classes, or simply working in different locations, having a portable Wacom tablet gives you the flexibility to create wherever inspiration strikes.
- Professional Results: Wacom tablets are trusted by professionals in the creative industry for their exceptional quality and reliability. With a Wacom tablet, you can achieve professional-level results, producing artwork that is on par with traditional media or even surpasses it with the added benefits of digital technology.
By incorporating a Wacom tablet into your creative toolkit, you can unlock a world of possibilities and elevate your artistic abilities. The precise control, natural drawing experience, and enhanced productivity make a Wacom tablet an invaluable asset for any digital artist or designer.
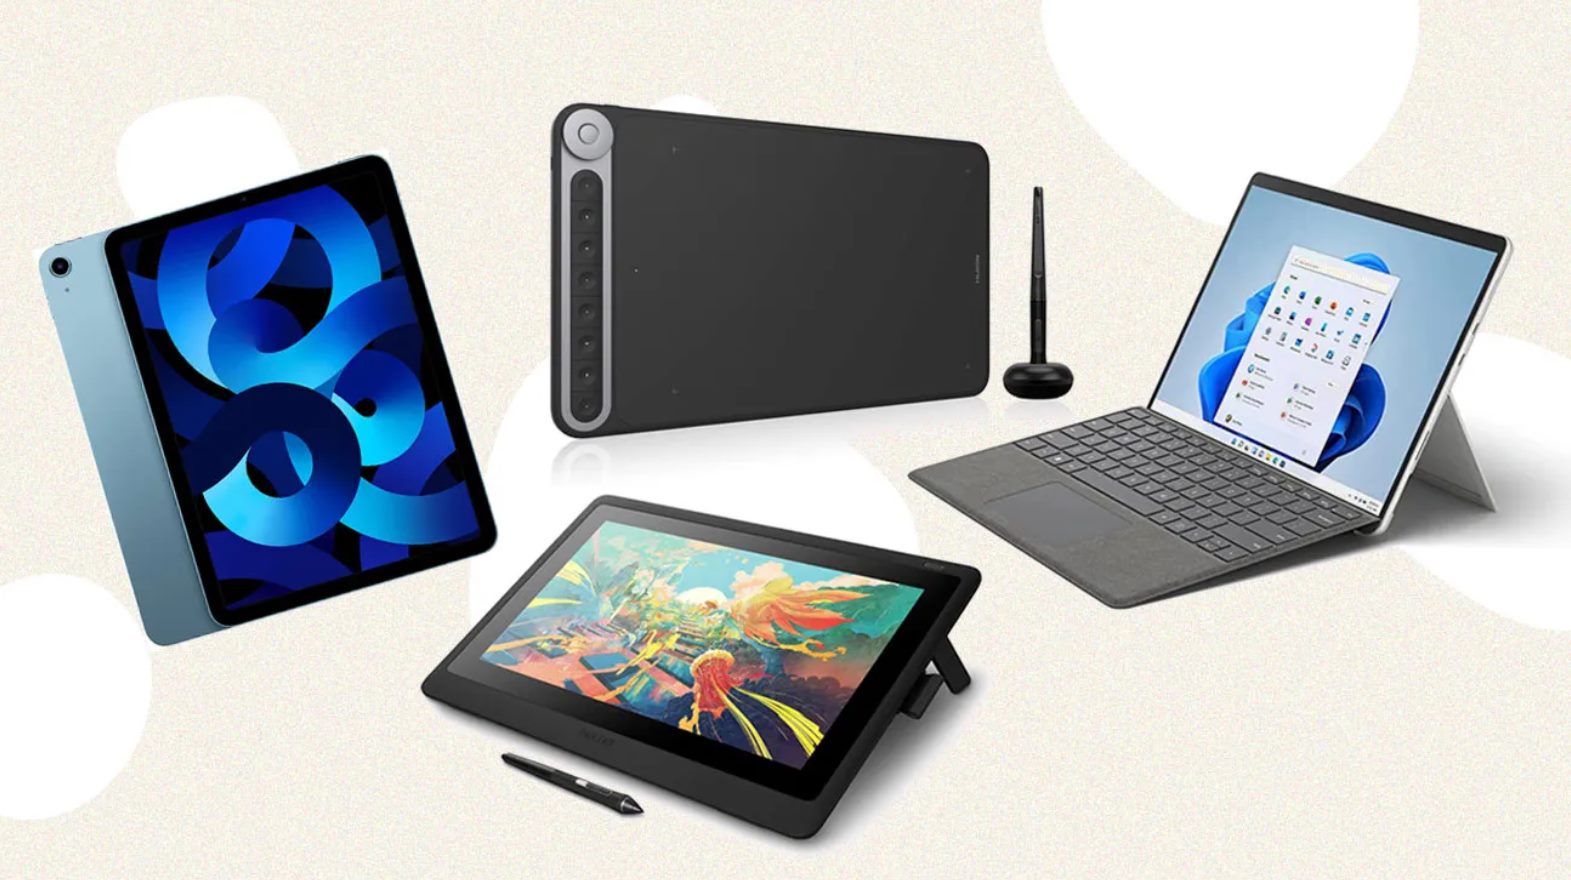
Choosing the Right Wacom Tablet
When it comes to choosing a Wacom tablet, there are a few key factors to consider that will help you find the perfect one to suit your needs and budget. Here are some important considerations to keep in mind:
- Intended Use: Think about how you plan to use the Wacom tablet. Are you a professional artist working on detailed illustrations, or are you an occasional hobbyist looking to experiment with digital art? Understanding your intended use will help determine the appropriate tablet model and features.
- Size: Consider the size of the tablet’s active area. A larger active area provides more room for your artistic creations, offering increased precision and ease of use. However, if portability is a priority, a smaller-sized tablet may be more suitable.
- Pressure Sensitivity: Check the pressure sensitivity levels of the tablet. Most Wacom tablets offer different levels of pressure sensitivity, usually ranging from 2048 to 8192 levels. Higher sensitivity levels provide a wider range of brush strokes and a more responsive drawing experience.
- Customizable Buttons: Determine how important customizable buttons and controls are to you. Some Wacom tablets feature programmable buttons, express keys, and touch gestures that can be tailored to your workflow, providing quick access to frequently used functions.
- Connectivity: Consider the connectivity options of the tablet. Most Wacom tablets connect to your computer or laptop via USB. However, some models offer wireless connectivity through Bluetooth, providing more flexibility and freedom of movement.
- Budget: Set a reasonable budget for your Wacom tablet. Determine how much you are willing to invest in a tablet that meets your needs. Keep in mind that higher-priced models often come with advanced features, such as a larger active area or higher pressure sensitivity.
- Read Reviews: Take some time to read reviews and feedback from other users. This will give you insights into the pros and cons of specific tablet models, helping you make an informed decision based on real-world experiences.
Remember, there is no one-size-fits-all solution when it comes to choosing a Wacom tablet. It ultimately boils down to personal preferences, your artistic goals, and your budget. Take the time to research and compare different models to ensure that you select a Wacom tablet that best aligns with your creative aspirations.
Setting Up Your Wacom Tablet
Setting up your Wacom tablet is a straightforward process that will have you up and running in no time. Follow these steps to get your Wacom tablet ready for creating digital art:
- Install the Drivers: Start by installing the necessary drivers for your Wacom tablet. Visit the official Wacom website and download the latest drivers compatible with your operating system. Install the drivers following the provided instructions to ensure proper functionality.
- Connect the Tablet: Connect your Wacom tablet to your computer or laptop using the provided USB cable. For wireless models, activate the Bluetooth pairing mode and follow the on-screen prompts to establish a connection. Ensure that the tablet is properly connected and recognized by your computer.
- Customize the Settings: Open the Wacom Tablet Properties or a similar application that comes with the drivers. Here, you can customize various settings, such as pen pressure sensitivity, button assignments, touch gestures, and more. Take the time to explore and configure these settings to suit your preferences and workflow.
- Test the Pen: Open a drawing application of your choice, such as Adobe Photoshop or Corel Painter. Test the pen’s pressure sensitivity by drawing lines of varying thickness and intensity. Check whether the strokes match the pressure applied to the pen and make any necessary adjustments in the tablet properties or application settings.
- Set up Express Keys: If your Wacom tablet or stylus has customizable buttons, set them up for quick access to frequently used functions. Assign common shortcuts, such as zooming, undo/redo, brush size adjustment, or switching between tools. This will streamline your workflow and improve efficiency while working on your projects.
- Calibrate the Stylus: Some Wacom tablets allow for stylus calibration to ensure accurate tracking and cursor placement. Follow the instructions provided in the tablet properties or calibration utility to align the stylus tip with the cursor on the screen. This step is crucial for precise drawing and optimal performance.
- Experiment and Explore: Once you have set up your Wacom tablet, take the time to experiment and explore its capabilities. Try out different brush settings, experiment with pressure sensitivity, and discover the features and functions that suit your creative style. Allow yourself to get comfortable with the tablet and enjoy your artistic journey.
By following these steps and familiarizing yourself with the settings and features of your Wacom tablet, you can optimize your creative experience and unleash your artistic potential. Remember to periodically update the drivers to ensure compatibility with the latest operating system updates and software versions.
Tips and Tricks for Using a Wacom Tablet
Using a Wacom tablet can significantly enhance your digital art and design workflow. To make the most out of your tablet, here are some helpful tips and tricks to keep in mind:
- Practice Pressure Control: Take advantage of the pressure sensitivity feature of your Wacom tablet. Practice controlling the pressure applied to the stylus to achieve varying line thickness and shading effects in your artwork. This skill will add depth and realism to your digital creations.
- Utilize Shortcut Keys: Customize the buttons and express keys on your Wacom tablet or stylus to suit your workflow. Assign frequent functions, such as undo/redo, zooming, or switching between tools, to these shortcuts. This will save time and enable you to work more efficiently.
- Experiment with Brush Settings: Don’t be afraid to experiment with different brush settings in your preferred drawing software. Adjust brush sizes, opacity, flow, and other parameters to find the perfect settings for your artwork. This will help you create unique and personalized digital styles.
- Take Advantage of Tilt Recognition: If your Wacom tablet supports tilt recognition, make use of it to add versatility to your strokes. Experiment with different angles and orientations of the stylus to create dynamic and expressive brush strokes that mimic traditional art tools.
- Use Overlay Layers: When creating complex or detailed artwork, consider using overlay layers. Overlay layers allow you to draw on top of existing layers without affecting the original artwork. This technique is particularly useful for adding highlights, shadows, or textures to your illustrations.
- Explore Different Brushes and Textures: Don’t limit yourself to just one brush or texture. Explore the vast library of brushes and textures available in digital art software or find custom brush packs online. Experimenting with different brushes can inspire creativity and give your artwork a unique touch.
- Regularly Update Drivers and Software: Stay up-to-date with the latest drivers and software updates for your Wacom tablet and drawing applications. These updates often include performance enhancements, bug fixes, and new features that can improve your overall digital art experience.
- Practice, Practice, Practice: Like any skill, using a Wacom tablet requires practice. Set aside regular time to experiment, practice new techniques, and refine your artistic abilities. The more you practice, the more comfortable and proficient you will become with your Wacom tablet.
Remember, every artist has their own unique style and preferences. Feel free to explore and adapt these tips and tricks to fit your creative process. With time and practice, you will discover your own methods and techniques for making the most out of your Wacom tablet and achieving your artistic vision.
Conclusion
In the ever-evolving world of digital art and design, a Wacom tablet has emerged as a powerful tool for artists and creative professionals. Its precise control, pressure sensitivity, and customizable features make it an indispensable asset for those looking to explore their creativity and produce stunning digital artwork.
By understanding the anatomy and functionality of a Wacom tablet, you can make an informed decision when choosing the right model for your needs. Consider factors such as size, pressure sensitivity, and customizable options to find the perfect tablet that aligns with your artistic aspirations.
Setting up your Wacom tablet is a breeze, thanks to the intuitive installation process and customizable settings. Take the time to calibrate your stylus, assign shortcuts, and explore different brush settings to maximize the potential of your tablet.
With these tips and tricks in mind, you can elevate your creative process and take advantage of the endless possibilities that a Wacom tablet offers. Practice pressure control, experiment with different brushes and textures, and regularly update your drivers and software to stay on the cutting edge of digital art.
Whether you are a professional artist, a hobbyist, or someone looking to explore their artistic side, a Wacom tablet empowers you to unleash your creativity and bring imagination to life on a digital canvas. Embrace the fluidity and versatility of digital art with a Wacom tablet, and watch your artistic vision come to life like never before.