Introduction
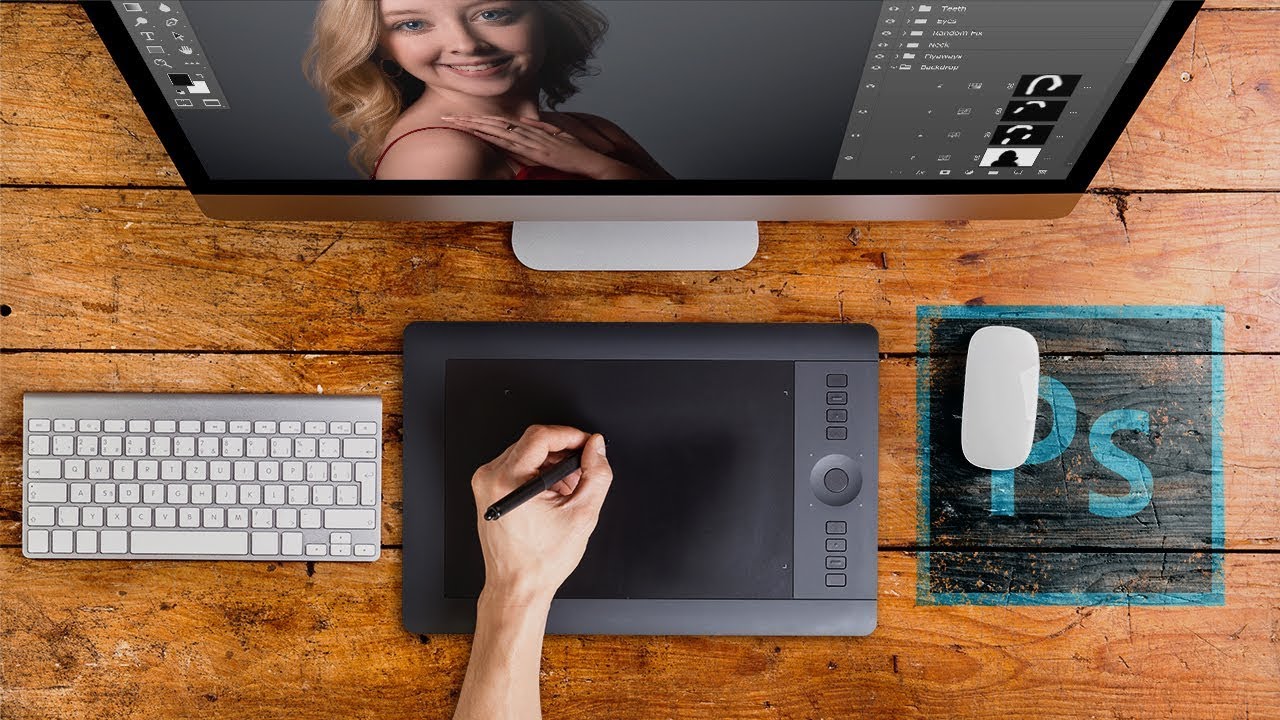
Are you an artist, designer, or simply someone who loves to draw? If so, then a Wacom Pen Tablet might just be your new favorite tool. With its advanced technology and sleek design, a Wacom Pen Tablet offers a unique and intuitive way to create digital art, edit photos, and navigate your computer.
Whether you’re a professional illustrator or a hobbyist, using a Wacom Pen Tablet can greatly enhance your creative workflow. In this article, we will explore what a Wacom Pen Tablet is, its benefits, and how to make the most out of this fantastic device.
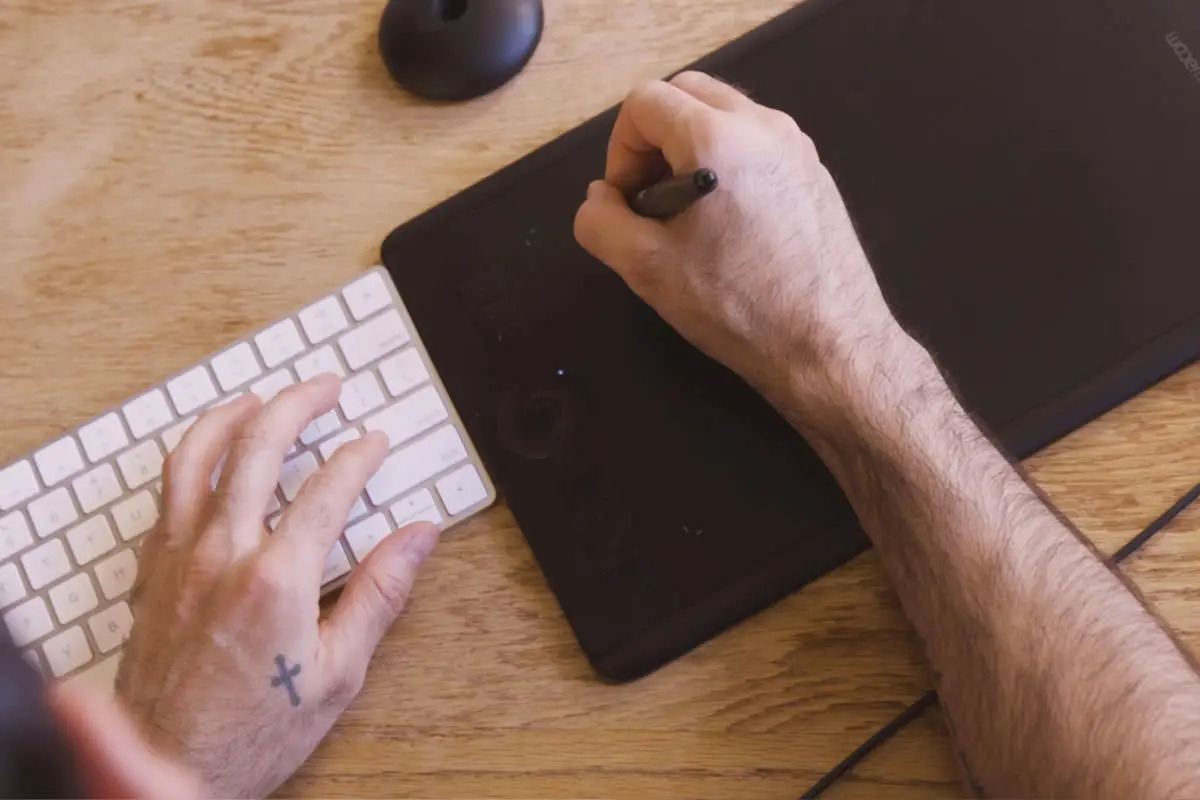
A Wacom Pen Tablet is a digital input device that allows you to draw, paint, and interact with your computer using a stylus or pen-like tool. It consists of a sensitive drawing surface that tracks the movements of the pen, translating them into digital data. This data is then sent to your computer, allowing you to see your drawings come to life on the screen. With the pressure-sensitive pen and precise tracking, a Wacom Pen Tablet gives you control and precision similar to traditional artwork.
The benefits of using a Wacom Pen Tablet are numerous. First and foremost, the natural and intuitive feel of drawing on a tablet surface provides a seamless transition for traditional artists who are transitioning to digital art. The pressure sensitivity of the pen allows for more control over the thickness and opacity of your strokes, making your artwork more expressive and dynamic. Additionally, a Pen Tablet offers greater flexibility and precision for tasks such as photo editing and graphic design, where pinpoint accuracy is crucial.
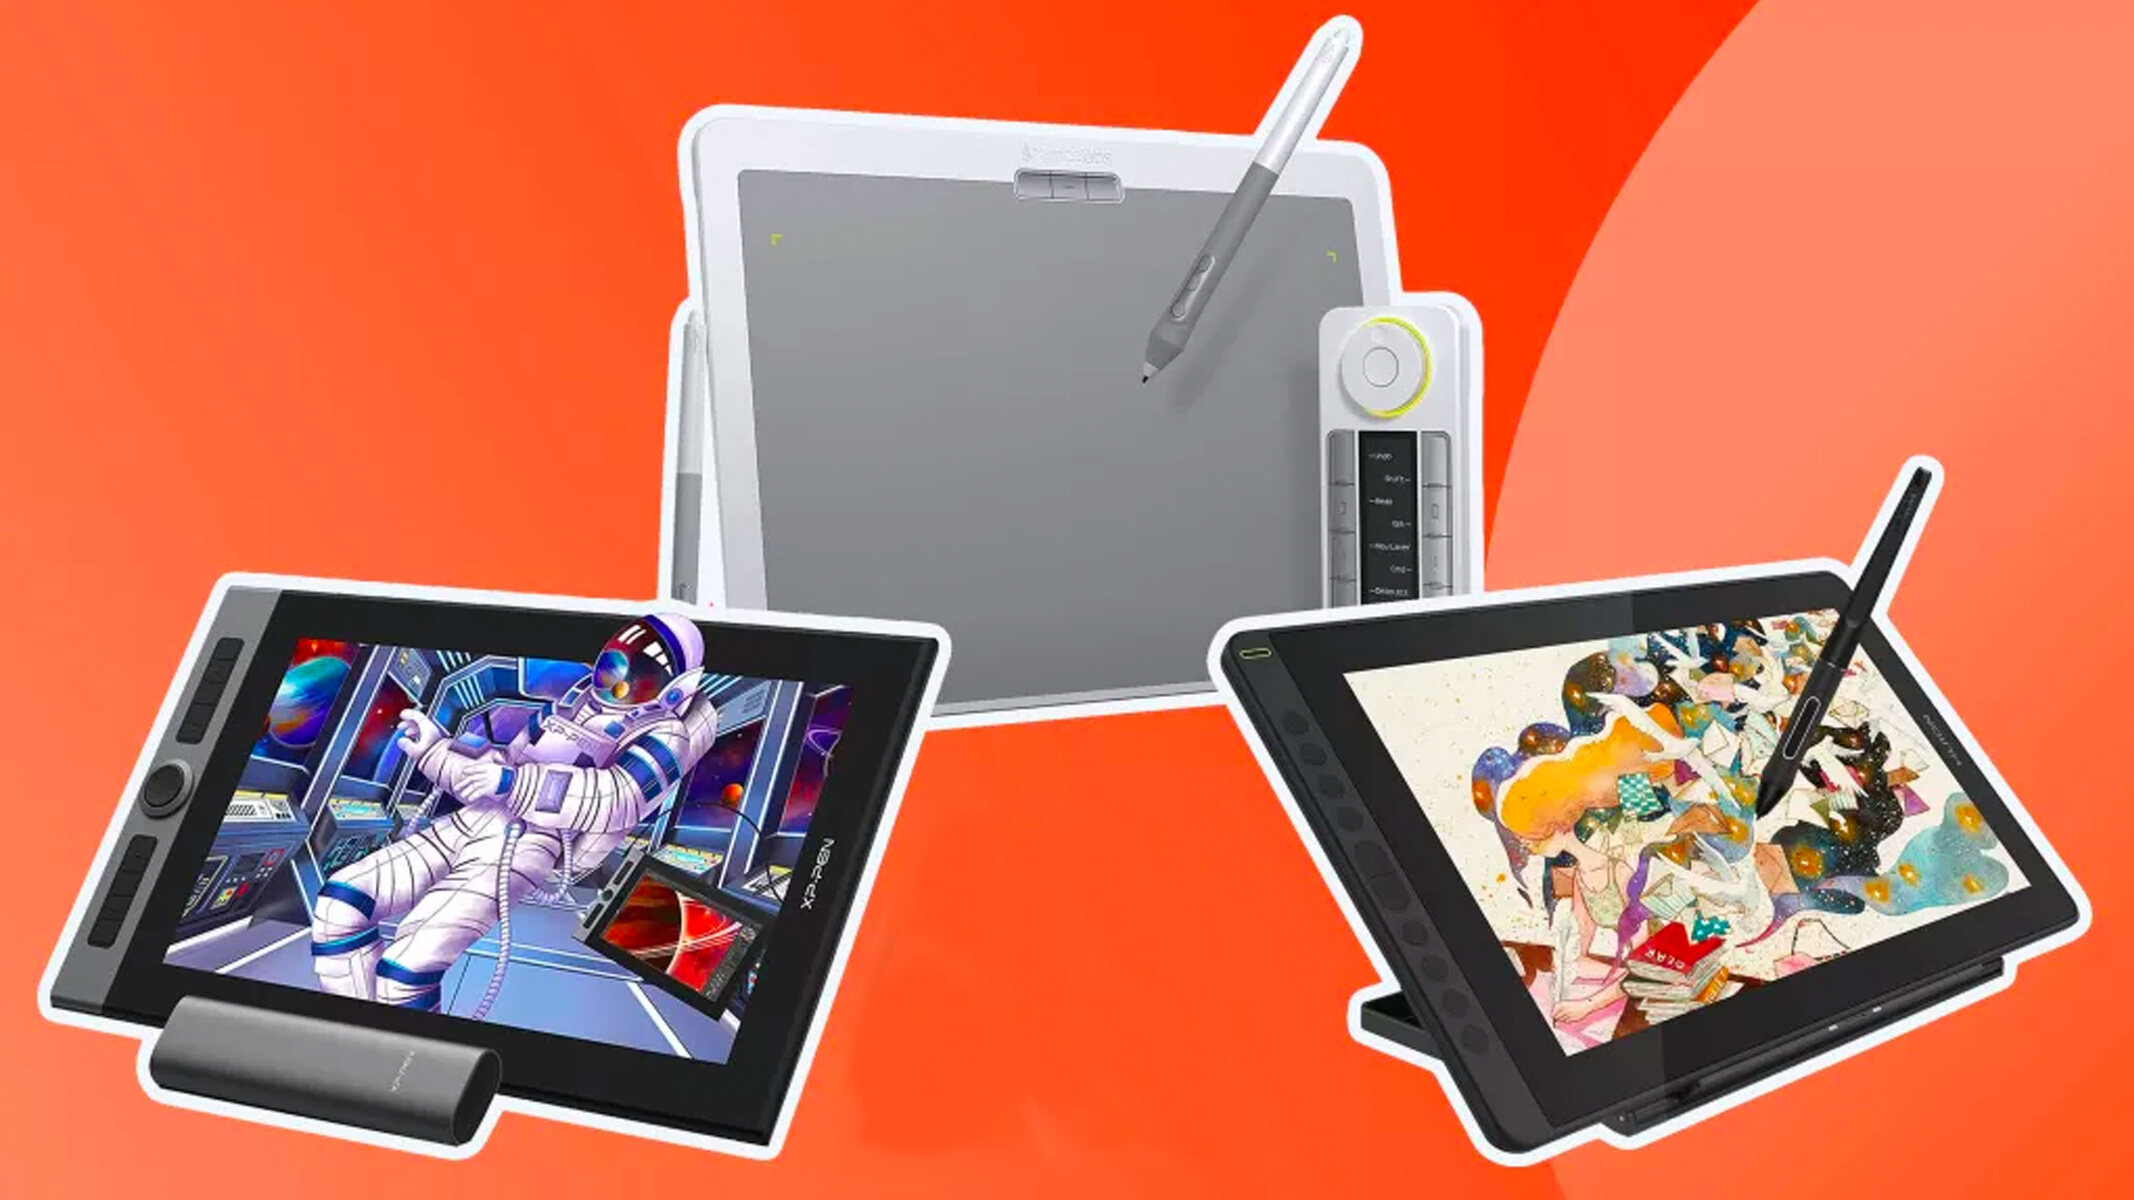
When choosing the right Wacom Pen Tablet for your needs, you should consider factors such as size, sensitivity levels, and additional features. Wacom offers a range of options to suit different budgets and requirements, from entry-level models to high-end professional tablets. It’s important to find a balance between your artistic needs and your budget to ensure you make the right choice.
In the following sections, we will guide you through the process of setting up and customizing your Wacom Pen Tablet, understanding pen pressure sensitivity, and making the most out of the tablet’s features with different software. We will also address common troubleshooting issues and provide tips on cleaning and maintaining your device. By the end of this article, you will have the knowledge and confidence to unlock the full potential of your Wacom Pen Tablet.
What is a Wacom Pen Tablet?
A Wacom Pen Tablet is a cutting-edge digital input device that revolutionizes the way we interact with computers. It combines the precision of a stylus with the versatility of a tablet, allowing users to draw, paint, and navigate their digital world with ease.
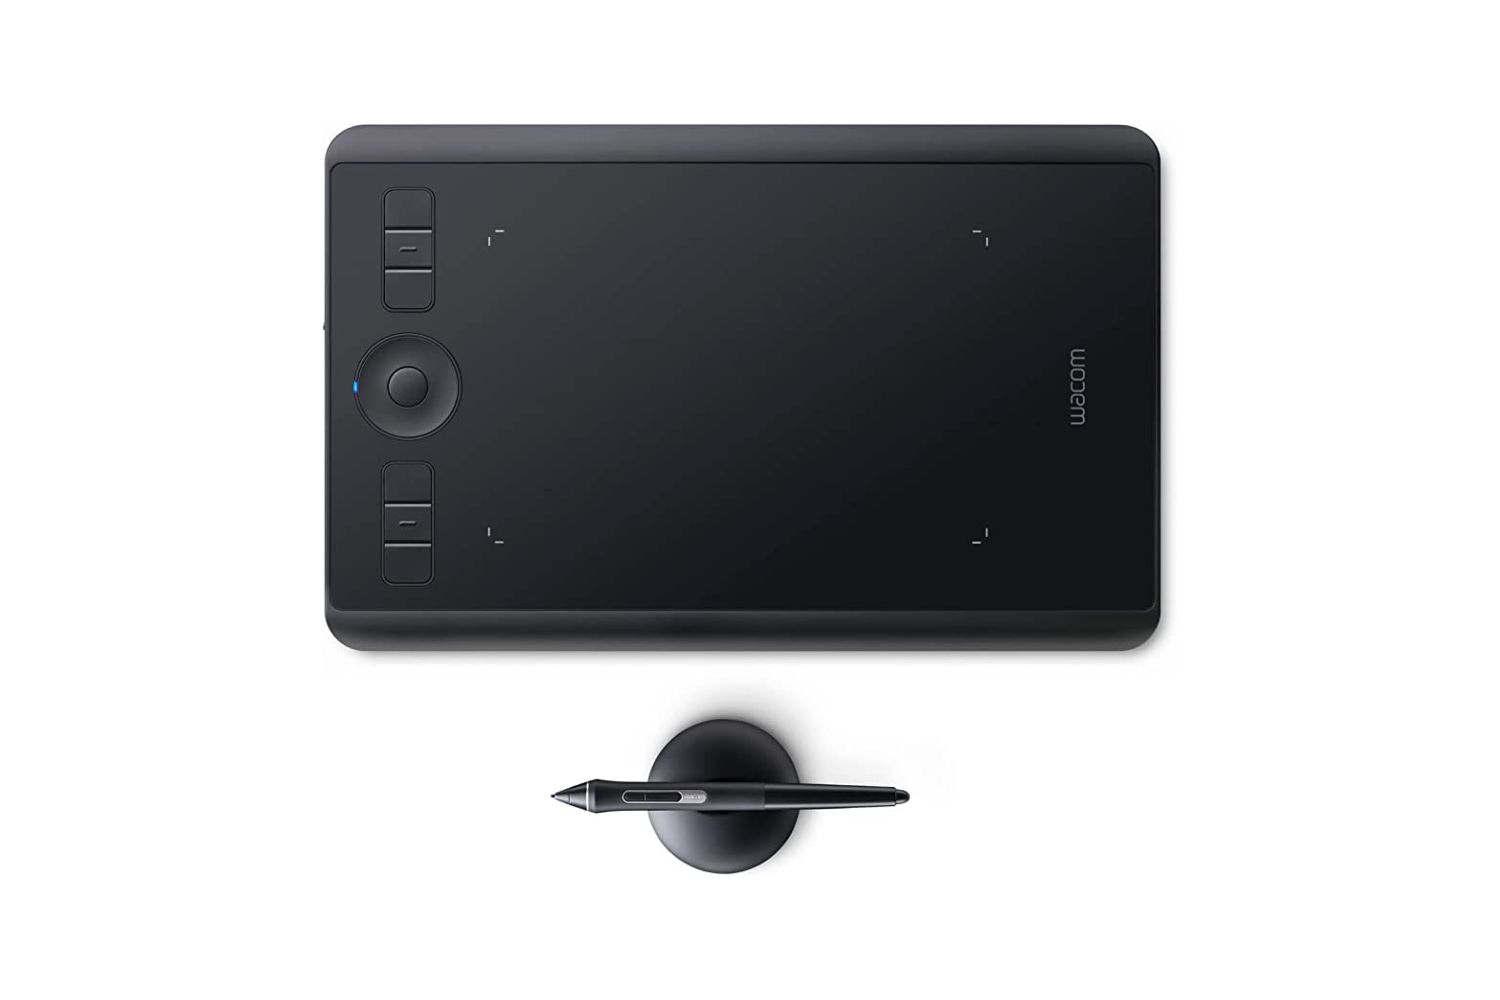
At its core, a Wacom Pen Tablet consists of two main components: the tablet surface and the pen. The tablet surface is made of a specialized material that detects the position and movement of the pen. It translates these physical actions into digital signals, which are then sent to the computer for processing. The pen, often referred to as a stylus, is a battery-operated device that interacts with the tablet’s surface. It is designed to simulate the feel and control of a traditional pen or brush, offering an authentic drawing experience.
One of the key features of a Wacom Pen Tablet is its pressure sensitivity. While drawing with the pen, the tablet accurately detects the varying levels of pressure applied. This allows artists to create strokes with different thicknesses and opacities, mimicking the natural flow of traditional media. Whether you’re applying light brush strokes or heavy-handed lines, the tablet captures every nuance of your touch, giving you unparalleled control over your artwork.
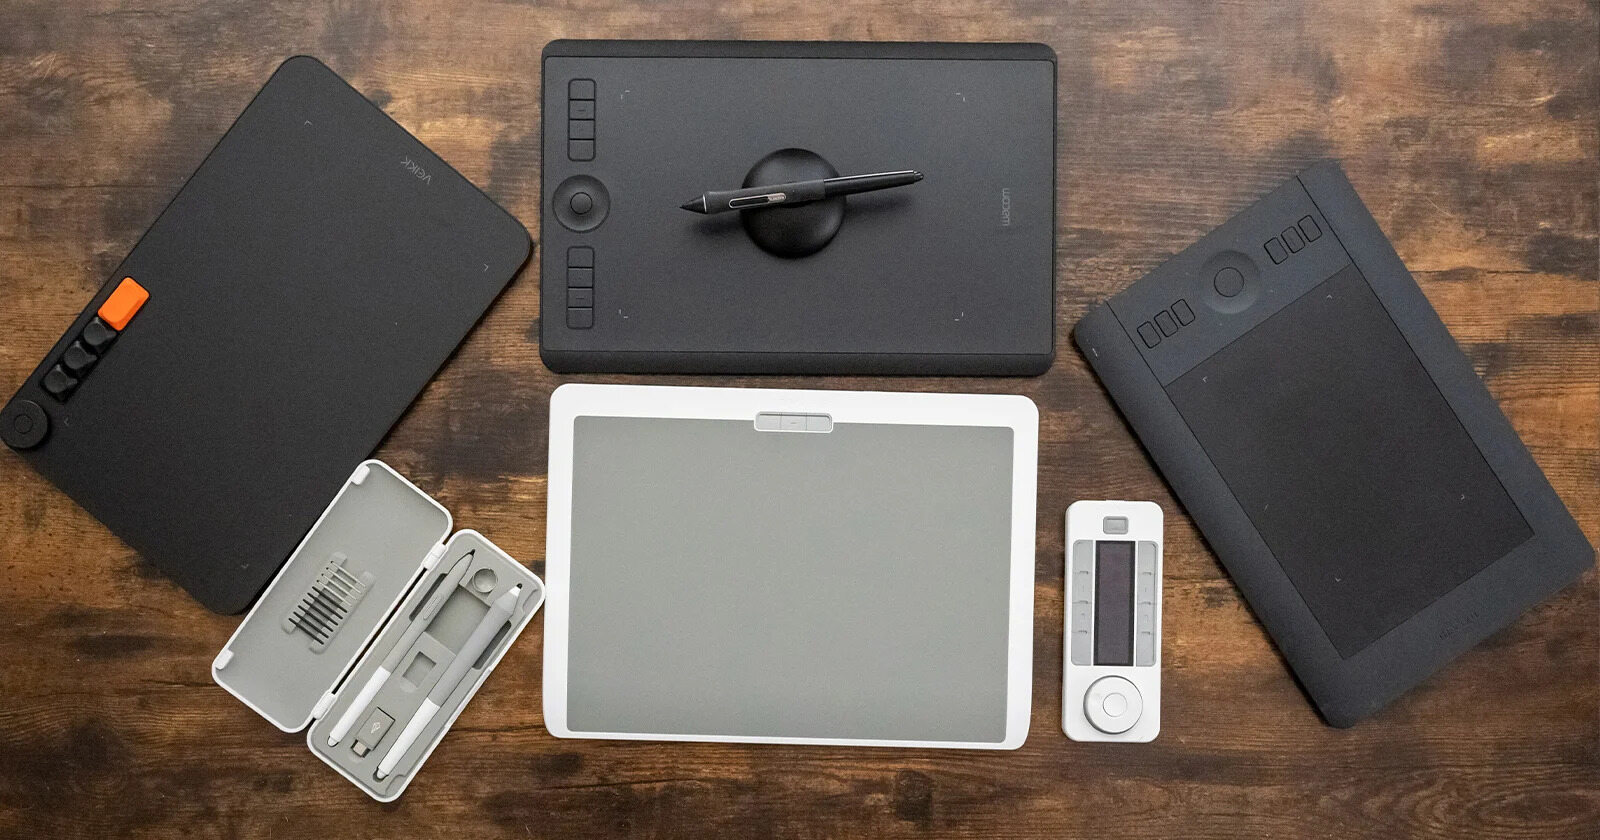
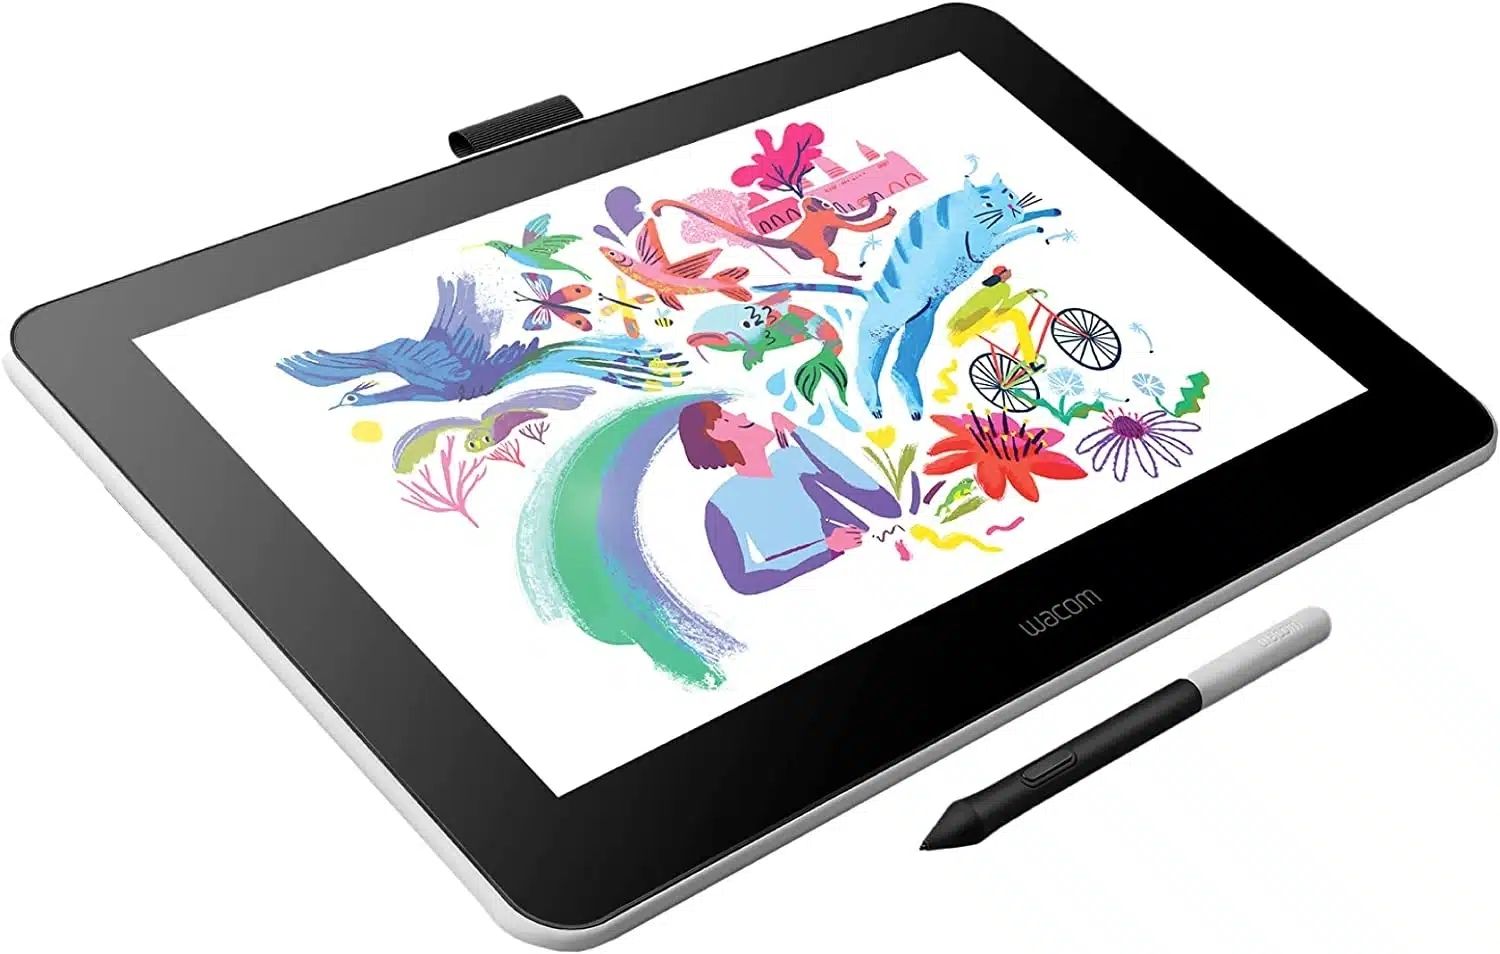
Wacom Pen Tablets are available in various sizes, from compact models perfect for on-the-go use to larger tablets suitable for professionals working on detailed projects. Additionally, Wacom offers different models with varying levels of sensitivity, providing options for artists of all skill levels and preferences. These tablets are compatible with both Windows and Mac operating systems, making them accessible to a wide range of users.
Beyond drawing and painting, Wacom Pen Tablets offer a host of other functionalities. They can be used for photo editing, graphic design, 3D modeling, and even as an alternative to a traditional mouse. With precision and accuracy, you can seamlessly navigate your computer’s interface, manipulate objects, and access shortcuts and menus with ease.
Overall, a Wacom Pen Tablet is a must-have tool for artists, designers, and anyone looking to unleash their creativity digitally. Its combination of advanced technology, ergonomic design, and customizable features make it an invaluable asset for both amateurs and professionals alike. With a Wacom Pen Tablet, you have the power to transform your artistic visions into reality, opening up new possibilities for expressing your creativity.
Benefits of Using a Wacom Pen Tablet
Using a Wacom Pen Tablet brings a multitude of advantages to artists, designers, and digital enthusiasts. Whether you’re a beginner or an experienced professional, incorporating a Wacom Pen Tablet into your creative process can elevate your work to new levels. Here are some of the key benefits of using a Wacom Pen Tablet:
1. Precise and Natural Drawing Experience: The pressure sensitivity of the pen enables you to control the thickness, opacity, and intensity of your strokes with incredible accuracy. This feature allows for a seamless transition from traditional artwork to digital media, providing a natural drawing experience.
2. Increased Efficiency and Productivity: With a Wacom Pen Tablet, you can complete tasks more efficiently and precisely. Whether you’re retouching photos, creating complex illustrations, or editing videos, the tablet’s intuitive pen interface enables you to work faster and with greater control, ultimately enhancing your productivity.
3. Versatile Functionality: A Wacom Pen Tablet is not just limited to drawing and painting. It can be utilized for a wide range of creative tasks such as photo editing, graphic design, 3D modeling, and animation. The tablet’s compatibility with various software applications makes it a versatile tool for different artistic disciplines.
4. Customizability and Workflow Optimization: Wacom Pen Tablets offer extensive customization options, allowing you to personalize the pen’s pressure sensitivity, program express keys, and adapt the tablet interface to your specific needs. This customization enhances your workflow and saves valuable time by providing quick access to frequently used functions and shortcuts.
5. Portability and Flexibility: Wacom Pen Tablets come in various sizes, with smaller models designed for travel and larger ones catering to professional artists. This flexibility allows you to use the tablet wherever and whenever inspiration strikes, making it a suitable companion whether you’re at home, in the studio, or on the go.
6. Collaborative and Interactive Potential: Wacom Pen Tablets are often accompanied by software that promotes collaboration and interactivity. For example, some applications allow multiple users to work simultaneously on the same canvas, making it an ideal tool for team projects or online collaboration with other artists.
7. Environmentally Friendly: By opting for a Wacom Pen Tablet, you reduce the need for paper, paint, and other traditional art supplies. This not only helps to preserve the environment by minimizing waste but also saves you money in the long run as you won’t need to constantly replenish art materials.
These are just a few of the many benefits that come with using a Wacom Pen Tablet. Whether you’re looking to enhance your artistic skills or streamline your digital workflow, incorporating a Wacom Pen Tablet into your toolkit can significantly improve your creative process and output.
Choosing the Right Wacom Pen Tablet
When it comes to choosing a Wacom Pen Tablet, it’s important to consider your artistic needs, budget, and personal preferences. With a range of options available, finding the right tablet that suits your requirements can greatly enhance your digital art experience. Here are some factors to consider when selecting a Wacom Pen Tablet:
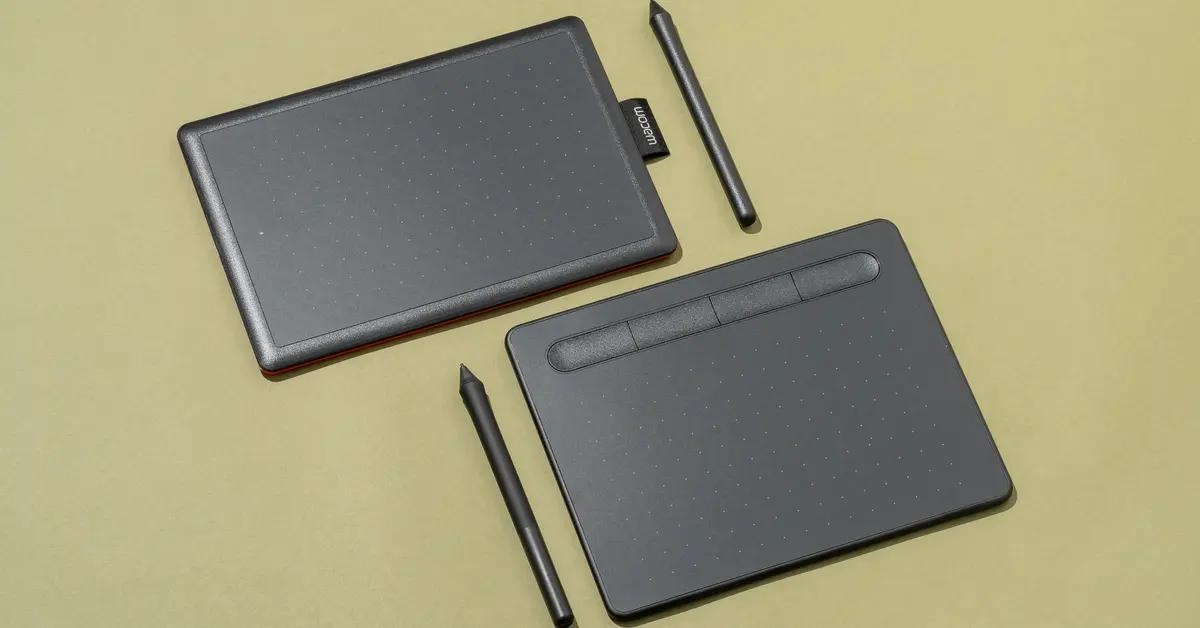
1. Size: Wacom offers a variety of tablet sizes, from compact models to larger ones. Consider the physical space available on your desk and your preferred working style. Smaller tablets are more portable, making them ideal for digital nomads and artists on the go. Larger tablets provide a larger drawing area, allowing you to work on detailed projects comfortably.
2. Sensitivity Levels: Different Wacom Pen Tablets offer varying levels of pressure sensitivity, typically ranging from 1024 to 8192 levels. Higher sensitivity levels provide greater precision and a more nuanced drawing experience. If you’re a professional artist or require fine control over your strokes, consider opting for a tablet with higher sensitivity levels.
3. Compatibility: Ensure that the Wacom Pen Tablet you choose is compatible with your computer’s operating system. Wacom tablets are generally compatible with both Windows and Mac systems, but it’s always wise to double-check the compatibility matrix provided by the manufacturer.
4. Additional Features: Consider any additional features that might be important to your workflow. Some Wacom Pen Tablets come with built-in wireless connectivity, touch gestures, or tilt recognition, which can enhance your creative process. Take time to explore the features offered by different models and decide which ones align with your needs.
5. Budget: Determine your budget before making a purchase decision. Wacom offers a range of Pen Tablets at different price points, so it’s important to find a balance between your artistic requirements and your budget. Assess the features and specifications of each tablet in your price range to make an informed decision.
6. Reviews and Recommendations: Research online reviews and seek recommendations from fellow artists or professionals in the field. Reading user experiences and opinions can provide valuable insights into the performance, durability, and overall satisfaction of a specific Wacom Pen Tablet model.
7. Try Before You Buy: If possible, visit a physical store or attend an art exhibition where Wacom Pen Tablets are showcased. This allows you to try out different models and get a feel for their ergonomics and responsiveness. Trying before buying gives you a firsthand experience of how the tablet performs and whether it meets your expectations.
By considering these factors, you can narrow down your options and select the perfect Wacom Pen Tablet that suits your artistic style, requirements, and budget. Remember to weigh the pros and cons of each tablet and make an informed decision to ensure a satisfying and productive digital art journey.
Installing Wacom Drivers
Before you can start using your Wacom Pen Tablet, it’s important to install the necessary drivers on your computer. The drivers serve as a bridge between your tablet and the operating system, allowing them to communicate effectively. Here’s a step-by-step guide on how to install Wacom drivers:
1. Visit the Wacom Website: Go to the official Wacom website (www.wacom.com) and navigate to the Drivers & Downloads page. Here, you will find the latest drivers available for your Wacom Pen Tablet model.
2. Select Your Tablet Model: Choose your specific tablet model from the list provided. Make sure you select the correct operating system version as well (Windows or Mac).
3. Download the Driver: Click on the download link to start the driver download. Save the installation file to a location on your computer that is easily accessible, such as the Desktop.
4. Run the Installer: Locate the downloaded driver file and double-click on it to run the installer. Follow the on-screen prompts and instructions to proceed with the installation process.
5. Agree to Terms and Conditions: During the installation process, you may be asked to accept the terms and conditions of the driver software. Read through the agreement and, if you agree, check the box to proceed with the installation.
6. Connect Your Wacom Pen Tablet: Once the driver installation is complete, connect your Wacom Pen Tablet to your computer using the provided USB cable or any other connection method specified by the tablet model.
7. Restart Your Computer: Sometimes, a restart is required for the driver installation to take full effect. Restart your computer to ensure that the installed drivers are properly integrated into the system.
8. Test Your Tablet: After restarting, test your Wacom Pen Tablet with drawing or navigation software to ensure that it is working correctly. If the tablet is not detected or functioning properly, try reinstalling the driver or checking for any troubleshooting guides provided by Wacom.
It is essential to keep your Wacom drivers up to date to ensure optimal performance and compatibility. Visit the Wacom website regularly to check for any driver updates for your specific Pen Tablet model. Updated drivers often provide bug fixes, new features, and improved compatibility with the latest operating systems.
By following these steps, you can easily install the necessary drivers for your Wacom Pen Tablet, allowing you to harness the full potential of your tablet’s features and capabilities. Enjoy the seamless integration of your Wacom Pen Tablet with your computer and unlock new levels of creativity.
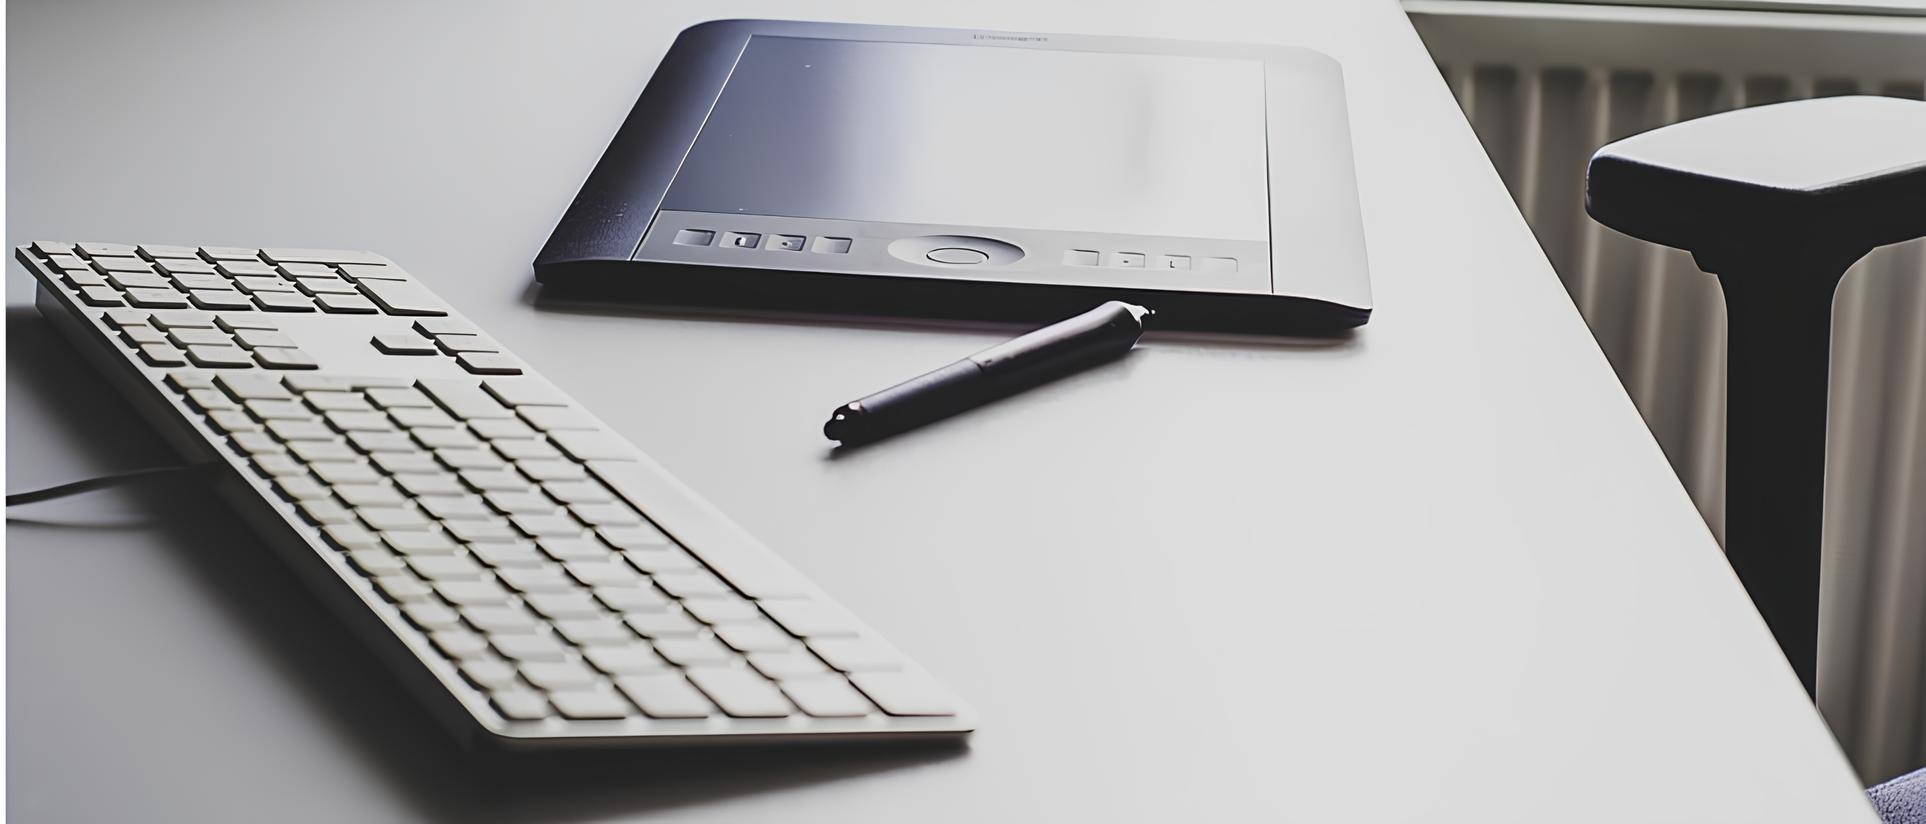
Setting up Your Wacom Pen Tablet
Setting up your Wacom Pen Tablet is a straightforward process that will have you up and running in no time. Here are the steps to get your tablet properly configured for a seamless drawing experience:
1. Connect the Tablet: Start by connecting your Wacom Pen Tablet to your computer using the provided USB cable or any other connection method specified by the tablet model. Ensure that the tablet is securely plugged in and powered on.
2. Install Drivers: If you haven’t already, make sure you have installed the necessary drivers according to the instructions provided in the “Installing Wacom Drivers” section. These drivers establish communication between your tablet and the computer, allowing for accurate input recognition.
3. Software Compatibility: Ensure that the software applications you plan to use with your tablet are compatible with Wacom and offer support for pressure sensitivity and other tablet functionalities. Most popular graphic design, drawing, and painting software have built-in support for Wacom tablets, but it’s always a good idea to double-check the compatibility before getting started.
4. Tablet Preferences: Access the Wacom Tablet Preferences or Control Panel on your computer. This can typically be found in the system tray or by searching for “Wacom Tablet” in the Start menu. In the Preferences/Control Panel, you can adjust various settings such as pen pressure sensitivity, button assignments, and tablet orientation. Customize these settings according to your preferences and artistic needs.
5. Pen Calibration: Some Wacom Pen Tablets require a calibration process to ensure accurate pen tracking. Follow the on-screen instructions in the Wacom Tablet Preferences or Control Panel to calibrate your pen. This involves touching specific points on the tablet’s surface to map the coordinates accurately.
6. Test the Tablet: Open your preferred drawing or painting software and test the tablet’s responsiveness. Make sure that the pressure sensitivity is working correctly by varying the pressure as you draw. Test the functionality of any additional buttons on the pen and tablet, ensuring that they perform the assigned functions.
7. Customize ExpressKeys: Most Wacom Pen Tablets come with programmable ExpressKeys, which can be configured to perform various functions such as undo, brush size adjustment, or zooming in and out. Assign these ExpressKeys to suit your workflow and frequent actions in your software of choice.
8. Set Up Pen Tilt: If your Wacom Pen Tablet supports tilt recognition, you can adjust the tilt sensitivity in the tablet preferences or control panel. This allows you to utilize pen tilt to create natural shading effects and variation in your artwork.
9. Explore Additional Features: Take time to explore any additional features your specific Wacom Pen Tablet offers. This may include touch gestures, multi-touch gestures, or radial menus. Familiarize yourself with these features and experiment with how they can enhance your workflow.
By following these steps, you can quickly set up your Wacom Pen Tablet for an optimized drawing experience. Don’t hesitate to experiment and customize the tablet settings to match your artistic style and preferences. Enjoy the smooth and precise control that a Wacom Pen Tablet provides as you embark on your creative journey.
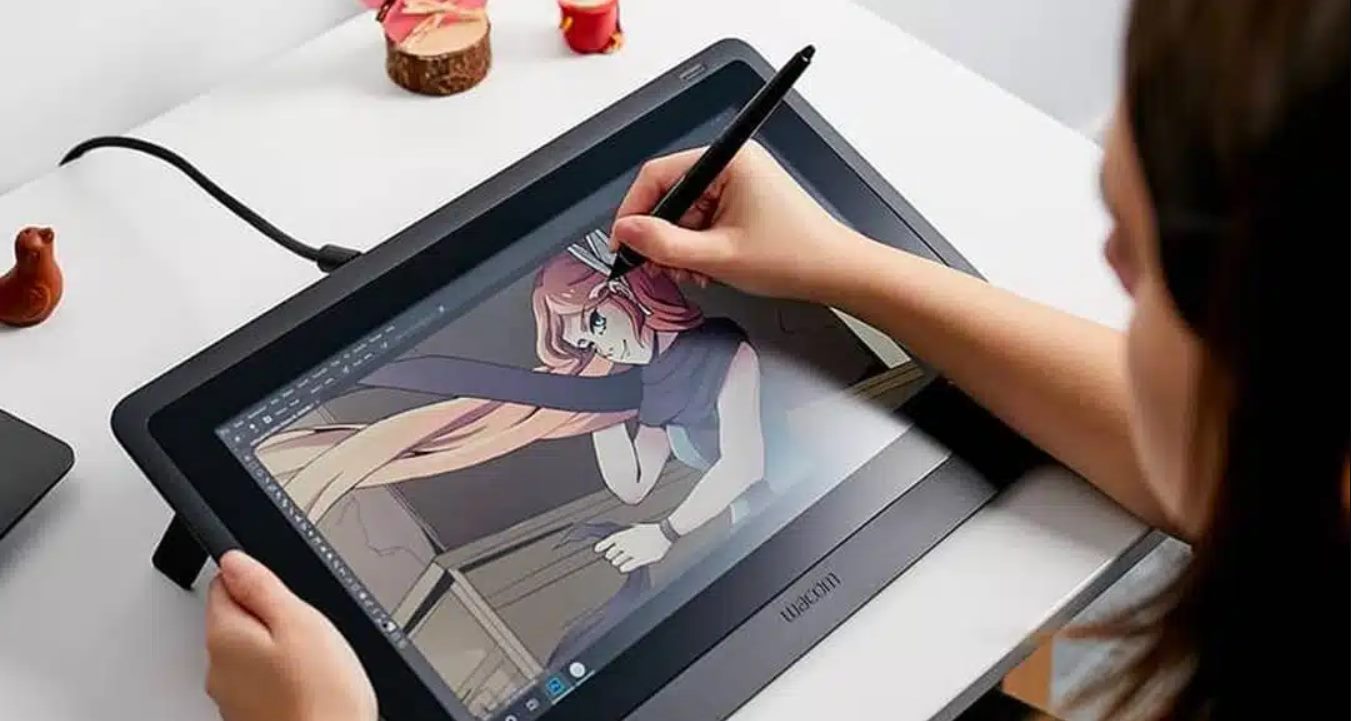
Navigating the Wacom Pen Tablet Interface
Once your Wacom Pen Tablet is set up and connected to your computer, you’ll need to familiarize yourself with the tablet’s interface. Navigating the Wacom Pen Tablet interface is an essential part of using the device effectively. Here’s a guide on how to navigate the interface and make the most out of your tablet:
1. Tablet Surface: The tablet surface is where you perform your drawing or navigation actions. It accurately detects the movement of the pen or stylus. Hovering the pen slightly above the tablet surface won’t generate any input, so make sure to make contact with the tablet for your actions to be recognized.
2. Pen/Stylus: The pen or stylus is the primary tool used with the Wacom Pen Tablet. The pen typically has a pressure-sensitive tip and programmable buttons. Use the pen to draw, paint, click, drag, scroll, and perform other actions as you would with a traditional pen or mouse.
3. Cursor Movement: Moving the pen across the tablet’s surface corresponds to cursor movement on your computer screen. The tablet’s active area maps to the entire display, allowing you to move the cursor seamlessly. The cursor movement is precise and responsive, enabling accurate control during drawing or navigation tasks.
4. Pressure Sensitivity: The pressure sensitivity of the pen is a crucial aspect of the Wacom Pen Tablet. When you press harder on the tablet surface, the pen recognizes the increased pressure and responds accordingly. This feature is particularly useful for creating various line thicknesses and opacity levels when drawing or painting.
5. Button Functions: Many Wacom Pen Tablets come equipped with programmable buttons on the pen itself or on the tablet. These buttons can be customized to perform specific functions, such as zooming in and out, undo/redo actions, brush size adjustments, or accessing shortcuts. Assign functions to these buttons based on your preferences and frequently used actions.
6. Multi-Touch Gestures: Some Wacom Pen Tablets offer multi-touch gestures, similar to those found on touchscreens. These gestures allow you to perform actions such as zooming, rotating, or scrolling by using specific finger movements. Experiment with these gestures to improve your navigation and efficiency.
7. Pen Tilt: If your Wacom Pen Tablet supports pen tilt recognition, you can use it to your advantage. Tilting the pen adjusts various parameters, such as brush angle or shading intensity, in compatible software applications. Utilize pen tilt to add depth and realism to your artwork.
8. Touch Ring or Dial: Some Wacom models come with a touch ring or dial that can be customized to control various functions. You can assign actions like brush size, canvas rotation, or scrolling to the touch ring, offering quick and convenient access to frequently used functions.
9. Radial Menus: Wacom Pen Tablets may offer radial menus, which are customizable circular menus that appear on the tablet’s surface. These menus display a range of functions that you can access by simply touching the designated point on the tablet. Customize and utilize radial menus to streamline your workflow and access essential functions with ease.
By understanding and navigating the Wacom Pen Tablet interface, you can enhance your digital art workflow and unleash your creativity. Experiment with the tablet’s features, customize the pen’s settings, and find the setup that works best for you. The more comfortable you become with the tablet’s interface, the more efficiently you’ll be able to bring your artistic visions to life!
Customizing Pen and Tablet Settings
One of the greatest advantages of using a Wacom Pen Tablet is the ability to customize the pen and tablet settings to suit your unique preferences and artistic needs. Customization allows for a more personalized and efficient digital art experience. Here’s a guide on how to customize the pen and tablet settings to optimize your workflow:
1. Pressure Sensitivity: Adjusting the pressure sensitivity of the pen is a crucial customization option. Fine-tune the sensitivity levels to match your drawing style and the desired effect. Higher sensitivity levels capture more nuances in pressure, allowing for more precise control over stroke thickness and opacity.
2. Button Assignments: Most Wacom Pen Tablets come with programmable buttons on both the pen and the tablet itself. These buttons can be assigned to perform various functions, such as zooming in and out, switching between tools, and accessing shortcuts. Customize button assignments to streamline your workflow and have quick access to frequently used commands.
3. ExpressKeys: ExpressKeys are customizable keys located on the tablet itself. These can be programmed to trigger specific actions, such as switching between layers, adjusting brush size, or saving your work. Assign functions to the ExpressKeys that align with your workflow and save you time and effort.
4. Radial Menus: Some Wacom Pen Tablets offer radial menus, which are circular menus that can be accessed on the tablet’s surface. These menus provide a range of functions that can be customized to suit your needs. Assign commonly used commands or tools to the radial menus for quick and easy access during your creative process.
5. Touch Gestures: If your Wacom Pen Tablet supports touch gestures, take advantage of this feature to further enhance your productivity. Customize touch gestures such as pinch-to-zoom or swipe gestures to navigate through your artwork or perform specific actions. Experiment with different touch gestures to find the ones that work best for you.
6. Pen Calibration: Calibration is an essential customization step to ensure accurate pen tracking. Follow the on-screen instructions provided in the tablet’s preferences or control panel to calibrate the pen. This will ensure that your strokes are accurately registered on the tablet surface, leading to more precise artwork.
7. Tilt Recognition: If your Wacom Pen Tablet supports pen tilt recognition, adjust the tilt sensitivity to match your drawing style. Tilt the pen to create different brush angles or shading effects, just as you would with traditional art tools. Customizing the tilt recognition enables you to add depth and dimension to your digital creations.
8. Workspace Mapping: Customize the tablet’s active area mapping to match the aspect ratio of your computer screen. This ensures that the entire tablet surface corresponds accurately to your computer display, avoiding any distortions or inaccurate cursor movements.
9. Application-Specific Settings: Some Wacom tablets allow you to create application-specific settings. This means you can customize the pen and tablet functions to behave differently depending on the software you’re using. This level of customization allows for a seamless transition between different software applications and optimizes your workflow for each specific project.
By customizing the pen and tablet settings, you can tailor the Wacom Pen Tablet to your specific needs, maximizing your efficiency and comfort during the creative process. Experiment with the various customization options and find the settings that work best for your artistic style and workflow. Customization is the key to unlocking the full potential of your Wacom Pen Tablet!
Understanding Pen Pressure Sensitivity
Pen pressure sensitivity is one of the defining features of a Wacom Pen Tablet and plays a crucial role in digital art creation. Understanding how pen pressure sensitivity works allows you to harness its full potential and create more expressive and dynamic artwork. Here’s a breakdown of pen pressure sensitivity:
1. What is Pen Pressure Sensitivity?
Pen pressure sensitivity refers to the tablet’s ability to detect different levels of pressure applied to the pen tip. When you press lightly, the tablet registers a low pressure level, resulting in thin and light strokes. Conversely, applying more pressure generates a higher pressure level, resulting in thicker and darker strokes. This dynamic range of pressure sensitivity allows for a more natural and nuanced drawing experience, similar to traditional media.
2. How Does Pen Pressure Sensitivity Work?
Inside a Wacom Pen Tablet, there are sensors that detect the pressure applied to the pen tip. As you draw or paint, the tablet captures and translates the pressure data into digital information that corresponds to the thickness and opacity of your strokes. This information is then passed to the software you’re using, which interprets it and adjusts the brush size, opacity, or other relevant parameters accordingly.
3. Advantages of Pen Pressure Sensitivity
The use of pen pressure sensitivity provides several advantages in digital art creation:
- Expressiveness: Pen pressure sensitivity allows you to create lines of varying thickness and darkness, capturing the subtleties and textures of traditional media. This enhances the expressiveness of your artwork and allows for greater control over the artistic outcome.
- Realism and Depth: By varying the pressure, you can simulate light and shadow, creating realistic and three-dimensional effects in your digital paintings. The ability to control the pressure level adds depth and dimension to your creations.
- Greater Control: With pen pressure sensitivity, you have more control over your strokes, enabling you to add fine details, enhance textures, and convey emotions in your artwork. You can achieve precise and deliberate brushstrokes for a more professional and polished result.
- Efficiency: The dynamic nature of pen pressure sensitivity allows you to work more efficiently. You can quickly adjust the thickness or opacity of your strokes simply by varying the pressure, eliminating the need to switch brushes or adjust settings manually.
4. Customizing Pen Pressure Sensitivity
Most Wacom Pen Tablets offer the option to customize the pen pressure sensitivity. You can adjust the pressure curve to match your drawing style and preferences. A steeper curve makes the pen more sensitive to pressure changes, while a flatter curve provides a more graded response. Experiment with these settings to find the pressure sensitivity that best suits your artistic needs.
5. Compatibility with Software
Pen pressure sensitivity is supported by many popular graphic design software applications, such as Adobe Photoshop, Corel Painter, and Autodesk SketchBook. However, it’s essential to ensure that the software you intend to use is compatible with pen pressure sensitivity. Most reputable software providers explicitly mention pen pressure sensitivity in their feature lists or specifications.
Understanding pen pressure sensitivity allows you to fully utilize this powerful feature of your Wacom Pen Tablet. By mastering pressure sensitivity, you can create artwork with a greater level of realism, depth, and expressiveness. Explore and experiment with different pressures to discover a whole new dimension of digital artistry!
Using Different Pen Tips and Nibs
When using a Wacom Pen Tablet, you have the flexibility to experiment with different pen tips and nibs to enhance your drawing experience and achieve different artistic effects. Understanding the different types of pen tips and nibs available to you allows for versatility and customization. Here’s a guide on using different pen tips and nibs with your Wacom Pen Tablet:
1. Standard Nibs: The standard nib that comes with your Wacom Pen Tablet is suitable for most general tasks. It provides a fine point and a smooth gliding experience on the tablet surface. The standard nib is ideal for everyday drawing, sketching, and navigating through software interfaces.
2. Hard Nibs: Hard nibs are made of a more durable material than standard nibs. They offer more resistance when in contact with the tablet surface, simulating the feel of drawing with a pencil or pen on paper. Hard nibs are well-suited for precise linework, architectural drawings, and any task that requires more control and a firmer touch.
3. Felt Nibs: Felt nibs have a softer and slightly textured tip, providing a different tactile experience. They can emulate the sensation of drawing on paper, giving you a more traditional feel. Felt nibs are popular among artists who prefer a more tactile and organic drawing experience and want to add texture to their artwork.
4. Flex Nibs: Flex nibs have a flexible tip that bends and adapts to the pressure you apply. This enables you to achieve varying line widths based on your stroke pressure. Flex nibs are excellent for creating expressive and calligraphy-like strokes, adding a dynamic and lively feel to your artwork.
5. Stroke Nibs: Stroke nibs are designed for specific brush techniques, providing a unique stroke quality. They typically have a brush-like shape, allowing you to create varying line widths and textures commonly found in traditional brushwork. Stroke nibs are favored by artists who specialize in painting styles that require a wide range of brush effects.
6. Replacing Nibs: The nibs on your Wacom Pen Tablet will wear down over time with use. When you start to feel increased resistance or notice any irregularities in your pen strokes, it’s time to replace the nib. Always follow the manufacturer’s instructions on how to replace the nib and ensure that you have the appropriate replacement nibs available.
7. Experimentation and Personalization: Don’t be afraid to experiment with different nibs to find the ones that suit your artistic style and preferences. Everyone has their unique way of drawing, and different nibs can offer different results. Take the time to try out different nibs and explore their effects on your artwork.
8. Care and Maintenance: It’s important to keep your pen tips and nibs clean and free from debris. Regularly inspect your nibs for any signs of wear or damage, and replace them as needed. Follow the manufacturer’s guidelines for cleaning and maintaining your pen tips and nibs to ensure optimal performance and longevity.
Using different pen tips and nibs with your Wacom Pen Tablet allows you to customize your drawing experience and achieve various artistic effects. Each nib type offers a unique feel and versatility, enabling you to create art that aligns with your vision. Explore the different options available, replace worn nibs when necessary, and embrace the creative possibilities that different pen tips and nibs bring to your digital artwork.
Configuring ExpressKeys and Shortcut Buttons
One of the key features of a Wacom Pen Tablet is the ability to customize and assign functions to its ExpressKeys and shortcut buttons. These buttons provide quick and convenient access to frequently used commands, streamlining your workflow and boosting productivity. Here’s a guide on how to configure and make the most out of your ExpressKeys and shortcut buttons:
1. Determine Your Workflow: Assess your creative process and identify the actions or commands you frequently use while working. This could include functions like zooming in and out, changing brush sizes, switching between tools, saving, or undoing actions. Understanding your workflow will help you determine which commands to assign to the ExpressKeys.
2. Access the Tablet Preferences: Open the Wacom Tablet Preferences or Control Panel on your computer. This can usually be found in the system tray or by searching for “Wacom Tablet” in the Start menu. From there, navigate to the ExpressKeys section.
3. Customize the Buttons: In the ExpressKeys settings, you’ll see a list of available buttons. Each button can be customized to perform a specific function. You can assign keyboard shortcuts, specific software commands, or even custom macros to each button.
4. Consider Pen-Specific Settings: Some Wacom Pen Tablets have additional buttons on the pen itself. These buttons can also be customized to trigger specific actions. Assign functions that align with your workflow and enhance your productivity.
5. Experiment and Fine-Tune: Take the time to experiment with different button assignments to find the configuration that works best for you. You may find that certain functions are more suitable for specific buttons, or that certain shortcuts or commands significantly improve your workflow. Refine your button configuration over time to achieve maximum efficiency.
6. Application-Specific Settings: Some Wacom tablets allow you to create application-specific settings. This means you can customize the ExpressKeys to behave differently depending on the software you’re using. For example, you can assign different commands or shortcuts for Photoshop, Illustrator, or any other software you frequently use.
7. Test and Adjust: After assigning functions to the ExpressKeys, test them within your preferred drawing or painting software. Ensure that the assigned commands perform the desired actions. If necessary, go back to the ExpressKeys settings and make adjustments to refine your configuration.
8. Learn and Adapt: It may take some time to fully adapt to your new button configuration. Be patient and give yourself time to learn and become familiar with the new layout. As you develop muscle memory, you’ll find that using the ExpressKeys and shortcut buttons becomes second nature and greatly enhances your workflow.
9. Regularly Update and Refine: As your creative process evolves, regularly reassess and update your ExpressKeys configuration. As you become more proficient with your Wacom Pen Tablet, you may discover new functions or commands that would benefit from having dedicated shortcuts. Don’t be afraid to refine and adapt your button assignments over time.
By configuring the ExpressKeys and shortcut buttons on your Wacom Pen Tablet, you can streamline your workflow, save time, and focus more on the creative aspects of your work. Take advantage of this customization feature to tailor the tablet to your specific needs, making it an extension of your artistic vision.
Assigning Functions to Touch Gestures
In addition to pen input and physical buttons, many Wacom Pen Tablets offer touch gesture functionality. This feature allows you to assign specific functions or commands to different touch gestures, providing another layer of customization and convenience. Here’s a guide on how to assign functions to touch gestures and make the most out of this feature:
1. Enable Touch Gestures: Ensure touch gestures are enabled on your Wacom Pen Tablet. Access the tablet preferences or control panel and navigate to the touch gesture settings. Enable the feature if it is not already activated.
2. Understand Available Gestures: Familiarize yourself with the touch gestures that your Wacom Pen Tablet supports. Common touch gestures include tap, swipe, pinch-to-zoom, rotate, and three-finger tap. Each gesture can be assigned a specific function or command.
3. Determine Workflow Needs: Identify commands or functions that you frequently use during your creative process. Consider which gestures would be the most intuitive and efficient for accessing these commands. For example, assigning a swipe gesture to undo or redo actions may save you time and effort.
4. Access Touch Gestures Settings: Open the tablet preferences or control panel on your computer and navigate to the touch gesture settings. Here, you can customize and assign functions to specific gestures.
5. Assign Functions: Within the touch gesture settings, select the gesture you want to customize, and assign the desired function or command to it. You can choose from a range of options, including keyboard shortcuts, software commands, or custom macros.
6. Experiment and Refine: Once you’ve assigned functions to touch gestures, test them within your preferred software. Ensure that the assigned commands perform the desired actions and feel comfortable to execute. Fine-tune and refine your gesture assignments as necessary until you find the optimal setup for your workflow.
7. Application-Specific Gestures: Similar to application-specific settings for ExpressKeys, some Wacom Pen Tablets let you create touch gesture configurations that are specific to particular software applications. This allows you to assign different gestures for different software, tailoring your touch controls to match the specific needs of each program you use.
8. Learn and Practice: As with any new input method, it may take some time to familiarize yourself with touch gestures and develop muscle memory. Practice using the assigned gestures regularly to become comfortable with their execution. Over time, touch gestures will become second nature and seamlessly integrate into your creative workflow.
9. Regularly Review and Update: Regularly review your touch gesture assignments, especially as your workflow evolves or your software usage changes. As you become more proficient with your Wacom Pen Tablet and discover new commands or shortcuts, update and refine your gesture assignments to maximize efficiency.
By assigning functions to touch gestures, you can leverage the inherent convenience of touch controls and further customize your Wacom Pen Tablet to streamline your workflow. Experiment with different gesture assignments, adapt them to your preferences, and take advantage of the touch gesture capabilities to enhance your digital artistry.
Using Wacom Pen Tablet with Different Software
A Wacom Pen Tablet is a versatile tool that can be utilized with a wide range of software applications. Whether you’re a digital artist, graphic designer, or photographer, the seamless integration between a Wacom Pen Tablet and various software enhances your creative workflow and allows you to produce high-quality work. Here’s a guide on how to use your Wacom Pen Tablet with different software:
1. Adobe Creative Suite: The Adobe Creative Suite, including software such as Photoshop, Illustrator, and InDesign, supports the full capabilities of a Wacom Pen Tablet. In Photoshop, for instance, you can take advantage of the pressure sensitivity to control brush strokes and the pen’s eraser to quickly erase areas. Illustrator allows for precise control when creating and editing vector graphics, while InDesign makes it easy to navigate through layouts and control objects.
2. Corel Painter: Corel Painter is a software program specifically designed for digital painting. It offers extensive brush options and realistic effects that fully exploit the pen pressure sensitivity of a Wacom Pen Tablet. Corel Painter simulates a wide range of traditional painting techniques, allowing you to create stunning digital artworks.
3. Autodesk SketchBook: Autodesk SketchBook is a popular drawing and painting software application that fully supports Wacom Pen Tablets. It offers a user-friendly interface and a variety of brushes and tools. With a Wacom Pen Tablet, you can easily sketch, ink, and color your artwork in SketchBook, taking advantage of the tablet’s pressure sensitivity and pen customization features.
4. Clip Studio Paint: Clip Studio Paint (formerly known as Manga Studio) is a powerful software for creating comics, manga, and illustrations. It offers a robust set of tools and features specifically designed for artists. The seamless integration between Clip Studio Paint and a Wacom Pen Tablet allows you to create intricate linework, varying line thicknesses, and expressive brush strokes.
5. 3D Modeling Software: Wacom Pen Tablets can also be used with 3D modeling software, such as ZBrush or Blender. With the pen’s pressure sensitivity and precise control, you can sculpt, texture, and manipulate 3D models with ease. The tablet’s touch gestures can also be utilized for navigation and zooming, enhancing the overall 3D modeling experience.
6. Photo Editing Software: Popular photo editing software applications like Adobe Lightroom and Capture One are fully compatible with Wacom Pen Tablets. The tablet’s pressure sensitivity allows for precise adjustments of exposure, contrast, and brush settings while retouching images. The pen’s accuracy and control make the editing process smoother and more intuitive.
7. Customizing Software Shortcuts: Many software applications allow you to customize shortcut keys and pen functions. Take advantage of this customization feature to assign frequently used commands to your Wacom Pen Tablet’s ExpressKeys and pen buttons. This ensures that you have quick access to the tools and functions you use most often, improving your efficiency and productivity.
8. Explore Supplementary Software: Beyond industry-standard software, explore supplementary programs that cater to specific artistic needs. For example, for digital sculpting, consider using software like Pixologic ZBrush. These programs often provide extensive support for pen sensitivity and tablet functionality, allowing you to fully exploit the capabilities of your Wacom Pen Tablet.
By using a Wacom Pen Tablet with different software applications, you can unleash your creativity, enhance your productivity, and produce professional-grade artwork. Experiment with different software options, familiarize yourself with their capabilities, and customize the tablet’s settings to create a personalized and seamless digital art experience.
Troubleshooting Common Issues
While using a Wacom Pen Tablet, you may encounter some common issues that can disrupt your workflow. Fortunately, most of these issues can be resolved with a few troubleshooting steps. Here’s a guide to help you troubleshoot and overcome common issues:
1. Driver Installation: If your Wacom Pen Tablet is not functioning correctly, ensure that you have installed the latest drivers from the official Wacom website. Outdated or incompatible drivers can cause various issues. Uninstall the existing drivers, restart your computer, and reinstall the drivers to resolve driver-related problems.
2. Connection Issues: If your tablet is not recognized by your computer, check the cable connection. Make sure the cable is securely plugged into both your tablet and the computer’s USB port. If using a wireless connection, ensure that the tablet is within range of the receiver and that the receiver is securely connected to your computer.
3. Calibration and Pen Tracking: If you experience inaccurate pen tracking or calibration issues, recalibrate your pen using the calibration tool in the tablet preferences or control panel. Follow the on-screen instructions to ensure the pen tip aligns accurately with the cursor. Additionally, verify that the tablet’s active area is correctly mapped to your computer screen.
4. Pressure Sensitivity: If the pressure sensitivity of your pen is not functioning as expected, verify that the software you are using supports pressure sensitivity. Ensure that you have enabled pressure sensitivity in the software’s brush settings or pen preferences. If the issue persists, check for any updates for both the tablet’s drivers and the software you are using.
5. Button Assignments: If the ExpressKeys or pen buttons are not responding, reconfigure their assignments in the tablet preferences or control panel. Double-check that you have selected the correct command or shortcut for each button. If certain buttons are still unresponsive, test them on a different application to narrow down whether the issue is software-specific.
6. Software Conflicts: If you are experiencing issues within a specific software application, ensure that there are no conflicts with other software on your computer. Update the software to the latest version or try reinstalling it. If the problem persists, contact the software’s support team for assistance or consult their online forums for troubleshooting guidance.
7. Tablet Responsiveness: If you notice a delay or lag in the tablet’s responsiveness, try adjusting the tablet’s pen tracking speed and double-click settings in the tablet preferences or control panel. Decrease the tracking speed or increase the double-click speed to improve the tablet’s responsiveness to your pen movements.
8. Power and Battery: If you are using a wireless pen or tablet, check the battery level. Replace the battery or recharge it if necessary. If your tablet is not turning on or not charging, verify that the power cable is securely connected and that the power source is working. Contact Wacom support if the issue persists.
9. Support and Documentation: If you cannot resolve an issue on your own, consult the Wacom support website for troubleshooting guides, FAQs, and user forums. Wacom’s online resources provide valuable information and guidance, and their support team is available to assist with more complex issues.
By following these troubleshooting steps, you can resolve many common issues encountered while using a Wacom Pen Tablet. Remember to keep your tablet’s drivers up to date, consult the software’s documentation and support resources, and reach out to Wacom’s support team when needed. With the right troubleshooting techniques, you can quickly overcome difficulties and continue enjoying a seamless digital art experience.
Cleaning and Maintaining Your Wacom Pen Tablet
Keeping your Wacom Pen Tablet clean and well-maintained is essential to ensure its optimal performance and longevity. Regular cleaning and maintenance help preserve the tablet’s functionality and protect it from damage. Here are some guidelines for cleaning and maintaining your Wacom Pen Tablet:
1. Turn Off and Disconnect: Before cleaning your Wacom Pen Tablet, always turn it off and disconnect it from your computer. This precautionary step prevents any accidental input or damage during the cleaning process.
2. Use a Clean, Dry Cloth: Begin the cleaning process by using a clean, dry cloth to wipe the surface of your tablet. Gently remove any dust, fingerprints, or smudges. Avoid using abrasive materials or excessive pressure, as they can damage the tablet’s surface.
3. Cleaning Pen and Nibs: To clean your pen and nibs, gently wipe them with a soft, lint-free cloth. Avoid using harsh cleaners or solvents, as they can damage the pen’s surface or the nib’s sensitivity. If necessary, you can lightly dampen the cloth with water to remove stubborn dirt or residue. Ensure that the pen and nibs are fully dry before using them again.
4. Removing Stubborn Stains: For stubborn stains or marks on the tablet surface, use a soft cloth lightly moistened with a mild cleaning solution. Suitable solutions include water mixed with a small amount of mild soap or a 50/50 mixture of water and isopropyl alcohol. Gently rub the stained area in a circular motion, being careful not to saturate the tablet surface.
5. Avoiding Liquids and Excessive Moisture: When cleaning your Wacom Pen Tablet, ensure that liquids do not come into direct contact with any openings or connectors. Excessive moisture can damage the internal components of the tablet. Always make sure that the tablet is completely dry before reconnecting it to your computer.
6. Protecting the Tablet: When the tablet is not in use, protect it from dust and accidental damage by covering it with a clean cloth or placing it in a protective case. Avoid exposing the tablet to extreme temperatures, humidity, or direct sunlight. This helps maintain the tablet’s integrity and reduces the risk of surface scratches.
7. Replacing Nibs: Over time, the nibs on your Wacom Pen Tablet will wear down. Replace the nibs as necessary to maintain optimal performance. Follow the manufacturer’s instructions on how to remove and insert new nibs correctly.
8. Software and Driver Updates: Regularly update the software applications and drivers that you use with your Wacom Pen Tablet. Software updates often include bug fixes and performance improvements, while driver updates optimize compatibility and functionality between the tablet and your computer’s operating system.
9. Follow Manufacturer Guidelines: Always refer to the manufacturer’s guidelines and instructions for cleaning and maintaining your specific model of Wacom Pen Tablet. Their recommendations will ensure that you take the appropriate steps to preserve your tablet properly.
By following these cleaning and maintenance practices, you can keep your Wacom Pen Tablet in excellent condition. Regular cleaning and proper maintenance contribute to a longer lifespan and reliable performance. Treat your Wacom Pen Tablet with care, and it will continue to serve as your trusted tool for digital creativity.
Conclusion
A Wacom Pen Tablet is an invaluable tool for artists, designers, and digital enthusiasts. Its advanced technology, precise control, and customizable features revolutionize the way we create digital art, interact with software, and navigate our computers.
By understanding how to set up and use a Wacom Pen Tablet, you can unlock its full potential and enhance your creative workflow. From installing drivers and customizing pen settings to utilizing touch gestures and assigning functions to shortcut buttons, the possibilities for customization and personalization are endless.
Whether you’re using popular software applications like Adobe Creative Suite, Corel Painter, or Autodesk SketchBook, or exploring the world of 3D modeling or photo editing software, a Wacom Pen Tablet seamlessly integrates with various programs, amplifying your artistic capabilities.
While using a Wacom Pen Tablet, you may encounter common issues such as driver installations, connectivity problems, or pressure sensitivity adjustments. Troubleshooting these problems is a straightforward process, and various online resources, user forums, and manufacturer support are available to assist you along the way.
Remember to clean and maintain your Wacom Pen Tablet regularly to prolong its lifespan and ensure optimal performance. A few simple steps, such as wiping the tablet surface, cleaning the pen and nibs, and protecting the tablet from dust and damage, will help maintain its functionality for years to come.
Embrace the versatility and creative freedom that a Wacom Pen Tablet provides. Experiment with different pen tips and nibs, customize settings to match your workflow, and let your creativity soar as you create stunning digital art.
With a Wacom Pen Tablet as your digital companion, there are virtually no limits to what you can create. Embrace this powerful tool, explore new artistic possibilities, and let your imagination thrive.