Introduction:
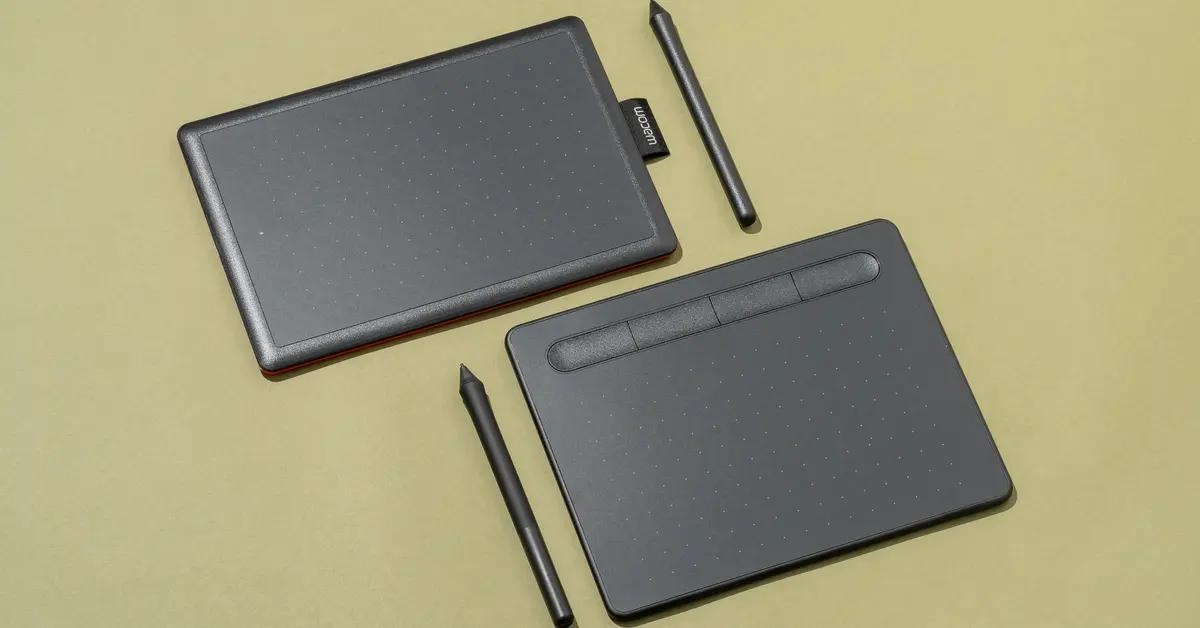
Welcome to our guide on how to get the Wacom tablet to work! Wacom tablets are excellent tools for digital artists, photographers, and graphic designers, offering precision and control when working on creative projects. However, setting up and configuring your Wacom tablet can sometimes be a bit challenging, especially for beginners. That’s why we’ve put together this step-by-step guide to help you get your Wacom tablet up and running smoothly.
Whether you’ve just purchased a new Wacom tablet or you’re looking to troubleshoot issues with your existing one, this guide will provide you with the necessary instructions and tips to ensure a hassle-free setup and optimal performance. By the end of this guide, you’ll have a better understanding of how to install the necessary drivers, connect your tablet to your computer, calibrate the tablet, and configure its settings according to your preferences.
Before we dive into the steps, make sure you have your Wacom tablet and pen ready, along with your computer running a compatible operating system. It’s also important to have a reliable internet connection to download the necessary drivers if needed.
Now, let’s get started with step one: installing the drivers for your Wacom tablet.
Step 1: Installing the drivers:
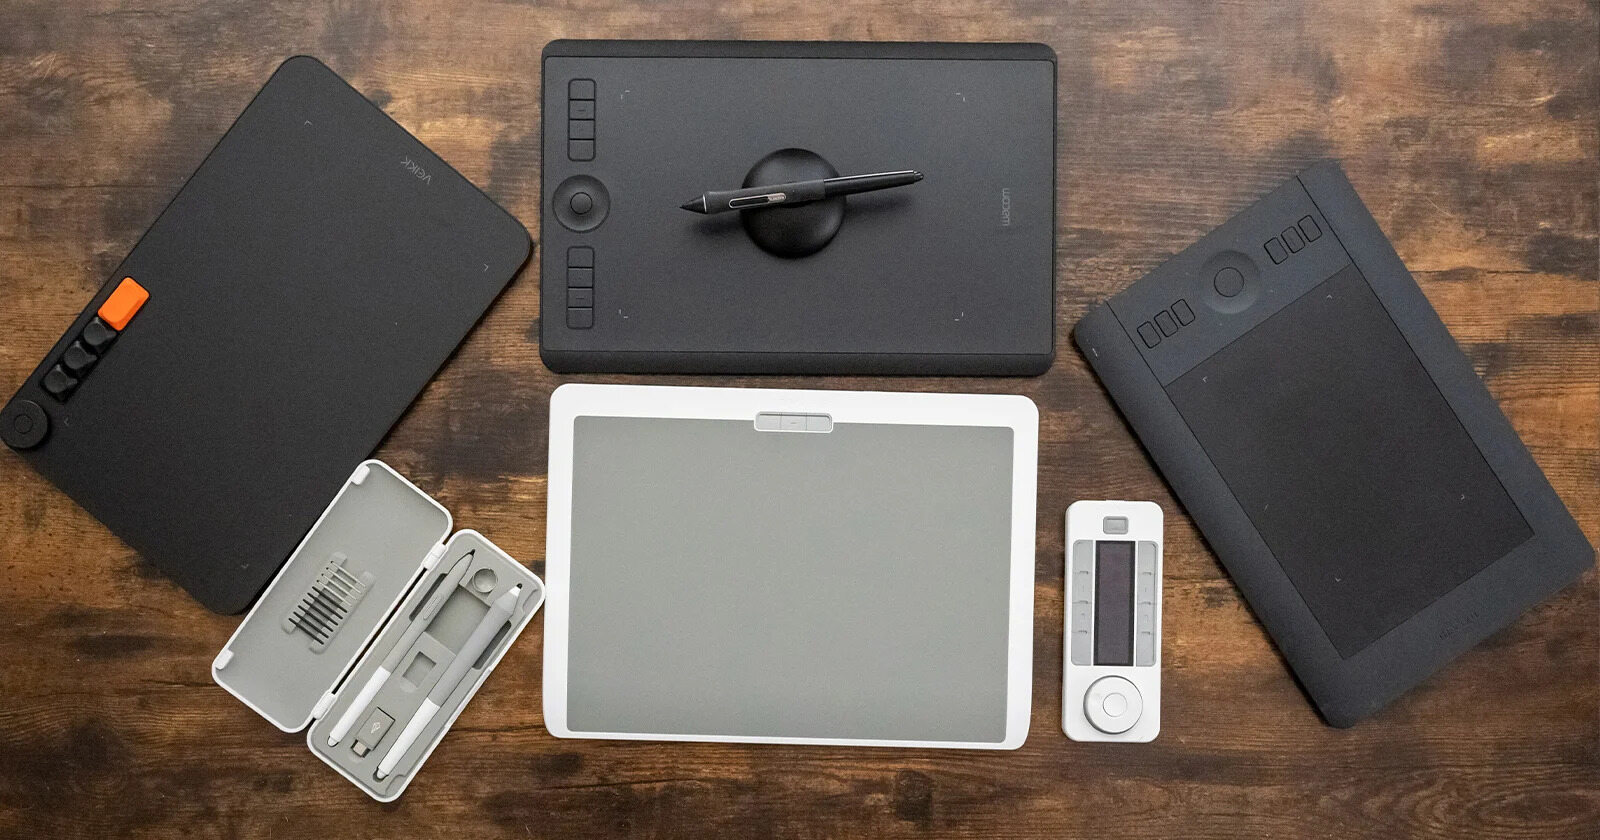
The first step to getting your Wacom tablet to work is to install the correct drivers on your computer. The drivers are essential as they establish the connection between your tablet and your computer, allowing them to communicate effectively. Different Wacom tablet models may require different drivers, so it’s important to download the specific drivers for your tablet model.
To install the drivers, you can follow these simple steps:
- Visit the official Wacom website (www.wacom.com) and navigate to the “Support” section.
- Select your tablet model from the available options. If you’re unsure about the model, you can find it on the back of your tablet or in the product documentation.
- Choose your operating system from the dropdown menu.
- Click on the “Download” button to initiate the driver download.
- Once the driver is downloaded, locate the file and double-click on it to start the installation process.
- Follow the on-screen instructions to complete the installation. Make sure to read and accept the license agreement if prompted.
- After the installation is complete, restart your computer to ensure the driver is properly configured.
Once you’ve successfully installed the drivers, your Wacom tablet should be recognized by your computer. You can proceed to the next step to learn how to connect your tablet to your computer.
Now that you have successfully installed the drivers, let’s move on to step two: connecting the Wacom tablet to your computer.
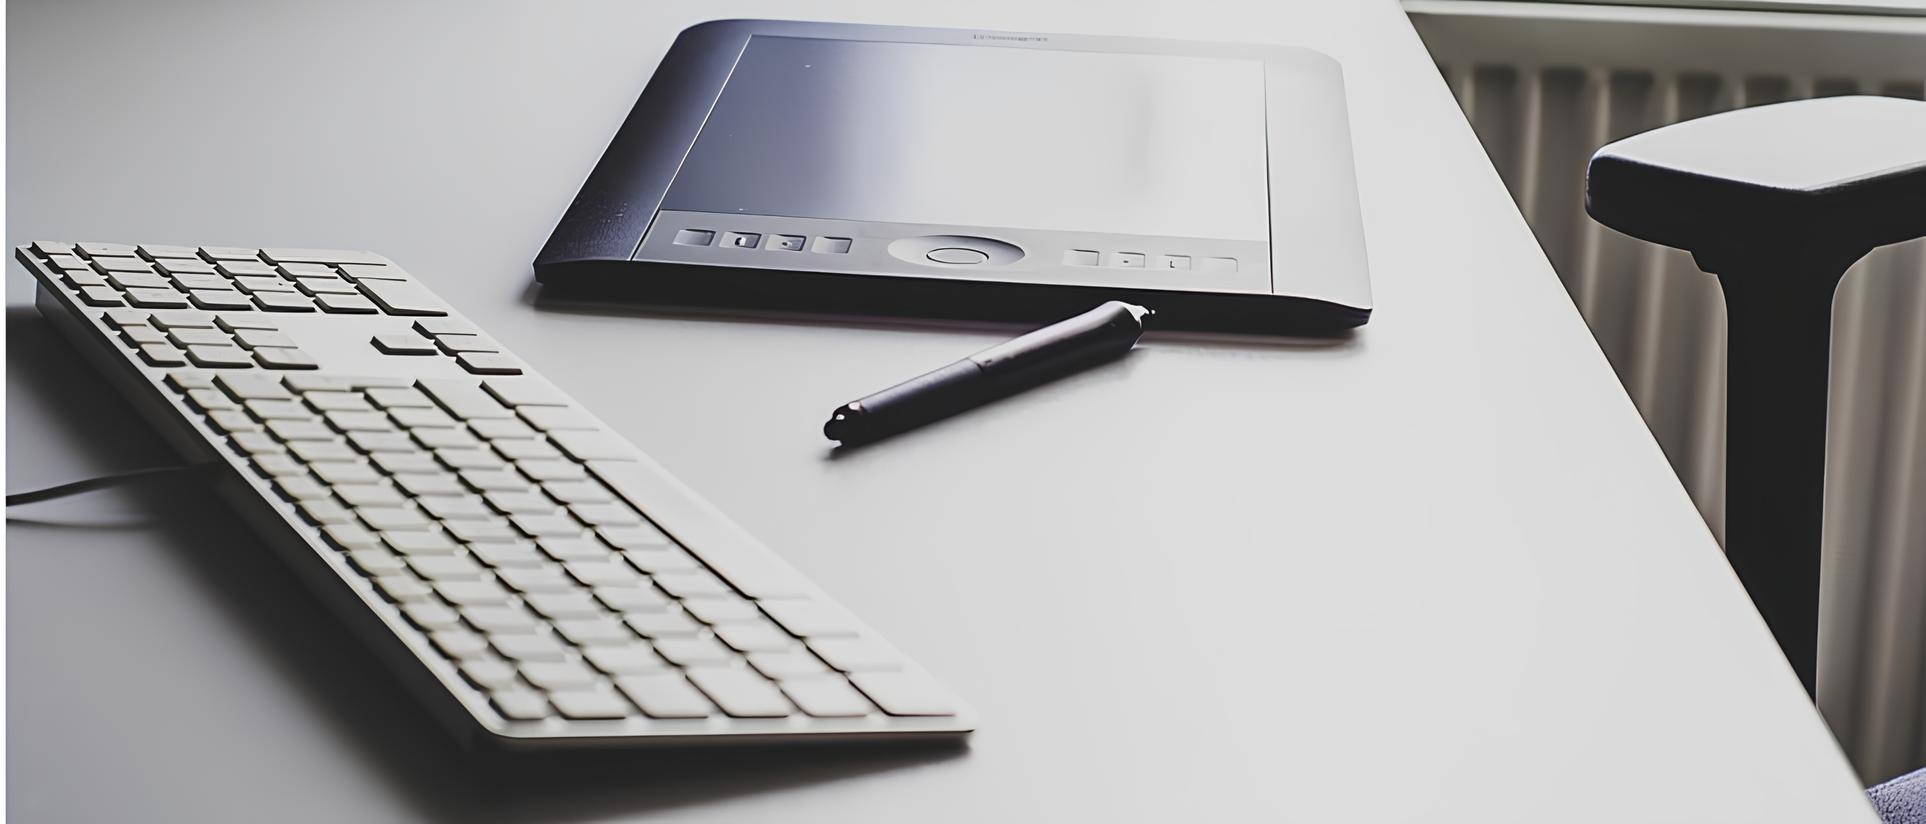
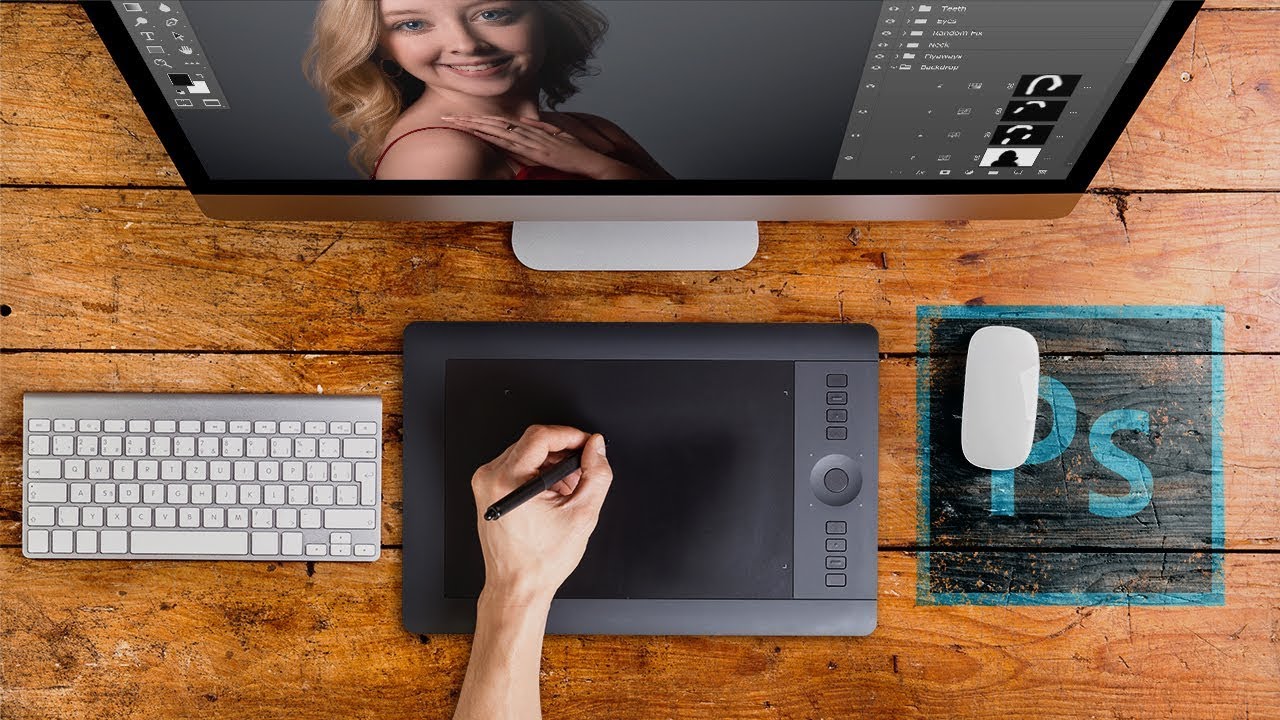
Step 2: Connecting the Wacom tablet to your computer:
Now that you have installed the drivers for your Wacom tablet, it is time to connect the tablet to your computer. Properly connecting the tablet ensures that your computer recognizes it as an input device, allowing you to use it for your creative endeavors. Follow these steps to connect your Wacom tablet:
- Take the USB cable that came with your Wacom tablet and plug one end into the tablet’s port.
- Connect the other end of the USB cable to an available USB port on your computer. If your tablet uses a USB-C connector, make sure to use a USB-C to USB-A adapter if necessary.
- Once the tablet is connected, your computer should automatically detect it and configure the necessary settings. In some cases, you may need to restart your computer after connecting the tablet for the changes to take effect.
- Ensure that the tablet’s power is on. Most Wacom tablets have a power switch or button that needs to be activated for the tablet to function properly.
- In case your Wacom tablet has a wireless functionality, follow the manufacturer’s instructions to establish a wireless connection between the tablet and your computer.
By following these steps, you should have successfully connected your Wacom tablet to your computer. Now, you can move on to the next step and learn how to calibrate your tablet for accurate input.
Now that you have successfully connected your Wacom tablet to your computer, let’s proceed to step three: calibrating the tablet.
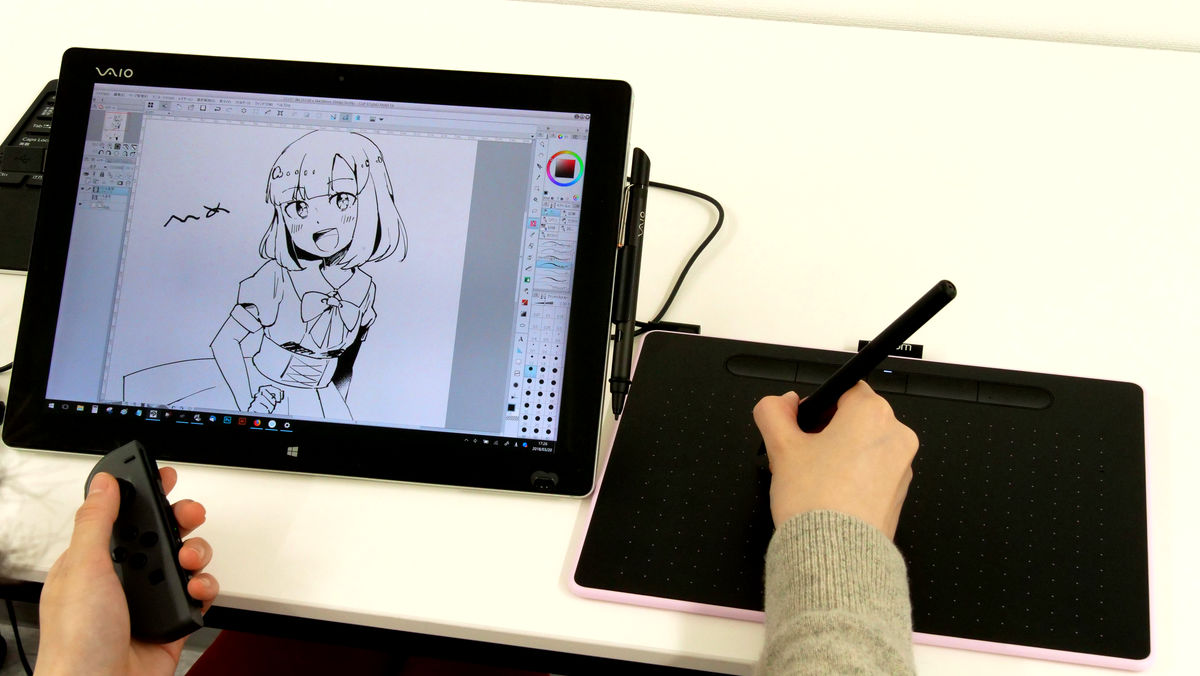
Step 3: Calibrating the tablet:
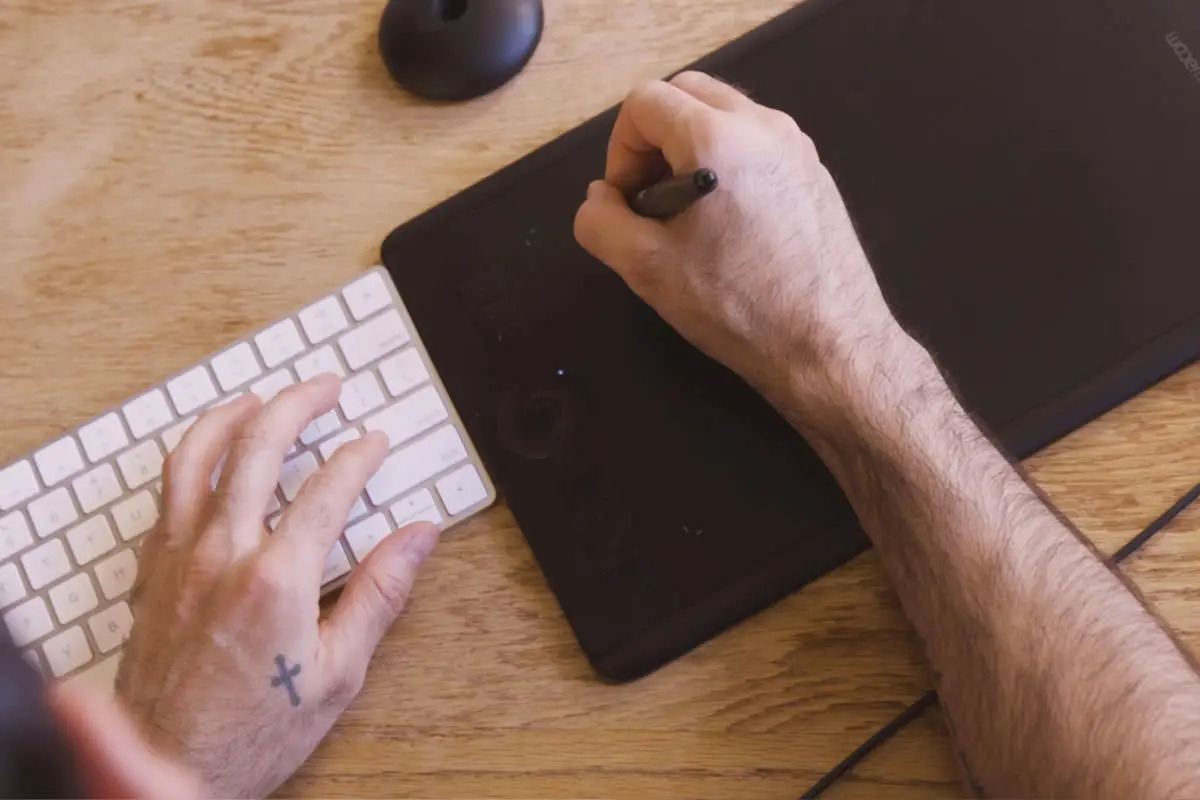
Calibrating your Wacom tablet is crucial to ensure accurate and precise input recognition. Through the calibration process, you can align the tablet’s active area with the cursor movement on your computer screen, allowing for a seamless drawing or navigation experience. Follow these steps to calibrate your Wacom tablet:
- Open the Wacom tablet settings on your computer. The location of the settings may vary depending on your operating system and tablet model. Typically, you can find the settings in the system preferences or the control panel.
- In the settings, look for the option to calibrate your tablet. It may be listed under “Pen & Touch” or “Mapping”.
- Click on the calibration option and follow the on-screen instructions. The calibration process usually involves tapping or dragging the pen on specific points displayed on the screen.
- Make sure to follow the instructions carefully and ensure that the pen is positioned accurately on each calibration point.
- Once the calibration is complete, save the settings and exit the calibration menu.
- Test the calibration by using the pen on your tablet’s active area. The cursor movement should correspond accurately to the pen’s movement on the tablet.
Calibrating your tablet may take a few minutes, but it is essential for optimal performance. By following these steps, you can ensure that the tablet responds accurately to your pen input. This will make a significant difference when working on intricate digital artwork or precision editing tasks.
Now that you have successfully calibrated your Wacom tablet, let’s move on to step four: configuring the tablet settings according to your preferences.
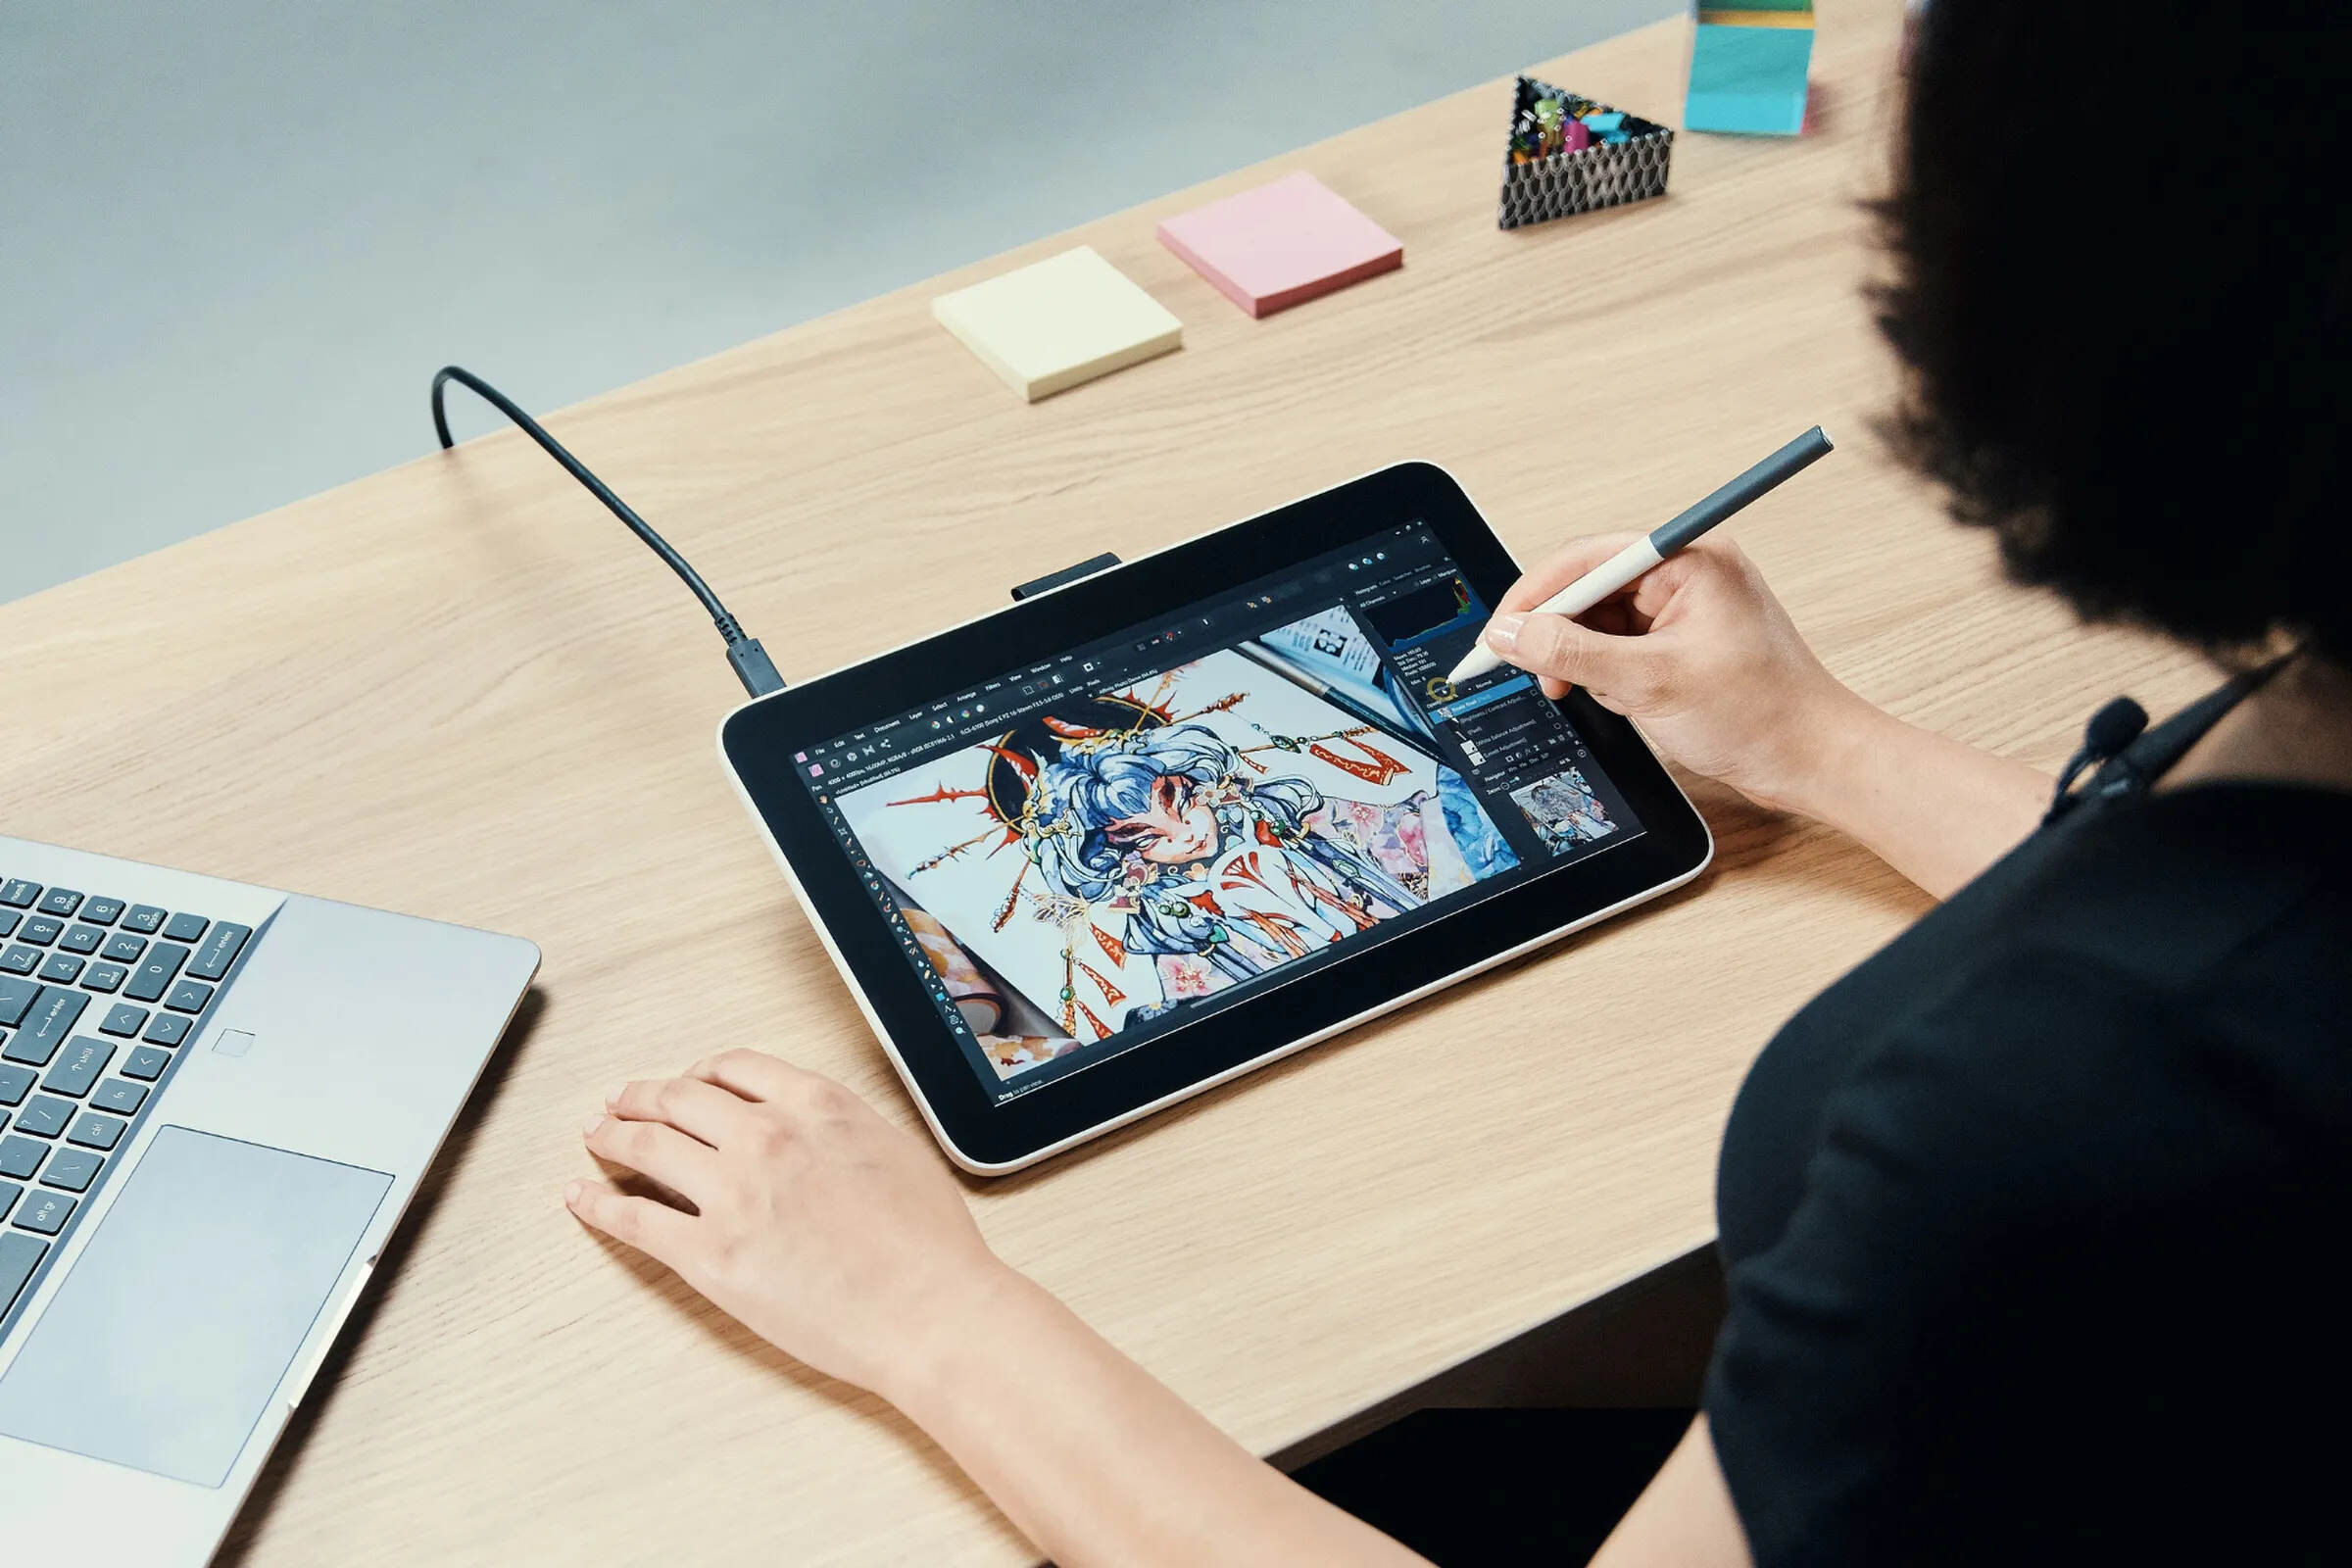
Step 4: Configuring the tablet settings:
Configuring the settings of your Wacom tablet allows you to customize its functionality to suit your specific needs and preferences. By adjusting the settings, you can enhance your workflow and make the most out of your tablet’s features. Follow these steps to configure the settings of your Wacom tablet:
- Access the Wacom tablet settings on your computer. This can be done through the system preferences or control panel, similar to the calibration process.
- Explore the different tabs or sections in the settings menu. Here, you will find options to customize various aspects of your tablet, such as pen pressure sensitivity, button assignments, touch gestures, and more.
- Adjust the pen pressure sensitivity according to your preference. This setting determines how sensitive the tablet is to the pressure applied with the pen.
- Assign functions to the buttons on your tablet. This can include actions such as zooming, scrolling, or opening specific applications. Customize the button assignments to streamline your workflow.
- Configure touch gestures if your tablet has touch functionality. You can enable or disable gestures like pinch-to-zoom, two-finger scrolling, or rotation, based on your preference.
- Experiment with other settings and advanced features available in the configuration menu to further personalize your tablet experience. These may include express keys, radial menus, or application-specific settings.
- Once you have adjusted the settings to your liking, save the changes and exit the configuration menu.
By configuring the settings of your Wacom tablet, you can optimize its performance and tailor it to your unique requirements. Take some time to explore the different options and experiment with the settings until you find the ideal configuration that enhances your productivity and creativity.
Now that you have successfully configured the settings of your Wacom tablet, let’s move on to step five: troubleshooting common issues that you may encounter.
Step 5: Troubleshooting common issues:
While setting up and using your Wacom tablet, you may encounter some common issues that can hinder its functionality. Understanding and troubleshooting these issues can help you resolve them efficiently. Here are some common problems you may face and their possible solutions:
- No Pen Pressure: If you are experiencing difficulty with pen pressure sensitivity, ensure that you have installed the correct drivers for your tablet. You may need to update or reinstall the drivers to resolve this issue.
- Connection Problems: If your tablet is not being recognized by your computer, try disconnecting and reconnecting the USB cable. Additionally, make sure that the USB port you are using is functioning properly. If the problem persists, consider testing the tablet on another computer to identify if it’s a hardware or software issue.
- Cursor Offset: If you notice a misalignment between the pen tip and the cursor on the screen, recalibrate the tablet as described in step three. Incorrect calibration can cause the cursor to be off-center.
- Driver Compatibility: If you have recently updated your operating system, ensure that the drivers you have installed are compatible with the new OS version. Visit the Wacom website to check for driver updates or contact their customer support for assistance.
- Button Malfunction: If the buttons on your tablet are not working correctly, open the tablet settings and verify the button assignments. You may need to reassign the buttons to the desired functions or reset them to their default settings.
- Touch Sensitivity: If you are experiencing touch sensitivity issues, ensure that touch functionality is enabled in the tablet settings. You can also adjust the touch sensitivity settings to suit your preference.
If you have followed the troubleshooting steps above and are still encountering issues with your Wacom tablet, it is recommended to visit Wacom’s official support website or contact their customer support for further assistance. They have extensive knowledge and resources to help you resolve any persistent problems you may be facing.
With these troubleshooting techniques, you can overcome common issues and ensure the smooth functioning of your Wacom tablet. Now, you should be ready to unleash your creativity and maximize your productivity!
Conclusion:
Congratulations! You have successfully learned how to get your Wacom tablet up and running smoothly. By following the steps outlined in this guide, you have installed the necessary drivers, connected the tablet to your computer, calibrated it for accurate input, and configured the settings according to your preferences. Additionally, you have gained knowledge on how to troubleshoot common issues that may arise while using your Wacom tablet.
With your Wacom tablet set up and optimized, you are now equipped to explore the endless possibilities of digital art, photography, and graphic design. The precision and control offered by the tablet will enhance your creative process and allow you to bring your artistic visions to life.
Remember, as you continue to use your Wacom tablet, don’t hesitate to experiment with different settings and features. Everyone’s preferences and workflows are unique, so feel free to customize your tablet to suit your individual style and needs.
If you encounter any further difficulties or have specific questions about your Wacom tablet, don’t hesitate to reach out to Wacom’s customer support team. They are there to assist you and provide further guidance.
Now that you have the knowledge and tools to make the most of your Wacom tablet, embrace the world of digital creativity and let your imagination soar!