Introduction
Wacom tablets have become an essential tool for many digital artists, photographers, and designers. These tablets offer a seamless and intuitive way to create digital art, edit photos, and navigate through various software programs. Whether you’re a seasoned professional or just starting out, learning how to work a Wacom tablet can significantly enhance your workflow and productivity.
In this article, we will guide you through the process of getting started with a Wacom tablet. We will cover everything from choosing the right tablet for your needs to understanding the different features and how to customize them to suit your preferences. Additionally, we’ll provide tips and tricks for improving your tablet usage and troubleshoot common issues that may arise.
Before we dive into the details, it’s important to note that Wacom tablets come in different models and sizes, each catering to specific requirements. It’s essential to choose a tablet that fits your budget, workflow, and artistic style. Whether you’re interested in a compact tablet for on-the-go usage or a more advanced model with additional features, there’s a Wacom tablet out there to meet your needs.
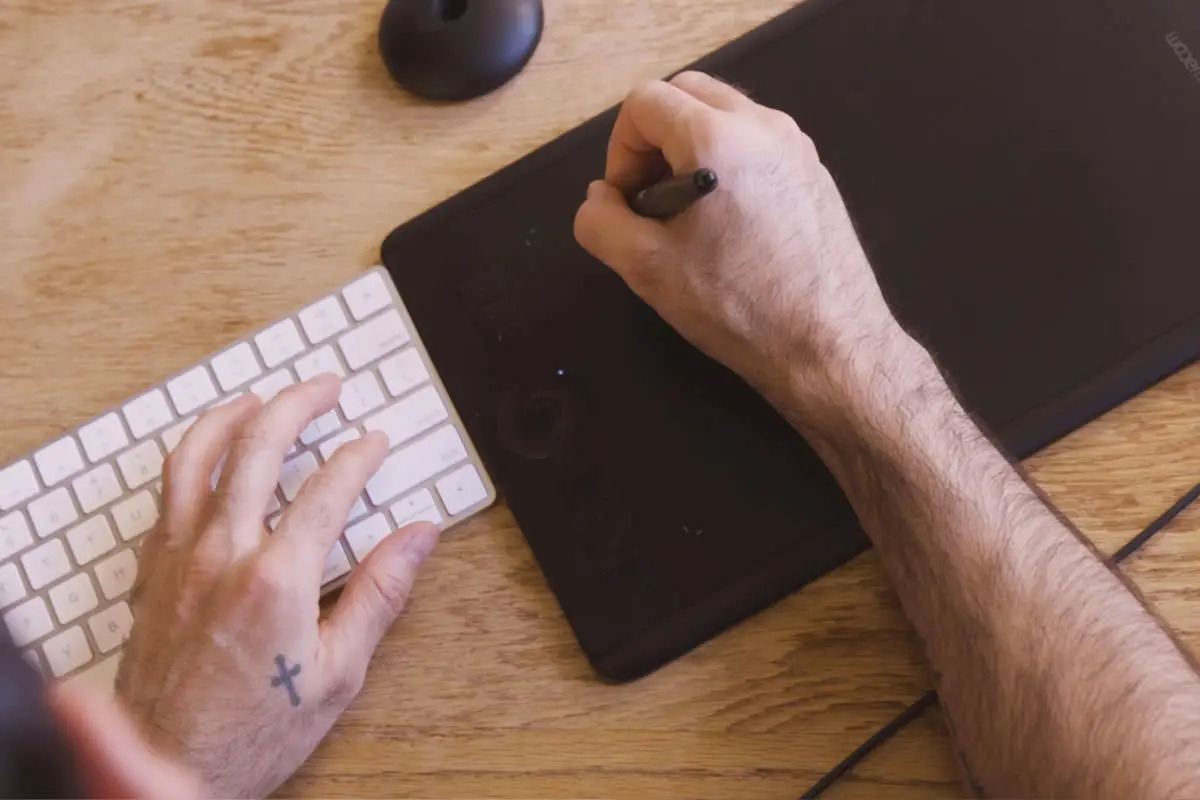
Working with a Wacom tablet offers several advantages over traditional mouse or trackpad usage. The pen and touch gestures allow for precise control and natural movements, making it easier to draw, paint, retouch photos, and navigate software interfaces. Additionally, Wacom tablets often come bundled with powerful software applications that further enhance your creative capabilities.
Throughout this article, we will provide detailed instructions and insights to help you make the most of your Wacom tablet. So, let’s get started on this journey to unleash your creative potential!
Choosing the right Wacom tablet
When it comes to choosing a Wacom tablet, there are a few factors to consider to ensure that you’re selecting the right one for your needs and preferences. Here are some key points to keep in mind:
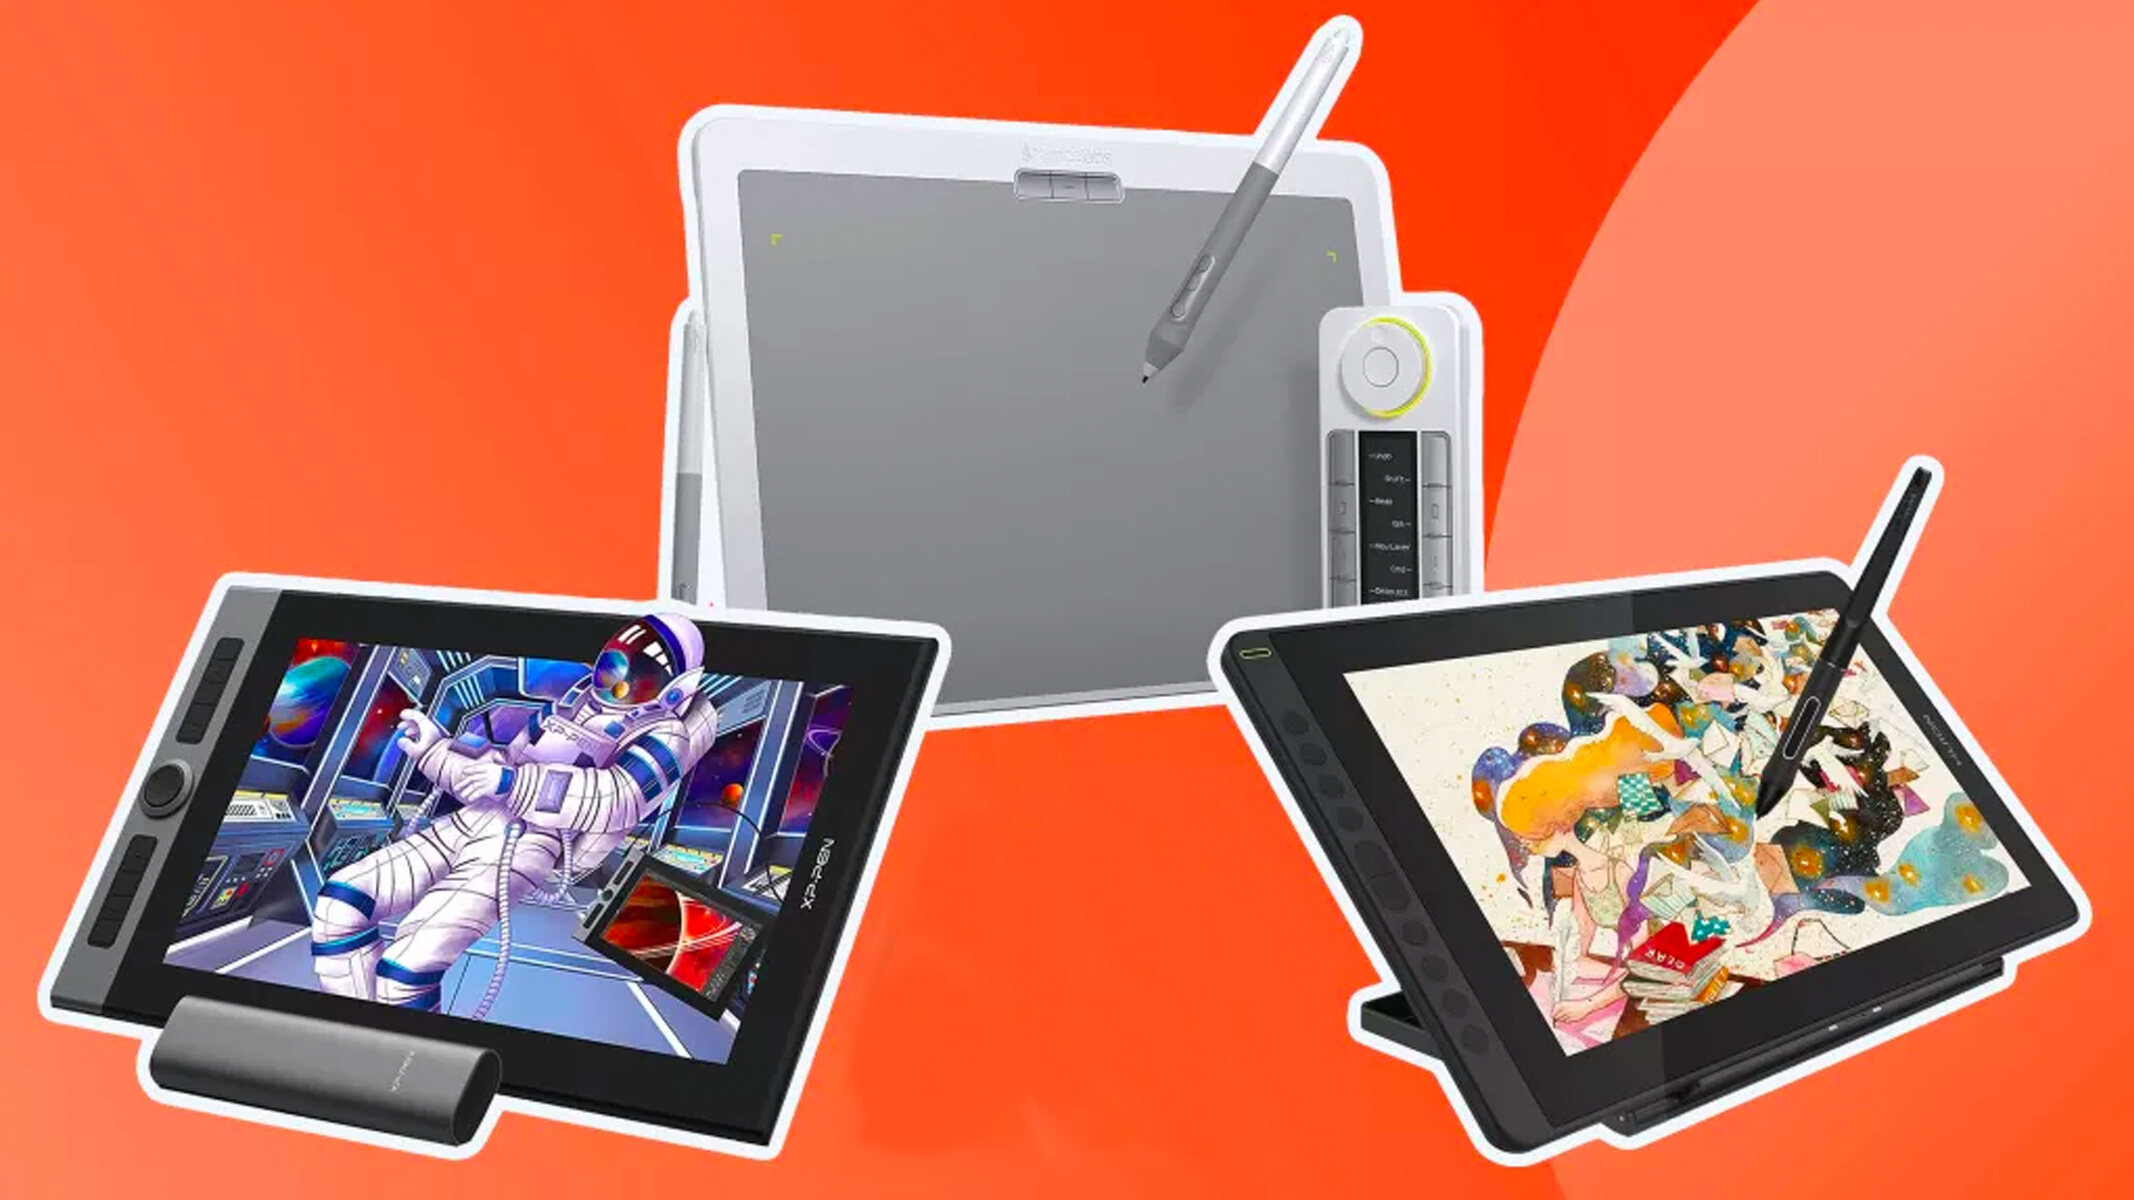
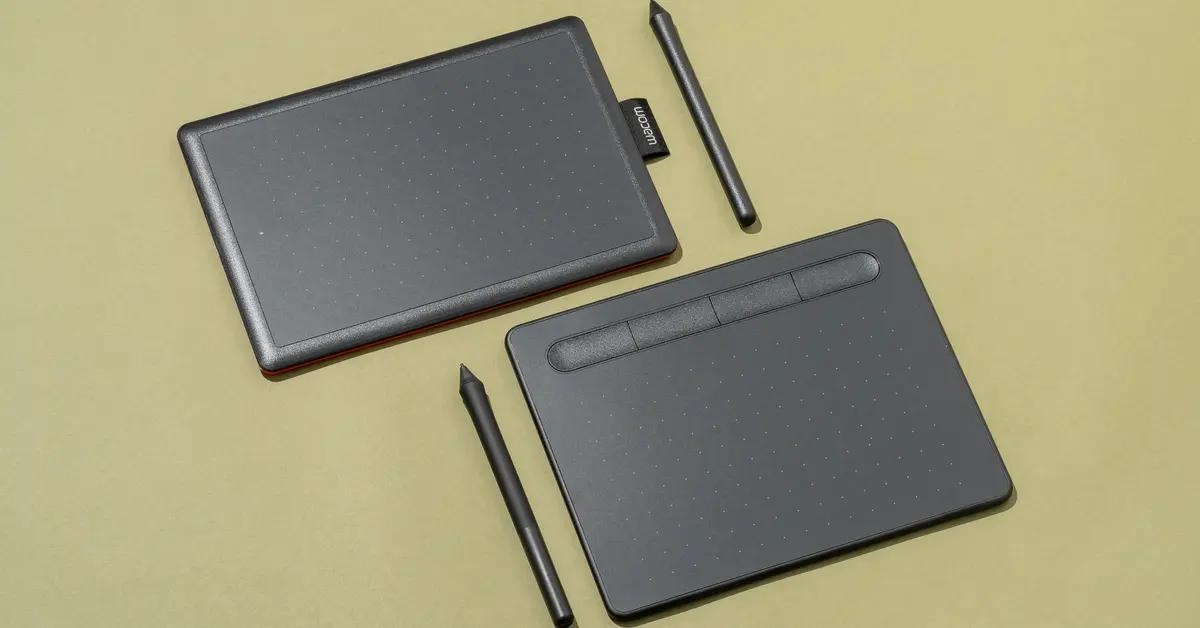
- Size: Wacom tablets come in various sizes, ranging from small and portable to large and spacious. Consider your workspace and the type of projects you work on to determine the ideal size for your tablet. A larger tablet offers more room for precise movements, while a smaller tablet is more compact and travel-friendly.
- Pressure sensitivity: One of the notable features of Wacom tablets is their pressure sensitivity. This allows you to vary the thickness and opacity of your strokes based on the pressure applied with the pen. Different models offer varying levels of pressure sensitivity, so consider your artistic needs and the level of detail you want to achieve in your work.
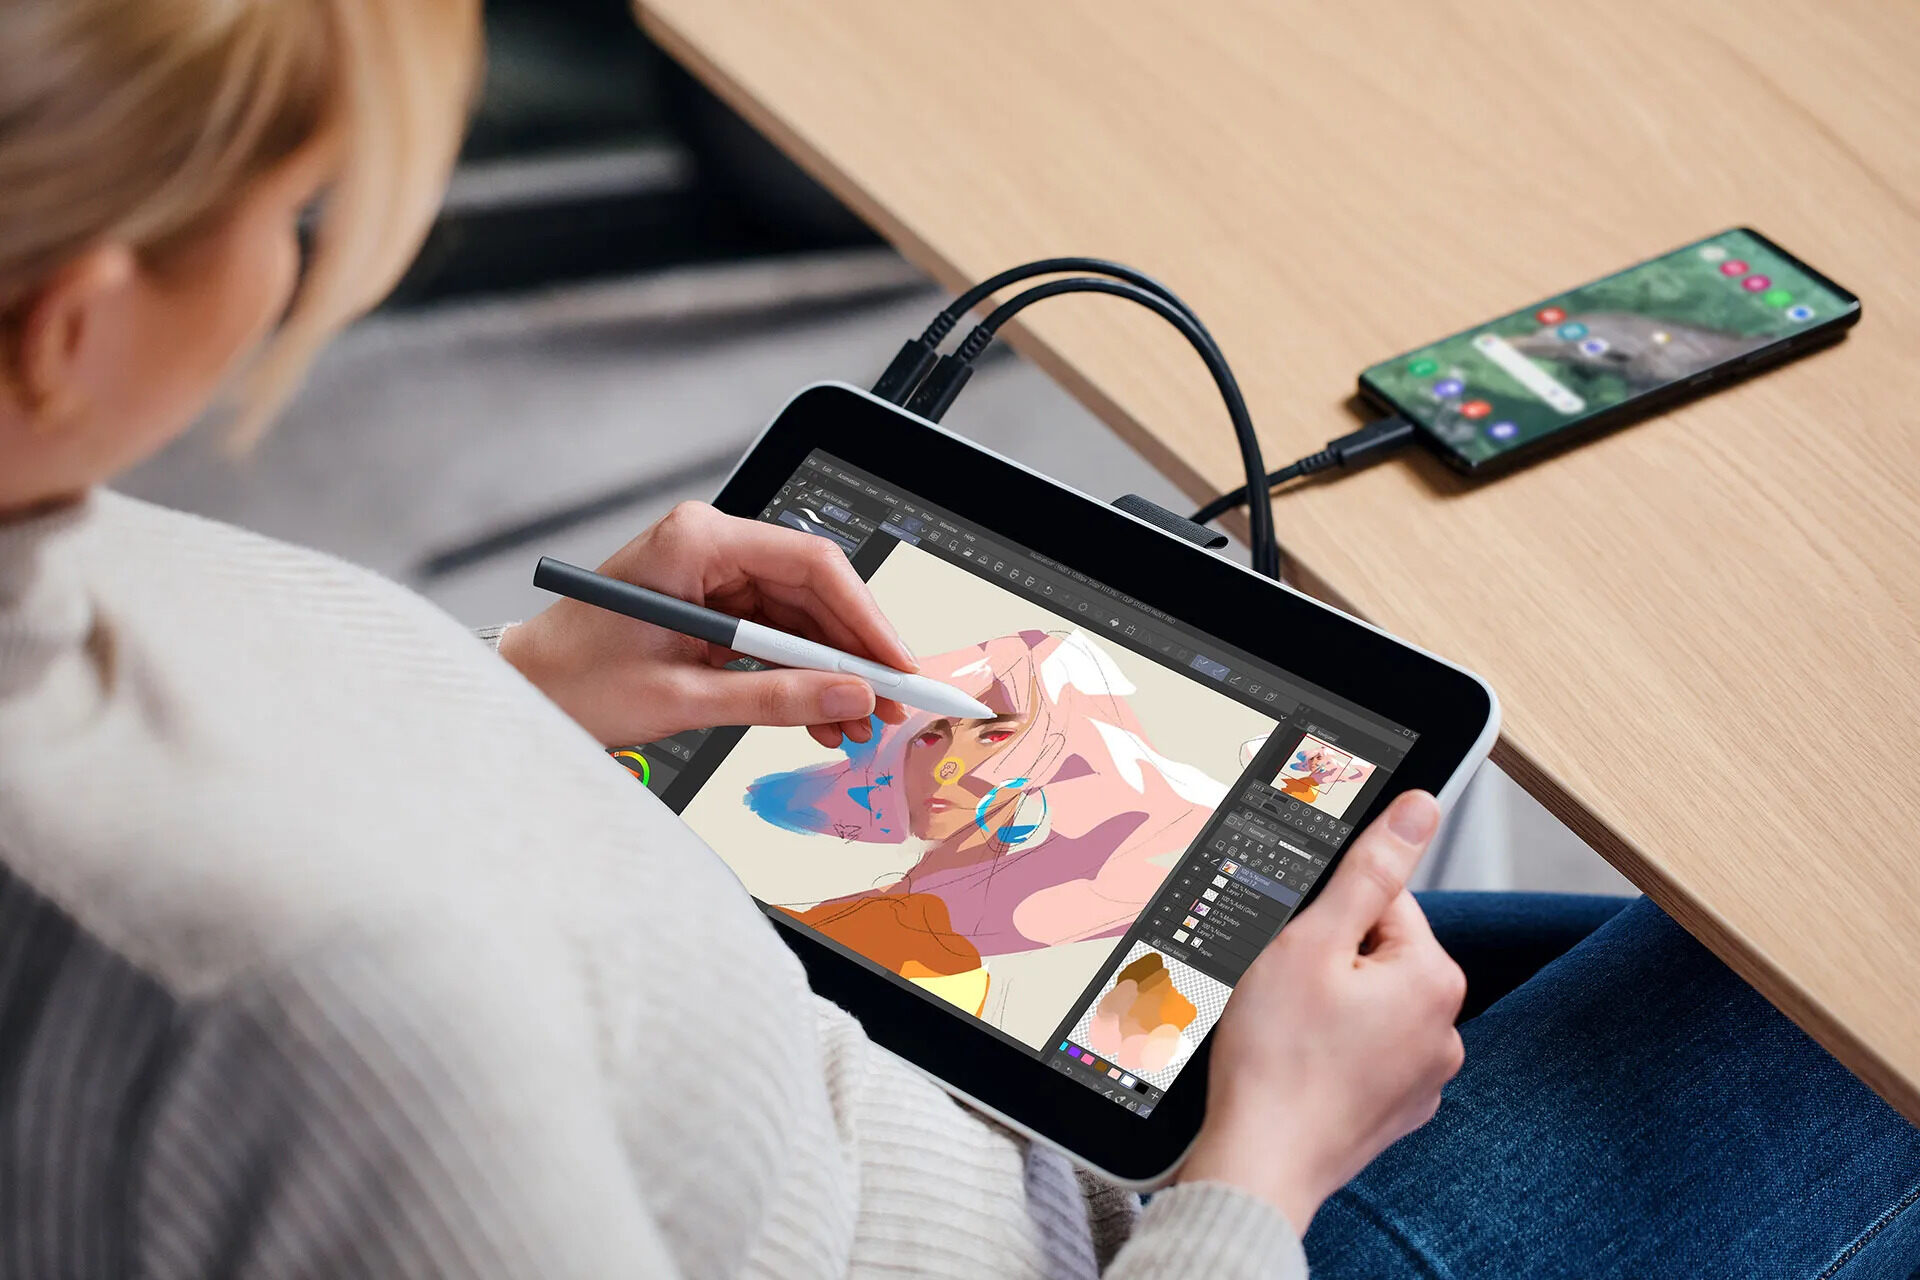
- Connectivity: Wacom tablets can connect to your computer using either USB or wireless technology. USB connections offer a reliable and stable connection, while wireless options provide more flexibility and freedom of movement. Consider which connectivity option aligns with your workflow and preferences.
- Additional features: Wacom tablets often come with additional features, such as touch gestures, programmable buttons, and customizable settings. These features can enhance your productivity and streamline your workflow. Think about the specific features that would benefit your creative process and look for tablets that have them.
- Budget: Wacom tablets vary in price, with more advanced models typically costing more. Set a budget for your tablet purchase and explore the options within your price range. Remember to consider the long-term value and quality of the tablet when making your decision.
It’s also helpful to read reviews and gather feedback from other artists who have experience with Wacom tablets. Hearing about their firsthand experiences can give you insights into the pros and cons of different models and help you make an informed decision.
Ultimately, the right Wacom tablet for you depends on your specific needs, preferences, and budget. Take the time to research and compare different models, considering factors such as size, pressure sensitivity, connectivity, additional features, and price. By selecting the right tablet, you’ll set yourself up for a seamless and enjoyable digital art experience.
Setting up your Wacom tablet
Setting up your Wacom tablet is a simple process that ensures smooth functionality and optimal performance. Follow these steps to get your tablet up and running:
- Connect your tablet: Start by connecting your Wacom tablet to your computer using the provided USB cable. If you have a wireless tablet, make sure it is charged and connect it to your computer via Bluetooth.
- Install the drivers: Wacom tablets require specific drivers to communicate with your computer. Visit the Wacom website and download the latest drivers for your tablet model. Follow the on-screen instructions to install the drivers.
- Calibrate the pen: Once the drivers are installed, it’s time to calibrate your pen. Open the Wacom Tablet Properties or Wacom Desktop Center (depending on your tablet model) and navigate to the Pen settings. Follow the instructions to calibrate the pen for accurate cursor tracking.
- Configure the touch gestures (optional): If your Wacom tablet supports touch gestures, you can configure them to perform specific actions. In the Wacom Tablet Properties or Wacom Desktop Center, go to the Touch settings and customize the gestures according to your preferences.
- Test your tablet: To ensure that your Wacom tablet is working correctly, open a drawing application or software that supports pen input. Test the pressure sensitivity, pen tilt, and touch functionality to make sure everything is functioning as expected.
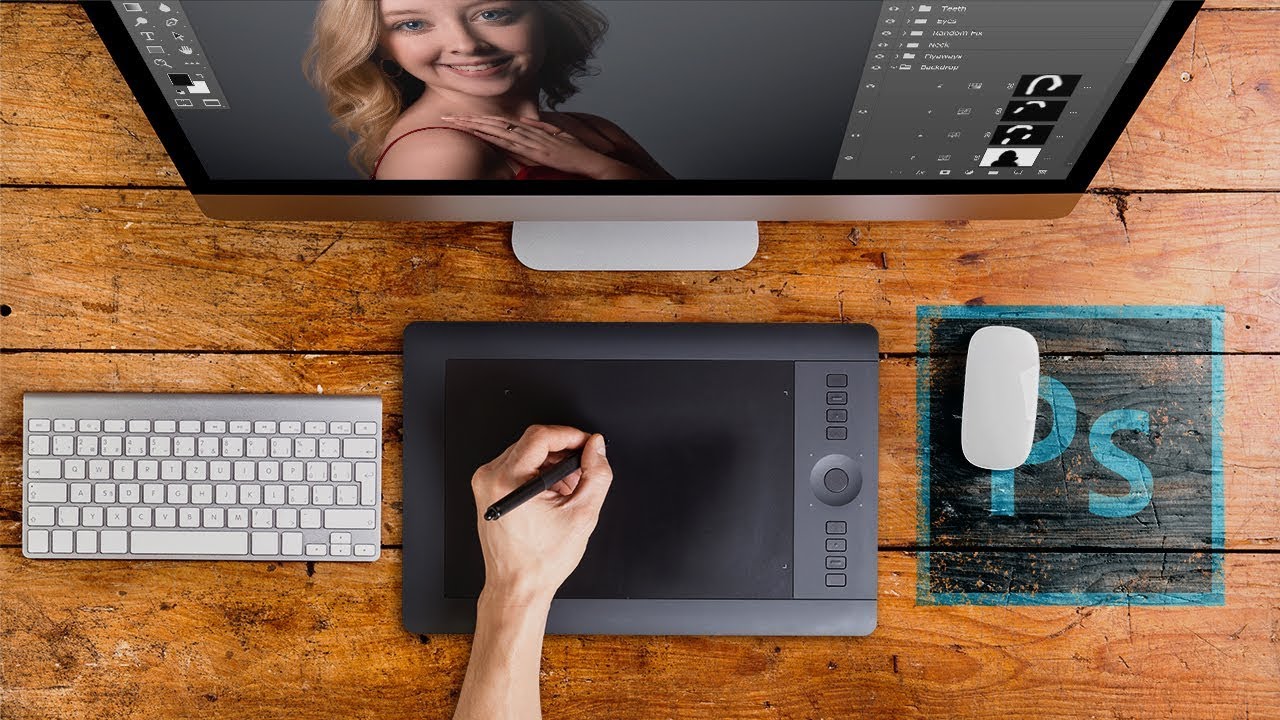
It’s worth noting that Wacom tablets are compatible with a wide range of software applications. Whether you’re using Adobe Photoshop, Corel Painter, or any other design software, you can use the tablet seamlessly for your creative endeavors. However, it’s always a good idea to check the Wacom website for any specific software compatibility issues or recommended settings for optimal performance.
Additionally, keep your tablet’s firmware up to date by periodically checking for updates on the Wacom website. Updating the firmware ensures that you have access to the latest features and improvements.
Once your Wacom tablet is set up and configured, you’re ready to unleash your creativity. Take some time to explore the different settings and features of your tablet to fully customize it to your liking. Experiment with the pressure sensitivity and touch gestures to find the settings that work best for your artistic style and workflow. With your tablet set up, you can now dive into the world of digital art and enjoy the full potential of your Wacom tablet!
Getting familiar with the pen and touch gestures
The pen and touch gestures are the primary means of interacting with your Wacom tablet. Familiarizing yourself with these input methods will significantly enhance your digital art experience. Here’s a guide to help you get started:
The Pen: The pen is the key tool for drawing and navigating on your Wacom tablet. It offers various features and functionalities, including pressure sensitivity, pen tilt, and programmable buttons. Take some time to experiment with the pen to understand its capabilities and how it can enhance your artwork.
Pressure sensitivity: One of the most powerful features of a Wacom tablet is its ability to detect varying levels of pressure applied to the pen. This enables you to create strokes that range in thickness and opacity. Light pressure creates thin and transparent strokes, while firm pressure produces thicker and darker lines. Experiment with different pressure levels to achieve the desired effect in your artwork.
Pen tilt: Wacom pens also have the ability to detect the tilt angle, allowing you to create dynamic and expressive brush strokes. By adjusting the pen’s tilt, you can change the angle and shape of the brush, providing a more natural painting experience. Explore the tilt sensitivity settings in your tablet’s software to customize the tilt behavior to your liking.
Programmable buttons: Many Wacom pens come equipped with programmable buttons, which can be customized to perform various functions. These buttons can be assigned to commonly used shortcuts, such as brush size adjustment, undo/redo, or zooming in and out. Experiment with assigning different functions to the buttons to streamline your workflow and save time.
Touch gestures: In addition to the pen, Wacom tablets often incorporate touch functionality. Touch gestures allow you to perform actions with simple finger movements, such as zooming, scrolling, and rotating. These gestures can greatly enhance your productivity and navigation within software applications. Explore the touch gesture settings in your tablet’s software to customize and enable the gestures that suit your workflow.
Practice is key to becoming proficient with the pen and touch gestures. Spend time experimenting with different brush strokes, pressure levels, and touch gestures to develop your own unique artistic style. As you become more comfortable, you’ll find that the pen and touch gestures become second nature, enabling you to fully unleash your creativity on your Wacom tablet.
Understanding the different Wacom tablet features
Wacom tablets offer a range of features designed to enhance your creative workflow and provide a seamless digital art experience. Understanding these features will help you make the most of your Wacom tablet’s capabilities. Here are some key features to be aware of:
ExpressKeys: Wacom tablets often come equipped with physical buttons called ExpressKeys. These programmable buttons can be customized to perform specific functions, such as accessing frequently used tools or shortcuts. By assigning commonly used commands to the ExpressKeys, you can streamline your workflow and enhance productivity.
Touch Ring: Some Wacom tablet models feature a touch ring, which is a circular touch-sensitive area located on the tablet surface. The touch ring can be customized to perform various functions, such as adjusting brush size or zooming in and out. By utilizing the touch ring, you can quickly and easily modify settings without interrupting your creative flow.
Radial Menu: The Radial Menu is a versatile feature that acts as a virtual menu, providing quick access to a variety of commands and tools. You can customize the Radial Menu with your most frequently used functions, and it can be triggered by a button press or touch gesture. The Radial Menu offers a convenient and efficient way to switch between tools and perform actions without navigating through multiple menus.
Multi-Touch Gestures: If your Wacom tablet has touch functionality, you can take advantage of multi-touch gestures to navigate and manipulate content. These gestures allow you to perform actions such as scrolling, zooming, and rotating by using intuitive finger movements on the tablet’s surface. By utilizing multi-touch gestures, you can navigate software interfaces and zoom in on your artwork with ease.
Pressure Sensitivity: Wacom tablets are renowned for their exceptional pressure sensitivity. Different tablet models offer varying levels of pressure sensitivity, from hundreds to thousands of levels. The greater the pressure sensitivity, the more accurately your tablet can detect and respond to different levels of pressure applied with the pen. This feature allows for precise control over line weight, opacity, and other aspects of your digital artwork.
Pen Tilt: Wacom pens are equipped with tilt sensitivity, which means they can detect the angle at which the pen is held. By adjusting the tilt of the pen, you can create varying brush strokes and emulate the natural feel of traditional art tools. Tilt sensitivity expands your creative possibilities and provides a more intuitive drawing experience on your Wacom tablet.
Exploring and familiarizing yourself with these features will enable you to customize your Wacom tablet to suit your workflow and creative needs. Take the time to experiment with different settings and configurations to find what works best for you. By harnessing the full potential of these features, you’ll be able to enhance your productivity, streamline your workflow, and create stunning digital artwork on your Wacom tablet.
Exploring software compatibility with your Wacom tablet
Wacom tablets are designed to be compatible with a wide range of software applications, offering you flexibility and versatility in your creative endeavors. Whether you’re a digital artist, photographer, or graphic designer, it’s important to explore software compatibility to ensure that your Wacom tablet works seamlessly with the tools you use. Here are some key considerations:
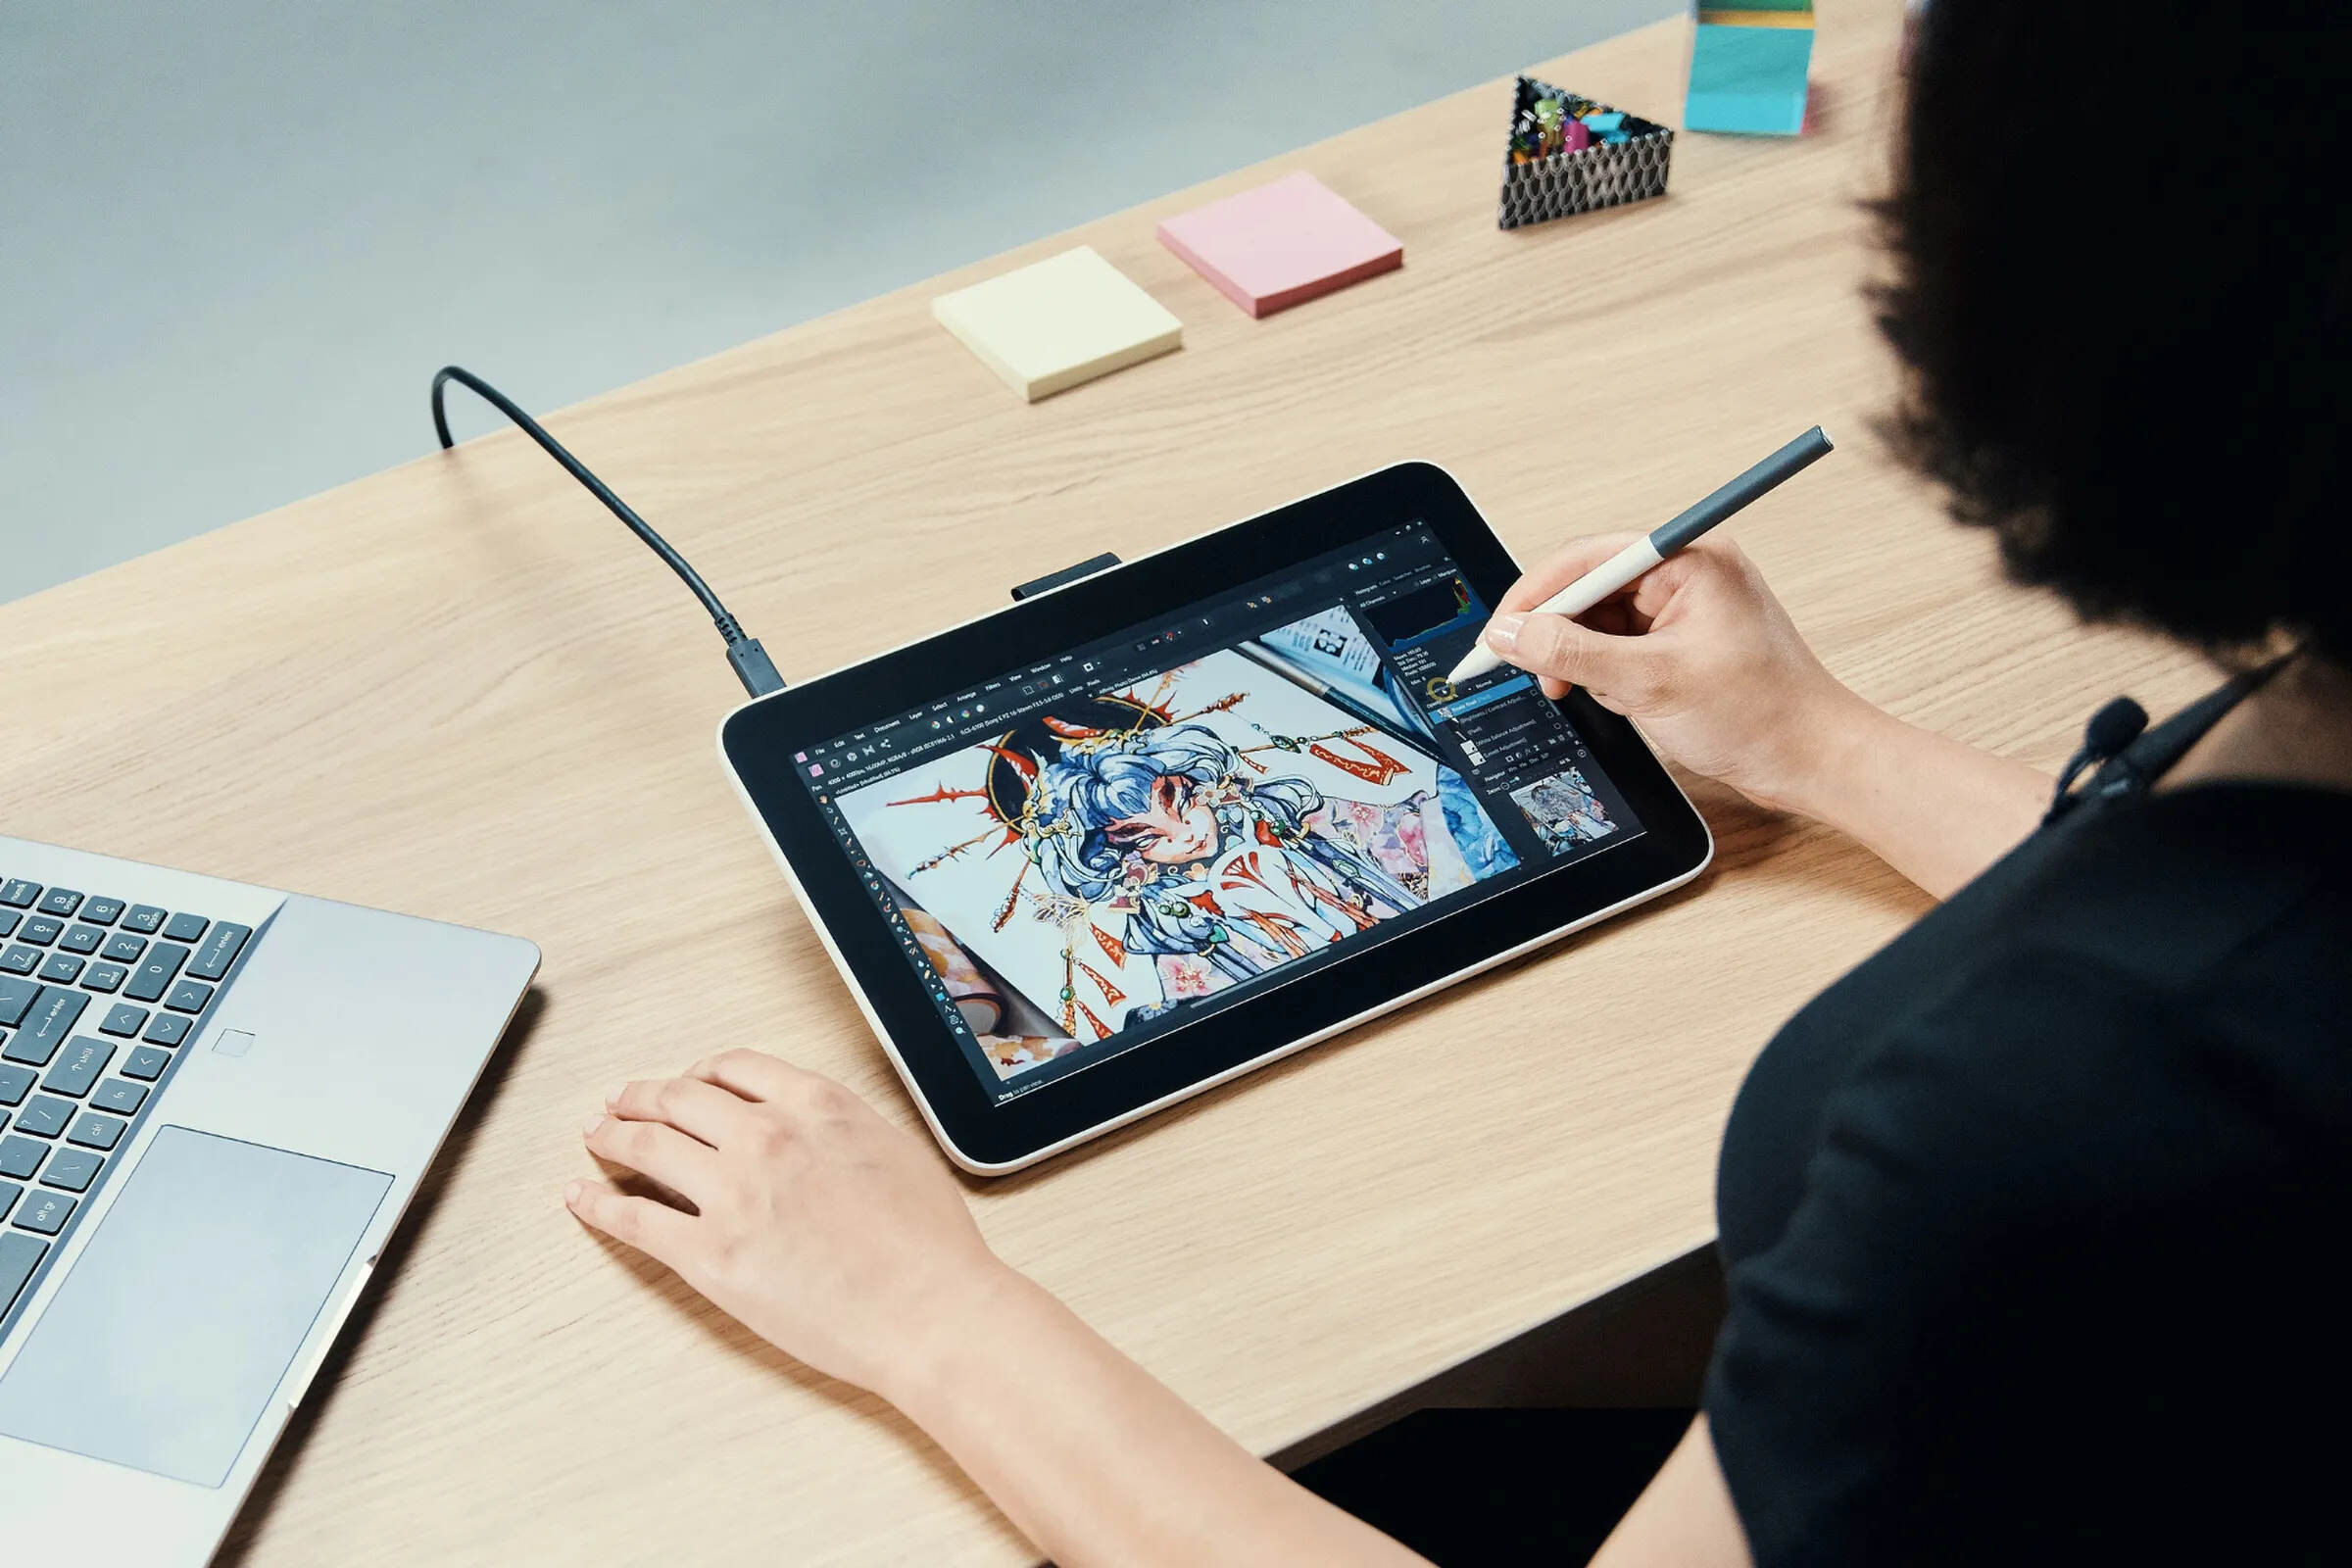
Adobe Creative Cloud: Wacom tablets integrate seamlessly with the Adobe Creative Cloud suite, including popular applications such as Adobe Photoshop, Illustrator, and Lightroom. These applications fully support the pressure sensitivity, pen tilt, and touch gestures of Wacom tablets, allowing for precise control and a fluid creative experience.
Corel Painter: Corel Painter is a renowned digital painting software that offers a vast array of brushes and tools to simulate traditional media. Wacom tablets are fully compatible with Corel Painter, providing a natural and intuitive drawing experience that mimics the texture and feel of real brushes and canvas.
Clip Studio Paint: Clip Studio Paint is a popular software among comic artists and illustrators. Wacom tablets integrate seamlessly with Clip Studio Paint, ensuring smooth pen input and pressure sensitivity for creating stunning comic art and illustrations.
ZBrush: ZBrush is a powerful digital sculpting and painting software widely used by digital artists and 3D modelers. Wacom tablets are fully compatible with ZBrush, allowing for precise sculpting, painting, and texture mapping using the pen and touch gestures.
Other software applications: In addition to the aforementioned software, Wacom tablets are compatible with various other digital art and design programs, including Autodesk SketchBook, GIMP, Krita, and many more. These applications provide a wide range of creative tools and functionality that work seamlessly with your Wacom tablet.
When using a Wacom tablet with software applications, it’s important to ensure that you have the latest drivers and software updates installed. Check the Wacom website periodically for any software compatibility issues or recommended settings for specific applications.
If you’re unsure about the compatibility of your Wacom tablet with a particular software, consult the manufacturer’s website or reach out to their support team for guidance. They can provide you with detailed information on the compatibility and functionality of your Wacom tablet with different software applications.
By exploring software compatibility and finding the right software for your creative needs, you can maximize the potential of your Wacom tablet and unlock your artistic vision with ease and precision.
Customizing your Wacom tablet settings
Customizing your Wacom tablet settings allows you to tailor the device to your specific preferences and workflow. By taking advantage of the customization options available, you can enhance your productivity and create a more personalized digital art experience. Here are some key aspects of Wacom tablet settings that you can customize:
Pen settings: The pen settings allow you to adjust various parameters to suit your drawing style. You can customize the pressure sensitivity, pen tilt response, and pen buttons to perform specific functions. Experiment with different settings to find the optimal sensitivity and button configurations that feel most comfortable and natural for you.
ExpressKeys: Wacom tablets often feature programmable ExpressKeys that can be customized to suit your needs. These keys can be assigned to frequently used commands or shortcuts, allowing you to access them with a single press. Take the time to configure the ExpressKeys based on your workflow and the tools you use most often, enhancing your efficiency and minimizing the need for manual navigation through menus.
Touch gestures: If your Wacom tablet supports touch gestures, you can customize them to perform specific actions. These actions can include zooming, scrolling, rotating, or other functions within software applications. Customize the touch gestures based on your preferences and the tasks you frequently perform to streamline your workflows and navigate your artwork effortlessly.
Radial Menu: The Radial Menu is a powerful tool that allows you to access a variety of commands and tools quickly. Customize the Radial Menu to include the functions you frequently use, making it easier to switch between tools and perform actions without interrupting your creative flow. Assigning the most relevant and useful commands to the Radial Menu can significantly speed up your workflow.
Pressure curve: Adjusting the pressure curve allows you to fine-tune the pen’s sensitivity to pressure levels. This customization option gives you greater control over the thickness and opacity of your brush strokes. Experiment with different pressure curve settings to find the one that best matches your drawing style and artistic needs.
Display mapping: The display mapping settings allow you to adjust how the tablet maps to your computer screen. You can customize the aspect ratio, screen area, and monitor mapping to ensure that your pen movements accurately correspond to your display. Modifying these settings according to your personal preferences helps create a more intuitive and accurate drawing experience.
Accessing and customizing these settings can usually be done through the Wacom Tablet Properties or Wacom Desktop Center, which are software applications provided by Wacom. Make sure to install the latest drivers and software updates from the Wacom website to have access to all the available customization options for your tablet model.
Take the time to explore and experiment with these settings, adjusting them until you find the perfect configuration that aligns with your artistic style and workflow. By customizing your Wacom tablet settings, you can unlock its full potential and create a personalized experience that enhances your productivity and creativity.
Tips and tricks for better Wacom tablet usage
To make the most of your Wacom tablet and enhance your digital art experience, consider the following tips and tricks:
- Practice regularly: Like any skill, practice is essential for improving your digital art abilities with a Wacom tablet. Dedicate time each day to experiment, explore new techniques, and refine your skills. The more you practice, the more comfortable and proficient you will become.
- Use keyboard shortcuts: Utilize keyboard shortcuts in conjunction with your Wacom tablet to expedite your workflow. Assign frequently used commands to the ExpressKeys or Radial Menu on your tablet and combine them with keyboard shortcuts for quick and easy access to tools and functions.
- Experiment with brush settings: Digital art offers a wide range of possibilities with different brush settings. Take the time to explore and experiment with various brush types, sizes, textures, and opacity settings to find the combinations that best suit your style and desired effects.
- Take advantage of tilt sensitivity: If your Wacom tablet supports tilt sensitivity, experiment with using the pen at different angles to create varied brush strokes and effects. Tilt your pen to mimic the behavior of traditional art tools like pencils, charcoal, or markers for a more natural and expressive drawing experience.
- Explore pressure sensitivity: Make full use of the pressure sensitivity of your Wacom tablet to add depth and dimension to your artwork. Adjust the pressure settings to achieve the desired effects and experiment with applying different levels of pressure to create varying line widths and opacity.
- Utilize layers: Utilizing layers in your digital art software allows for non-destructive editing and provides flexibility in making changes to your artwork. Experiment with creating multiple layers, adjusting their opacity, and trying out different blending modes to achieve complex and stunning effects.
- Learn from others: Join online communities and forums where digital artists share their work and techniques. Engaging with other artists can provide inspiration, insights, and valuable tips that can help you grow and improve your skills with your Wacom tablet.
- Experiment with software settings: Dig deeper into your software settings and explore the various customization options available. This will allow you to tailor your digital art software to your specific needs and preferences, maximizing your productivity and enhancing your creative process.
- Keep your tablet clean: Regularly clean the tablet surface and the pen to maintain optimal performance. Use a soft, lint-free cloth and gentle cleaning agent to remove any dirt or smudges. A clean tablet surface ensures smooth pen movements and accurate pen tracking.
Remember, mastery of a Wacom tablet requires time, patience, and experimentation. Embrace the learning process and enjoy the journey of discovering new techniques and pushing the boundaries of your creativity with your Wacom tablet.
Troubleshooting common issues with Wacom tablets
While Wacom tablets are generally reliable and efficient, you may encounter minor issues or glitches from time to time. Here are some common problems and troubleshooting tips to help you resolve them:
Driver issues: Incompatibility or outdated drivers can cause connectivity or functionality issues with your Wacom tablet. Ensure that you have the latest drivers installed by visiting the Wacom website and downloading the appropriate drivers for your tablet and operating system. It’s also a good idea to periodically check for driver updates to ensure optimal performance.
Connectivity problems: If your Wacom tablet is not connecting to your computer, try the following steps:
- Check the USB or wireless connection to ensure it is securely plugged in or paired correctly.
- Test a different USB port or restart your computer to refresh the connection.
- For wireless connections, make sure the tablet and computer are within range and that Bluetooth is enabled.
Pen tracking issues: If the pen is not accurately tracking on the tablet surface, try these solutions:
- Calibrate the pen by accessing the Pen settings in the Wacom Tablet Properties or Wacom Desktop Center and following the instructions.
- Clean the tablet surface and the pen tip to remove any dirt or debris that may affect the tracking.
- Replace the pen nib if it appears worn or damaged.
Pressure sensitivity problems: If the pressure sensitivity of your Wacom tablet is not working correctly, try these troubleshooting steps:
- Check the software settings in your digital art application to ensure that it supports pressure sensitivity.
- Confirm that the pressure sensitivity settings in the Wacom Tablet Properties or Wacom Desktop Center are properly adjusted.
- Restart both your computer and the Wacom tablet to refresh the settings.
ExpressKeys or touch gestures not working: If the ExpressKeys or touch gestures on your Wacom tablet are unresponsive, consider these solutions:
- Ensure that the ExpressKeys or touch gestures are enabled in the tablet settings.
- Verify that you have assigned the correct functions or commands to the ExpressKeys or touch gestures.
- If using touch gestures, check if they are enabled in the software you’re using or try different touch sensitivity settings.
If you have attempted the troubleshooting steps mentioned above and are still experiencing issues, you may need to contact Wacom customer support for further assistance. They can provide specific solutions based on your tablet model and the nature of the problem.
Remember, regular software and driver updates, along with proper maintenance and care, can help prevent common issues and keep your Wacom tablet functioning optimally. With a little patience and troubleshooting, you can resolve any issues quickly and continue to enjoy a smooth and productive digital art experience.
Conclusion
Working with a Wacom tablet can open up a world of possibilities for digital artists, photographers, and designers. With its intuitive pen and touch functionality, pressure sensitivity, and a host of customization options, a Wacom tablet offers a seamless and enhanced digital art experience.
In this article, we explored various aspects of using a Wacom tablet, from choosing the right model to setting it up and customizing the settings. We discussed the importance of familiarizing yourself with the pen and touch gestures, understanding the different features of the tablet, exploring software compatibility, and troubleshooting common issues that may arise.
By selecting the right Wacom tablet, customizing its settings to your preferences, and taking advantage of its features, you can unlock your creative potential, improve your productivity, and create stunning digital artwork with precision and ease.
Remember to practice regularly, experiment with different brush settings, and take advantage of the pressure sensitivity and tilt functionality to add depth and expression to your artwork. Utilize shortcuts, touch gestures, and customizable features to streamline your workflow and save time. And if you encounter any issues, refer to our troubleshooting tips or seek assistance from Wacom customer support for prompt resolution.
Embrace the learning process, stay open to new techniques, and continue to expand your skills with your Wacom tablet. With dedication and perseverance, you’ll see your digital artistry flourish, and your Wacom tablet will become an indispensable tool on your creative journey.