Introduction
Welcome to this guide on how to turn on your Microsoft tablet! If you’ve recently purchased or received a Microsoft tablet, you may be wondering how to get started and power it on. Don’t worry, we’ve got you covered! In this article, we will walk you through the steps to turn on your Microsoft tablet and provide some additional tips to help you get the most out of your device.
Microsoft tablets are known for their sleek design, powerful performance, and user-friendly interface. Whether you have a Surface Pro, Surface Go, or any other model, the process to turn on your tablet remains fairly consistent. By following the steps outlined in this guide, you’ll be up and running in no time!
Before we dive into the specific instructions, it’s worth noting that every Microsoft tablet comes with a power button that allows you to turn the device on and off. Additionally, make sure your tablet is fully charged or connected to a power source before attempting to power it on.
Now, let’s get started and learn how to turn on your Microsoft tablet!
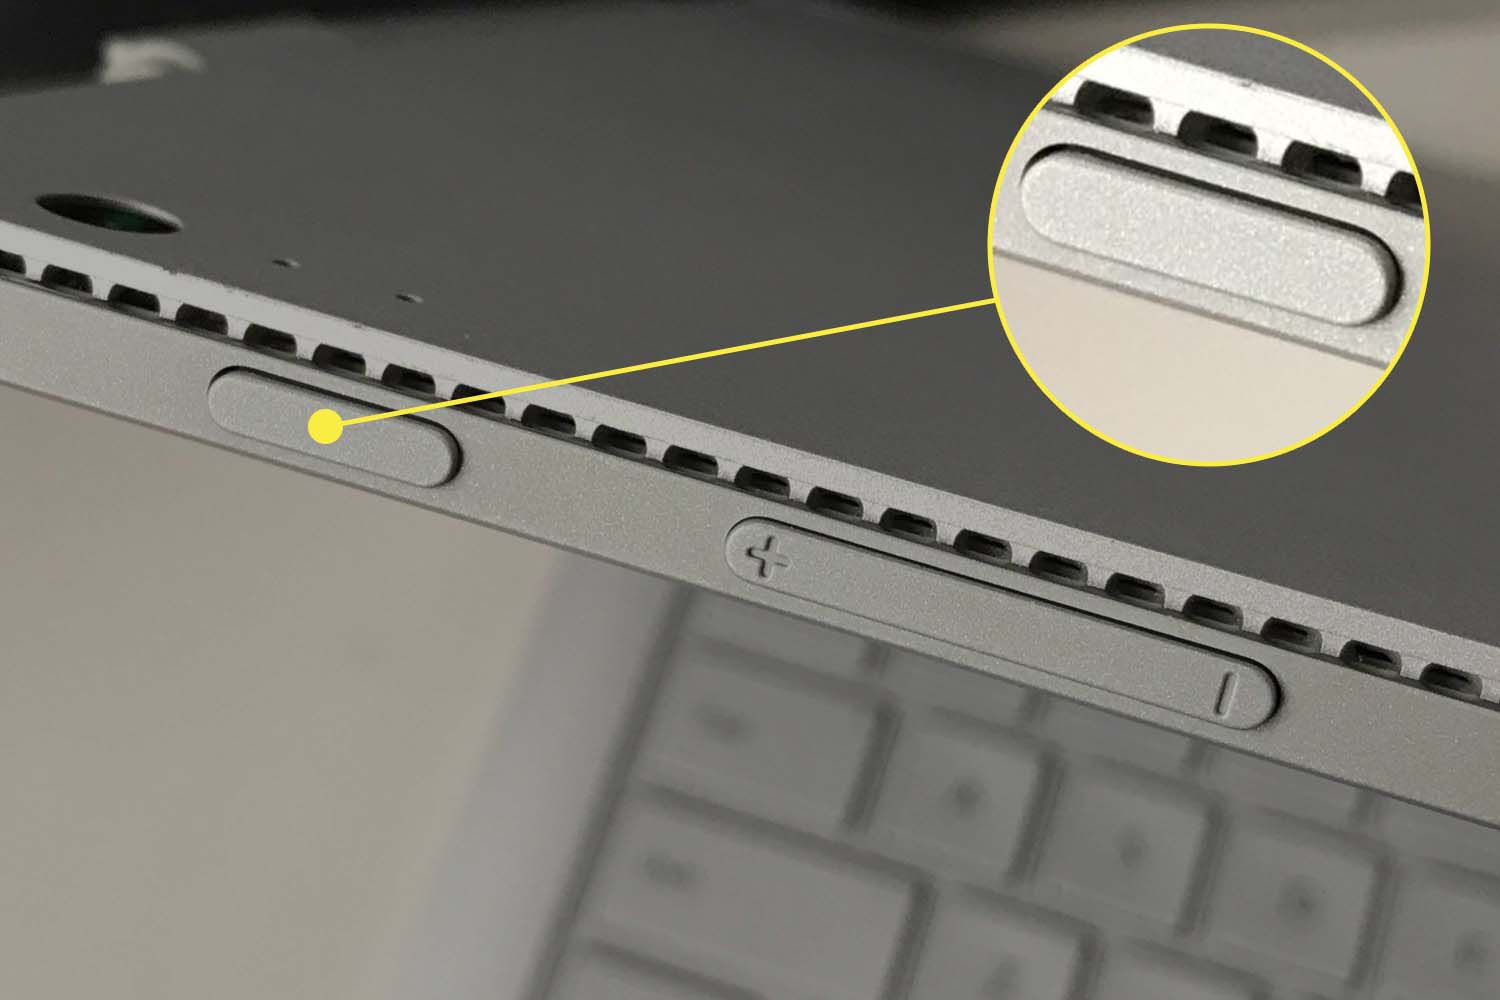
Step 1: Power button
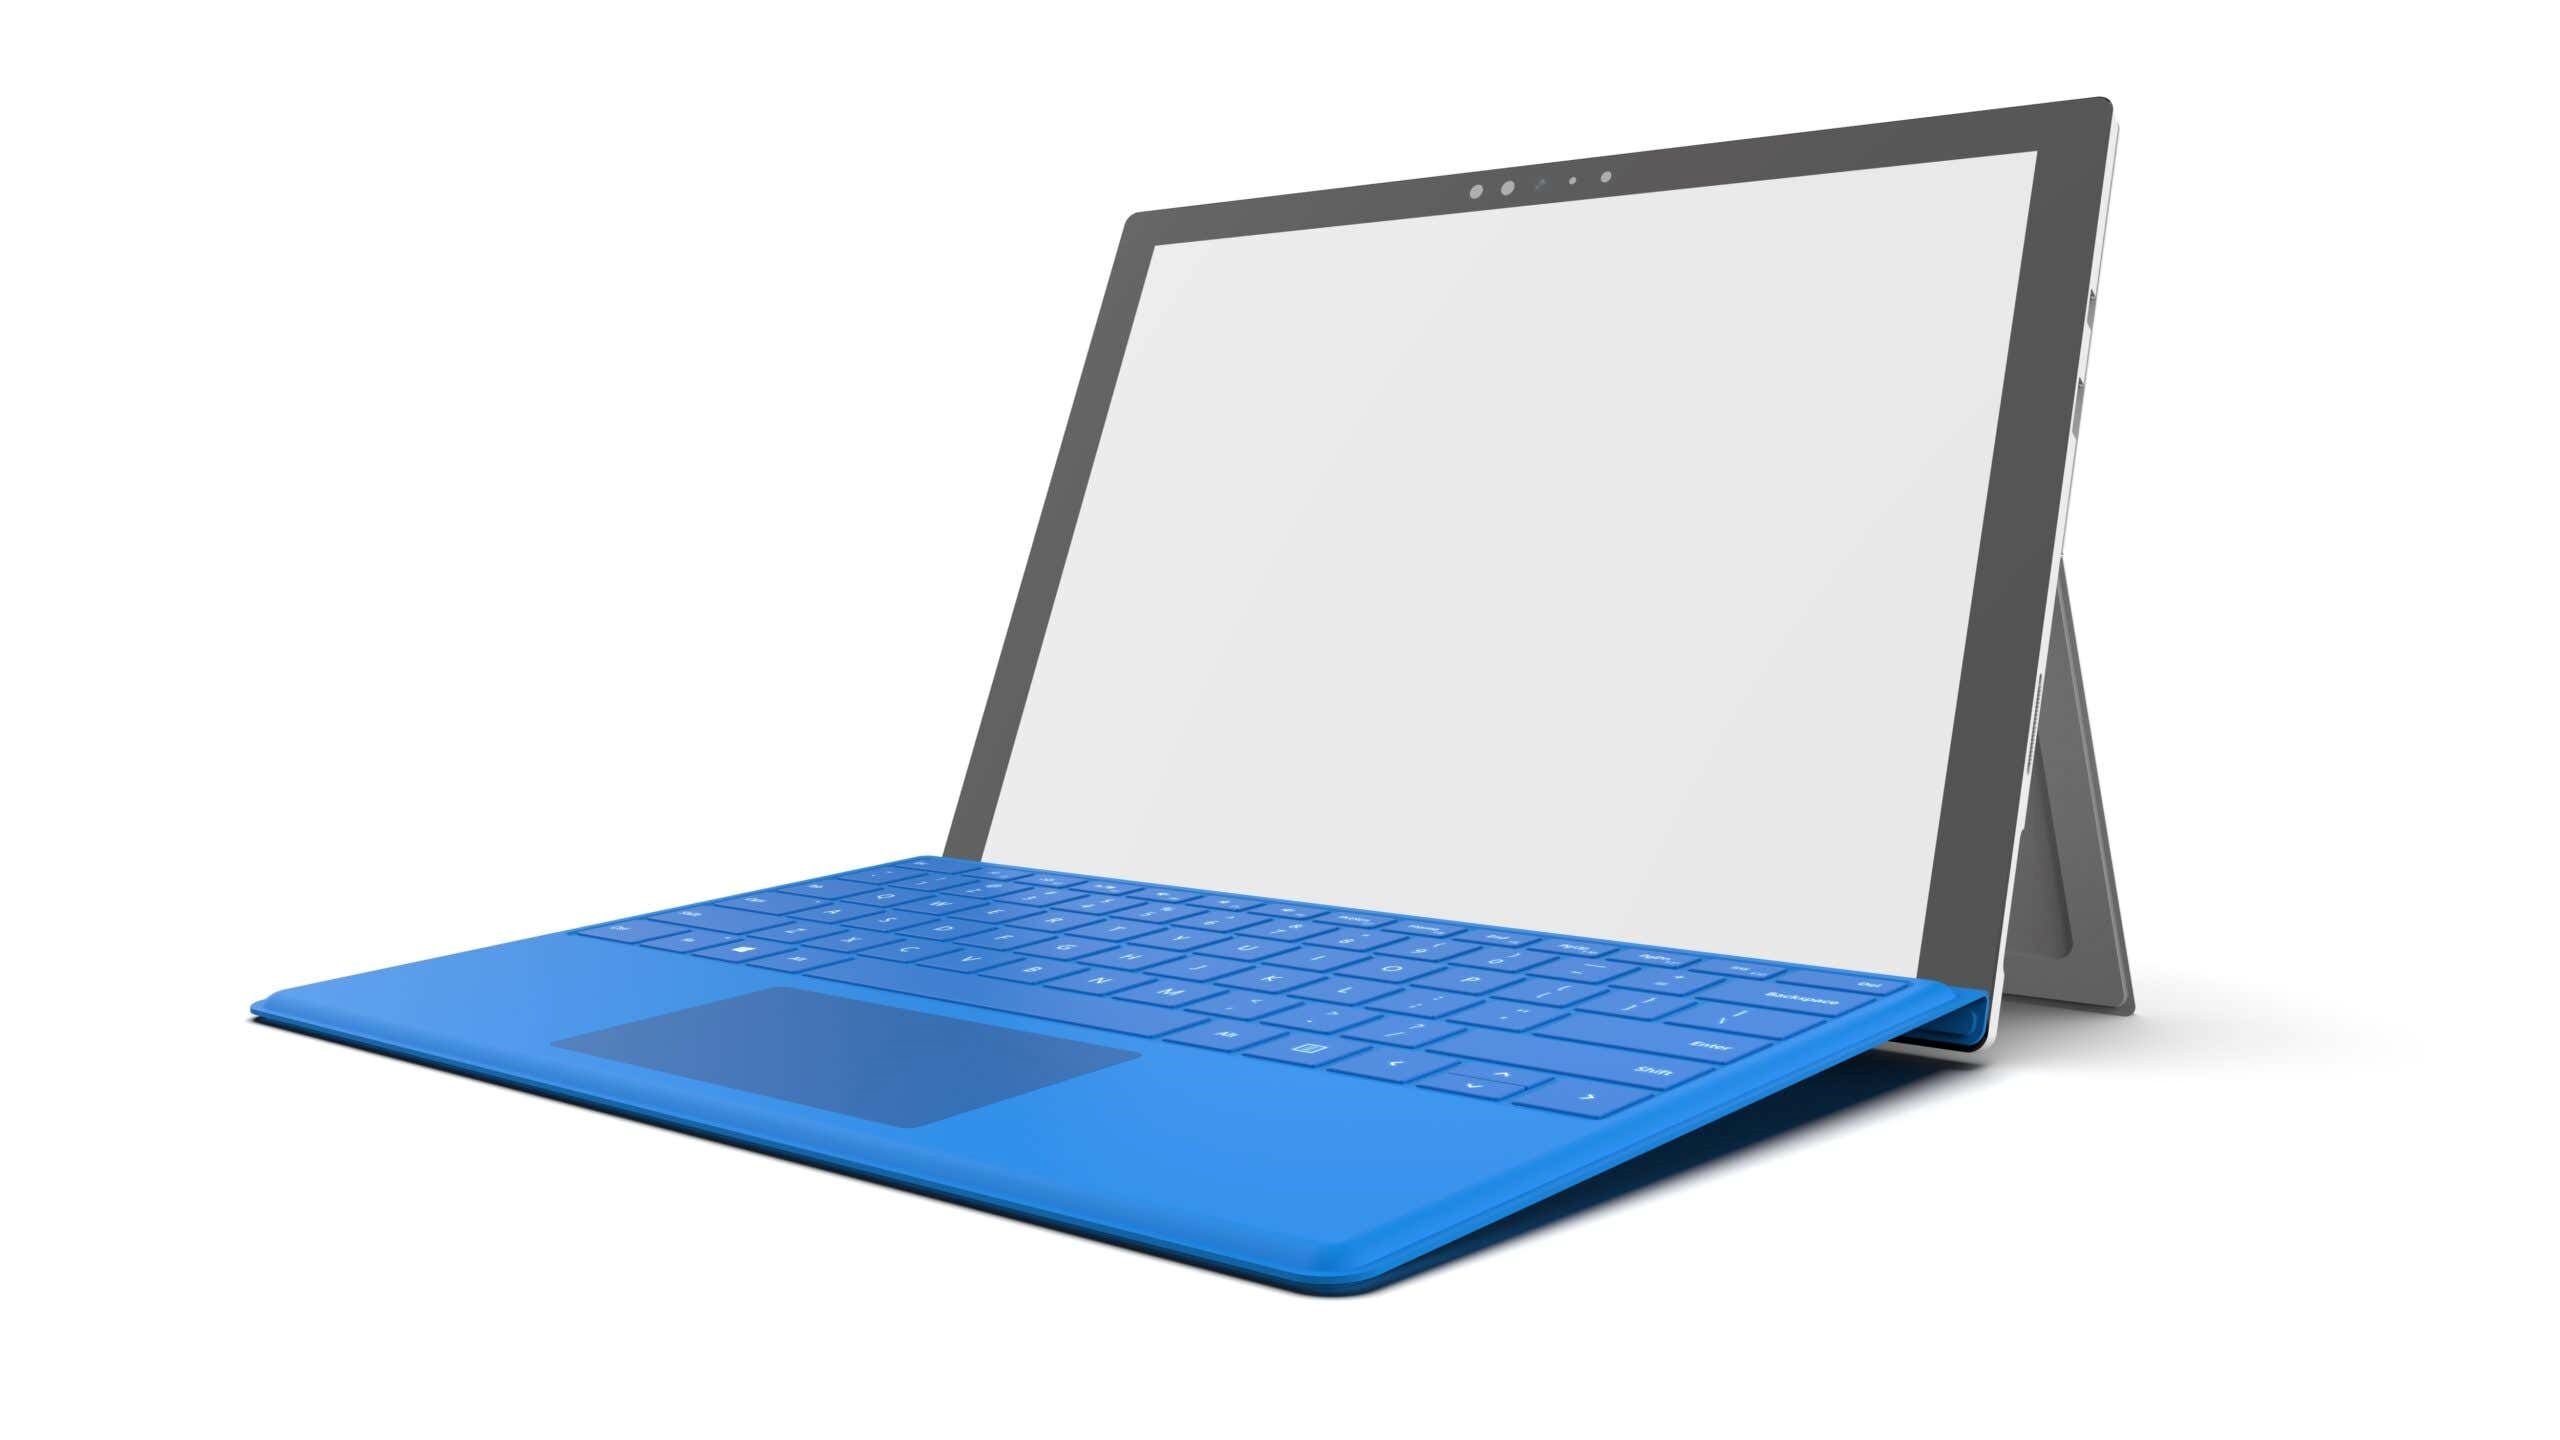
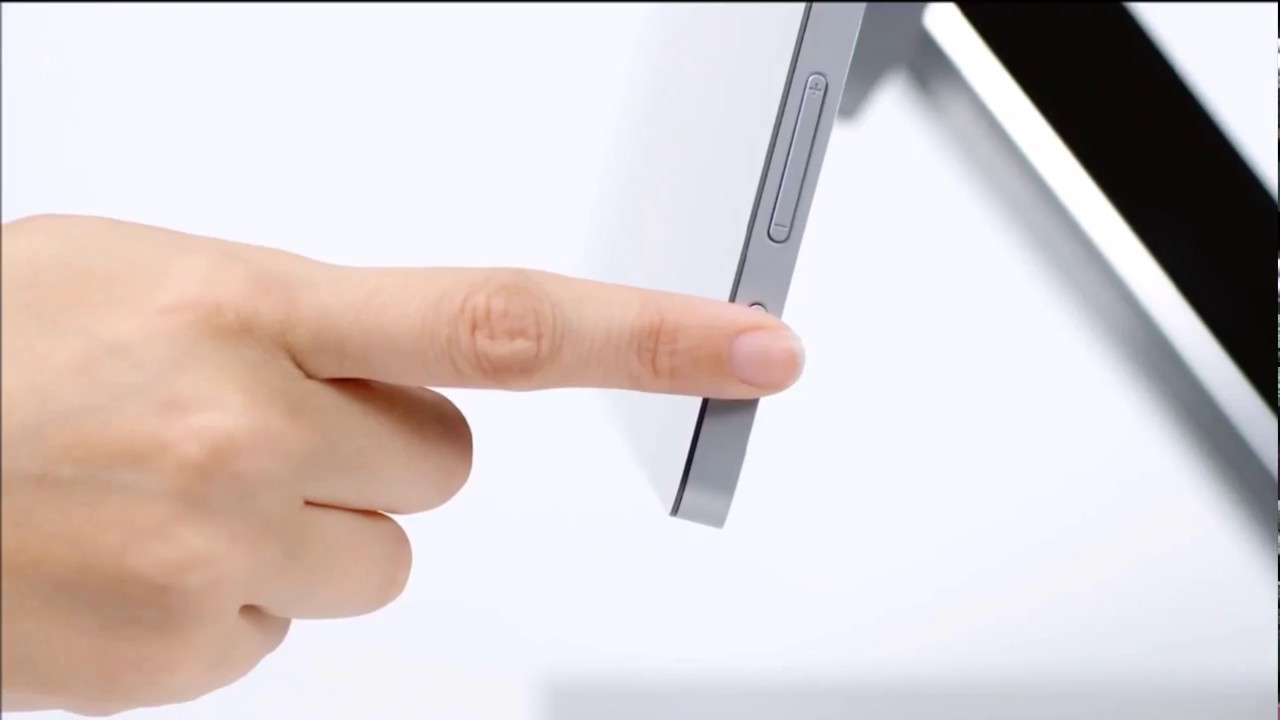
To begin, locate the power button on your Microsoft tablet. The location of the power button may vary slightly depending on the model, but it is typically located either on the top or side of the device. Look for a small button that may be labeled with a power symbol or have the word “power” embossed on it.
Once you’ve located the power button, press it firmly. Hold it down for a few seconds until you see the screen light up and the device powers on. You may also hear a startup sound or feel a slight vibration, indicating that the tablet is turning on.
It’s important to note that some Microsoft tablets have a two-step power button. In this case, you will need to press and release the button once to wake the tablet from sleep mode, and then press and hold it to turn it on fully. Take a look at your tablet’s user manual or refer to the manufacturer’s website for specific instructions on your device’s power button functionality.
Keep in mind that if your tablet has been powered off for an extended period of time, it may take a few moments for it to boot up and display the Microsoft logo or the lock screen. Be patient while the tablet completes its startup process.
Now that you’ve successfully turned on your Microsoft tablet, you’re ready to proceed to the next step, which involves charging the device if needed. Read on to find out how!
Step 2: Charging the tablet
If your Microsoft tablet doesn’t have enough battery power or is completely out of charge, you’ll need to connect it to a power source and charge it. This step is crucial to ensure uninterrupted usage and optimal performance of your device.
First, locate the charging port on your tablet. It is usually located on the bottom or side of the device and is shaped like a small rectangular slot. Once you’ve found the charging port, take the charging cable that came with your tablet or a compatible charging cable and plug one end into the charging port.
The other end of the cable can be plugged into a power source such as a wall outlet, power strip, or USB port on your computer. Make sure the power source is working and providing electricity.
When you connect the charging cable to your tablet, you should see a battery icon or indicator appear on the screen. This indicates that the tablet is successfully connected to the power source and is charging. The battery icon may also show the current charge level, usually represented as a percentage.
It’s important to note that it may take some time for the tablet to charge fully, especially if the battery was completely drained. While charging, you can continue using your tablet, but it’s recommended to keep it connected to the power source to ensure efficient charging. You can check the charging progress by looking at the battery icon or indicator on the screen, which should slowly increase as the device charges.
Once the tablet is sufficiently charged, you can remove the charging cable from the device by gently pulling it out of the charging port. It’s a good practice to unplug the charging cable when the tablet is fully charged to prevent overcharging and prolong the battery’s lifespan.
Now that you have successfully connected your Microsoft tablet to a power source and started charging it, you’re one step closer to enjoying all the features and functionalities it has to offer. Next, we’ll cover how to power on your tablet, so keep reading!
Step 3: Press and hold the power button
Now that your Microsoft tablet is charged or has sufficient battery power, it’s time to press and hold the power button to turn it on fully. This step is essential to boot up the device and access its features and applications.
With your tablet in hand, locate the power button. As mentioned before, the power button is typically located on the top or side of the device. It may be a physical button or a touch-sensitive area, depending on the tablet model.
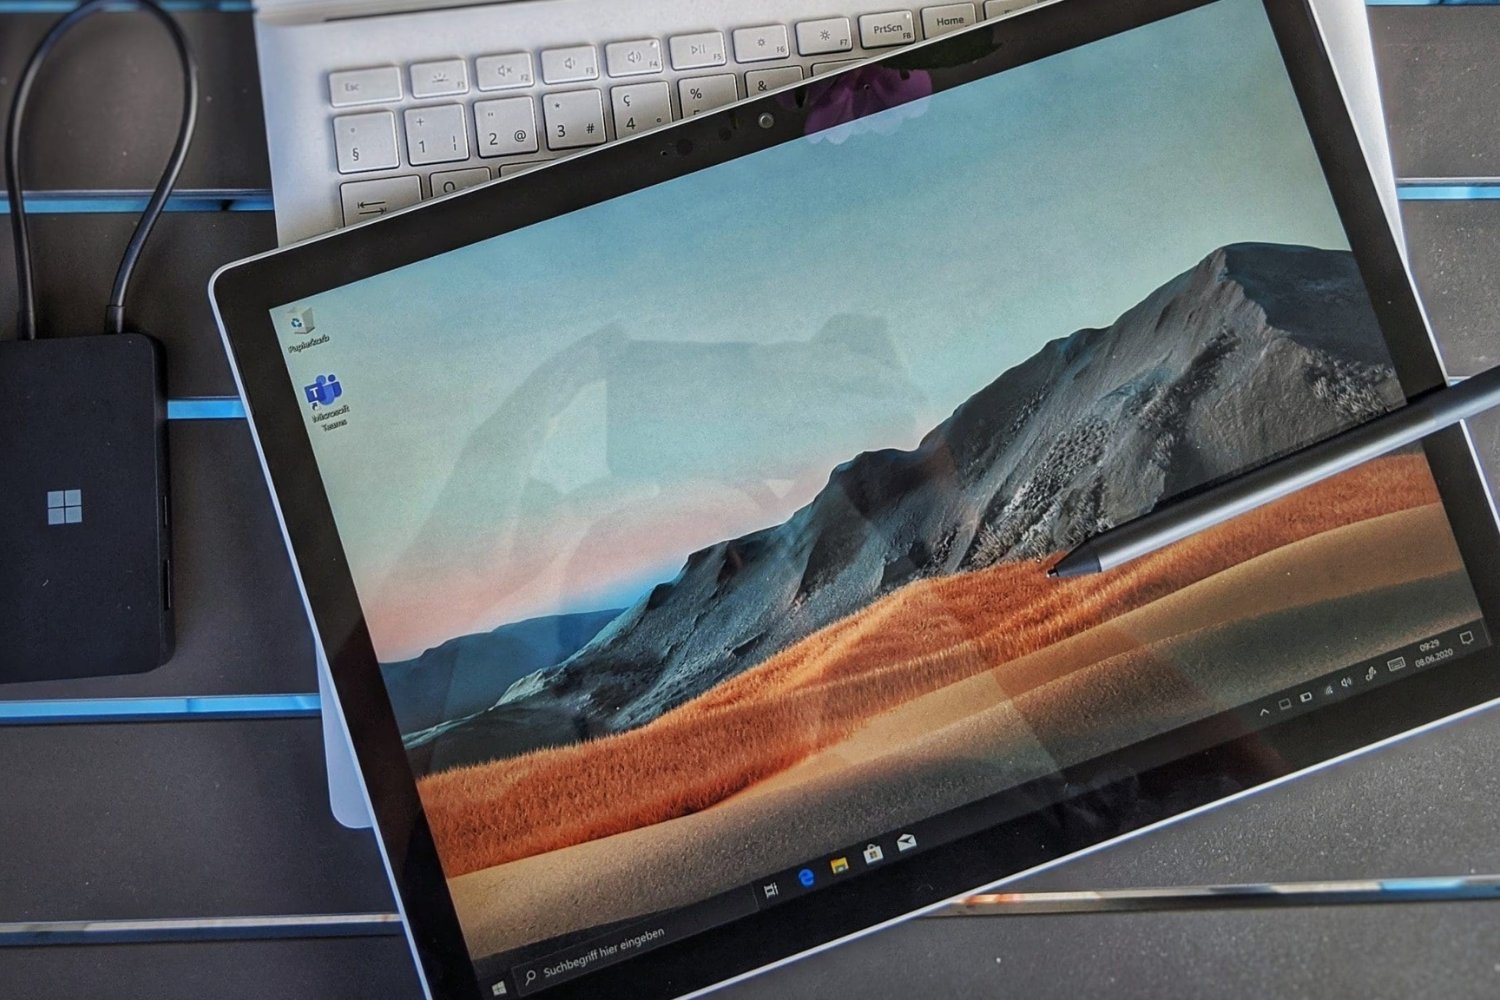
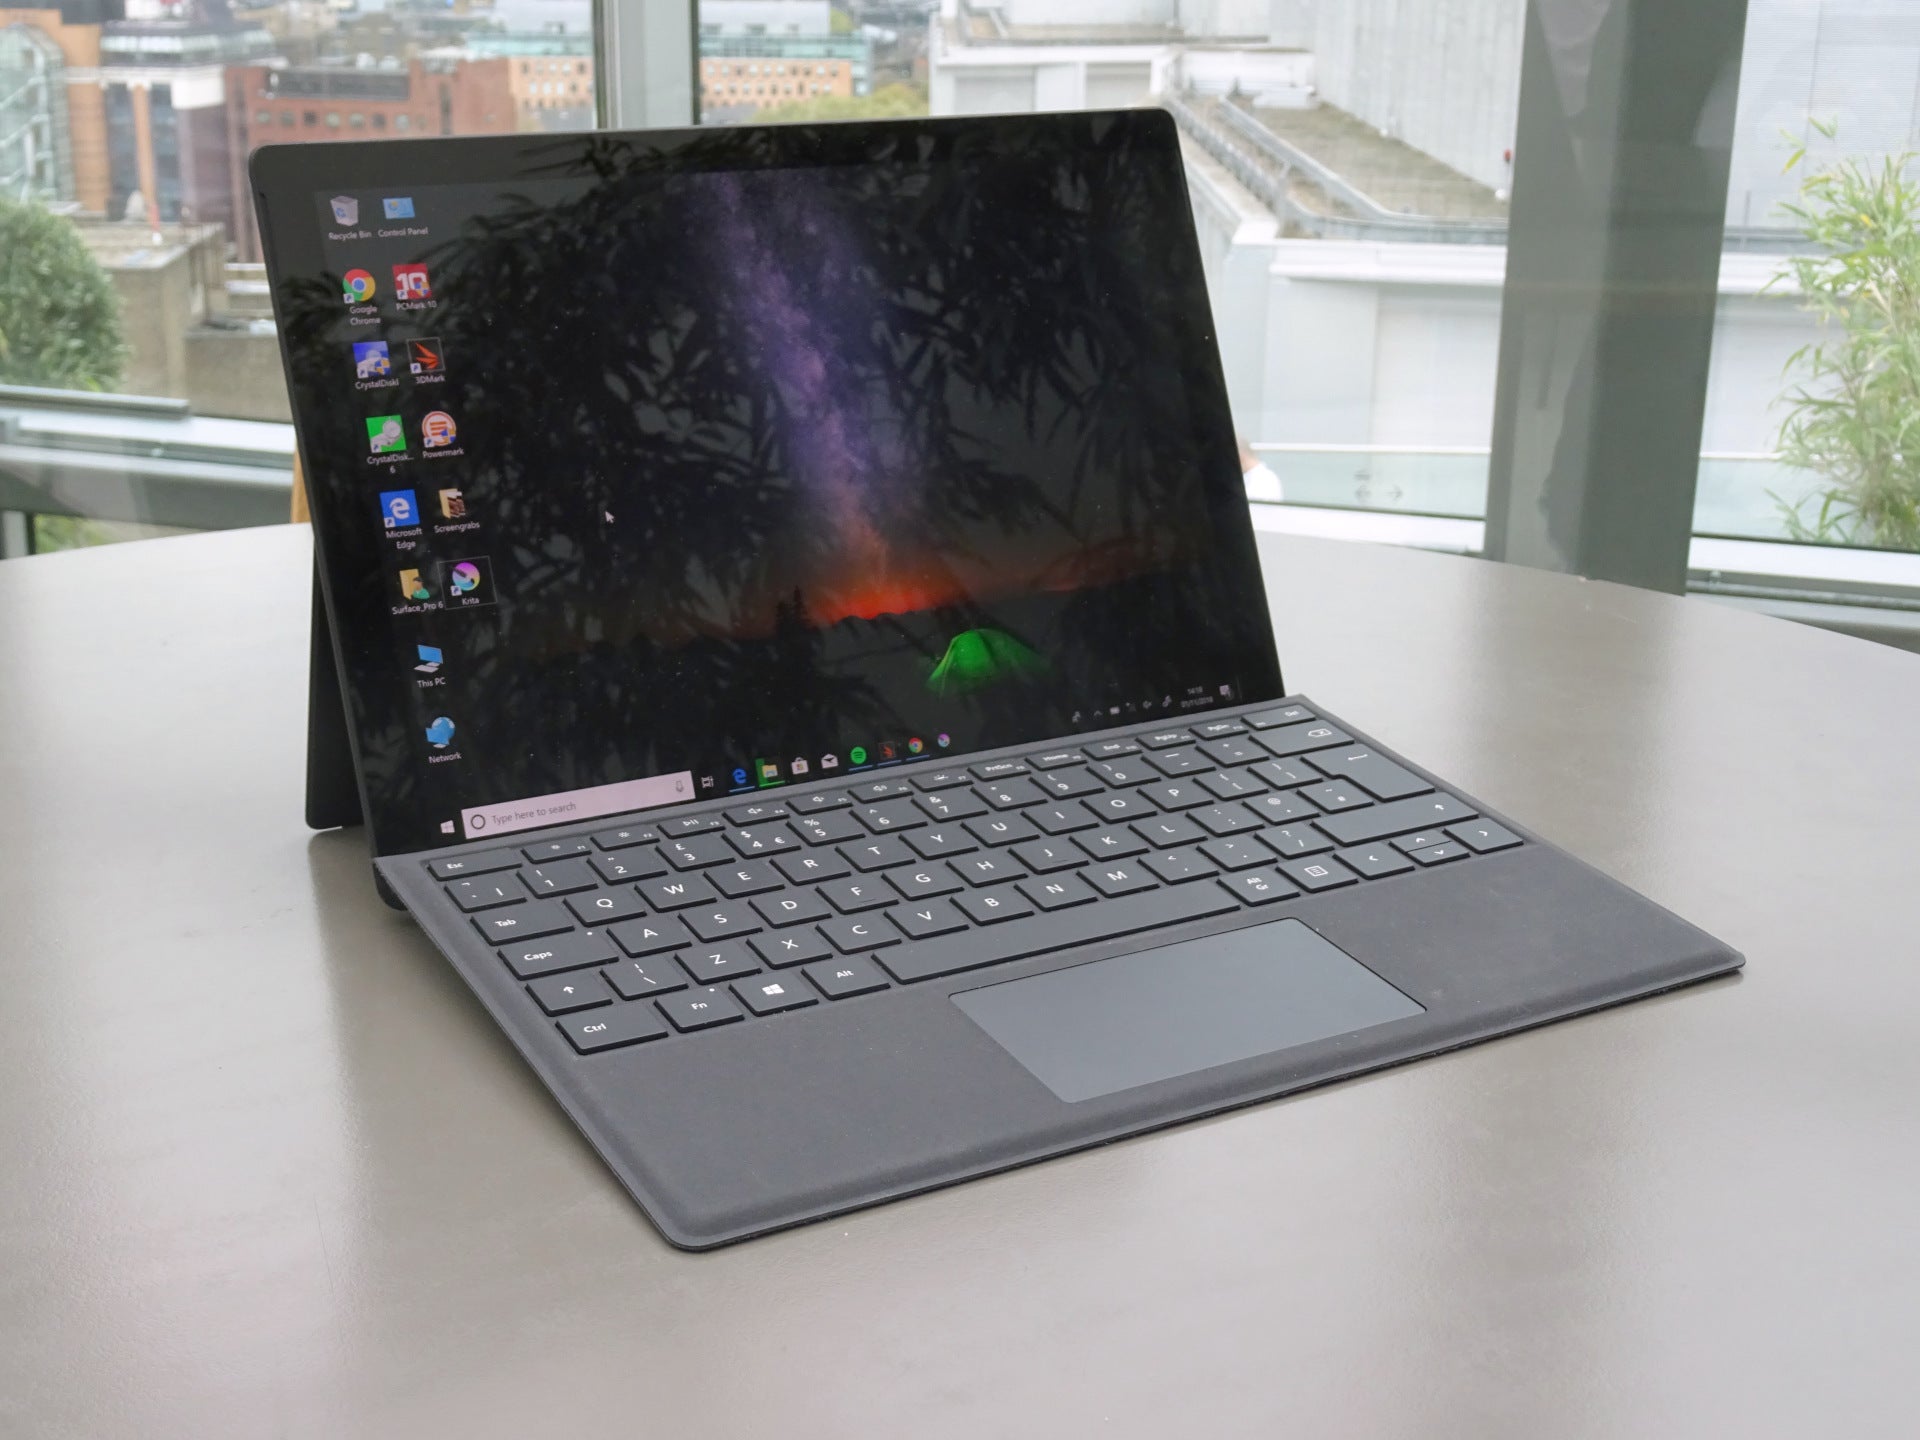
Press and hold the power button for a couple of seconds. You should see the screen light up and the device start to boot up. During this process, you may see the Microsoft logo displayed, followed by the lock screen or the tablet’s home screen.
If you hear a startup sound or feel a vibration, don’t worry, this is normal and indicates that the tablet is powering on.
It’s important to note that the time it takes for the tablet to fully start up may vary depending on the device’s specifications. The startup process can range from a few seconds to a minute or longer, depending on how much data and applications are stored on the tablet.
Once the tablet has finished booting up, you’ll be greeted with the lock screen or the home screen, depending on your device settings. From here, you can swipe, tap, or enter your credentials to unlock the tablet and begin using it.
Congratulations! You have successfully turned on your Microsoft tablet by pressing and holding the power button. Now it’s time to move on to the next step, where we will guide you on how to sign in to your Microsoft account and set up your tablet.
Step 4: Sign in to your Microsoft account
After turning on your Microsoft tablet, the next step is to sign in to your Microsoft account. Signing in with your Microsoft account allows you to access various services, such as the Microsoft Store and OneDrive, and personalize your tablet with your preferences and settings.
To sign in, you’ll need your Microsoft account credentials, which typically include your email address and password. If you already have a Microsoft account, enter your email address in the designated field on the sign-in screen. Then, enter your password to complete the sign-in process.
If you don’t have a Microsoft account, you can create one by selecting the “Create account” or “Sign up” option on the sign-in screen. Follow the prompts to enter the necessary information, such as your name, email address, and password, to create your account.
Once you’ve signed in or created your Microsoft account, you may be prompted to set up additional security measures, such as a PIN or fingerprint recognition, to enhance the security of your device. It’s a good idea to enable these additional security features to protect your personal information.
After signing in and setting up any necessary security measures, your Microsoft account will be linked to your tablet, allowing you to access your files, apps, and settings across multiple devices.
If you’re using a shared or public device, it’s recommended to sign out of your Microsoft account when you’re finished using the tablet to prevent unauthorized access to your account and data.
By signing in to your Microsoft account, you’ll unlock a world of possibilities and personalized experiences on your tablet. Let’s move on to the next step, where we will guide you on how to customize your tablet settings to make it truly yours.
Step 5: Customize your tablet settings
After signing in to your Microsoft account and setting up your tablet, it’s time to customize your tablet settings according to your preferences. Customizing the settings allows you to tailor your tablet experience to suit your needs and make it feel more personalized.
To access the settings on your Microsoft tablet, swipe in from the right side of the screen to open the Action Center. Then, tap on the gear icon labeled “Settings” to open the Settings app.
Within the Settings app, you’ll find a wide range of options to tweak and customize. Here are a few key settings you may want to consider:
Display & Brightness: Adjust the brightness level, display resolution, and screen timeout duration to optimize your viewing experience.
Notifications & Actions: Customize which apps can send you notifications and how they appear on your tablet. You can also control the quick actions that appear in the Action Center.
Accounts: Manage your Microsoft account and sync settings to ensure a seamless experience across devices. You can also add other email accounts and social media accounts to access them directly from your tablet.
Privacy: Review privacy settings and choose what information you want to share with Microsoft and other apps.
Language & Region: Set your preferred language and regional settings to ensure that your tablet displays content appropriate for your location.
Updates & Security: Keep your tablet up to date with the latest software updates and enable security features like Windows Defender for enhanced protection against malware and viruses.
These are just a few examples of the settings you can customize on your Microsoft tablet. Feel free to explore the various options available and tweak them to suit your preferences.
Remember to save any changes you make in the Settings app before exiting to ensure that your new settings take effect.
Now that you’ve customized your tablet settings, it’s time to familiarize yourself with the tablet interface and explore its features and functionalities. Let’s move on to the next step!
Step 6: Exploring the tablet interface
Now that you have powered on your Microsoft tablet, signed in to your account, and customized the settings, it’s time to start exploring the tablet interface. Understanding the interface will help you navigate your tablet with ease and make the most of its features and functionalities.
The tablet interface on Microsoft devices is designed to be intuitive and user-friendly. Here are some essential elements and features you should be familiar with:
Start Menu: The Start Menu is the main hub of your tablet. It’s represented by the Windows logo in the lower-left corner of the screen. Clicking on it or pressing the Windows key will open the Start Menu. Here, you’ll find your most-used apps, recent documents, and Live Tiles that provide real-time information.
Taskbar: The Taskbar is located at the bottom of the screen and provides easy access to frequently used apps, the Start Menu, and the notification center. It also displays the date and time.
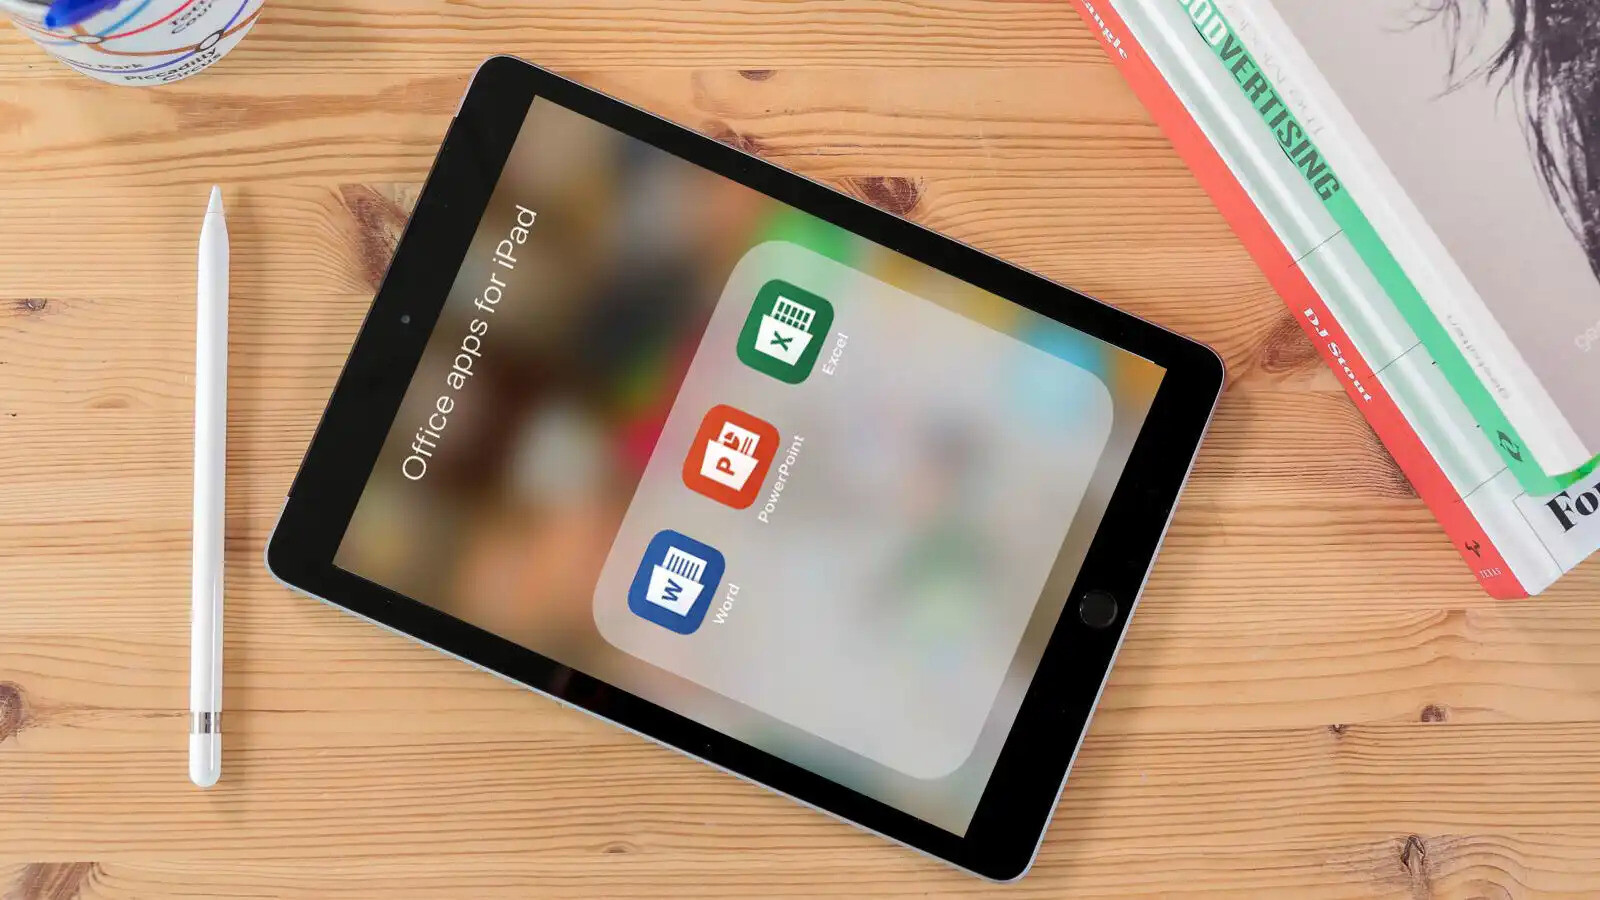
Apps: Your tablet comes pre-installed with various apps, such as Microsoft Edge for web browsing, Microsoft Office apps for productivity, and the Microsoft Store to download additional applications. You can access these apps from the Start Menu or by searching for them using the search bar located next to the Start button.
Multitasking: Windows allows you to multitask by running multiple apps simultaneously. You can switch between apps by clicking on the taskbar icons or using the Alt + Tab keyboard shortcut. You can also snap app windows side by side to view them simultaneously.
File Explorer: File Explorer is where you can access, organize, and manage your files and folders. You can open File Explorer by clicking on the folder icon in the taskbar or by searching for it in the Start Menu.
Cortana: Cortana is Microsoft’s virtual assistant, similar to Apple’s Siri or Google Assistant. You can use voice commands or type to interact with Cortana and perform various tasks, such as searching the web, setting reminders, and opening apps.
These are just a few key components of the tablet interface. Don’t be afraid to explore and experiment with your tablet to discover its full range of features and capabilities.
By becoming familiar with the tablet interface, you’ll be able to navigate, access apps, and perform tasks on your Microsoft tablet effortlessly. Let’s move on to the next step, where we will guide you on how to connect your tablet to Wi-Fi for internet access.
Step 7: Connecting to Wi-Fi
Now that you’re familiar with the tablet interface and its features, the final step is to connect your Microsoft tablet to a Wi-Fi network. Connecting to Wi-Fi will enable you to access the internet, browse the web, and download or stream content on your tablet.
To connect to a Wi-Fi network, follow these simple steps:
1. Open the Network & Internet settings: Swipe in from the right side of the screen to open the Action Center. Then, tap on the Wi-Fi icon to open the Network & Internet settings. Alternatively, you can open the Settings app and navigate to the Network & Internet section.
2. Select a Wi-Fi network: In the Network & Internet settings, you’ll see a list of available Wi-Fi networks in your vicinity. Locate the network you want to connect to and click on it.
3. Enter the Wi-Fi password: If the Wi-Fi network is password-protected, you’ll be prompted to enter the password. Type in the correct password, making sure to pay attention to capitalization and any special characters, then click Connect.
4. Wait for the connection: After entering the password, your tablet will attempt to connect to the selected Wi-Fi network. It may take a few moments for the connection to establish. Once connected, you’ll see a confirmation message or the Wi-Fi icon in the taskbar indicating a successful connection.
5. Test the connection: To ensure that you are successfully connected to the Wi-Fi network, open a web browser and load a website or use any internet-dependent apps. If the page loads or the app functions properly, it means you have successfully connected to the Wi-Fi network.
It’s important to remember that you may need to connect to a different Wi-Fi network when you’re in different locations, such as your home, office, or public places, each with its own network name and password. Repeat the steps above to connect to each new network as needed.
Now that you have successfully connected your Microsoft tablet to a Wi-Fi network, you can enjoy seamless internet access and explore the vast online world at your fingertips.
Congratulations! You have completed all the essential steps to turn on, set up, and connect your Microsoft tablet. You’re now ready to enjoy all the features, apps, and possibilities that your tablet has to offer.
Conclusion
Congratulations on successfully turning on and setting up your Microsoft tablet! In this guide, we have walked you through the essential steps to power on your tablet, customize settings, and connect to Wi-Fi. By following these steps, you can now enjoy the full functionality of your device and explore the wide range of features and applications it offers.
Remember, each Microsoft tablet model may have slight variations in the location of the power button or specific settings, so it’s always a good idea to consult the user manual or the manufacturer’s website for detailed instructions tailored to your device.
With your tablet powered on, signed in to your Microsoft account, and connected to Wi-Fi, you can now dive into the world of productivity, entertainment, and creativity. Whether you’re using your tablet for work, studying, watching videos, playing games, or browsing the web, you have a versatile device that can keep up with your needs.
Don’t forget to further personalize your tablet by exploring additional settings, downloading new apps from the Microsoft Store, and customizing the interface to suit your preferences. The more you use and interact with your tablet, the more you’ll discover its capabilities and the benefits it brings to your daily life.
Lastly, if you encounter any issues or have any questions about your Microsoft tablet, remember that there are numerous resources available to assist you. Check out the official Microsoft support website, online forums, or reach out to customer support for further assistance.
Now that you’re equipped with the knowledge to power on and set up your Microsoft tablet, go ahead and make the most of your device’s capabilities. Get ready to embark on a journey of productivity, entertainment, and digital exploration!