Introduction
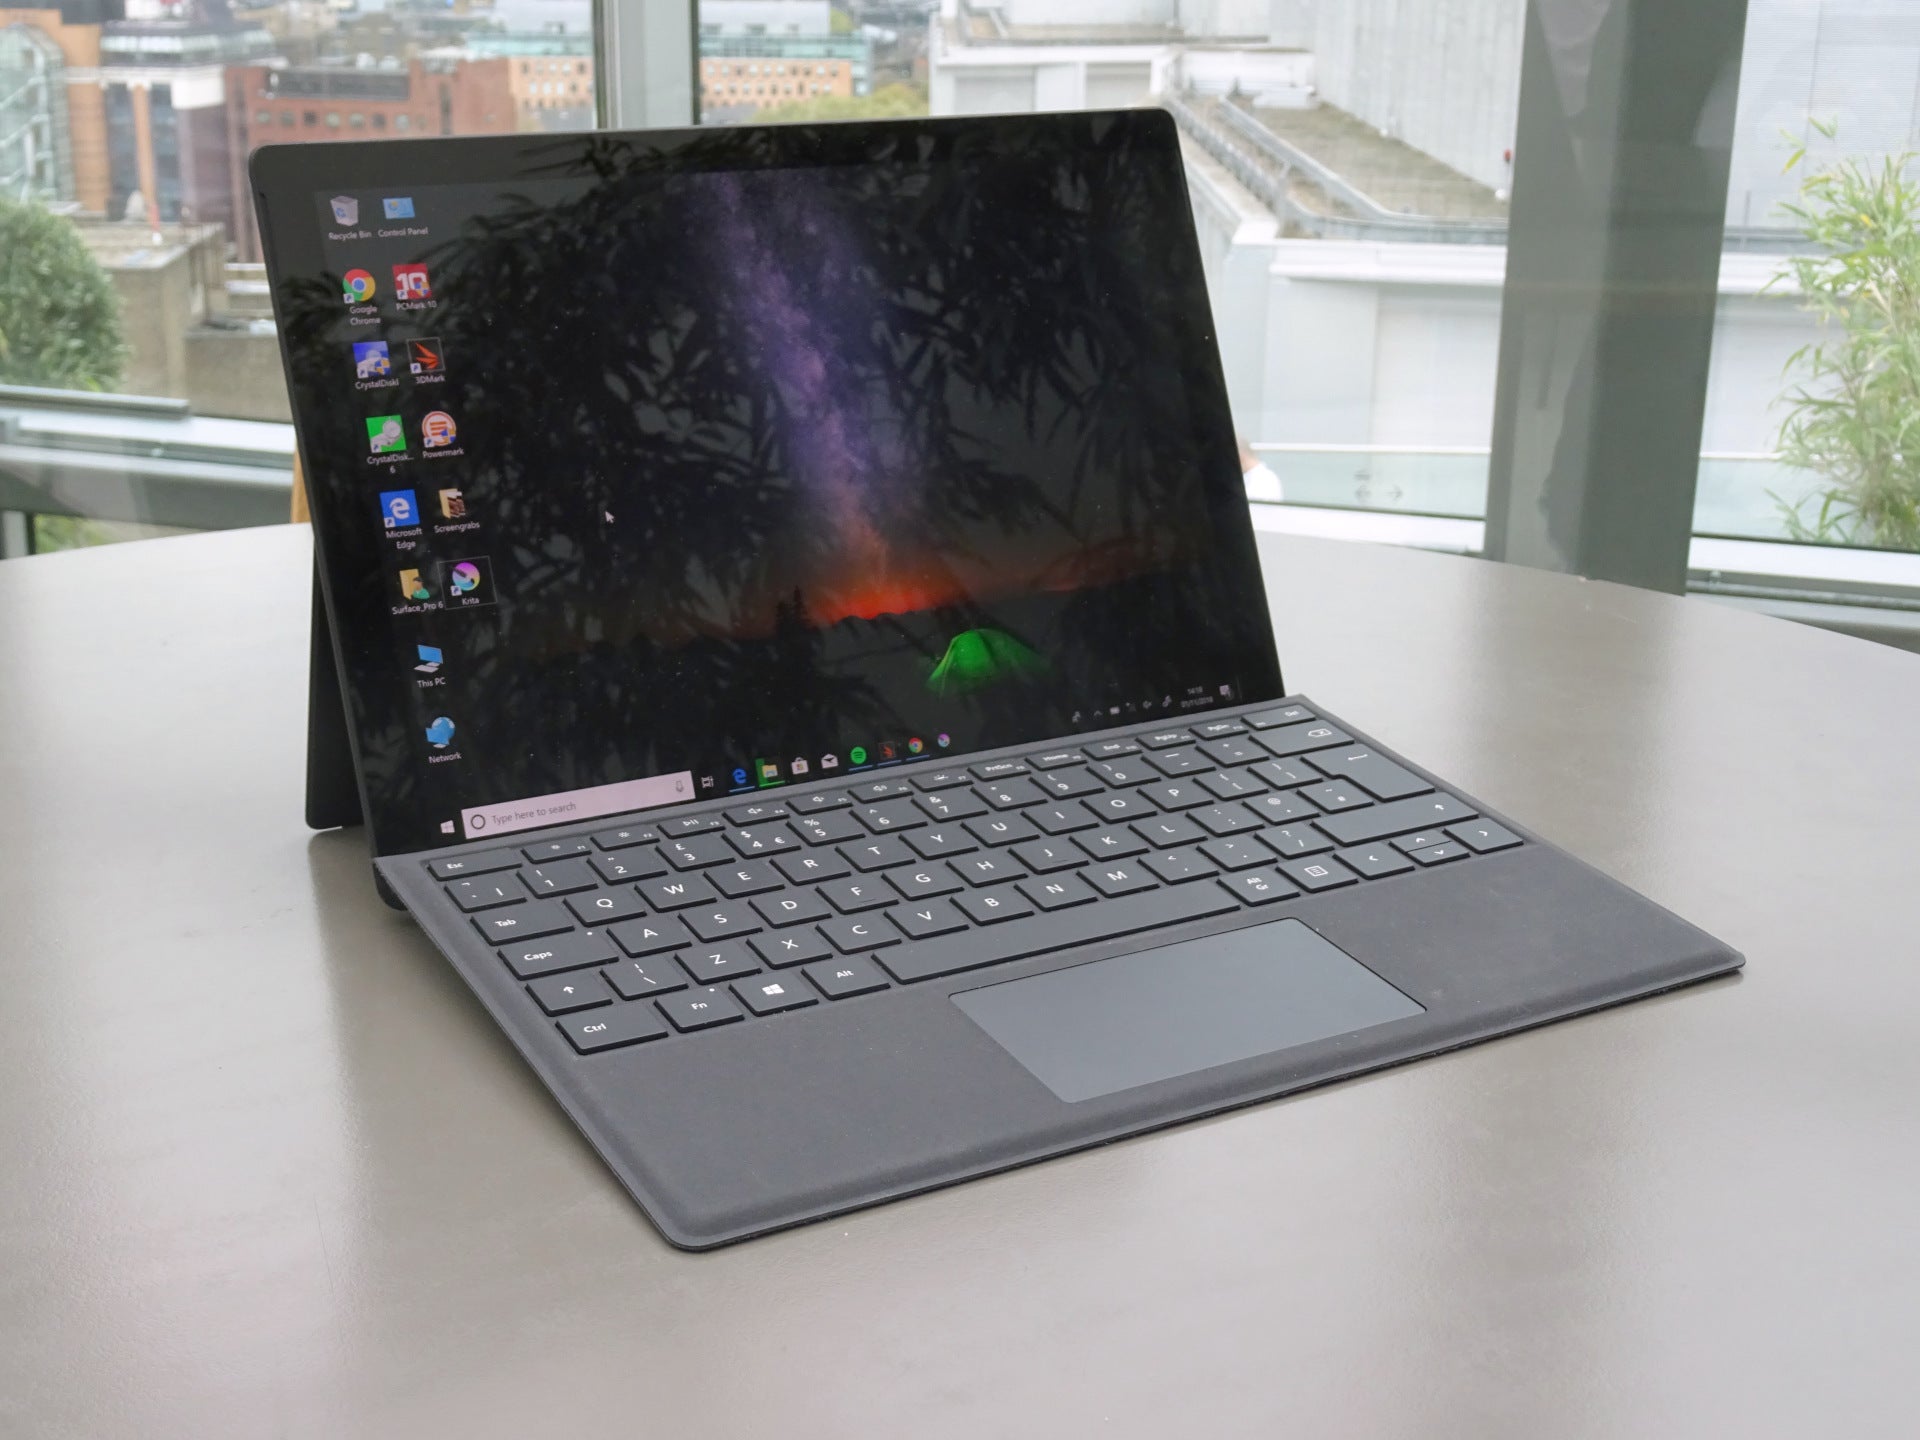
Welcome to our guide on how to reset a Surface Pro tablet. Whether you’re experiencing software issues, want to sell your tablet, or simply want to start fresh, resetting your Surface Pro can be a useful solution. Resetting your device will restore it to the default factory settings, removing all personal data and apps.
Resetting a Surface Pro tablet can be done in several ways, depending on the situation. In this guide, we will cover different options to reset your tablet, including resetting from the Settings menu, using advanced startup options, utilizing a recovery drive, and using the Surface Pro USB recovery image.
Before diving into the reset process, it’s essential to back up any important data you have on your Surface Pro tablet. When you reset your device, all data will be deleted, so ensure that you have copies of important files, photos, and documents stored elsewhere, such as on an external hard drive or in the cloud.
Now, let’s explore the various methods to reset your Surface Pro tablet. Whether you’re a tech-savvy enthusiast or a beginner, you’ll find the instructions easy to follow.
Reasons to reset a Surface Pro tablet
There are several reasons why you might want to reset your Surface Pro tablet. Let’s explore some common scenarios where a reset can be beneficial:
- Performance issues: Over time, your Surface Pro tablet may start to lag or experience slow performance. This can be due to accumulated temporary files, corrupted system files, or conflicting applications. Resetting your tablet can help resolve these issues and restore its original speed.
- Software glitches: If you’re encountering frequent software glitches, such as apps crashing or the operating system freezing, a reset can often solve these problems. It allows your tablet to start fresh with a clean installation, eliminating any software conflicts that may be causing the glitches.
- Virus or malware infections: If your Surface Pro tablet has been infected with viruses or malware, it can significantly impact its performance and compromise your personal data. Resetting your tablet will remove any malicious software and restore your device’s security.
- Selling or giving away your tablet: If you plan to sell or give away your Surface Pro tablet, you’ll want to ensure that all your personal data is securely erased. Resetting the tablet to its factory settings will erase all your files, accounts, and settings, providing a clean slate for the new owner.
- Starting fresh: Sometimes, you may simply want to start afresh with a clean device. Whether you want to customize your tablet’s settings from scratch or clear out unnecessary apps and files, a reset can provide a fresh start and improve your overall tablet experience.
Resetting your Surface Pro tablet can be an effective solution to address various issues and give you a clean slate to work with. Before proceeding with the reset process, remember to back up your data to avoid any potential loss.
Back up your data
Before resetting your Surface Pro tablet, it is crucial to back up any important data you have stored on the device. When you perform a reset, all data will be erased, so it’s essential to ensure that you have copies of your files, photos, documents, and any other important data stored elsewhere.
Here are a few backup methods you can use:
- Cloud storage: One convenient option is to utilize cloud storage services such as Microsoft OneDrive, Google Drive, or Dropbox. These services allow you to upload your files to the cloud, ensuring that they are securely stored and accessible from any device with an internet connection. Simply sign up for an account, install the app on your Surface Pro tablet, and follow the instructions to upload your files.
- External hard drive or USB flash drive: Another reliable method is to manually copy your files to an external hard drive or USB flash drive. Connect the storage device to your Surface Pro tablet, and then use the File Explorer to locate and copy your important files to the external drive. Make sure to organize your files in a way that makes retrieval and organization easy.
- Transfer to another device: If you have another device, such as a laptop or desktop computer, you can transfer your files directly to that device. Connect both devices using a USB cable or set up a network connection between them. Transfer your files through the File Explorer or use synchronization software to ensure that all your important data is safely transferred.
- Email or messaging platforms: For smaller files or documents, you can also consider sending them to yourself via email or using messaging platforms such as WhatsApp or Telegram. This method is suitable for quick transfers of individual files, but keep in mind that there may be file size limits depending on the service you are using.
By backing up your data before resetting your Surface Pro tablet, you can ensure that your important files are safe and easily accessible after the reset. Take the time to carefully organize and transfer your files to your chosen backup method to avoid any potential data loss.
Reset options
When it comes to resetting your Surface Pro tablet, you have several options available, depending on your situation. Let’s explore the different reset methods:
- Resetting from the Settings menu: This method is the most straightforward way to reset your Surface Pro tablet. Simply go to the Start menu, click on Settings, then Update & Security, and finally, select the Recovery tab. From there, you can choose the “Get Started” option under the “Reset this PC” section. Follow the on-screen instructions to initiate the reset process.
- Resetting using the Advanced startup options: If your Surface Pro tablet is unable to boot into the Windows operating system, you can access the Advanced startup options to perform a reset. To do this, hold down the Shift key and select the “Restart” option from the Start menu. This will take you to the Advanced startup options menu, where you can choose the “Troubleshoot” option and then “Reset this PC.”
- Resetting with the recovery drive: If you have previously created a recovery drive for your Surface Pro tablet, you can use it to perform a reset. Connect the recovery drive to your tablet, turn it on, and press and hold the Volume Down button until the Surface logo appears. From the Choose an option screen, select “Troubleshoot,” followed by “Recover from a drive.”
- Resetting with the Surface Pro USB recovery image: If you don’t have a recovery drive, you can download the Surface Pro USB recovery image from the official Microsoft website. Create a bootable USB drive using the recovery image, connect it to your tablet, and then follow the on-screen instructions to initiate the reset process.
Each reset method comes with its own set of instructions, but they are generally user-friendly and easy to follow. It’s important to note that resetting your Surface Pro tablet will erase all personal files, accounts, and settings, so ensure that you have backed up any important data before proceeding.
Choose the reset option that best suits your needs and follow the instructions carefully to perform a successful reset of your Surface Pro tablet.
Resetting from the Settings menu
Resetting your Surface Pro tablet from the Settings menu is the most straightforward method when your tablet is functioning properly. Follow these steps to initiate the reset process:
- Click on the Start menu icon at the bottom left corner of your screen, then select “Settings” (the gear-shaped icon).
- In the Settings window, click on “Update & Security.”
- In the left-hand menu, select the “Recovery” tab.
- Under the “Reset this PC” section, click on the “Get Started” button.
- A new window will appear, presenting you with two options: “Keep my files” and “Remove everything.” Select the option that suits your needs.
- If you choose the “Keep my files” option, your personal files will be preserved, but applications and settings will be removed. If you select the “Remove everything” option, all personal files, applications, and settings will be erased.
- Click on the “Next” button to continue.
- In the next window, you’ll see a list of the apps and programs that will be removed (if you selected the “Remove everything” option). Review the list, and if you’re ready to proceed, click on the “Reset” button.
- Windows will ask you to confirm your choice and provide a final warning that the reset is irreversible. Once you’re certain, click on the “Reset” button to begin the reset process.
- The reset process will take some time to complete. Your Surface Pro tablet will restart multiple times during this process. It’s important not to turn off your tablet or interrupt the process.
- Once the reset process is complete, you’ll be guided through the initial setup steps, such as choosing your region and keyboard layout, signing in with a Microsoft account, and customizing settings according to your preferences.
Resetting your Surface Pro tablet from the Settings menu provides a convenient and user-friendly method to restore your device to its factory settings. Remember to back up any important data before initiating the reset process, as all personal files and settings will be erased.
Follow the on-screen prompts and be patient during the reset process. After the reset is complete, your Surface Pro tablet will be ready for a fresh start.
Resetting using the Advanced startup options
If your Surface Pro tablet is unable to boot into the Windows operating system, you can still perform a reset using the Advanced startup options. Follow these steps to access the Advanced startup options and initiate the reset process:
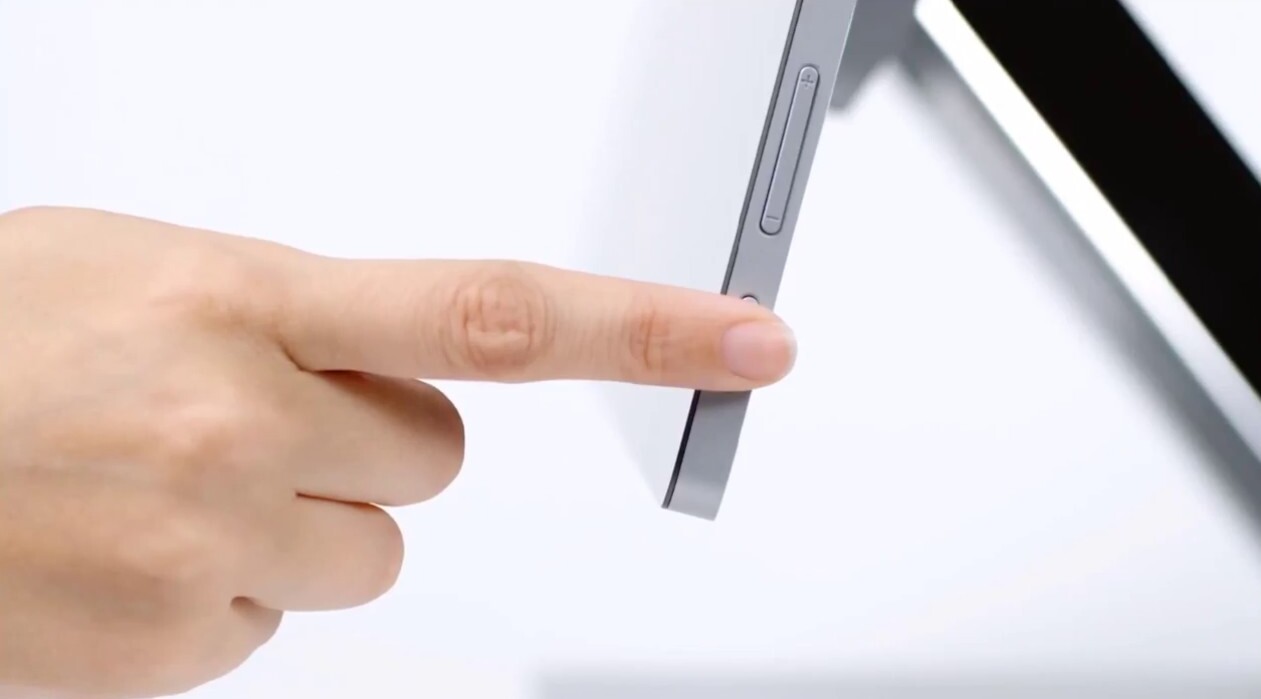
- Make sure your Surface Pro tablet is turned off.
- Hold down the Shift key on your keyboard and press the “Power” button while keeping the Shift key held down. This will start your tablet in the Advanced startup options menu.
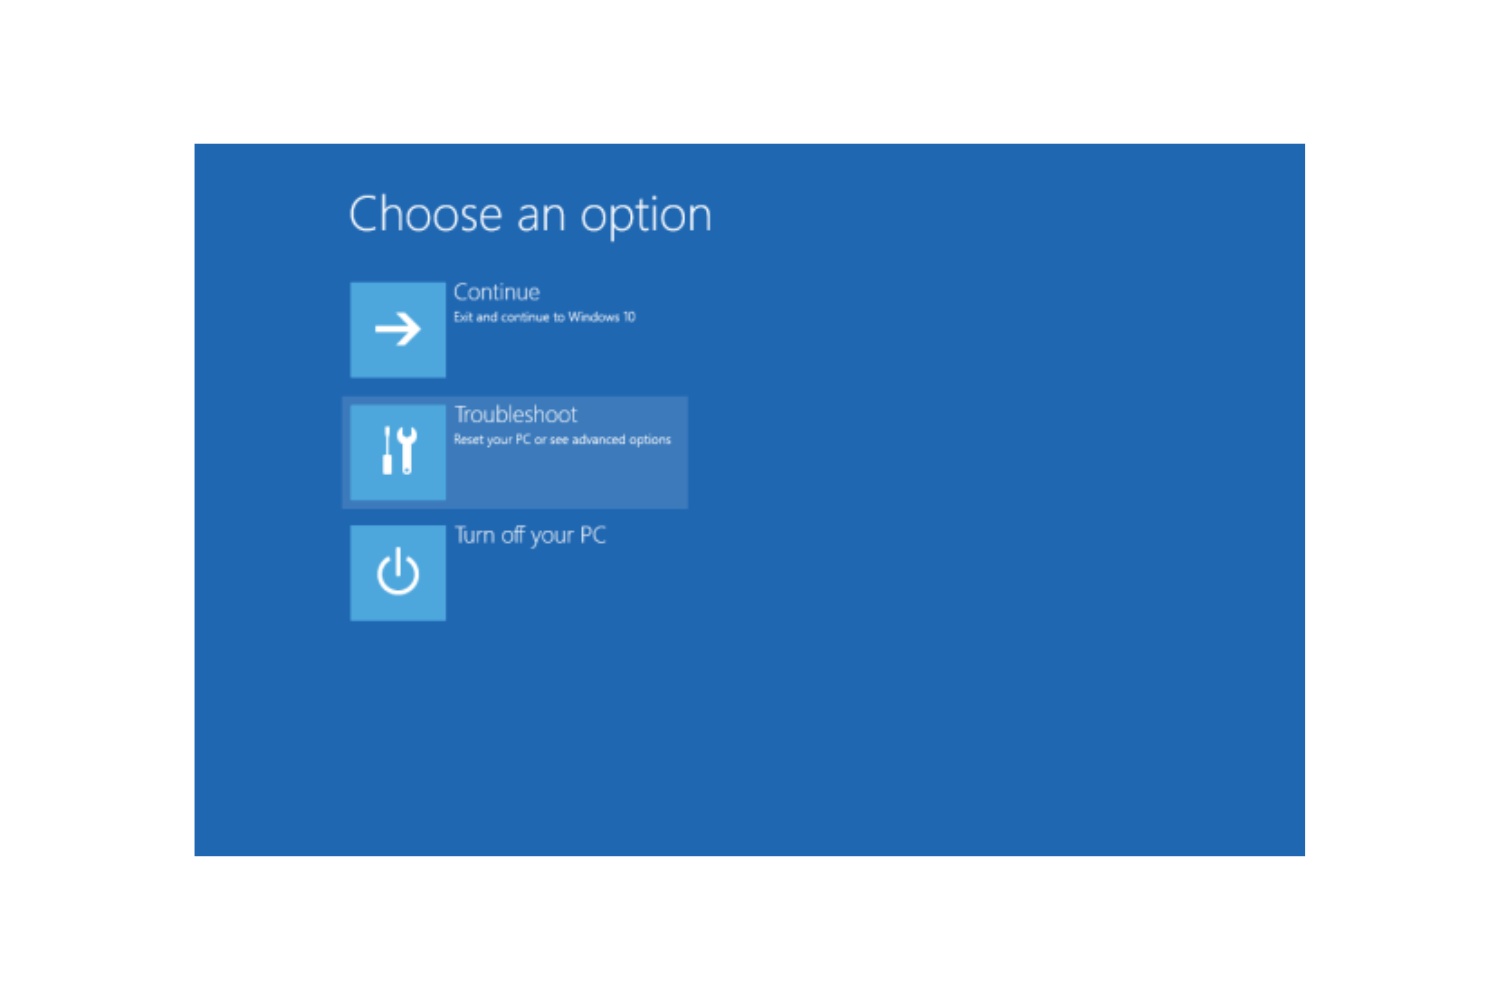
- In the Advanced startup menu, select the “Troubleshoot” option.
- On the Troubleshoot screen, select “Reset this PC.”
- A new window will appear, offering you two options: “Keep my files” and “Remove everything.” Choose the option that aligns with your requirements.
- If you select the “Keep my files” option, your personal files will be retained, but applications and settings will be removed. If you choose the “Remove everything” option, all personal files, applications, and settings will be deleted.
- Click on the “Next” button to proceed.
- If applicable, Windows will prompt you to insert your Windows installation media or recovery drive. Insert the necessary media and follow the on-screen instructions to continue.
- In the following window, confirm your choice by clicking on the “Reset” button.
- Windows will display a warning message informing you that the reset process is irreversible. Once you are certain, click on the “Reset” button to initiate the reset process.
- Your Surface Pro tablet will now begin the reset process, which may take some time. Your tablet will restart multiple times during this process, so it’s important not to interrupt or turn off your device.
- After the reset process is complete, you’ll be guided through the initial setup steps, such as selecting your region and keyboard layout, signing in with your Microsoft account, and personalizing your settings.
Resetting your Surface Pro tablet using the Advanced startup options provides a solution when your tablet is unable to start normally. Ensure that you have backed up any important data before proceeding, as the reset process will erase all personal files and settings.
Follow the on-screen prompts carefully and be patient during the reset process. Once completed, your Surface Pro tablet will be restored to its factory settings and ready for use.
Resetting with the recovery drive
If you have previously created a recovery drive for your Surface Pro tablet, you can use it to perform a reset. Here are the steps to reset your tablet using a recovery drive:
- Ensure your Surface Pro tablet is turned off.
- Connect the recovery drive to your tablet’s USB port.
- Press and hold the Volume Down button on your tablet.
- While still holding the Volume Down button, press and release the Power button.
- Continue to hold the Volume Down button until the Surface logo appears on the screen.
- Release the Volume Down button. Your tablet should now boot into the Choose an option screen.
- In the Choose an option screen, select “Troubleshoot.”
- Click on “Recover from a drive” to start the recovery process using the connected recovery drive.
- Windows will guide you through the necessary steps to reset your Surface Pro tablet. Follow the on-screen instructions carefully.
- Choose the option that best suits your needs – either “Keep my files” or “Remove everything.”
- Read and confirm any additional warnings or prompts that appear on the screen.
- Wait for the reset process to complete. Your Surface Pro tablet may restart several times during this process.
- Once the reset is done, follow the on-screen instructions to set up your tablet anew, including selecting your region and keyboard layout, signing in with your Microsoft account, and customizing your settings.
Using a recovery drive to reset your Surface Pro tablet is an effective method when you encounter issues with your device. Remember to create a recovery drive beforehand if you haven’t done so already and ensure that it is properly prepared to be used for the reset process.
By following these steps and being patient throughout the reset process, you can restore your Surface Pro tablet to its original factory settings and resolve any persistent issues you may have been experiencing.
Resetting with the Surface Pro USB recovery image
If you don’t have a recovery drive for your Surface Pro tablet, you can still perform a reset by utilizing the Surface Pro USB recovery image. Here’s how you can reset your tablet using a USB recovery image:
- Visit the official Microsoft website and download the Surface Pro USB recovery image specific to your tablet model.
- Connect a USB drive to your computer with a minimum of 16 GB of storage capacity.
- Open the downloaded Surface Pro USB recovery image file.
- Follow the instructions provided to create a bootable USB recovery drive using the downloaded image file and the connected USB drive.
- Ensure your Surface Pro tablet is turned off.
- Connect the USB recovery drive to your tablet’s USB port.
- Press and hold the Volume Down button on your tablet.
- While still holding the Volume Down button, press and release the Power button.
- Continue to hold the Volume Down button until the Surface logo appears on the screen.
- Release the Volume Down button. Your tablet should now boot from the USB recovery drive.
- Select your language preferences, keyboard layout, and time zone from the available options.
- Click on “Troubleshoot” and then select “Recover from a drive” from the options.
- Windows will guide you through the necessary steps to reset your Surface Pro tablet. Follow the on-screen instructions carefully.
- Choose the appropriate option – either “Keep my files” or “Remove everything” – based on your requirements.
- Read and confirm any additional warnings or prompts that appear on the screen.
- Wait for the reset process to complete. Your Surface Pro tablet may restart multiple times during this process.
- After the reset is complete, follow the on-screen instructions to set up your tablet anew, including selecting your region and keyboard layout, signing in with your Microsoft account, and customizing your settings.
Resetting your Surface Pro tablet using the USB recovery image is a reliable option when you don’t have a recovery drive. By following these steps carefully, you can perform a successful reset and restore your tablet to its original factory settings.
Make sure to download the correct Surface Pro USB recovery image specific to your tablet model and have a USB drive with sufficient storage capacity. Patience is key during the reset process, as it may take some time for your tablet to complete the reset and restart.
Conclusion
We hope this guide has provided you with a comprehensive understanding of how to reset your Surface Pro tablet. Whether you’re facing performance issues, software glitches, or simply want to start fresh, resetting your tablet can be a useful solution.
Before starting the reset process, it’s crucial to back up any important data you have stored on your Surface Pro tablet. This ensures that you won’t lose any valuable files during the reset.
We have explored different methods to reset your Surface Pro tablet, including resetting from the Settings menu, using advanced startup options, utilizing a recovery drive, and using the Surface Pro USB recovery image. Each method has its own purpose and specific steps to follow, so choose the one that best suits your needs or matches your current situation.
Whether you prefer a straightforward reset from the Settings menu or need to rely on external recovery tools, such as a recovery drive or a USB recovery image, the instructions provided in this guide will help you perform a successful reset.
Remember that resetting your Surface Pro tablet will erase all personal data, apps, and settings, returning your device to its default factory settings. Take the time to back up your data and ensure that you’re ready to proceed with the reset.
Once you have completed the reset process, you’ll be able to start fresh with your Surface Pro tablet. Follow the on-screen instructions during the initial setup to customize your tablet according to your preferences.
We hope this guide has been helpful in assisting you with resetting your Surface Pro tablet. By applying these steps, you can resolve various issues and improve the overall performance and functionality of your device.
Enjoy your refreshed Surface Pro tablet, and may it bring you many more productive and enjoyable experiences!