Introduction
Welcome to this guide on how to reset your Windows Surface Tablet. Whether you’re experiencing software issues, performance problems, or simply want to start fresh, resetting your device can often solve these issues and give you a clean slate.
A reset allows you to restore your tablet to its original factory settings, removing any installed apps, personal settings, and files. It’s important to note that performing a reset will erase all data on your device, so it’s crucial to back up any important files or documents beforehand.
Resetting your Windows Surface Tablet can be done through different methods, ranging from using the settings menu to advanced startup options. In this guide, we will walk you through these methods step by step.
Before proceeding with a reset, it’s important to understand why you should consider this option. Over time, your tablet may accumulate temporary files, unnecessary apps or software, and other data that can bog down its performance. Additionally, if you have encountered repeated software errors or the tablet is not functioning properly, a reset can help resolve these issues.
By resetting your Surface Tablet, you can restore it to its original state, improving performance and resolving any software-related problems you may be experiencing. However, it’s crucial to note that a reset will delete all personal files and applications, so it’s essential to create a backup of your data before proceeding with any of the reset methods discussed in this guide.
In the following sections, we will cover different methods to reset your Windows Surface Tablet, including resetting through Windows settings, advanced startup options, using a USB recovery drive, and utilizing the Surface Recovery Image.
So, let’s get started and learn how to reset your Windows Surface Tablet to improve performance, fix issues, and have a fresh start!
Why Resetting your Windows Surface Tablet is Necessary
Resetting your Windows Surface Tablet may become necessary for several reasons. Over time, your tablet may accumulate temporary files, unnecessary apps, and settings that can lead to decreased performance and software issues. Here are some reasons why resetting your Surface Tablet can be beneficial:
- Improved Performance: Resetting your tablet will remove unwanted files, apps, and settings that can slow down your device. This helps improve overall performance, making your tablet run smoother and faster.
- Fix Software Issues: If you are experiencing frequent software crashes, errors, or unusual behavior on your Surface Tablet, resetting can help resolve these issues. It allows you to start fresh, eliminating any underlying software problems that may be causing these issues.
- Clean Slate: By resetting your tablet, you start with a clean slate. This means all personal files, settings, and apps will be removed, giving you a fresh start to customize your tablet as per your needs. It’s like giving your device a new lease on life.
- Remove Malware or Viruses: If your tablet has been infected with malware or viruses, a reset can help remove these threats. Resetting your tablet erases all data, including any malicious software, ensuring a clean and secure operating system.
- Increase Storage Space: Over time, your tablet may accumulate unnecessary files and apps that take up valuable storage space. By resetting your device, you can free up storage space, allowing you to install new apps, save files, and improve overall storage management.
It’s important to note that resetting your Surface Tablet should be done as a last resort after all other troubleshooting methods have been exhausted. Before proceeding with a reset, ensure that you have backed up all important files and documents to avoid losing any data during the process.
In the following sections, we will explore different methods to reset your Windows Surface Tablet, each with its own unique benefits and procedures. Whether you reset through the Windows settings, advanced startup options, or using a USB recovery drive, these methods will help you achieve a clean and optimized tablet experience.
Now that we understand the importance of resetting your Windows Surface Tablet, let’s explore the various methods to perform a reset and get your tablet back to its optimal state.
Backup Your Data Before Resetting
Before proceeding with a reset of your Windows Surface Tablet, it’s crucial to backup all your important data, files, and documents. Resetting your tablet will erase all data, including personal files, apps, and settings, so it’s essential to safeguard your information beforehand. Here are some steps to help you back up your data:
- Cloud Storage: One of the most convenient ways to back up your data is by utilizing cloud storage services. Services like Microsoft OneDrive, Google Drive, or Dropbox allow you to store your files securely online. Simply upload your important documents, photos, and other files to the cloud and ensure they are synced before proceeding with the reset.
- External Storage: Another option is to transfer your important files to an external storage device such as a USB flash drive or an external hard drive. Connect the storage device to your Surface Tablet and manually copy your files over to ensure they are safely stored and easily accessible after the reset.
- Email or File Transfer: For smaller files or documents, you can consider sending them via email to yourself or using file transfer methods such as Bluetooth or Wi-Fi Direct. This allows you to transfer files from your tablet to another device for safekeeping.
- Sync Accounts: If you use apps or services that support synchronization, such as email accounts, calendars, or note-taking apps, ensure that they are set to synchronize regularly. This way, your data will be saved and accessible when you sign in to your account on a new device or after the reset.
It’s important to thoroughly go through your files and ensure that all necessary data is backed up before proceeding with the reset. Take the time to organize your files and confirm that everything you need is securely stored.
Once you have completed the backup process and verified that all your important data is safely stored, you can proceed confidently with the reset of your Windows Surface Tablet.
In the following sections, we will explore different methods to reset your Surface Tablet, providing step-by-step instructions. Remember, performing a reset will delete all data on your tablet, so it’s essential to follow the backup steps outlined in this section to avoid any data loss or inconvenience.
Now that you understand the importance of backing up your data, let’s dive into the various methods you can use to reset your Windows Surface Tablet.
Method 1: Reset through Windows Settings
Resetting your Windows Surface Tablet through the Windows Settings is one of the most common methods and is relatively straightforward. Here’s how you can do it:
- First, go to the Start menu by clicking on the Windows icon at the bottom left corner of the screen.
- From the Start menu, select the “Settings” option. It is represented by a gear icon.
- In the Settings menu, navigate to the “Update & Security” section.
- Within the “Update & Security” section, click on the “Recovery” tab located on the left-hand sidebar.
- Under the “Reset this PC” section, click on the “Get started” button.
- A new window will appear, giving you the option to either keep your personal files or remove everything. Choose the option that aligns with your needs. Keep in mind that selecting “Remove everything” will delete all your personal files, apps, and settings.
- Follow the on-screen prompts and confirm your selection to initiate the reset process. Your tablet will restart, and the reset process will begin.
During the reset process, your tablet may restart multiple times. It’s important to let the process complete without interrupting it.
Once the reset is complete, your Windows Surface Tablet will be restored to its original factory settings. You can then set up your tablet anew, reinstall any necessary apps, and restore your files from the backup you created earlier.
Keep in mind that resetting your tablet may take some time, depending on the speed and specifications of your device. Also, ensure that your tablet is connected to a power source to prevent any disruptions during the process.
Now that you know how to reset your Windows Surface Tablet through the Windows Settings, you can easily restore your device and resolve any software-related issues.
In the following sections, we will explore additional methods to reset your Surface Tablet, each with its own advantages and procedures.
Method 2: Reset through Advanced Startup Options
If you encounter issues accessing the Windows Settings or if your tablet is not booting properly, you can use the Advanced Startup Options to reset your Windows Surface Tablet. This method allows you to access troubleshooting tools that can help you initiate a reset. Here’s how you can reset your tablet using the Advanced Startup Options:
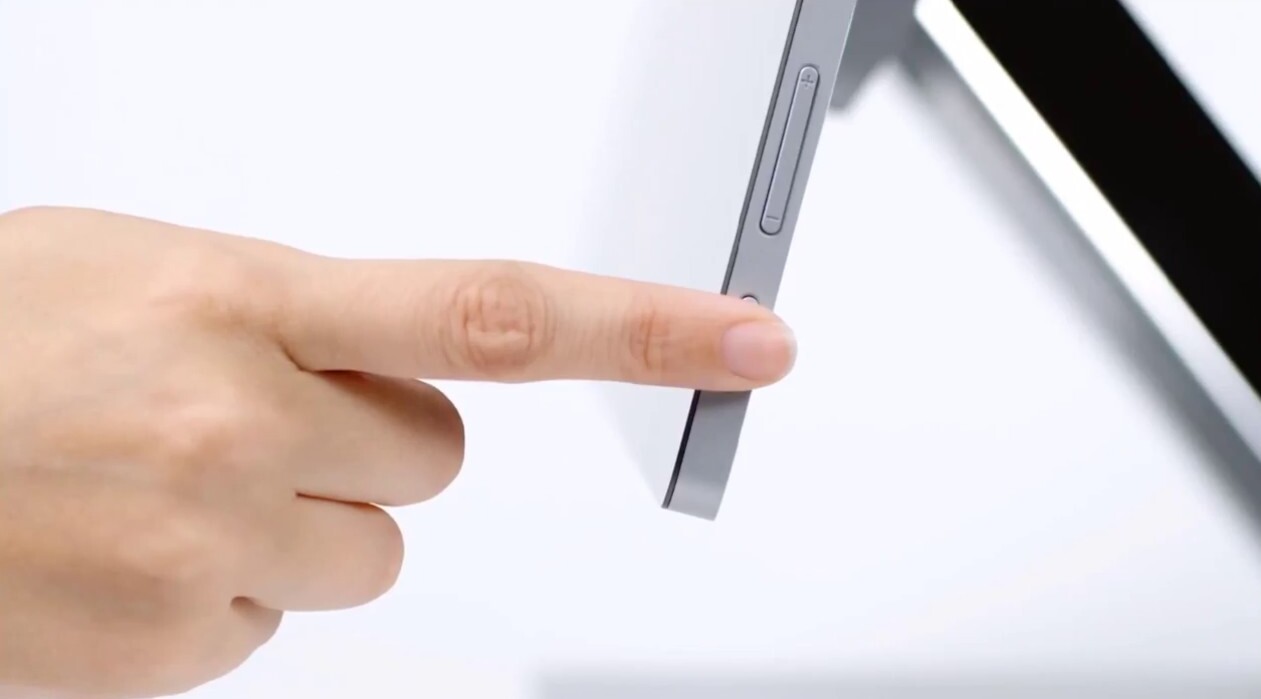
- Press and hold the power button on your Surface Tablet for 10 seconds. This action will turn off your device.
- Press the power button again to turn on your tablet.
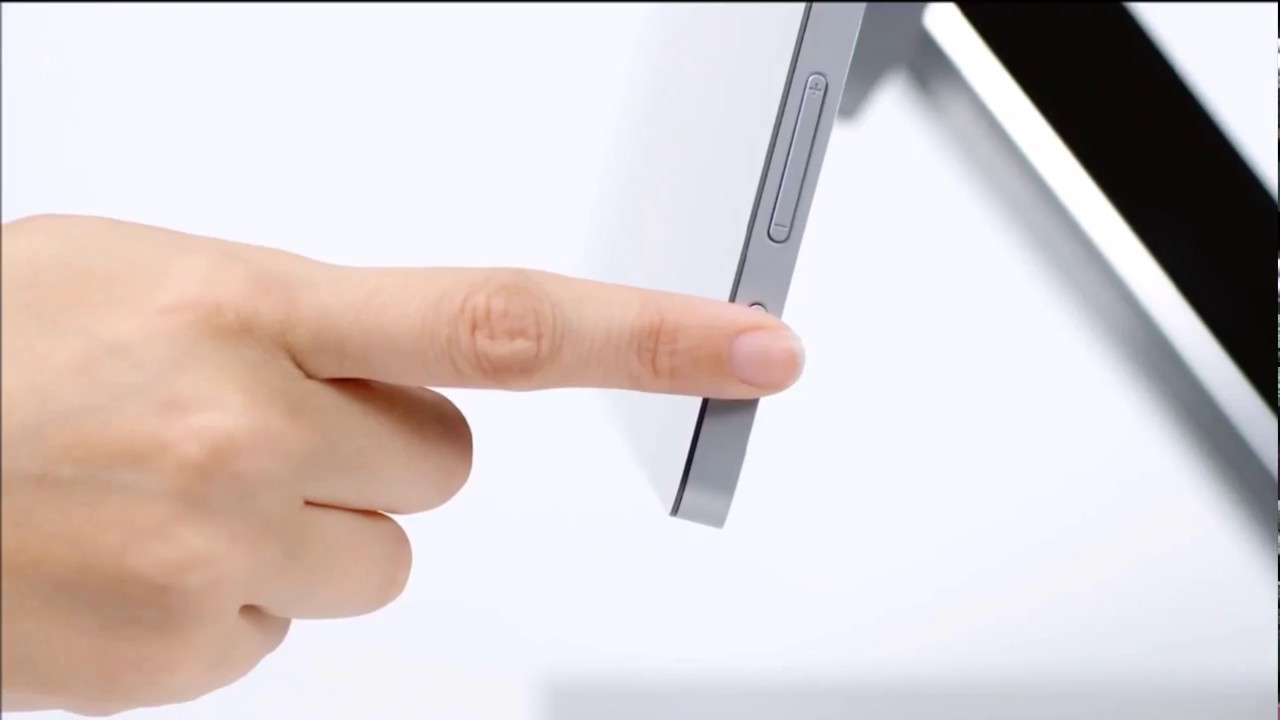
- As the tablet starts up, continuously press and hold the volume-up button on the side of the tablet.
- Keep holding the volume-up button until the Surface logo appears on the screen. Release the button once you see the logo.
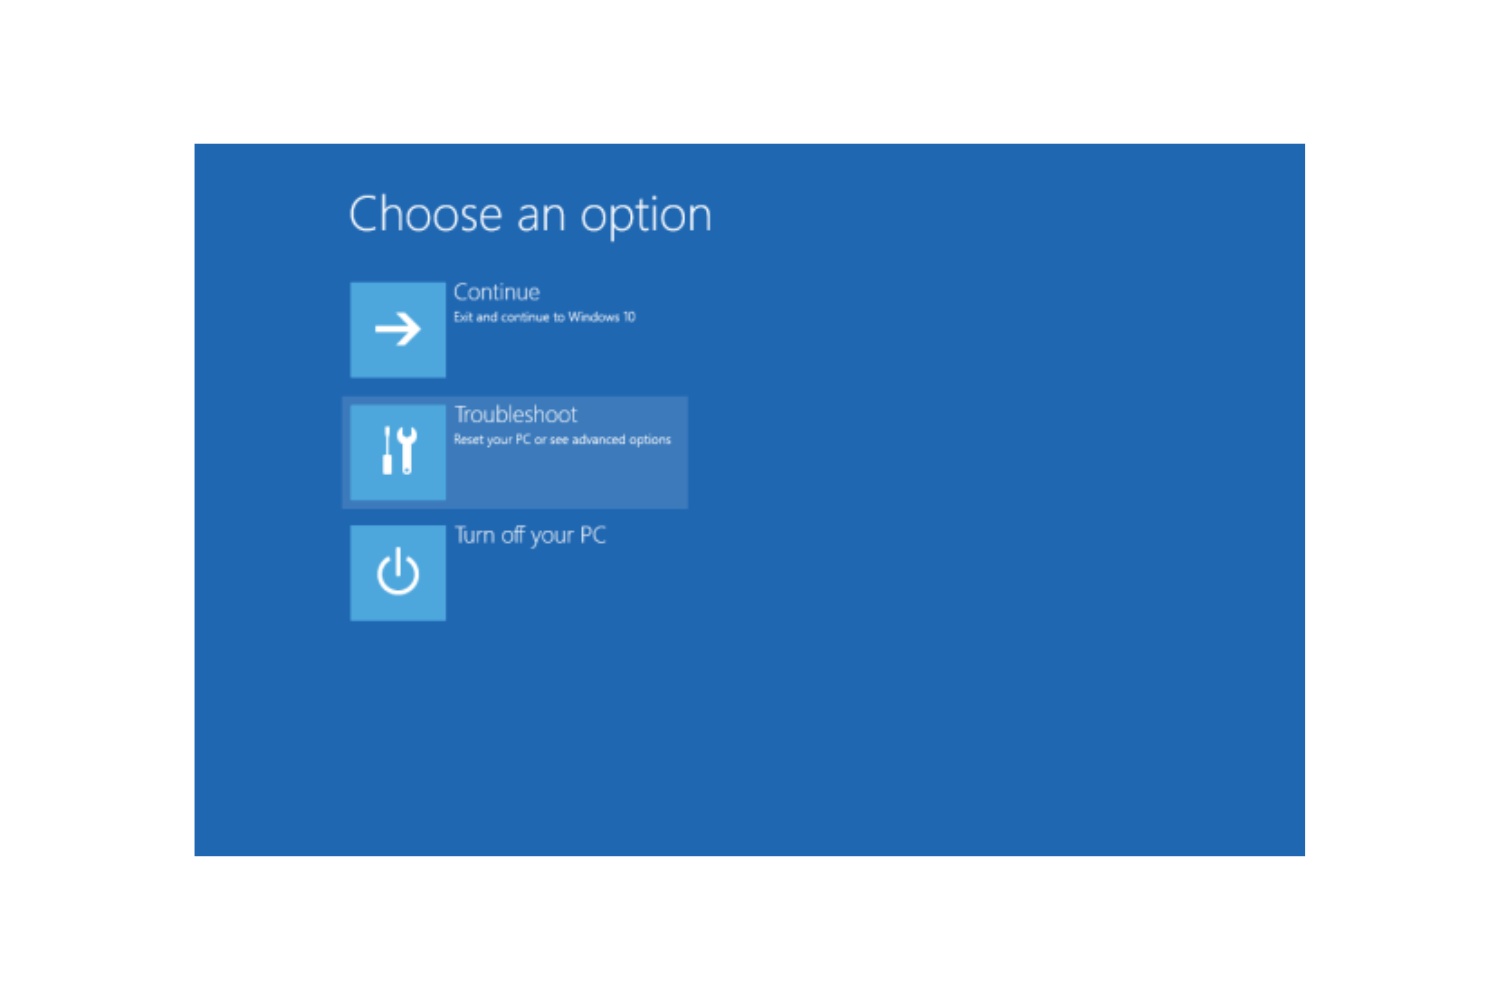
- The Advanced Startup Options screen will appear. From the list of options, select “Troubleshoot”.
- In the Troubleshoot menu, select “Reset this PC”.
- Choose the option to either keep your personal files or remove everything, depending on your needs.
- Follow the on-screen instructions to confirm your selection and initiate the reset process.
During the reset process, your tablet may restart several times. It’s crucial to allow the process to complete without interruption.
Once the reset is finished, your Windows Surface Tablet will be restored to its factory settings. You can then set up your tablet from scratch, reinstall any necessary applications, and restore your files using the backup you created earlier.
It’s important to note that resetting your tablet using the Advanced Startup Options may take longer compared to resetting through Windows Settings. Additionally, ensure that your tablet is connected to a power source to avoid any disruptions.
Now that you know how to reset your Windows Surface Tablet using the Advanced Startup Options, you can easily resolve software issues and bring your tablet back to optimal functioning.
In the next sections, we will discuss additional methods to reset your Surface Tablet, each with its own unique benefits and procedures.
Method 3: Reset using a USB Recovery Drive
If you’re unable to access the Windows settings or the Advanced Startup Options, using a USB recovery drive is another method to reset your Windows Surface Tablet. This method allows you to boot your tablet from a USB drive containing the necessary recovery tools. Here’s how you can reset your tablet using a USB recovery drive:
- Begin by creating a USB recovery drive on another Windows computer. Insert a USB drive with a minimum capacity of 16GB.
- On the computer, search for and open the “Create a recovery drive” tool. Follow the on-screen prompts to create the recovery drive.
- Once the recovery drive is created, safely eject it from the computer.
- Turn off your Windows Surface Tablet.
- Insert the USB recovery drive into your tablet’s USB port.
- Press and hold the volume-down button on the side of the tablet.
- While still holding the volume-down button, press and release the power button. Continue holding the volume-down button until the Surface logo appears on the screen.
- A blue screen with “Choose an option” will appear. Use the volume-up and volume-down buttons to navigate to the “Troubleshoot” option, and press the power button to select it.
- In the Troubleshoot menu, select “Advanced options”.
- Choose “System Image Recovery” or “Reset this PC” depending on your preference or the options available.
- Follow the on-screen instructions to initiate the reset process using the USB recovery drive.
During the reset process, your tablet will restart multiple times. Allow the process to complete without interruption.
Once the reset is finished, your Windows Surface Tablet will be restored to its factory settings. Proceed with the setup process, reinstall any necessary applications, and restore your files using the backup you created earlier.
Ensure that your tablet is connected to a power source while performing the reset to avoid any interruptions or unexpected shutdowns.
Now that you are familiar with the method of resetting your Windows Surface Tablet using a USB recovery drive, you can easily troubleshoot and resolve software issues that may be affecting your tablet’s performance.
In the next sections, we will explore additional methods to reset your Surface Tablet, each with its own unique benefits and procedures.
Method 4: Reset using Surface Recovery Image
If your Windows Surface Tablet experiences severe issues that cannot be resolved through other methods, you may need to perform a reset using the Surface Recovery Image. This method allows you to restore your tablet to its original factory settings using a recovery image provided by Microsoft. Here’s how you can reset your tablet using the Surface Recovery Image:
- Visit the Microsoft Download Center website and search for the Surface recovery image specific to your tablet model.
- Download the recovery image and save it on another Windows computer or a USB drive with sufficient storage capacity.
- Connect the USB drive or external storage device containing the recovery image to your Surface Tablet.
- Turn off your tablet completely.
- Press and hold the volume-down button on the side of the tablet.
- While still holding the volume-down button, press and release the power button. Continue holding the volume-down button until the Surface logo appears on the screen.
- A blue screen with “Choose an option” will appear. Use the volume-up and volume-down buttons to navigate to “Use a device” and press the power button to select it.
- In the list of available devices, select the USB drive or external storage device containing the Surface Recovery Image.
- Follow the on-screen instructions to initiate the reset process using the Surface Recovery Image.
During the reset process, your tablet may restart several times. Allow the process to complete without interruption.
Once the reset is complete, your Windows Surface Tablet will be restored to its factory settings. Proceed with the device setup process, reinstall any necessary apps, and restore your files using the backup you created earlier.
Keep in mind that this method requires you to have access to a recovery image specific to your tablet model. It’s important to choose the correct recovery image to ensure a successful reset.
Ensure that your tablet is connected to a power source during the reset process to prevent any disruptions or unexpected shutdowns.
Now that you understand how to reset your Windows Surface Tablet using the Surface Recovery Image, you can confidently resolve severe software issues and restore your tablet to its optimal functioning.
In the following sections, we will explore additional methods to reset your Surface Tablet, each with its own benefits and procedures.
Conclusion
Resetting your Windows Surface Tablet is a powerful tool to resolve software issues, improve performance, and start fresh with a clean slate. Whether you choose to reset through Windows Settings, Advanced Startup Options, a USB recovery drive, or the Surface Recovery Image, each method provides a way to restore your tablet to its original factory settings.
Before performing a reset, it’s crucial to backup all your important data, files, and documents to prevent any loss during the process. Utilize cloud storage, external storage devices, or synchronization features to safeguard your files and ensure they can be easily restored afterwards.
By resetting your Surface Tablet, you can optimize its performance, fix software issues, remove malware or viruses, and free up valuable storage space. It’s important to consider resetting as a last resort after attempting other troubleshooting methods, but when necessary, it can provide a significant improvement in the functionality and reliability of your tablet.
Throughout this guide, we have explored various methods to reset your Windows Surface Tablet, including resetting through Windows Settings, Advanced Startup Options, a USB recovery drive, and the Surface Recovery Image. Each method has its own unique benefits and procedures, allowing you to choose the most suitable option based on your specific situation.
Remember to carefully follow the step-by-step instructions provided in each method, ensuring that your tablet is connected to a power source and allowing the reset process to complete without interruption.
We hope this guide has been informative and helpful in guiding you through the process of resetting your Windows Surface Tablet. By following the methods outlined and considering the importance of backing up your data, you can confidently resolve software issues, enhance performance, and enjoy a refreshed and optimized tablet experience.
Now that you are equipped with the knowledge, it’s time to choose the method that suits you best and reset your Windows Surface Tablet. Happy resetting!