Introduction
Resetting your Android tablet can be a useful solution if you’re experiencing performance issues, software glitches, or simply want to start fresh. While the process of resetting your tablet can usually be done directly on the device, there are instances where you may need to use a computer for a more thorough reset. This article will guide you through the steps to reset your Android tablet using a computer.
Resetting your tablet with a computer offers a more comprehensive reset by accessing the device’s system files and settings. This method ensures a complete wipe of all data, including apps, accounts, and system configurations, giving you a clean slate to work with. It is essential to note that performing a reset will permanently delete all data on your tablet, so it’s crucial to back up any important files or documents beforehand.
Before we dive into the steps, it’s important to emphasize that the process may vary slightly depending on your tablet’s brand and model. However, the general procedure remains the same. So, be sure to check your tablet’s user manual or the manufacturer’s website for specific instructions that may apply to your device.
In the following sections, we will cover the prerequisites you need to fulfill before resetting your Android tablet with a computer and the step-by-step instructions to complete the process successfully. By following these steps carefully, you can regain control over your tablet’s performance and resolve any software-related issues you may be facing.
Prerequisites
Before you proceed with resetting your Android tablet using a computer, there are a few essential prerequisites that you need to fulfill. These prerequisites ensure a smooth and successful reset process. Here’s what you’ll need:
- Computer: You will need a computer with a stable internet connection. It can be a Windows PC or a Mac, as the process is generally compatible with both operating systems. Ensure that your computer meets the minimum system requirements specified by the tablet manufacturer.
- USB Cable: Obtain a compatible USB cable that can connect your Android tablet to your computer. Most tablets utilize a USB Type-C or micro USB connection.
- ADB (Android Debug Bridge) and USB Drivers: You need to have the Android Debug Bridge (ADB) software installed on your computer. ADB is a versatile command-line tool that allows communication between your computer and the Android device. Additionally, make sure you have the correct USB drivers installed for your tablet model to ensure a successful connection.
- Enabled USB Debugging: Enable the USB Debugging option on your Android tablet. USB Debugging allows your computer to communicate with your device for advanced tasks. You can find this option in the Developer Options section of your tablet’s settings. If Developer Options are not visible in your settings, go to the About section and tap on the Build Number multiple times until you see a message confirming that Developer Options have been enabled.
- Backup Data: It is crucial to back up any important data, including contacts, photos, videos, and documents, before proceeding with the reset process. Resetting your tablet will erase all data on the device, so ensure that you have a backup saved on your computer or a cloud service.
Once you have fulfilled these prerequisites, you are ready to embark on the journey of resetting your Android tablet using a computer. It’s important to follow the subsequent steps carefully to ensure a successful reset and avoid any potential issues.
Step 1: Install ADB and USB Drivers
To begin the process of resetting your Android tablet using a computer, you will first need to install the Android Debug Bridge (ADB) software and the appropriate USB drivers on your computer. ADB allows you to interact with your Android device through the command-line interface on your computer. Follow these steps to install ADB and the USB drivers:
- Download ADB: Go to the Android Developer website and download the ADB package for your operating system. Extract the downloaded zip file to a convenient location on your computer.
- Install USB Drivers: Visit the website of your tablet’s manufacturer and locate the USB drivers for your specific tablet model. Download and install the drivers following the provided instructions. If your tablet uses a popular brand like Samsung, you can typically find the USB drivers on their official website or through a quick internet search.
- Add ADB to System Path (Optional): For convenience, you can add the ADB installation directory to your system’s PATH environment variable. This allows you to run ADB commands from any location in the command prompt or terminal without specifying the full path to the ADB executable.
- Connect Your Android Tablet: Use the provided USB cable to connect your Android tablet to your computer. Ensure that the tablet is powered on and unlocked.
- Enable File Transfer Mode (MTP): On your tablet, open the notification panel and select the USB notification. Choose the “File Transfer” or “MTP” mode to establish a proper connection between your tablet and computer.
- Allow USB Debugging: On your tablet, when prompted, grant permission for USB Debugging to allow the computer to communicate with your device.
-
Verify USB Connection: Open a command prompt (Windows) or terminal (Mac/Linux) and enter the following command:
adb devices
If your tablet is successfully connected, you will see its device ID listed in the command prompt or terminal.
Once you have completed these steps, you have successfully installed ADB and the necessary USB drivers on your computer, and your Android tablet is ready for the next stage of the reset process.
Step 2: Enable USB Debugging on Your Android Tablet
In order for your computer to communicate with your Android tablet during the reset process, you need to enable USB Debugging. USB Debugging allows for advanced interaction between the device and your computer. Here’s how you can enable USB Debugging on your Android tablet:
- Open Settings: Unlock your Android tablet and navigate to the Settings app. It is usually represented by a gear icon and can be found in your app drawer or on the home screen.
- Find Developer Options: Scroll down to find the “Developer Options” menu. However, note that the location of this menu may vary depending on the Android version and manufacturer’s customization. If you don’t find Developer Options directly in the Settings, go to the About section and look for an option like “Build Number”, “Software Information”, or “About Tablet”.
- Enable Developer Options: In the About section, locate the “Build Number” option and tap on it several times. After tapping continuously, you will see a message indicating that Developer Options have been enabled.
- Access Developer Options: Go back to the main Settings menu and scroll down again. You should now see “Developer Options” listed. Tap on it to enter the Developer Options menu.
- Enable USB Debugging: Within the Developer Options menu, locate the “USB Debugging” option and toggle the switch to enable it. A warning message may appear; tap “OK” or “Allow” to grant the necessary permissions.
Once you have successfully enabled USB Debugging on your Android tablet, you can establish a connection with your computer and proceed to the next step of the reset process. It’s important to keep the Developer Options menu accessible throughout the reset process, as you may need to use it later.
Step 3: Connect Your Android Tablet to Your Computer
Now that you have installed the necessary drivers and enabled USB Debugging, it’s time to connect your Android tablet to your computer. Follow these steps to establish a successful connection:
- USB Cable: Take the USB cable that came with your Android tablet and connect one end to the tablet itself.
- Computer Connection: Plug the other end of the USB cable into an available USB port on your computer. Ensure that the connection is secure.
- Tablet Confirmation: On your Android tablet, you may see a notification indicating that it is connected to a computer. Tap on this notification to select the appropriate USB connection option. Choose the “File Transfer” or “MTP” mode to allow data transfer between your tablet and computer.
- USB Debugging Prompt: If this is the first time you are connecting the tablet to your computer, you may be prompted to allow USB Debugging on your tablet. Grant permission by tapping “OK” or “Allow” when prompted.
- Computer Recognition: Wait for your computer to recognize and establish a connection with your Android tablet. This process may take a few moments as the necessary drivers are installed and configured.
Once the connection is established, you can proceed to the next step of the reset process. Ensuring a stable and reliable connection is crucial for a successful reset, so make sure that both ends of the USB cable are inserted securely and that your computer recognizes the connected device accurately.
Step 4: Open Command Prompt or Terminal
To execute the necessary commands for resetting your Android tablet, you need to open the Command Prompt (Windows) or Terminal (Mac/Linux) on your computer. Here’s how you can access it:
-
Windows:
- Press the Windows key on your keyboard to open the Start menu.
- Type “Command Prompt” in the search bar.
- Click on the Command Prompt app from the search results to open it.
-
Mac:
- Click on the Spotlight search icon located on the top right corner of your screen (or press Command + Spacebar).
- Type “Terminal” in the search bar.
- Click on the Terminal app from the search results to open it.
-
Linux:
- Press the Super key (usually depicted with the Windows logo) on your keyboard to open the application launcher.
- Type “Terminal” in the search bar.
- Click on the Terminal app from the search results to open it.
Once you have successfully opened the Command Prompt or Terminal, you are ready to enter the necessary ADB commands to reset your Android tablet. Make sure to keep the Command Prompt or Terminal open throughout the reset process, as you will require it for subsequent steps.
Step 5: Test ADB Connection
Before proceeding with the actual reset process, it’s important to verify that the ADB connection between your computer and Android tablet is working correctly. Testing the ADB connection ensures that you can effectively communicate with your tablet through the command-line interface. Follow these steps to perform a quick ADB connection test:
- Ensure Tablet is Connected: Confirm that your Android tablet is still connected to your computer via the USB cable.
- Open Command Prompt or Terminal: Keep the Command Prompt (Windows) or Terminal (Mac/Linux) window open, as you did in the previous step.
-
Enter ADB Command: In the Command Prompt or Terminal, enter the following command:
adb devices
This command will list the connected Android devices that are recognized by ADB. - Check ADB Connection: After executing the command, you should see the device ID of your Android tablet listed in the output. If you see the device ID, it means that the ADB connection is successfully established.
- Authorize ADB: If your tablet prompts you to allow USB Debugging and authorize the ADB connection, grant the necessary permissions by tapping “OK” or “Allow” on your tablet’s screen.
If the ADB connection test is successful and your tablet device ID is visible in the output, it means that your computer can communicate with your Android tablet via ADB. This confirms that you are ready to proceed with the subsequent steps to reset your tablet using ADB commands.
Step 6: Enter ADB Shell
Entering the ADB Shell allows you to access the command-line interface of your Android tablet through the ADB connection. This step is crucial for executing the necessary ADB commands to initiate the factory reset. Follow these steps to enter the ADB Shell:
- Ensure Tablet Connection: Double-check that your Android tablet is still connected to your computer via the USB cable.
- Open Command Prompt or Terminal: Keep the Command Prompt (Windows) or Terminal (Mac/Linux) window open, as you did in the previous steps.
-
Enter ADB Shell Command: In the Command Prompt or Terminal, enter the following command:
adb shell
This command opens a shell session with your Android tablet, allowing you to execute commands from your computer. - Confirm ADB Shell Access: After executing the command, you should see a prompt indicating that you have entered the ADB Shell. It may display a serial number or the name of your tablet along with a “$” symbol. This indicates that you now have control over your tablet’s command-line interface through ADB.
Once you have successfully entered the ADB Shell, you are one step closer to resetting your Android tablet. The ADB Shell command prompt gives you direct access to your tablet’s system files and configurations, enabling you to perform the factory reset command in the upcoming step.
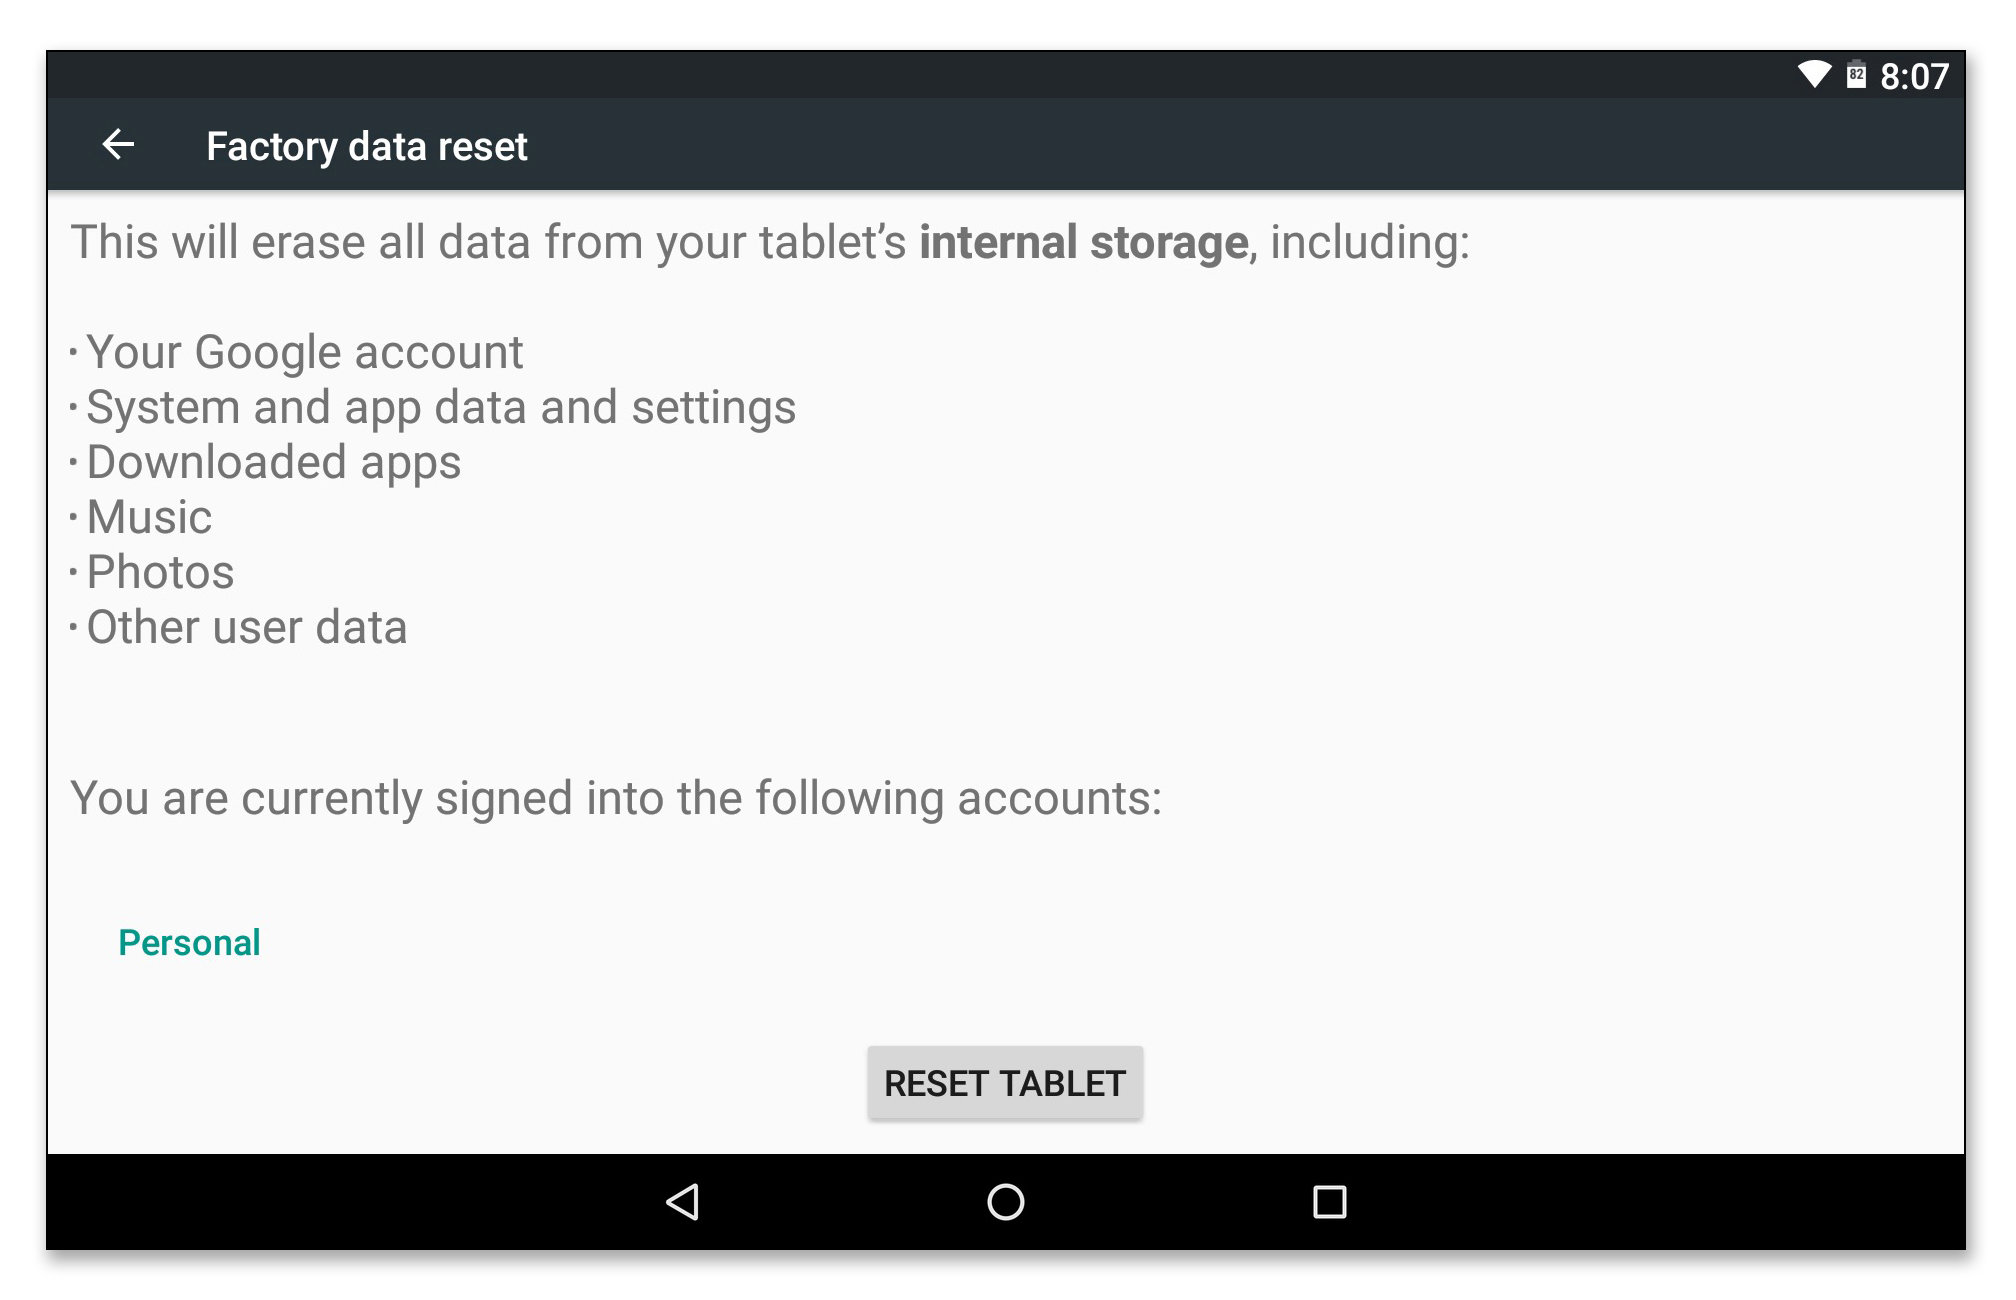
Step 7: Factory Reset Your Android Tablet
Now that you have entered the ADB Shell and gained access to your Android tablet’s command-line interface, it’s time to initiate the factory reset process. Follow these steps to perform a factory reset on your Android tablet using ADB commands:
- Verify ADB Shell: Ensure that you are still in the ADB Shell prompt by checking the command-line interface on your computer. It should display a serial number or the name of your tablet followed by a “$” symbol.
-
Execute Factory Reset Command: In the ADB Shell, enter the following command to initiate the factory reset process:
wipe dataorwipe data/factory reset
This command instructs your tablet to erase all data, including apps, accounts, and system configurations, and revert it to its original factory state. - Confirm Factory Reset: After executing the command, you may be prompted to confirm the factory reset. Make sure to review the information displayed on your tablet’s screen and confirm the reset if prompted. The confirmation process may vary depending on your tablet’s manufacturer and Android version.
- Wait for Reset Completion: Once the factory reset process begins, it may take some time for your tablet to erase all the data and perform the reset. Be patient and allow the process to complete without interruption. You may see progress indicators or messages on your tablet’s screen.
- Factory Reset Successful: Once the reset process is complete, you will see a confirmation message on your tablet’s screen. Your Android tablet is now restored to its original factory settings, as if it were brand new.
Congratulations! You have successfully performed a factory reset on your Android tablet using ADB commands. The tablet is now ready to be set up again, and you can proceed to reboot it in the next step.
Step 8: Reboot Your Android Tablet
After performing a factory reset on your Android tablet, it is essential to reboot the device to finalize the reset process and start fresh. Follow these steps to reboot your Android tablet:
-
Exit ADB Shell: If you are still in the ADB Shell prompt on your computer, you can exit it by entering the following command:
exit
This command will bring you back to the regular command prompt or terminal. - Disconnect your Tablet: Disconnect your tablet from the computer by removing the USB cable from both ends.
- Power Off your Tablet: On your Android tablet, press and hold the Power button until the power options menu appears on the screen.
- Select Reboot or Power Off: From the power options menu, select the “Reboot” or “Power Off” option, depending on what is available. If “Reboot” is not available, choose “Power Off” and proceed to the next step.
- Power On your Tablet: After your tablet has turned off, press and hold the Power button again to turn it back on. This may take a few moments, and you may need to be patient as your tablet goes through the boot-up process.
Once your Android tablet has finished rebooting, it will start with a clean slate and be ready for you to set it up according to your preferences. You can now go through the initial setup process, including configuring your language, Wi-Fi, and Google account settings.
By following these steps, you have successfully rebooted your Android tablet after performing a factory reset, ensuring that the reset takes effect and allowing you to start using your tablet from a fresh state.
Conclusion
Resetting your Android tablet using a computer can be a powerful solution to address performance issues, software glitches, or to start afresh with a clean slate. By following the step-by-step guide provided in this article, you have learned how to reset your Android tablet using ADB commands and a computer, ensuring a comprehensive reset that wipes all data, including apps, accounts, and system configurations.
We started by discussing the prerequisites for the reset process, including installing ADB and USB drivers, enabling USB Debugging, and backing up your data. Then, we walked through the step-by-step instructions, starting with installing ADB and USB drivers, enabling USB Debugging, connecting your tablet to the computer, opening the Command Prompt or Terminal, testing the ADB connection, entering the ADB Shell, performing a factory reset, and finally rebooting the tablet.
It is important to note that the exact steps may vary slightly depending on the make and model of your tablet. Therefore, it’s always recommended to refer to your tablet’s user manual or the manufacturer’s website for specific instructions applicable to your device.
Performing a factory reset should be done with caution, as it permanently deletes all data on your tablet. Before proceeding, ensure that you have backed up any important files or documents to avoid losing valuable data.
With the successful completion of a factory reset and reboot, your Android tablet is now restored to its original factory settings. You can now set up the tablet according to your preferences and start fresh, experiencing improved performance and a clean, optimized device.
We hope that this guide has been helpful in resetting your Android tablet using a computer. By taking advantage of the ADB command-line interface, you have gained a more comprehensive reset option, allowing you to overcome software-related issues and create a fresh start on your Android tablet.