Introduction
Connecting your AirPods to your Surface Pro can enhance your audio experience and provide wireless convenience while working or listening to music. The Surface Pro, running on the Windows operating system, is compatible with Bluetooth devices such as the AirPods, making it a seamless process to connect them.
By following a few simple steps, you can easily pair your AirPods with your Surface Pro and enjoy the freedom of wireless audio. Whether you want to listen to music, watch videos, or participate in conference calls, connecting your AirPods to your Surface Pro allows you to do so without the hassle of tangled wires.
In this guide, we will walk you through the step-by-step process of connecting your AirPods to your Surface Pro. We will also provide troubleshooting tips for common issues that may arise during the pairing process.
So, if you have a Surface Pro and a pair of AirPods ready, let’s dive in and get your AirPods connected in no time!
Step 1: Ensure Bluetooth is enabled on your Surface Pro
The first step in connecting your AirPods to your Surface Pro is to ensure that Bluetooth is enabled on your device. Bluetooth allows for the wireless communication between your Surface Pro and other compatible devices, such as the AirPods.
To check if Bluetooth is enabled on your Surface Pro, follow these simple steps:
- Click on the Start menu button in the bottom-left corner of your screen.
- Select the Settings icon, which resembles a gear.
- In the Settings window, click on ‘Devices’.
- In the left sidebar, click on ‘Bluetooth & other devices’.
- In the right pane, make sure that the ‘Bluetooth’ toggle switch is set to ‘On’.
If the toggle switch is already set to ‘On’, then you have Bluetooth enabled on your Surface Pro and can proceed to the next step. However, if it is set to ‘Off’, simply click on the toggle switch to turn Bluetooth on.
Enabling Bluetooth on your Surface Pro ensures that it is ready to connect with other Bluetooth devices, such as your AirPods. Once Bluetooth is enabled, you can move on to the next step to put your AirPods into pairing mode.
Step 2: Open the AirPods case and put them in pairing mode
Before you can connect your AirPods to your Surface Pro, you need to put them into pairing mode. Pairing mode allows your AirPods to be discoverable by other devices, such as your Surface Pro, so they can establish a Bluetooth connection.
To put your AirPods into pairing mode, follow these steps:
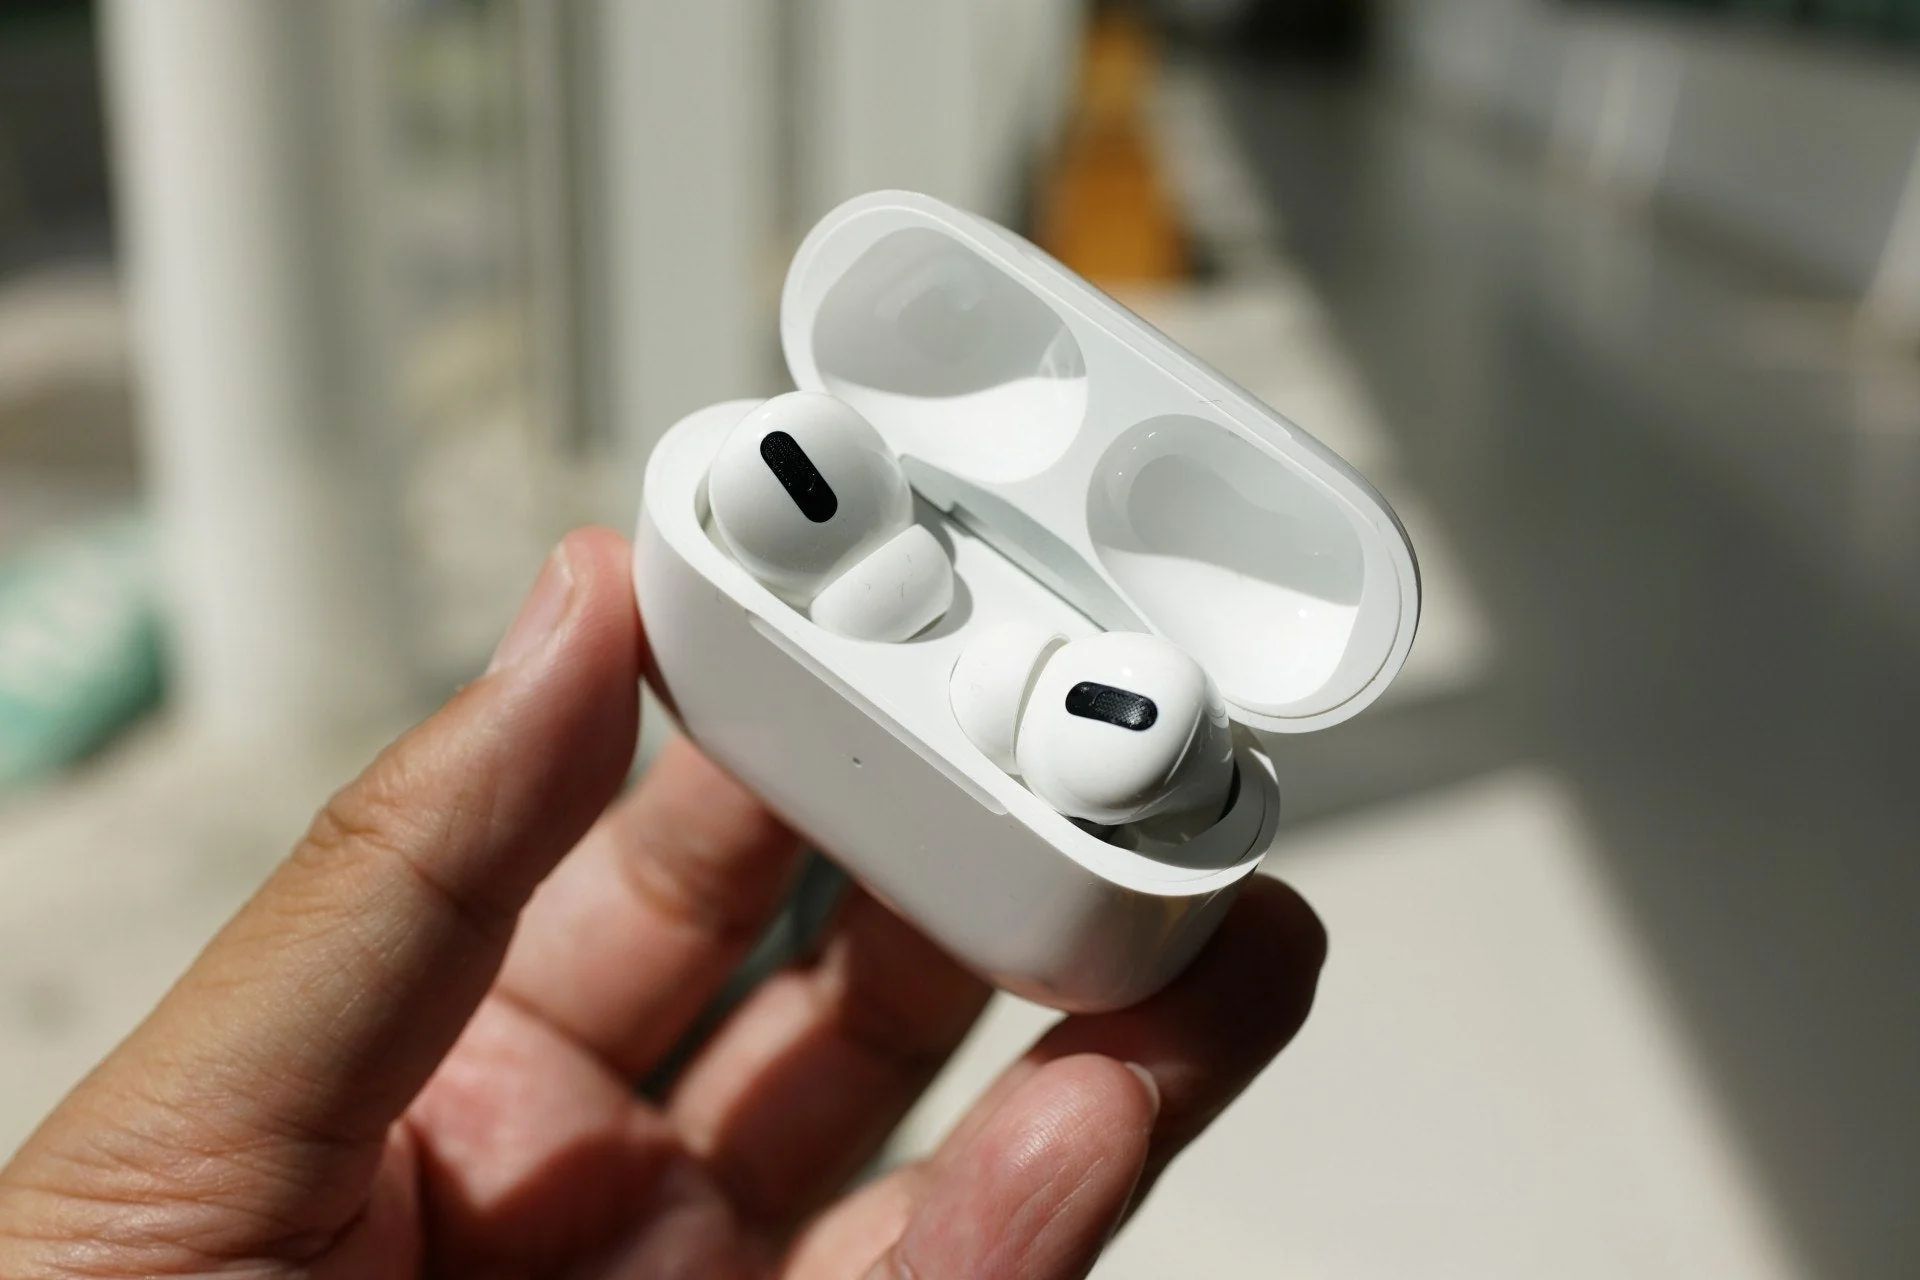
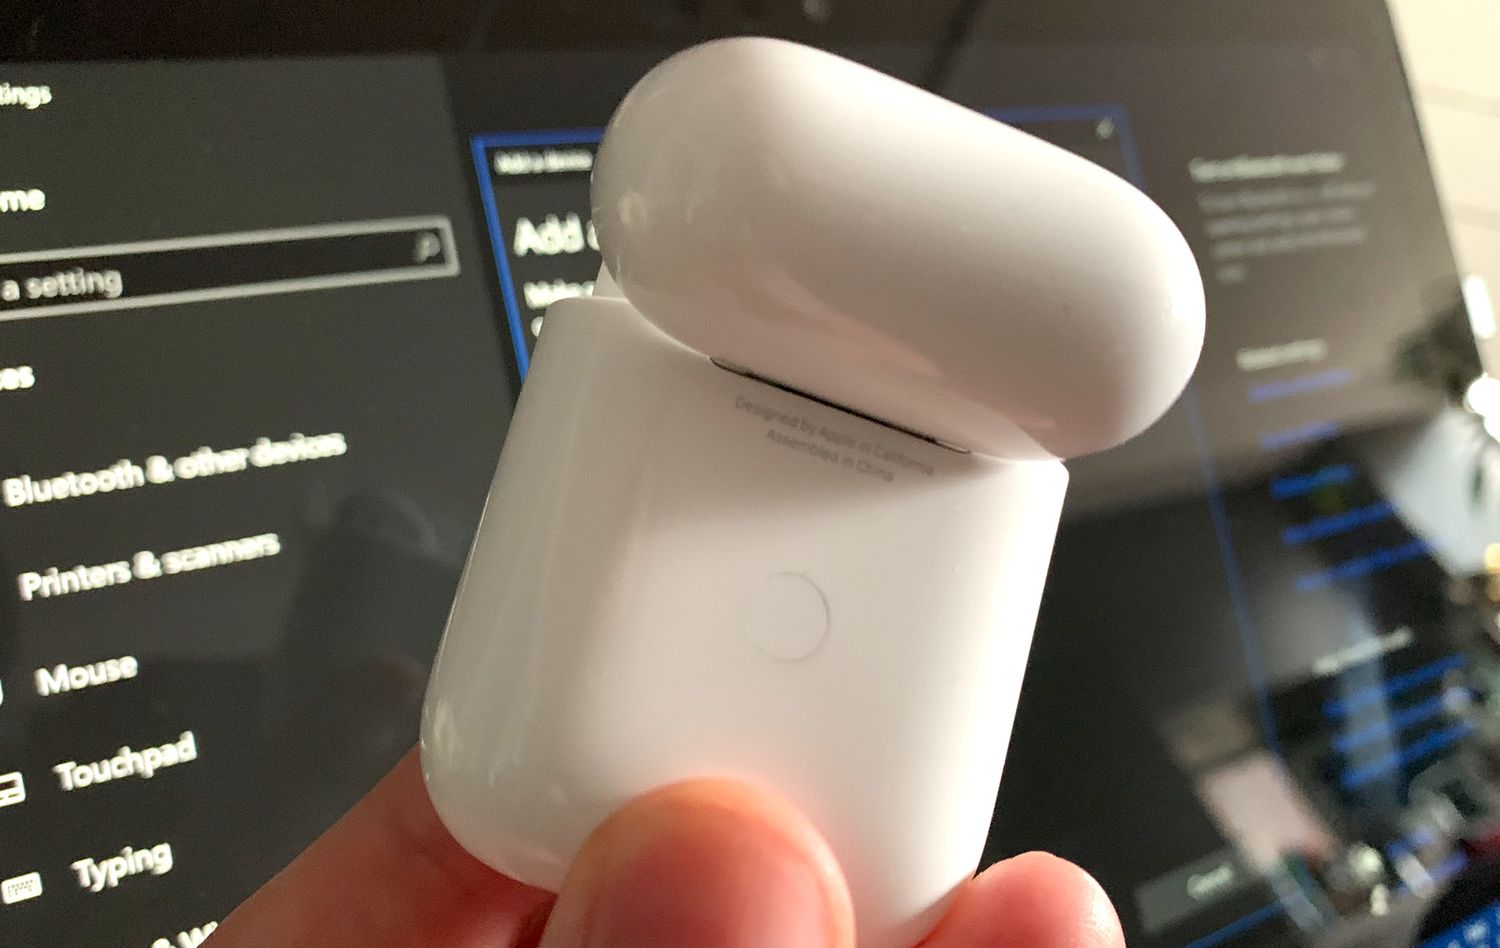
- Open the AirPods case.
- With the AirPods case open, press and hold the button on the back of the case until you see the LED light on the front of the case start flashing white.
The LED light on the AirPods case will continue to flash white, indicating that your AirPods are in pairing mode and ready to be connected to a device.
It’s worth noting that if your AirPods have been previously connected to another device, they will automatically enter pairing mode when you open the case. However, if they are not in pairing mode, you can manually put them into pairing mode using the steps mentioned above.
Once your AirPods are in pairing mode, it’s time to move on to the next step and access the Bluetooth settings on your Surface Pro.
Step 3: Access the Windows Bluetooth settings
Now that your AirPods are in pairing mode, it’s time to access the Bluetooth settings on your Surface Pro to connect them. To do this, follow the steps below:
- Click on the Start menu button in the bottom-left corner of your screen.
- Select the Settings icon, which resembles a gear.
- In the Settings window, click on ‘Devices’.
- In the left sidebar, click on ‘Bluetooth & other devices’.
By following these steps, you will be taken to the Bluetooth settings page on your Surface Pro, where you can add new devices and manage your existing connections.
Once you have accessed the Windows Bluetooth settings, you are ready to move on to the next step and add your AirPods as a new Bluetooth device.
Step 4: Add a new Bluetooth device
With the Bluetooth settings page open on your Surface Pro, it’s time to add your AirPods as a new Bluetooth device. To add a new device, follow these simple steps:
- Click on the ‘+ Add Bluetooth or other device’ button on the Bluetooth settings page.
- A new window will appear. Select the ‘Bluetooth’ option.
- Your Surface Pro will start scanning for available Bluetooth devices. Wait for it to detect your AirPods.
- Once your AirPods appear in the list of available devices, click on them to select them.
- Click on the ‘Done’ button to add your AirPods as a new Bluetooth device.
After completing these steps, your Surface Pro will start connecting to your AirPods. You may see a confirmation message on your screen indicating that the connection is in progress.
Please note that the process of adding a new Bluetooth device may vary slightly depending on your Windows version. However, the general steps remain the same.
Now that you have added your AirPods as a new Bluetooth device, it’s time to move on to the next step and complete the pairing process.
Step 5: Select your AirPods from the list of available devices
After adding your AirPods as a new Bluetooth device, they should appear in the list of available devices on your Surface Pro. Now, it’s time to select your AirPods and proceed with the pairing process. Follow these steps:
- On the Bluetooth settings page, locate your AirPods in the list of available devices.
- Click on your AirPods to select them.
- If prompted, confirm the pairing request between your Surface Pro and your AirPods.
Once the pairing request is confirmed, your Surface Pro will establish a Bluetooth connection with your AirPods. The LED light on your AirPods case may change color or stop flashing, indicating a successful connection.
If you don’t see your AirPods in the list of available devices, ensure that they are in range of your Surface Pro and are still in pairing mode. You can try putting your AirPods back into pairing mode and refreshing the list of available devices on your Surface Pro.
With your AirPods selected and the pairing process complete, you are almost ready to use your AirPods with your Surface Pro. However, there is one more step to ensure that the connectivity is seamless.
Proceed to the next step to test your AirPods connectivity and ensure that they are working properly with your Surface Pro.
Step 6: Complete the pairing process
Now that you have selected your AirPods from the list of available devices on your Surface Pro, it’s time to complete the pairing process. This will ensure that your AirPods are fully connected to your Surface Pro and ready to use. Follow these final steps:
- Wait for a moment as your Surface Pro establishes a secure connection with your AirPods.
- Once the pairing process is complete, you will see a notification on your screen confirming the successful connection.
- At this point, your AirPods should be ready to use with your Surface Pro.
You can now enjoy the freedom of wireless audio with your AirPods while using your Surface Pro. Whether it’s listening to music, watching videos, or having conference calls, your AirPods will provide you with a seamless audio experience.
If you have multiple devices connected to your AirPods, such as an iPhone or iPad, your AirPods will automatically switch to the device that is currently in use. This allows for a convenient and effortless transition between devices without the need for manual reconnection.
Remember that your AirPods will need to be charged periodically. You can use the charging case that came with your AirPods to keep them powered up and ready for use. Simply place your AirPods back into the case when not in use to ensure they remain charged.
With the pairing process complete, you can now test your AirPods connectivity to ensure that they are working properly with your Surface Pro.
Step 7: Test your AirPods connectivity
After completing the pairing process, it’s important to test your AirPods connectivity on your Surface Pro to ensure that they are working properly. This will allow you to verify that the audio is being routed through your AirPods and not any other audio output device. Follow these steps to test your AirPods connectivity:
- Play any audio or video on your Surface Pro.
- Ensure that the sound is being played through your AirPods and not the built-in speakers or any other connected audio device.
- You can also adjust the volume using the AirPods’ built-in controls or the volume controls on your Surface Pro.
- If the audio is playing through your AirPods and the volume is functioning correctly, then your AirPods are successfully connected and working as expected.
- If you are not hearing audio through your AirPods, double-check that they are selected as the audio output device in the system settings.
If you encounter any issues with the audio playback through your AirPods, try disconnecting and reconnecting them by turning off Bluetooth on your Surface Pro and then turning it back on. This can help establish a fresh connection between your devices.
Additionally, ensure that your AirPods are charged and have enough battery life to function properly. Low battery levels can affect the audio quality and connectivity of your AirPods.
By testing your AirPods connectivity, you can ensure that you’ll have a seamless audio experience while using your Surface Pro. Whether you’re listening to your favorite music, watching movies, or participating in video calls, your AirPods will provide you with high-quality wireless audio on your device.
If you encounter any persistent issues with the connectivity or audio quality of your AirPods, refer to the troubleshooting tips provided in the next section or consult Apple support for further assistance.
Troubleshooting common issues
While connecting your AirPods to your Surface Pro is typically a smooth process, you may encounter some common issues along the way. Here are some troubleshooting tips to help you resolve these problems:
- Ensure Bluetooth is enabled: Double-check that Bluetooth is enabled on your Surface Pro by following the steps mentioned in Step 1.
- Restart your Surface Pro: Sometimes, a simple restart can resolve connectivity issues. Restart your Surface Pro and try connecting your AirPods again.
- Put your AirPods back into pairing mode: If your AirPods are not appearing in the list of available devices on your Surface Pro, try putting them back into pairing mode by following the steps mentioned in Step 2.
- Update the Bluetooth driver: Ensure that your Surface Pro has the latest Bluetooth driver installed. You can check for updates through the Windows Update settings and install any pending updates.
- Remove existing Bluetooth connections: If you’re having trouble connecting your AirPods, you can try removing any existing Bluetooth connections on your Surface Pro and then re-adding them.
- Reset your AirPods: If all else fails, you can try resetting your AirPods by placing them in the case, keeping the lid open, and pressing and holding the button on the back of the case until the LED light flashes amber, and then white. After resetting, put your AirPods back into pairing mode and try connecting them to your Surface Pro again.
If you continue to experience difficulties in connecting your AirPods or encounter other issues, it’s recommended to consult the official Apple support website or contact Apple support directly for further assistance. They can provide specific troubleshooting steps and guidance tailored to your AirPods and Surface Pro combination.
Remember, patience and persistence are key when troubleshooting. By following these tips and seeking support when needed, you’ll be able to overcome any connectivity issues and enjoy the seamless wireless experience of your AirPods with your Surface Pro.
Conclusion
Connecting your AirPods to your Surface Pro can enhance your audio experience and provide the convenience of wireless listening. By following the step-by-step process outlined in this guide, you can easily pair your AirPods with your Surface Pro and enjoy the freedom of wireless audio.
First, ensure that Bluetooth is enabled on your Surface Pro and put your AirPods in pairing mode. Then, access the Bluetooth settings, add your AirPods as a new device, and complete the pairing process. After that, test the connectivity of your AirPods to ensure they are working properly.
If you encounter any issues, the troubleshooting tips provided can help you resolve common connectivity problems. Remember to keep your AirPods charged and make sure the latest Bluetooth drivers are installed on your Surface Pro.
With your AirPods successfully connected to your Surface Pro, you can enjoy the convenience of wireless audio whether you’re listening to music, watching videos, or participating in conference calls. The seamless integration between your AirPods and your Surface Pro provides you with a high-quality audio experience minus the hassle of tangled wires.
Remember to refer to the official Apple support website or contact Apple support directly if you encounter persistent issues or require further assistance.
Now, go ahead and enjoy your favorite audio content with the convenience and freedom of your AirPods on your Surface Pro!