Introduction
Airpods have become a staple accessory for many people, providing convenience and high-quality sound on the go. However, like any electronic device, Airpods are not immune to issues and can sometimes require repairs. Whether you’re experiencing audio problems, connectivity issues, or physical damage, knowing how to address these common concerns can save you time and money.
In this guide, we will walk you through the process of repairing Airpods, helping you troubleshoot and fix various issues. Before we begin, it’s important to note that attempting repairs on your own may void any warranty, so make sure to check with Apple or an authorized service provider if your Airpods are within the warranty period.
But, if you’re up for the challenge and want to try fixing your Airpods yourself, we’ll provide step-by-step instructions and valuable tips to help you along the way. Keep in mind that certain repairs may require specific tools and advanced technical skills, so proceed at your own risk and assess your comfort level before attempting them.
Now, let’s dive into the world of Airpods repair and discover how you can bring your favorite wireless earbuds back to life!
Tools Needed for Repairing Airpods
Before you begin the repair process, it’s important to gather the necessary tools to ensure a smooth and successful repair. Here are the essential tools you will need:
- Small Screwdriver Set: Airpods have tiny screws that hold the components together, so a precision screwdriver set with various sizes is essential for accessing and replacing internal parts.
- Plastic Opening Tools: To avoid scratching or damaging the Airpods’ exterior, plastic opening tools, such as a spudger or pry tool, are ideal for gently prying open the casing.
- Tweezers: Tweezers are useful for handling small components, such as batteries or connectors, with precision.
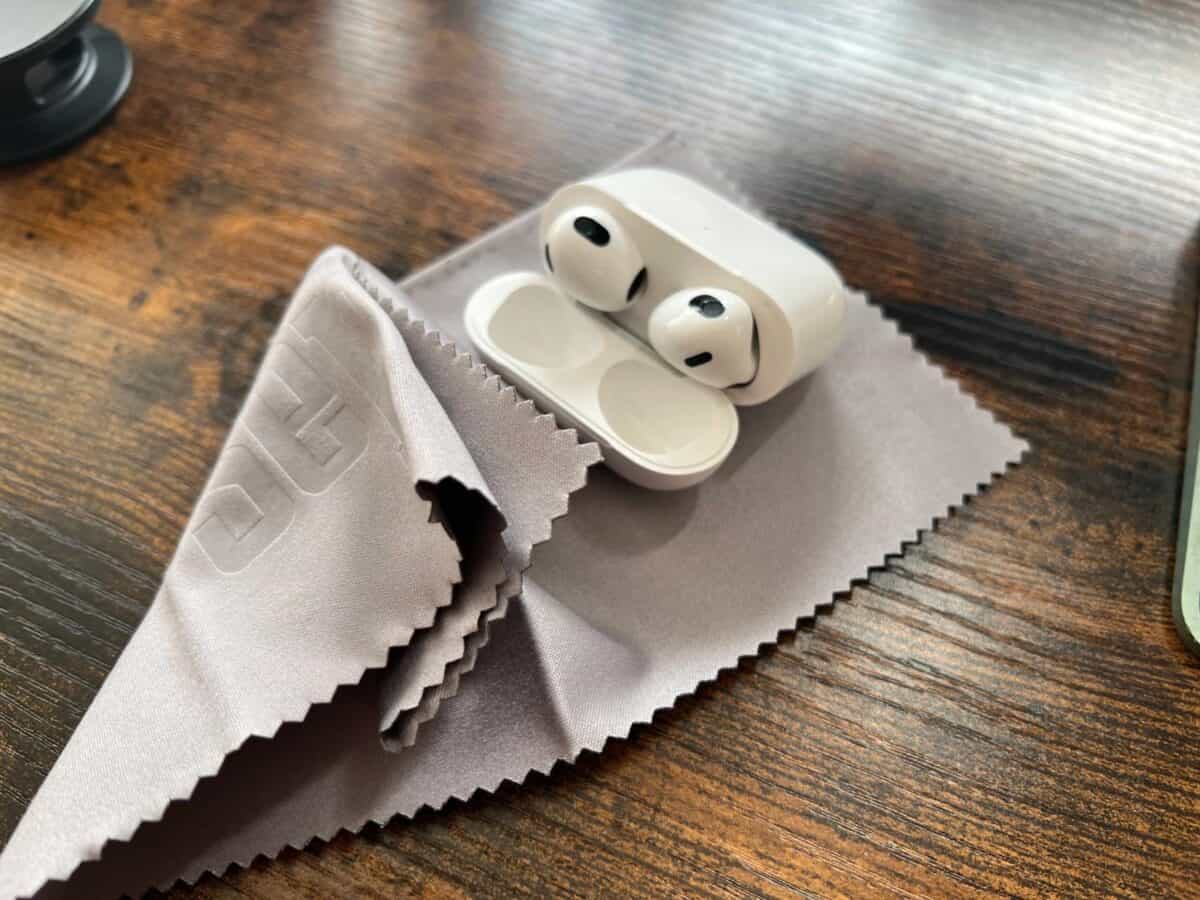
- Cleaning Supplies: A soft cloth, cotton swabs, and a mild cleaning solution will be essential for cleaning the Airpods’ exterior and removing any dirt or debris that may affect their performance.
- Replacement Parts: Depending on the specific repair you need to perform, you may require replacement parts such as batteries, ear tips, or charging ports.
- Adhesive: If you’re fixing physical damage or replacing components that require adhesive, having an appropriate adhesive, such as adhesive tape or glue, is necessary for reassembly.
It’s important to source high-quality tools and replacement parts to ensure a successful repair. Consider purchasing tools and replacement parts from reputable suppliers or directly from Apple if available.
Now that you have the necessary tools at your disposal, let’s move on to the next section where we’ll discuss how to identify common issues with your Airpods.
Step 1: Checking for Common Issues
Before diving into any repairs, it’s important to identify any common issues that might be affecting your Airpods. Here are some common problems you may encounter:
- No Sound: If you’re not hearing any sound through your Airpods, make sure they are properly connected to your device and that the volume is turned up.
- Low or Distorted Sound: If the sound quality is poor or distorted, try cleaning the speaker meshes of your Airpods using a soft cloth or a can of compressed air.
- Battery Drain: If your Airpods are not holding a charge or are draining quickly, it could be a battery issue. Try charging them fully and see if the problem persists.
- Connectivity Problems: If your Airpods are not connecting or are frequently disconnecting from your device, make sure Bluetooth is turned on and that your device is within range.
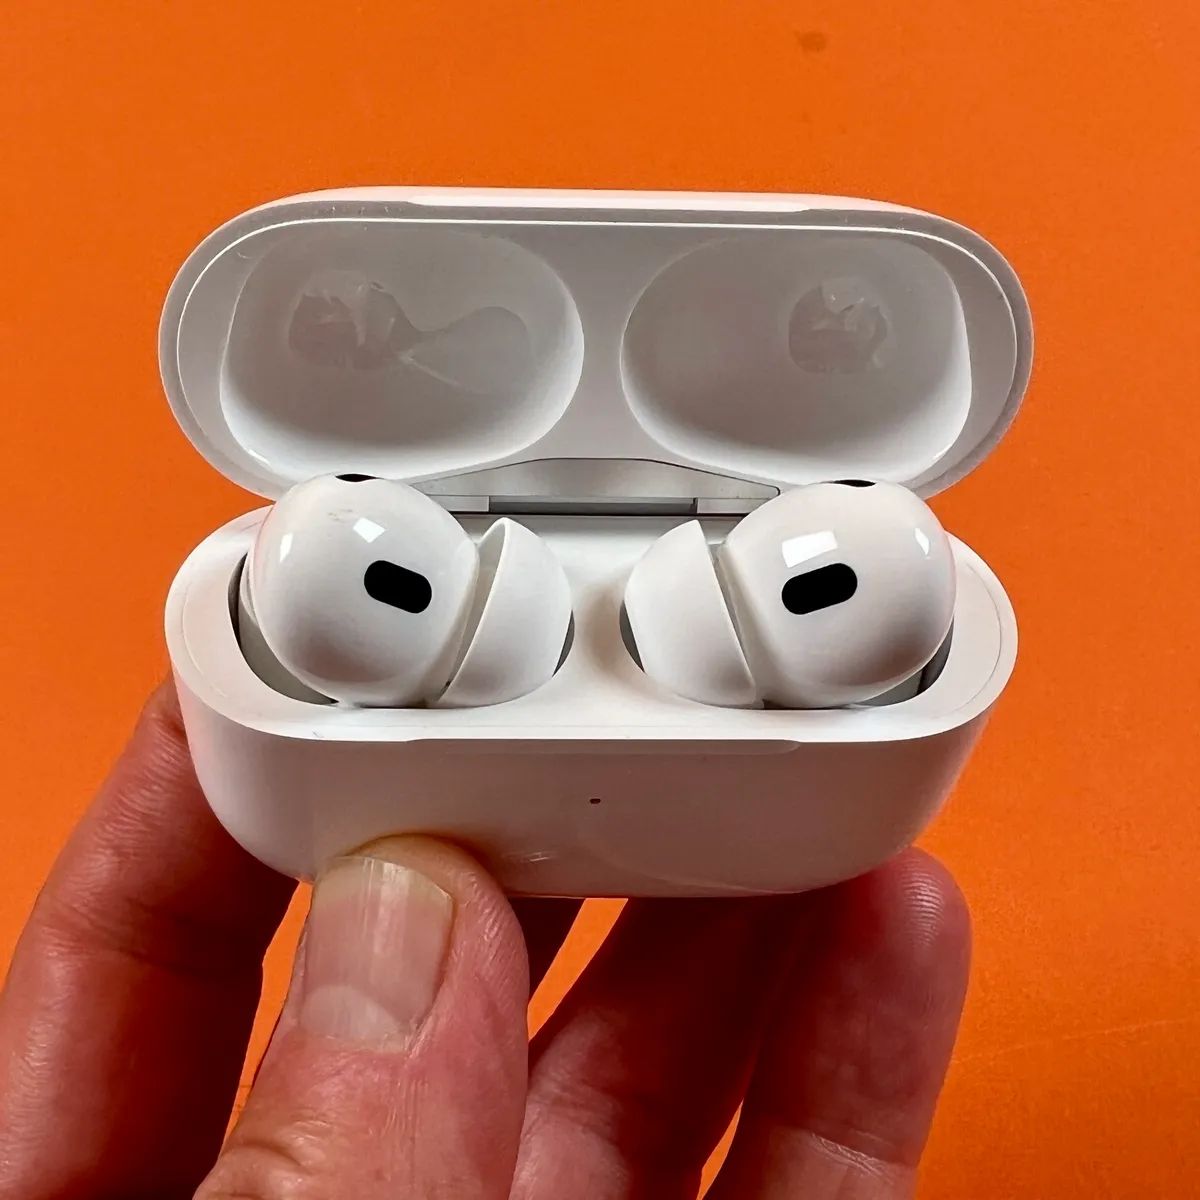
- Physical Damage: Inspect your Airpods for any visible physical damage, such as cracks, broken hinges, or damaged cables.
By checking for these common issues, you can determine if a repair is necessary or if the problem can be resolved with some troubleshooting. If you’re unable to identify the problem, it might be time to move on to the next step: cleaning your Airpods. In the following section, we’ll guide you through the process of cleaning your Airpods to resolve any minor issues.
Step 2: Cleaning the Airpods
Regular cleaning is essential to maintain the performance and longevity of your Airpods. If you notice any dirt, debris, or earwax buildup on your Airpods, it’s time to give them a thorough cleaning. Here’s how you can clean your Airpods:
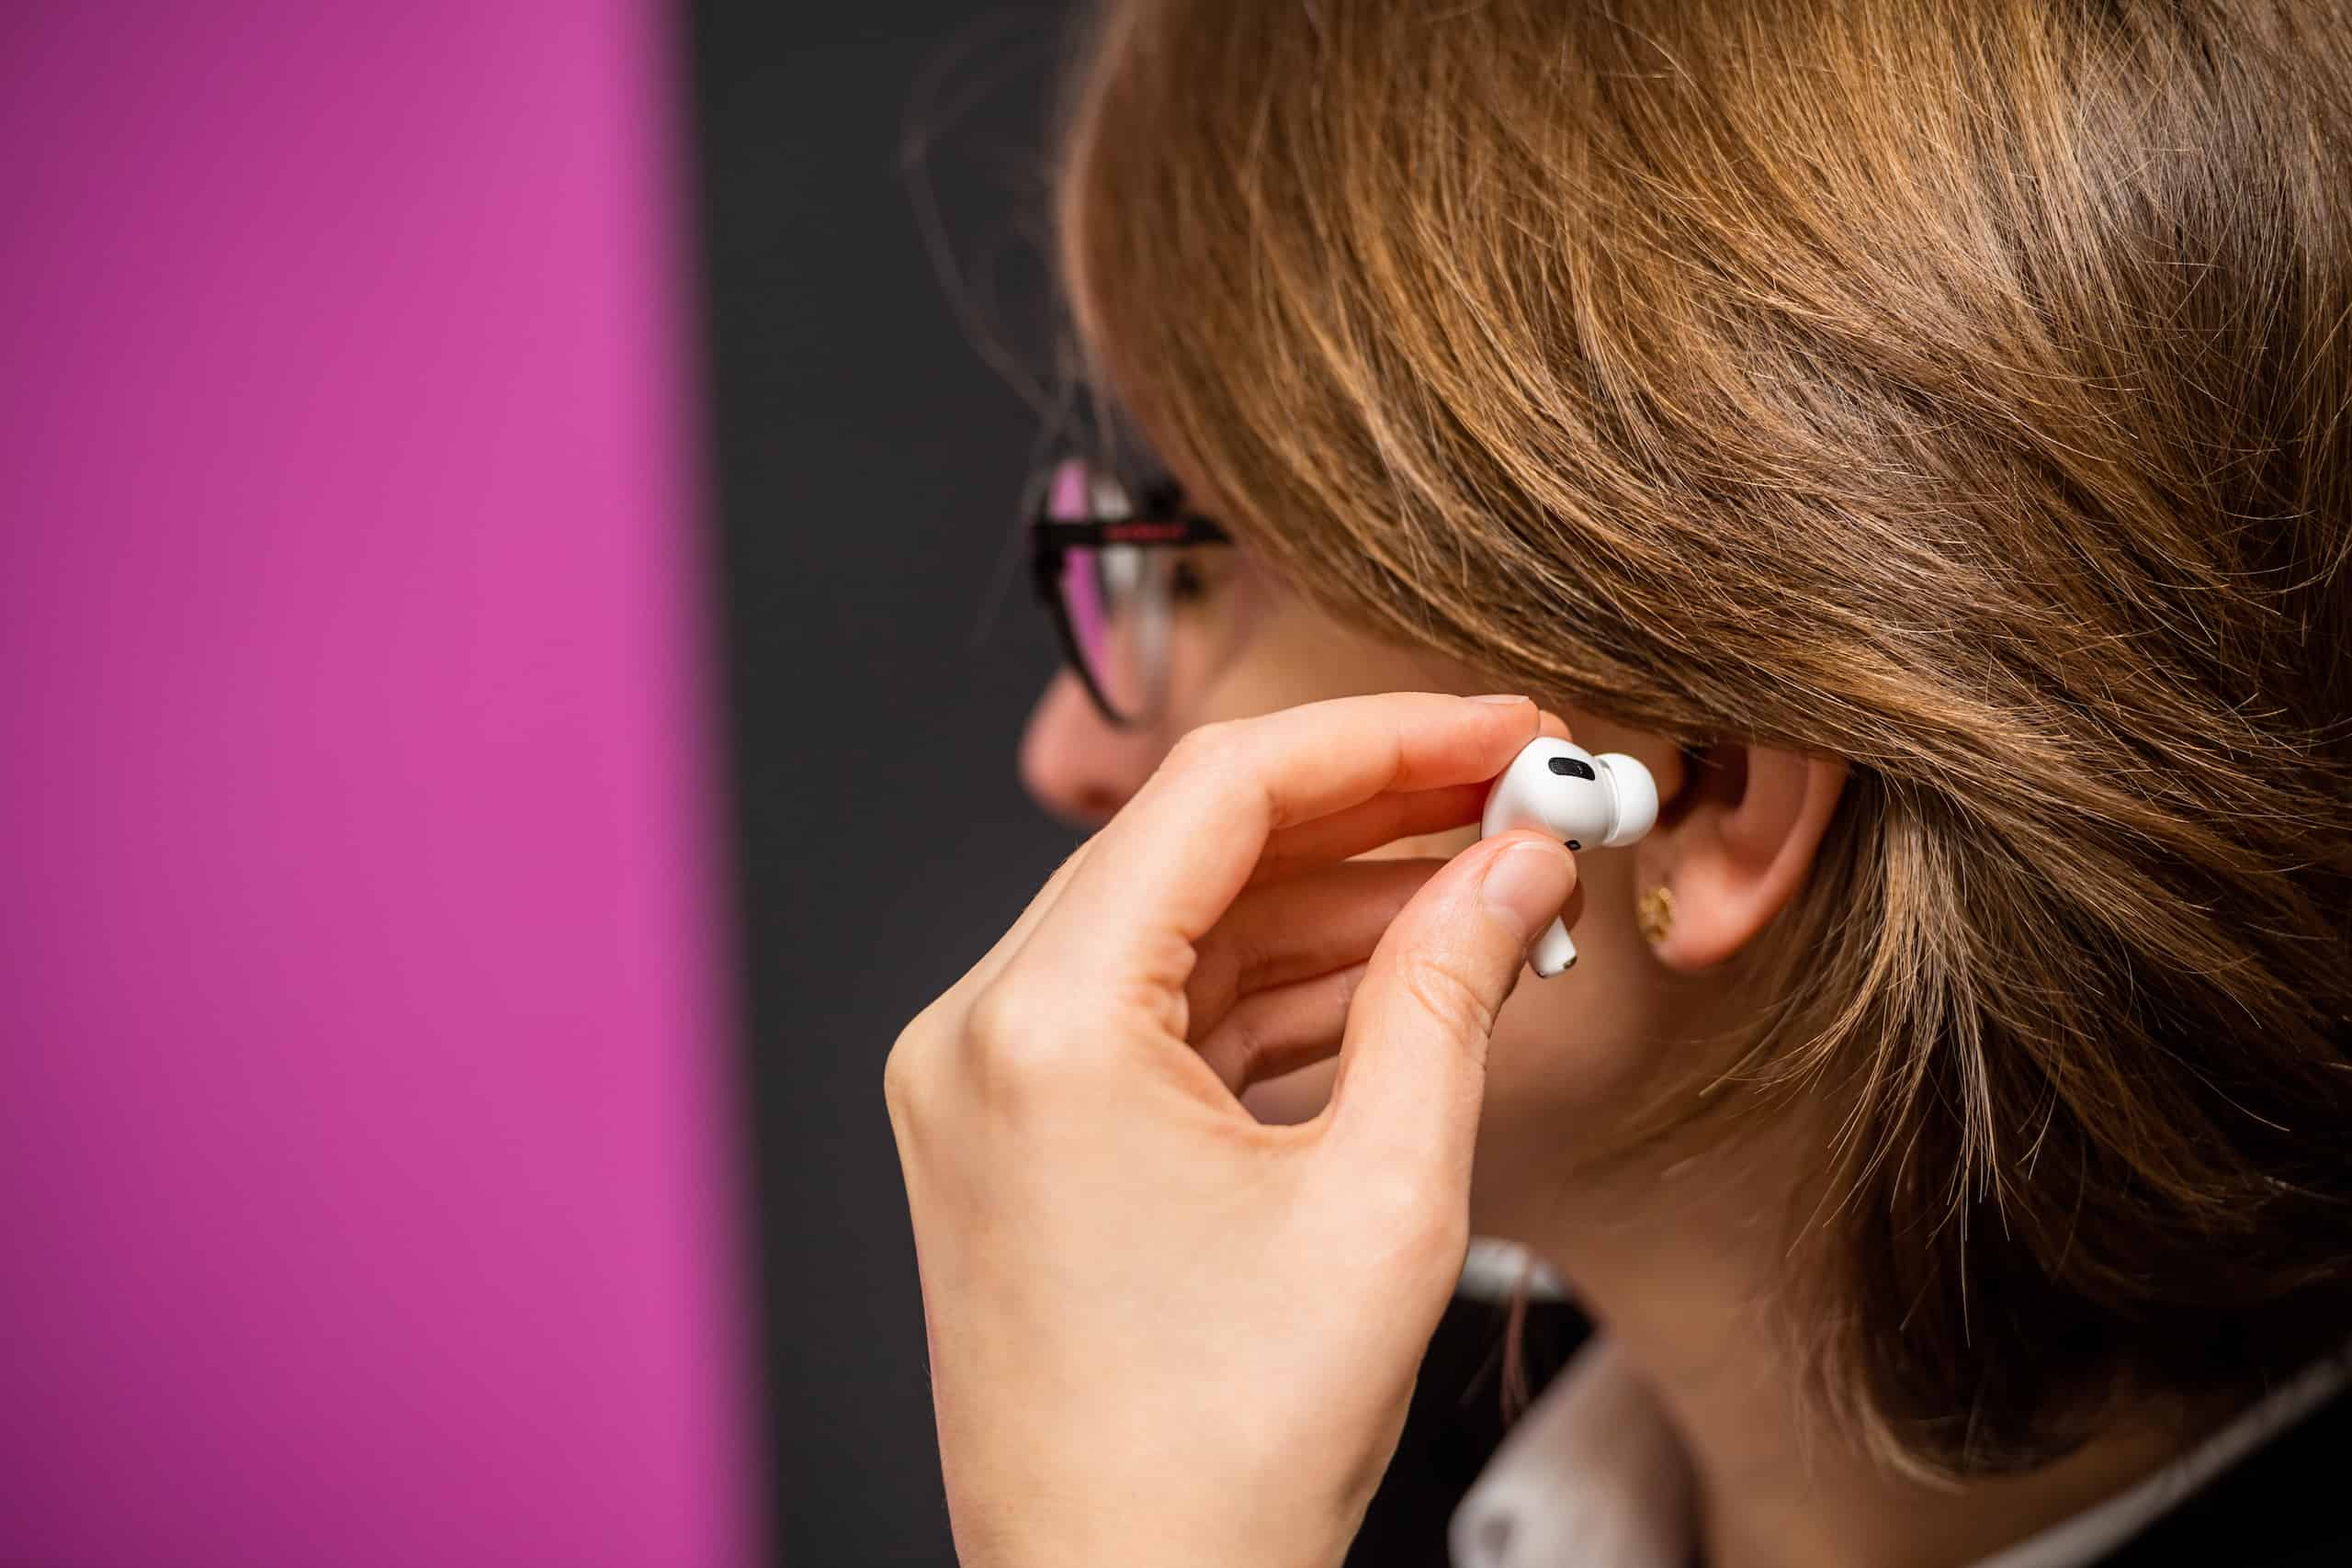
- Remove Ear Tips: If your Airpods have removable ear tips, gently remove them from the earbuds.
- Clean the Ear Tips: Use a soft cloth dampened with a mild cleaning solution or warm, soapy water to clean the ear tips. Make sure to rinse them thoroughly and allow them to dry completely before reattaching them to the Airpods.
- Clean the Speaker Meshes: Airpods have tiny speaker meshes that can accumulate dust or debris, affecting the sound quality. Use a soft-bristled brush or a clean, dry toothbrush to gently brush away any dirt or debris from the speaker meshes.
- Wipe Down the Exterior: Use a soft, lint-free cloth to wipe down the exterior of the Airpods, including the stem and the charging case. Avoid using harsh chemicals or abrasive materials that may damage the surface.
- Dry and Reassemble: Make sure all the components are dry before reassembling the Airpods. Reattach the ear tips if necessary.
Regularly cleaning your Airpods can help improve sound quality and reduce the risk of damage caused by dirt or debris. However, if cleaning doesn’t resolve your Airpods’ issues, it may be necessary to move on to the next step: replacing the battery. We’ll cover that in the following section.
Step 3: Replacing the Battery
If your Airpods are not holding a charge or are draining quickly, it’s likely that the battery needs to be replaced. Here’s how you can replace the battery in your Airpods:
- Check Warranty: Before attempting to replace the battery, check if your Airpods are still under warranty. If they are, contact Apple for a battery replacement.
- Obtain Replacement Battery: If your Airpods are out of warranty or you prefer to replace the battery yourself, you’ll need to purchase a replacement battery that is compatible with your specific Airpod model. Make sure to source a genuine battery from a reputable supplier.
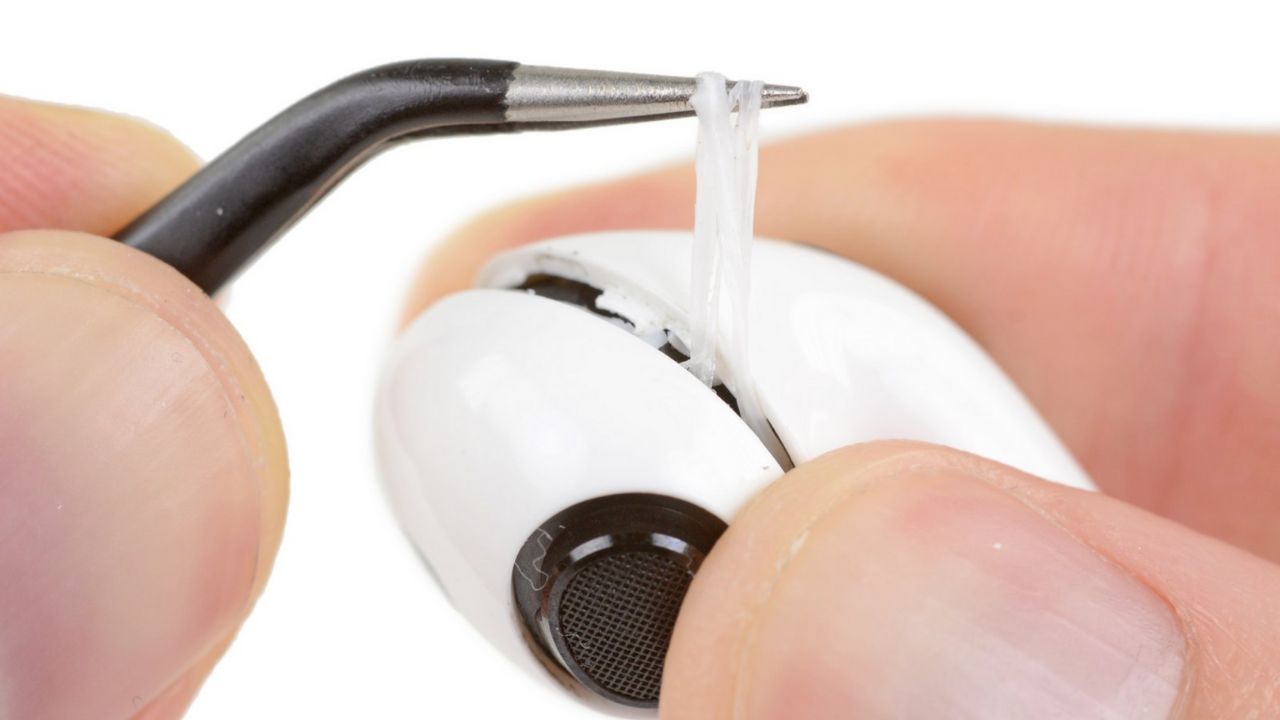
- Remove Old Battery: Use a small screwdriver to carefully remove the screws that secure the casing. Slowly lift the casing and disconnect the old battery from the Airpod’s internal connector. Take note of the battery’s position and orientation before removing it.
- Install New Battery: Align the new battery with the internal connector and carefully secure it in place. Double-check the battery’s position and orientation to ensure proper installation.
- Reassemble the Airpod: Carefully place the casing back on and tighten the screws. Make sure all the components are securely attached.
- Charge and Test: Once the battery is replaced and the Airpod is reassembled, charge it fully and test it to ensure the battery is functioning properly.
Replacing the battery in your Airpods can help restore their battery life and ensure they continue to perform optimally. However, if replacing the battery doesn’t resolve your Airpods’ issues, it may be necessary to move on to the next step: fixing audio issues. We’ll cover that in the following section.
Step 4: Fixing Audio Issues
If you’re experiencing audio problems with your Airpods, such as low volume, distorted sound, or audio cutting out, there are a few troubleshooting steps you can try before considering any repairs. Here’s what you can do to fix audio issues:
- Check the Volume: Ensure that the volume on your device and Airpods is turned up to an appropriate level.
- Disconnect and Reconnect: Disconnect and reconnect your Airpods to your device. This can help resolve temporary connectivity issues that may affect the audio.
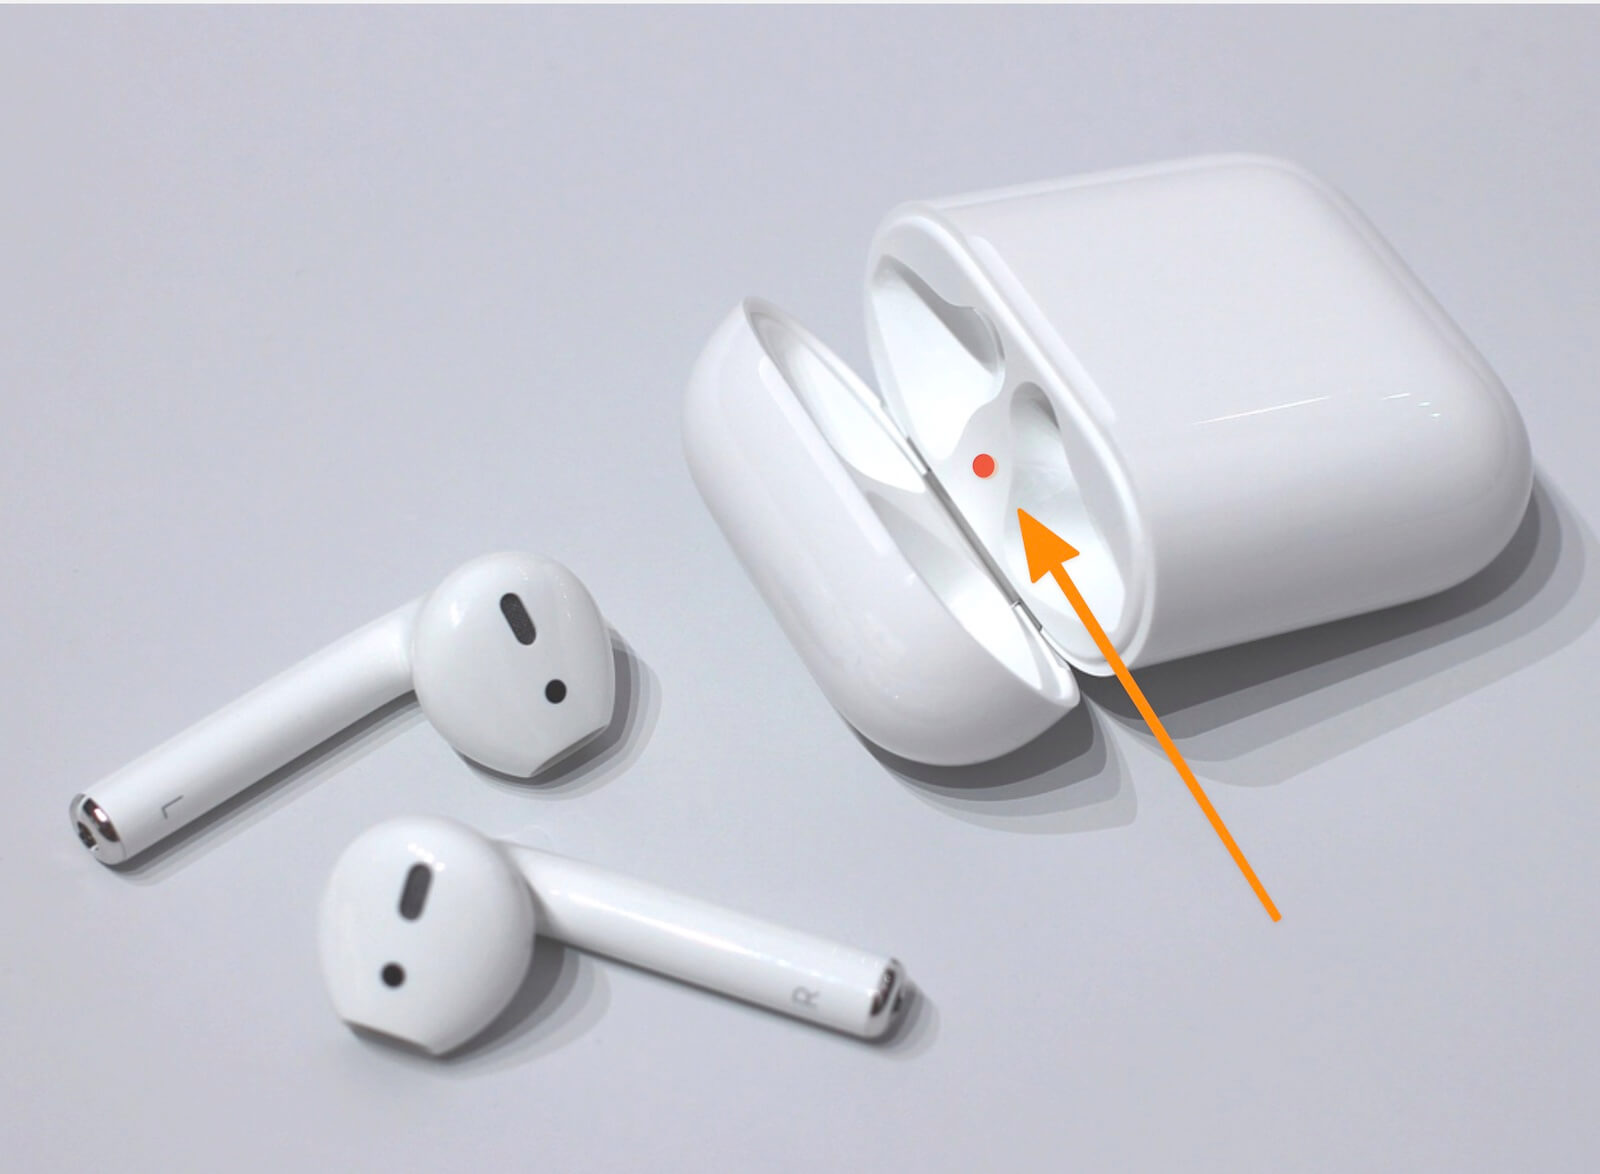
- Reset Airpods: If the audio problems persist, try resetting your Airpods. To do this, place them in the charging case and press and hold the setup button on the back of the case until the LED light flashes amber. Then, reconnect your Airpods to your device.
- Update Firmware: Ensure that your Airpods and connected device have the latest firmware updates installed. Check for updates in the settings menu of your device.
- Try a Different Device: Test your Airpods with a different device to determine if the audio issues are specific to your original device.
- Get Professional Help: If the audio problems persist despite trying the above steps, it may be necessary to seek professional help from Apple or an authorized service provider.
By following these troubleshooting steps, you can often resolve common audio issues with your Airpods. However, if the problem persists or worsens, it may indicate a more complex issue that requires professional attention. In the next section, we’ll address another common problem: connectivity issues.
Step 5: Solving Connectivity Problems
Connectivity issues can be quite frustrating when using Airpods. If you’re encountering problems with pairing or maintaining a stable connection, follow these steps to resolve connectivity issues:
- Check Bluetooth Settings: Ensure that Bluetooth is enabled on your device and that your Airpods are in pairing mode.
- Restart Devices: Turn off both your Airpods and the device you’re trying to connect to. Then, turn them back on and attempt to connect again.
- Forget and Re-pair: On your device, navigate to the Bluetooth settings, find Airpods in the list of paired devices, and select “Forget” or “Unpair.” Then, put your Airpods back in pairing mode and re-establish the connection.
- Reset Network Settings: If the connectivity issues persist, you may need to reset the network settings on your device. Note that this will remove all saved Wi-Fi passwords, so proceed with caution.
- Update Firmware: Ensure that both your Airpods and the connected device have the latest firmware updates installed. Check for updates in the settings menu of each device.
- Check for Interference: Make sure there are no other devices or obstructions interfering with the Bluetooth signal between your Airpods and your device.
- Contact Apple Support: If all else fails, and the connectivity problems persist, reach out to Apple Support or visit an authorized service provider for further assistance.
By following these troubleshooting steps, you can often resolve common connectivity issues with your Airpods. However, if the problem continues to persist or worsens, it may indicate a more complex issue that requires professional intervention. In the next section, we’ll discuss how to address physical damage to your Airpods.
Step 6: Repairing Physical Damage
Accidents happen, and your Airpods may sustain physical damage such as cracks, broken hinges, or damaged cables. While some physical damage may be beyond repair, there are a few steps you can take to address minor issues. Here’s how you can repair physical damage to your Airpods:
- Assess the Damage: Carefully examine your Airpods to determine the extent of the physical damage. Take note of any broken parts or noticeable cracks.
- Replacement Parts: Depending on the type of damage, you may need to purchase replacement parts such as ear tips, charging cables, or even casing components. Ensure that you source genuine parts from reputable suppliers.
- Follow Repair Guides: Look for repair guides or tutorials specific to your Airpod model. These guides will provide step-by-step instructions on how to disassemble and fix the physical damage. Be sure to read and follow the instructions carefully to avoid causing further damage.
- Use Proper Tools and Adhesive: Utilize the appropriate tools, such as small screwdrivers and plastic opening tools, to disassemble your Airpods. If adhesive is required, use the recommended type and apply it carefully to ensure proper reassembly.
- Take Your Time: Repairing physical damage requires patience and attention to detail. Take your time with each step to avoid making any mistakes that could worsen the damage or decrease the functionality of your Airpods.
- Consider Professional Help: If you are unsure about repairing physical damage yourself or lack the necessary tools and skills, it’s best to seek professional help from Apple or an authorized service provider.
Remember, repairing physical damage may void any existing warranty, so proceed with caution. If the damage is severe or you are unable to fix it yourself, it’s recommended to reach out to Apple or a professional repair service for assistance.
With these steps, you can attempt to repair minor physical damage to your Airpods. However, it’s important to note that in some cases, the damage may be beyond repair or require specialized technical expertise. In such instances, it is best to seek professional assistance.
Conclusion
Repairing your Airpods can save you money and extend the lifespan of your beloved wireless earbuds. By following the steps outlined in this guide, you can troubleshoot and fix common issues such as audio problems, connectivity issues, and physical damage. However, it’s crucial to approach repairs with caution and assess your skill level and comfort with handling delicate electronic devices.
Remember, attempting repairs on your Airpods may void any existing warranties, so always check with Apple or an authorized service provider before proceeding. Additionally, some repairs may require specialized tools and technical know-how, so consider seeking professional help if you’re unsure or uncomfortable with the process.
Throughout the repair process, make sure to use high-quality replacement parts and adhere to the instructions provided in repair guides or tutorials. Take your time, exercise patience, and pay attention to detail. Rushing or making mistakes can lead to further damage or decreased functionality of your Airpods.
By checking for common issues, cleaning your Airpods, replacing the battery if needed, troubleshooting audio and connectivity problems, and addressing minor physical damage, you can breathe new life into your Airpods and continue to enjoy their exceptional sound quality and convenience.
Remember, if at any point you feel unsure or overwhelmed, it’s best to seek professional assistance. Apple or authorized service providers can provide expert advice and guidance to ensure your Airpods are repaired properly.
Now that you have the knowledge and steps to repair your Airpods, put them to use and bring your wireless earbuds back to their optimal condition. Enjoy uninterrupted sound and pair them effortlessly with your devices once again!