Introduction
If you’re a proud owner of Apple’s popular wireless earbuds, the AirPods, you might have encountered a situation where you notice the indicator light on your AirPods flashing orange. This unexpected flashing orange light can leave you puzzled and wondering what it means. In this article, we will explore the possible causes behind this phenomenon and provide some practical solutions to help you resolve the issue.
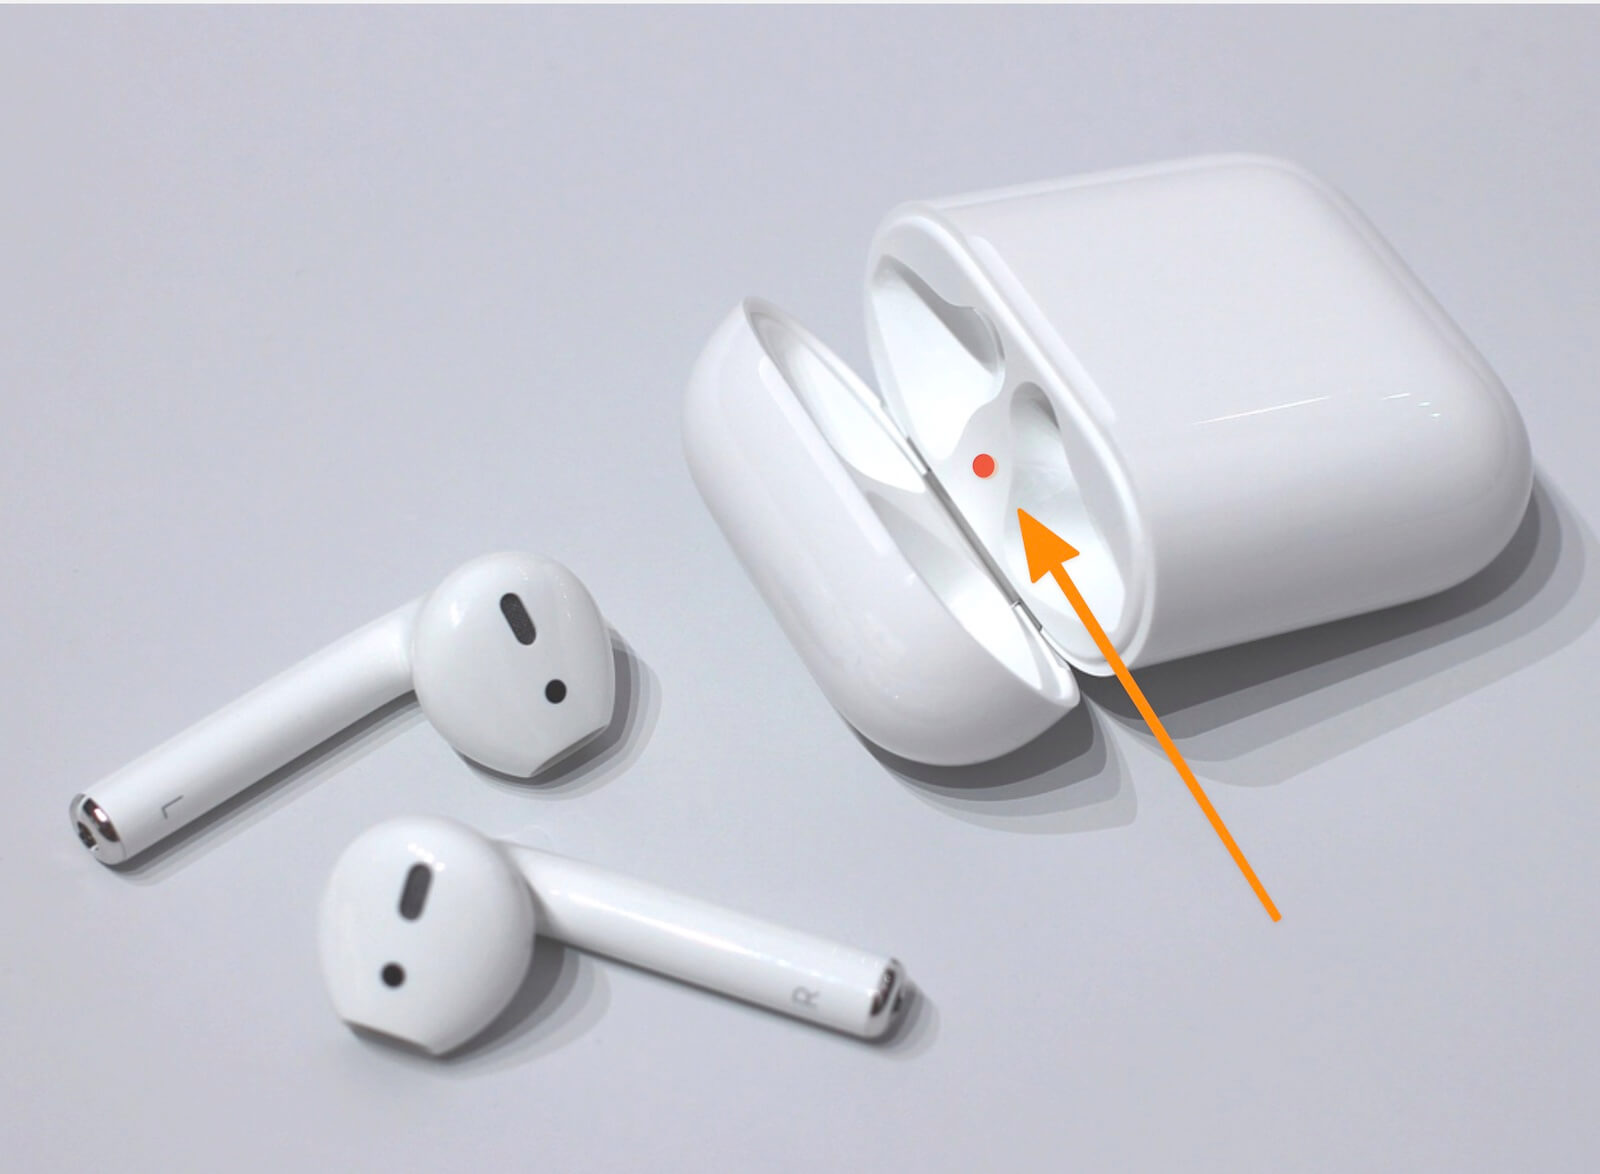
The AirPods are known for their seamless wireless connectivity, impressive sound quality, and stylish design. However, like any electronic device, they too can encounter problems from time to time. One common issue that AirPods users may come across is the flashing orange light. This light is located on the front of the AirPods case and can indicate various issues that may require attention.
Understanding the reasons behind the flashing orange light is important in order to address the underlying problem and restore your AirPods to their normal functionality. In the following sections, we will delve into the most common causes of AirPods flashing orange and provide step-by-step solutions to help you resolve the issue on your own where possible. Although some issues may require professional assistance, most can be resolved with simple troubleshooting steps.
Causes of AirPods Flashing Orange
The flashing orange light on your AirPods can indicate several different issues. By understanding the potential causes, you can narrow down the problem and take appropriate steps to resolve it. Here are the most common reasons for your AirPods flashing orange:
- Low Battery: One of the most common reasons for the orange flashing light is a low battery. When your AirPods’ battery level drops below 20%, the light will turn orange to signal that it’s time to recharge them. This is a helpful feature that alerts you to the need for charging.
- Charging Issue: If you’ve connected your AirPods to their charging case but notice that the light is still flashing orange, it could indicate a problem with the charging mechanism. Check that the charging case is properly connected to a power source and that the AirPods are correctly seated in the case. If the issue persists, you may need to troubleshoot the charging case or consider contacting Apple Support for assistance.
- Connectivity Problems: In some cases, the orange flashing light can be a signal of connectivity issues between your AirPods and the paired device. This can occur if the Bluetooth connection is weak or unstable. Try turning off Bluetooth on your device, then turning it back on and reconnecting to see if the issue resolves.
- Software Update: Another possible reason for the flashing orange light is that your AirPods may need a software update. Apple periodically releases updates to improve performance, fix bugs, and introduce new features. Ensure that your AirPods and the connected device are both running the latest software version. Check for updates in the Settings app on your iPhone or iPad and follow the prompts to install any available updates.
These are the primary causes of the flashing orange light on your AirPods. Identifying the specific cause will help you to take the appropriate steps to resolve the issue. In the following sections, we will provide detailed instructions on how to address each of these potential causes and get your AirPods back to their normal functioning state.
Low Battery
If you notice that the indicator light on your AirPods case is flashing orange, the most likely cause is a low battery. When the battery level drops below 20%, the light will turn orange as a reminder to recharge your AirPods. While the flashing orange light may seem alarming, it’s simply an indication that your AirPods need some power.
To remedy this issue, follow these steps:
- Connect your AirPods to a power source: Start by connecting your AirPods to their charging case. Make sure the AirPods are properly aligned with the charging contacts in the case. Ensure that the charging cable is securely plugged into a power source, such as a USB port or a wall adapter.
- Check the charging status: Open the lid of the AirPods case and look for the small LED light on the front. If the light is flashing orange, it means that your AirPods are indeed low on battery.
- Allow your AirPods to charge: Keep your AirPods connected to the charging case and allow them to charge for at least 15-20 minutes. During this time, the light may continue to flash orange or turn solid green once the battery level reaches a sufficient level.
- Confirm the charging status: After charging for a while, close the lid of the AirPods case and check the LED light again. If the light is now solid green, it means your AirPods are fully charged. If the light is still flashing orange, continue charging until it changes to solid green.
Once your AirPods are fully charged, the orange flashing light should no longer be an issue. Remember to regularly charge your AirPods to prevent the battery from completely draining and to enjoy uninterrupted usage.
If your AirPods are still flashing orange after following these steps, it may indicate a different issue. Move on to the next section to explore other potential causes and troubleshooting solutions.
Charging Issue
If your AirPods’ orange light continues to flash even after connecting them to a power source, you may be experiencing a charging issue. Several factors can cause this problem, ranging from a faulty charging case to an improper connection. Here are some steps you can take to address this charging issue:
- Double-check the charging connections: Ensure that your AirPods are properly seated in their charging case. Make sure the charging contacts on the AirPods align with the corresponding contacts inside the case. Additionally, verify that the charging case is securely plugged into a power source. Sometimes, a loose or faulty connection can prevent proper charging.
- Use a different charging cable and adapter: If your AirPods still aren’t charging, try using a different Lightning cable and adapter. Sometimes, a worn-out or defective charging cable or adapter can interfere with the charging process. Borrow a cable and adapter from another Apple device if you don’t have a spare.
- Clean the charging contacts: Dust or debris may accumulate on the charging contacts of both the AirPods and the case over time, hindering the charging process. Gently wipe the charging contacts with a soft, lint-free cloth or cotton swab to remove any dirt or grime. This can help improve the conductivity and ensure a reliable charging connection.
- Reset the AirPods and the charging case: If the above steps didn’t resolve the charging issue, try resetting your AirPods and their charging case. To do this, open the lid of the AirPods case and press and hold the button on the back of the case until the LED light on the front begins to flash white. Then, release the button and reconnect your AirPods to your device.
If you’ve tried all the steps above and your AirPods are still not charging properly, it may indicate a hardware problem. In such cases, it is recommended to contact Apple Support or visit an authorized service center to get further assistance and potentially have the charging case or AirPods repaired or replaced.
Connectivity Problems
If you’re experiencing connectivity issues with your AirPods, the flashing orange light can be an indication of a weak or unstable Bluetooth connection. This can occur due to various reasons, ranging from interference from other devices to software glitches. Here are some troubleshooting steps to fix connectivity problems with your AirPods:
- Ensure proper Bluetooth settings: Make sure that Bluetooth is enabled on your device and that your AirPods are connected to it. On your iPhone, go to Settings, tap Bluetooth, and check if your AirPods are listed under My Devices. If they’re not connected, tap on them to establish a connection.
- Reset network settings: In some cases, resetting your network settings can resolve Bluetooth connectivity issues. Go to Settings on your iPhone, tap General, and then tap Reset. Select Reset Network Settings and confirm. Note that this will reset all network-related settings, including Wi-Fi and VPN configurations.
- Minimize interference: Avoid using your AirPods in environments with heavy Bluetooth traffic or strong Wi-Fi signals, as they can interfere with the connection. Move away from other Bluetooth devices or try using your AirPods in a different location to see if the connectivity improves.
- Disconnect and reconnect your AirPods: If you’re still experiencing connectivity issues, try disconnecting your AirPods from your device and then reconnecting them. Open the Bluetooth settings on your device, locate your AirPods, and tap on the “i” icon next to them. Choose the option to Forget This Device, then pair your AirPods again as if you were setting them up for the first time.
- Update software: Ensure that both your device and your AirPods are running the latest software versions. iPhone users can go to Settings, tap General, and check for software updates. For AirPods firmware updates, keep your AirPods connected to your device, ensure they’re charged, and connect to a Wi-Fi network. The updates will be automatically installed when your AirPods are idle and in the charging case.
By following these troubleshooting steps, you can address connectivity issues that may be causing the orange flashing light on your AirPods. However, if the problem persists, it’s advisable to contact Apple Support for further assistance and guidance.
Software Update
Keeping your AirPods and connected devices up-to-date with the latest software versions is crucial for optimal performance. If you notice the orange flashing light on your AirPods, it may be an indication that a software update is required. Here’s how you can check for and install updates:
- Check for iOS or macOS updates: Before updating your AirPods, ensure that your iPhone, iPad, or Mac is running the latest iOS or macOS version. Go to Settings on your iOS device or System Preferences on your Mac and navigate to the Software Update section. If an update is available, follow the prompts to download and install it.
- Place your AirPods in the charging case: To update the firmware of your AirPods, ensure that they’re connected to your device and properly seated in their charging case. The AirPods should be charging and connected to a Wi-Fi network for the update to take place.
- Leave your AirPods idle: The software update will automatically install on your AirPods when they’re not in use and placed inside the charging case. The update process may take some time, so it’s best to leave your AirPods idle in the case for an extended period to allow for the update to complete.
- Monitor the update progress: During the update process, the indicator light on the front of the charging case may flash amber. This is normal and indicates that the update is in progress. Once the update is completed, the light should turn green or stop flashing.
It’s worth noting that you can’t manually initiate an update for your AirPods. The updates are managed by the connected device’s operating system, and they occur automatically when your AirPods meet the necessary conditions. By ensuring that your devices are running the latest software versions, you can address any potential software-related issues that may be causing the orange flashing light on your AirPods.
If the software update doesn’t resolve the issue, proceed to the next section for further troubleshooting steps.
Water Damage
While AirPods are not waterproof, they are designed to be resistant to sweat and light moisture. However, exposing your AirPods to excessive moisture or liquid can cause damage and impact their functionality, resulting in the orange flashing light. If you suspect that your AirPods have been damaged by water, follow these steps:
- Remove the AirPods from your ears: If your AirPods are wet or have been exposed to water, immediately remove them from your ears to prevent further damage.
- Wipe off any visible moisture: Use a soft, dry cloth to gently wipe off any moisture on the AirPods and the charging case. Avoid using excessive force or rubbing, as this can push the moisture further into the internal components.
- Let the AirPods dry: Leave your AirPods and the charging case in a dry, well-ventilated area for at least 24 hours. This allows the moisture to evaporate naturally. Avoid using heat or direct sunlight, as this can damage the internal components.
- Test the functionality: After the drying period, check if the orange flashing light persists. Attempt to charge your AirPods and see if they function properly. If the issue remains, you may need to seek professional assistance from Apple Support or an authorized service provider.
It’s important to note that water damage is not covered under Apple’s warranty. If your attempts to dry and restore your AirPods are unsuccessful, you may need to consider replacing the affected AirPods or the charging case. Apple Support can provide guidance on the next steps and potential repair or replacement options available to you.
To prevent water damage in the future, it’s advisable to exercise caution and avoid exposing your AirPods to excessive moisture, such as during heavy rain or when swimming. Utilizing protective cases or covers can also provide an extra layer of protection against accidental water damage.
What to Do When Your AirPods Are Flashing Orange
If you notice that your AirPods are flashing orange, indicating an issue, there are several steps you can take to troubleshoot and resolve the problem. Here’s what to do when your AirPods are flashing orange:
- Charge Your AirPods: The most common reason for the flashing orange light is a low battery. Start by connecting your AirPods to their charging case and ensure that the case is properly connected to a power source. Allow your AirPods to charge for at least 15-20 minutes and check if the light turns solid green, indicating a full charge.
- Reset Your AirPods: If charging doesn’t resolve the issue, try resetting your AirPods. Open the lid of the charging case and press and hold the button on the back of the case until the LED light starts flashing white. Release the button and reconnect your AirPods to your device. This can help resolve minor connectivity or pairing issues.
- Check for Updates: Ensure that both your AirPods and the connected device have the latest software updates installed. Update your device’s operating system and ensure your AirPods are connected and charging while connected to a Wi-Fi network. This allows for automatic updates to install and can address software-related issues that may be causing the orange flashing light.
- Contact Apple Support: If the orange flashing light persists after trying the above steps, it’s advisable to contact Apple Support or visit an authorized service center for further assistance. They can provide personalized guidance, troubleshoot more complex issues, and advise on potential repair or replacement options.
It’s worth noting that if your AirPods are still under warranty, Apple may offer a repair or replacement service. However, it’s important to remember that water damage, physical damage, and unauthorized modifications are typically not covered under the warranty. Be sure to provide accurate information about the issue to the Apple support representative to receive the most appropriate assistance.
By following these steps and seeking expert help when needed, you can address the flashing orange light on your AirPods and restore their normal functionality.
Charge Your AirPods
If you notice that the indicator light on your AirPods case is flashing orange, it is often an indication that your AirPods are running low on battery. Charging your AirPods is the first step you should take to resolve this issue. Here’s what you can do to ensure your AirPods are properly charged:
- Connect your AirPods to a power source: Begin by placing your AirPods securely in their charging case. Ensure that the charging contacts on the AirPods align with the corresponding contacts inside the case. Then, connect the charging case to a power source using the Lightning cable provided with your AirPods.
- Verify the charging status: Open the lid of the AirPods case and check the LED light on the front. If the light flashes orange, it indicates that your AirPods are in need of charging.
- Allow your AirPods to charge: Keep your AirPods connected to the charging case and allow them to charge for at least 15-20 minutes. During this time, the LED light may continue to flash orange or turn solid green when the battery level reaches a sufficient charge.
- Check the charging status again: After allowing your AirPods to charge, close the lid of the case and check the LED light once more. If the LED light is now solid green, it indicates that your AirPods are fully charged. If the light continues to flash orange, continue charging until it turns solid green.
Regularly charging your AirPods is essential to ensure uninterrupted usage and prevent battery drainage. It is recommended to charge your AirPods whenever they are not in use, especially before embarking on a long journey or extended periods of usage.
If your AirPods’ battery is critically low and they are not charging despite following the above steps, it could indicate a deeper problem. In such cases, it is advisable to contact Apple Support or visit an authorized service center for further assistance and potential hardware inspection or replacement.
Reset Your AirPods
If charging your AirPods doesn’t resolve the issue of the flashing orange light, you can try resetting them. The reset process can help resolve minor connectivity or pairing issues. Here’s how you can reset your AirPods:
- Place your AirPods in the charging case: Start by placing both of your AirPods back into the charging case. Ensure they are properly seated and make contact with the charging pins.
- Open the lid of the charging case: Open the lid of the AirPods charging case and ensure both the AirPods are inside.
- Locate the button on the back of the case: On the back of the charging case, you’ll find a small button. Press and hold this button for about 15 seconds or until the LED light on the front of the case starts flashing white.
- Release the button: Once the LED light on the charging case starts flashing white, release the button. This indicates that your AirPods have been reset.
- Re-pair your AirPods: Now, you’ll need to re-pair your AirPods with your device. Place your AirPods close to your device, open the Bluetooth settings, and follow the prompts to pair the AirPods again.
After resetting and re-pairing your AirPods, check if the flashing orange light issue is resolved. If the light turns solid white or green, it means the reset was successful and the connection should be restored. However, if the flashing orange light persists, you may have to try other troubleshooting steps or seek further assistance from Apple Support.
Remember that resetting your AirPods will remove them from all your devices, so you’ll need to re-connect them to each device you want to use them with. Additionally, resetting won’t erase any personal data or information stored on your AirPods, as the data is stored on your connected device.
If resetting your AirPods doesn’t resolve the issue, proceed to the next troubleshooting step or consider contacting Apple Support for further assistance.
Check for Updates
Keeping your AirPods and connected devices up to date with the latest software versions is crucial for optimal performance. If you notice the flashing orange light on your AirPods, it may indicate the need for a software update. Here’s how you can check for and install updates:
- Check for iOS or macOS updates: Before updating your AirPods, ensure that your iPhone, iPad, or Mac is running the latest iOS or macOS version. Go to the Settings app on your iOS device or System Preferences on your Mac and navigate to the Software Update section. If an update is available, follow the prompts to download and install it.
- Place your AirPods in the charging case: To update the firmware of your AirPods, ensure they are connected to your device and properly seated in their charging case. The AirPods should be charging and connected to a Wi-Fi network for the update to take place.
- Let your AirPods update automatically: AirPods updates are managed by the connected device’s operating system. Leave your AirPods connected to your device, ensure they are charged, and connect to a Wi-Fi network. The updates will be automatically installed when your AirPods are idle and in the charging case.
During the update process, the indicator light on the front of the charging case may flash amber. This is normal and indicates that the update is in progress. Once the update is completed, the light should turn green or stop flashing.
If you have multiple iOS devices paired with your AirPods, it’s important to update each device separately. Additionally, it’s recommended to keep your devices’ software up to date to ensure seamless compatibility and performance with your AirPods.
If the flashing orange light persists after updating your AirPods, there may be another underlying issue. In that case, proceed to the next troubleshooting step or consider contacting Apple Support for further assistance.
Contact Apple Support
If you have tried all the troubleshooting steps mentioned above and the flashing orange light on your AirPods persists, it may be time to seek assistance from Apple Support. They have a team of experts who can provide personalized guidance and help you resolve the issue. Here’s what you can do to reach out to Apple Support:
- Visit the Apple Support website: Access the Apple Support website (https://support.apple.com/) using your preferred browser. The website offers a wide range of support resources, including articles, troubleshooting guides, and community forums where you can seek help from other users.
- Contact Apple Support via phone: If you prefer speaking directly to a support representative, you can contact Apple Support by phone. Visit the Apple Support website and navigate to the “Contact Support” section to find the phone number specific to your region. Prepare your AirPods serial number and other relevant information before making the call for a faster and more efficient support experience.
- Book an appointment at an Apple Store: If you prefer in-person assistance, you can book an appointment at an Apple Store or an authorized service center. Visit the Apple Support website and select the “Get Hardware Help” or “Make a Genius Bar Reservation” option for further instructions.
Explain the issue and the troubleshooting steps you have already taken to the Apple Support representative. They will guide you through additional steps or evaluate if your AirPods need to be repaired or replaced. If your AirPods are still under warranty, Apple may provide repair services or a replacement, depending on the specific situation.
Remember to be patient and cooperative during the support process, as they will do their best to assist you and find a solution to the flashing orange light issue on your AirPods.
Contacting Apple Support ensures that you receive expert advice and guidance specific to your AirPods and the issue you are facing. They have the knowledge and resources to assist you in resolving the problem effectively.
Conclusion
Experiencing a flashing orange light on your AirPods can be concerning, but with the right troubleshooting steps, you can resolve the issue and get your AirPods back to normal functionality. Throughout this article, we explored the common causes behind the flashing orange light, including low battery, charging issues, connectivity problems, the need for software updates, and the potential impact of water damage.
We discussed practical solutions such as charging your AirPods, resetting them, checking for software updates, and contacting Apple Support for further assistance. By following these steps, you can address the issue effectively and restore your AirPods to their optimal performance.
Remember to always keep your AirPods charged, check for updates regularly, and handle them with care to prevent water damage. In case of persistent issues or concerns, it is recommended to reach out to Apple Support who can provide personalized assistance and guidance tailored to your specific situation.
We hope this article has provided you with helpful insights and solutions. By understanding and addressing the causes of the flashing orange light, you can continue enjoying the convenience and exceptional sound quality that AirPods offer.