Introduction:
Welcome to the world of AirPods, where wireless audio meets effortless convenience. These sleek, compact earbuds have become an iconic accessory, seamlessly integrating with various Apple devices. But what does it mean when your AirPods start flashing green? Don’t panic – we’re here to shed some light on this mysterious phenomenon.
When you’re using your AirPods, you may notice occasional LED indicator flashes. While most people are familiar with the white flashing light that indicates pairing mode or battery status, the occasional green flash can leave you perplexed. Rest assured, this flashing green LED isn’t a cause for alarm, but rather an indicator of some specific events or issues.
Understanding these LED signals is crucial for troubleshooting and ensuring the optimal performance of your AirPods. In this article, we’ll delve into the reasons behind the green flashing LED, including possible battery and charging issues, as well as connection problems. We’ll also provide you with some troubleshooting steps to help you resolve the issue and get your AirPods back to normal.
So, whether you’re a new AirPods user or a longtime fan looking for some answers, let’s explore the possible causes of the green LED flash and how to address them. Let’s dive in!
Understanding the LED on AirPods:
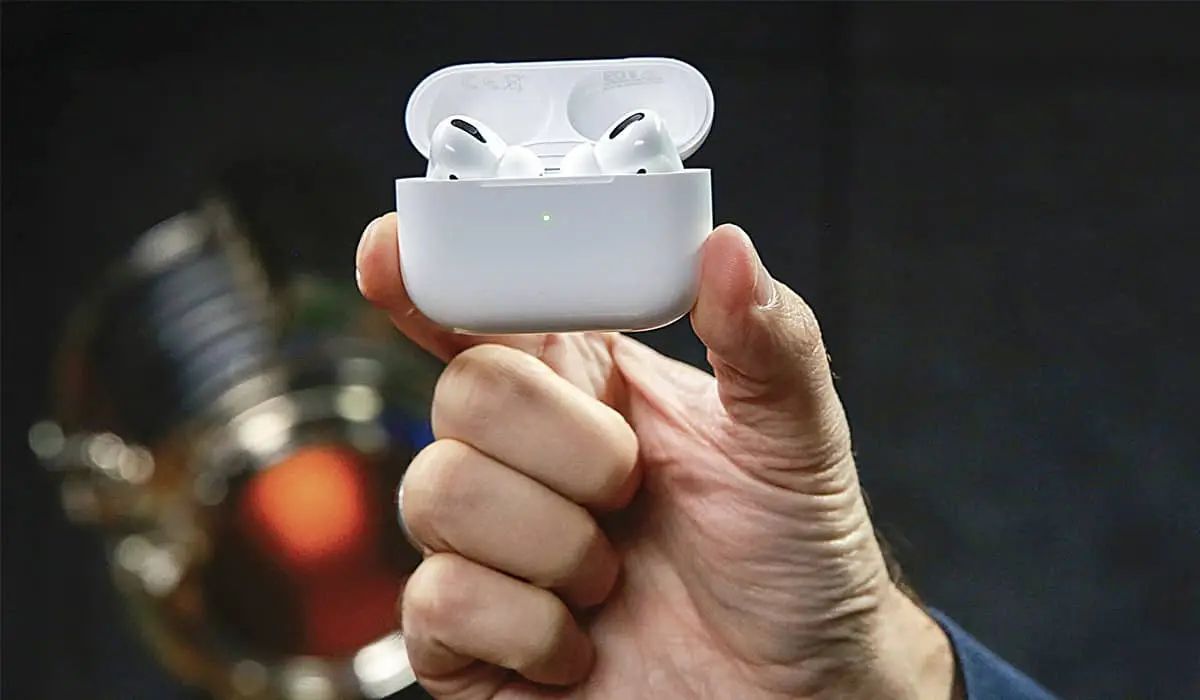
Before we dive into the reasons behind the green flashing LED on your AirPods, let’s take a moment to understand the LED indicator itself. Located on the front of the AirPods case, the LED serves as a visual cue to provide you with information about the status of your AirPods.
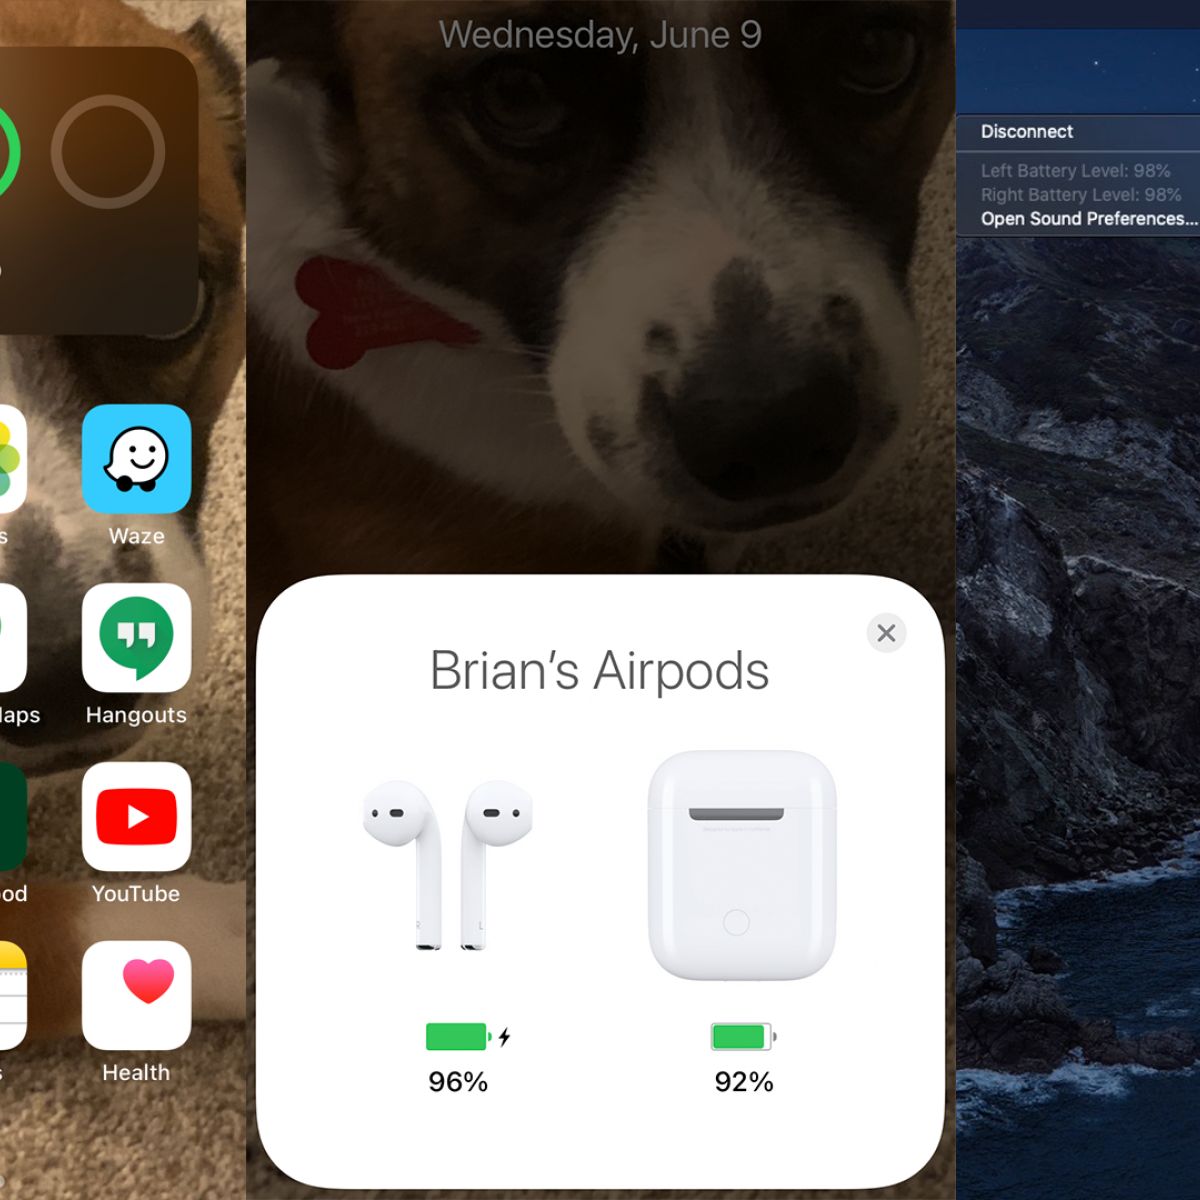
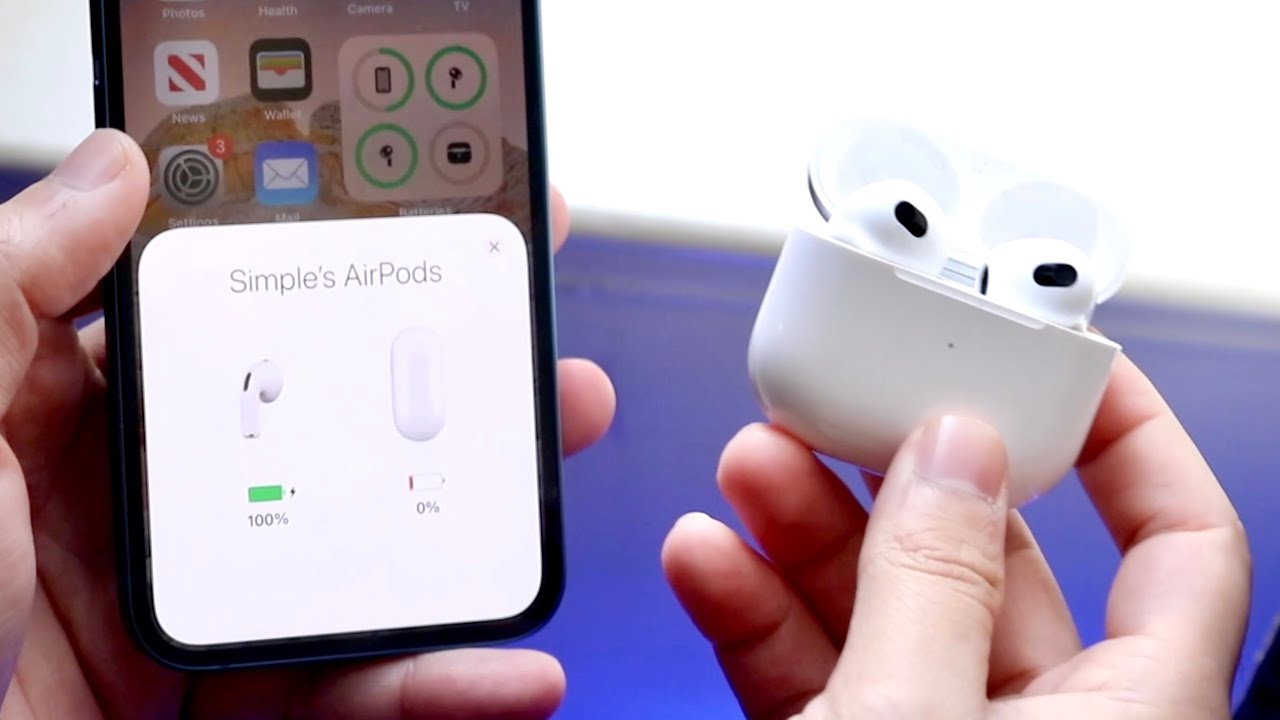
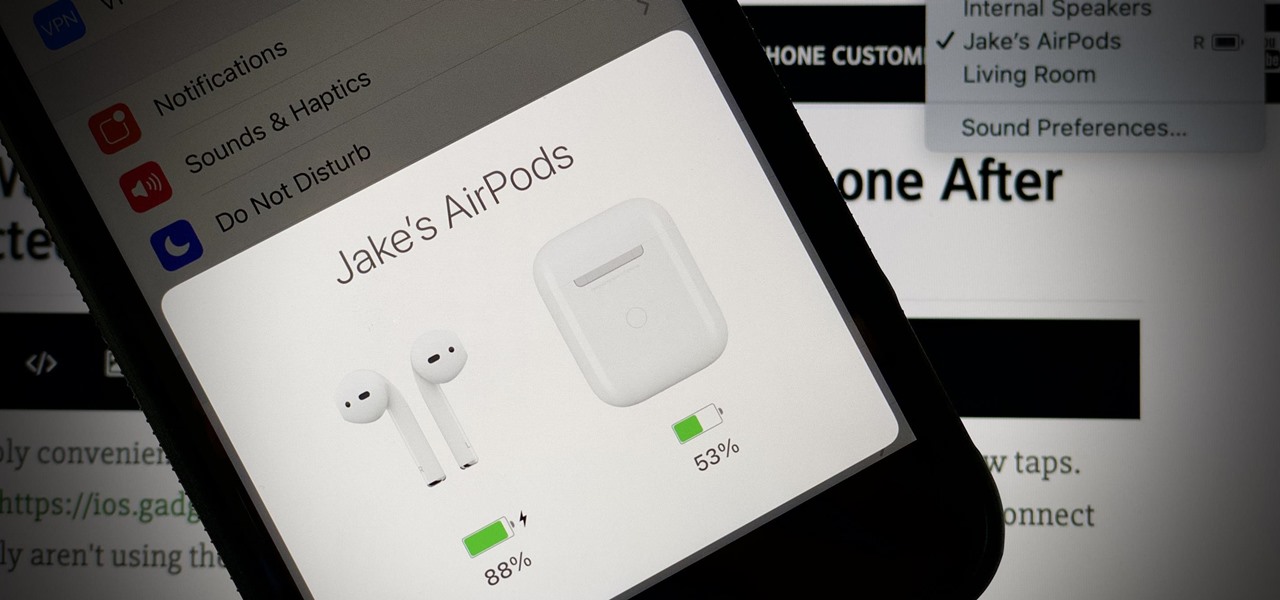
Under normal circumstances, when you open the AirPods case near your iPhone or Mac, the LED will display a white light, indicating that your AirPods are ready to connect. This white light can also appear when you’re checking the battery status through your device. However, there are times when your AirPods deviate from this norm and exhibit a green flashing LED instead.
The green flashing LED is less common but not necessarily cause for concern. It typically indicates that your AirPods are either in the process of connecting to a device, experiencing charging issues, or have encountered a minor software glitch. Understanding the different scenarios that trigger this LED behavior will help you better diagnose and address any underlying issues.
It’s important to note that the LED behavior may vary slightly between different AirPods models. While the classic AirPods and AirPods Pro generally follow the same LED patterns, it’s always a good idea to consult your specific model’s documentation for detailed information.
Now that we have a basic understanding of the LED indicator on your AirPods, let’s move on to exploring the potential reasons behind the green flashing LED and how to troubleshoot them effectively.
Reasons behind the Green Flashing LED:
When your AirPods display a green flashing LED, it indicates that there may be a specific event or issue causing this unusual behavior. Understanding these reasons will help you diagnose and address the problem. Here are some common causes behind the green flashing LED on AirPods:
1. Battery and Charging Issues: One possible reason for the green flashing LED is a battery or charging problem. If your AirPods are low on battery or aren’t charging properly, they may exhibit this LED behavior. It could indicate that the battery is critically low or that there’s an issue with the charging connection.
2. Connection Issues: Another reason for the green flashing LED is a connection issue between your AirPods and your device. In some cases, your AirPods may not be able to establish a stable or successful connection, resulting in the LED flashing green instead of the usual white or amber.
3. Minor Software Glitch: Occasionally, your AirPods’ firmware may encounter a minor software glitch, causing the LED to behave unexpectedly. This glitch can trigger the green flashing LED, but it is typically resolved through simple troubleshooting steps.
These are the main reasons behind the green flashing LED on your AirPods. In the following sections, we’ll delve deeper into each of these potential causes and provide you with troubleshooting steps to resolve them.
Battery and Charging Issues:
Battery and charging problems can often be the culprit behind the green flashing LED on your AirPods. Here are some potential scenarios and troubleshooting steps to address these issues:
1. Low Battery: If your AirPods are running on a critically low battery, they may flash green to indicate the need for a recharge. To resolve this, place your AirPods back in the charging case and connect the case to a power source using the Lightning cable. Allow them to charge for a while until the LED turns amber or white, indicating that they have sufficient battery power.
2. Charging Connection Issue: Sometimes, the green flashing LED can signify a problem with the charging connection. Start by ensuring that the Lightning cable is securely plugged into the charging case and the power source. Check for any debris or dirt on the charging contacts of both the AirPods and the case and gently clean them if necessary. If the issue persists, try using a different Lightning cable or charging adapter to isolate the problem.
3. Faulty Charging Case or AirPods: If you’ve followed the above steps and the green flashing LED continues, there may be a defect with either the charging case or the AirPods themselves. To determine the cause, try charging a different pair of AirPods or borrowing a friend’s charging case to see if the LED behavior changes. If the issue persists with the different AirPods or charging case, it may be necessary to contact Apple Support for further assistance or to have your devices inspected or replaced.
Remember to allow your AirPods to charge fully and ensure a good connection before assessing the LED behavior. If the LED continues to flash green even after addressing the battery and charging issues, it’s time to explore other potential causes, such as connection problems, which we’ll discuss in the following section.
Connection Issues:
Connection issues can also trigger the green flashing LED on your AirPods. Here’s what you need to know about these issues and how to troubleshoot them:
1. Unstable Bluetooth Connection: If your AirPods are having trouble establishing a stable Bluetooth connection with your device, it can result in the green flashing LED. To troubleshoot this, start by toggling the Bluetooth feature on your device off and then on again. Additionally, make sure that your AirPods are within the recommended range of your device (typically around 30 feet) and remove any potential obstacles or sources of interference.
2. Device Compatibility: Ensure that your AirPods are compatible with the device you’re trying to connect them to. While AirPods are primarily designed for use with Apple devices, they can also work with other Bluetooth-enabled devices. However, certain features may be limited or unavailable depending on the device’s compatibility. Consult the AirPods documentation or Apple’s official website for a list of compatible devices.
3. Resetting Bluetooth Settings: If the connection issues persist, try resetting the Bluetooth settings on your device. This process varies depending on the operating system, so refer to your device’s user manual or online resources for specific instructions. After resetting the Bluetooth settings, re-pair your AirPods and check if the green flashing LED persists.
4. Software Updates: Keeping your device’s firmware up to date is essential for optimal AirPods performance. Make sure that both your AirPods and your device have the latest software updates installed. Apple periodically releases firmware updates for AirPods, which can address connectivity issues and improve overall functionality.
If you’ve followed these troubleshooting steps and the green flashing LED issue still persists, it’s time to consider other potential causes or seek assistance from Apple Support. In the next section, we’ll explore additional troubleshooting steps, including resetting your AirPods, to help resolve the issue.
Troubleshooting Steps:
If you’re still experiencing the green flashing LED on your AirPods, try the following troubleshooting steps to help resolve the issue:
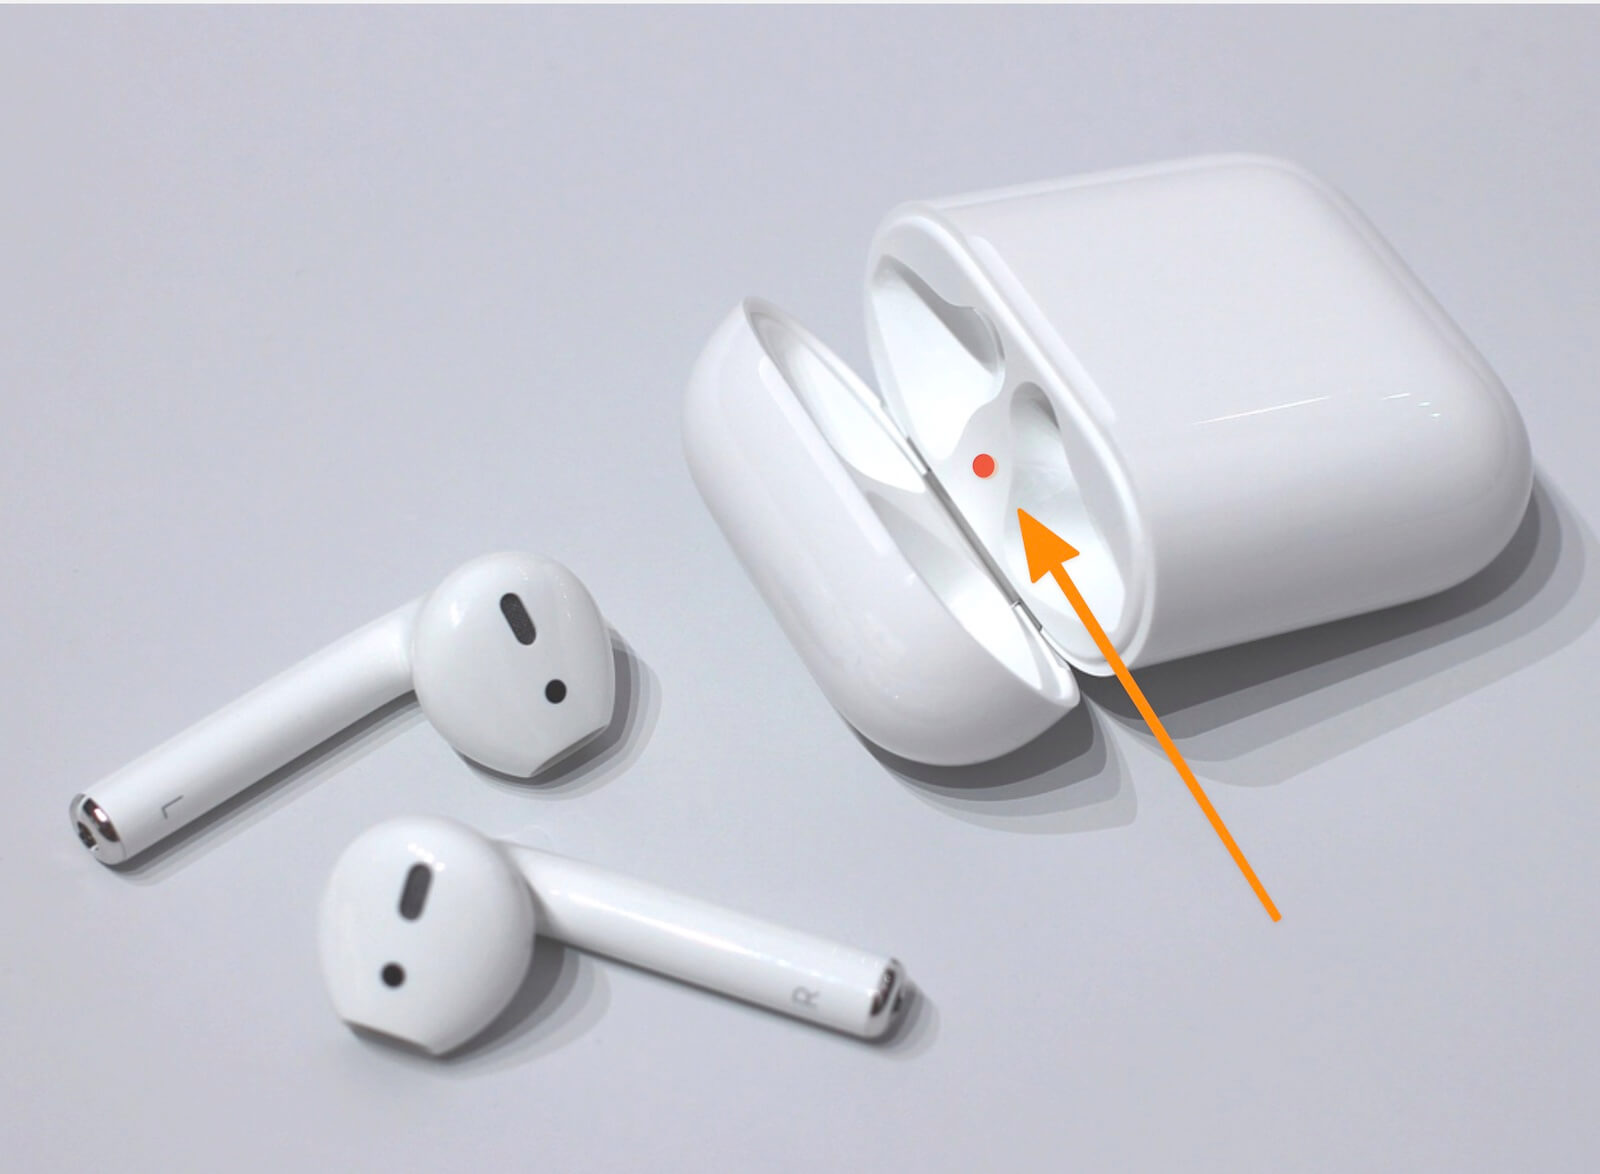
1. Resetting AirPods: Resetting your AirPods can often fix minor software glitches and restore them to their default settings. To do this, place your AirPods in the charging case and keep the lid open. Press and hold the button on the back of the case until the LED on the front starts flashing amber, then releases the button. After a few moments, the LED should turn white, indicating that the reset is complete. Reconnect your AirPods to your device and check if the green flashing LED persists.
2. Checking AirPods Firmware: Ensure that your AirPods firmware is up to date. To check for updates, make sure your AirPods are connected to your device, open the Settings app, and go to General > About > AirPods. If a firmware update is available, follow the on-screen instructions to install it. Updating to the latest firmware can often fix connectivity issues and resolve the green flashing LED problem.
3. Contacting Apple Support: If you’ve tried all the troubleshooting steps above and the green flashing LED continues, it may be time to seek assistance from Apple Support. They have access to more advanced diagnostics tools and can guide you through additional troubleshooting steps or arrange for a repair or replacement if necessary.
Remember, each troubleshooting step should be performed individually, testing your AirPods after each step to determine if the issue has been resolved. It’s also a good idea to check for any specific instructions related to your AirPods model in the user manual or on Apple’s support website.
By following these troubleshooting steps, you’ve done everything in your power to address the green flashing LED issue on your AirPods. Hopefully, one of these steps has resolved the problem and restored your AirPods to their normal functionality. If not, don’t worry. Apple Support is there to assist you further and ensure that you can enjoy your AirPods without any issues.
Resetting AirPods:
If you’re experiencing persistent issues with your AirPods, resetting them can often help resolve software glitches and restore them to their default settings. Here’s how you can reset your AirPods:
1. Place AirPods in the Charging Case: First, ensure that both of your AirPods are safely nestled inside the charging case. Make sure that the lid of the case is open, exposing the LED light on the front of the case.
2. Press and Hold the Button: Locate the small button on the back of the charging case. Press and hold this button for about 15 seconds. You may notice the LED light on the front of the case flashing amber and then white. Keep holding the button until the light changes to white, indicating that the reset process is complete.
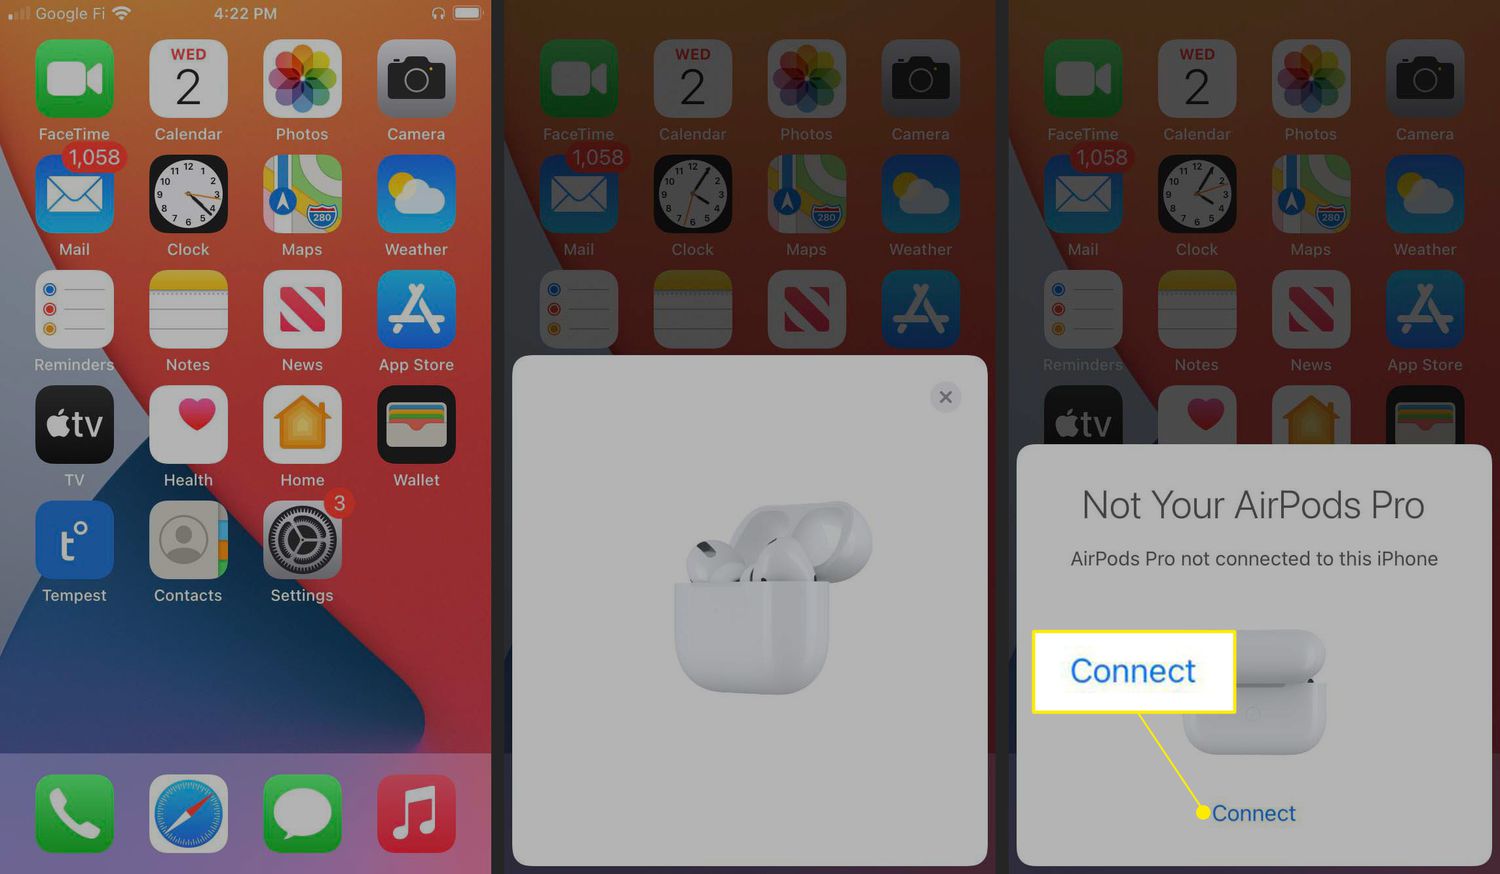
3. Reconnect to Your Device: Once the AirPods have been reset, you’ll need to reconnect them to your device. Place the AirPods case close to your device, open the lid, and a prompt should appear on your device asking you to connect the AirPods. Follow the on-screen instructions to complete the connection process.
It’s important to note that resetting your AirPods will not erase any stored data or settings on your connected devices. It simply resets the AirPods themselves to their default state. After resetting, you may need to reconfigure any custom settings you had applied to your AirPods.
Resetting your AirPods is a simple yet effective way to troubleshoot software-related issues. This process can help resolve problems such as audio glitches, connectivity issues, or unexpected LED behavior like the green flashing LED.
If, after resetting your AirPods, the green flashing LED issue persists, it may be worth exploring other troubleshooting steps or contacting Apple Support for further assistance. They can provide additional guidance tailored to your specific situation and help resolve any lingering issues with your AirPods.
Checking AirPods Firmware:
Ensuring that your AirPods have the latest firmware is crucial for optimal performance and compatibility with your devices. Here’s how you can check and update your AirPods firmware:
1. Connect AirPods to Your Device: Start by connecting your AirPods to your iPhone, iPad, or iPod touch. Open the lid of the AirPods case and place it near your device. The Bluetooth pairing prompt should appear on your device’s screen. Follow the instructions to connect your AirPods.
2. Open the Settings App: Once your AirPods are connected, open the Settings app on your device. Look for the gear-shaped icon, usually found on the home screen or in the app drawer.
3. Navigate to Bluetooth Settings: In the Settings app, scroll down and tap on “Bluetooth”. This will display a list of all the Bluetooth devices currently connected to your device. Look for your AirPods in the list and tap on the “i” icon next to their name.
4. Check for Firmware Updates: On the AirPods settings page, look for the “Firmware Version” section. This will display the current firmware version installed on your AirPods. Compare this version to the latest firmware version available on Apple’s support website or other trusted sources. If a newer version is available, it’s recommended to update your AirPods firmware.
5. Update AirPods Firmware: Updating your AirPods firmware is a straightforward process. Make sure your AirPods are connected to your device and have sufficient battery charge. Leave them in the charging case and connect the case to a power source. Keep your device nearby and connected to a stable internet connection. Apple will automatically check for firmware updates and install them on your AirPods if available. The update process may take a few minutes, and it’s essential not to remove your AirPods from the case during this time.
Regularly checking and updating your AirPods firmware is an excellent practice to ensure you have access to the latest features and bug fixes. Firmware updates can also address connectivity issues, improve performance, and resolve LED-related problems such as the green flashing LED.
In the event that the green flashing LED persists even after updating the firmware, consider trying other troubleshooting steps or contacting Apple Support for further assistance. They have the expertise to diagnose specific issues with your AirPods and provide appropriate solutions.
Contacting Apple Support:
If you’ve exhausted all the troubleshooting steps and the green flashing LED issue on your AirPods persists, it’s time to seek assistance from Apple Support. They have the expertise to help diagnose and resolve more complex issues. Here’s how you can reach out to Apple Support:
1. Apple Support Website: Visit the official Apple Support website (support.apple.com) and navigate to the “Contact Support” page. Select your AirPods model and the issue you’re experiencing. You’ll be presented with various options to contact Apple Support, including phone, chat, email, or scheduling an appointment at an Apple Store.
2. Apple Support App: If you prefer a more streamlined experience, you can download the Apple Support app from the App Store. This app provides quick access to various support resources and allows you to chat with an advisor, schedule a callback, or book an appointment at an Apple Store.
3. Social Media and Community Forums: Apple’s official social media channels and community forums can also be valuable resources for troubleshooting and connecting with other AirPods users. You can ask questions, seek advice, or find solutions shared by the community. Although not as direct as contacting Apple Support, it can still provide helpful insights and potential solutions.
When reaching out to Apple Support, be prepared to provide details about your AirPods model, the issue you’re experiencing, and any troubleshooting steps you’ve already tried. This will help the support team better understand your situation and provide tailored assistance.
Remember, Apple Support is dedicated to ensuring your satisfaction as an Apple customer. They will work with you to diagnose the issue, provide additional troubleshooting steps if necessary, and guide you through repair or replacement options if your AirPods require further attention.
It’s important to be patient and cooperative throughout the support process. Apple’s support team is committed to resolving your issue and ensuring that you can enjoy your AirPods to their fullest potential.
By contacting Apple Support, you’ll have the reassurance of receiving expert advice and guidance to resolve the green flashing LED issue on your AirPods. Don’t hesitate to reach out for assistance if you’ve exhausted all other troubleshooting options.
Conclusion:
The green flashing LED on your AirPods may initially cause confusion and concern, but understanding the reasons behind it can help you address the issue effectively. Whether it’s related to battery and charging problems, connection issues, or minor software glitches, there are several troubleshooting steps you can take to resolve the problem.
Start by ensuring that your AirPods have sufficient battery charge and are properly connected to the charging case. If the green flashing LED persists, reset your AirPods to their default settings and check for any available firmware updates. These steps can often fix common issues and restore your AirPods to normal functionality.
If the problem persists even after troubleshooting, don’t hesitate to contact Apple Support. They have the expertise to diagnose and address more complex and hardware-related issues. By reaching out to Apple Support, you’ll receive personalized assistance to help resolve the green flashing LED issue on your AirPods.
Remember, your AirPods are designed to provide a seamless and convenient audio experience. Understanding the LED indicator and troubleshooting the green flashing LED will help you make the most of your AirPods and ensure uninterrupted enjoyment.
So, embrace the freedom of wireless audio and let the green flashing LED be a sign of resolving minor issues rather than a cause for alarm. With the right knowledge and troubleshooting steps, you’ll be back to enjoying your AirPods in no time.


