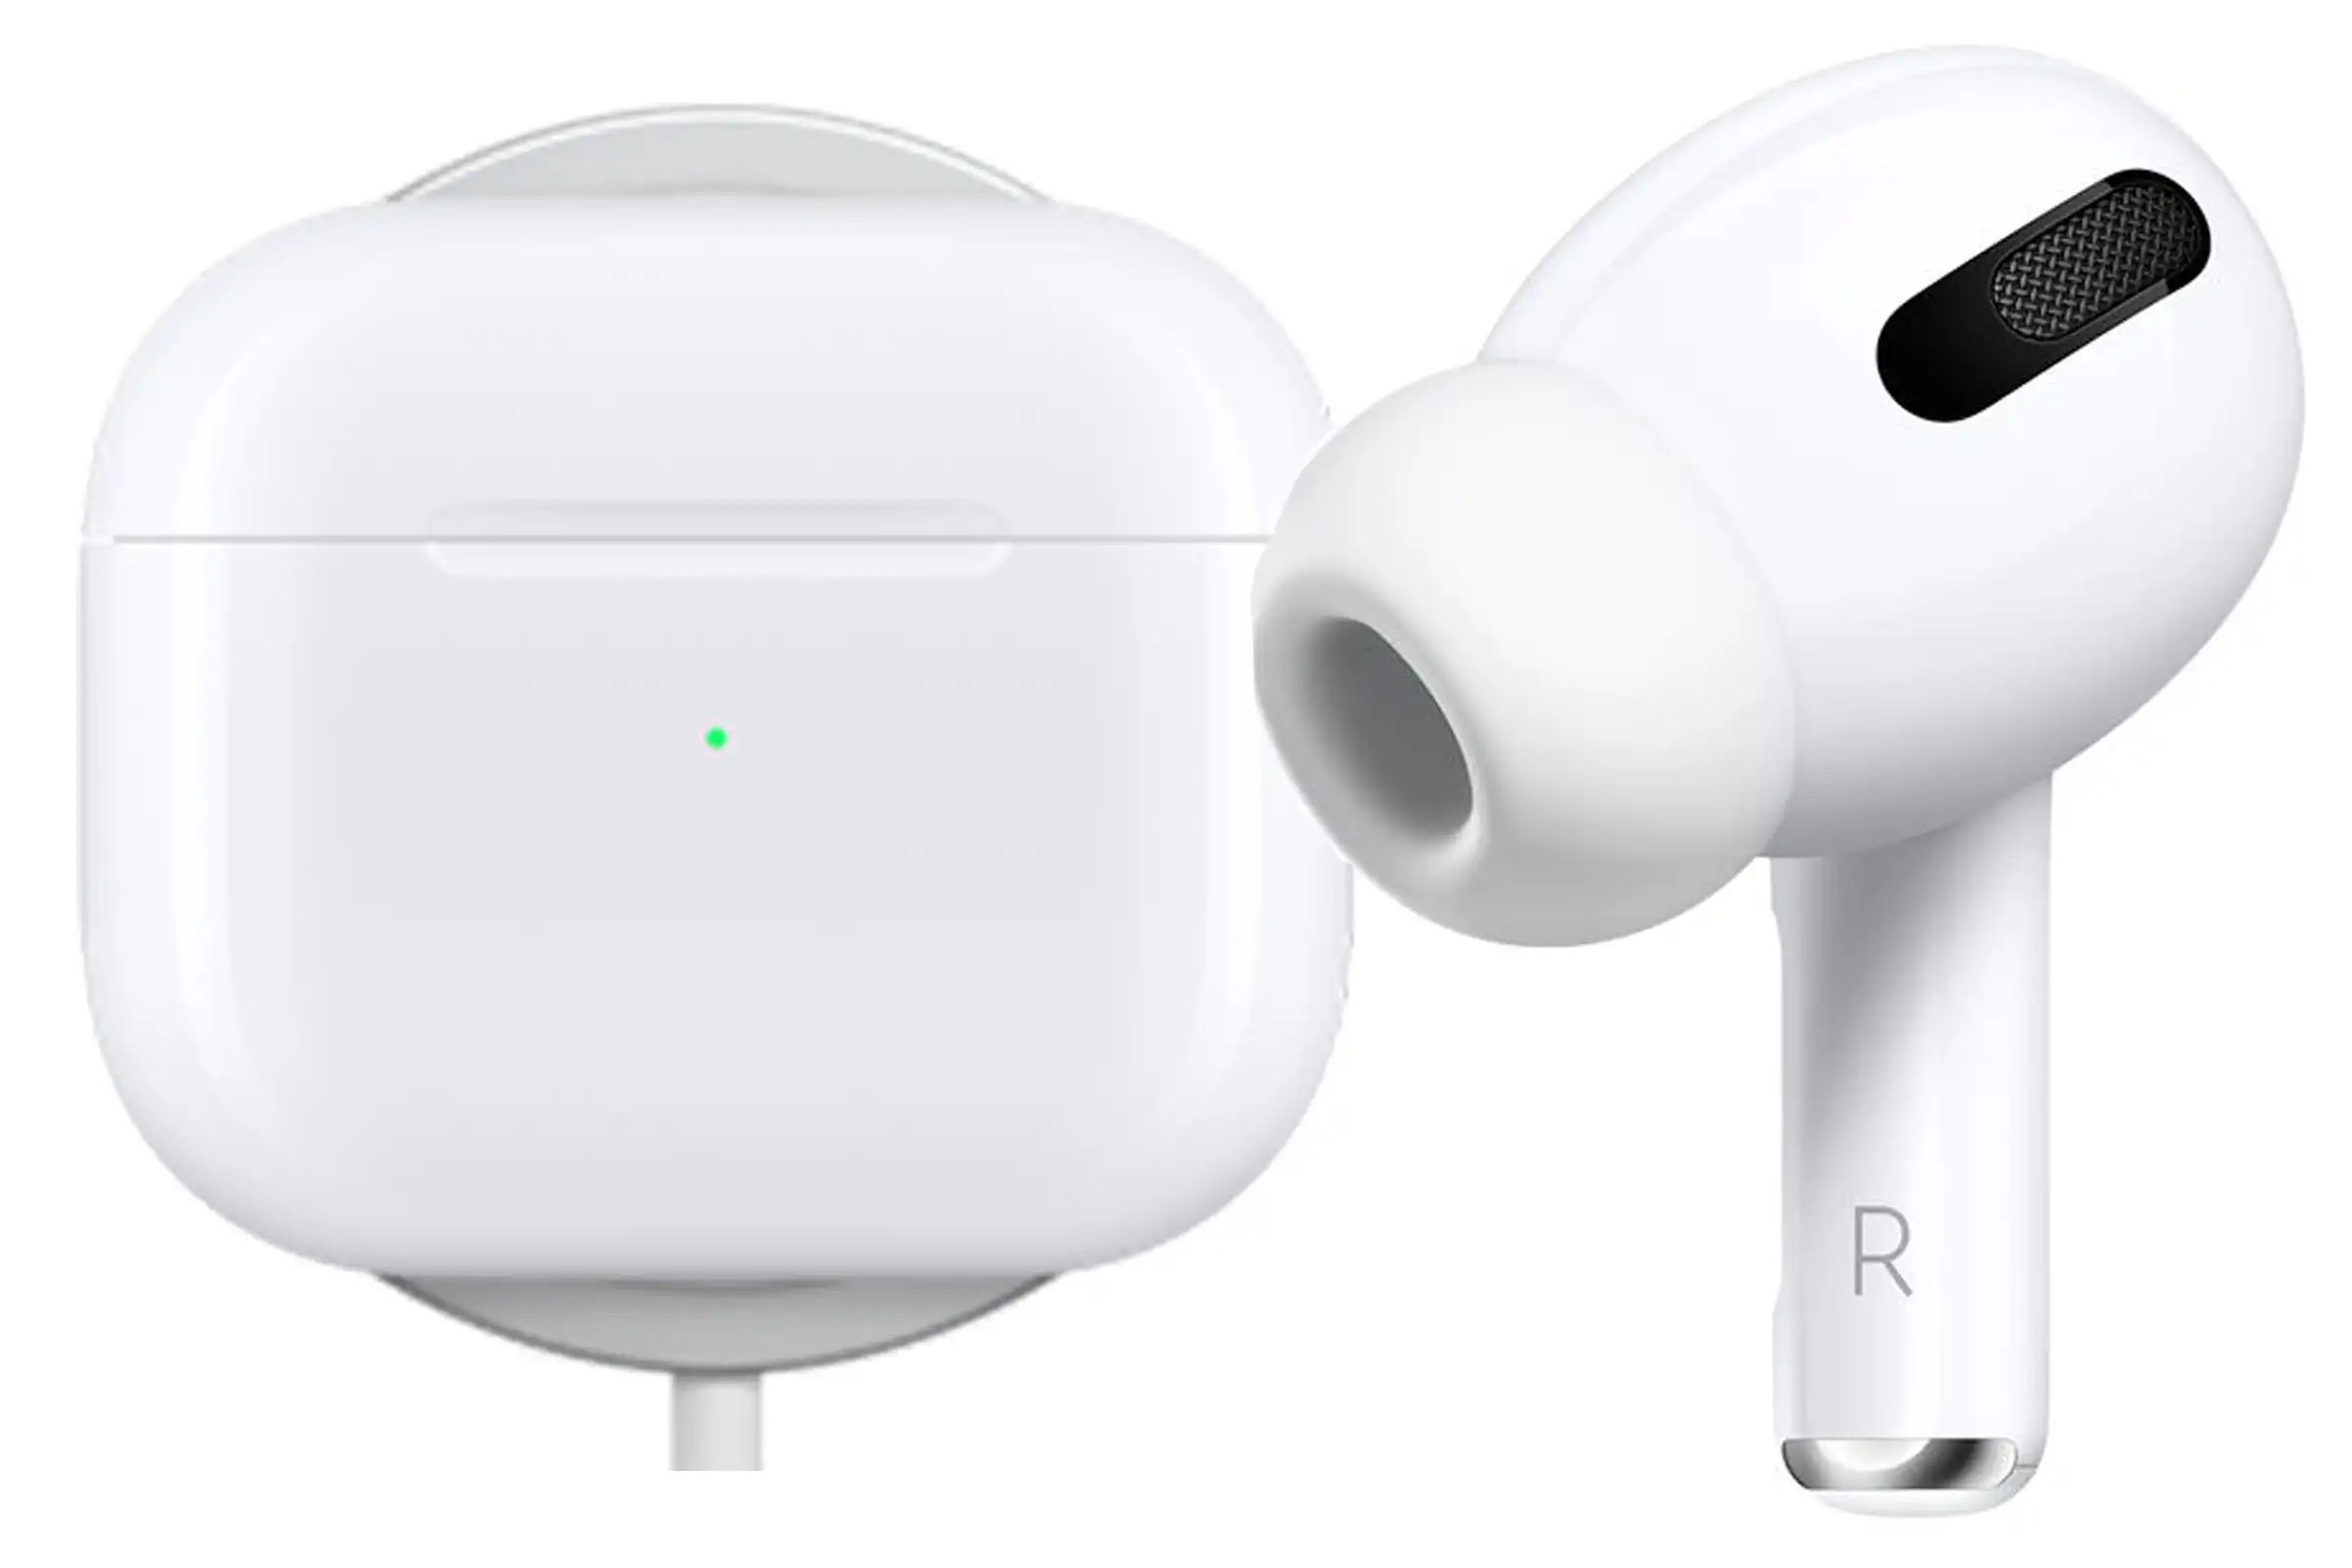
Why should you add AirPods to Find My?
Adding your AirPods to the Find My app has several advantages that can greatly benefit you in various situations. Here are a few reasons why you should consider adding your AirPods to Find My:
- Track your AirPods: By adding your AirPods to Find My, you can easily locate them if they are lost or misplaced. The app uses Bluetooth technology to pinpoint the last known location of your AirPods, giving you peace of mind knowing that you can always find them.
- Find My network: AirPods can connect to the Find My network, which is a vast network of Apple devices that help locate misplaced or lost items. If your AirPods go out of range of your paired device, they can still be found using the network of other Apple devices nearby. This feature significantly increases the chances of finding your AirPods if they are lost.
- Ease of sharing: If you frequently share your AirPods with family or friends, adding them to Find My allows you to easily track their location when they are paired with another iOS device. This can be helpful in managing and keeping track of your shared AirPods effectively.
- Protect your investment: AirPods are a valuable accessory, and adding them to Find My adds an extra layer of security. In the unfortunate event that your AirPods are stolen, you can use the Find My app to track their location, enabling you to recover them or provide the necessary information to law enforcement.
- Peace of mind: Knowing that your AirPods are linked to the Find My app provides peace of mind, especially when you’re traveling or in public places. If you accidentally leave your AirPods behind, you can be alerted immediately and take necessary action to retrieve them before they go missing or fall into the wrong hands.
By adding your AirPods to Find My, you can increase the chances of finding them if they are lost, protect your investment, and have peace of mind knowing their location is just a tap away. It’s a simple yet powerful feature that adds convenience and security to your AirPods usage.
Checking device compatibility
Before adding your AirPods to the Find My app, it’s essential to ensure that your iOS device is compatible. Here’s how you can check if your device can support the Find My app:
- iOS version: Make sure that your iOS device is running on the latest version of iOS. The Find My app is available on iOS 13 and later versions. To check your iOS version, go to “Settings,” tap on “General,” and then “About.” Look for the “Software Version” to see which iOS version you have.
- Device compatibility: The Find My app is compatible with a wide range of Apple devices, including iPhone, iPad, iPod touch, and Mac. However, it’s crucial to note that some older Apple devices may not support the latest iOS versions required for the Find My app. Refer to Apple’s official website or the App Store for more information on device compatibility.
If your iOS device meets the requirements mentioned above, you can proceed with adding your AirPods to the Find My app. However, if your device is not compatible, you may need to consider upgrading to a newer iOS device that supports the Find My app to enjoy the benefits of tracking your AirPods.
It’s always a good practice to ensure that your device meets the compatibility criteria before attempting to add your AirPods to the Find My app. This ensures that you have a seamless experience and can make the most of the tracking and locating features offered by the app.
Step 1: Make sure your AirPods are connected to an iOS device
Before adding your AirPods to the Find My app, it’s crucial to ensure that they are already connected to an iOS device. Here’s how you can confirm the connection:
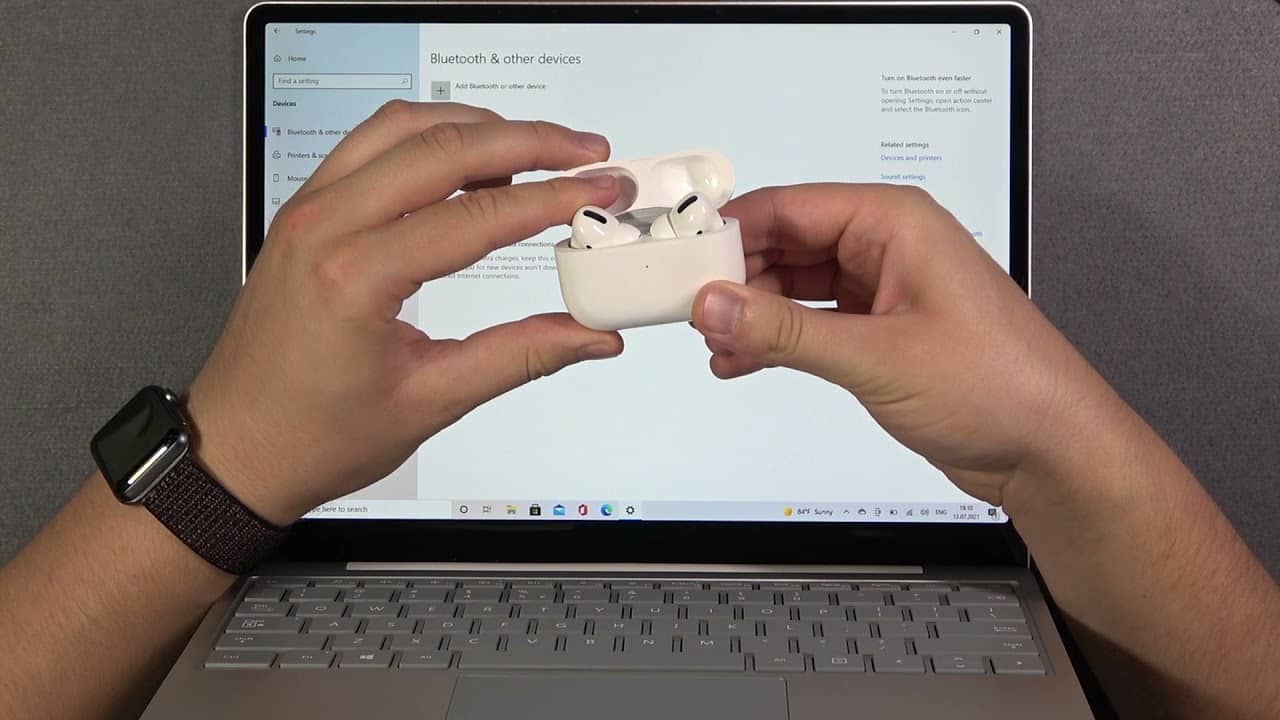
- Open Bluetooth settings: On your iOS device, open the “Settings” app and navigate to the “Bluetooth” section. Make sure that Bluetooth is turned on.
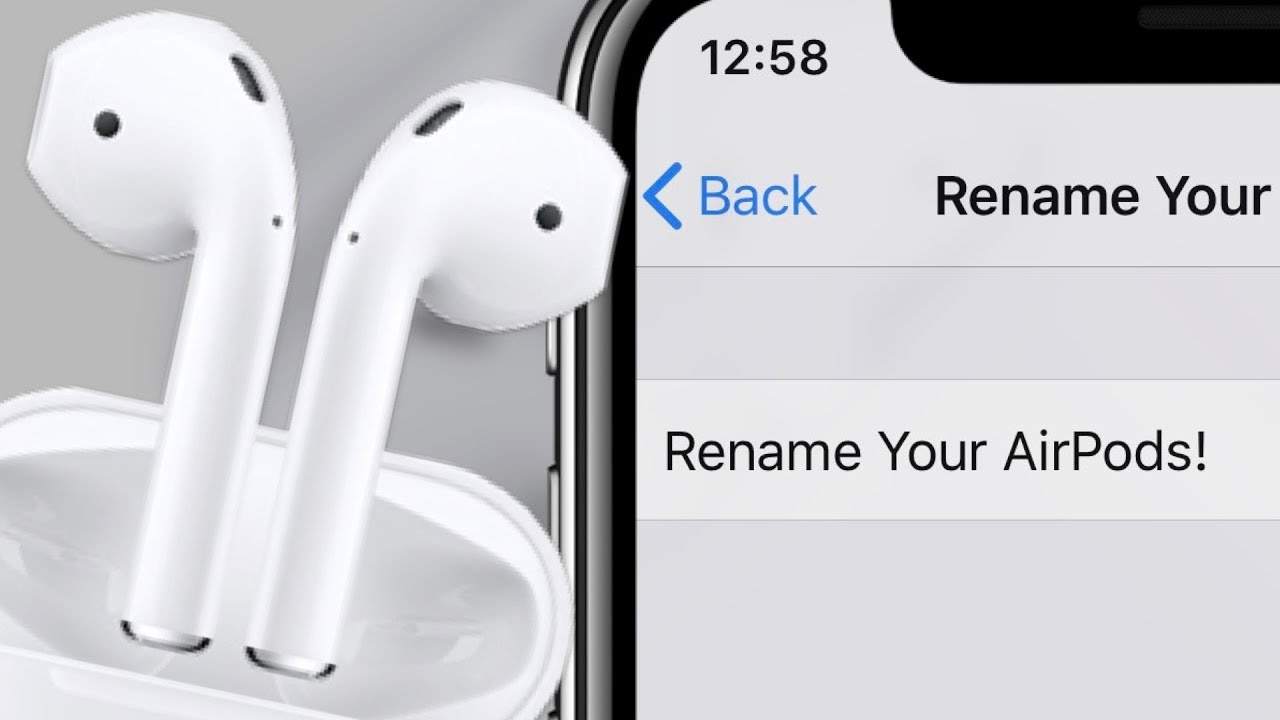
- Check for AirPods: In the list of available devices, look for your AirPods. They should appear in the list as “AirPods” or the name you have assigned to them. If they are not listed, ensure that your AirPods are properly inserted in your ears and in the vicinity of your iOS device. You may need to open the AirPods case to initiate the pairing process.
- Verify connection: Once you have located your AirPods in the Bluetooth device list, ensure that they are connected. You should see “Connected” or a checkmark next to your AirPods’ name.
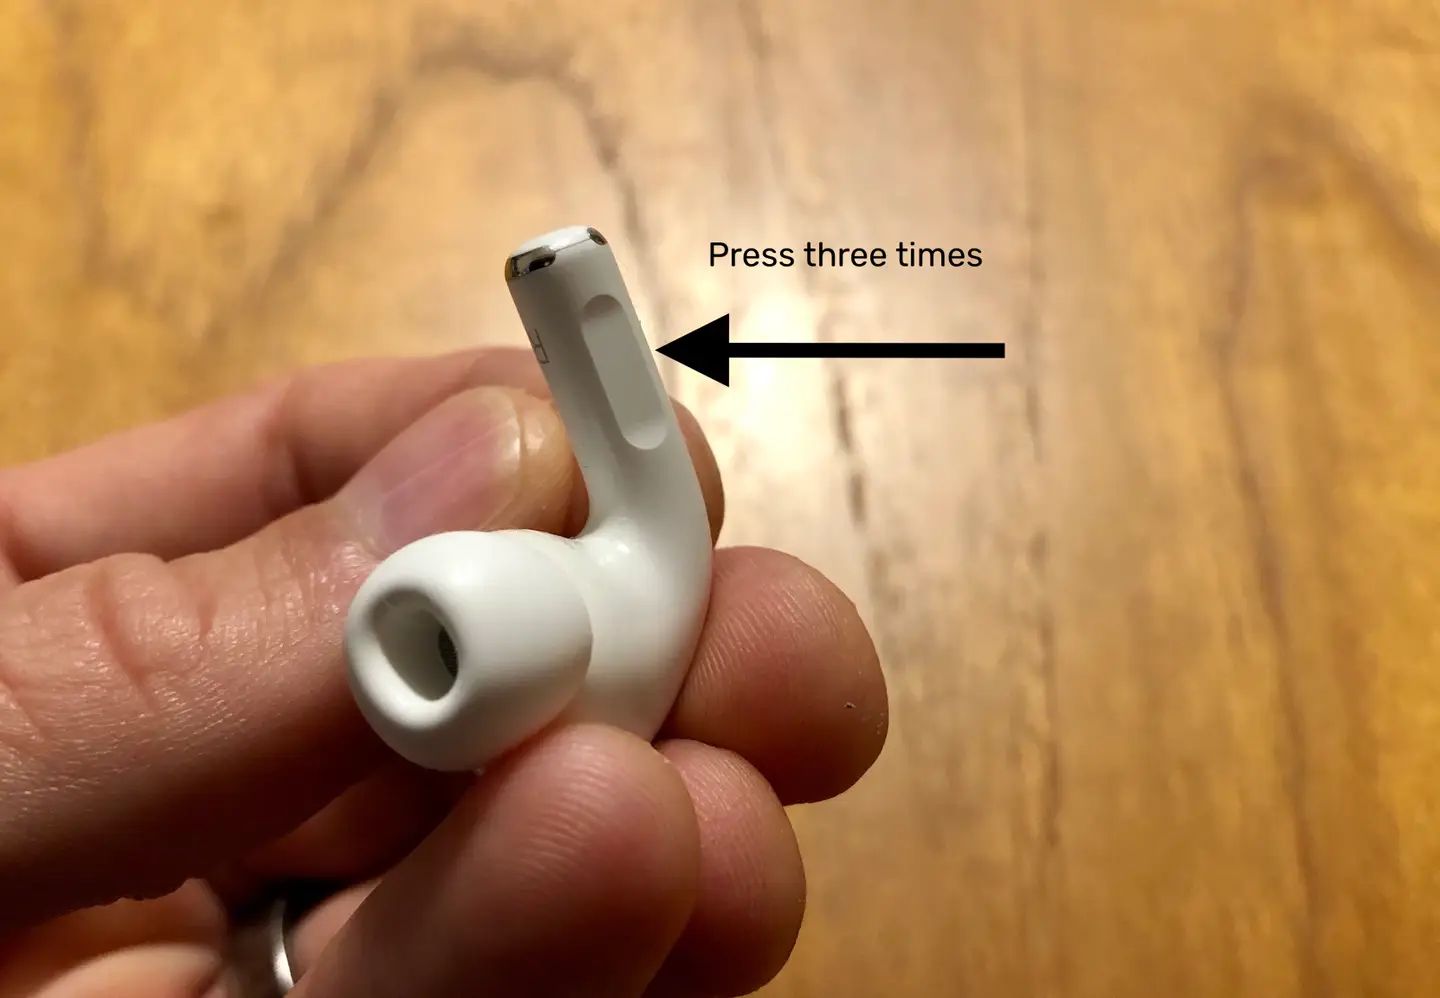
If your AirPods are not connected to your iOS device, you may need to follow the instructions to pair them. This typically involves putting your AirPods in their case, opening the lid, and pressing the button on the back of the case until the LED light flashes white. Your AirPods should then appear in the Bluetooth device list, allowing you to connect to them.
It’s essential to have your AirPods connected to your iOS device before proceeding to the next step of adding them to the Find My app. This ensures that the app can properly detect and track their location when needed.
Step 2: Update your iOS device to the latest version
Before adding your AirPods to the Find My app, it’s important to ensure that your iOS device is running on the latest version of iOS. Here’s how you can check for updates and update your device:
- Check for updates: Open the “Settings” app on your iOS device and go to “General.” From there, tap on “Software Update.” Your device will then check for any available updates.
- Download and install updates: If there are updates available, you will see a message indicating this. Tap on “Download and Install” to begin the update process. Make sure you have a stable internet connection and sufficient battery life to complete the update.
- Follow on-screen instructions: Once the update is downloaded, your device will guide you through the installation process. This typically involves agreeing to terms and conditions and entering your passcode. Your device may restart during the update process, so make sure to save any important work or data before proceeding.
Updating your iOS device to the latest version ensures that you have access to all the latest features and improvements, including those related to the Find My app. It’s important to keep your device up to date to ensure optimal performance and compatibility with AirPods and other Apple devices.
If there are no available updates or if you are already running the latest version of iOS, you can proceed to the next step of adding your AirPods to the Find My app.
Step 3: Open the Find My app on your iOS device
To begin the process of adding your AirPods to the Find My app, you need to open the Find My app on your iOS device. Here’s how you can do it:
- Locate the Find My app: On your iOS device’s home screen, look for the “Find My” app. It is represented by a green icon with a radar-like image in the shape of a circle.
- Tap to open: Tap on the Find My app icon to launch it. The app will open, and you will be greeted with the main interface, which displays a map and various tabs.
If you cannot locate the Find My app on your iOS device, it may be because you are using an older iOS version that does not support the app. Please refer to earlier sections to check for device compatibility and update your iOS device if necessary.
Opening the Find My app is the first step in adding your AirPods to the app. This app serves as a centralized hub for tracking and locating your Apple devices, including your AirPods. Once you have successfully opened the Find My app, you can proceed to the next step of adding your AirPods to the app.
Step 4: Tap on the “Devices” tab
After opening the Find My app on your iOS device, the next step is to navigate to the “Devices” tab. This tab allows you to manage and track all of your connected Apple devices, including your AirPods. Follow these steps:
- Locate the Devices tab: At the bottom of the Find My app interface, you will see a row of tabs. Look for the one labeled “Devices” and tap on it. The tab is represented by an icon that resembles a folder with a device inside it.
- Access your devices: Once you are on the Devices tab, you will see a list of all the Apple devices that are connected to your iCloud account. This includes your iPhones, iPads, Macs, and hopefully, your AirPods.
If you don’t see the Devices tab or can’t find your AirPods in the device list, ensure that you have completed the previous steps correctly. Check that your iOS device is compatible, your AirPods are connected to your iOS device, and your iOS device is running the latest version of iOS.
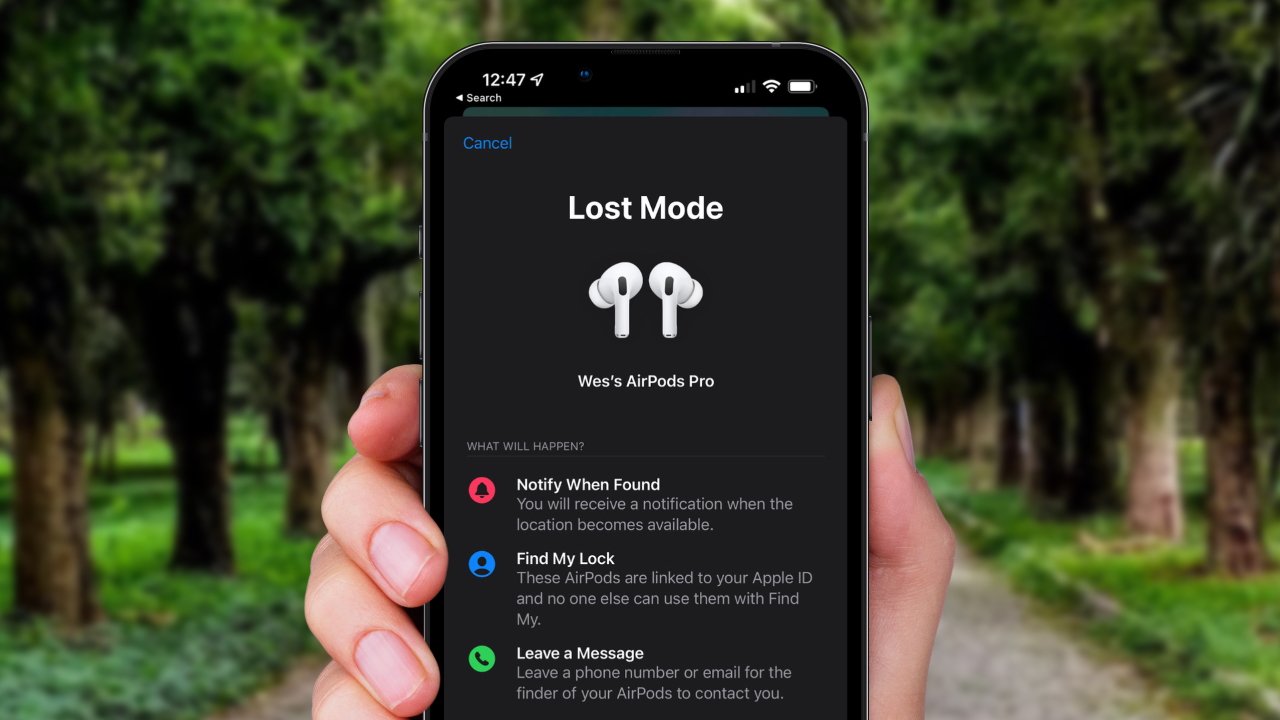
The Devices tab is where you will add and manage your AirPods in the Find My app. From here, you can track their location, play a sound to help locate them, and even enable Lost Mode in case they are lost or stolen. Once you have tapped on the Devices tab, you are ready to proceed to the next step of adding your AirPods to the Find My app.
Step 5: Tap on “Add Device” and select “AirPods”
Once you are on the “Devices” tab within the Find My app, the next step is to add your AirPods to the app. Follow these steps:
- Tap on “Add Device”: Look for the option to add a new device within the Find My app interface. On the top-right corner of the screen, you should see a “+” icon or a button labeled “Add Device.” Tap on it to proceed.
- Select “AirPods”: After tapping on “Add Device,” a list of device types will appear. From the list, select “AirPods” to indicate that you want to add your AirPods to the Find My app.
If you do not see the option to add a new device or cannot find “AirPods” within the list, double-check that you have followed the previous steps accurately. Ensure that your AirPods are connected to your iOS device, your iOS device is running the latest version of iOS, and you have navigated to the correct section in the Find My app.
By tapping on “Add Device” and selecting “AirPods,” you are instructing the Find My app to include your AirPods in its tracking and locating features. This allows you to easily find your AirPods if they are lost or misplaced, providing you with peace of mind and added security.
Step 6: Follow the on-screen instructions to complete the setup
Once you have selected “AirPods” as the device type to add in the Find My app, you will be guided through the final steps of the setup process. Follow the on-screen instructions to complete the setup. Here’s what you may encounter:
- Confirmation screen: After selecting “AirPods,” you may see a confirmation screen displaying information about the AirPods that will be added. Verify that the information is correct, and if everything looks good, proceed to the next step.
- Pairing request: In some cases, you may be prompted to pair your AirPods with your iOS device again. Follow the on-screen instructions to pair your AirPods, ensuring that they are inserted in your ears and in close proximity to your iOS device.
- Account verification: For security purposes, you may be asked to verify your Apple ID or provide authentication through Touch ID or Face ID. Complete the required steps to verify your account and proceed with the setup.
The on-screen instructions may vary slightly depending on the iOS version and any updates made to the Find My app. However, the process generally involves following prompts, confirming details, and completing any necessary authentication steps.
By following the on-screen instructions, you will successfully complete the setup process for adding your AirPods to the Find My app. Once the setup is complete, you can begin enjoying the benefits of tracking, locating, and managing your AirPods using the Find My app.
Tips for troubleshooting common issues
While adding your AirPods to the Find My app is usually a smooth process, you may encounter some common issues along the way. Here are a few tips to help you troubleshoot and resolve these issues:
- Ensure Bluetooth is enabled: Make sure that Bluetooth is turned on both on your iOS device and your AirPods. Go to the Settings app on your iOS device, tap on “Bluetooth,” and ensure the toggle switch is green.
- Restart your iOS device: Sometimes, a simple restart can resolve connectivity issues. Restart your iOS device and try the setup process again. This can help refresh the device’s Bluetooth connection and resolve any temporary glitches.
- Reset your AirPods: If you’re experiencing persistent issues, you may need to reset your AirPods. Open the Settings app on your iOS device, go to “Bluetooth,” find your AirPods in the device list, and tap on the (i) icon next to them. From there, select “Forget This Device” and follow the prompts. Afterward, try to pair your AirPods again and add them to the Find My app.
- Update your iOS device: If you haven’t already, ensure that your iOS device is running on the latest version of iOS. Software updates often include bug fixes and improvements that can address connectivity issues. Go to the Settings app, tap on “General,” and select “Software Update” to check for and install any available updates.
- Contact Apple Support: If you’ve tried the above troubleshooting tips and are still experiencing issues, consider reaching out to Apple Support. They have knowledgeable representatives who can guide you through specific troubleshooting steps tailored to your situation.
Remember, each troubleshooting step should be followed methodically and with caution. Sometimes, a small fix or adjustment is all that’s needed to resolve the issue. Patience and perseverance will help you successfully add your AirPods to the Find My app and enjoy the benefits of this powerful tracking feature.
Conclusion:
Adding your AirPods to the Find My app is a simple yet valuable step to enhance the security and convenience of using your AirPods. By doing so, you can easily track their location, protect them from loss or theft, and share them seamlessly with family and friends. Following the step-by-step process, including checking device compatibility, connecting AirPods to an iOS device, updating iOS, opening the Find My app, tapping on “Devices,” and selecting “AirPods,” ensures a smooth setup experience.
Once added to the Find My app, you can take advantage of features such as location tracking, playing a sound to locate misplaced AirPods, and activating Lost Mode for added security. Additionally, it enables you to leverage the Find My network to locate AirPods even when out of range of the paired device.
While adding AirPods to the Find My app is typically straightforward, troubleshooting common issues can help resolve any connectivity glitches that may occur. Tips such as verifying Bluetooth settings, restarting your iOS device, resetting your AirPods, and updating iOS can help resolve any unexpected complications.
By following the steps and troubleshooting tips outlined in this guide, you can successfully add your AirPods to the Find My app and enjoy the peace of mind that comes with knowing their location is just a few taps away. Whether you’re traveling, sharing your AirPods, or simply want an added layer of security, the Find My app ensures that you can always keep track of your AirPods with ease.