Introduction
Welcome to the world of Airpods, where you can experience the convenience and freedom of wireless listening. Airpods have become incredibly popular among tech enthusiasts and music lovers alike. However, if you’ve been using your Airpods for a while, you might be interested in giving them a personal touch by changing their name.
By default, Airpods are labeled with a generic name, such as “Airpods” or “John’s Airpods.” Changing the name not only adds a touch of personalization, but it also makes it easier to identify your Airpods when connecting them to your device.
In this article, we will guide you through the step-by-step process of changing the name of your Airpods. Whether you want to give them a unique name that reflects your style or simply differentiate them from others, we’ll help you achieve the desired result.
Before diving into the steps, it’s important to note that the process may vary slightly depending on the device you are using. Whether you have an iPhone, iPad, or Mac, rest assured that we’ll cover all the necessary instructions for each platform.
So, let’s get started and personalize your Airpods by changing their name.
Step 1: Connect Airpods to your device
The first step in changing the name of your Airpods is to ensure that they are properly connected to your device. Whether you’re using an iPhone, iPad, or Mac, the process is quite straightforward.
If you have an iPhone or iPad:
- Unlock your device and navigate to the home screen.
- Open the lid of your Airpods case while keeping them in close proximity to your device.
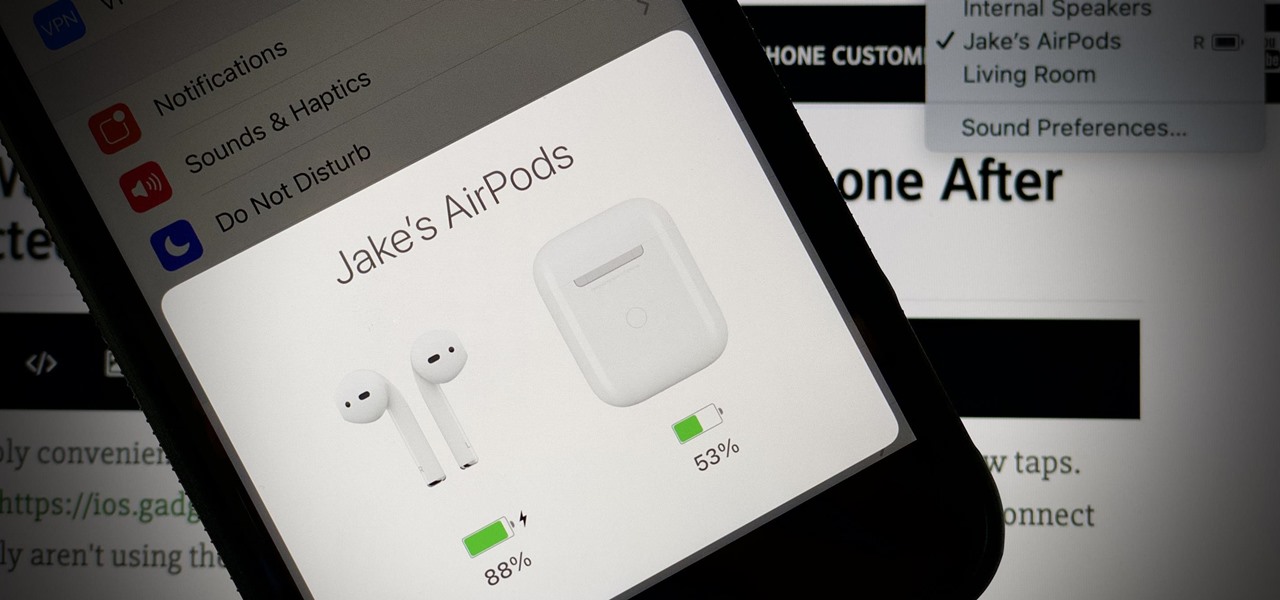
- A pop-up will appear on your screen, showing the current battery percentage of your Airpods and the charging case, as well as their connection status.
- To complete the connection, simply tap on the “Connect” button.
- If prompted, enter the passcode for your Airpods to establish the connection.
If you’re using a Mac:
- Open the lid of your Airpods case.
- Click on the Apple menu at the top left corner of your screen and select “System Preferences.”
- Within the System Preferences window, click on “Bluetooth.”
- In the list of available devices, locate your Airpods and click on the “Connect” button next to them.
- If prompted, enter the passcode for your Airpods to finalize the connection.
Once your Airpods are successfully connected to your device, you’re ready to move on to the next step and change their name. Remember, it’s important to keep your Airpods in close proximity to your device throughout this process to ensure a stable and uninterrupted connection.
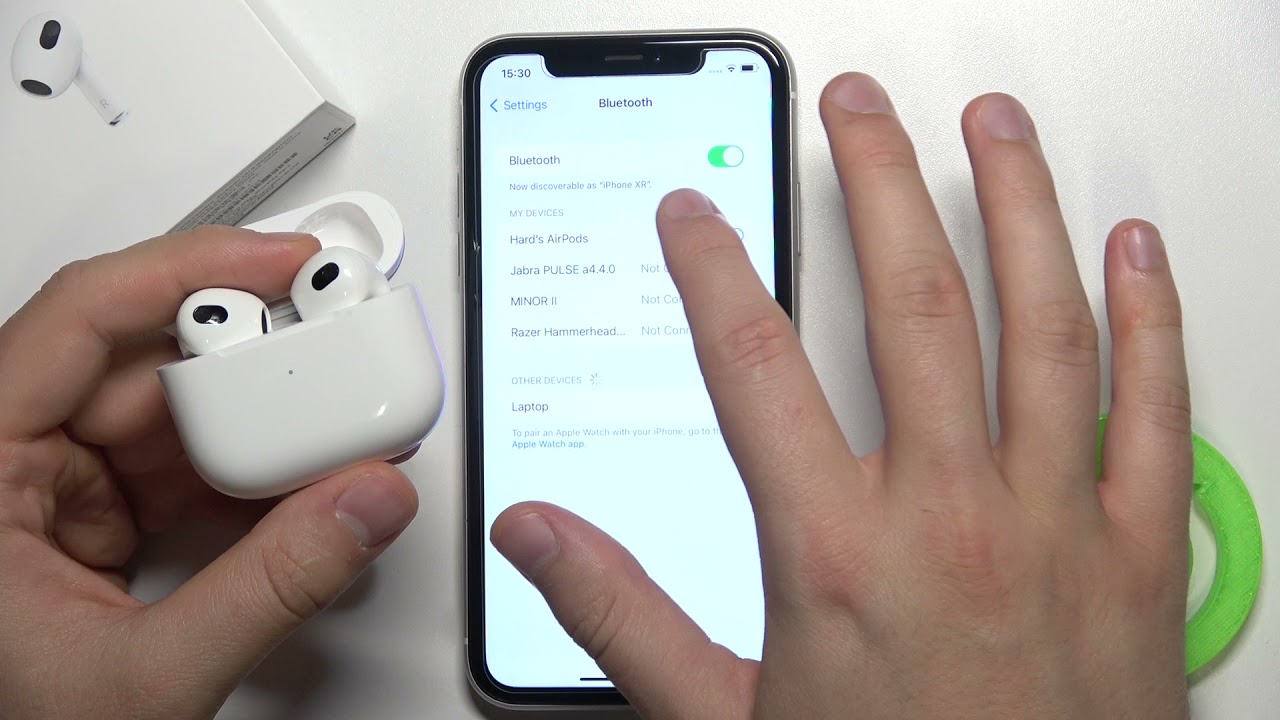
Step 2: Open Bluetooth settings
After connecting your Airpods to your device, the next step is to open the Bluetooth settings to access the necessary options for changing the name.
If you’re using an iPhone or iPad:
- Unlock your device and navigate to the home screen.
- Swipe down from the top right corner of the screen (or up from the bottom, depending on your iPhone model) to open the Control Center.
- Tap on the Bluetooth icon to access the Bluetooth settings.
If you’re using a Mac:
- Click on the Apple menu at the top left corner of your screen and select “System Preferences.”
- Within the System Preferences window, click on “Bluetooth.”
By following these steps, you will be directed to the Bluetooth settings page where you can view a list of available devices and manage your Bluetooth connections.
Next, we’ll guide you on how to locate your Airpods in the list and access the options to change their name. Continue reading to find out more.
Step 3: Find your Airpods in the list
Once you have accessed the Bluetooth settings on your device, the next step is to locate your Airpods in the list of available devices. The process may differ slightly depending on the device you’re using.
If you’re using an iPhone or iPad:
- In the Bluetooth settings menu, you’ll see a list of available devices.
- Scroll through the list until you find your Airpods. They should be labeled with their default name, such as “Airpods” or “John’s Airpods.”
If you’re using a Mac:
- In the Bluetooth settings menu, you’ll also see a list of available devices.
- Look for your Airpods in the list. They should be identified by their default name.
Once you have located your Airpods in the list, proceed to the next step to access the options for changing their name.
It’s worth mentioning that if you have multiple devices connected to your Airpods, they may appear with different names based on the device they are connected to. However, you can change the name for all devices by following the instructions in the subsequent steps.
Step 4: Tap on the (i) icon next to your Airpods
After locating your Airpods in the list of available devices, the next step is to tap on the (i) icon next to your Airpods to access the settings for customization.
If you’re using an iPhone or iPad:
- In the Bluetooth settings menu, find your Airpods in the list and tap on the (i) icon located next to them.
If you’re using a Mac:
- In the Bluetooth settings menu, locate your Airpods in the list and click on the (i) icon next to them.
By tapping on the (i) icon, you’ll open a new page with detailed information and options specifically for your Airpods.
It’s important to note that the (i) icon may appear differently depending on the device you’re using. It could be labeled as “Info,” “Details,” or similar icons that indicate accessing additional settings. Regardless of the label, make sure to select the option that provides detailed information about your Airpods.
Now that you’ve accessed the settings page for your Airpods, you’re one step closer to changing their name. Continue reading to learn how to proceed with the customization process.
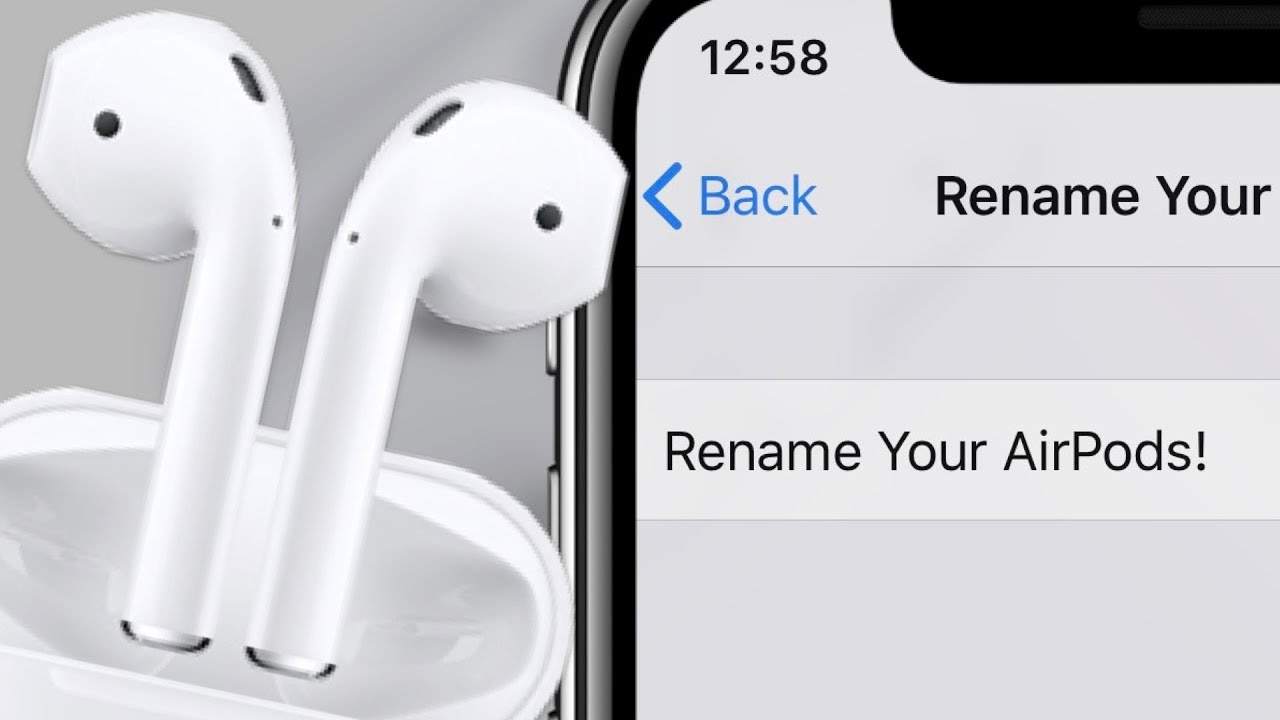
Step 5: Change the name of your Airpods
After tapping on the (i) icon next to your Airpods, you’ll be presented with various options and settings specific to your Airpods. The next step is to change the name of your Airpods to something more personalized or unique.
If you’re using an iPhone or iPad:
- In the settings page for your Airpods, look for the option labeled “Name” or “Airpods Name.”
- Tap on the name field to activate the text input mode.
- Enter the new name that you wish to assign to your Airpods.
If you’re using a Mac:
- In the settings page for your Airpods, locate the textbox labeled “Name” or “Airpods Name.”
- Click on the textbox to activate the text input mode.
- Enter the desired new name for your Airpods.
Keep in mind that when choosing a new name, you can get creative and pick something that reflects your style or makes it easier to identify your Airpods.
Once you have entered the new name for your Airpods, you’re almost done. Now, let’s move on to the final step to ensure that your changes are saved properly.
Step 6: Save the new name
After changing the name of your Airpods to your desired new name, the final step is to save the changes and ensure that the new name is applied.
If you’re using an iPhone or iPad:
- Once you have entered the new name, tap on the “Done” or “Save” button to confirm and save the changes.
If you’re using a Mac:
- After typing in the new name, click outside the textbox or press the “Enter” key to save the changes.
By saving the new name, your Airpods will now be personalized with the unique name you have chosen.
It’s important to note that the change may take a few moments to reflect across all your devices connected to your Airpods. Be patient and allow some time for the changes to sync and take effect.
And there you have it! You have successfully changed the name of your Airpods to something that defines your style or makes it easier to identify them.
Remember, you can always go back to the Bluetooth settings and follow these steps again if you wish to change the name in the future.
Enjoy using your newly named Airpods, and happy wireless listening!
Conclusion
Personalizing your Airpods by changing their name is a simple yet effective way to add a personal touch to your listening experience. By following the easy step-by-step instructions outlined in this article, you can easily change the default name of your Airpods to something that reflects your style or makes it easier to identify them.
Whether you’re using an iPhone, iPad, or Mac, the process of changing the name is relatively similar. Connect your Airpods to your device, open the Bluetooth settings, locate your Airpods in the list, tap on the (i) icon, change the name, and save the new name. It’s that simple.
Remember that the name change may take a few moments to sync across all your devices. However, once the changes are applied, your Airpods will bear the personalized name you have chosen.
So go ahead and give your Airpods a unique identity that represents you. Whether it’s your name, a creative nickname, or something that resonates with your personality, the choice is yours. Enjoy the convenience and freedom of wireless listening with your newly named Airpods!