Introduction
Welcome to our guide on how to change your AirPods settings! AirPods have become an essential accessory for many iPhone users, allowing them to enjoy wireless audio on the go. But did you know that you can customize various settings on your AirPods to enhance your listening experience?
In this article, we will walk you through the process of accessing and modifying your AirPods settings. Whether you want to change the name of your AirPods, adjust volume levels, or enable advanced features like noise cancellation, we’ve got you covered.
By personalizing your AirPods settings, you can tailor them to suit your preferences and make your listening sessions even more enjoyable. So, let’s dive in and explore the different ways you can customize your AirPods.
Note: To make changes to your AirPods settings, you’ll need to have your AirPods connected to your iPhone. Also, ensure that your AirPods are running on the latest firmware for access to the most up-to-date features.
In the next sections, we will guide you on how to access the AirPods settings on your iPhone and outline the steps to modify specific settings. Whether you have the standard AirPods or the latest AirPods Pro, we have you covered. Let’s get started!
How to Access AirPods Settings on iPhone
Before you can begin customizing your AirPods settings, you need to know how to access them on your iPhone. Here’s a step-by-step guide:
- Unlock your iPhone and go to the home screen. Make sure your AirPods are connected to your iPhone via Bluetooth.
- Open the “Settings” app on your iPhone. It’s the gray icon with gears on it.
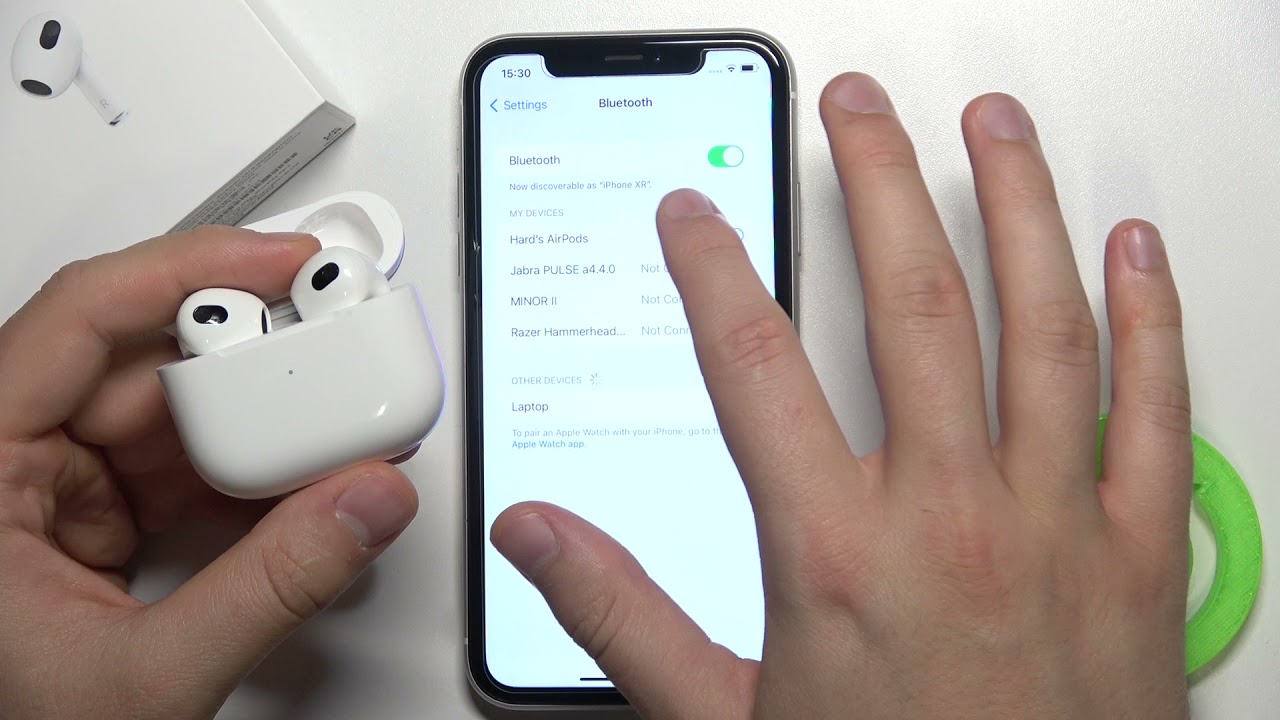
- Scroll down and tap on the “Bluetooth” option.
- Under the “MY DEVICES” section, you should see your AirPods listed. Tap on the info icon (i) located next to your AirPods.
- On the next screen, you will find various options to customize your AirPods settings.
That’s it! You have successfully accessed the settings for your AirPods. Now, let’s move on to modifying specific settings such as changing the name of your AirPods, customizing the double-tap feature, adjusting volume levels, and more.
It’s important to note that the available settings may vary depending on the model of your AirPods. For instance, certain features like noise cancellation and transparency mode are only available on the AirPods Pro.
Now that we know how to access the AirPods settings on your iPhone, let’s explore the different customization options available to you. Keep reading to find out how to personalize your AirPods according to your preferences.
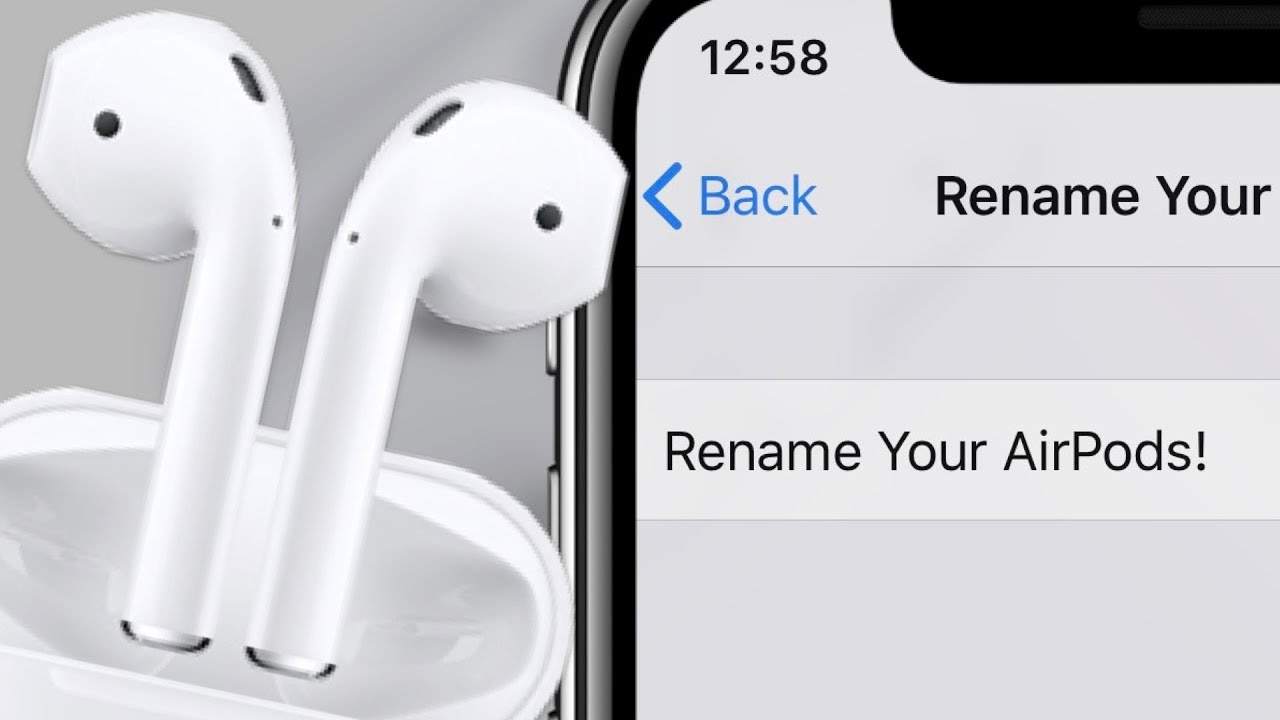
How to Change the Name of Your AirPods
If you want to give your AirPods a unique name that reflects your personality or makes it easier to identify them, you can easily change their name using the AirPods settings on your iPhone. Here’s how:
- Make sure your AirPods are connected to your iPhone, and then access the AirPods settings as mentioned in the previous section.
- On the AirPods settings screen, you’ll see the current name of your AirPods listed at the top. Tap on it.
- A text field will appear, allowing you to enter a new name for your AirPods.
- Type in the desired name for your AirPods, keeping in mind that it should be unique and identifiable.
- Once you’re satisfied with the new name, tap “Done” to save the changes.
That’s it! Your AirPods now have a new name. The new name will be visible on your iPhone’s Bluetooth settings, as well as in various other Apple devices linked to your iCloud account.
Changing the name of your AirPods can be particularly useful if you own multiple sets or if you frequently connect your AirPods to different devices. It makes it easier to differentiate between them and ensures a seamless connection experience.
Feel free to update the name of your AirPods whenever you want. It’s a quick and straightforward process that allows you to personalize your AirPods and make them uniquely yours.
Now that you know how to change the name of your AirPods, let’s move on to customizing another aspect of your AirPods – the double-tap feature.
How to Customize the Double-Tap Feature on AirPods
The double-tap feature on your AirPods allows you to perform certain actions by tapping on the earbuds. By default, the double-tap feature activates Siri, but you can customize it to perform different functions based on your preferences. Here’s how:
- Ensure that your AirPods are connected to your iPhone and navigate to the AirPods settings as described earlier.
- On the AirPods settings screen, you’ll find the “Double-Tap on AirPod” option. Tap on it.
- A list of available actions will appear. Choose the desired action for both the left and right AirPods individually.
- The available options include Siri, Play/Pause, Next Track, Previous Track, and Off.
- Select the desired action for each AirPod by tapping on the option.
Once you’ve customized the double-tap feature, you can enjoy the convenience of executing various commands without reaching for your iPhone. Whether you want to control your music playback, access Siri, or disable the feature altogether, the choice is yours.
It’s worth noting that the double-tap feature can be different for each AirPod. For example, you can set one AirPod to activate Siri and the other to skip to the next track. This allows for a more personalized and versatile user experience.
Don’t hesitate to experiment with different combinations and actions to find the configuration that best suits your needs. Customizing the double-tap feature ensures that interacting with your AirPods is more intuitive and tailored to your preferences.
Now that you know how to customize the double-tap feature on your AirPods, let’s explore how to adjust the volume settings for a more personalized audio experience.
How to Adjust the Volume Settings on AirPods
Controlling the volume of your music or phone calls is a crucial aspect of the listening experience. Thankfully, you can easily adjust the volume settings on your AirPods to meet your desired audio levels. Here’s how:
- Ensure that your AirPods are connected to your iPhone and access the AirPods settings using the earlier instructions.
- On the AirPods settings screen, you’ll find the “Volume” option. Tap on it.
- By default, this setting is set to “Automatic.” However, you can change it to “Left” or “Right” to control the volume manually using the corresponding AirPod.
- If you choose the “Left” or “Right” option, a slider will appear that allows you to adjust the volume levels for that specific AirPod.
- Slide the volume control to your desired level.
Adjusting the volume settings on your AirPods gives you greater control over your audio experience. You can independently adjust the volume on each AirPod, allowing for a more balanced and personalized sound output.
Furthermore, the ability to control the volume using your AirPods eliminates the need to reach for your iPhone whenever you want to raise or lower the volume. It’s a convenient feature, especially when you’re on the go or in situations where accessing your device may be challenging.
Feel free to experiment with different volume levels to find what works best for you. Whether you prefer a louder volume for an intense workout or a gentler volume for a relaxed listening session, the choice is yours.
Now that you know how to adjust the volume settings on your AirPods, let’s move on to another useful feature – automatic ear detection.
How to Set Up Automatic Ear Detection on AirPods
Automatic ear detection is a feature that allows your AirPods to automatically pause music or other audio when you remove them from your ears. This feature can be incredibly convenient, as it helps conserve battery life and ensures a seamless audio experience. Here’s how to set it up:
- Make sure your AirPods are connected to your iPhone and access the AirPods settings using the previously mentioned steps.
- On the AirPods settings screen, you’ll find the “Automatic Ear Detection” option. Tap on it.
- A toggle switch will appear next to the option. Activate the toggle by tapping on it so that it turns green.
Once you’ve enabled automatic ear detection, your AirPods will automatically pause playback when you take them out of your ears. This can be particularly useful when you need to quickly answer a conversation or engage in a conversation without having to manually pause the audio.
Additionally, automatic ear detection helps extend the battery life of your AirPods by conserving power when they’re not in use. By pausing playback, your AirPods won’t unnecessarily drain the battery when you’re not actively listening to audio.
If you prefer to have control over when to pause or resume audio playback, you can disable the automatic ear detection feature by following the same steps and turning off the toggle switch.
Now that you know how to set up automatic ear detection on your AirPods, let’s explore some advanced features available on the AirPods Pro – noise cancellation and transparency mode.
How to Enable Noise Cancellation on AirPods Pro
The AirPods Pro come equipped with a powerful noise cancellation feature that blocks out external sounds and immerses you in your audio. To enable this feature and experience an enhanced listening experience, follow the steps below:
- Ensure that your AirPods Pro are connected to your iPhone and access the AirPods settings as mentioned earlier.
- On the AirPods settings screen, you’ll find the “Noise Cancellation” option. Tap on it.
- You will be presented with two options: “Off” and “Noise Cancellation.” Tap on “Noise Cancellation.”
Once you enable noise cancellation, your AirPods Pro will actively analyze external noises and create an opposing sound wave to cancel out the unwanted sounds. This feature is particularly useful in noisy environments such as commuting, airplanes, or busy offices, as it allows you to focus on your audio and enjoy a more immersive listening experience.
While noise cancellation is incredibly effective in reducing external distractions, there may be times when you need to be aware of your surroundings. In such situations, you can switch to the transparency mode.
Now that you know how to enable noise cancellation on your AirPods Pro, let’s move on to exploring the transparency mode.
How to Adjust the Transparency Mode on AirPods Pro
The transparency mode on your AirPods Pro allows you to hear and interact with your surroundings while still enjoying your audio. This feature is particularly useful when you need to be aware of your environment, such as during outdoor activities or when having a conversation. Here’s how to adjust the transparency mode:
- Ensure that your AirPods Pro are connected to your iPhone and access the AirPods settings using the previously mentioned steps.
- On the AirPods settings screen, you’ll find the “Transparency” option. Tap on it.
- You will be presented with two options: “Off” and “Transparency.” Tap on “Transparency.”
When the transparency mode is enabled, your AirPods Pro will use the built-in microphones to capture sounds from your surroundings and mix them with your audio. This allows you to have conversations, hear traffic or announcements, and be aware of your surroundings without having to remove your AirPods Pro.
You can adjust the level of transparency to suit your preferences. To do this:
- Access the Control Center on your iPhone by swiping down from the top-right corner on iPhone models with Face ID or up from the bottom on iPhone models with a home button.
- Press and hold the volume slider.
- A menu will appear, showing three options: Noise Cancellation, Off, and Transparency.
- Drag the slider to increase or decrease the level of transparency according to your preference.
- Tap outside the menu to save the changes.
Adjusting the transparency mode allows you to strike the right balance between enjoying your audio and being aware of the world around you. It provides a customizable listening experience that adapts to different situations and environments.
Now that you know how to adjust the transparency mode on your AirPods Pro, let’s move on to a feature that helps you keep track of the battery levels of your AirPods.
How to Check the Battery Levels of Your AirPods
Keeping track of the battery levels of your AirPods is important to ensure uninterrupted usage. Fortunately, you can easily check the battery levels of your AirPods using your iPhone. Here’s how:
- Make sure your AirPods are connected to your iPhone.
- Place the AirPods in your ears or open the AirPods case.
- On your iPhone, swipe down from the top-right corner (on models with Face ID) or swipe up from the bottom (on models with a home button) to access the Control Center.
- Within the Control Center, you’ll find the “Batteries” widget.
- Tap on the Batteries widget to expand it and display the battery levels of your connected devices.
- Look for your AirPods and their respective battery levels will be shown.
Alternatively, you can check the battery levels of your AirPods by going to the home screen and opening the AirPods case near your iPhone. A battery pop-up will appear on your iPhone screen, displaying the battery levels of your AirPods and the charging case.
By regularly checking the battery levels of your AirPods, you can ensure that you have enough power for your listening needs. If the battery levels are low, consider charging your AirPods using the charging case or a compatible charging device.
Remember to charge your AirPods regularly to avoid running out of battery during the day. Keeping them charged ensures a seamless and uninterrupted audio experience whenever you need them.
Now that you know how to check the battery levels of your AirPods, let’s conclude this guide.
Conclusion
In conclusion, customizing the settings of your AirPods allows you to personalize your listening experience and make the most out of this innovative wireless accessory. Whether you want to change the name of your AirPods, customize the double-tap feature, adjust the volume settings, or enable advanced features like noise cancellation and transparency mode, you now have the knowledge to do so.
By accessing the AirPods settings on your iPhone, you can easily modify various aspects of your AirPods according to your preferences. Whether you own the standard AirPods or the latest AirPods Pro, there are plenty of options available to enhance your audio experience.
Remember, it’s important to keep your AirPods updated with the latest firmware to access the most up-to-date features and enhancements. Additionally, regularly checking the battery levels ensures that you never run out of power at inconvenient times.
Now that you are equipped with the knowledge and steps to customize your AirPods, go ahead and make them uniquely yours. Enjoy a more personalized and immersive listening experience tailored to your preferences.
Thank you for reading our guide on how to change your AirPods settings. We hope that this information has been helpful in enhancing your AirPods experience. Happy listening!