Introduction
Welcome to this guide on how to answer calls on AirPods! Apple’s AirPods have become a popular choice for wireless earphones, offering convenience and excellent audio quality. One of the standout features of AirPods is the ability to seamlessly answer calls without having to take out your phone. Whether you’re on the go, working out, or simply prefer a hands-free approach, knowing how to answer calls on your AirPods can greatly enhance your overall experience.
In this article, we will walk you through the steps to connect your AirPods to your device and enable the necessary settings to receive and answer calls. We will also cover some troubleshooting tips to help you overcome any potential issues that may arise. So, if you’re ready to dive into the world of answering calls with your AirPods, let’s get started!
Before we proceed, it’s important to note that the instructions provided in this guide are tailored specifically for users of Apple devices. While some general concepts may be applicable to other Bluetooth headphones, certain features and settings may vary depending on the brand and model of your wireless earphones.
Step 1: Connecting AirPods to your device
The first step in answering calls on AirPods is to ensure that they are properly connected to your device. Follow the instructions below to establish the connection:
- Open the lid of the AirPods case. The AirPods should automatically enter pairing mode, indicated by a flashing white light on the case.
- Unlock your device and go to the home screen.
- Swipe down from the top-right corner of your screen to access the Control Center (for iPhone X and later models) or swipe up from the bottom of the screen (for older iPhone models and iPads) to access the Control Center.
- Long-press or firmly press the audio playback widget in the Control Center to open the expanded view.
- Tap on the AirPods icon to select them as the audio output device. The icon will turn blue or display a “Connected” message to indicate a successful connection.
Once you have successfully connected your AirPods to your device, they will automatically connect whenever they are in range and you have Bluetooth enabled on your device. It is important to note that if you have multiple Apple devices signed in with the same Apple ID, your AirPods will automatically switch between devices based on their proximity and usage. This seamless switching allows for a hassle-free experience across different devices.
Step 2: Enabling Bluetooth and pairing AirPods
Before you can use AirPods to answer calls, you need to ensure that Bluetooth is enabled on your device and pair your AirPods with it. Follow the steps below to set up the Bluetooth connection:
- Unlock your device and go to the home screen.
- Open the Settings app.
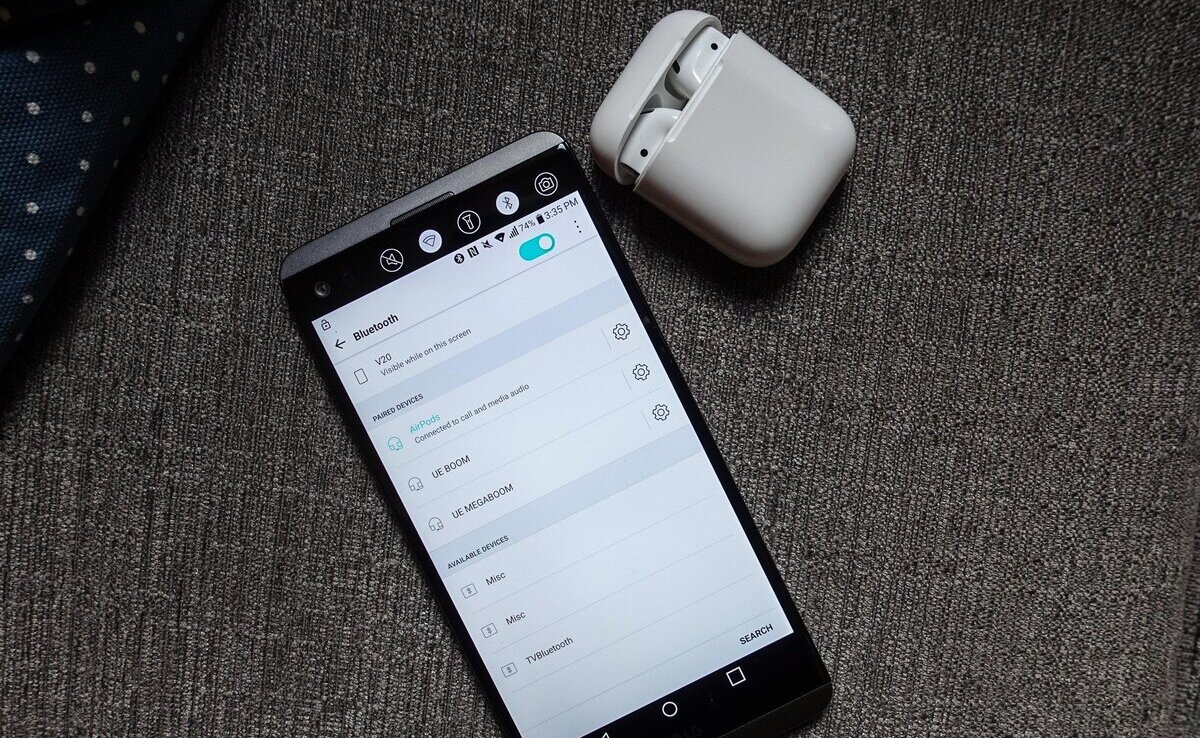
- Scroll down and tap on “Bluetooth”.
- Toggle the switch to enable Bluetooth if it is not already turned on.
- Open the lid of the AirPods case.
- Hold the AirPods case next to your device, making sure they are within close proximity.
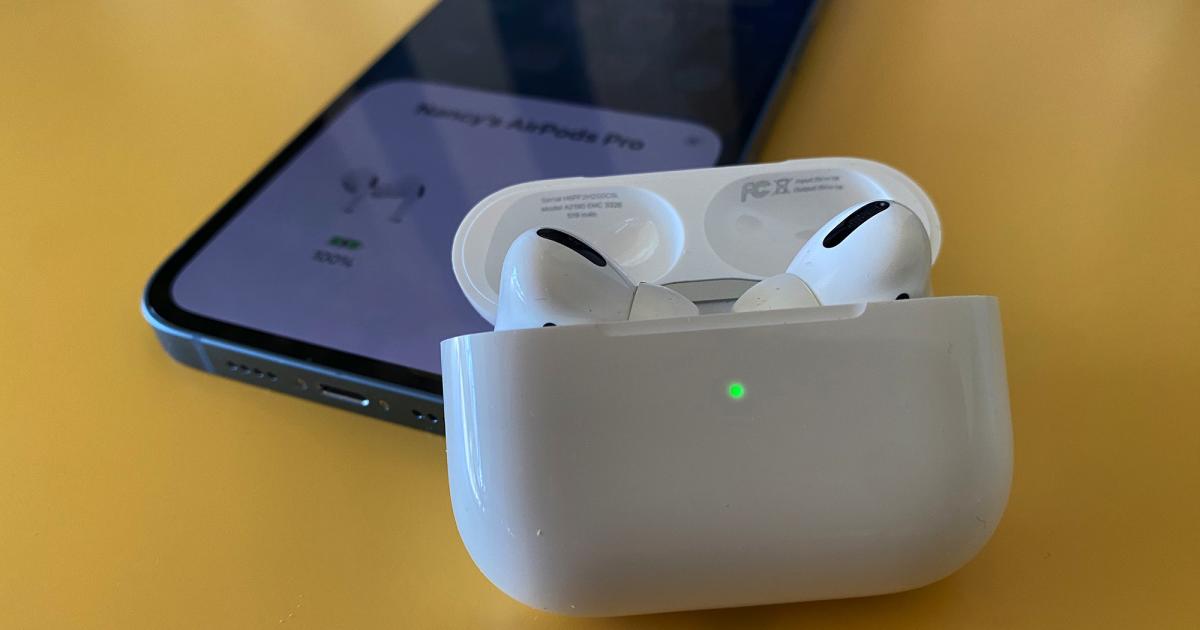
- A pop-up window should appear on your device’s screen, indicating that your AirPods are ready to be paired.
- Tap the “Connect” or “Pair” button on your device’s screen to initiate the pairing process.
- Wait for the pairing process to complete. This may take a few seconds.
- Once the pairing is successful, your AirPods will appear as a connected Bluetooth device in the list on your device’s screen.
It is worth noting that if you have previously connected your AirPods to your device and they are in range with Bluetooth enabled, they will automatically connect without the need for manual pairing. This automatic connection feature makes it easier and faster to use AirPods for answering calls.
Step 3: Customizing AirPods settings
Once your AirPods are connected to your device, you can customize various settings to enhance your calling experience. Here are some settings you can explore:
- Automatic Ear Detection: By default, AirPods can automatically detect when they are in your ears and pause audio playback when one or both AirPods are removed. To enable or disable this feature, go to “Settings” > “Bluetooth” and tap the “i” icon next to your AirPods. Then toggle the “Automatic Ear Detection” option.
- Microphone: You can decide which microphone to use when on a call. By default, AirPods use the microphone in the active earbud (the one you are currently wearing). To change this setting, go to “Settings” > “Bluetooth” and tap the “i” icon next to your AirPods. Then select either “Always Left AirPod” or “Always Right AirPod” under the “Microphone” section.
- Double-Tap Functionality: AirPods allow you to control various functions on a call by double-tapping on either earbud. By default, the left earbud activates Siri, while the right earbud answers and ends calls. To customize these settings, go to “Settings” > “Bluetooth” and tap the “i” icon next to your AirPods. Then choose your preferred options under the “Double-Tap on AirPod” section.
- Volume Control: You can control the volume of your AirPods directly from your device or by using the volume buttons on your AirPods case. Adjust the volume according to your preference during a call.
- Equalizer: If you want to enhance the audio quality during calls, you can adjust the equalizer settings of your device. Go to “Settings” > “Music” > “Playback & Equalizer” and select your preferred equalizer preset.
Take some time to explore these settings and customize them based on your preferences. This will allow you to have a more personalized and tailored experience when answering calls with your AirPods.
Step 4: Receiving calls on AirPods
With your AirPods connected and the necessary settings configured, you are now ready to receive calls directly on your AirPods. When a call comes in, you will hear a ringtone or vibration, depending on your device’s settings. Here’s how to receive calls on your AirPods:
- When a call comes in, a ringing tone will be played through your AirPods.
- To answer the call, simply double-tap on either of the AirPods.
- Once you answer the call, the audio will automatically switch to your AirPods, and you can start communicating with the caller.
- If you have the automatic ear detection feature enabled, the call audio will automatically switch to your AirPods as soon as you put them in your ears.
Receiving calls on your AirPods provides the convenience of a hands-free experience, allowing you to continue with your activities while talking on the phone. Whether you’re out for a walk, exercising at the gym, or multitasking at work, AirPods make it easier to stay connected without the hassle of holding your phone.
It’s important to note that AirPods can only receive calls when they are in close proximity to your connected device. If you move too far away from your device or if your AirPods are out of range, the call audio will automatically switch back to your device’s selected audio output.
Step 5: Answering calls on AirPods
Answering calls on AirPods is a simple and seamless process. When a call comes in, you can easily answer it using your AirPods without having to take out your phone. Here’s how to answer calls on your AirPods:
- When a call comes in, you will hear the ringing tone through your AirPods.
- To answer the call, simply double-tap on either of the AirPods.
- Once you tap, the call will be answered, and you can start speaking with the caller through your AirPods’ built-in microphone.
- If you have enabled the automatic ear detection feature, answering the call is even easier, as the call audio will automatically switch to your AirPods as soon as you put them in your ears.
- Enjoy the convenience of hands-free communication with clear audio quality through your AirPods.
Whether you’re in the middle of a workout, on a busy street, or simply want to have your hands free during a call, answering calls on AirPods provides the ultimate convenience. The double-tap feature gives you quick and easy access to answer incoming calls without interrupting your activities.
It’s important to note that once the call is answered on your AirPods, the microphone in the active earbud will pick up your voice. This ensures that your calls are clear and that the person on the other end can hear you properly. If you have customized the microphone settings, make sure to use the correct AirPod to maximize call quality.
Step 6: Ending a call on AirPods
Once you’re finished with a call, you can easily end it using your AirPods without needing to reach for your phone. Here’s how to end a call on your AirPods:
- During a call, when you’re ready to end it, simply double-tap on either of the AirPods.
- This action will end the call, and you will hear a tone indicating that the call has been disconnected.
- The call audio will automatically switch back to your device’s selected audio output, whether it’s your phone’s speaker, headphones, or another connected device.
Ending a call on AirPods is quick and convenient, allowing you to seamlessly transition from a call back to your other activities. The double-tap feature makes it easy to quickly end a call, even if your phone is out of reach.
It’s important to note that the double-tap function can be customized to perform different actions, such as activating Siri or controlling playback. If you have customized this setting, make sure to double-tap your AirPods in the correct manner to end the call.
Remember to always double-check if the call has ended by ensuring that the call timer on your device has stopped and that the call is no longer active. This will prevent any accidental call resumptions or unintentional audio sharing after ending the call.
Step 7: Answering a second call on AirPods
With your AirPods, you can seamlessly handle a second incoming call without having to switch back to your phone. Here’s how to answer a second call on your AirPods:
- While you are on a call, if another call comes in, you will hear a call waiting tone through your AirPods.
- To answer the second call and put the current call on hold, simply double-tap on either of the AirPods.
- The first call will be placed on hold, and you will be connected to the second call.
- To switch between the two calls, double-tap on either AirPod. This will toggle between the calls, placing one call on hold while you speak with the other.
- If you want to end the active call and switch to the other call, simply end the call as you normally would by double-tapping on either AirPod.
Handling a second call on AirPods gives you the flexibility to seamlessly navigate between multiple conversations without the need to juggle phones or put anyone on hold for an extended period.
It’s important to note that your device’s call waiting feature must be enabled for this functionality to work properly. Additionally, availability may vary depending on your cellular carrier and calling plan.
If you’re unable to answer a second call while on an existing call, you may need to adjust the settings on your device or consult your cellular provider for further assistance.
Step 8: Changing the audio output during a call
While you’re on a call using your AirPods, you have the option to switch the audio output to a different device if needed. This can be useful if you want to transfer the call from your AirPods to another audio device, such as your iPhone’s built-in speaker or a connected Bluetooth headset. Here’s how to change the audio output during a call:
- During an active call on your AirPods, unlock your device and open the call screen.
- Look for the audio output icon, typically located near the bottom of the screen.
- Tap on the audio output icon to expand the menu and reveal the available audio options.
- Select the desired audio output device from the list. Options may include your AirPods, iPhone’s built-in speaker, or other connected Bluetooth devices.
- Once you select a new audio output device, the call audio will instantly switch to that device, and you can continue the conversation without interruption.
Changing the audio output allows you to adapt to different scenarios and devices, ensuring that you have the best audio experience during your call. You can easily move the call audio from your AirPods to a different device without needing to end the call or disconnect your AirPods.
Note that the available audio output options may vary depending on the devices connected to your iPhone or the specific call settings configured on your device.
It’s important to remember to maintain the call’s privacy and be mindful of your surroundings when changing the audio output. Ensure that you don’t unintentionally broadcast the call audio to unintended listeners if you switch to a device with a different audio output method, such as the device’s speaker.
Step 9: Troubleshooting common issues
While using AirPods to answer calls, you may encounter some common issues. Here are a few troubleshooting tips to help you overcome these issues:
- If your AirPods are not connecting to your device, make sure that Bluetooth is turned on and that your AirPods are charged and in their case.
- If you’re unable to answer calls on your AirPods, ensure that the double-tap gesture is properly configured in your device’s settings.
- If you’re experiencing poor audio quality during calls, check the microphone placement on your AirPods and make sure they are clean and free from debris.
- If your AirPods are not switching to call audio automatically, go to “Settings” > “Bluetooth” and tap the “i” icon next to your AirPods. Then toggle on the “Automatic Ear Detection” feature.
- If you encounter issues with call clarity or audio cutting in and out, try resetting the network settings on your device or perform a factory reset on your AirPods.
- Make sure your AirPods are updated with the latest firmware. You can check for updates by going to “Settings” > “General” > “About” > “AirPods”.
- If you’re having trouble switching between calls while on a call, ensure that the call waiting feature is enabled on your device.
- If you still experience issues, try unpairing and re-pairing your AirPods with your device or contact Apple Support for further assistance.
By following these troubleshooting steps, you can often resolve common issues that may arise when answering calls on your AirPods. Remember that ensuring proper connectivity, keeping your AirPods clean, and keeping your device’s software up to date are essential for a seamless calling experience.
If you continue to experience persistent issues, it’s always a good idea to reach out to the manufacturer’s support for further guidance and assistance. They will be able to provide specific troubleshooting steps tailored to your device and help you resolve any underlying issues.
Conclusion
Answering calls on AirPods offers a convenient and hands-free way to handle phone conversations while on the go. By following the steps outlined in this guide, you can easily connect your AirPods to your device, customize settings to enhance your calling experience, and seamlessly answer and end calls without having to reach for your phone.
We covered the process of connecting AirPods to your device, enabling Bluetooth, and pairing your AirPods. We also explored how to customize AirPods settings, such as automatic ear detection, microphone selection, and double-tap functionality. Additionally, we discussed how to receive calls, answer second calls, end calls, and switch audio output during a call.
It’s important to note that while these steps are specific to Apple AirPods, many of the concepts can also be applied to other Bluetooth headphones. The exact steps and settings might vary, so be sure to consult the specific instructions provided by the manufacturer of your wireless earphones.
By troubleshooting common issues and familiarizing yourself with the various features and settings of your AirPods, you can ensure a smooth and enjoyable calling experience. Remember to keep your AirPods charged, update their firmware, and maintain good microphone hygiene for optimal sound quality.
With the ability to effortlessly answer calls, enjoy clear audio, and go about your daily activities without being tethered to your phone, AirPods are an excellent choice for those seeking a wireless and convenient communication solution.
So, go ahead and put your newfound knowledge into practice! Answer calls with ease, stay connected, and enjoy the freedom of hands-free communication with your AirPods.