Introduction
With the rise of wireless earbuds, Apple’s AirPods have become incredibly popular for their convenience and seamless integration with Apple devices. However, what if you’re an Android user? Can you still enjoy the benefits of using AirPods with your Android device? The answer is yes!
In this guide, we will walk you through the steps to connect your AirPods with an Android device. Whether you already own a pair of AirPods or are considering buying a set, this tutorial will ensure that you can take advantage of the wireless freedom they offer, regardless of your smartphone or tablet’s operating system.
While Apple designed AirPods primarily for use with their own devices, such as iPhones and iPads, they can still be paired with Android devices. However, keep in mind that not all of the features available on Apple devices will be accessible on Android. Nevertheless, you will still be able to listen to music, make calls, and enjoy the convenience of a wire-free audio experience.
So, if you’re ready to connect your AirPods to your Android device, let’s dive into the simple step-by-step process. Before we begin, make sure you have your AirPods charged and ready to go!
Step 1: Check Bluetooth Compatibility
Before attempting to connect your AirPods with your Android device, it’s important to ensure that your device supports Bluetooth connectivity. Bluetooth is a wireless technology that allows devices to communicate with each other over short distances.
Most Android devices come with built-in Bluetooth functionality, but it’s always a good idea to check if your specific device supports Bluetooth and if it is enabled. To do this:
- Open the Settings app on your Android device.
- Look for the “Bluetooth” option. This might be located under the “Connections,” “Wireless & Networks,” or “Device” category, depending on your device’s manufacturer and the Android version you are running.
- If Bluetooth is not already turned on, toggle the switch to enable it.
Once Bluetooth is enabled, you will be able to connect your AirPods to your Android device.
It’s worth noting that while AirPods are compatible with most Android devices, there may be some limitations when it comes to certain features. For example, you may not have access to Siri, Apple’s virtual assistant, or the automatic ear detection feature that pauses playback when you take out an AirPod.
Nevertheless, connecting AirPods to an Android device allows you to enjoy high-quality audio and the convenience of a wireless earbud experience. Now that you’ve ensured Bluetooth compatibility, let’s move on to the next step.
Step 2: Put AirPods in Pairing Mode
Before you can connect your AirPods to your Android device, you need to put them in pairing mode. Pairing mode allows your AirPods to be discovered by other devices, like your Android phone or tablet.
To put your AirPods in pairing mode, follow these simple steps:
- Open the lid of your AirPods case. Ensure that both AirPods are inside the case.
- Press and hold the setup button, located on the back of the AirPods case, until the LED light on the front starts flashing white. The setup button is a small white button located on the back of the case. Keep holding the button until the light starts flashing.
Once the LED light starts flashing, it means that your AirPods are in pairing mode, ready to be connected to your Android device.
It’s important to note that if your AirPods have already been paired with another device, they will automatically connect to that device instead of entering pairing mode. In such cases, you will need to unpair them from the previously connected device or disable Bluetooth on that device to put the AirPods back in pairing mode.
Now that your AirPods are in pairing mode, it’s time to turn on Bluetooth on your Android device and get ready to connect them.
Step 3: Turn on Bluetooth on your Android device
Now that your AirPods are in pairing mode, you need to ensure that Bluetooth is turned on your Android device. Bluetooth allows your device to discover and connect to other Bluetooth-enabled devices, such as your AirPods.
To turn on Bluetooth on your Android device, follow these steps:
- Open the Settings app on your Android device.
- Look for the “Bluetooth” option and tap on it. This option may be located under the “Connections,” “Wireless & Networks,” or “Device” category, depending on your device’s manufacturer and the Android version you are running.
- Toggle the Bluetooth switch to turn it on. The switch should turn blue or show as enabled once Bluetooth is turned on.
Once Bluetooth is turned on, your Android device will be able to search for and connect to nearby Bluetooth devices, including your AirPods.
It’s important to keep in mind that the exact steps to turn on Bluetooth may vary slightly depending on the Android version and device model you are using. However, most Android devices follow a similar process outlined above.
Now that Bluetooth is enabled on your Android device, let’s move on to the next step where we scan for your AirPods.
Step 4: Scan for AirPods on your Android device
With Bluetooth enabled on your Android device, it’s time to scan for your AirPods. Scanning allows your Android device to detect and connect to nearby Bluetooth devices, including your AirPods.
To scan for AirPods on your Android device, follow these steps:
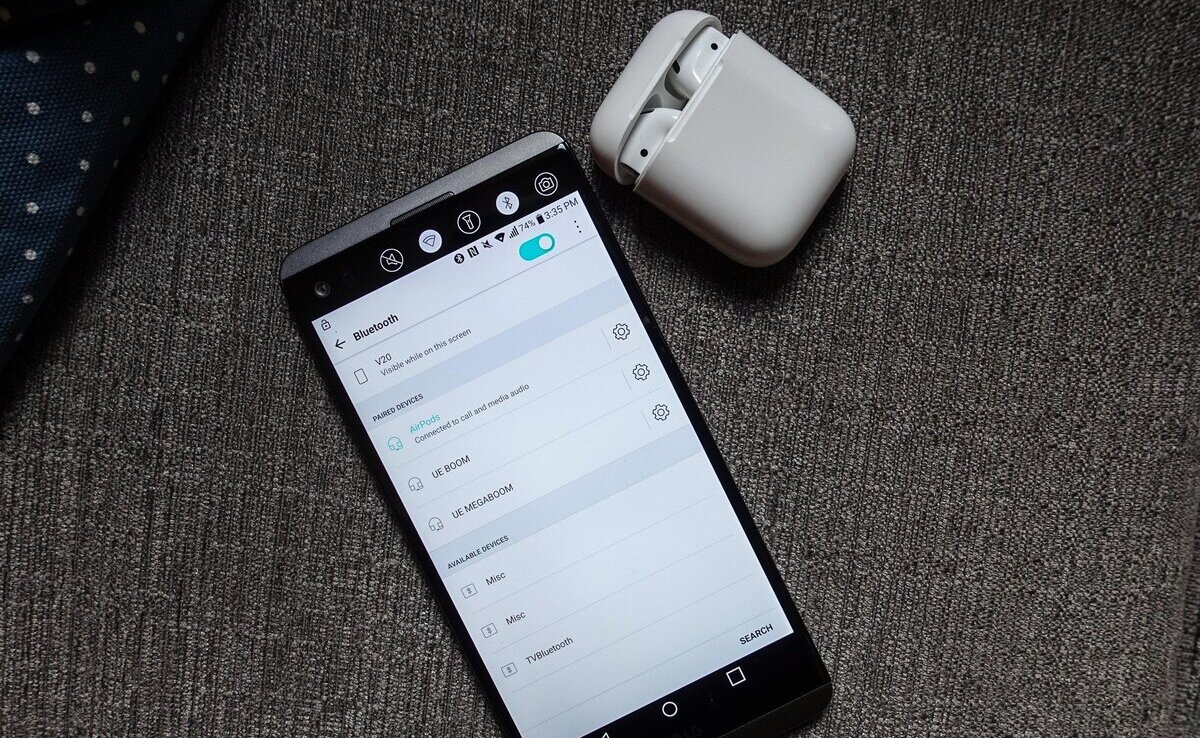
- Open the Bluetooth settings on your Android device. This can usually be found in the Settings app under the “Connections,” “Wireless & Networks,” or “Device” category.
- Your Android device will start searching for nearby Bluetooth devices. This may take a few seconds. Keep in mind that your AirPods need to be in pairing mode for them to appear in the list of available devices.
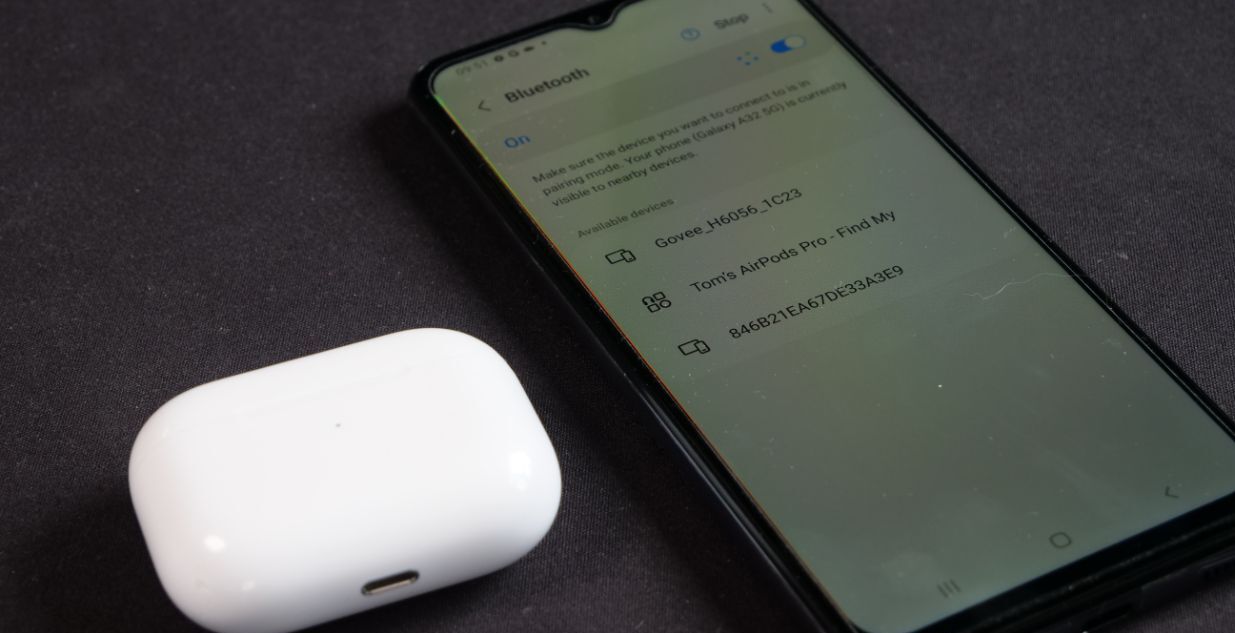
- Look for your AirPods in the list of available devices. They should appear as “AirPods” or a similar name. Tap on your AirPods to select them for pairing.
If your AirPods do not appear in the list of available devices, double-check that they are still in pairing mode and that Bluetooth is enabled on your Android device. You may also want to move your AirPods closer to your Android device to ensure a reliable Bluetooth connection.
Once you have successfully scanned and selected your AirPods, you are ready to connect them to your Android device in the next step.
Step 5: Connect AirPods to your Android device
Now that you have scanned and selected your AirPods, it’s time to connect them to your Android device. By establishing a connection, you will be able to enjoy the wireless audio experience that AirPods offer on your Android device.
To connect your AirPods to your Android device, follow these steps:
- Tap on your AirPods in the list of available devices on your Android device’s Bluetooth settings.
- Your Android device will initiate the connection process with your AirPods. This may take a few seconds.
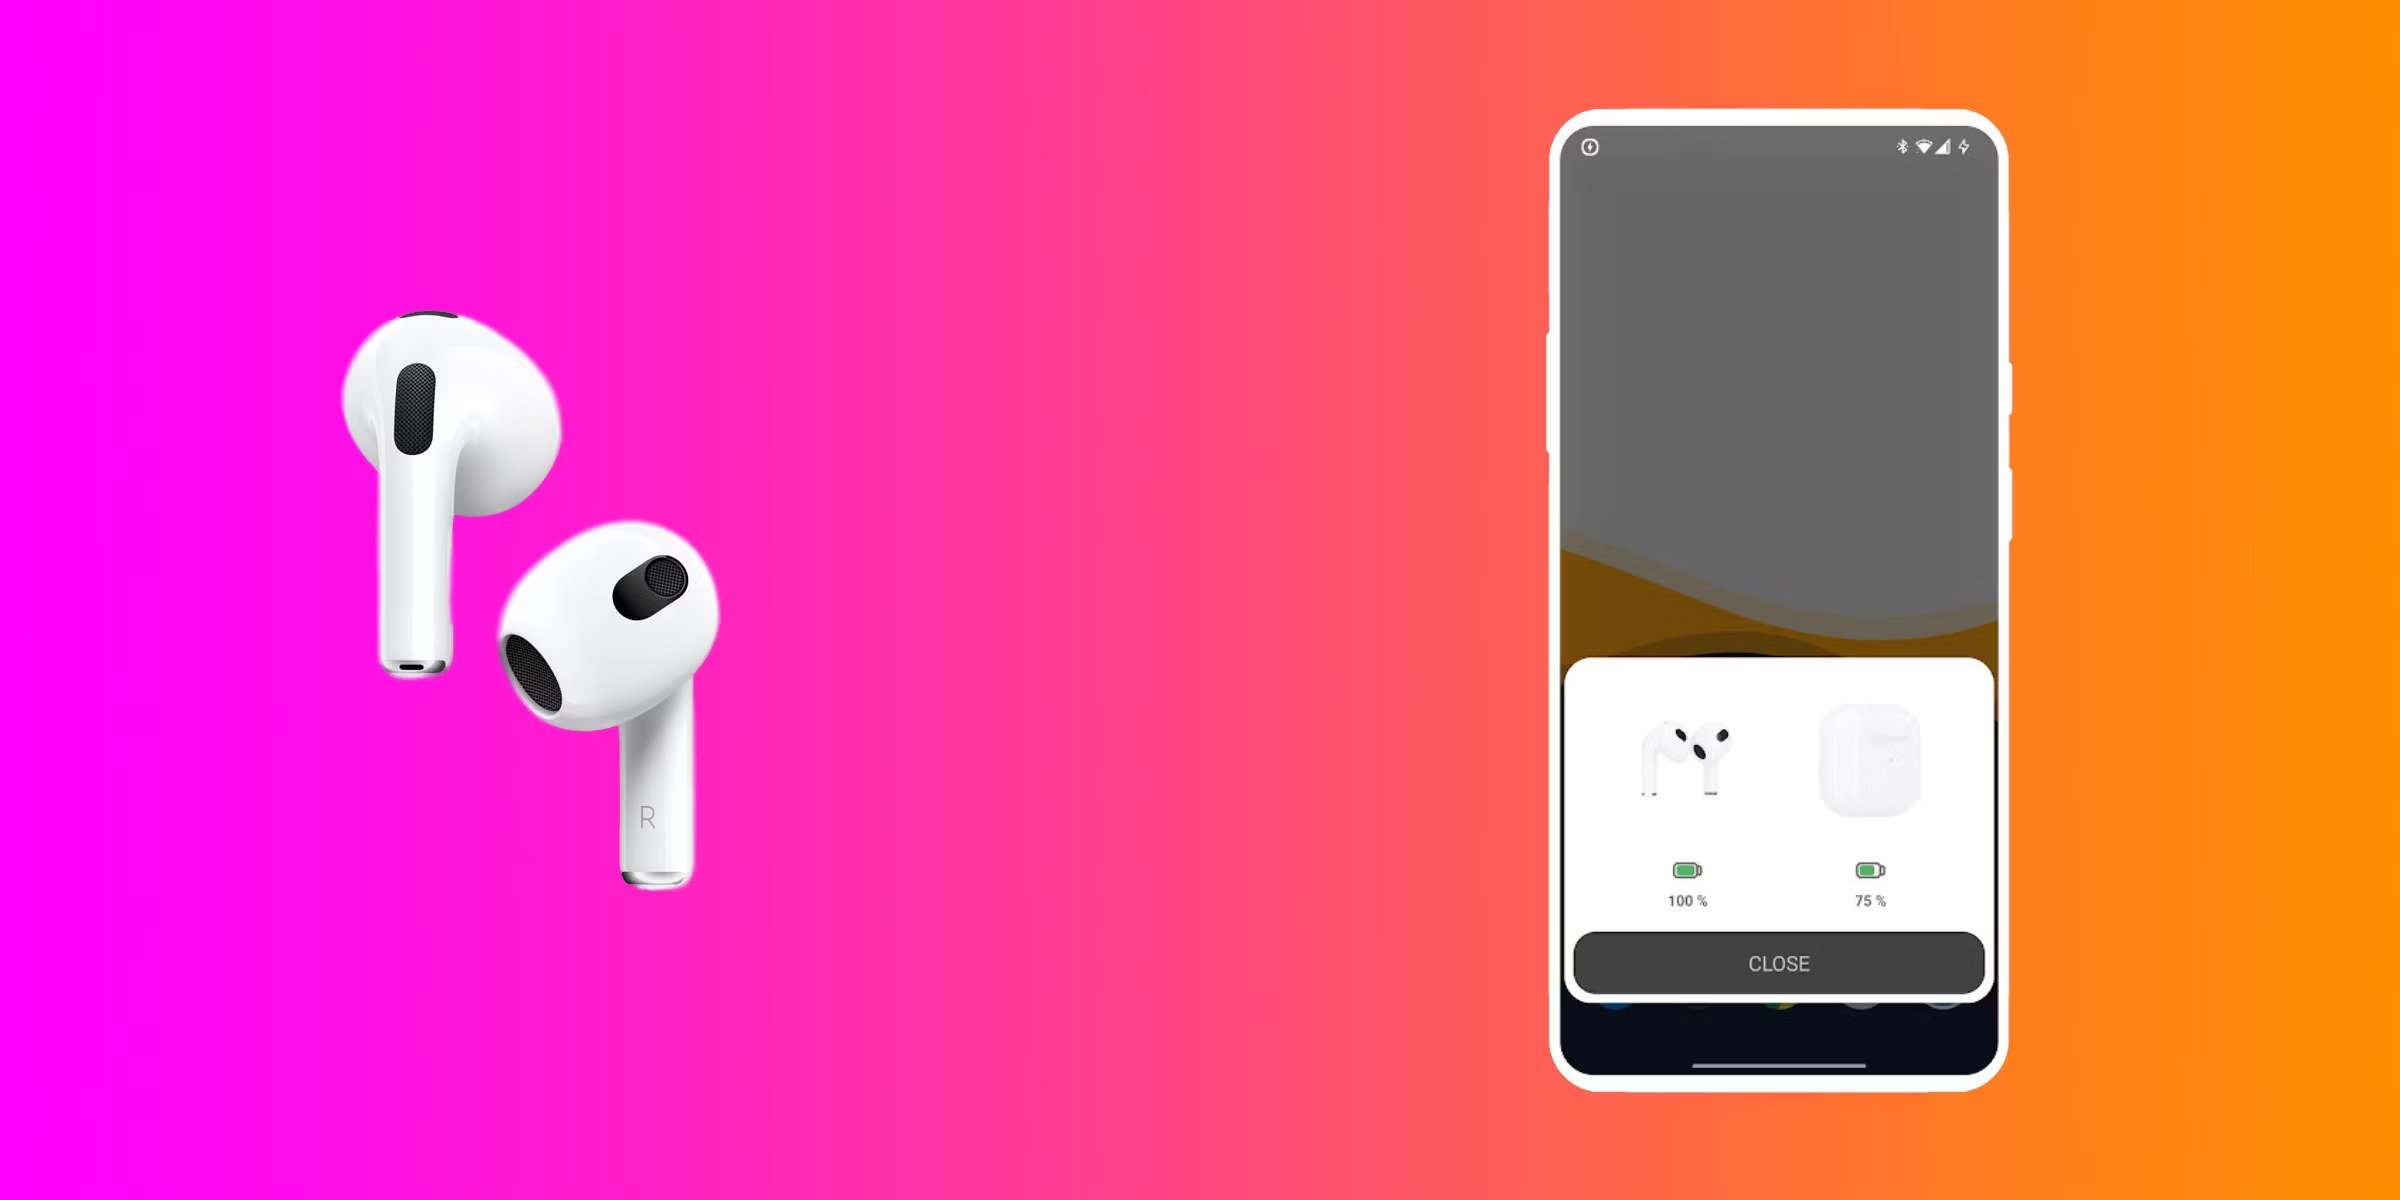
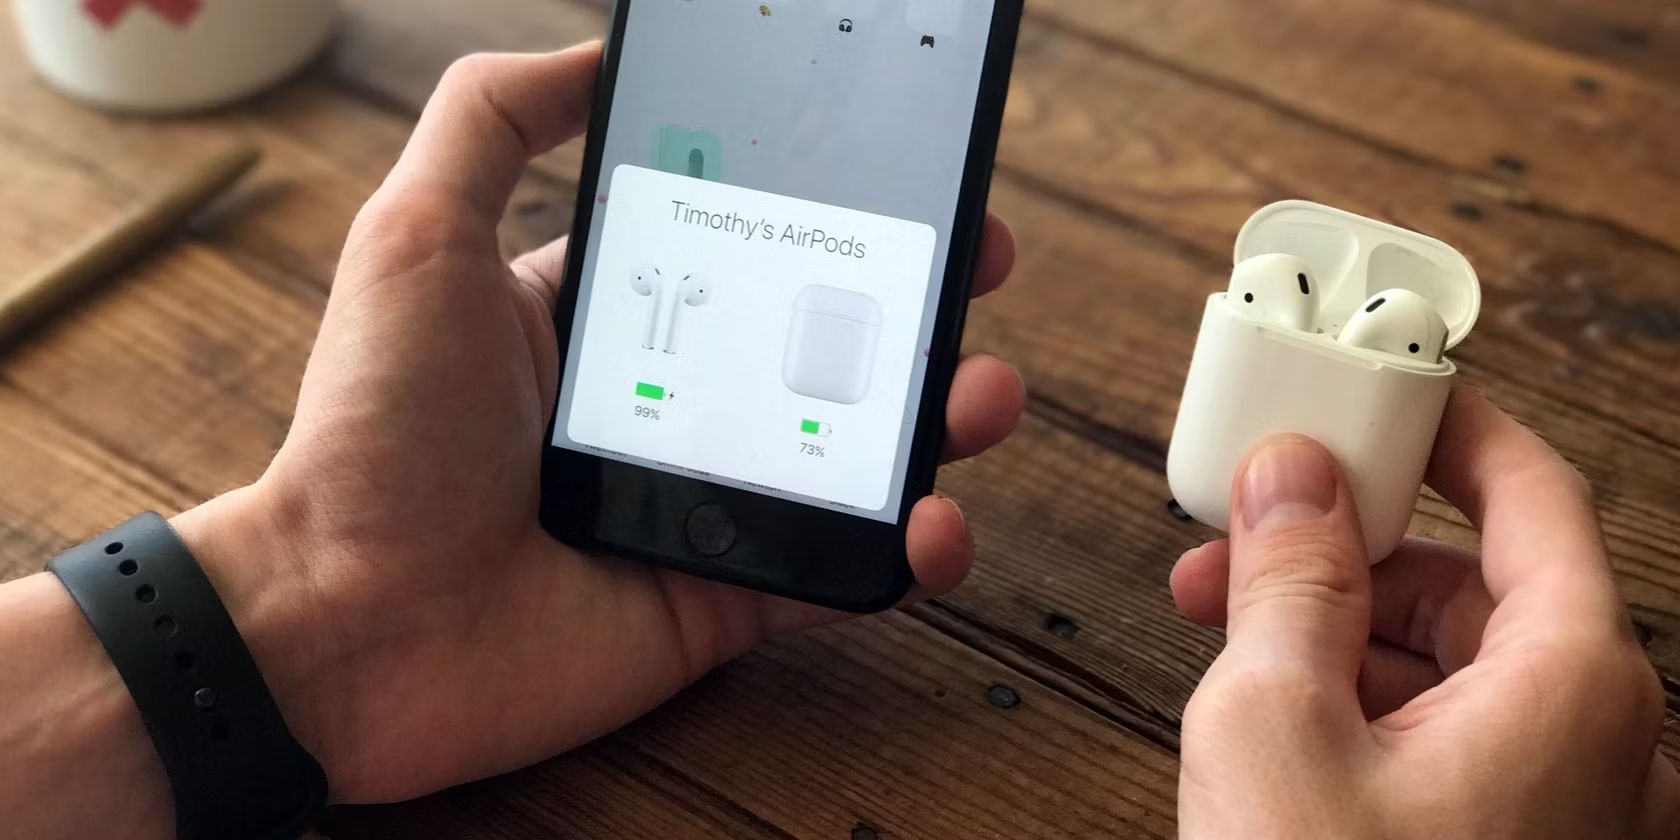
- Once the connection is established, you will see a confirmation message or an icon indicating that your AirPods are connected to your Android device. You may also hear a sound in your AirPods to indicate a successful connection.
Once successfully connected, you can start using your AirPods with your Android device. You can listen to music, make calls, and enjoy the wireless freedom that AirPods offer.
It’s important to note that some features and functionalities of AirPods may not be available on Android devices. For example, you may not be able to use Siri through your AirPods or take advantage of the automatic ear detection feature. However, the basic functionalities of audio playback and microphone usage should work seamlessly.
Now that your AirPods are connected to your Android device, it’s time to move on to the final step and test the connection.
Step 6: Test the Connection and Enjoy!
Now that your AirPods are connected to your Android device, it’s time to test the connection and start enjoying the seamless wireless audio experience they provide.
To test the connection and ensure everything is working properly, follow these steps:
- Play some music or a podcast on your Android device.
- Put on your AirPods and ensure they fit comfortably in your ears.
- Adjust the volume on your Android device to a comfortable level.
- You should now be able to hear the audio playback through your AirPods. If you do not hear any sound or encounter any issues with the audio quality, make sure your AirPods are properly inserted, and the volume is turned up on both your Android device and the AirPods themselves.
- If you want to make a phone call, you can also use your AirPods as a hands-free headset by answering calls through them. The built-in microphone will allow you to speak clearly during phone conversations.
Congratulations! You have successfully connected your AirPods to your Android device and tested the connection. You can now enjoy your favorite music, podcasts, and phone calls with the convenience and freedom of wireless AirPods.
Keep in mind that you may need to manually connect your AirPods to your Android device each time you want to use them. This can be done by going to the Bluetooth settings on your Android device and selecting your AirPods from the list of paired devices.
Remember, while AirPods may not offer all the features available on Apple devices when used with Android, they still provide a superior audio experience and the ease of use that AirPods are known for. So, go ahead and enjoy your AirPods with your Android device!