Introduction
AirPods have become a popular accessory for Apple users, offering convenience and great sound quality. However, if you’re new to AirPods, you may be wondering how to take them out of their case. Don’t worry – it’s a simple process that you’ll master in no time!
In this article, we’ll guide you through the step-by-step process of taking AirPods out of their case. Whether you want to listen to music, answer a call, or simply enjoy the wireless freedom that AirPods provide, we have you covered. So, let’s get started and learn how to quickly and effortlessly take your AirPods out of their case.
Before we dive into the steps, it’s important to note that AirPods come in their charging case. This case not only holds your AirPods securely but also charges them when they’re placed inside. So, make sure your AirPods are inside the case and ready to be taken out.
Now, shall we begin our journey to AirPods liberation? Join us as we explore each step in detail, ensuring you have a clear understanding of the process. By the end of this article, you’ll confidently be able to take your AirPods out of their case and enjoy the wireless goodness they offer.
Step 1: Prepare your AirPods case
Before you can take your AirPods out of the case, you need to ensure that the case is ready for use. Here are a few essential steps to prepare your AirPods case:
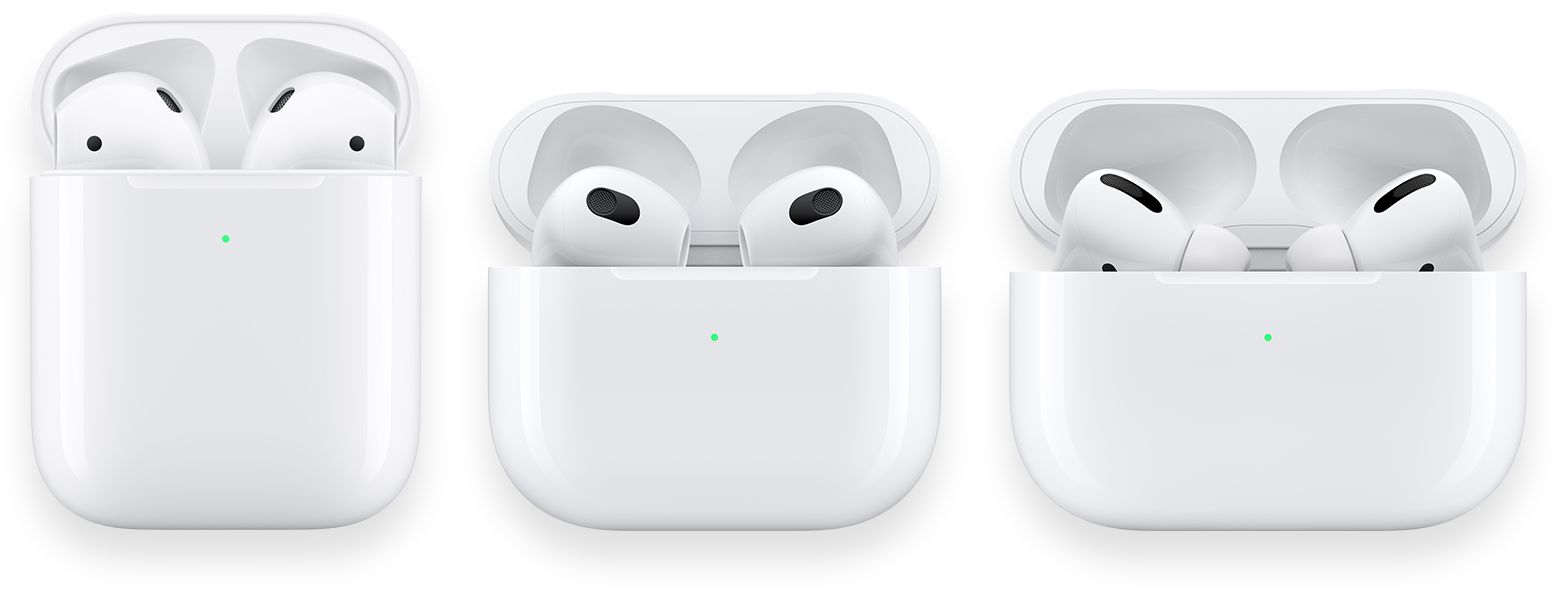
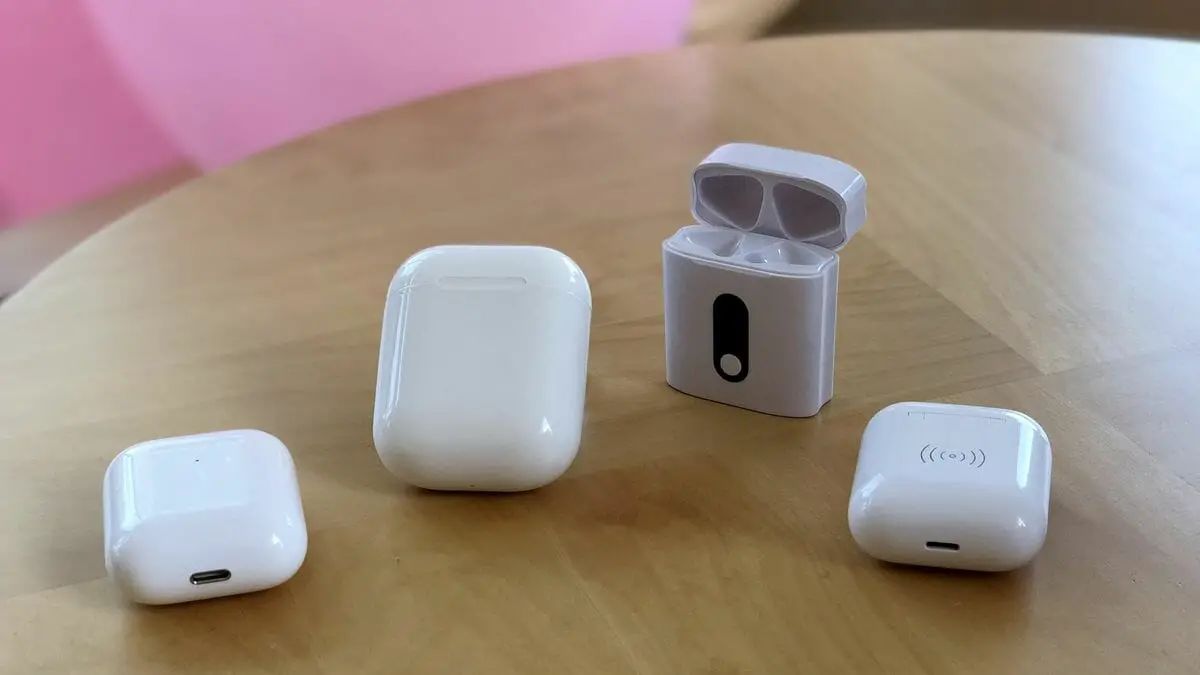
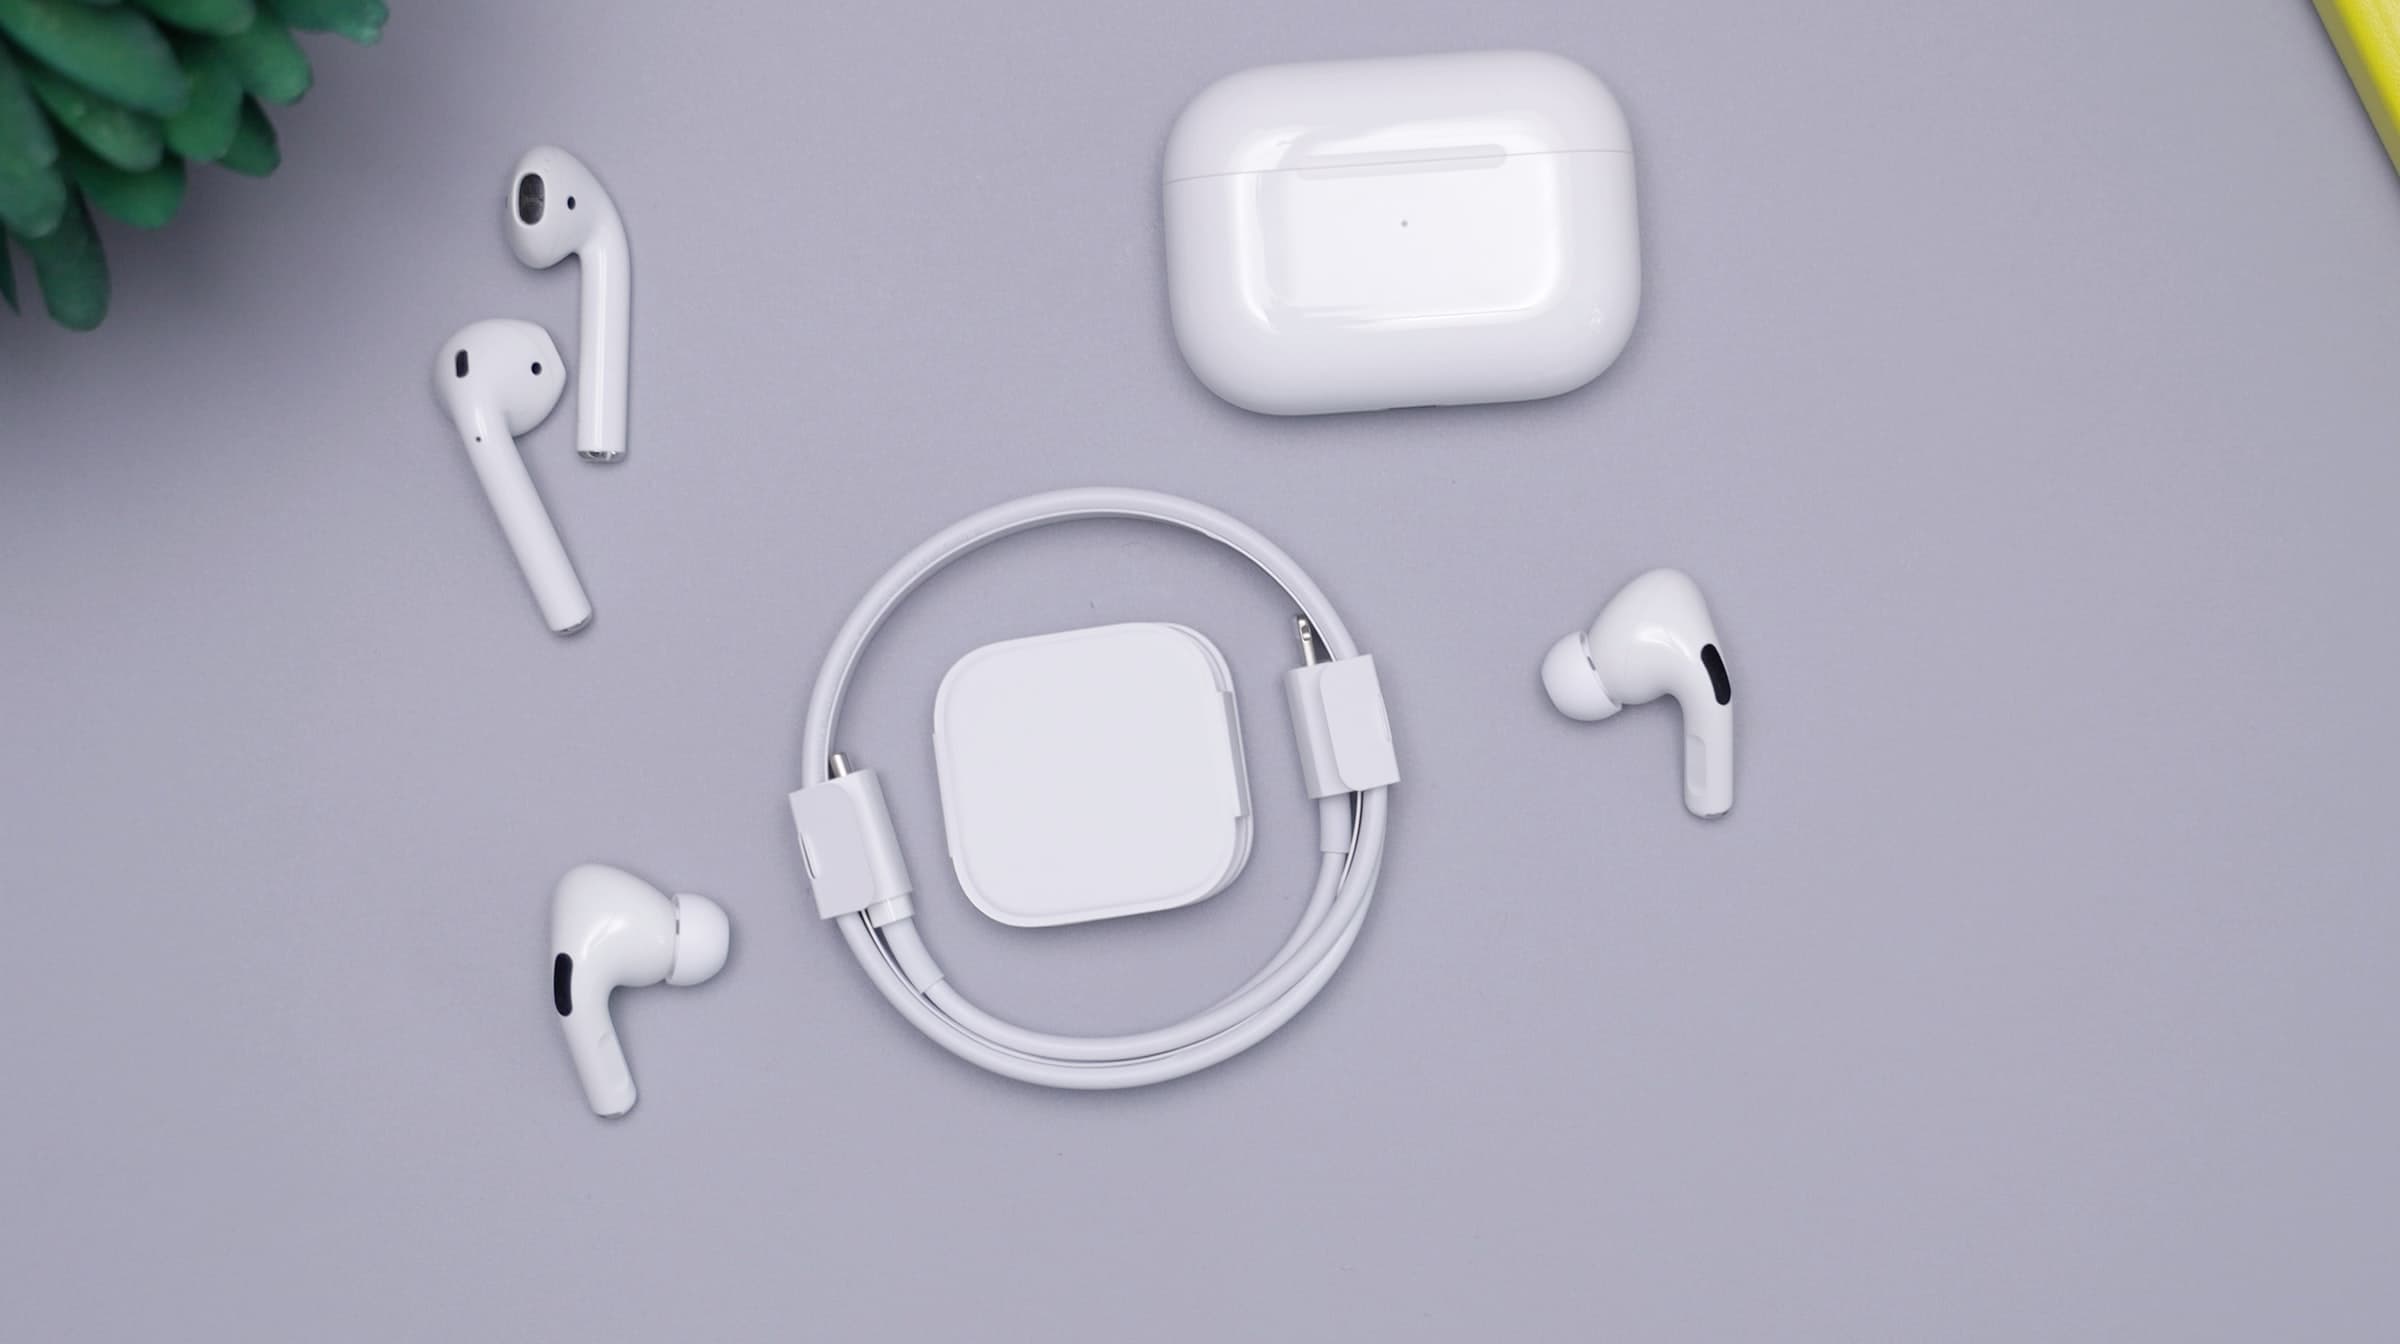
1. Locate your AirPods case: The AirPods case is a small, compact charging case that houses your AirPods. It usually comes in a sleek white design. Familiarize yourself with the shape and size of the case to easily identify it.
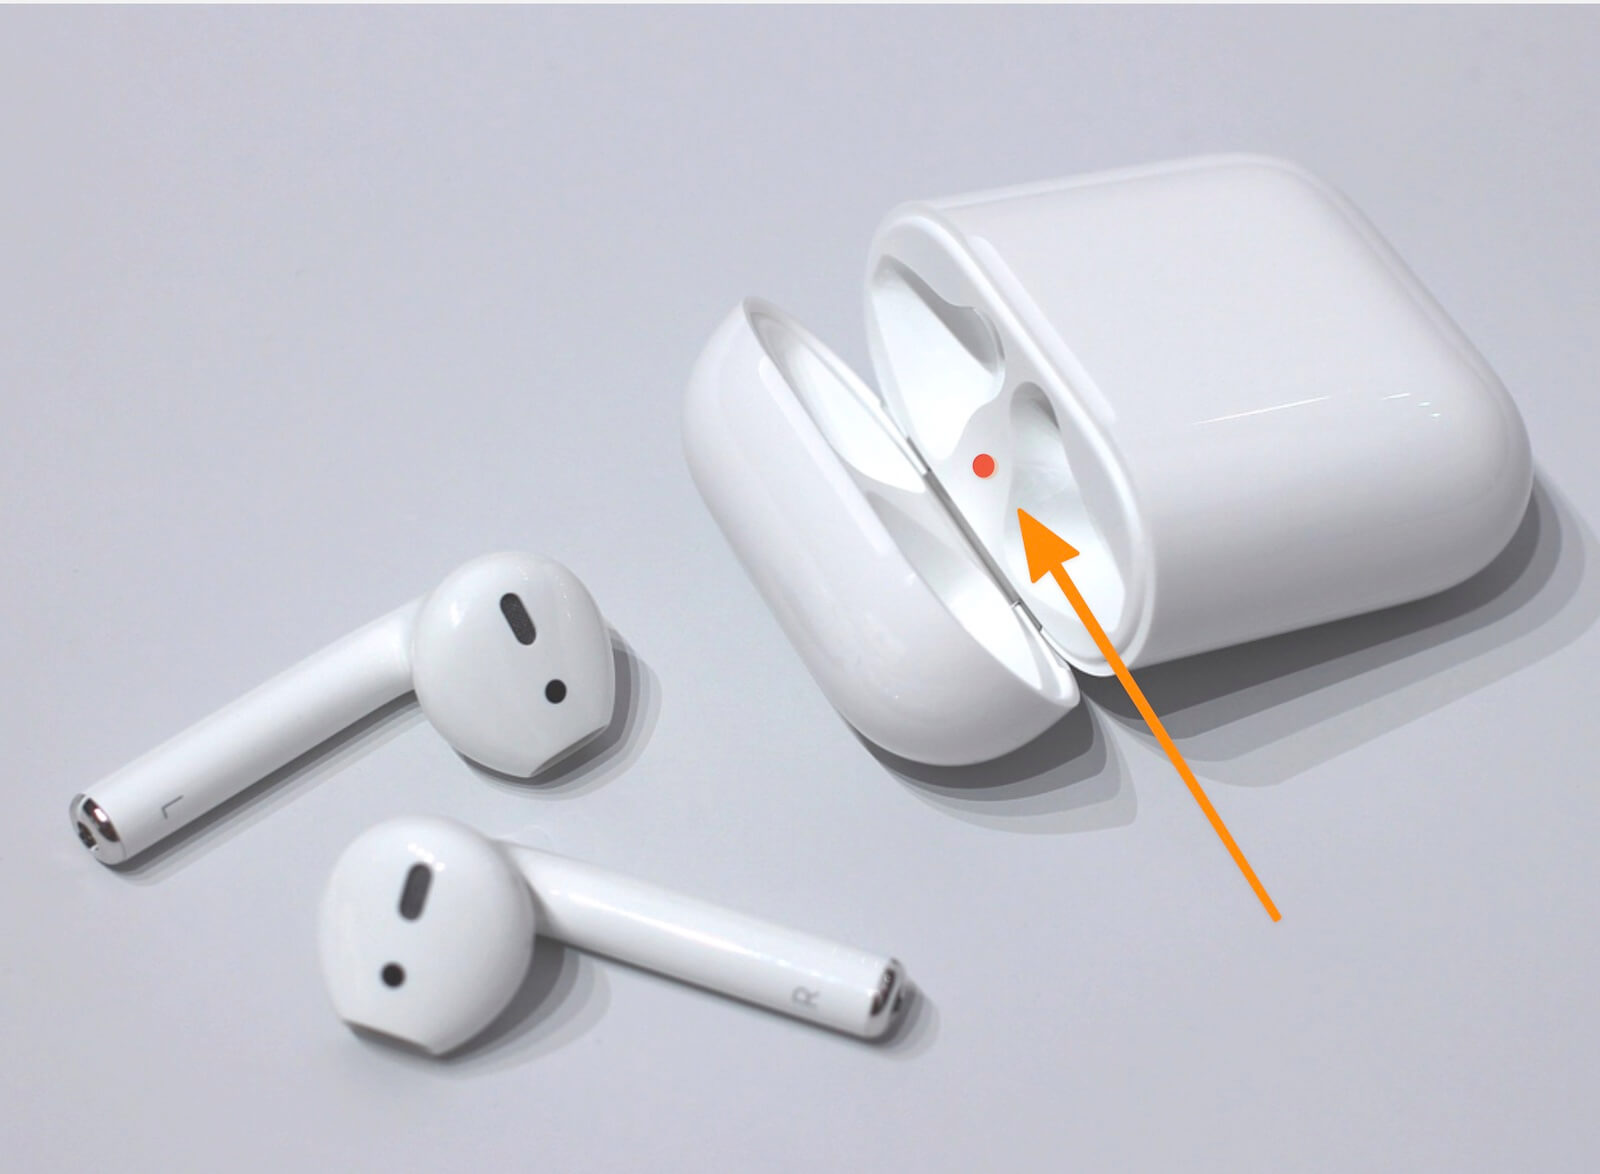
2. Check the battery status: It’s always a good idea to check the battery level on your AirPods case. Look for the LED indicator on the front of the case. It will display the battery status using different colors. Green means the case is fully charged, while amber indicates that the case needs to be charged.
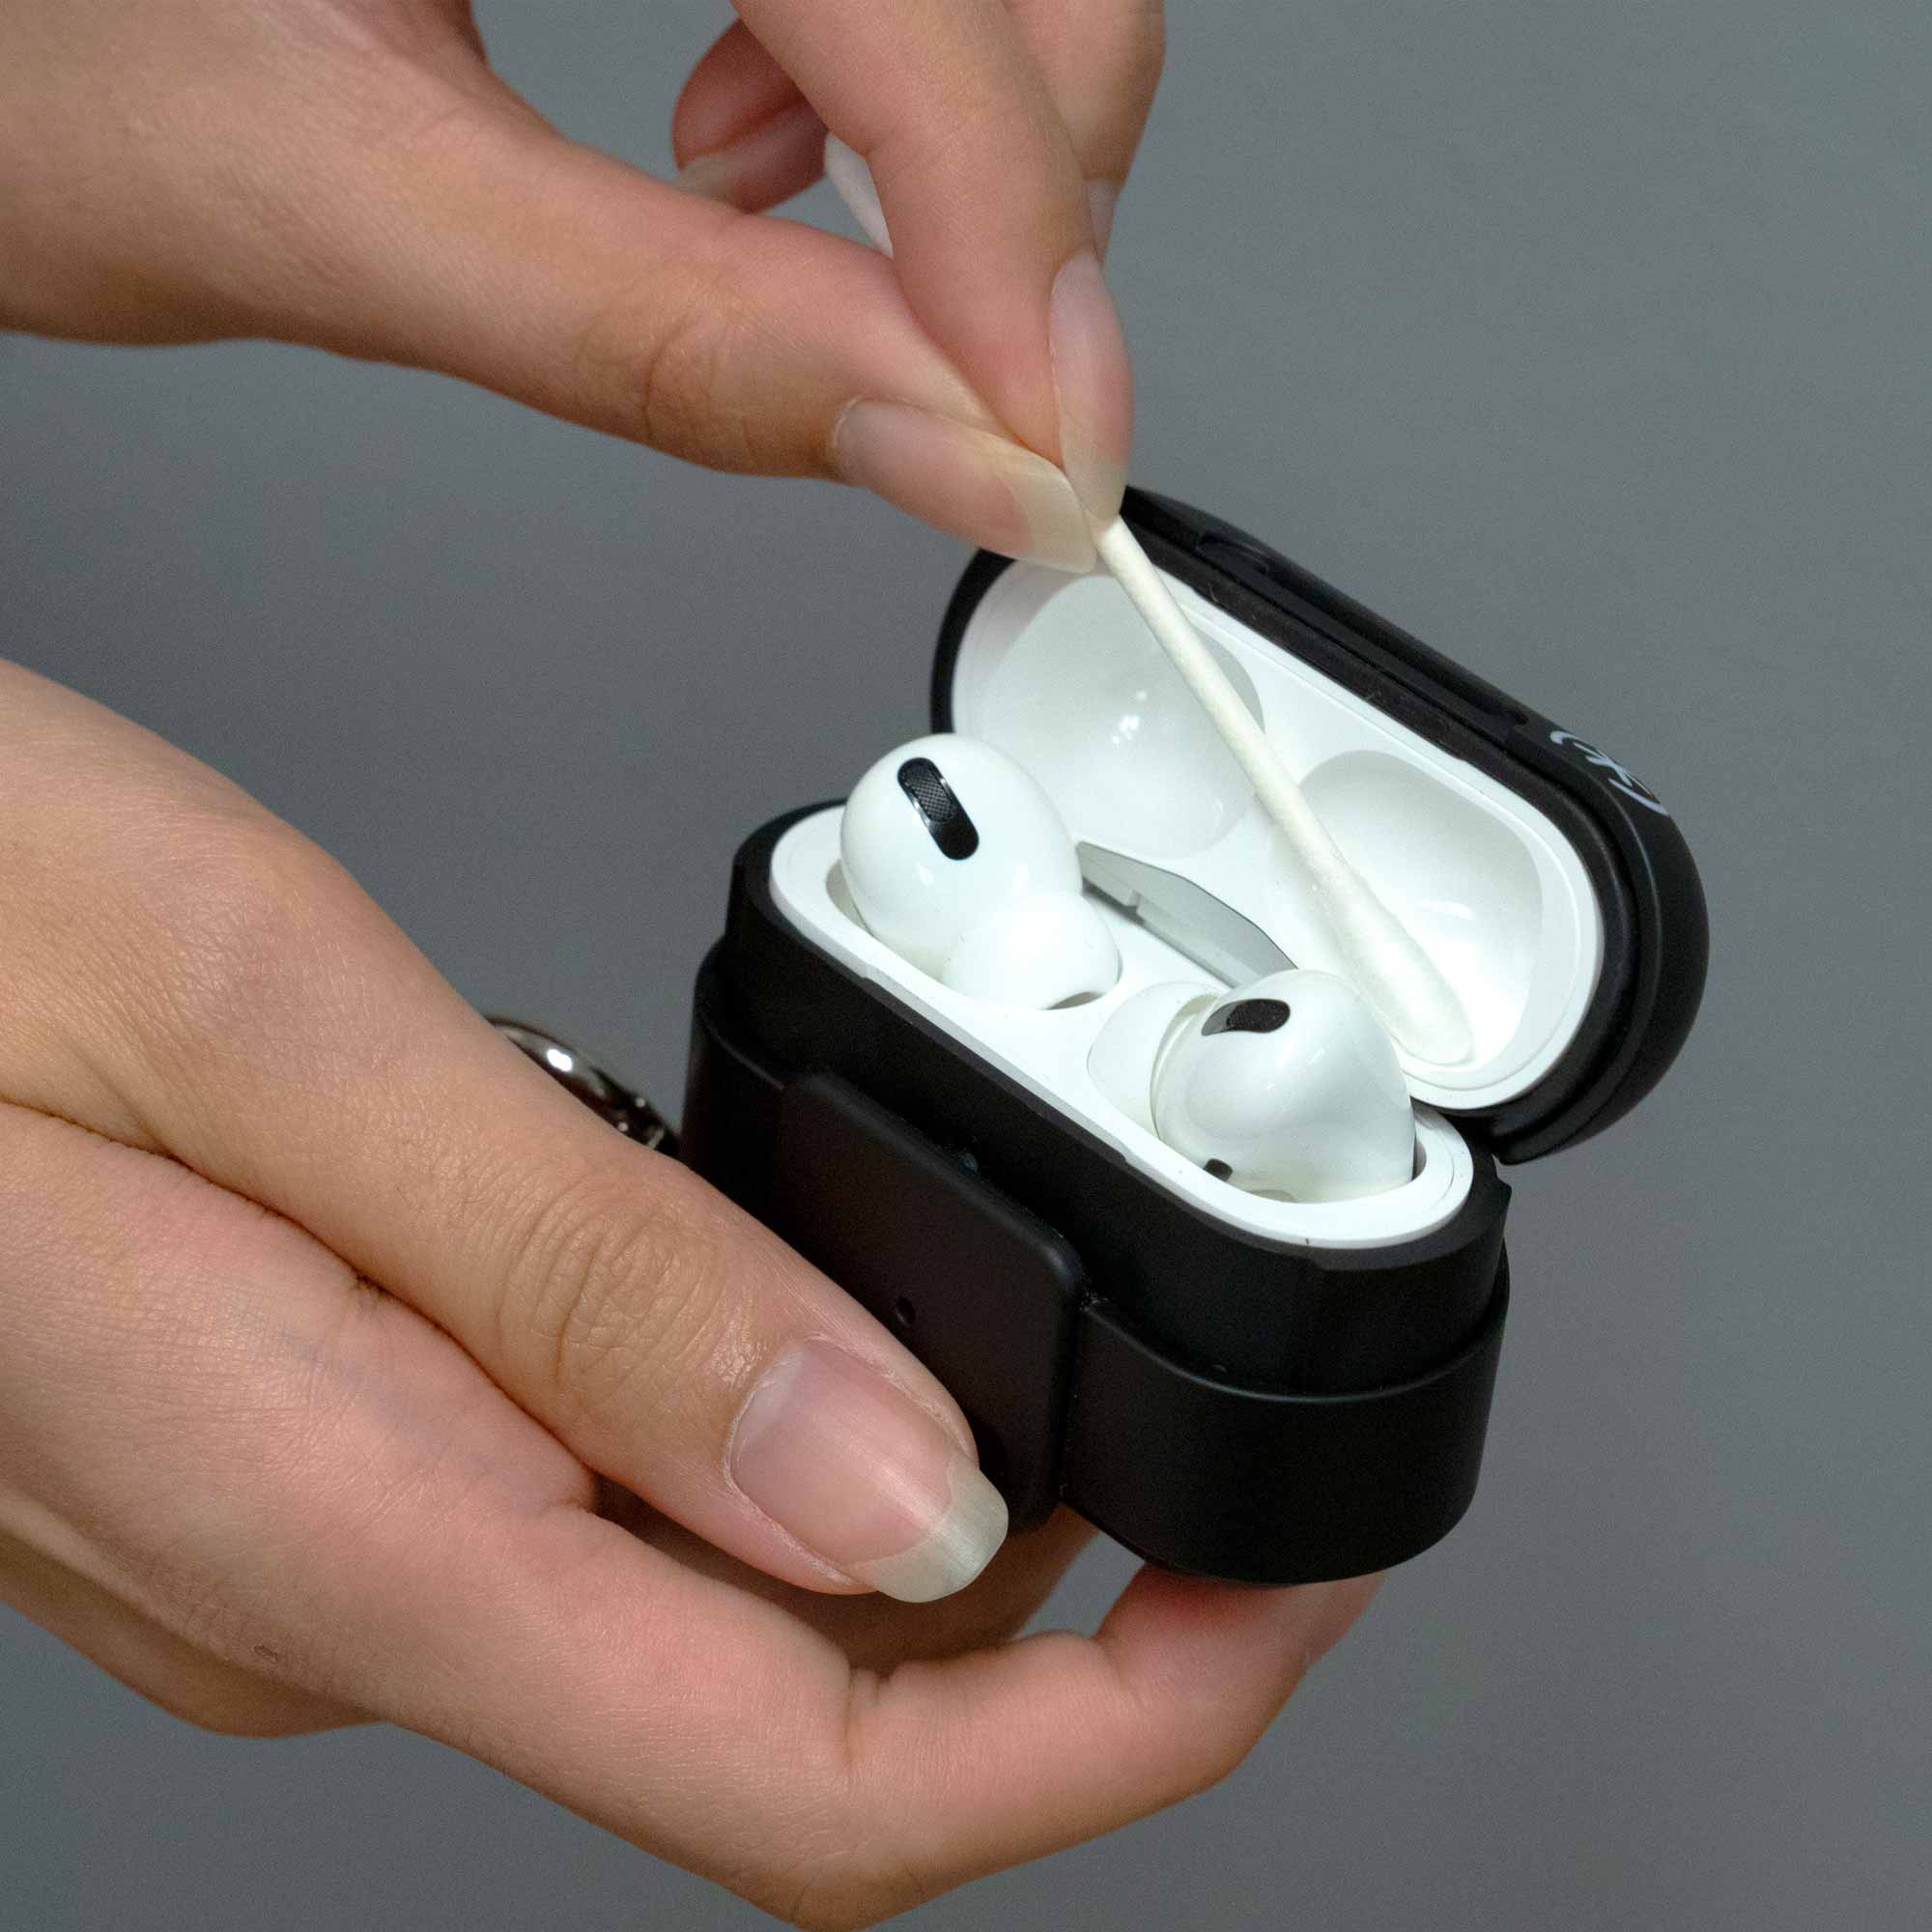
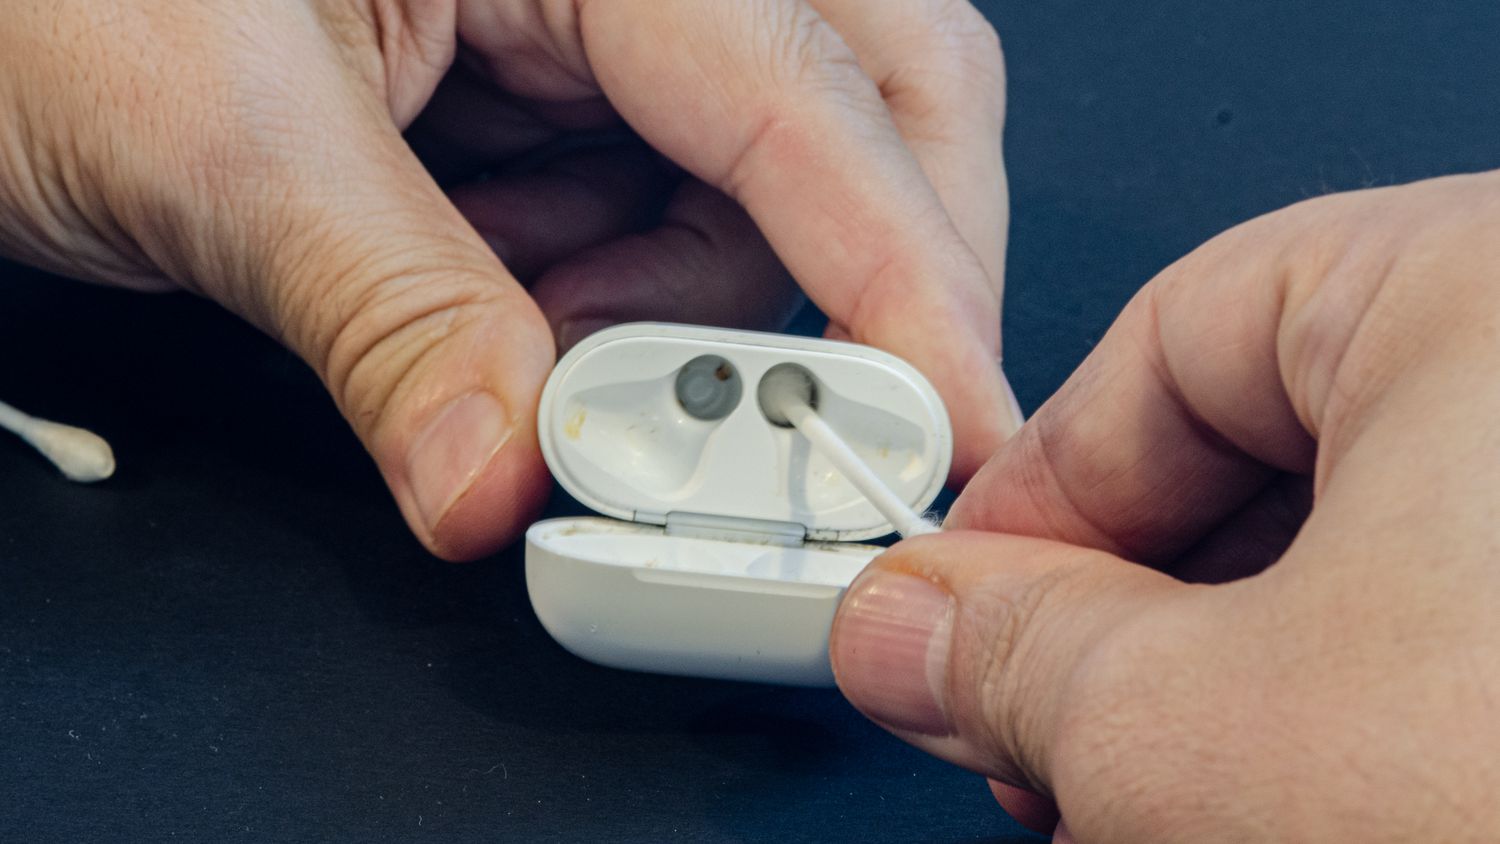
3. Ensure cleanliness: Keep your AirPods case clean and free from debris, as this can affect the charging process and the overall performance of your AirPods. Use a soft, dry cloth to wipe the case and remove any dust or dirt.
4. Properly close the case: If the case is not properly closed, it may affect the functionality of your AirPods and prevent you from easily taking them out. Ensure that the lid of the case is fully closed and securely fastened to avoid any problems.
By taking these simple steps to prepare your AirPods case, you’ll be ready to smoothly proceed to the next steps of taking out your AirPods. So, let’s move on and get your AirPods ready for use!
Step 2: Make sure the case is open
Before you can retrieve your AirPods, you need to make sure that the case is open. Follow these simple steps to ensure that the case lid is ready for you to access your AirPods:
1. Hold the AirPods case: Gently hold the AirPods case in your hand with the lid facing up.
2. Position your fingers: Place your thumb on the front center of the case and your index and middle fingers on the back center.
3. Apply slight pressure: Using your thumb, push the lid of the case upward. The lid should easily open and stay in an open position.
4. Check the hinge: As the lid opens, check that the hinge, which connects the lid to the base of the case, is intact and functioning well. If you notice any damage or resistance in the hinge, contact Apple support for assistance.
5. Ensure the lid stays open: It’s important that the lid stays open while you retrieve your AirPods. If the lid doesn’t stay open on its own, gently hold it open with one hand while retrieving the AirPods with the other hand.
Ensuring that the case lid is open is a crucial step in taking out your AirPods smoothly. With the lid open and securely supported, you’re ready to move on to the next step and retrieve your AirPods. Let’s continue our journey to wireless freedom!
Step 3: Orient the case properly
Once you have confirmed that the AirPods case lid is open, it’s important to orient the case properly to ensure easy access to your AirPods. Follow these steps to orient the case correctly:
1. Hold the case with the lid facing up: Ensure that the lid of the AirPods case is facing towards you. This will allow for easy visibility and access to the AirPods.
2. Check the position of the AirPods: Look inside the case and make sure that the AirPods are positioned correctly. Each AirPod should be in its designated slot inside the case.
3. Adjust the alignment, if necessary: If the AirPods have shifted or are not aligned properly, gently adjust them so that they fit snugly in their respective slots. This will ensure that they are held securely and protected.
4. Verify the charging indicator: Take a quick glance at the charging indicator on the front of the case. It should show a steady LED light, indicating that the AirPods are charging properly. If the light is not visible or blinking, make sure the AirPods are properly seated and reposition them as needed.
By properly orienting the case, you’ll have a clear view of your AirPods and be ready to effortlessly retrieve them in the next step. So, let’s continue our journey to grab those wireless wonders!
Step 4: Grip the case firmly
To successfully take your AirPods out of the case, you need to grip it firmly to ensure a secure hold. Follow these steps to grip the case properly:
1. Position your hand: Hold the AirPods case in one hand, using a grip that feels comfortable and secure. It’s important to have a firm hold on the case to prevent any accidental drops.
2. Use your fingers: Wrap your fingers around the sides of the case, ensuring that your thumb is positioned on the lid. This grip will provide stability and control while removing the AirPods.
3. Apply gentle pressure: With your fingers wrapped around the case, you can now apply gentle pressure to the lid. This pressure will help release the AirPods from their slots without causing any damage to the case or the AirPods themselves.
4. Avoid excessive force: While it’s important to grip the case firmly, be cautious not to apply too much force. Excessive force may lead to unintended consequences such as damaging the case or dropping the AirPods.
By following these steps to grip the case firmly, you’ll have full control and confidence as you continue on your journey to take out your AirPods. Let’s move on to the next step and get those AirPods released from their case!
Step 5: Tilt the case to release the AirPods
Now that you have a firm grip on the AirPods case, it’s time to tilt it to release the AirPods from their slots. Follow these steps to tilt the case and free your AirPods:
1. Ensure a secure grip: Double-check that your grip on the case is secure, with your fingers wrapped around the sides and your thumb on the lid.
2. Tilt the case forward: Tilt the front part of the case slightly forward, away from you. This motion will help disengage the AirPods from their magnetic connectors inside the case.
3. Maintain control: As you tilt the case forward, keep a steady grip to ensure that the AirPods don’t fall out of the case or slip from your hand. Maintain control throughout the process.
4. Listen for a click: As you tilt the case, you may hear a slight click sound. This indicates that the AirPods have been released from their slots and are now ready to be taken out.
By tilting the case, you’ll activate the mechanism that allows the AirPods to detach from their charging connectors. This step ensures a smooth and effortless retrieval of your AirPods. Let’s move on to the next step and finally take out those AirPods!
Step 6: Take out the AirPods
With the AirPods released from the case, it’s time to take them out and get ready to enjoy your wireless audio experience. Follow these steps to safely remove the AirPods from the case:
1. Maintain a secure grip: Keep a firm hold on the AirPods case with one hand, ensuring that your fingers are still wrapped around the sides and your thumb is steady on the lid.
2. Use your other hand: With your free hand, gently pull out one AirPod at a time from its designated slot inside the case. It’s important to handle each AirPod with care to avoid dropping or damaging it.
3. Hold the AirPods correctly: Once you have taken out both AirPods, hold them by their stems or the part that extends downwards from the earbud. This will ensure a secure grip and prevent any accidental dropping.
4. Check for debris: Before placing the AirPods in your ears, quickly inspect them to make sure there is no debris, such as dust or earwax, on the earbuds or the speaker meshes. Use a clean, soft cloth or an earbud to gently clean any visible debris if necessary.
By following these steps, you can safely retrieve your AirPods from the case and prepare them for use. Remember to handle the AirPods with care to avoid any damage and keep them clean for optimal performance. Let’s move on to the next step and ensure the case is properly closed after taking out the AirPods!
Step 7: Close the case properly
After you have taken out your AirPods, it’s important to close the case properly to protect and preserve their battery life. Follow these steps to ensure that the AirPods case is securely closed:
1. Align the lid: Hold the AirPods case with both hands, making sure that the lid is aligned with the base of the case.
2. Apply gentle pressure: Using your thumbs, apply gentle pressure to the lid and slowly close it. Ensure that the lid is closing evenly and smoothly without any resistance.
3. Check the closure: Once the lid is closed, take a moment to verify that it is securely fastened. Gently shake the closed case to ensure that there are no loose parts or rattling noises.
4. Verify the LED indicator: Glance at the LED indicator on the front of the case. It should display a steady light, indicating that the case is properly closed and that the AirPods are safe and secure inside.
Closing the case properly not only protects your AirPods but also ensures that they continue to charge when placed inside. By following these steps, you can rest assured that your AirPods will be ready for your next use, whether it’s for music, calls, or any other audio activity.
Now that you have successfully closed the case, you can enjoy using your AirPods without any worries. Let’s move on to the final step and conclude our guide on taking AirPods out of the case.
Step 8: Enjoy using your AirPods!
Congratulations! You have successfully taken your AirPods out of their case and they’re now ready to use. It’s time to enjoy the seamless and wireless audio experience that AirPods provide. Here are a few things you can do to enhance your AirPods usage:
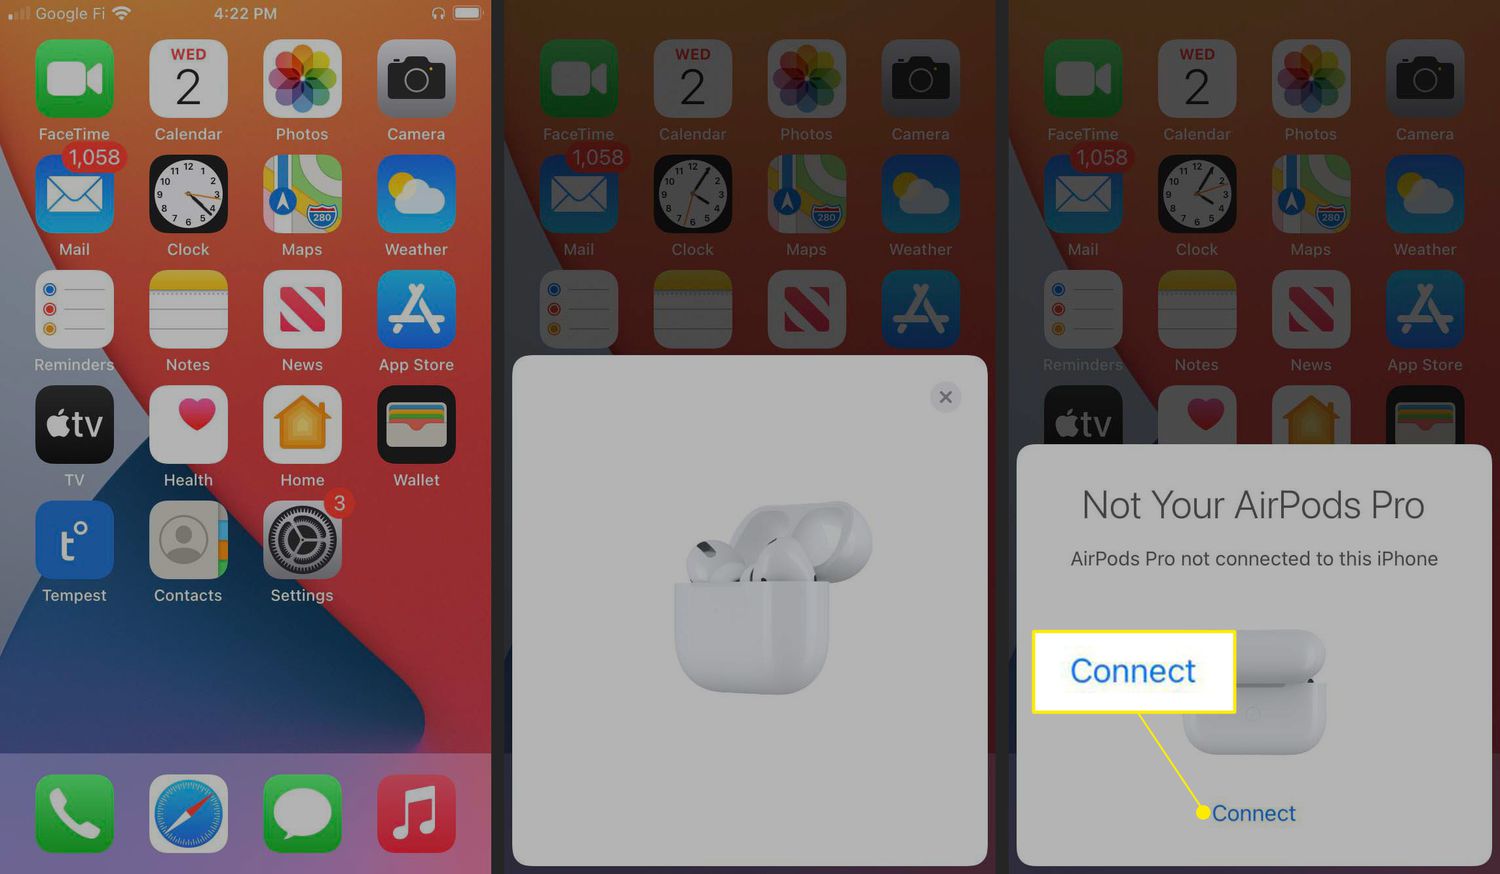
1. Connect to your device: Pair your AirPods with your iPhone, iPad, Mac, or any other Bluetooth-enabled device. Simply open the Bluetooth settings on your device, select your AirPods from the list, and connect.
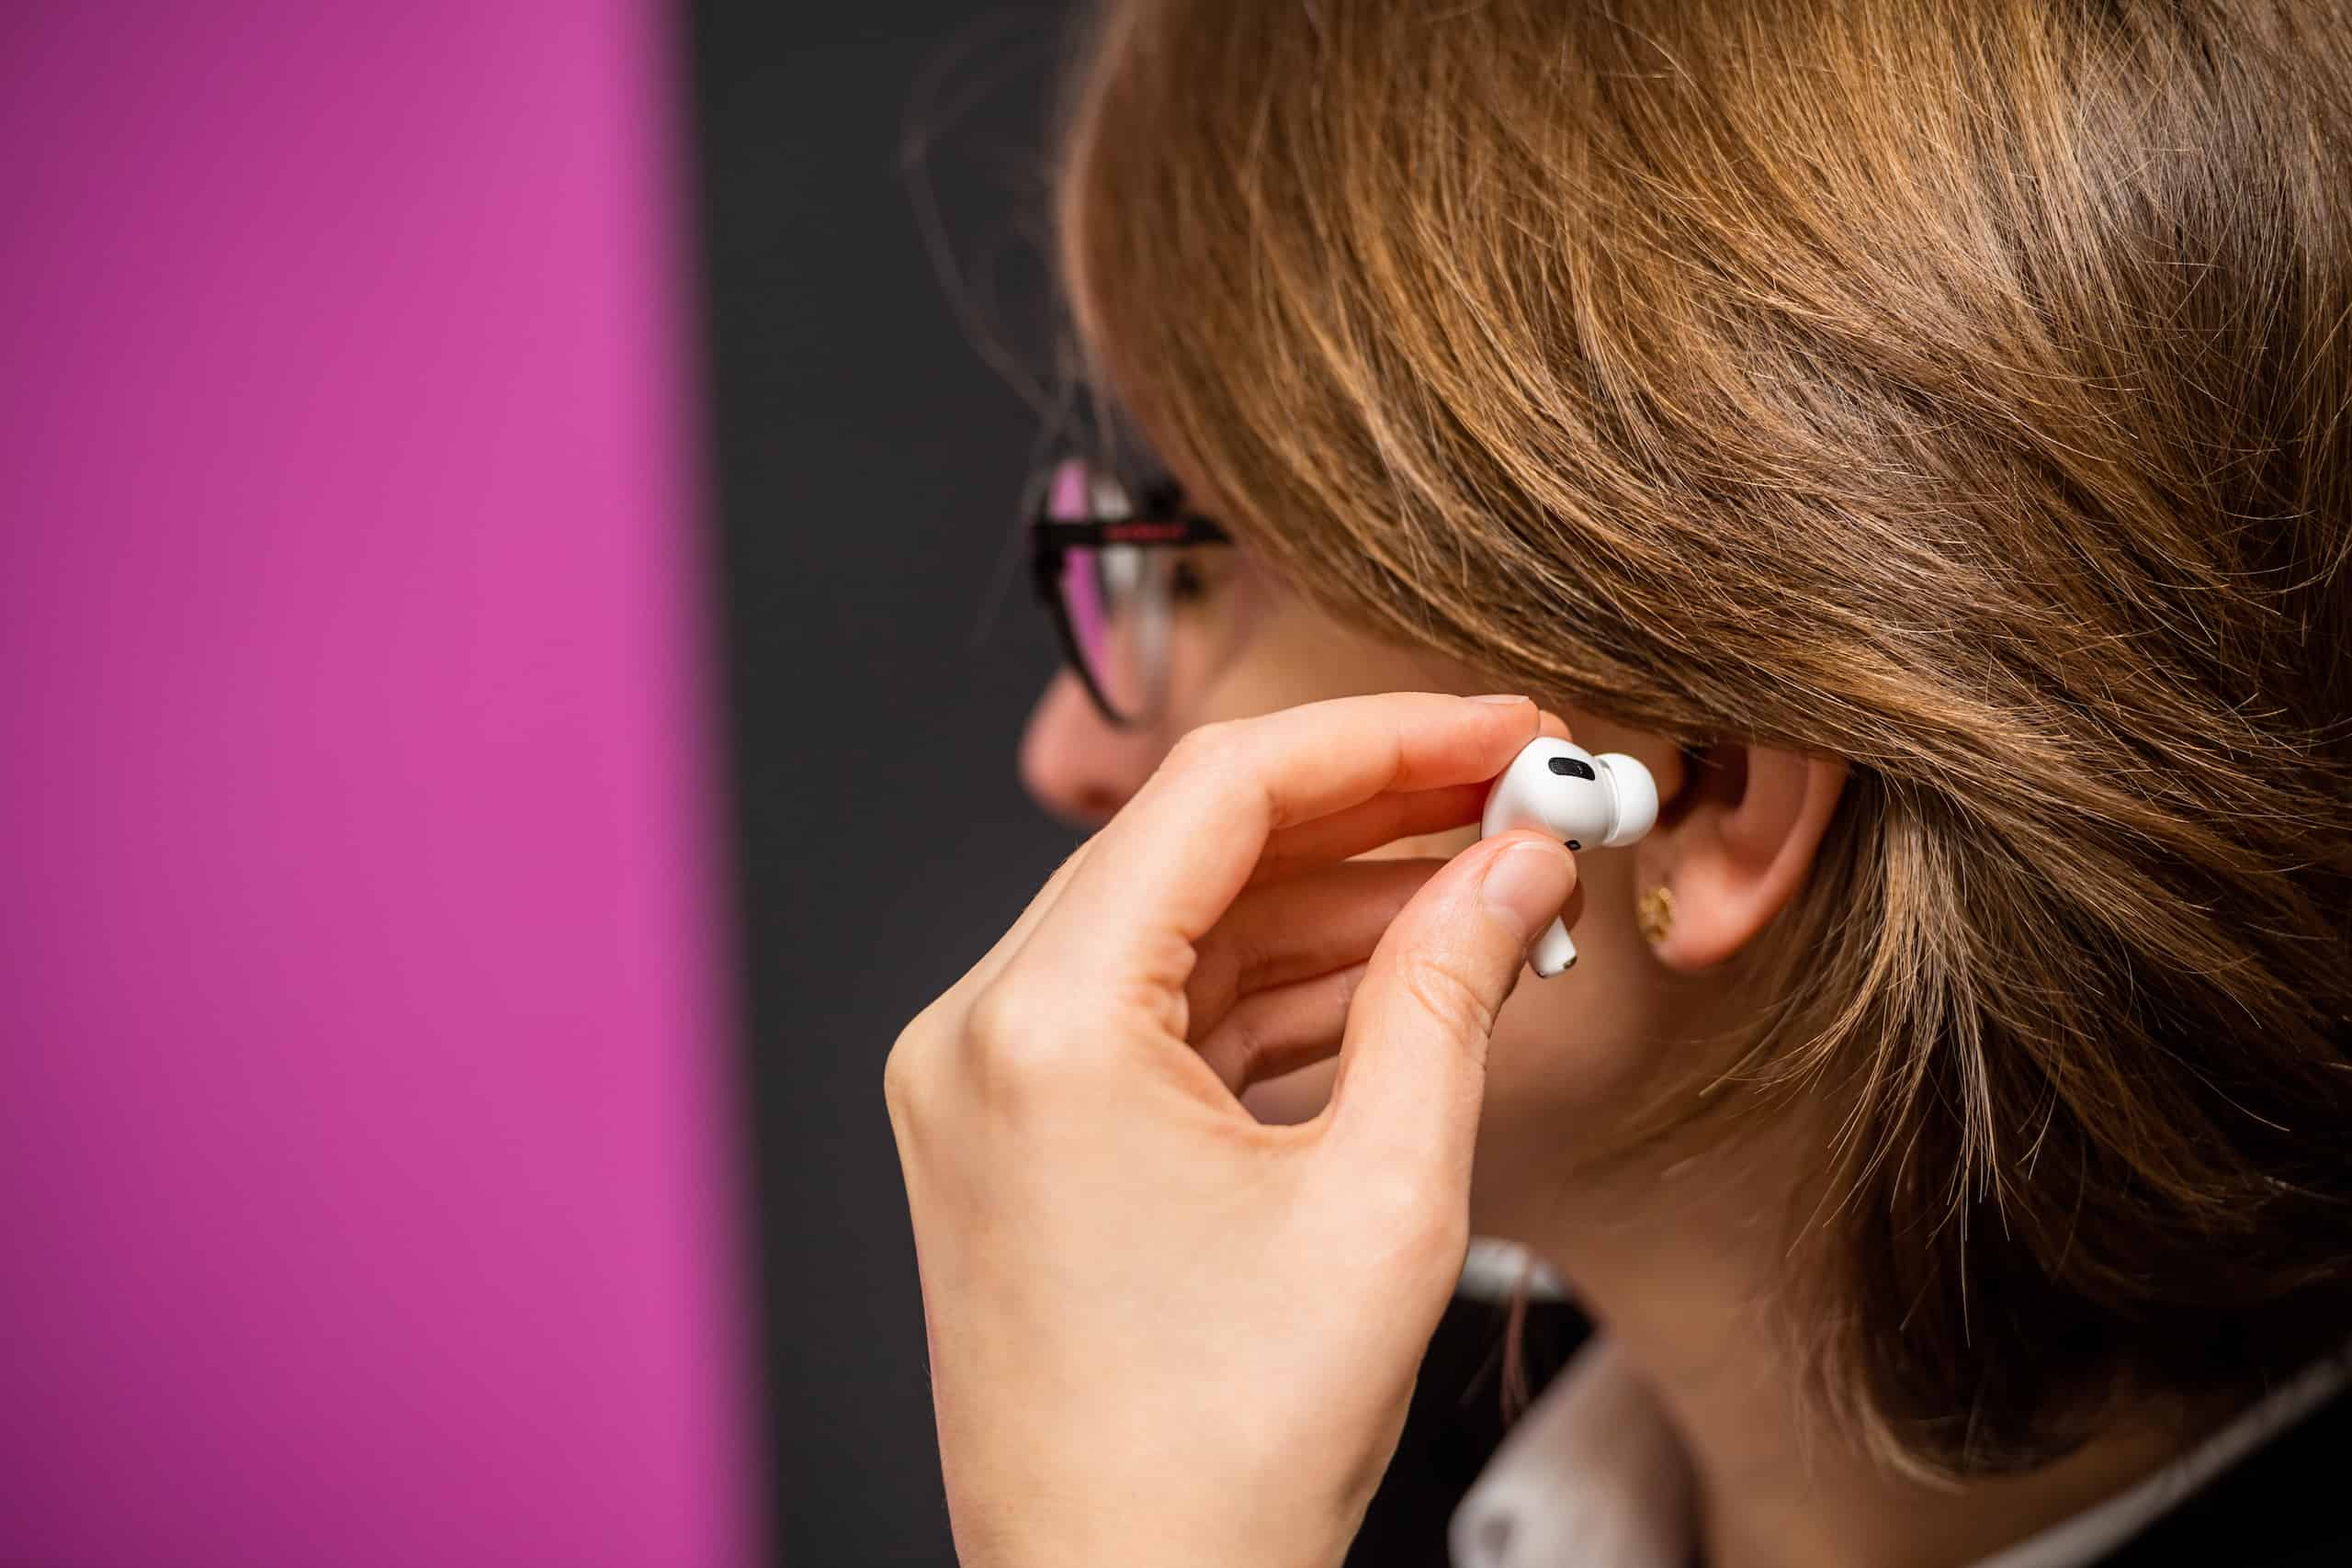
2. Adjust the fit: Make sure your AirPods fit comfortably in your ears. If needed, you can try different sized ear tips or consider purchasing additional accessories to customize the fit.
3. Control your AirPods: Familiarize yourself with the touch controls on your AirPods. You can play/pause music, answer calls, activate Siri, and more with simple taps on the earbuds.
4. Explore additional features: Dive into the settings on your device to discover additional features and customization options for your AirPods. From automatic ear detection to spatial audio, there are plenty of capabilities to explore.
5. Take care of your AirPods: Remember to keep your AirPods clean and free from dust or debris. Use a soft cloth to gently wipe them down and store them in their case when not in use.
With your AirPods connected and ready to go, you can now enjoy the convenience of wireless audio wherever you go. Whether you’re listening to music, taking calls, or watching movies, the freedom and high-quality sound of your AirPods will enhance your overall experience.
So put on your AirPods, sit back, and enjoy the wireless world of endless possibilities!