Introduction
Are you experiencing muffled sound quality with your AirPods? Nothing is more frustrating than trying to enjoy your favorite music or take an important phone call, only to be met with distorted or unclear audio. But fear not, there are several common causes for muffled AirPods and simple solutions to fix them.
With their sleek design and wireless convenience, AirPods have quickly become a popular audio accessory. However, like any electronic device, they can encounter issues that impact their performance. Muffled sound is a commonly reported problem, but understanding the underlying causes is the key to resolving it.
In this article, we will explore the common causes of muffled AirPods and provide effective solutions to help you restore the crystal-clear sound you deserve. From dirty AirPods to software glitches, we’ll guide you through the troubleshooting steps to get your AirPods back in tip-top shape.
Whether you use AirPods for music, calls, or both, ensuring their optimal audio quality is essential. So, let’s delve into the potential culprits behind muffled AirPods and find out how to fix them.
Common Causes of Muffled AirPods
When it comes to muffled AirPods, there are several potential causes that can impact their audio quality. Understanding these common issues will help you pinpoint the problem and find the appropriate solution:
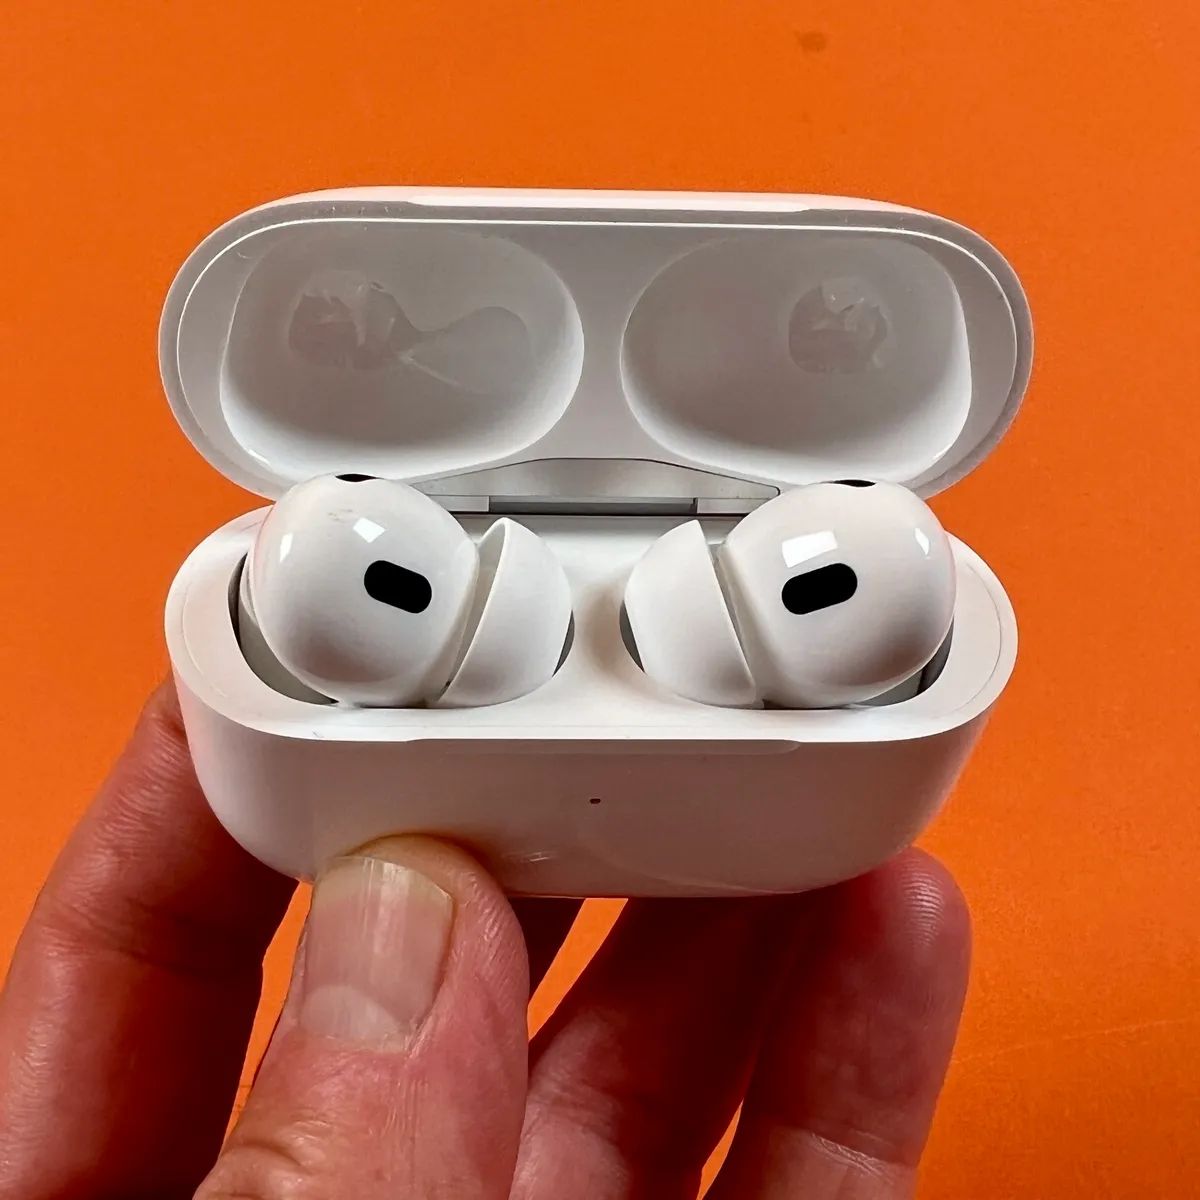
- Dirty or Clogged AirPods: Over time, debris, earwax, and dust can accumulate in the speaker grilles or mesh of your AirPods, leading to muffled sound. This blockage restricts the sound waves from reaching your ears clearly.
- Water Damage: Exposure to moisture, such as rain or sweat, can damage the internal components of your AirPods. Water can seep into the speaker chambers and interfere with sound transmission, resulting in a muffled or distorted audio experience.
- Poor Connection: AirPods rely on a stable Bluetooth connection to deliver seamless sound. If there are obstructions, interference, or a weak signal between your AirPods and the connected device, it can cause the sound to become muffled or intermittent.
- Software Glitches: Like any electronic device, AirPods can experience software glitches or bugs. These issues can affect the audio performance, leading to muffled sound or other irregularities.
By identifying these common causes, you can narrow down the possible reasons for your muffled AirPods and proceed with the appropriate troubleshooting steps. In the following section, we will delve into practical solutions to help you fix the muffled audio and restore the fantastic sound quality that AirPods are renowned for.
Dirty or Clogged AirPods
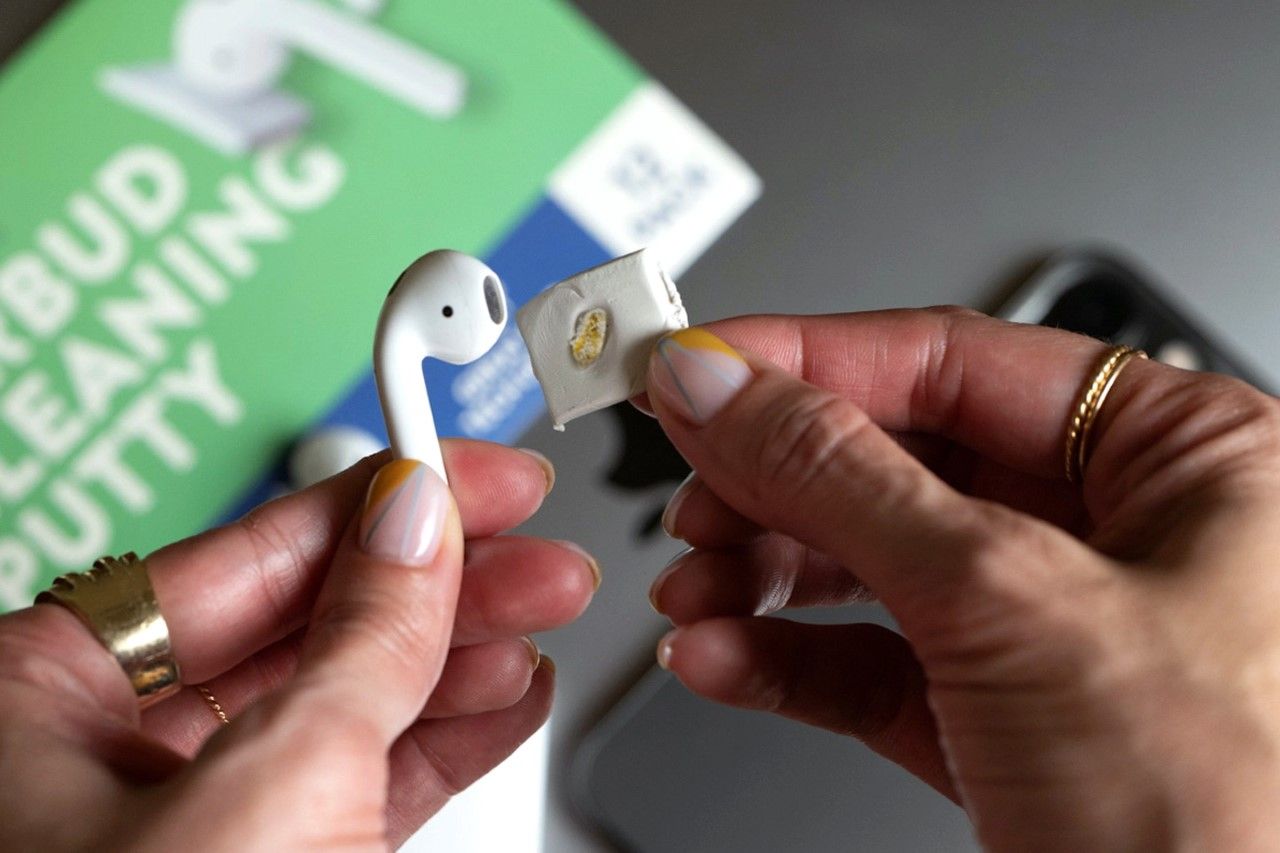
One of the primary culprits behind muffled AirPods is dirt, debris, or earwax buildup. Over time, these particles can accumulate in the speaker grilles or mesh, hindering the audio quality. Fortunately, cleaning your AirPods can often resolve this issue.
To clean your AirPods, follow these steps:
- Remove the AirPods from your ears: Gently take out your AirPods and inspect them for any visible dirt or debris.
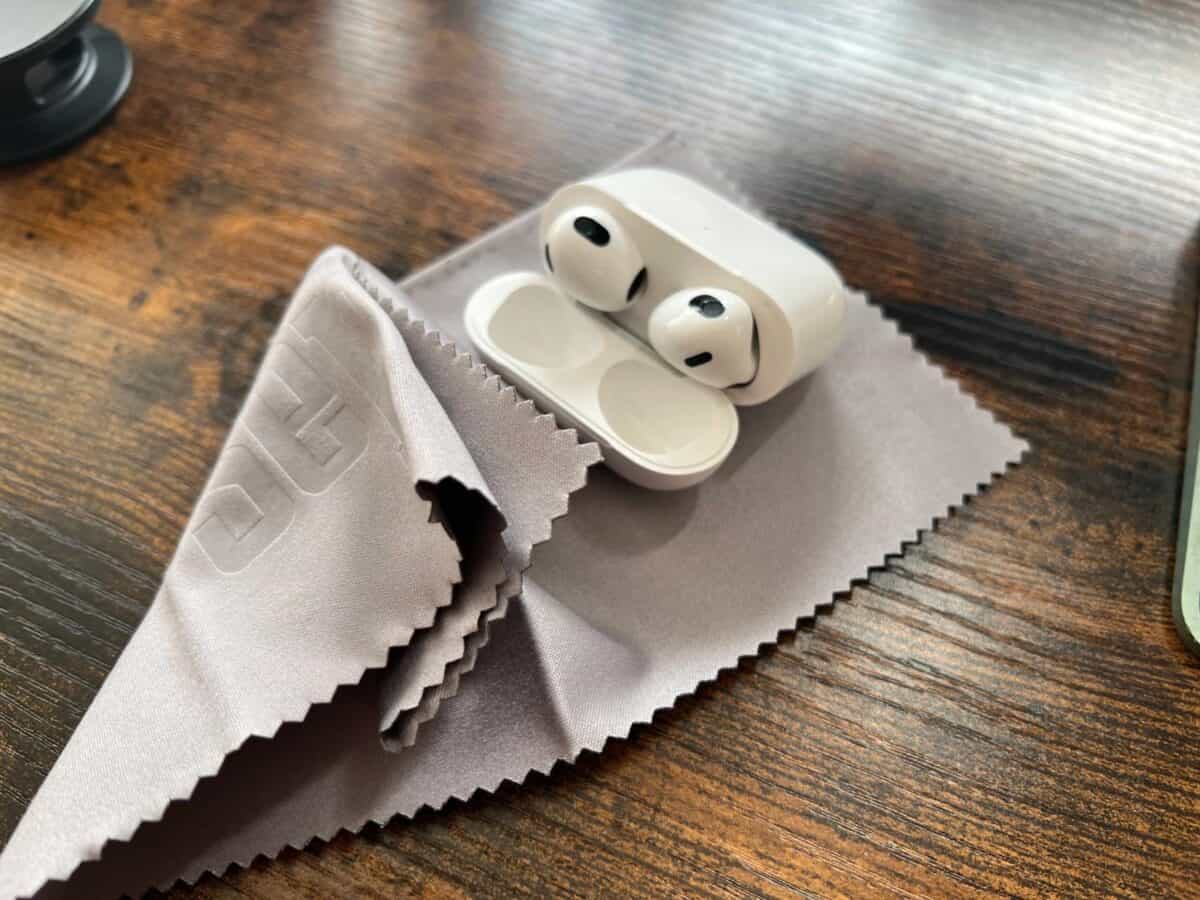
- Use a soft, dry cloth: Wipe the exterior surfaces of the AirPods carefully using a soft, lint-free cloth. Avoid using any liquid or cleaning agents, as they can damage the device.
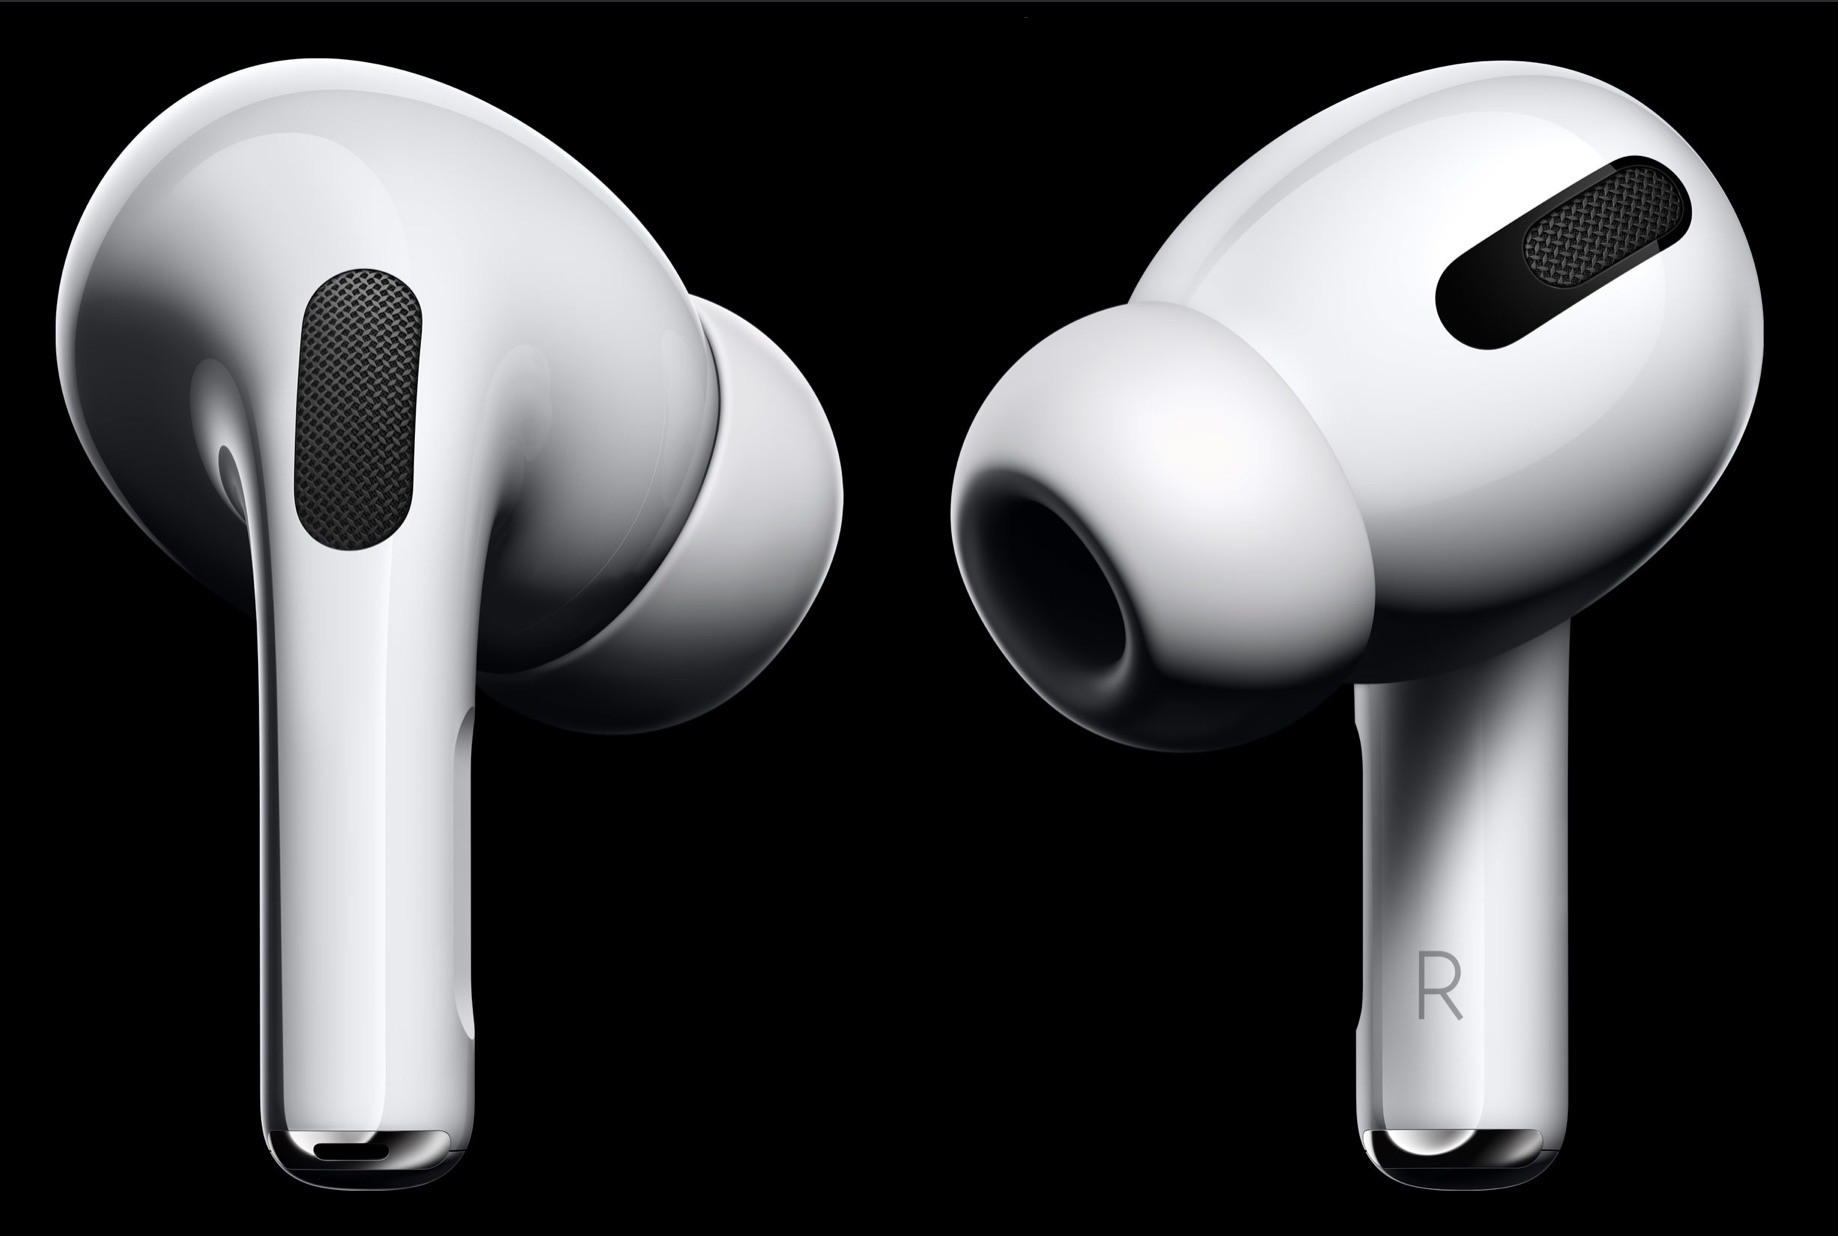
- Clean the speaker grilles: Take a clean, dry toothbrush and gently brush the speaker grilles to dislodge any accumulated dirt or debris. Be cautious not to apply excessive pressure, as it may cause damage.
- Inspect the sensor area: While cleaning, check the sensor area on each AirPod for any obstructions. Use a dry cotton swab to remove any debris or wax buildup from the sensors.
- Reinsert the AirPods: Once you have thoroughly cleaned the AirPods, reinsert them into your ears and check if the muffled sound issue has been resolved.
Regularly cleaning your AirPods and keeping them free from debris can help maintain optimal sound quality. Make it a habit to clean them every few weeks, especially if you frequently use your AirPods in dusty or dirty environments. This simple maintenance routine can go a long way in preventing muffled audio and ensuring an enjoyable listening experience.
Water Damage
Water damage can be a common culprit behind muffled AirPods, especially if they have been exposed to excessive moisture. Whether it’s from rain, sweat during workouts, or accidental submersion, water can seep into the delicate internal components of your AirPods, affecting the sound quality.
If you suspect water damage, here are some steps you can take to potentially fix the issue:
- Power off your AirPods: The first step is to turn off your AirPods immediately after exposure to water. This helps prevent any potential short circuits that could further damage the device.
- Dry the exterior: Use a soft, lint-free cloth to gently wipe the exterior surfaces of the AirPods. Ensure that you remove any visible water droplets to prevent them from seeping deeper into the device.
- Air drying: After wiping the exterior, place your AirPods in a warm, dry location. Avoid using any heating devices or direct sunlight, as excessive heat can damage the electronic components. Allow the AirPods to air dry for at least 24-48 hours.
- Absorb moisture with desiccant: As an extra precaution, you can place your AirPods in a sealed container with a desiccant packet. These packets are commonly found in packaging for electronic devices or food products and are designed to absorb moisture. The desiccant can help speed up the drying process and reduce the risk of lingering moisture damage.
- Test your AirPods: Once you’re confident that the AirPods are fully dry, power them on and test the sound quality. Check if the muffled audio issue has been resolved. If the problem persists, there may be deeper water damage, and it is recommended to contact Apple support for further assistance.
Preventing water damage is crucial for maintaining the optimal functionality of your AirPods. Avoid exposing them to excessive moisture whenever possible, and consider using waterproof covers or carrying cases for added protection. By taking proper precautions, you can avoid muffled audio due to water damage and enjoy your AirPods for a long time.
Poor Connection
A weak or unstable Bluetooth connection can also be a contributing factor to muffled AirPods. Issues such as obstructions, interference, or a distance exceeding the Bluetooth range can affect the quality of the audio transmission. Fortunately, there are several steps you can take to improve the connection and resolve the muffled sound issue.
Try the following troubleshooting steps to fix a poor connection:
- Move closer to the device: If you are experiencing muffled audio, make sure you are in close proximity to the device to ensure a strong connection. Bluetooth signals can weaken over greater distances, leading to audio distortion or loss of quality.
- Remove obstructions: Clear any obstacles that may be obstructing the line of sight between your AirPods and the connected device. Walls, furniture, or other electronic devices can interfere with the Bluetooth signal, causing a degraded connection and muffled sound.
- Check for wireless interference: Other devices in the vicinity, such as Wi-Fi routers or wireless speakers, can interfere with your AirPods’ Bluetooth connection. Try moving away from such devices or switching to a less congested Wi-Fi channel to reduce interference.
- Reset Bluetooth settings: On your connected device, navigate to the Bluetooth settings and toggle off the Bluetooth option. Wait for a few seconds, then toggle it back on. This can refresh the connection and potentially resolve any connectivity issues.
- Reconnect your AirPods: If the connection remains poor, forget your AirPods from the Bluetooth settings on your device and then pair them again. This can establish a fresh connection, potentially improving the audio quality and reducing any muffled sound.
By addressing potential connection issues, you can enhance the Bluetooth stability and eliminate the muffled audio problem with your AirPods. Remember to keep your AirPods and the connected device within the recommended Bluetooth range for optimal performance.
Software Glitches
Software glitches or bugs can also lead to muffled audio on your AirPods. These glitches can arise from various factors, such as outdated firmware, incompatible software versions, or conflicting settings. Fortunately, addressing software-related issues is relatively straightforward and can often resolve the problem.
Here are some steps you can take to fix software glitches and eliminate muffled audio:
- Check for firmware updates: Ensure that your AirPods are running the latest firmware version. You can do this by connecting your AirPods to your device and opening the Bluetooth settings. Look for any available firmware updates and install them if necessary. Updating the firmware can address any known software bugs and improve the overall performance of your AirPods.
- Restart your device: Sometimes, a simple restart of your connected device can resolve software-related issues. Power off your device and then power it back on to refresh the system. Once your device has restarted, check if the muffled sound problem with your AirPods has been resolved.
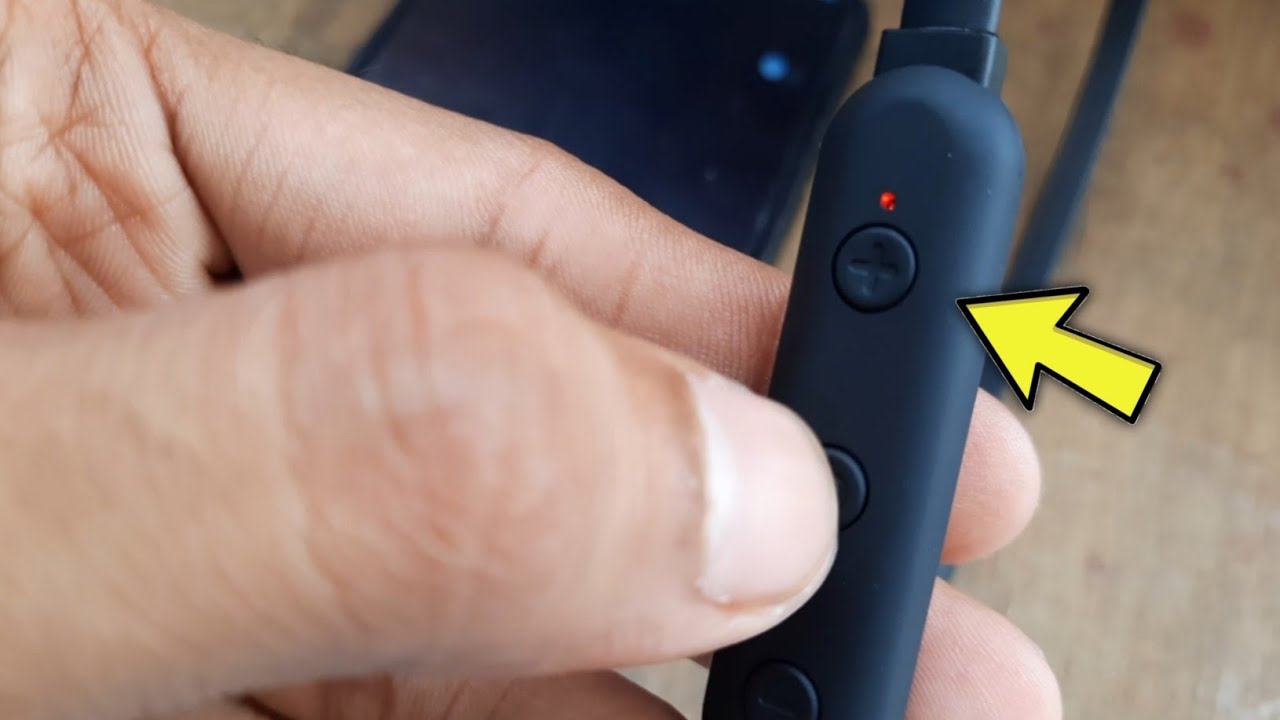
- Reset your AirPods: If the issues persist, you can try resetting your AirPods. To do this, open the Bluetooth settings on your device and forget your AirPods. Then, place your AirPods back into their charging case and close the lid. After a few seconds, open the lid and hold the setup button on the back of the case until the LED light on the front flashes white. Reconnect your AirPods and test if the muffled audio issue has been resolved.
- Adjust audio settings: Ensure that your device’s audio settings are properly configured. Check the sound balance, equalizer settings, or any audio enhancements that might affect the audio output. Make adjustments as needed to optimize the sound quality and eliminate any muffled sound.
- Contact Apple Support: If you have tried all the troubleshooting steps mentioned above and your AirPods’ audio issue persists, it’s advisable to reach out to Apple Support. They can provide further assistance and guidance to resolve any software-related glitches that may be causing the muffled audio problem.
Resolving software glitches can often bring your AirPods back to their full audio potential. By keeping the firmware updated and ensuring the right settings, you can enjoy a seamless and crisp listening experience with your AirPods.
How to Fix Muffled AirPods
Dealing with muffled audio from your AirPods can be frustrating, but fortunately, there are several steps you can take to fix the issue. By addressing the common causes mentioned earlier and following these troubleshooting methods, you can restore the clear and crisp sound quality to your AirPods:
- Clean Your AirPods: Regularly remove dirt, debris, and earwax buildup from your AirPods. Use a soft cloth for the exterior surfaces and a toothbrush for the speaker grilles.
- Dry Your AirPods: If your AirPods have been exposed to water or moisture, dry them thoroughly before using them again. Air dry them in a warm, dry location for at least 24-48 hours.
- Check Bluetooth Settings: Ensure that you have a stable Bluetooth connection between your AirPods and the connected device. Minimize obstructions, move closer to the device, and check for wireless interference.
- Update AirPods Firmware: Keep your AirPods firmware up to date to address any software glitches or bugs. Check for firmware updates in the Bluetooth settings of your device.
- Reset Your AirPods: If the muffled audio issue persists, try resetting your AirPods. Forget them from the Bluetooth settings, place them back in the charging case, and perform a reset.
By following these troubleshooting methods, you can often resolve the muffled audio problem with your AirPods. However, if the issue persists or if you suspect a hardware malfunction, it is recommended to contact Apple Support or visit an authorized service center for further assistance.
Clean Your AirPods
Regular cleaning is crucial for maintaining optimal sound quality with your AirPods. Over time, dirt, debris, and earwax can accumulate in the speaker grilles or mesh, causing muffled audio. Cleaning your AirPods is a simple and effective solution to this problem.
Follow these steps to clean your AirPods:
- Remove the AirPods from your ears: Gently take out your AirPods and inspect them for any visible dirt or debris.
- Use a soft, dry cloth: Use a soft, lint-free cloth to wipe down the exterior surfaces of the AirPods. Be gentle and avoid using liquid or cleaning agents that can damage the device.
- Clean the speaker grilles: Take a clean, dry toothbrush and gently brush the speaker grilles to dislodge any accumulated dirt or debris. Ensure that you brush in a downward motion to avoid pushing the debris further into the speakers.
- Inspect the sensor area: Check the sensor area on each AirPod for any obstructions. Use a dry cotton swab to remove any wax or debris buildup from the sensors.
- Let the AirPods air dry: After cleaning, allow the AirPods to air dry completely before placing them back in their charging case. This helps prevent any moisture from getting trapped inside.
Make it a habit to clean your AirPods regularly, especially if you use them frequently or in dusty environments. By keeping them free of dirt and debris, you can maintain the optimal sound quality and prevent muffled audio.
Dry Your AirPods
If your AirPods have come into contact with water or excessive moisture, it’s crucial to dry them thoroughly before using them again. Water damage can lead to muffled audio and other issues. Taking the necessary steps to dry your AirPods can help restore their functionality and sound quality.
Here’s what you should do to dry your AirPods:
- Power off your AirPods: If your AirPods are on, power them off immediately after they have been exposed to water. This helps prevent potential short circuits that may further damage the device.
- Dry the exterior surfaces: Use a soft, lint-free cloth to gently wipe the exterior surfaces of the AirPods. Pay close attention to removing any visible water droplets or moisture.
- Allow the AirPods to air dry: After wiping the exterior, place your AirPods in a warm, dry location. Avoid using any heating devices or direct sunlight as they can cause damage. Let the AirPods air dry for at least 24-48 hours to ensure all moisture has evaporated.
- Absorb moisture with desiccant: For an extra precaution, you can place your AirPods in a sealed container or a bag with a desiccant packet. Desiccant packets are commonly found in various product packaging and are designed to absorb moisture. This can help expedite the drying process by absorbing any residual moisture that may be present.
- Test your AirPods: Once you’re confident that your AirPods are completely dry, power them on and test the sound quality. Check if the muffled audio issue has been resolved. If the problem persists, there may be deeper water damage, and it’s recommended to contact Apple Support for further assistance.
Remember to exercise caution and patience when drying your AirPods. Rushing the process may lead to additional damage. By thoroughly drying your AirPods, you can minimize the risk of muffled audio caused by water damage and continue to enjoy your wireless listening experience.
Check Bluetooth Settings
A weak or problematic connection between your AirPods and the connected device can lead to muffled audio. Checking and adjusting the Bluetooth settings can help improve the connection and resolve the sound quality issue.
Here are some steps to check your Bluetooth settings and ensure a stable connection:
- Ensure proximity: Make sure that your AirPods and the connected device are within the recommended Bluetooth range. Keep them in close proximity to minimize any potential signal disruptions.
- Remove obstructions: Clear any physical obstructions between your AirPods and the connected device that may obstruct the Bluetooth signal. Move away from walls, metal objects, or other electronic devices that could interfere with the connection.
- Check for wireless interference: Other devices, such as Wi-Fi routers or wireless speakers, can potentially interfere with the Bluetooth connection. Try moving away from these devices or switching to a less congested Wi-Fi channel to reduce interference.
- Reset Bluetooth settings: If you’re still experiencing muffled audio, try resetting the Bluetooth settings on your device. Disable the Bluetooth option in your device’s settings, wait a few seconds, and then enable it again. This can refresh the connection and resolve any temporary Bluetooth issues.
- Reconnect your AirPods: If the connection issues persist, forget your AirPods from the Bluetooth settings on your device. Then, reestablish the connection by selecting your AirPods from the available devices list. This can help establish a fresh connection and potentially resolve any connection-related sound issues.
By checking and adjusting your Bluetooth settings, you can improve the connection quality between your AirPods and the connected device. This can help eliminate muffled audio and ensure a seamless listening experience.
Update AirPods Firmware
Outdated firmware can contribute to muffled audio and other performance issues with your AirPods. Keeping the firmware up to date ensures that you have the latest bug fixes, improvements, and compatibility enhancements. If you’re experiencing muffled audio, checking for and installing any available firmware updates can often resolve the issue.
Follow these steps to update the firmware of your AirPods:
- Connect your AirPods to your device: Place your AirPods in your ears and ensure they are properly connected to your device via Bluetooth.
- Open the Bluetooth settings: Go to the Bluetooth settings on your device. This can usually be found in the settings menu or in the control center.
- Check for firmware updates: Look for an option to check for firmware updates. On some devices, it may be labeled as “AirPods Firmware” or “Software Update.” Select this option to check if any updates are available for your AirPods.
- Install the firmware update: If a firmware update is available, follow the on-screen instructions to download and install it. Make sure your AirPods remain connected to your device and have sufficient battery power throughout the update process.
- Restart your AirPods: After the firmware update is complete, restart your AirPods. Remove them from your ears, place them back in the charging case, and close the lid. Open the lid, reinsert the AirPods, and try using them again. Check if the muffled audio issue has been resolved.
Regularly checking for firmware updates and keeping your AirPods up to date can help ensure optimal performance and prevent issues like muffled audio. It’s a good practice to periodically check for updates and install them as they become available. This will ensure that your AirPods are operating on the latest firmware version, providing you with the best audio experience possible.
Reset Your AirPods
If you have tried the previous solutions and are still experiencing muffled audio with your AirPods, resetting them can be an effective troubleshooting step. Resetting your AirPods erases their current settings and restores them to their default state, which can help resolve software-related issues that may be causing the problem.
Follow these steps to reset your AirPods:
- Place your AirPods in their charging case: Make sure both AirPods are in the case and close the lid.
- Hold the setup button: Press and hold the setup button located on the back of the charging case. Hold the button until the LED light on the front of the case starts flashing white.
- Release the setup button: Once you see the LED light flashing white, release the setup button. This indicates that your AirPods have been reset.
- Reconnect your AirPods: Open the lid of the charging case and bring it close to your connected device. Follow the on-screen instructions on your device to reconnect your AirPods. This usually involves selecting them from the list of available devices in the Bluetooth settings.
- Test the audio: After reconnecting your AirPods, play some audio and check if the muffled audio issue has been resolved. If the issue persists, consider contacting Apple Support for further assistance.
Resetting your AirPods can often help resolve stubborn muffled audio problems that are not resolved by other troubleshooting methods. It essentially gives your AirPods a fresh start, allowing them to establish a better connection and eliminate any software-related glitches that may be causing the issue.
Conclusion
Muffled audio with AirPods can be frustrating, but the good news is that there are several common causes and straightforward solutions to this problem. By understanding the factors that contribute to muffled sound and following the appropriate troubleshooting steps, you can restore the crystal-clear audio quality that AirPods are known for.
In this article, we have discussed common causes such as dirty or clogged AirPods, water damage, poor connection, and software glitches. We have provided step-by-step solutions to address each of these issues:
- Clean your AirPods regularly to remove dirt and debris that can obstruct sound.
- Dry your AirPods thoroughly if they have been exposed to water or moisture.
- Check your Bluetooth settings, ensuring proximity, removing obstructions, and troubleshooting connectivity issues.
- Keep your AirPods firmware up to date to address software-related glitches.
- If all else fails, reset your AirPods to restore them to their default settings.
Remember to exercise caution when cleaning and drying your AirPods, and always refer to the official Apple support documentation for detailed instructions specific to your model.
If you have gone through all the troubleshooting steps and continue to experience muffled audio, it may be necessary to reach out to Apple Support or visit an authorized service center for further assistance.
By following these guidelines and maintaining proper care, you can ensure your AirPods deliver the exceptional sound quality you expect, allowing you to enjoy your favorite music, movies, and phone calls with clarity and convenience.