Introduction
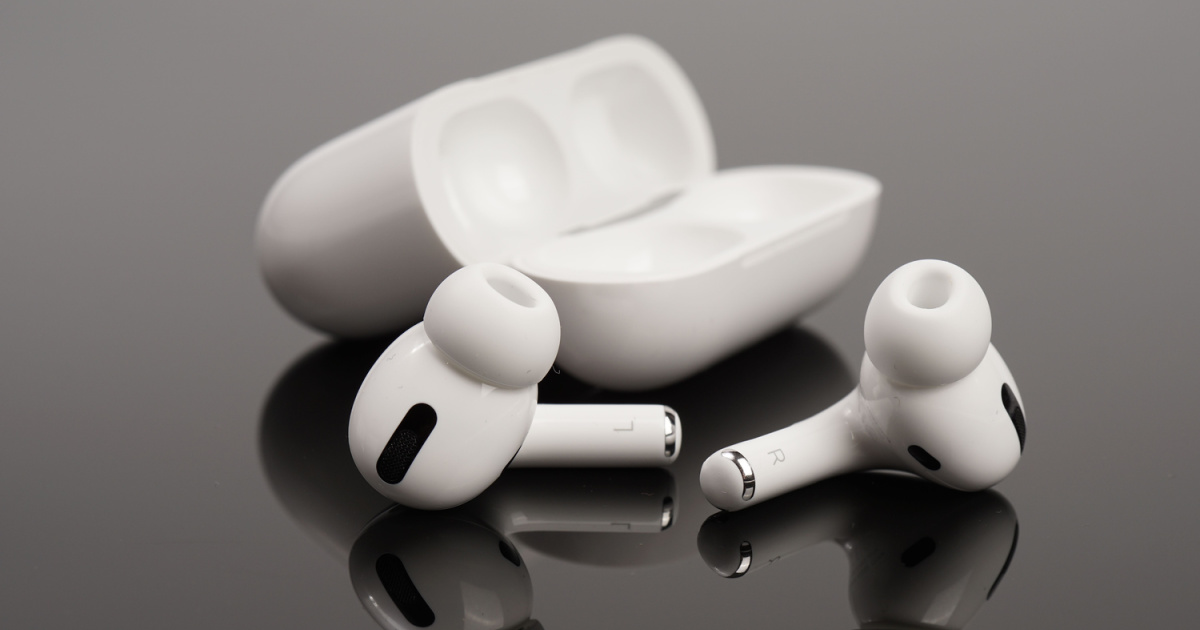
Welcome to the comprehensive guide on how to clean earwax from your AirPods! As technology continues to advance, wireless earbuds have become immensely popular, and Apple’s AirPods lead the way. Whether you use them for listening to music, taking calls, or just enjoying some peace and quiet, keeping your AirPods clean is vital for optimal performance and hygiene.
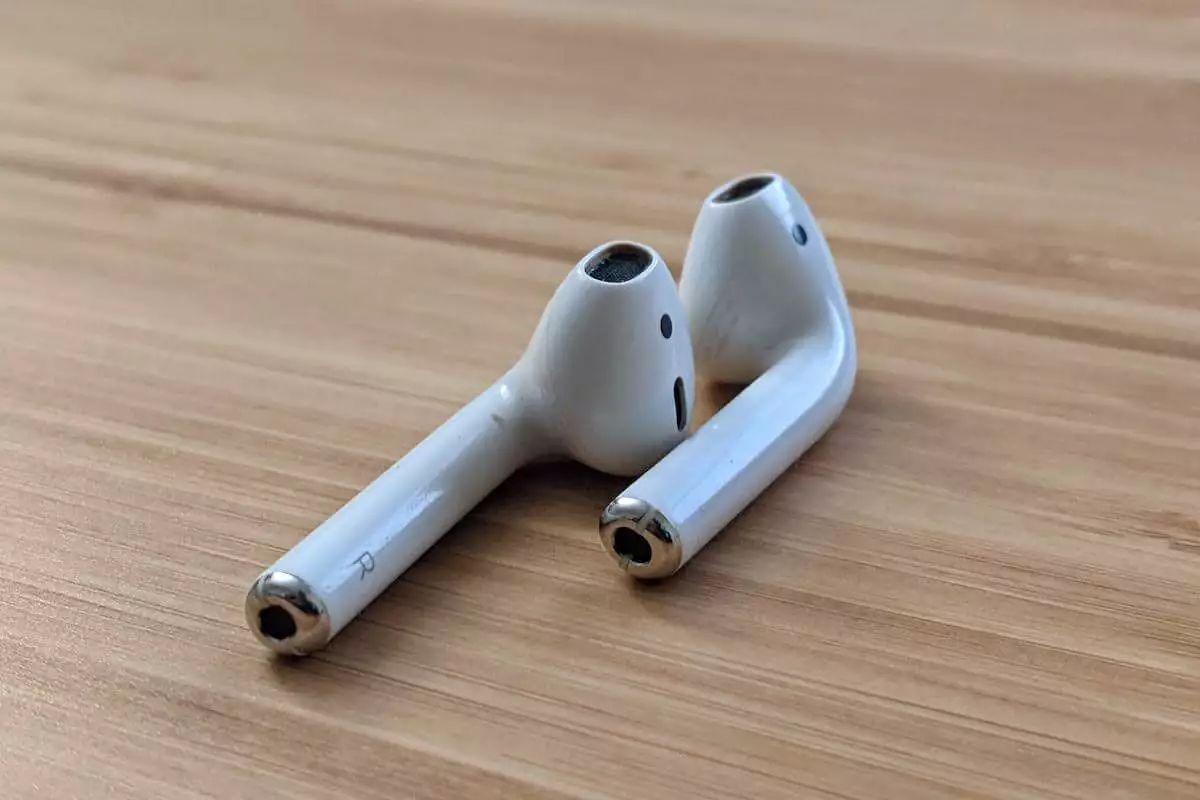
Over time, earwax can accumulate in the tiny crevices and mesh openings of your AirPods, affecting both their appearance and functionality. Not only can built-up earwax impair sound quality, but it can also lead to discomfort and potential damage to the delicate components within the earbuds.
In this guide, we will walk you through the step-by-step process of cleaning your AirPods to ensure they stay in pristine condition. We will also provide tips and tricks on preventing earwax build-up, so you can maintain optimal sound quality and prolong the lifespan of your cherished wireless earbuds. So, let’s dive in and discover how to keep your AirPods looking and sounding their best!
Why Clean Your AirPods?
Keeping your AirPods clean is essential for several reasons. Firstly, regular cleaning ensures optimal sound quality. When earwax builds up on the mesh openings of your AirPods, it can muffle or distort the sound, diminishing your listening experience. By removing the earwax, you can restore the audio quality to its full potential.
In addition to sound quality, cleaning your AirPods is crucial for proper hygiene. Earwax is a naturally occurring substance that protects and lubricates the ear canal. However, excessive earwax can accumulate on your AirPods, creating a breeding ground for bacteria. By regularly cleaning your AirPods, you reduce the risk of bacterial growth and potential ear infections.
Furthermore, keeping your AirPods clean helps to maintain their overall functionality and longevity. Earwax can clog the charging ports, impair the sensors, and even cause connectivity issues. By regularly removing earwax and debris, you ensure that your AirPods function properly and have a longer lifespan.
Lastly, cleaning your AirPods contributes to their aesthetic appeal. Earwax build-up can make your AirPods appear dirty and unattractive. By cleaning them regularly, you can keep them looking brand new and ensure that they make a positive impression.
Overall, cleaning your AirPods is essential for optimal sound quality, hygiene, functionality, and appearance. Now that we understand the importance of maintaining clean AirPods, let’s explore the tools you’ll need to get started!
What You’ll Need
Before you begin cleaning your AirPods, it’s important to gather the necessary supplies. Here’s a list of items you’ll need:
- Clean, lint-free cloth: Choose a soft cloth, such as a microfiber cloth or lens cleaning cloth, to wipe down the exterior surfaces of your AirPods.
- Cotton swabs or q-tips: These will be useful for reaching small crevices and cleaning hard-to-reach areas of your AirPods.
- Isopropyl alcohol: This solution is effective for removing stubborn earwax and disinfecting your AirPods. Opt for at least 70% isopropyl alcohol.
- Soap and water: Mild dish soap and water can be used to clean the silicone or plastic components of your AirPods.
- Toothbrush: A soft-bristled toothbrush can be used to gently scrub away dirt and grime from the mesh openings of your AirPods.
It’s important to note that while isopropyl alcohol is safe for cleaning AirPods, you should avoid using water or submerging your AirPods in any liquid to prevent damage to the internal components.
Once you have gathered these items, you are ready to start cleaning your AirPods. Make sure you have a clean and clutter-free workspace to work on, ensuring that you don’t lose any small parts in the process.
Now that you have all the necessary supplies, let’s move on to the step-by-step guide on how to clean your AirPods!
Step-by-step Guide on Cleaning Your AirPods
Follow these simple steps to effectively clean your AirPods:
- Start by unplugging and turning off your AirPods: This ensures that you can safely clean them without the risk of damage.
- Use a dry, clean cloth to wipe down the exteriors of your AirPods: Gently remove any dirt or debris. Be sure to pay attention to the area around the charging port and the microphone.
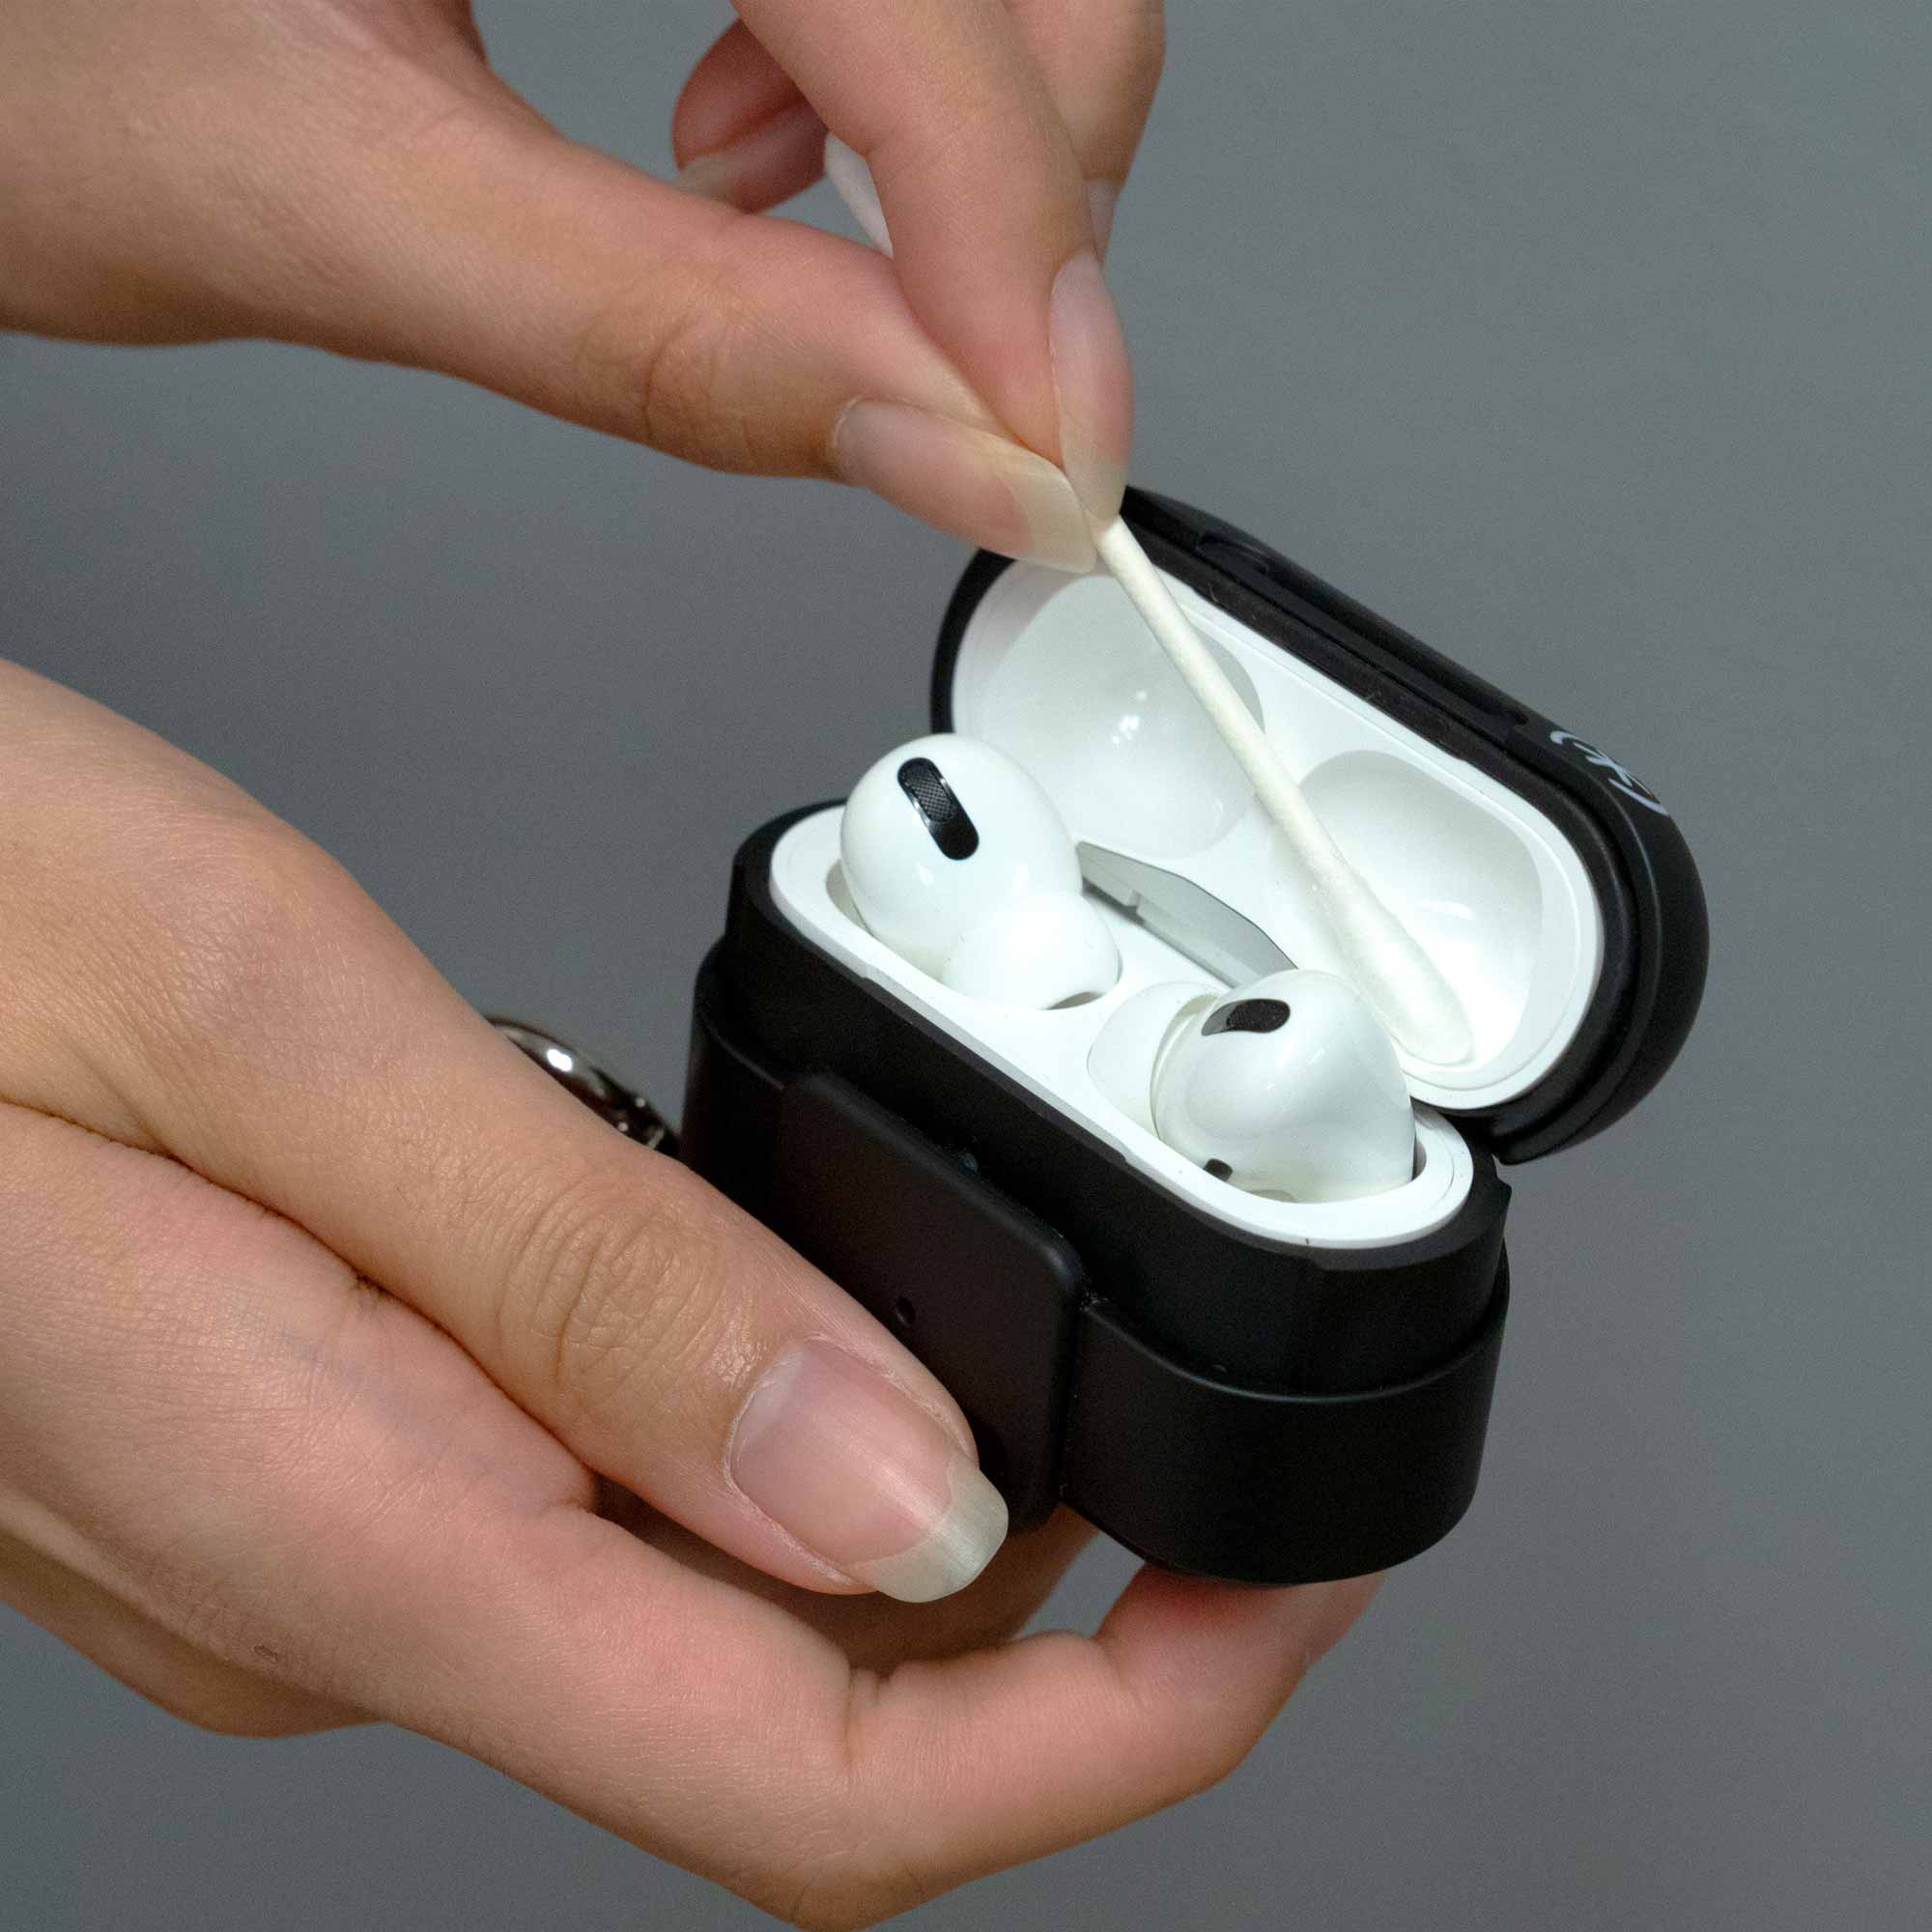
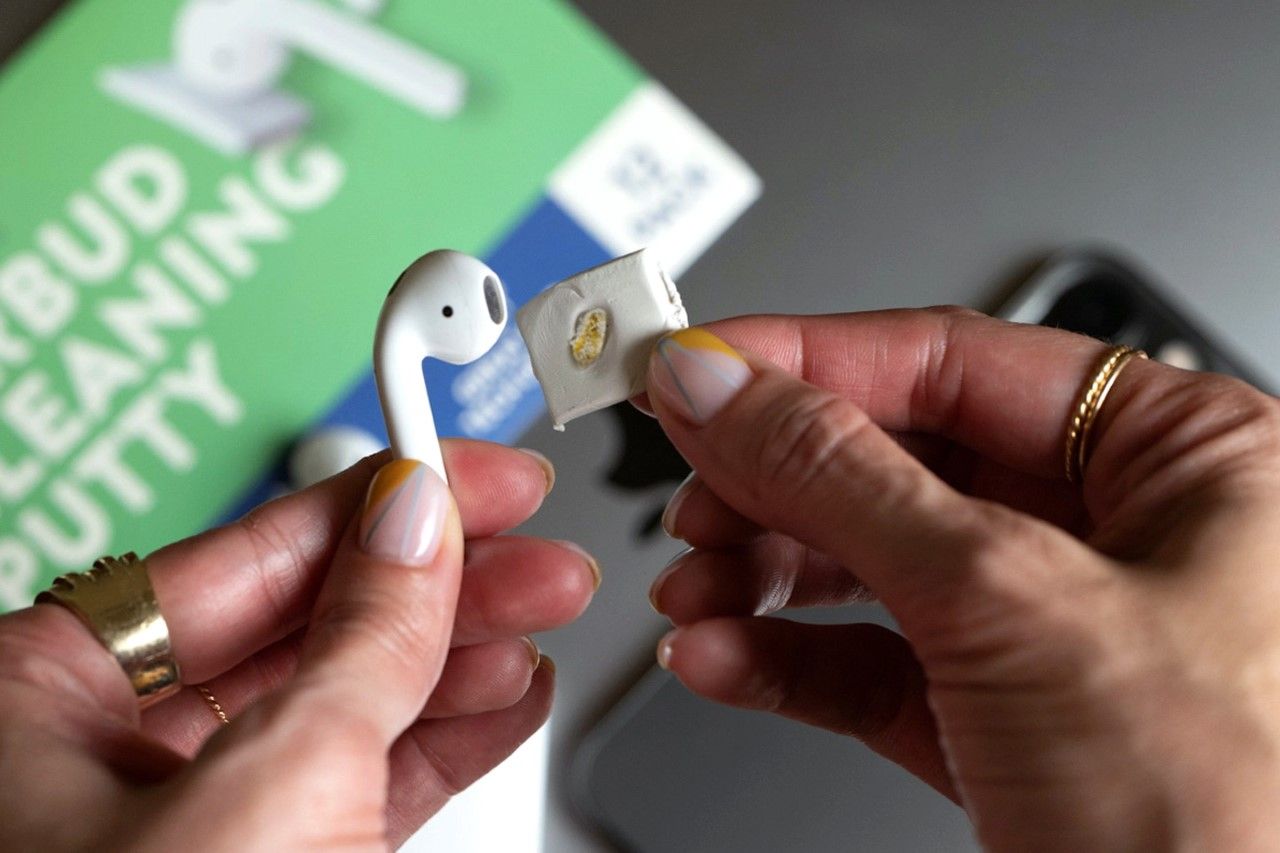
- Take a cotton swab or q-tip and dip it in isopropyl alcohol: Make sure the cotton tip is damp, not dripping wet.
- Carefully clean the mesh openings of your AirPods: Use the alcohol-dampened cotton swab to gently clean the speaker mesh and microphone mesh. Be cautious not to apply excessive pressure or push the earwax further into the openings.
- For the glossy plastic components of the AirPods, use a soft cloth dampened with water and mild soap: Gently wipe down the surfaces to remove any fingerprints, smudges, or dirt.
- Rinse the cloth and wipe away any soap residue.
- Using a toothbrush, gently scrub the mesh openings: This helps to dislodge any stubborn debris or wax. Be gentle and ensure that the bristles of the toothbrush are soft to avoid scratching the surface of your AirPods.
- Once you have completed the above steps, allow your AirPods to air dry completely before placing them back in the charging case or using them again.
It’s important to note that you should never use sharp or abrasive tools to clean your AirPods, as they can cause permanent damage. Additionally, avoid using excessive moisture or submerging your AirPods in water.
By following these steps, you can keep your AirPods clean and maintain their optimal performance. Now that your AirPods are sparkling clean, let’s move on to cleaning the AirPods case!
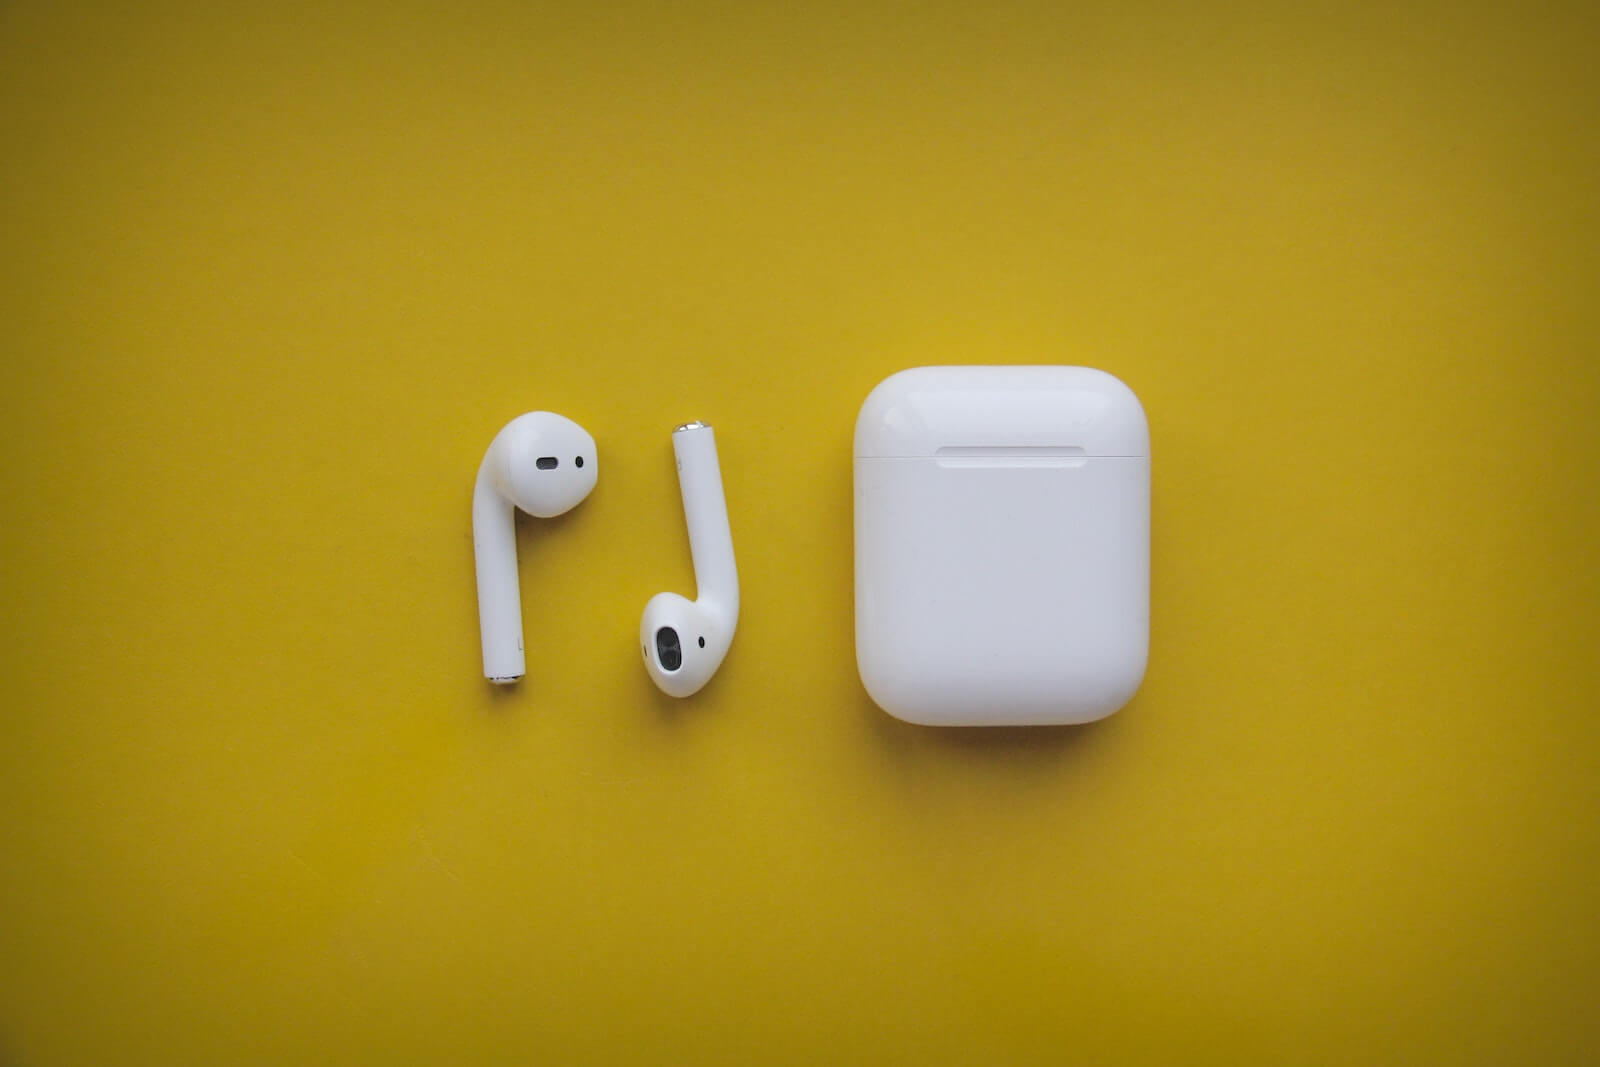
Cleaning the AirPods Case
Just like your AirPods, the case also requires regular cleaning to ensure proper functionality and hygiene. Follow these steps to clean your AirPods case:
- Start by unplugging the charging cable from the case and turning it off.
- Use a dry, clean cloth to wipe down the exterior of the case: Pay attention to the hinge area and any dirt or debris that may have accumulated on the surface.
- Dampen a cloth or cotton swab with isopropyl alcohol: Gently clean the interior and exterior of the case, focusing on the charging port and any other hard-to-reach areas.
- For stubborn dirt or debris, use a toothbrush with soft bristles: Gently scrub the surface of the case to dislodge any particles. Be cautious around the hinge area to prevent any damage.
- If your AirPods case has a fabric lining, use a cloth dampened with mild soap and water: Gently wipe down the fabric to remove any stains or dirt.
- Rinse the cloth and wipe away any soap residue from the case.
- Allow the case to air dry completely before placing your AirPods back inside.
Remember to avoid using excessive moisture or submerging the case in water, as this can damage the internal components. Additionally, never use harsh chemicals or abrasive cleaners.
By regularly cleaning your AirPods case, you can ensure that it remains in top condition and provides a clean and safe environment for your AirPods. Now that you know how to clean both the AirPods and the case, let’s move on to some tips and tricks for preventing earwax build-up.
Tips and Tricks for Preventing Earwax Build-up
Preventing earwax build-up on your AirPods can help maintain their cleanliness and functionality. Here are some helpful tips to keep in mind:
- Practice good ear hygiene: Regularly clean your ears using gentle methods. Avoid using cotton swabs or other objects that can push earwax further into the ear canal, which can increase the chances of it transferring onto your AirPods.
- Remove your AirPods before applying skincare or hair products: Lotions, creams, and oils can attract dust and debris, leading to clogged mesh openings. Take off your AirPods when applying these products to minimize the accumulation of residue on the earbuds.
- Avoid using your AirPods in dusty or dirty environments: Dust and dirt can easily settle on the surface of your AirPods and find their way into the mesh openings. Be mindful of where you use your AirPods to reduce the risk of build-up.
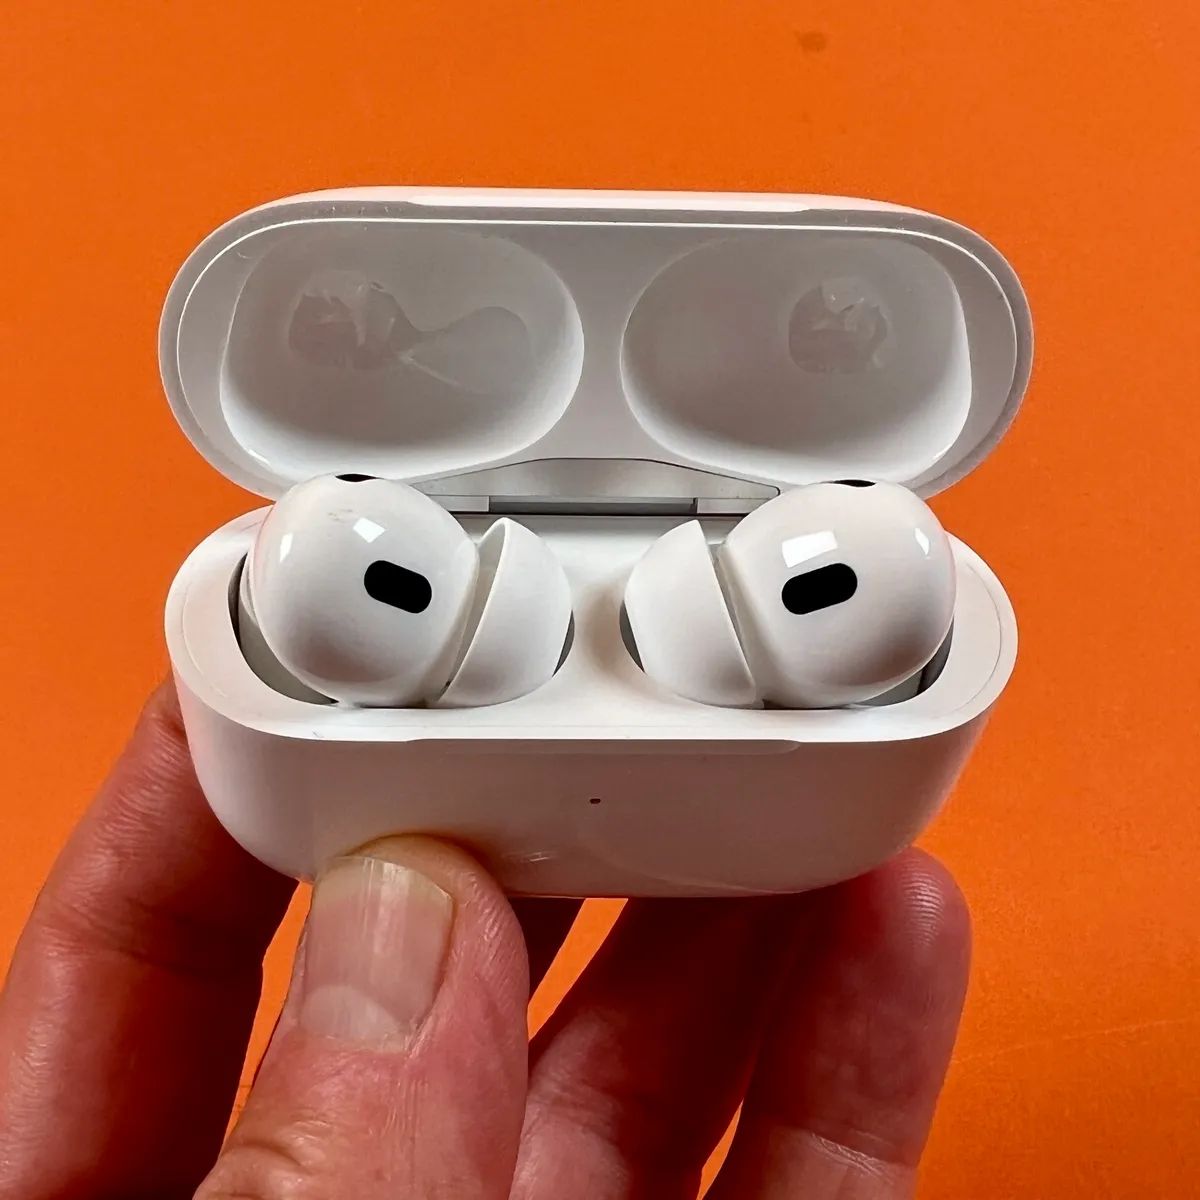
- Store your AirPods in a clean and secure case: When you’re not using your AirPods, place them in their case. This helps protect them from outside elements that could contribute to earwax build-up.
- Regularly inspect and clean your AirPods: Take a closer look at your AirPods to check for any signs of earwax build-up. If you notice any, follow the cleaning guide provided earlier in this article to remove the debris.
- Consider using earbud covers or sleeves: These accessories can help prevent earwax from directly accumulating on the AirPods themselves. They act as a barrier between your ears and the earbuds, reducing the chances of build-up.
- Take breaks and clean your AirPods after workouts: When you exercise, you may sweat, and sweat can potentially make its way into the mesh openings. After your workout, wipe down your AirPods to remove any moisture and keep them clean.
- Replace the mesh caps if needed: If the mesh openings of your AirPods become damaged or severely clogged, consider contacting Apple support or an authorized service provider to inquire about replacing the mesh caps.
By incorporating these tips into your routine, you can minimize the risk of earwax build-up on your AirPods and maintain their cleanliness and optimal performance.
Now that you have learned how to clean your AirPods, the case, and prevent earwax build-up, you are equipped with the knowledge to keep your AirPods in top shape. Regular maintenance and cleaning will not only extend the life of your AirPods but also ensure that you enjoy the best possible audio experience. So, go ahead and enjoy your clean and well-maintained AirPods!
Conclusion
Keeping your AirPods clean is essential for maintaining optimal sound quality, hygiene, and overall functionality. Regularly removing earwax and debris from your AirPods and their charging case not only enhances your listening experience but also helps to prevent potential damage and bacterial growth.
In this comprehensive guide, we have provided you with a step-by-step process to effectively clean your AirPods. We have also shared tips and tricks for preventing earwax build-up, ensuring that your AirPods stay in pristine condition for longer.
Remember to gather the necessary supplies, such as a clean cloth, cotton swabs, isopropyl alcohol, soap and water, and a soft toothbrush. Follow the step-by-step guide to clean your AirPods and the charging case, being cautious not to use harsh chemicals or abrasive tools.
Additionally, incorporating good ear hygiene practices, removing your AirPods during skincare or hair product application, and storing them in a clean case can help prevent earwax build-up on your AirPods. Taking breaks and cleaning your AirPods after workouts and considering the use of earbud covers or sleeves are also important preventive measures.
By following these cleaning tips and preventive measures, you can prolong the life of your AirPods and maintain their optimal performance. So, take the time to clean your AirPods regularly, and enjoy crystal-clear sound and a pristine listening experience!