How to Fix Common AirPods Issues
If you’re experiencing issues with your AirPods, you’re not alone. While these wireless earphones are known for their convenience and high-quality sound, occasional problems can arise. From connectivity issues to audio glitches, here are some troubleshooting steps to help you fix common AirPods issues.
1. Checking AirPods Battery
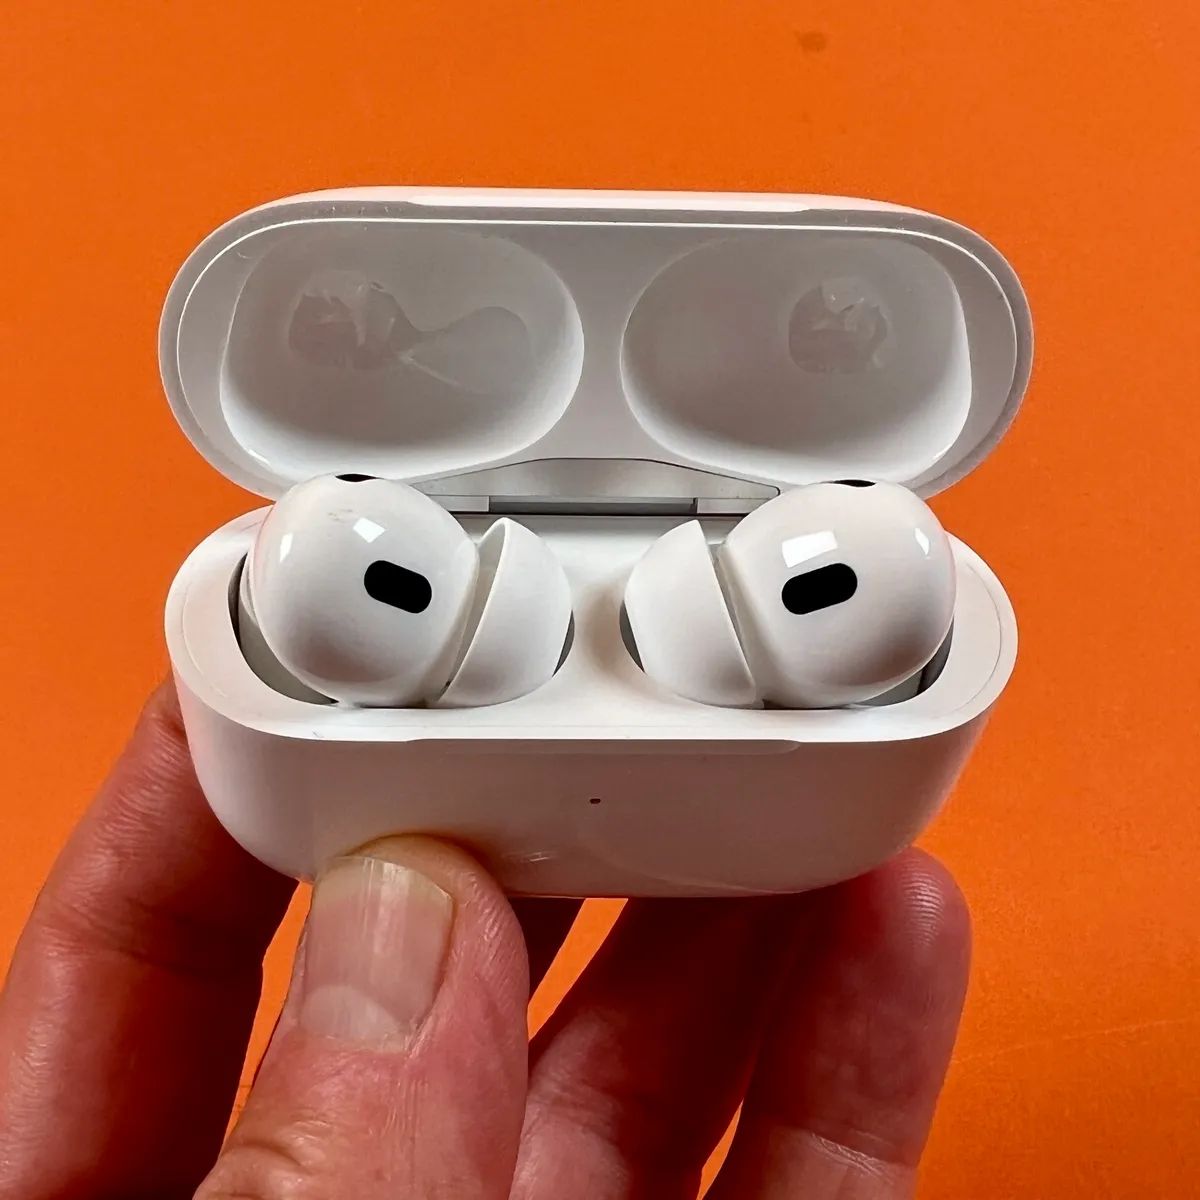
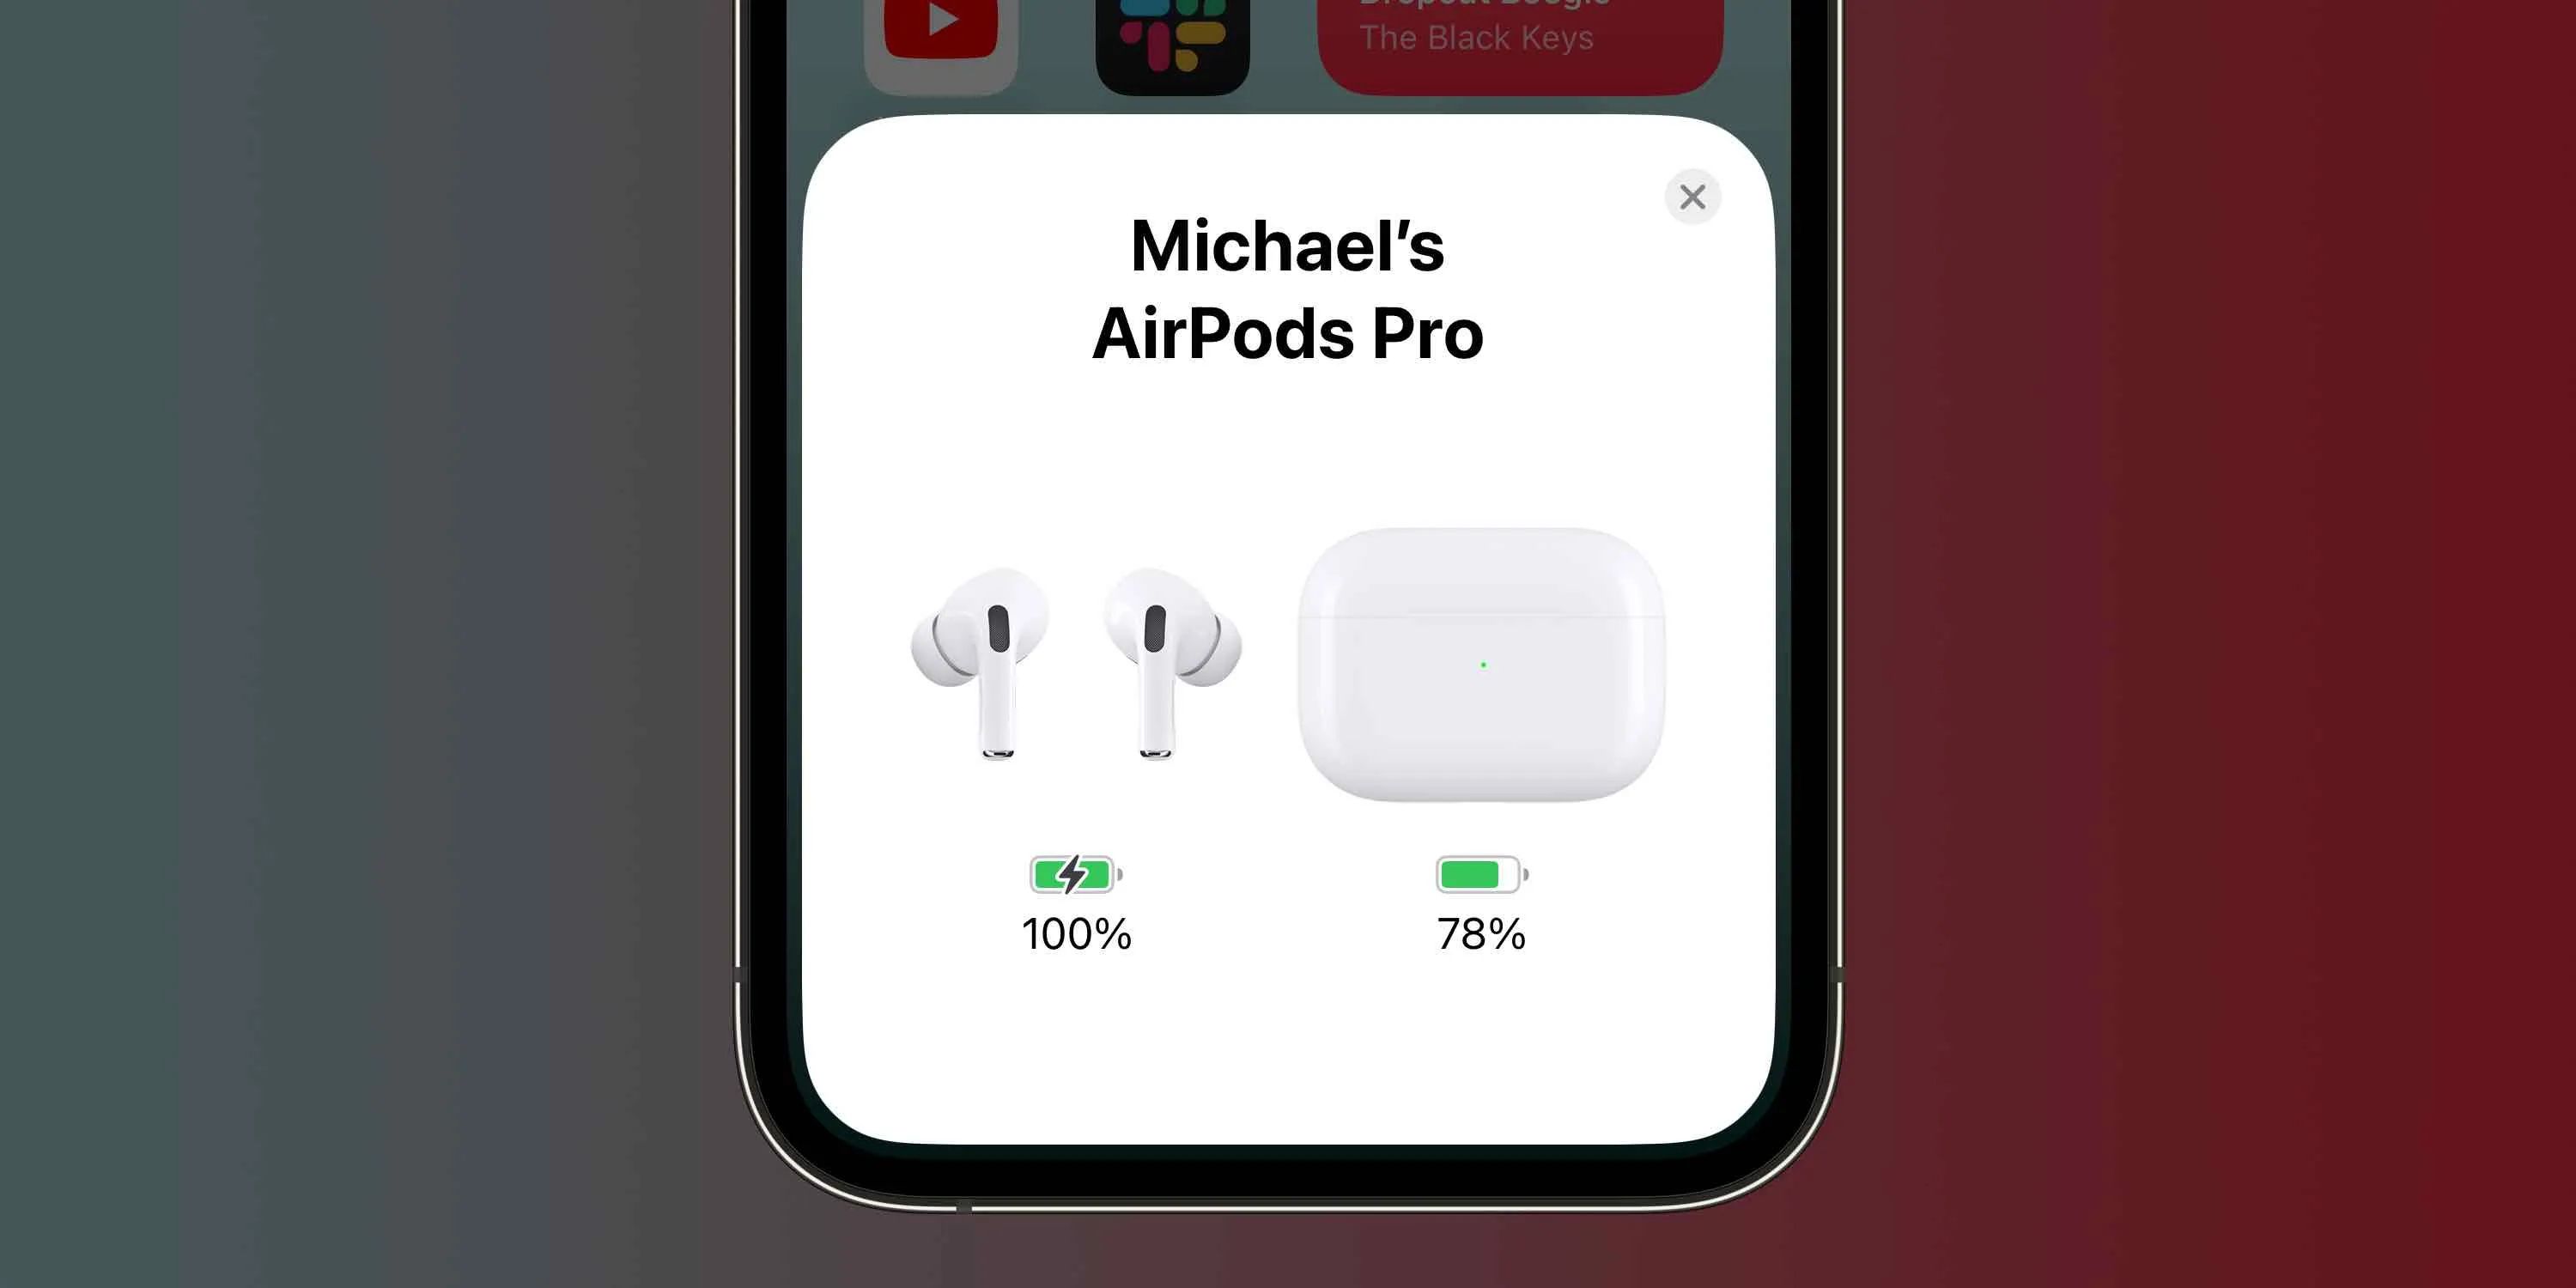
One of the most common issues is a drained battery. Before troubleshooting any other problem, make sure your AirPods have enough charge. To check the battery level, open the AirPods case near your iPhone or iPad and the battery status will be displayed on the screen.
2. Resetting AirPods
If your AirPods are still not working properly, try resetting them. Simply put your AirPods back in the charging case, close the lid, and wait for about 30 seconds. Then, open the lid and press and hold the button on the back of the case until the LED light on the front starts flashing white.
3. Ensuring Bluetooth Connectivity
In order for your AirPods to work, they need to be connected to your device via Bluetooth. Check if Bluetooth is turned on and make sure your AirPods are paired with your device. If they’re already paired, try forgetting the device and then re-pairing them.
4. Cleaning and Maintaining AirPods
Dirt and debris can interfere with the functionality of your AirPods. Use a soft, lint-free cloth to clean the earbuds and the case, making sure to remove any dirt or wax buildup. Avoid using water or cleaning agents, as they can damage the electronics.
5. Updating Software and Firmware
Outdated software and firmware can cause compatibility issues with your AirPods. Ensure that your iPhone, iPad, or other compatible device has the latest software updates installed. You can check for updates in the device’s Settings menu.
6. Adjusting Audio Settings
If you’re experiencing imbalanced sound or poor audio quality, you can adjust the audio settings on your device. Go to the Settings menu, select “Bluetooth,” and then tap the “i” icon next to your AirPods. From there, you can adjust the audio balance and enable/disable features like Automatic Ear Detection.
7. Troubleshooting Audio Issues
If you’re hearing distorted sound or no sound at all, there are a few things you can try. First, make sure the audio source is working properly by testing it with another device. If the issue persists, try disconnecting and reconnecting your AirPods or restarting your device.
8. Contacting Apple Support
If none of the above steps resolve your AirPods issues, it’s time to reach out to Apple Support. They have a dedicated team to assist you with troubleshooting and finding a solution to any persistent problems you’re experiencing with your AirPods.
Checking AirPods Battery
One of the most common issues that AirPods users encounter is a drained battery. If your AirPods are not working, the first thing you should do is check the battery level. Here’s how:
Open the AirPods case near your iPhone or iPad. The battery status will be displayed on the device’s screen. You can also check the battery level through the Batteries widget on your iOS device’s home screen.
If the battery level is low, you need to charge your AirPods. Place the earphones back in the charging case and connect the case to a power source using the Lightning cable. Allow the AirPods to charge for at least 15-20 minutes before attempting to use them again.
It’s worth noting that the AirPods case itself has its own battery. So, if both your AirPods and case are not working, make sure to charge the case as well.
If you find that your AirPods are not holding a charge for as long as they used to, it may be a sign that the battery is degrading. Over time, the battery capacity of AirPods can diminish, leading to reduced usage time. If this is the case, you may need to consider replacing the batteries or getting a new set of AirPods.
Additionally, it’s essential to make sure that the charging case is properly closed when not in use. This will help preserve the battery life of both the AirPods and the case.
By regularly monitoring the battery level of your AirPods and charging them when needed, you can ensure that your wireless earphones are always ready for use. Remember, a fully charged battery is crucial for the optimal performance of your AirPods.
Resetting AirPods
If your AirPods are not working as expected, performing a reset can often resolve the issue. Resetting your AirPods essentially clears any existing settings and reconnects them to your device. Here’s how to reset your AirPods:
1. Place both AirPods in the charging case and close the lid.
2. Wait for about 30 seconds to ensure that the AirPods have completely powered off.
3. Open the lid of the charging case.
4. Press and hold the button on the back of the case until the LED light on the front starts flashing white.
5. Release the button and the AirPods will be reset.
After resetting your AirPods, you will need to pair them again with your device. To do this:
1. Go to the Bluetooth settings on your device.
2. Locate your AirPods in the list of available devices.
3. Tap on your AirPods to complete the pairing process.
Keep in mind that resetting your AirPods will remove any customizations you have made to the settings, such as changing the name of your AirPods or adjusting the double-tap function. However, it may help resolve connectivity and audio issues that you may be experiencing.
If resetting your AirPods doesn’t solve the problem, you may want to try resetting the network settings on your iPhone, iPad, or other paired devices. This can help eliminate any potential Bluetooth connectivity issues that may be affecting your AirPods.
By performing a reset, you can often troubleshoot common problems with your AirPods and get them back to working properly. The process is quick and easy to do, so it’s worth trying before seeking further assistance.
Ensuring Bluetooth Connectivity
If your AirPods are not working, one of the first things to check is the Bluetooth connectivity. Without a proper connection to your device, your AirPods cannot function as intended. Here are some steps to ensure Bluetooth connectivity:
1. Make sure Bluetooth is turned on: Open the Settings menu on your iPhone, iPad, or other compatible device and go to Bluetooth. Ensure that the Bluetooth toggle is switched on, indicating that Bluetooth is active.
2. Check AirPods pairing: Verify that your AirPods are properly paired with your device. Open the Bluetooth settings and look for your AirPods in the list of available devices. If they are not listed, you may need to pair them by pressing and holding the button on the back of the AirPods case until the LED light starts flashing white.
3. Forget and re-pair: If your AirPods were previously paired but are not working, try forgetting the device and then re-pairing them. In the Bluetooth settings, tap on the “i” icon next to your AirPods, and select “Forget This Device.” Afterward, put your AirPods back in the case, close the lid, and re-pair them by opening the lid and following the pairing instructions.
4. Remove interference: Ensure that there are no obstacles or interference between your device and the AirPods. Objects like walls or other electronic devices can weaken the Bluetooth signal. Try to keep your device and AirPods in close proximity for a better connection.
5. Restart your device: Sometimes, a simple restart of your iPhone, iPad, or other compatible device can help resolve connectivity issues. Turn off your device, wait a few seconds, and then power it back on. After starting up, try connecting your AirPods again.
6. Update device software: Check if there are any software updates available for your device. Outdated software can sometimes cause Bluetooth connectivity problems. Update your device’s software to the latest version to ensure compatibility with your AirPods.
By following these steps, you can ensure that your AirPods have a stable and reliable Bluetooth connection to your device. If connectivity issues persist, there may be a hardware or software problem, in which case you may need to contact Apple support for further assistance.
Cleaning and Maintaining AirPods
Regular cleaning and maintenance of your AirPods is essential to ensure their optimal performance and longevity. Over time, dirt, debris, and earwax can accumulate on the earbuds and inside the charging case, impacting the sound quality and functionality. Here are some tips on how to clean and maintain your AirPods:
1. Use a soft, lint-free cloth: Gently wipe the exterior of the AirPods and the charging case with a soft, lint-free cloth. This will help remove any dust or dirt that may have accumulated. Avoid using abrasive materials, as they can scratch the surfaces of your AirPods.
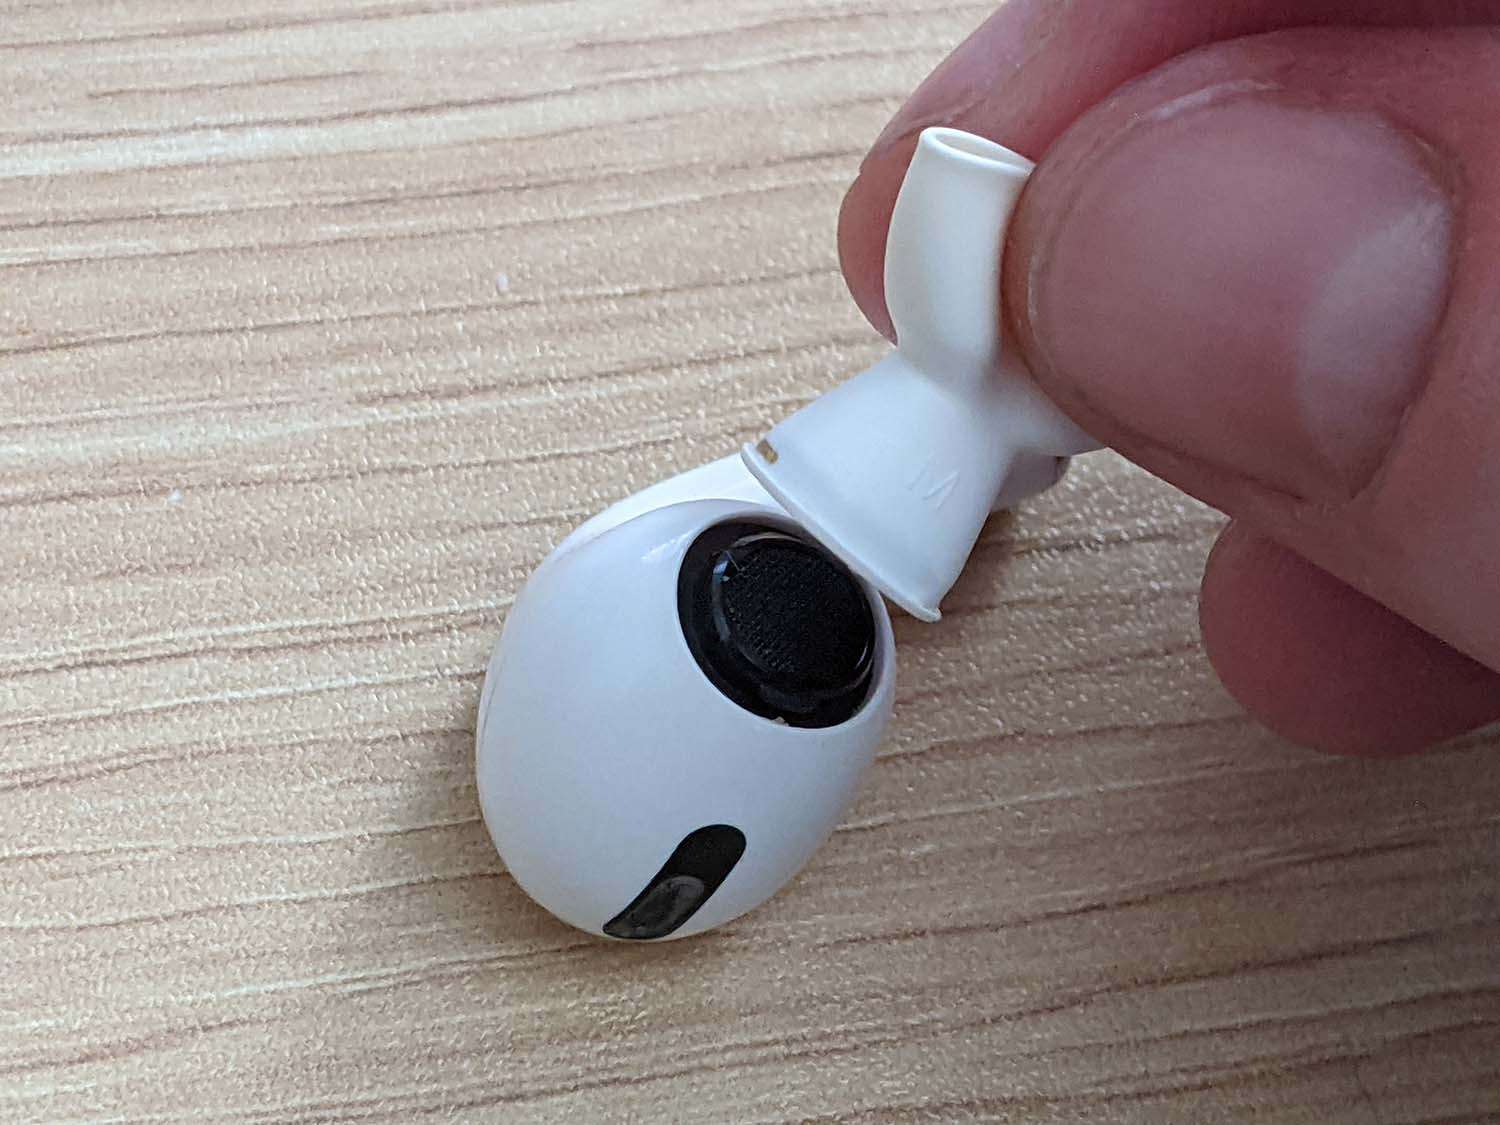
2. Clean the earbuds: Use a soft, dry toothbrush or a clean, dry cotton swab to carefully clean the speaker grilles of the AirPods. Be gentle to avoid pushing any debris further into the earbuds. Avoid using liquids or cleaning agents, as they can damage the electronics.
3. Remove earwax: If there’s visible earwax buildup on the earbuds, you can use a slightly dampened cloth or a cotton swab moistened with water to carefully clean it. Again, be gentle and avoid getting any liquid into the openings of the AirPods.
4. Clean the charging case: Wipe the inside and outside of the charging case with a cloth or a cotton swab. Pay attention to the charging contacts and the magnetic connector, as these areas can collect debris over time. Ensure that the case’s lid is closed when not in use to prevent dust or dirt from entering.
5. Avoid moisture and extreme temperatures: AirPods are not waterproof or water-resistant, so it’s important to keep them away from water and moisture. Avoid exposing them to excessive heat or cold, as extreme temperatures can damage the battery and other components.
By keeping your AirPods clean and well-maintained, you can enhance their longevity and ensure that they continue to provide you with optimal sound quality. Regularly cleaning your AirPods will also help prevent any potential hygiene issues associated with using earbuds.
Remember to consult the Apple Support website for specific cleaning instructions or contact Apple Support if you encounter any persistent issues with your AirPods that cannot be resolved through cleaning or basic troubleshooting.
Updating Software and Firmware
Keeping your AirPods’ software and firmware up to date is crucial for optimal performance. Apple regularly releases updates that address bugs, improve connectivity, and introduce new features. Here’s how to update the software and firmware of your AirPods:
1. Update the device software: Before updating the AirPods firmware, make sure your iPhone, iPad, or other compatible device is running the latest software version. To do this, go to the Settings menu, select “General,” and then “Software Update.” If an update is available, follow the on-screen instructions to download and install it.
2. Automatic updates: By default, your iPhone or iPad automatically checks for and installs updates for your AirPods. However, you can manually check for updates by opening the Bluetooth settings menu, selecting your AirPods, and tapping on the “i” icon next to them. If an update is available, follow the prompts to install it.
3. Reset AirPods if necessary: In some cases, updating the software may not resolve persistent issues with your AirPods. If this happens, you can try resetting your AirPods as mentioned in the previous section. After the reset, check for updates again and install them if available.
Updating your AirPods’ firmware can improve connectivity, audio quality, and overall performance. It’s recommended to keep your AirPods and device software up to date to ensure compatibility and the best user experience.
It’s worth noting that AirPods firmware updates are typically installed automatically when your AirPods are connected to your device and charging in their case. Therefore, it’s essential to keep your AirPods case charged to allow firmware updates to be carried out seamlessly.
If you encounter any issues while updating the software or firmware, ensure that your AirPods are fully charged and connected to your device. If the problem persists, try restarting your device and reconnecting your AirPods before attempting another update.
By regularly updating your AirPods’ software and firmware, you can take advantage of the latest enhancements and improvements, ensuring that your AirPods deliver the best audio experience possible.
Adjusting Audio Settings
If you’re experiencing imbalanced sound, poor audio quality, or other audio-related issues with your AirPods, adjusting the audio settings on your device can often help resolve these problems. Here are a few adjustments you can make:
1. Balance and Volume: On your iOS device, you can adjust the balance between the left and right audio channels under the Accessibility settings. Go to Settings, then Accessibility, then Audio/Visual, and finally, Balance. Slide the toggle to adjust the balance according to your preference. Additionally, ensure that the volume is set to an appropriate level for a better audio experience.
2. Equalizer Settings: Many iOS devices offer a built-in equalizer feature that allows you to enhance or modify the sound output. To access the equalizer settings, go to Settings, then Music, and under Playback, tap EQ. Experiment with the different presets or create a custom EQ profile to find the sound profile that suits your preferences and improves the audio quality of your AirPods.
3. Automatic Ear Detection: AirPods come with a feature called Automatic Ear Detection, which plays audio automatically when you put the earbuds in your ears and pauses playback when you take them out. To enable or disable this feature, go to the Bluetooth settings on your device, tap the “i” icon next to your AirPods, and toggle the Automatic Ear Detection setting on or off.
4. Microphone Settings: If you’re using the AirPods for calls or voice recordings, check the microphone settings on your device. Make sure the microphone is enabled and set to the appropriate input source, either the AirPods or the device’s built-in microphone. You can adjust these settings in the Bluetooth menu or the Settings app, depending on your device’s operating system.
5. Auditory Accommodations: For individuals with hearing impairments, Apple provides auditory accommodations to enhance sound quality. Under the Accessibility settings on your device, you’ll find features like Live Listen, which uses the built-in microphone to amplify sound for those who may have difficulty hearing. Explore these options to tailor the audio experience to your specific needs.
By adjusting these audio settings, you can optimize the sound quality and customize the audio output of your AirPods according to your preferences. Experiment with different adjustments to find the settings that provide the best sound experience for you.
If issues persist even after adjusting the audio settings, try disconnecting and reconnecting your AirPods or restarting your device. If the problem continues, it’s recommended to contact Apple support for further assistance and troubleshooting.
Troubleshooting Audio Issues
If you’re experiencing audio issues with your AirPods, such as distorted sound, volume problems, or no sound at all, there are several troubleshooting steps you can take to resolve the problem. Here are some common audio issues and their potential solutions:
1. Check audio source: Ensure that the audio source, such as a music app or video, is working properly. Test the audio with another device or app to determine if the problem lies with the AirPods or the source itself.
2. Disconnect and reconnect: If you encounter audio issues, try disconnecting your AirPods from your device and then reconnecting them. This can help establish a fresh connection and resolve any temporary glitches in the Bluetooth connection.
3. Restart your device: Restarting your iPhone, iPad, or other compatible device can often resolve audio problems. Turn off your device, wait a few seconds, and then power it back on. After restarting, reconnect your AirPods to see if the audio issues have been resolved.
4. Adjust volume and balance: Ensure that the volume on your device is not set too low and that the volume level of your AirPods is appropriately adjusted. Additionally, if you’re experiencing imbalanced sound, you can adjust the balance between the left and right AirPods in the Accessibility settings of your device, as mentioned in the previous section.
5. Clean the earbuds: Build-up of dirt, wax, or debris on the earbuds can affect sound quality. Clean the speaker grilles and remove any visible earwax or debris using a soft, dry toothbrush or a clean, dry cotton swab. Be gentle and avoid pushing debris further into the earbuds.
6. Update firmware and software: Ensure that both your AirPods and your device have the latest firmware and software updates installed. Outdated software can sometimes cause audio issues. Check for updates in the device’s settings and install any available updates for both your device and AirPods.
7. Reset and re-pair: If none of the above steps resolve the audio issues, you can try resetting your AirPods, as mentioned in a previous section. After resetting, reconnect the AirPods to your device and check if the audio problems have been resolved.
If you continue to experience audio issues with your AirPods after trying these troubleshooting steps, it is recommended to contact Apple support for further assistance. They have dedicated support teams who can provide additional guidance and solutions to resolve persistent audio problems.
Contacting Apple Support
If you have exhausted all troubleshooting options and are still experiencing issues with your AirPods, it may be time to reach out to Apple Support for further assistance. Apple’s customer support team is available to help resolve any persistent problems and provide valuable guidance. Here’s how you can contact Apple Support:
1. Online support: Visit the Apple Support website and navigate to the AirPods section. Here, you will find a wide range of resources, including troubleshooting guides, FAQs, and user forums. You can search for specific issues or browse through the available resources to find a solution to your problem.
2. Apple Support app: Download the official Apple Support app on your iOS device. This app provides a seamless interface for accessing support articles, scheduling calls or chat sessions with a support representative, and even booking appointments at an Apple Store or authorized service center for in-person assistance.
3. Call or chat: If you prefer to speak with a support representative directly, you can contact Apple Support by phone or chat. Visit the Apple Support website and select the “Contact Support” option to initiate a support request. You will be given the option to either schedule a call or start a chat session with a support representative. Be prepared to provide details about the issues you’re experiencing and any troubleshooting steps you have already taken.
Apple’s support team is known for their expertise and willingness to assist customers with their AirPods issues. They can help diagnose and troubleshoot complex problems, provide software updates, and even guide you through warranty or repair processes if required.
Before reaching out to Apple Support, make sure to have the following information ready:
- Serial number of your AirPods
- Information about your device (e.g., iPhone model, iOS version)
- Description of the issue and any relevant troubleshooting steps you have already taken
- Proof of purchase (if needed for warranty or repair inquiries)
Remember to document any error messages or specific details about the issues you’re experiencing. This will help the support representative better understand your problem and provide a more accurate solution.
By contacting Apple Support, you can get the expert help you need to resolve any persistent issues with your AirPods and ensure that you can fully enjoy the functionalities of these wireless earphones.