Introduction
Welcome to our guide on how to change ear tips on AirPods Pro. If you’re an AirPods Pro owner, you probably already appreciate the convenience and superior sound quality they offer. However, to truly enjoy the best audio experience and ensure a comfortable fit, it’s important to use the right size of ear tips.
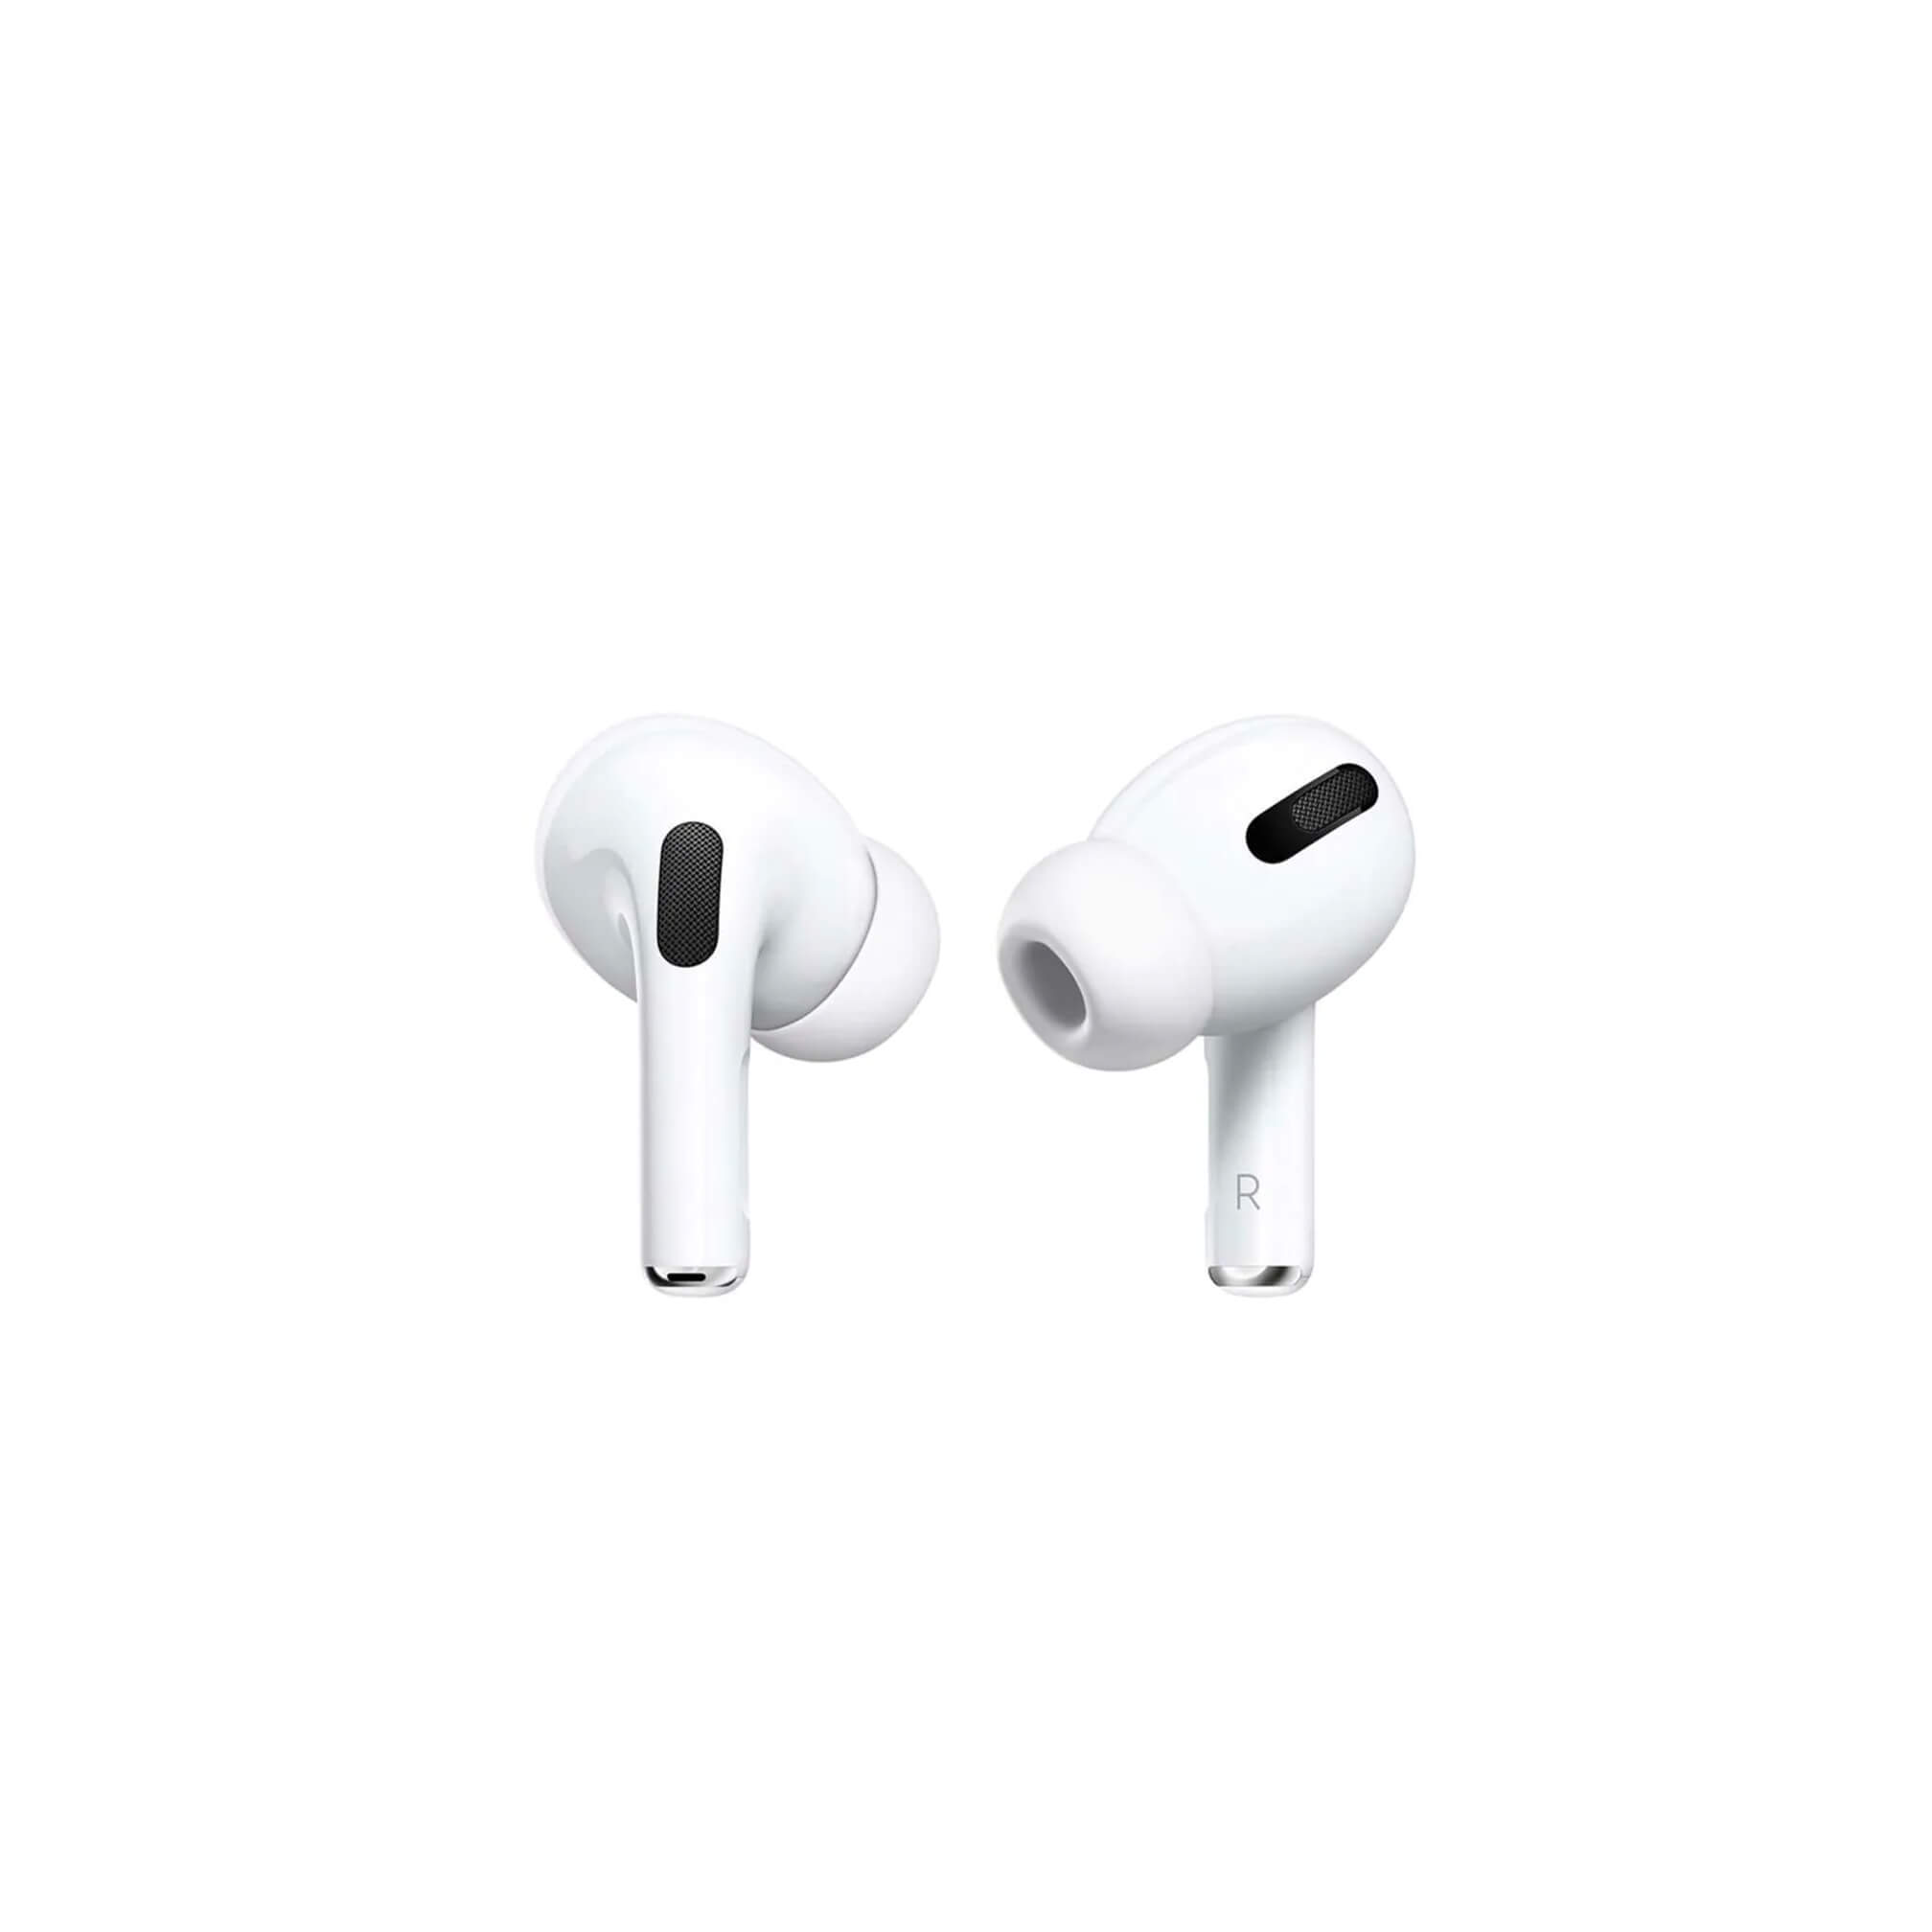
Ear tips play a crucial role in providing a secure and comfortable fit for your AirPods Pro. They help to create a seal in your ear canal, enhancing the sound quality by minimizing external noise and preventing the earbuds from falling out. Over time, you may find that the original ear tips don’t fit as well as they used to, or you might want to experiment with different sizes for a better fit.
In this guide, we will walk you through the step-by-step process of changing the ear tips on your AirPods Pro. Whether you’re looking for a replacement pair or want to try out different sizes to find the perfect fit, we’ve got you covered. So let’s get started!
Why Change Ear Tips
Choosing the right ear tips for your AirPods Pro is essential for several reasons. Here are some key reasons why you might consider changing your ear tips:
- Improved Sound Quality: The right fit can significantly improve the overall sound quality of your AirPods Pro. When the ear tips create a proper seal in your ear canal, they help to block out external noise and deliver a more immersive audio experience. By changing to a size that fits your ears snugly, you can enjoy richer bass, clearer vocals, and more detailed sound reproduction.
- Enhanced Comfort: Ill-fitting ear tips can cause discomfort and make it challenging to wear your AirPods Pro for extended periods. If you experience discomfort or pain, it may be a sign that you need to change the ear tips. Finding the right size can provide a more comfortable fit, allowing you to enjoy your music or audio content without any distractions or discomfort.
- Secure Fit: A proper seal between the ear tip and your ear canal is vital for keeping your AirPods Pro securely in place. If your ear tips are too loose, the earbuds may not stay in your ears, especially during physical activities or workouts. Changing to a size that provides a secure fit can prevent the earbuds from falling out and ensure a more enjoyable and hassle-free listening experience.
- Hygiene and Maintenance: Over time, ear tips can accumulate dirt, sweat, and earwax, which can affect their performance and hygiene. By periodically changing your ear tips, you can maintain a clean and sanitary listening experience. This is especially important if you share your AirPods Pro with others or if you use them during workouts or outdoor activities.
Now that we understand the reasons why changing the ear tips is beneficial, let’s move on to the next section to learn what you’ll need for the process.
What You’ll Need
Before you start changing the ear tips on your AirPods Pro, make sure you have the following items ready:
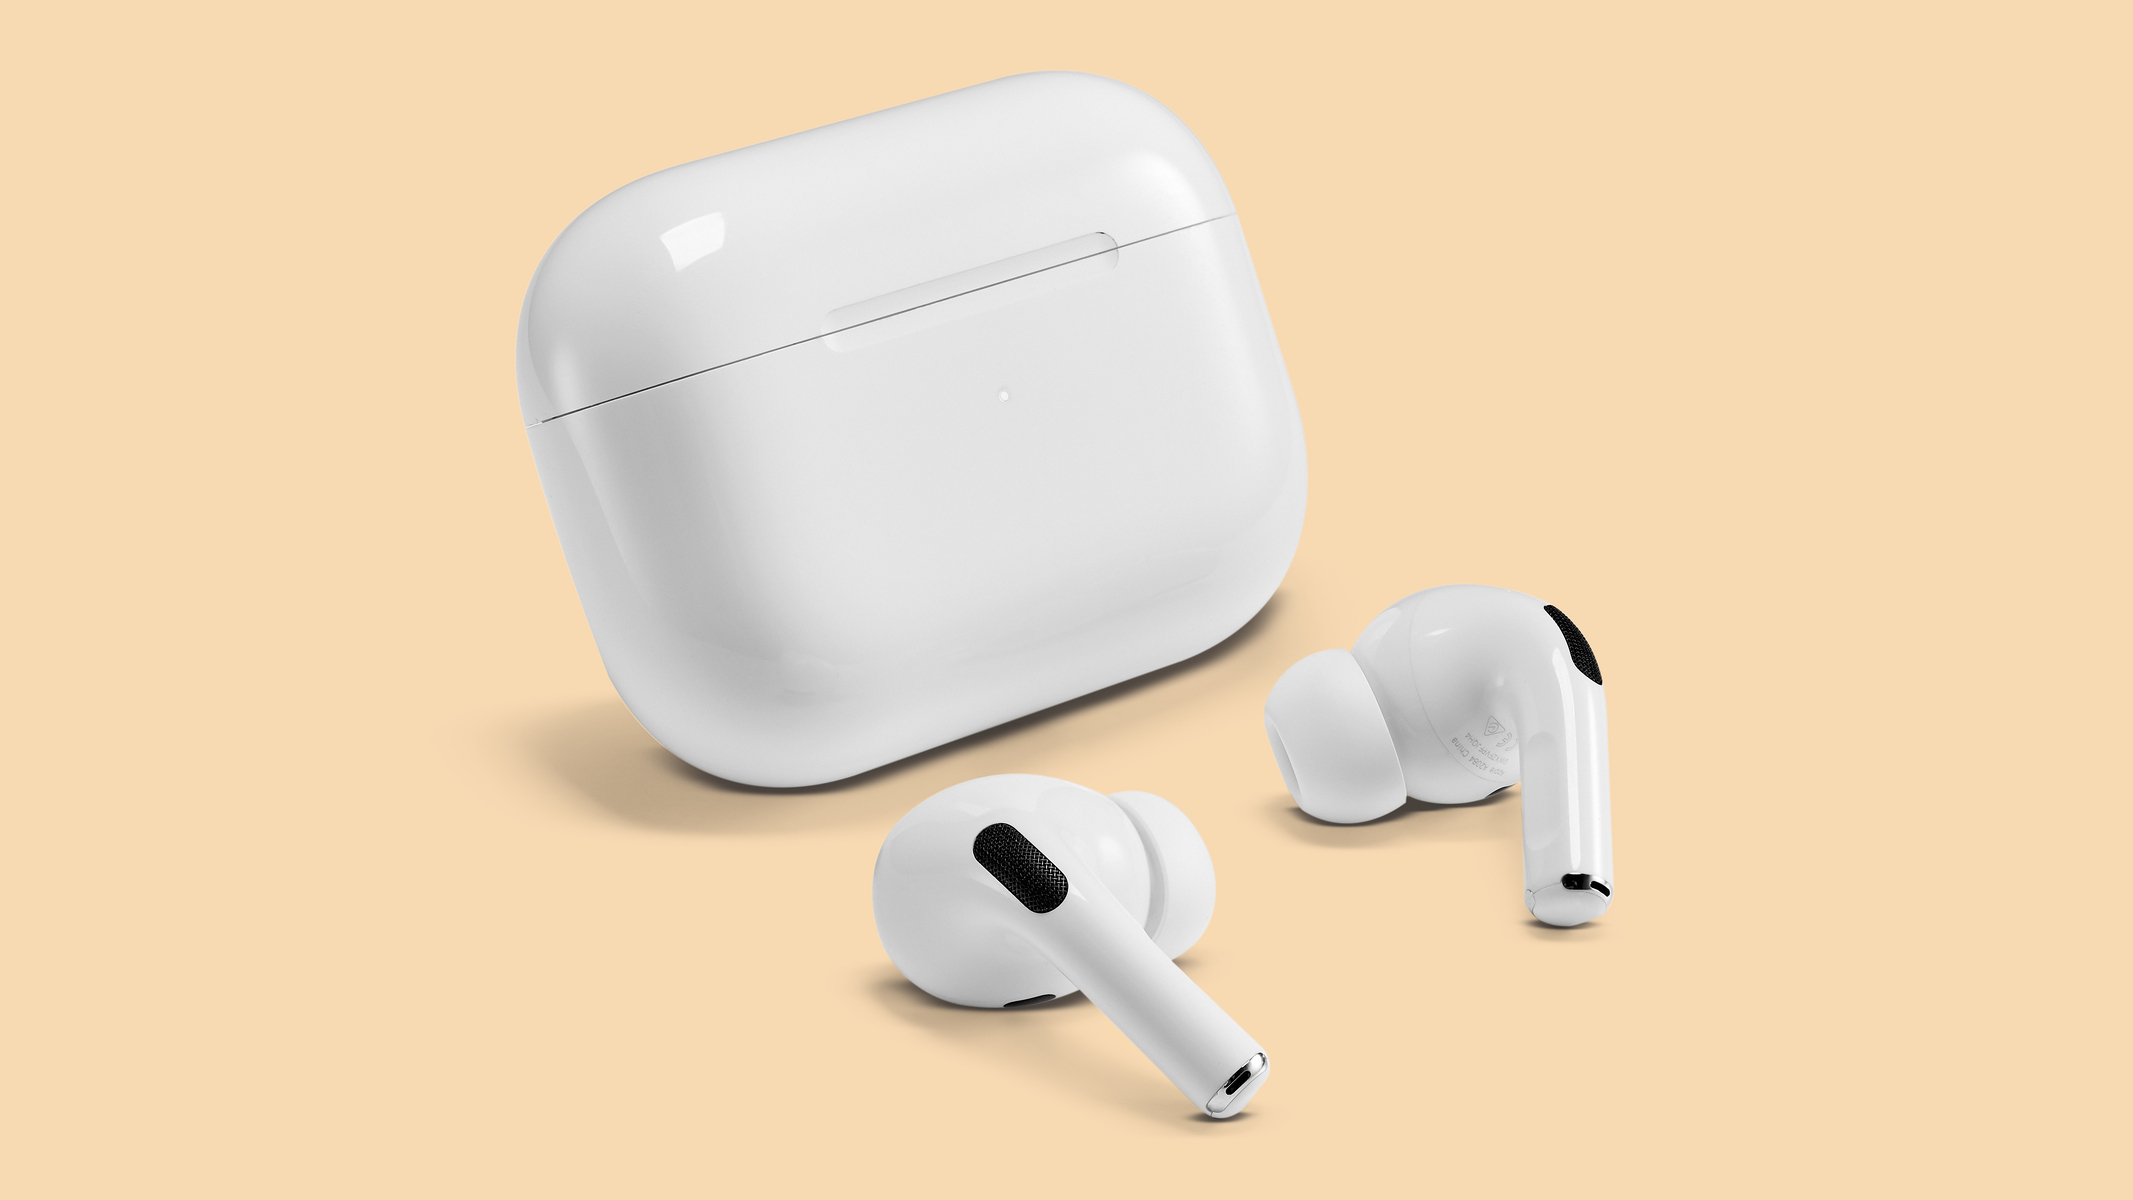
- AirPods Pro: Of course, you’ll need your AirPods Pro to change the ear tips. Ensure that your AirPods Pro are charged and ready for use.
- New Ear Tips: You will need replacement ear tips. Apple provides three different sizes of ear tips – small, medium, and large – with the AirPods Pro. However, if you need a different size or if your original ear tips are damaged or worn out, you may want to purchase a new set of ear tips.
- Clean Cloth: It’s always good to have a clean cloth handy. You can use it to wipe any dirt or debris from your AirPods Pro before and after changing the ear tips.
- Mild Soap or Alcohol Wipes (Optional): If your current ear tips are dirty or if you want to clean your AirPods Pro, you can use mild soap or alcohol wipes to gently clean the ear tips.
- Patience: Changing the ear tips on your AirPods Pro is a delicate process. Take your time and be patient to ensure that you don’t accidentally damage any part of your AirPods Pro.
Now that you have everything you need, let’s move on to the step-by-step process of changing the ear tips on your AirPods Pro.
Step 1: Remove the Existing Ear Tips
The first step in changing the ear tips on your AirPods Pro is to remove the existing ones. Here’s how you can do it:
- Hold the AirPods Pro: Take your AirPods Pro in your hand and hold them securely.
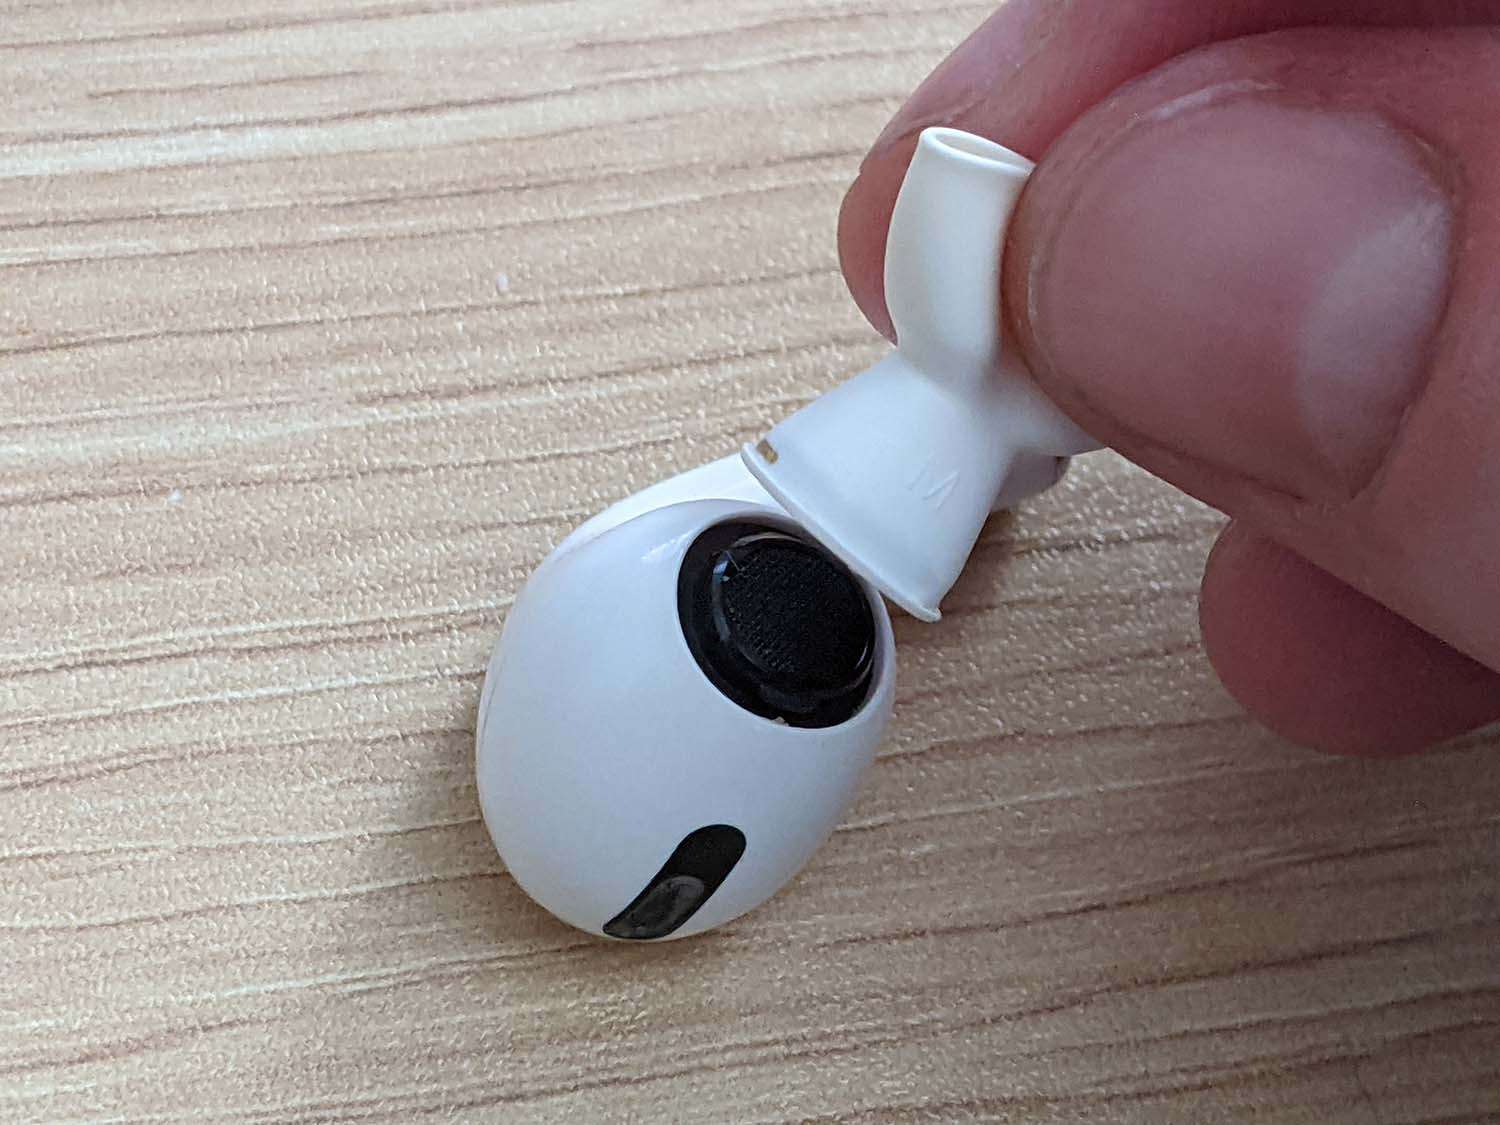
- Gently Pull the Ear Tip: Locate the ear tip on each AirPod and gently pull it away from the stem. Apply a steady and gentle pressure until the ear tip slides off.
- Repeat for the Other Ear: Perform the same process to remove the ear tip from the other AirPod.
- Inspect for Damage: Once the ear tips are removed, take a moment to inspect them for any damage or wear. If they are damaged or worn out, it’s time to replace them with new ones.
- Clean the AirPods Pro: Use a clean cloth to wipe away any dirt or debris from the AirPods Pro. This will help ensure a clean surface for attaching the new ear tips.
Now that you have successfully removed the existing ear tips from your AirPods Pro, you can proceed to the next step of choosing the right size for your ears.
Step 2: Choose the Right Size
Choosing the right size of ear tips is crucial to ensure a comfortable and secure fit for your AirPods Pro. Follow these steps to determine the correct size for your ears:
- Inspect the Ear Tips: Take a close look at the three different sizes of ear tips that came with your AirPods Pro – small, medium, and large. Each size is marked with a small letter on the inside of the ear tip.
- Start with Medium: Begin by trying out the medium-sized ear tips. These are the default size that comes pre-installed on your AirPods Pro. Insert them into your ears and see how they feel.
- Check the Fit: Pay attention to how the medium-sized ear tips fit in your ears. They should create a comfortable seal without being too loose or too tight. Listen to some audio content to evaluate the sound quality and comfort of the fit.
- Try Different Sizes: If the medium-sized ear tips don’t provide the desired fit or feel uncomfortable, remove them and try the small-sized ear tips. Repeat the process of checking the fit and comfort.
- Adjust as Needed: Experiment with each ear tip size until you find the one that fits your ears the best. Remember, everyone’s ears are unique, so what works for someone else may not work for you. Choose the size that offers both a secure fit and a comfortable listening experience.
Once you have determined the right size, you’re ready to move on to the next step of attaching the new ear tips to your AirPods Pro.
Step 3: Attach the New Ear Tips
Now that you have chosen the right size of ear tips for your AirPods Pro, it’s time to attach the new ones. Follow these steps to securely attach the new ear tips:
- Hold the AirPods Pro: Take your AirPods Pro in your hand and hold them securely.
- Align the Ear Tip: Take one of the new ear tips and align it with the stem of the AirPod. Ensure that the smaller opening of the ear tip is facing the stem.
- Push and Twist: Gently push the ear tip onto the stem while simultaneously twisting it in a clockwise direction. Continue pushing and twisting until the ear tip is securely in place.
- Repeat for the Other Ear: Perform the same process to attach the new ear tip to the other AirPod.
- Tug Test: After attaching both ear tips, perform a quick tug test to ensure they are securely attached. Gently tug on each ear tip to check if it stays in place and doesn’t come loose. If they feel loose, repeat the attaching process to ensure a tighter fit.
With the new ear tips securely attached, you’re almost done! The next step is to test the fit and comfort to ensure they are suitable for your ears.
Step 4: Test the Fit and Comfort
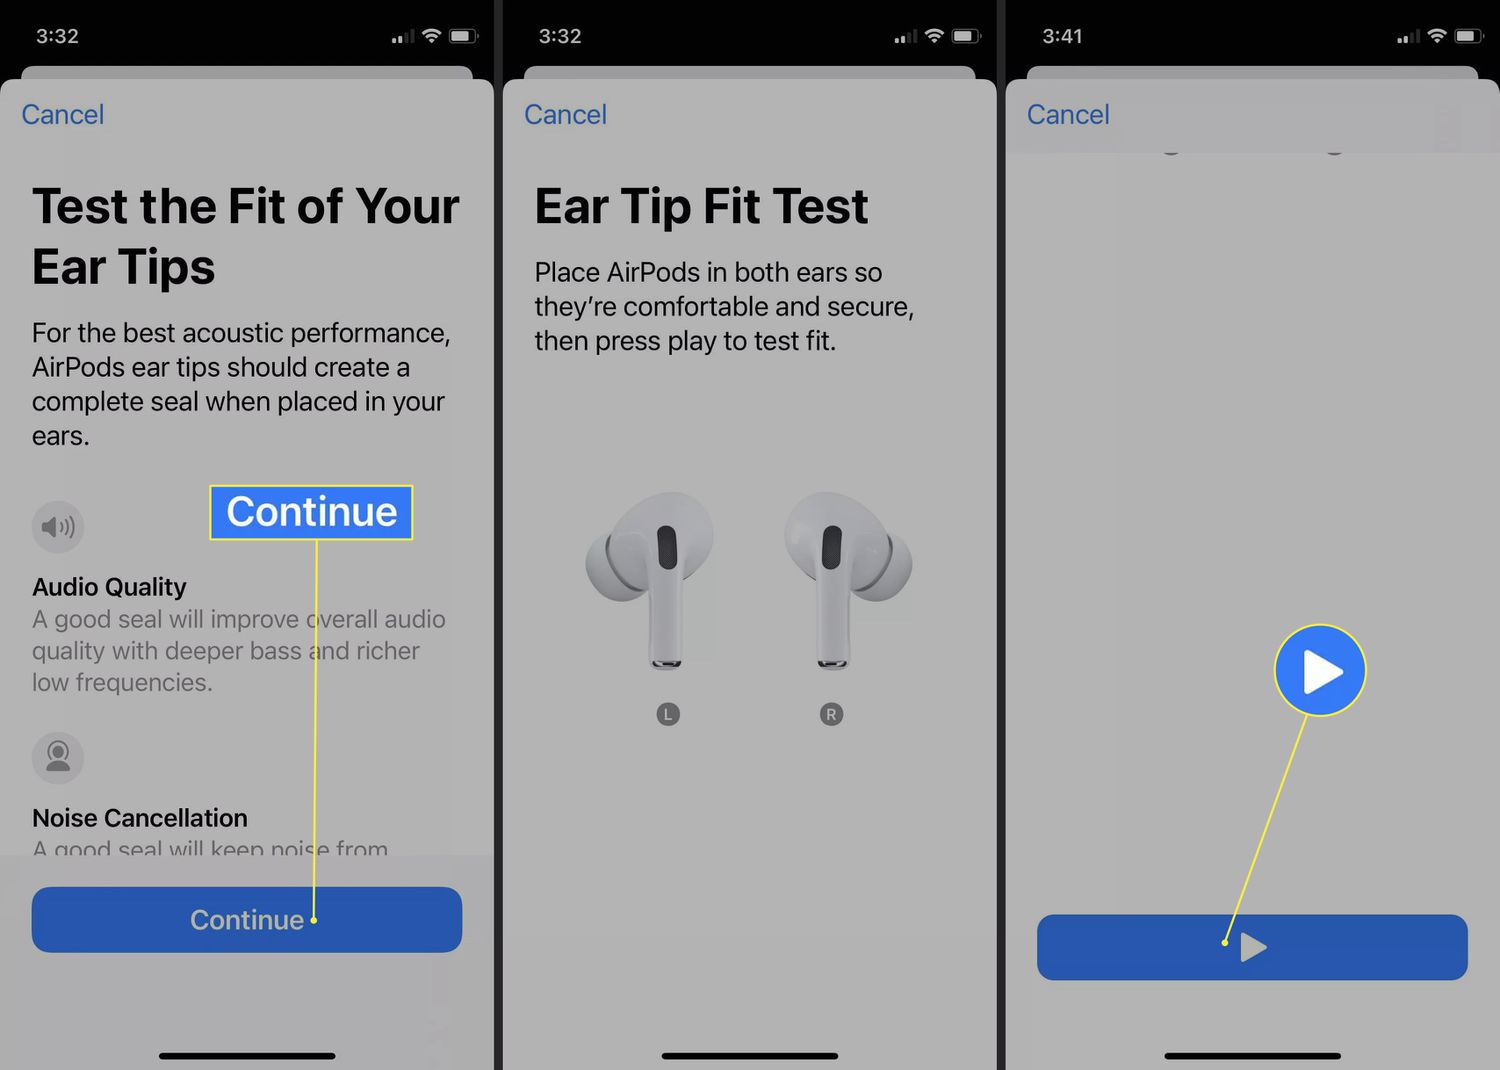
Testing the fit and comfort of your newly attached ear tips is crucial to ensure an optimal listening experience. Follow these steps to assess the fit and comfort of your AirPods Pro:
- Insert the AirPods Pro: Put the AirPods Pro in your ears, ensuring that they are snugly seated and creating a seal.
- Listen to Audio: Play your favorite audio content and pay attention to the sound quality. Note if there is an improvement in the audio experience compared to the previous ear tips.
- Assess the Seal: Check for a proper seal by covering each earbud with your hand. You should notice a reduction in external noise when the seal is effective.
- Check for Comfort: Evaluate the comfort level of the new ear tips. Ensure that they don’t cause any discomfort, pressure, or pain, even during extended periods of use.
- Make Adjustments if Necessary: If you find any issues with the fit or comfort, consider trying a different size of ear tip. Repeat the process of removing and attaching the ear tips until you find the perfect fit.
By testing the fit and comfort, you can make sure that the new ear tips provide an enjoyable and comfortable listening experience with improved sound quality and a secure fit.
Now that you’ve tested the fit and comfort, you’re ready to start using your AirPods Pro with the new ear tips. Remember, it’s always a good idea to periodically check the fit and clean the ear tips to maintain optimal performance. Enjoy your enhanced audio experience!
Additional Tips and Considerations
Here are some additional tips and considerations to keep in mind when changing the ear tips on your AirPods Pro:
- Experiment with Different Sizes: Even if you find a size that fits well, don’t hesitate to try out the other sizes. Ear shape and size can vary, so what works for one person may not work for another. Experimenting with different sizes allows you to find the perfect fit for your ears.
- Keep the Original Ear Tips: It’s a good idea to keep the original ear tips that came with your AirPods Pro. If you decide to sell or pass on your AirPods Pro in the future, having the original ear tips in good condition can enhance their value and appeal.
- Clean Regularly: Cleaning your ear tips regularly is important to maintain hygiene and performance. Use a soft cloth or alcohol wipes to gently clean the ear tips, removing any dirt or debris. Avoid using excessive water or harsh chemicals that may damage the ear tips.
- Replace Worn Out Ear Tips: Over time, the ear tips may wear out or lose their elasticity. If you notice any signs of wear, such as cracks, tears, or a loose fit, it’s time to replace the ear tips with new ones. Regularly inspect the ear tips for any signs of damage or deterioration.
- Consider Foam Tips: If you’re looking for an alternative to the silicone ear tips, consider trying foam tips. Foam tips can provide a more customized fit by conforming to the shape of your ear canal. They also tend to provide better noise isolation compared to silicone tips.
- Seek Professional Assistance: If you’re having trouble finding the right fit or experience discomfort even with different sizes, consider seeking assistance from a professional. Audiologists or specialists can help assess your ear canal shape and provide recommendations for the best ear tips.
By following these additional tips and considerations, you can ensure a comfortable and optimal listening experience with your AirPods Pro.
Now that you’re equipped with all the information and steps to change the ear tips on your AirPods Pro, you’re ready to enjoy a customized fit and enhanced audio quality. Happy listening!
Conclusion
Changing the ear tips on your AirPods Pro is a simple yet important process that can greatly enhance your listening experience. By selecting the right size of ear tips, you can improve sound quality, secure a comfortable fit, and ensure optimal performance.
In this guide, we’ve walked you through the step-by-step process of changing the ear tips on your AirPods Pro. We discussed why it’s essential to change ear tips, provided a list of the items you’ll need, and explained how to remove the existing ear tips. We also covered how to choose the right size of ear tips, attach the new ones securely, and test the fit and comfort.
Additionally, we shared some additional tips and considerations to keep in mind, such as experimenting with different sizes, cleaning your ear tips regularly, and replacing worn-out ear tips. We also mentioned the option of trying foam tips for a different fit and seeking professional assistance if needed.
Now that you have all the necessary information, it’s time to take action and enjoy your AirPods Pro with the perfect fit. Remember, finding the right size of ear tips is a personal journey, so don’t be afraid to experiment and make adjustments until you find the most comfortable and secure fit for your ears.
We hope this guide has been helpful in guiding you through the process of changing ear tips on your AirPods Pro. Enjoy your enhanced listening experience and immerse yourself in your favorite audio content!